Downloaded 205 times
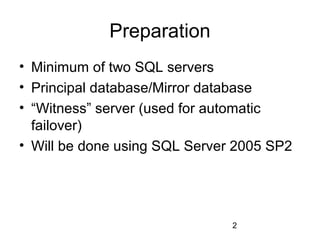


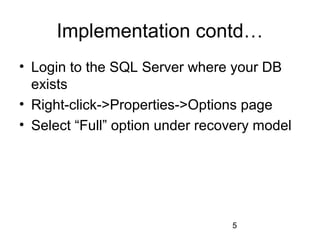


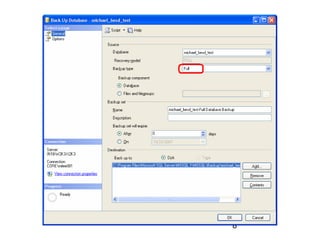


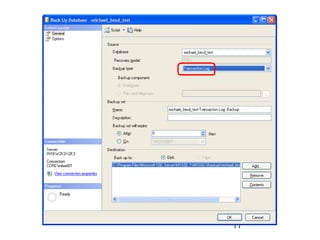
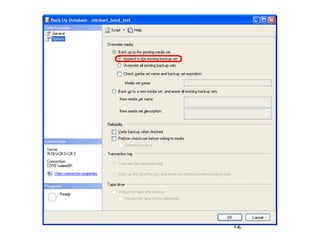

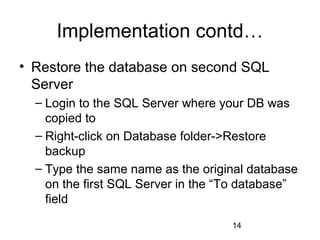
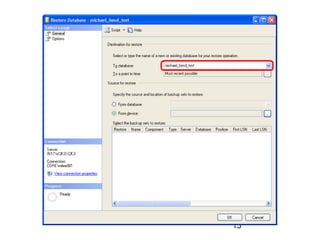


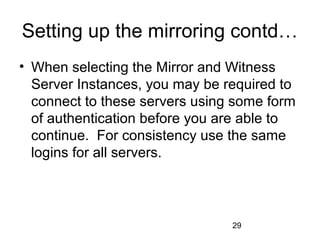
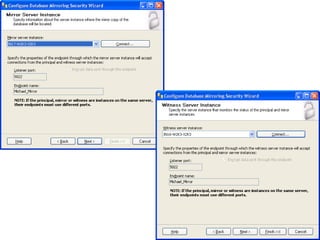


Database mirroring allows for high availability and protection of SQL Server databases. It requires at least two SQL servers - a principal database and mirror database. A witness server is also used to automate failover between the principal and mirror databases. The document outlines the implementation steps, which include preparing the servers, backing up the principal database and transaction log, restoring the backup on the mirror server, and configuring security and mirroring settings between the principal, mirror and witness servers. Once setup is complete, the databases are mirrored and failover can occur automatically using the witness server.