This document provides a simple method for troubleshooting and repairing switch mode power supplies (SMPS). The key steps are:
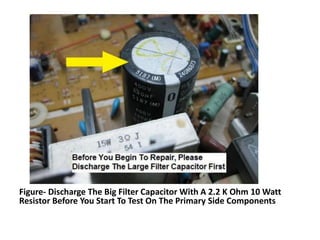
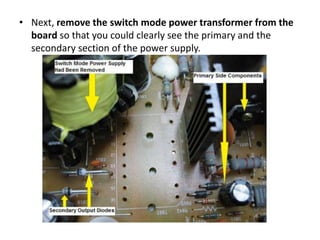
1. Discharge filter capacitors and remove the transformer to access primary and secondary components.
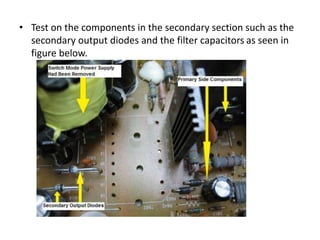
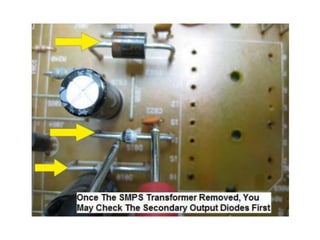
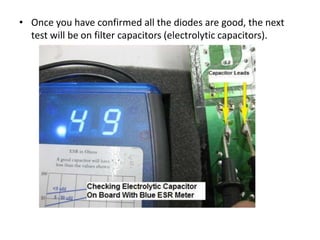
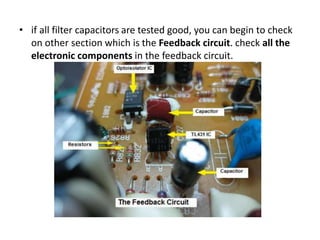
2. Test secondary components like diodes and capacitors, then check the feedback circuit.
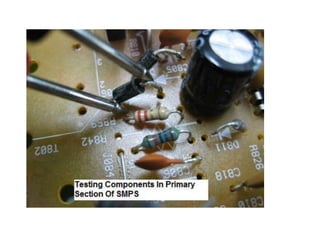
3. Move to the primary side by desoldering components one by one to identify faults.
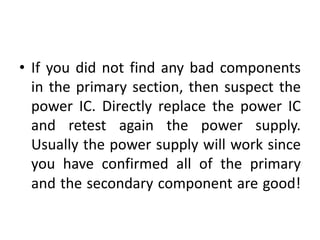
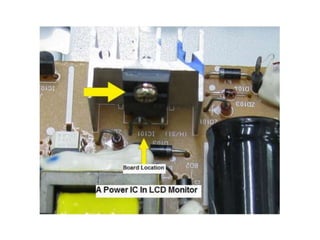
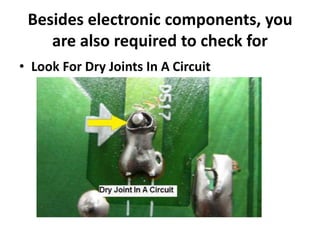
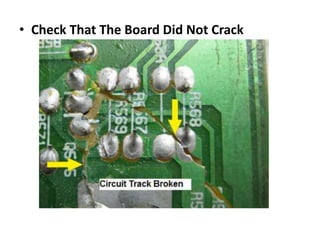
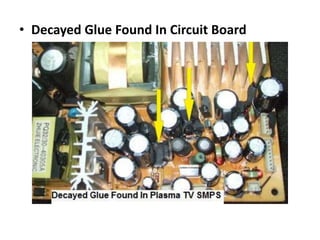
4. If the primary side checks out, suspect the power IC and replace it to potentially repair the SMPS. Additional faults can include multiple bad components, dry joints, cracks or decayed glue.