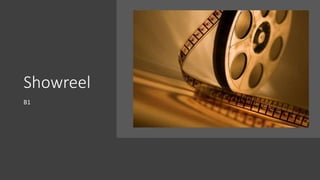
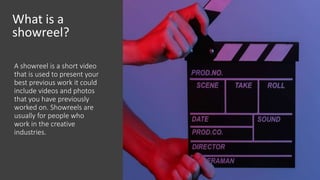
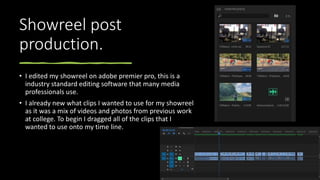
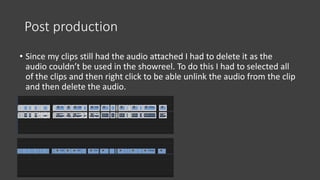
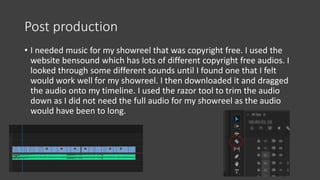
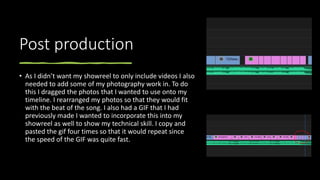
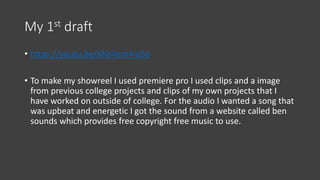
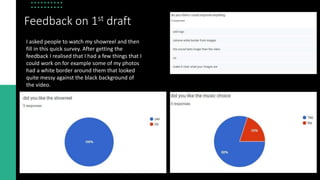
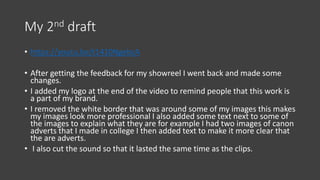
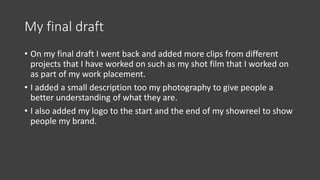
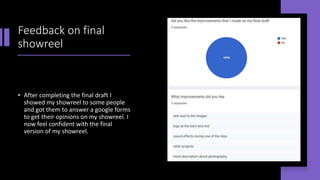
2. A showreel is a short video
that is used to present your
best previous work it could
include videos and photos
that you have previously
worked on. Showreels are
usually for people who
work in the creative
industries.
What is a
showreel?
3. What makes a good
show real
A good showreel should be kept short this is to
keep people interested in what is happening on
the screen, only include your best work as you
want to present yourself and your work in a
positive light.
• You should also make sure that it attracts to
the target audience. So, for example the target
audience for my showreel is 16-25 therefore to
make it more appealing for them I could keep it
short with a fast upbeat song in the background.
4. Analysing existing products
https://youtu.be/kUOfVTPKgsk
• This was a showreel for cut
media I noticed how they used
very energetic music it went
well with the video and kept
the audiences attention on the
video.
https://youtu.be/ULuf7tz5ca8
• This was a showreel for media
cube I liked how the clips where
in time with the music this made
the showreel seem more
professional
5. Showreel post
production.
• I edited my showreel on adobe premier pro, this is a
industry standard editing software that many media
professionals use.
• I already new what clips I wanted to use for my showreel
as it was a mix of videos and photos from previous work
at college. To begin I dragged all of the clips that I
wanted to use onto my time line.
6. Post production
• Since my clips still had the audio attached I had to delete it as the
audio couldn’t be used in the showreel. To do this I had to selected all
of the clips and then right click to be able unlink the audio from the clip
and then delete the audio.
7. Post production
• I needed music for my showreel that was copyright free. I used the
website bensound which has lots of different copyright free audios. I
looked through some different sounds until I found one that I felt
would work well for my showreel. I then downloaded it and dragged
the audio onto my timeline. I used the razor tool to trim the audio
down as I did not need the full audio for my showreel as the audio
would have been to long.
8. Post production
• As I didn’t want my showreel to only include videos I also
needed to add some of my photography work in. To do
this I dragged the photos that I wanted to use onto my
timeline. I rearranged my photos so that they would fit
with the beat of the song. I also had a GIF that I had
previously made I wanted to incorporate this into my
showreel as well to show my technical skill. I copy and
pasted the gif four times so that it would repeat since
the speed of the GIF was quite fast.
9. Post production
• After adding my photos and my GIFs I wanted to have a title next to
each image to explain to people who are watching my showreel what
the images are. To do this I uses the text tool. I used the text tool to
make a text box on the video I then just typed the words I needed I also
changed the font of my text.
10. Post production
• I realised that since I removed the original audio
from my videos one of my clips lost its most
important element. The clips was a fight scene
where you can hear the punches hitting one
another to solve this issue I downloaded a punch
sound effected from YouTube and then put the
audio on to my timeline multiple times.
11. My 1st draft
• https://youtu.be/6hbVem4nJSo
• To make my showreel I used premiere pro I used clips and a image
from previous college projects and clips of my own projects that I
have worked on outside of college. For the audio I wanted a song that
was upbeat and energetic I got the sound from a website called ben
sounds which provides free copyright free music to use.
12. Feedback on 1st draft
I asked people to watch my showreel and then
fill in this quick survey. After getting the
feedback I realised that I had a few things that I
could work on for example some of my photos
had a white border around them that looked
quite messy against the black background of
the video.
13. My 2nd draft
• https://youtu.be/t1410NgebcA
• After getting the feedback for my showreel I went back and made some
changes.
• I added my logo at the end of the video to remind people that this work is
a part of my brand.
• I removed the white border that was around some of my images this makes
my images look more professional I also added some text next to some of
the images to explain what they are for example I had two images of canon
adverts that I made in college I then added text to make it more clear that
the are adverts.
• I also cut the sound so that it lasted the same time as the clips.
14. Feedback on 2nd
draft
• This is the feedback on the second draft of
my showreel after getting this feedback I
still wanted to improve some elements
such as adding more of my projects.
15. My final draft
• On my final draft I went back and added more clips from different
projects that I have worked on such as my shot film that I worked on
as part of my work placement.
• I added a small description too my photography to give people a
better understanding of what they are.
• I also added my logo to the start and the end of my showreel to show
people my brand.
16. Feedback on final
showreel
• After completing the final draft I
showed my showreel to some people
and got them to answer a google forms
to get their opinions on my showreel. I
now feel confident with the final
version of my showreel.