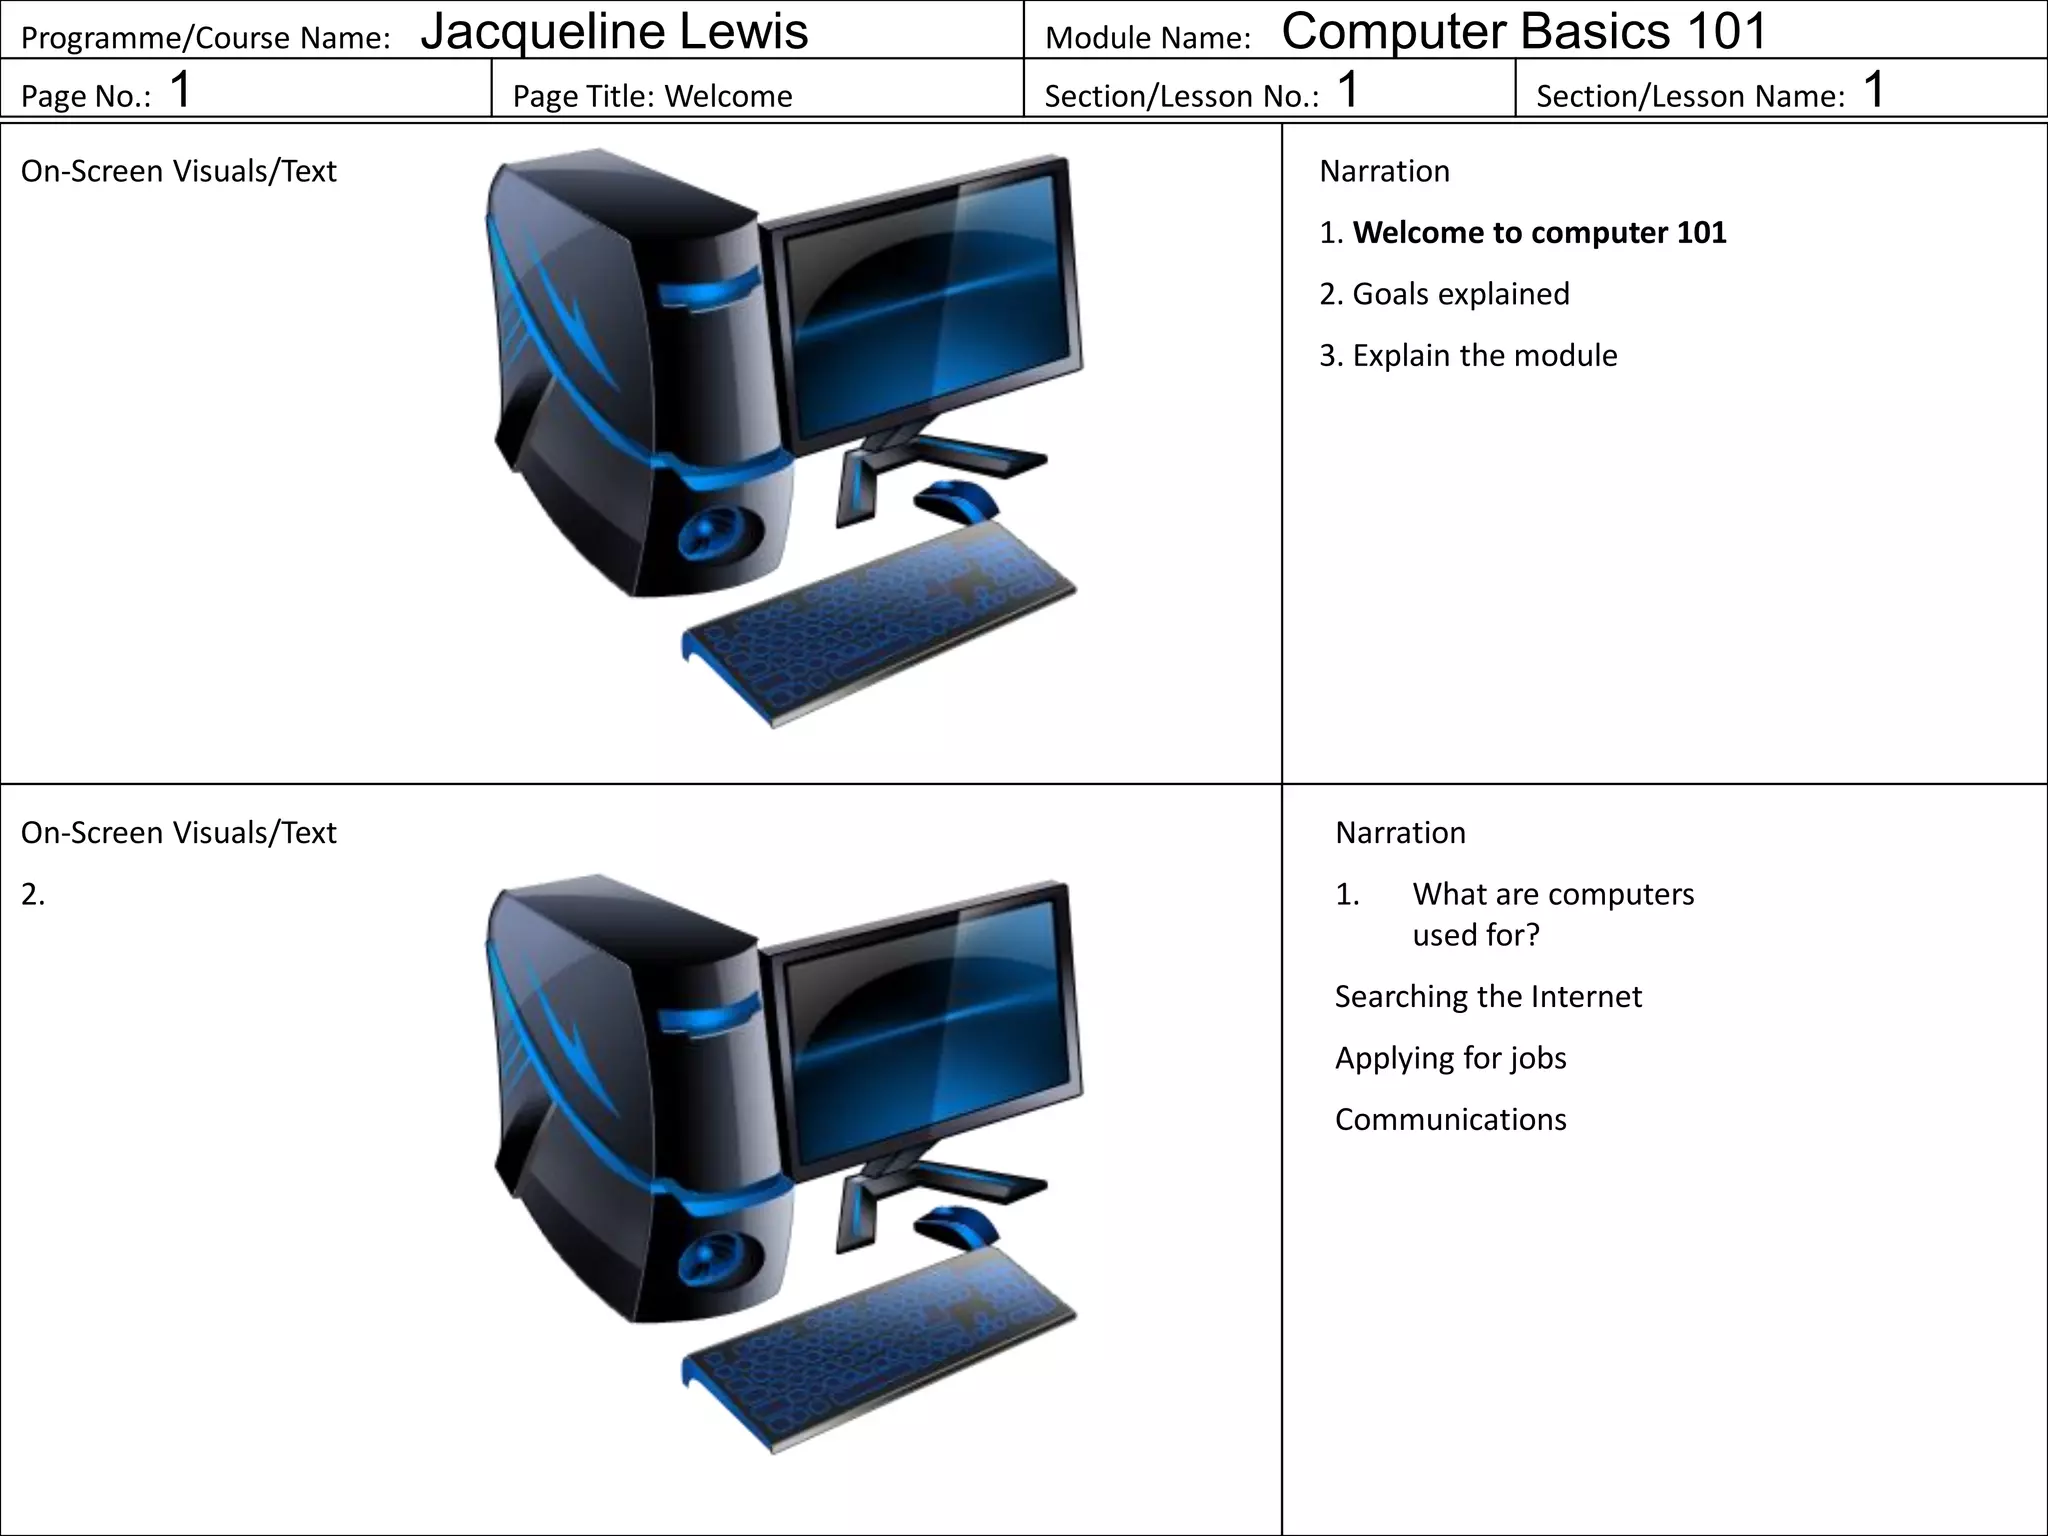
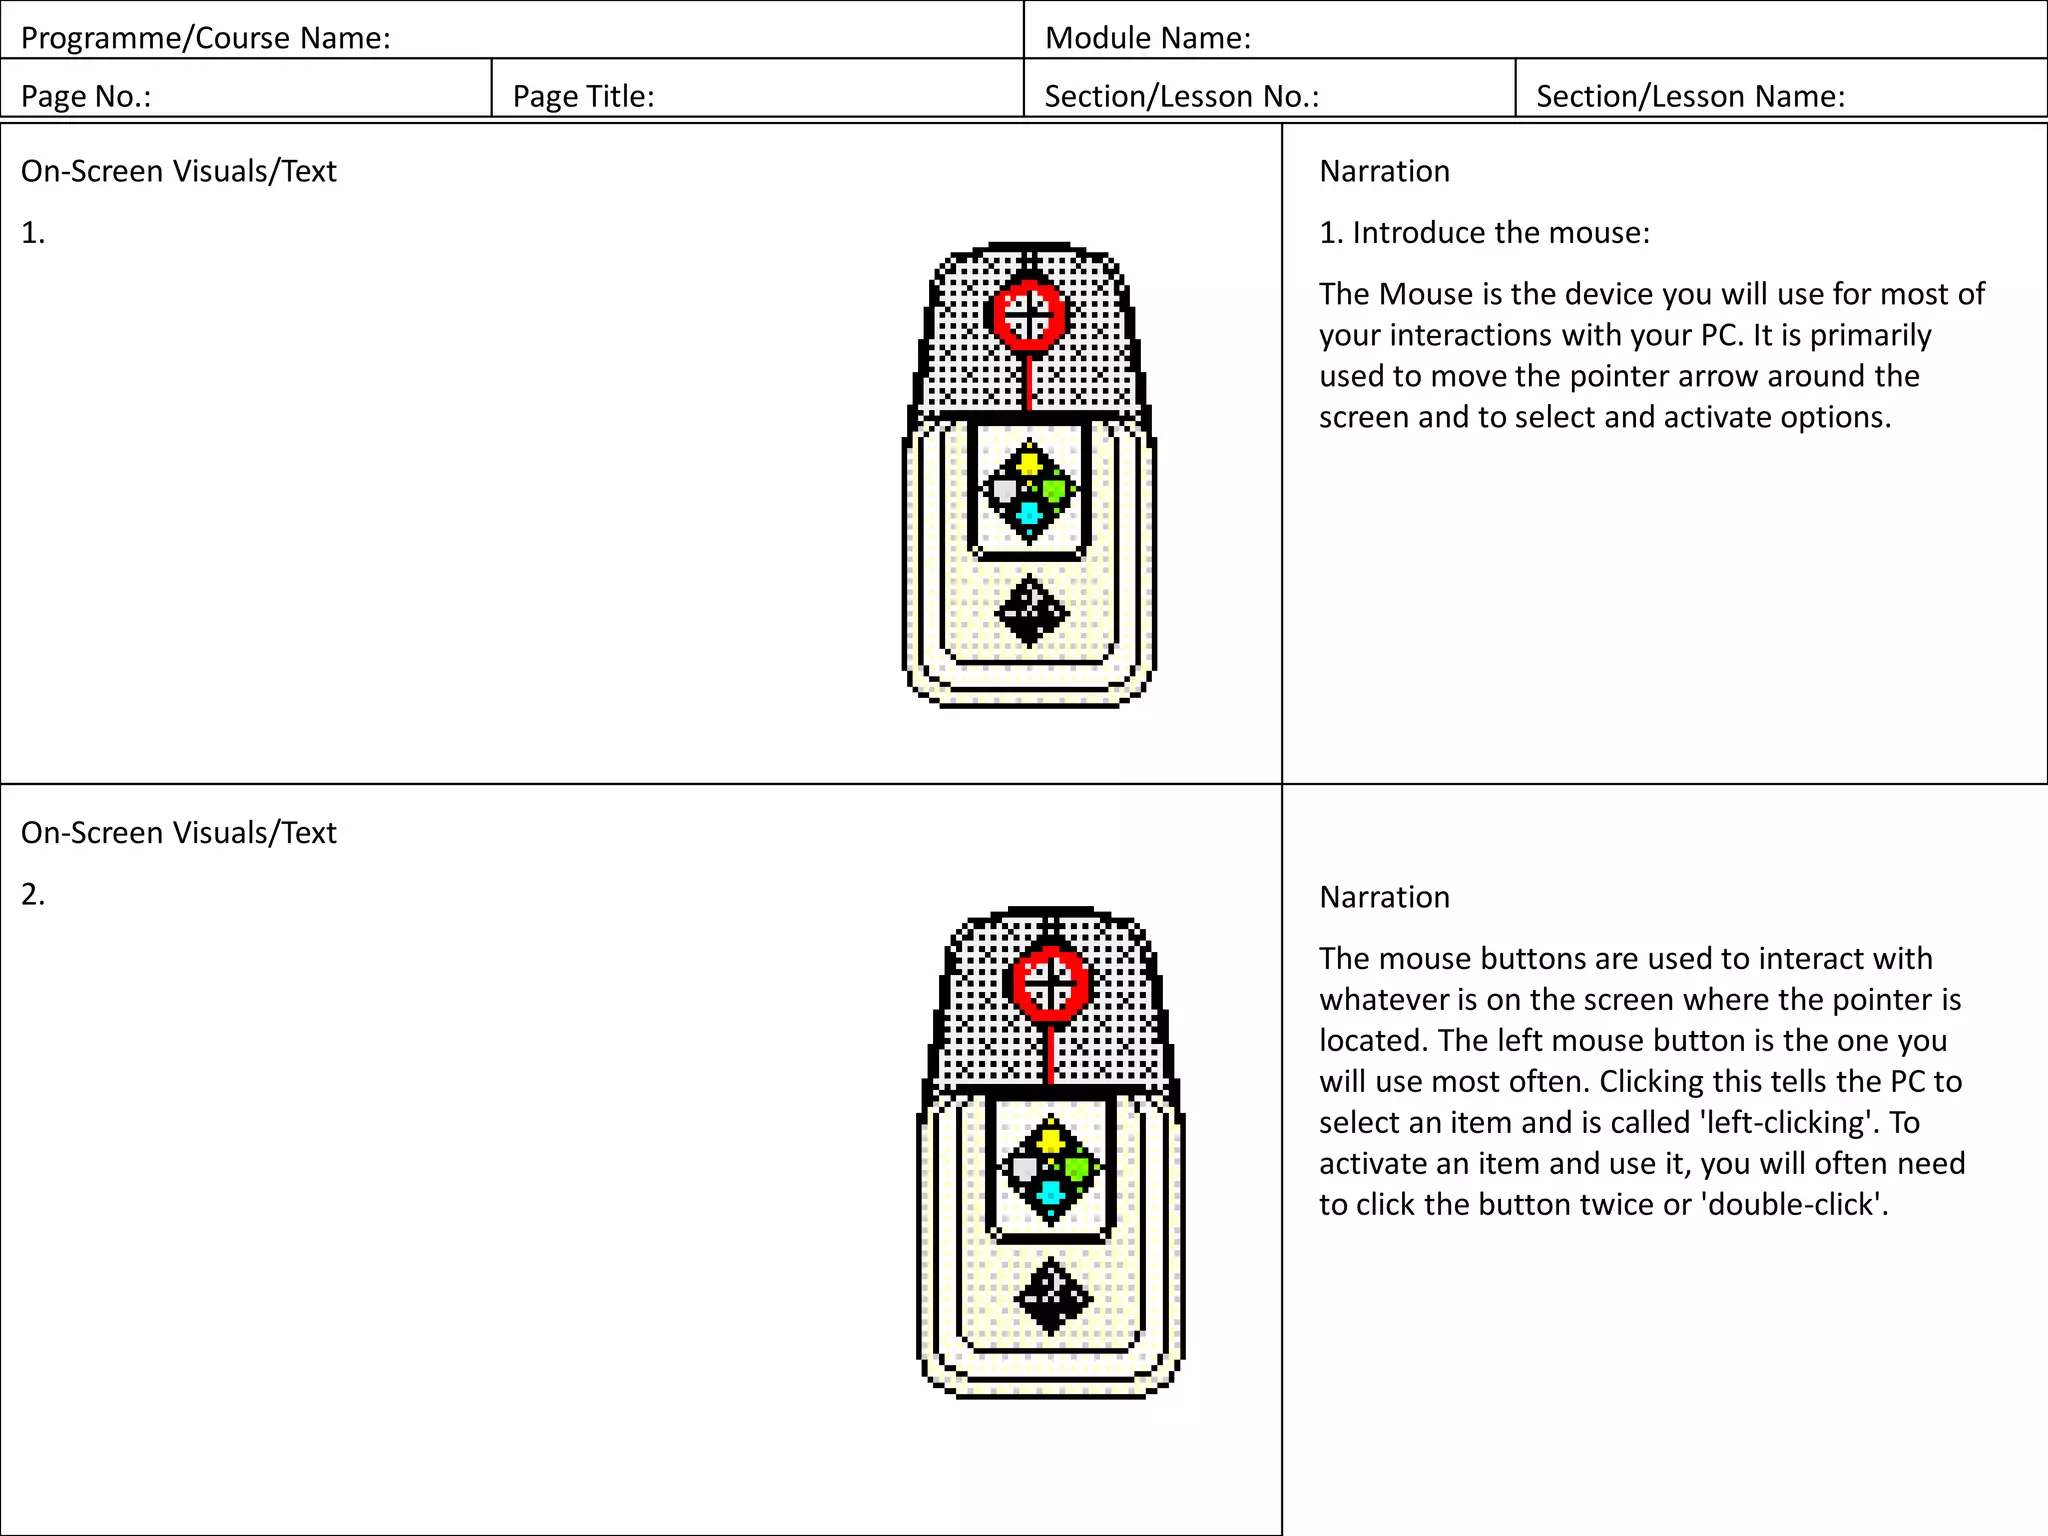
This document provides an overview of a computer basics training module. It includes:
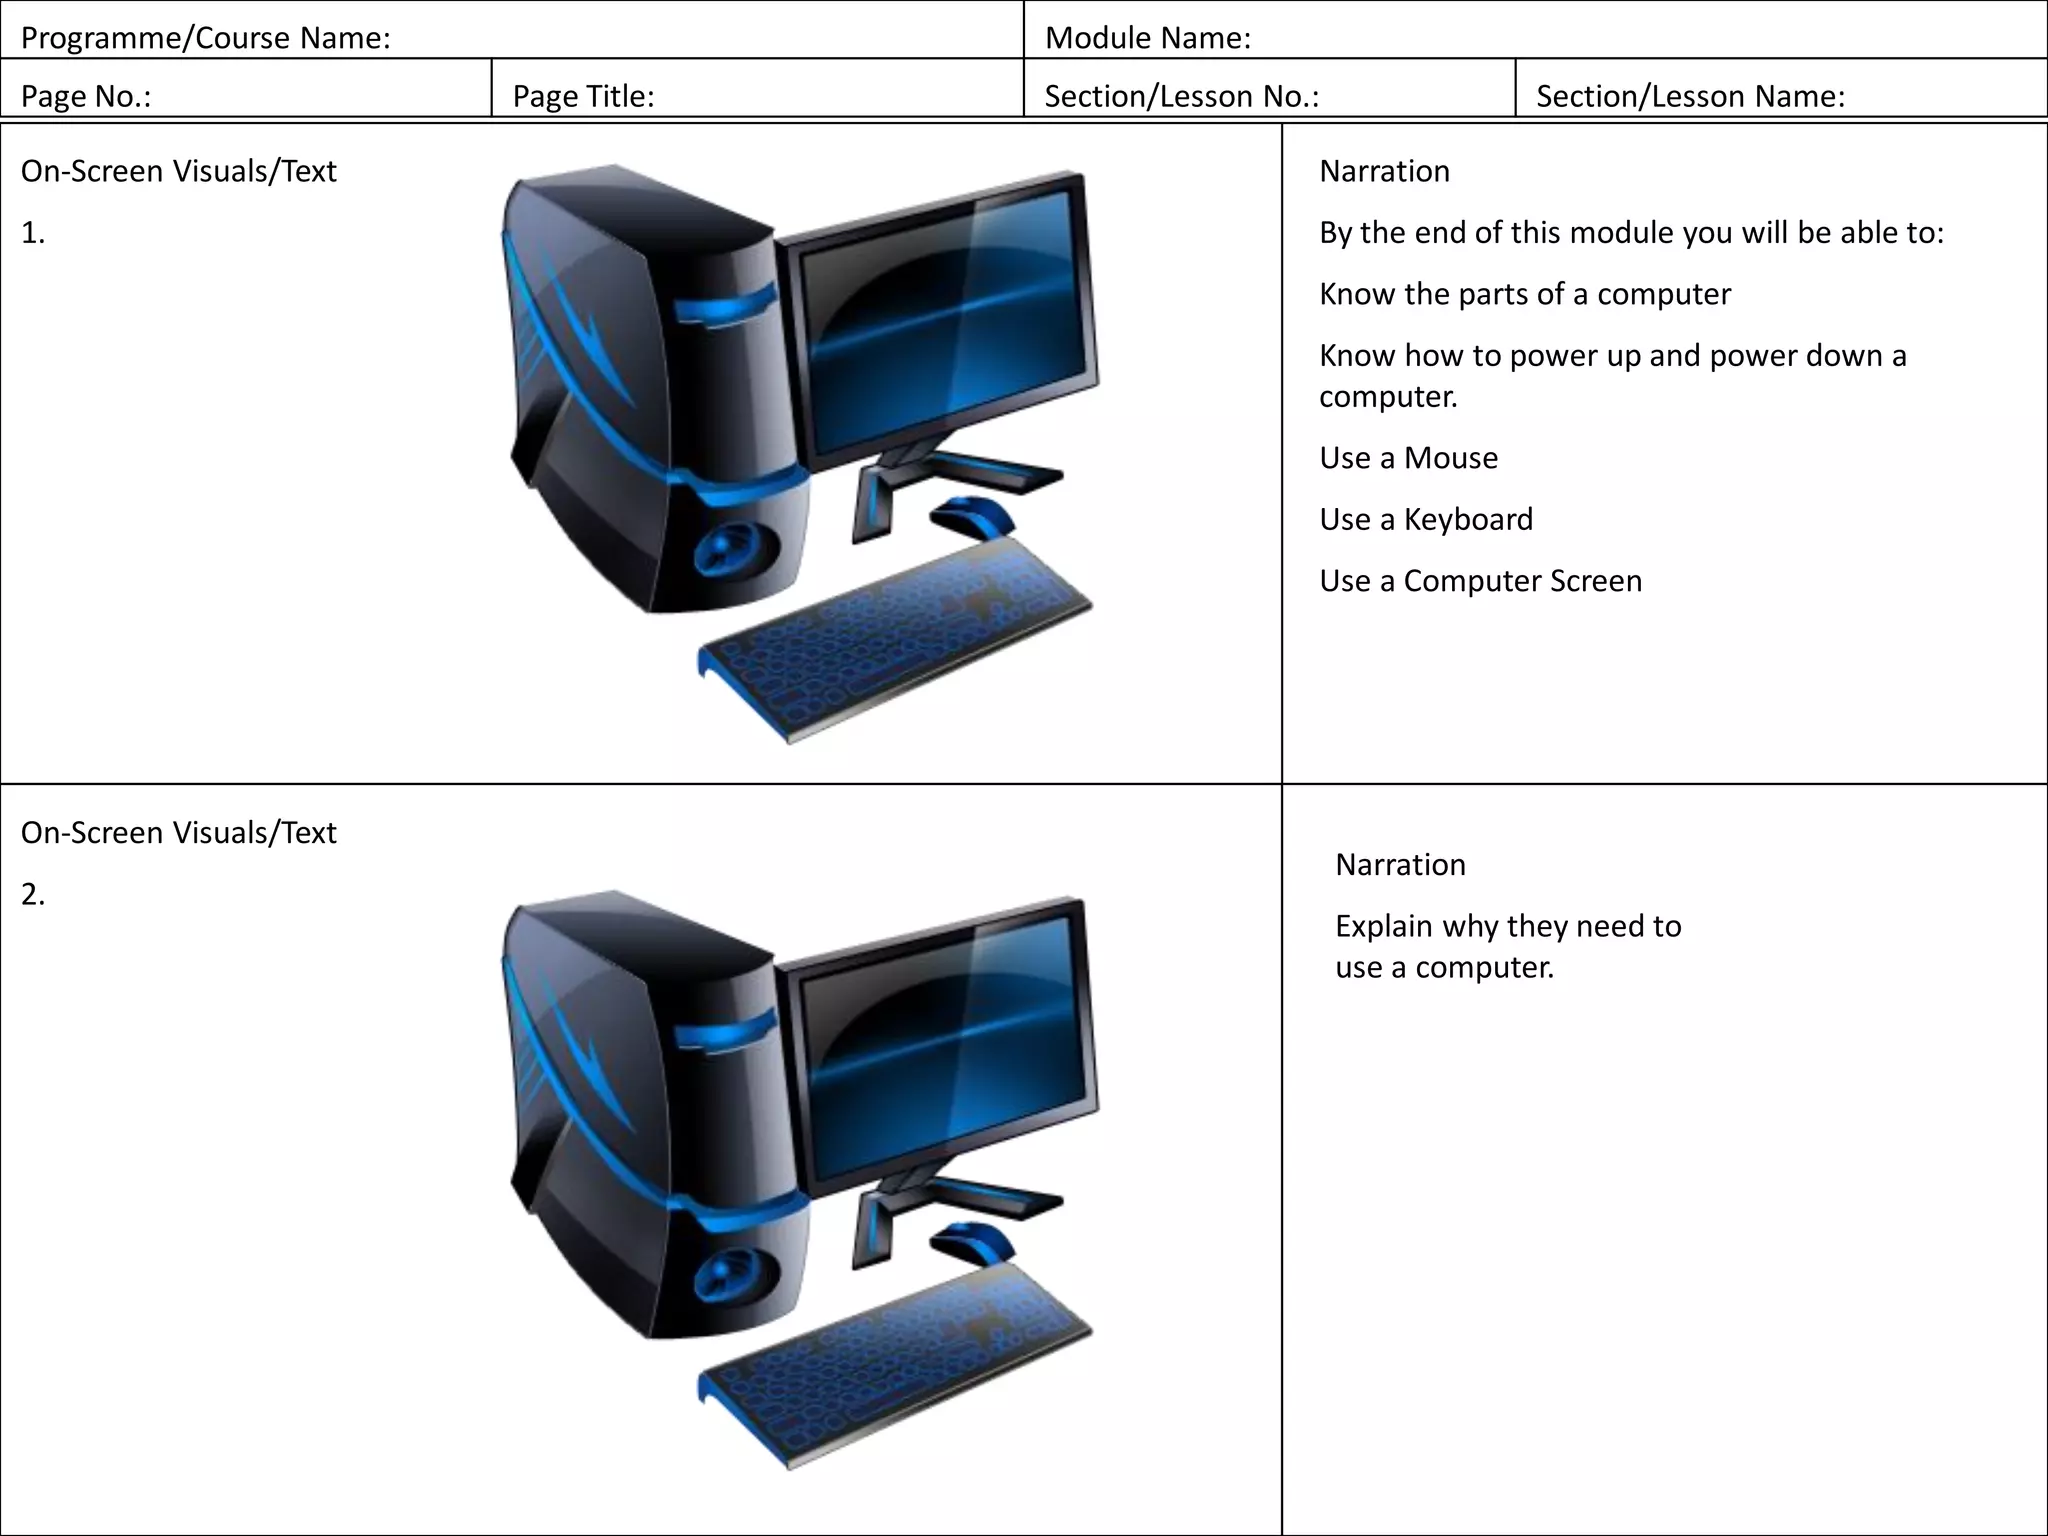
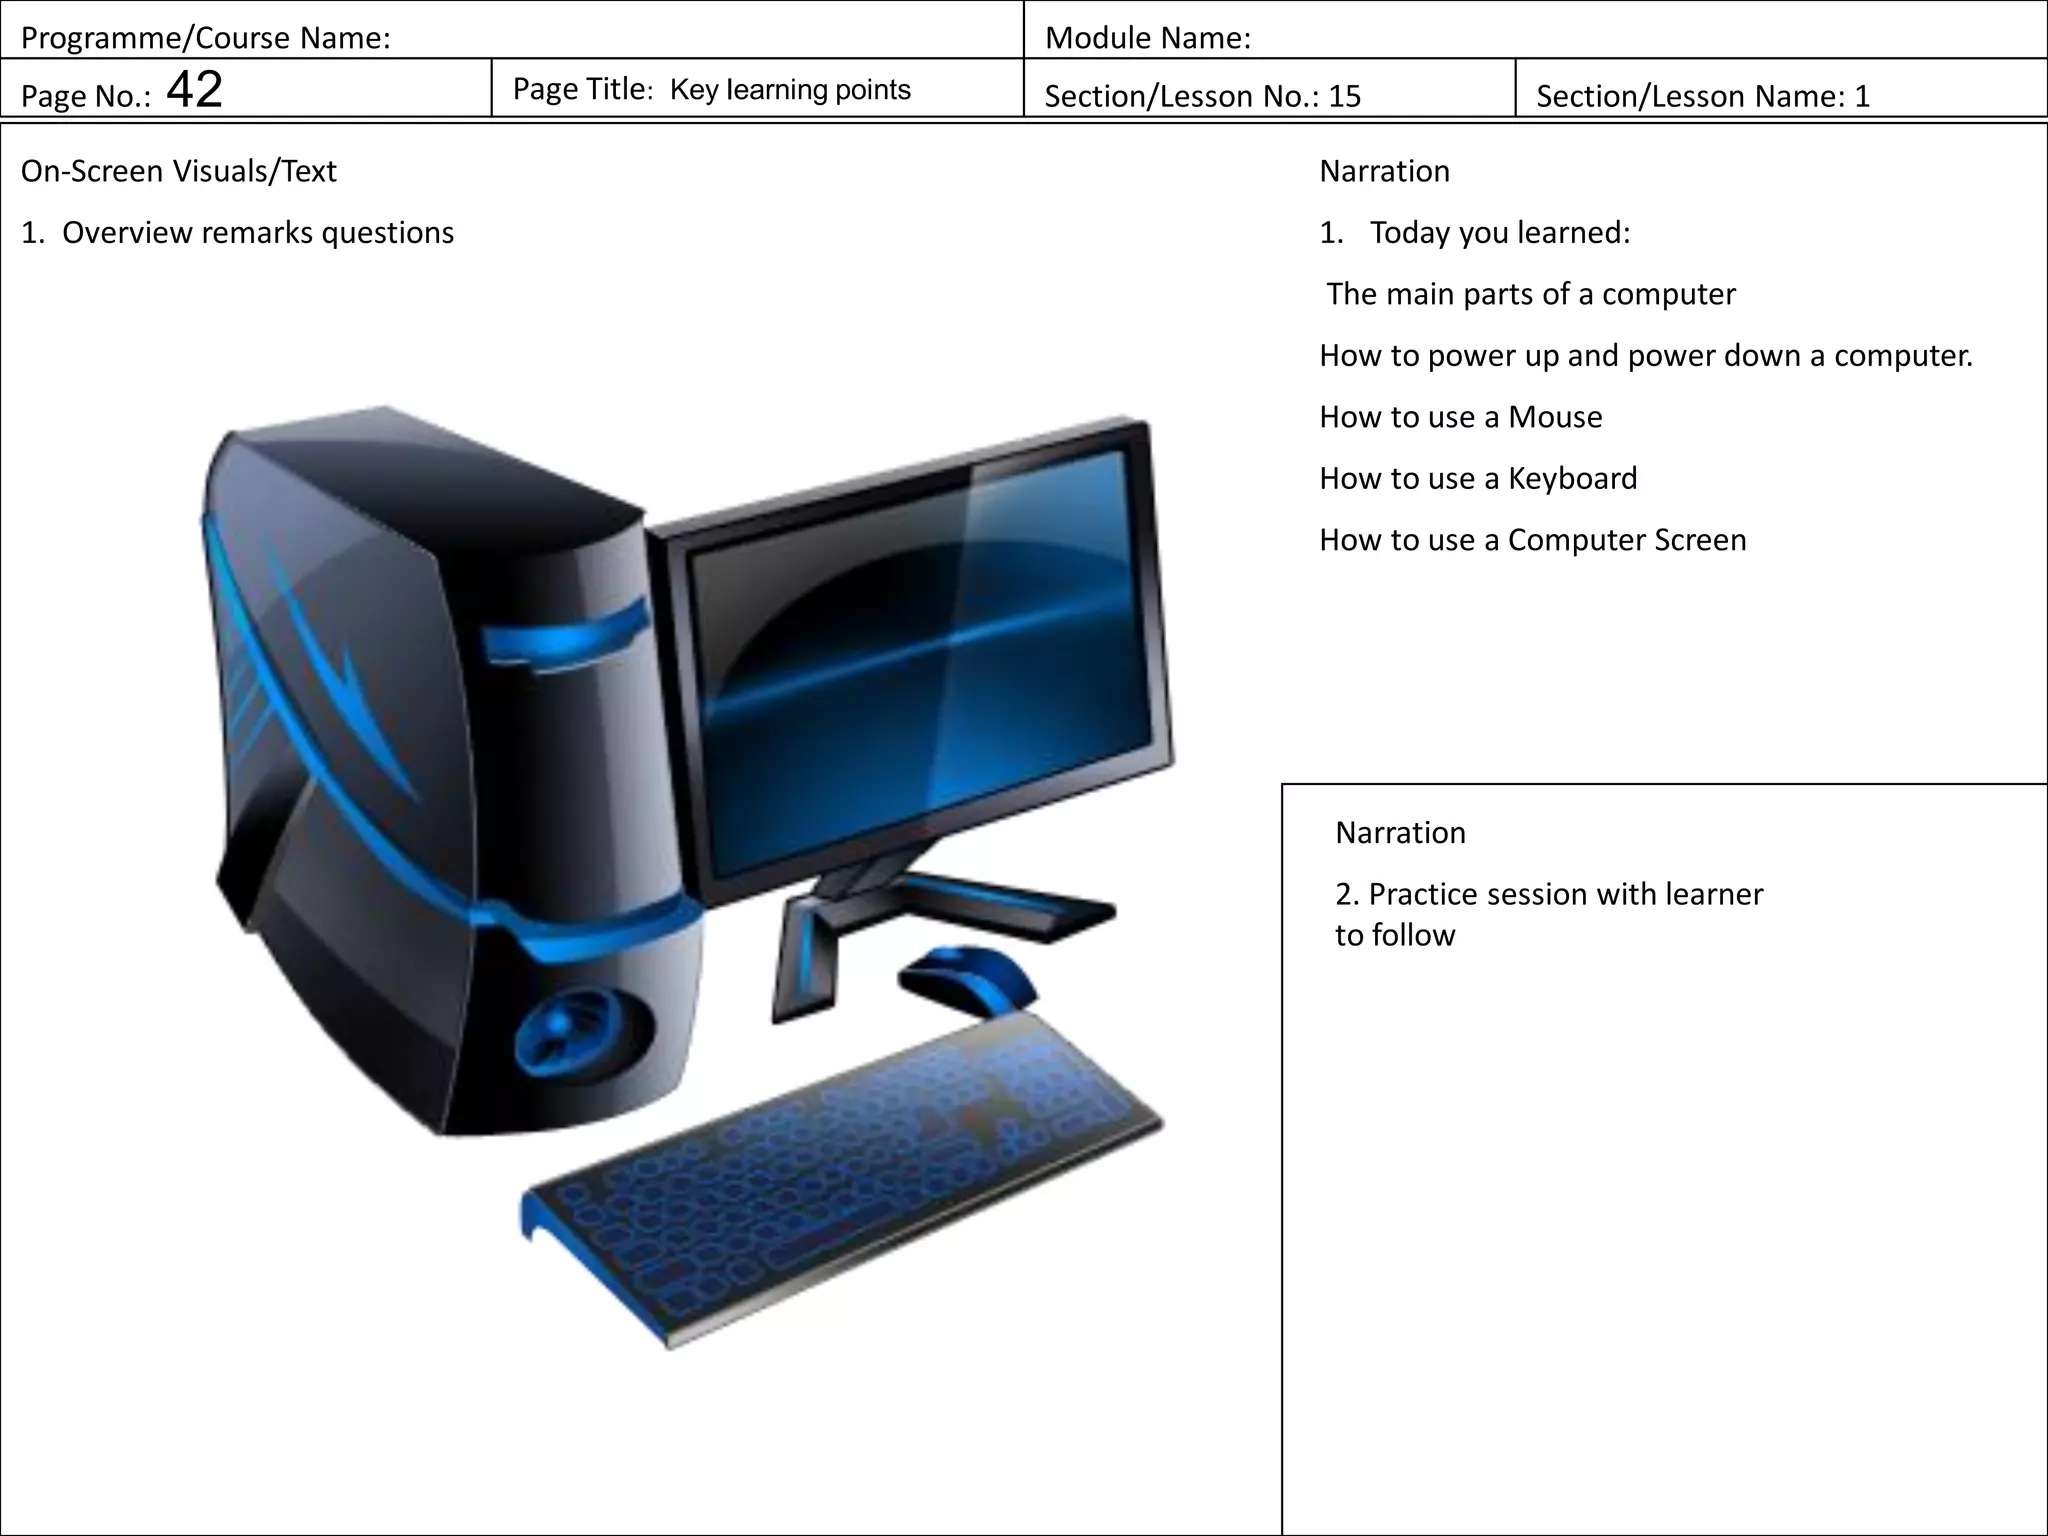
1) An introduction to the module's goals of teaching computer parts, powering on/off a computer, mouse and keyboard use, and screen use.
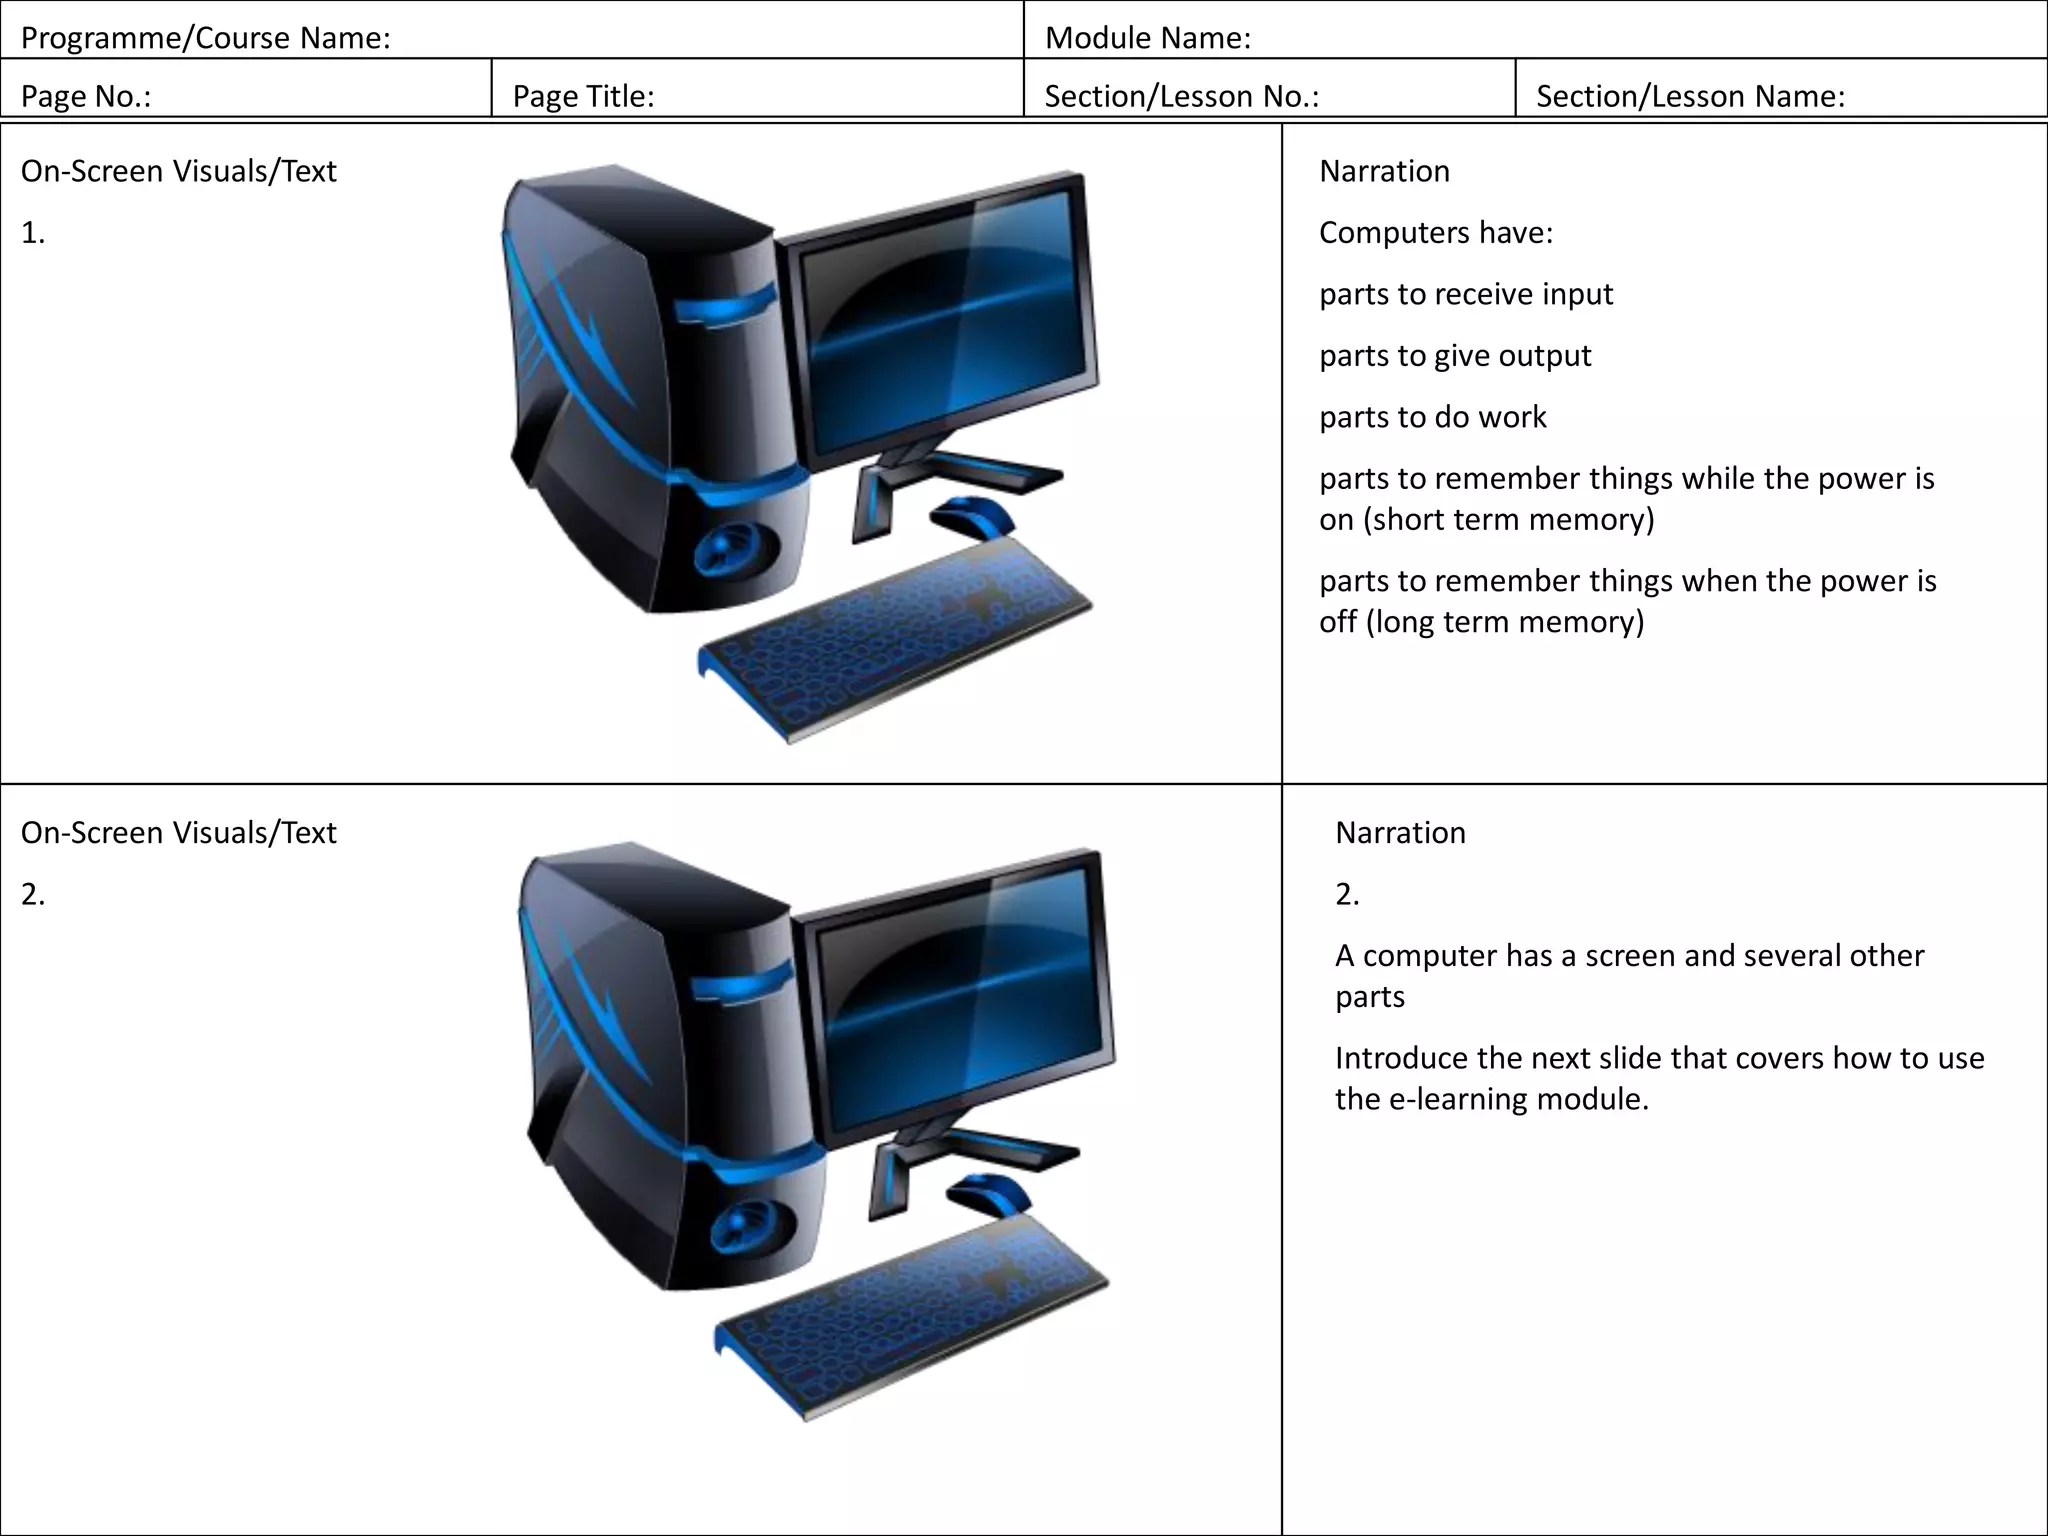
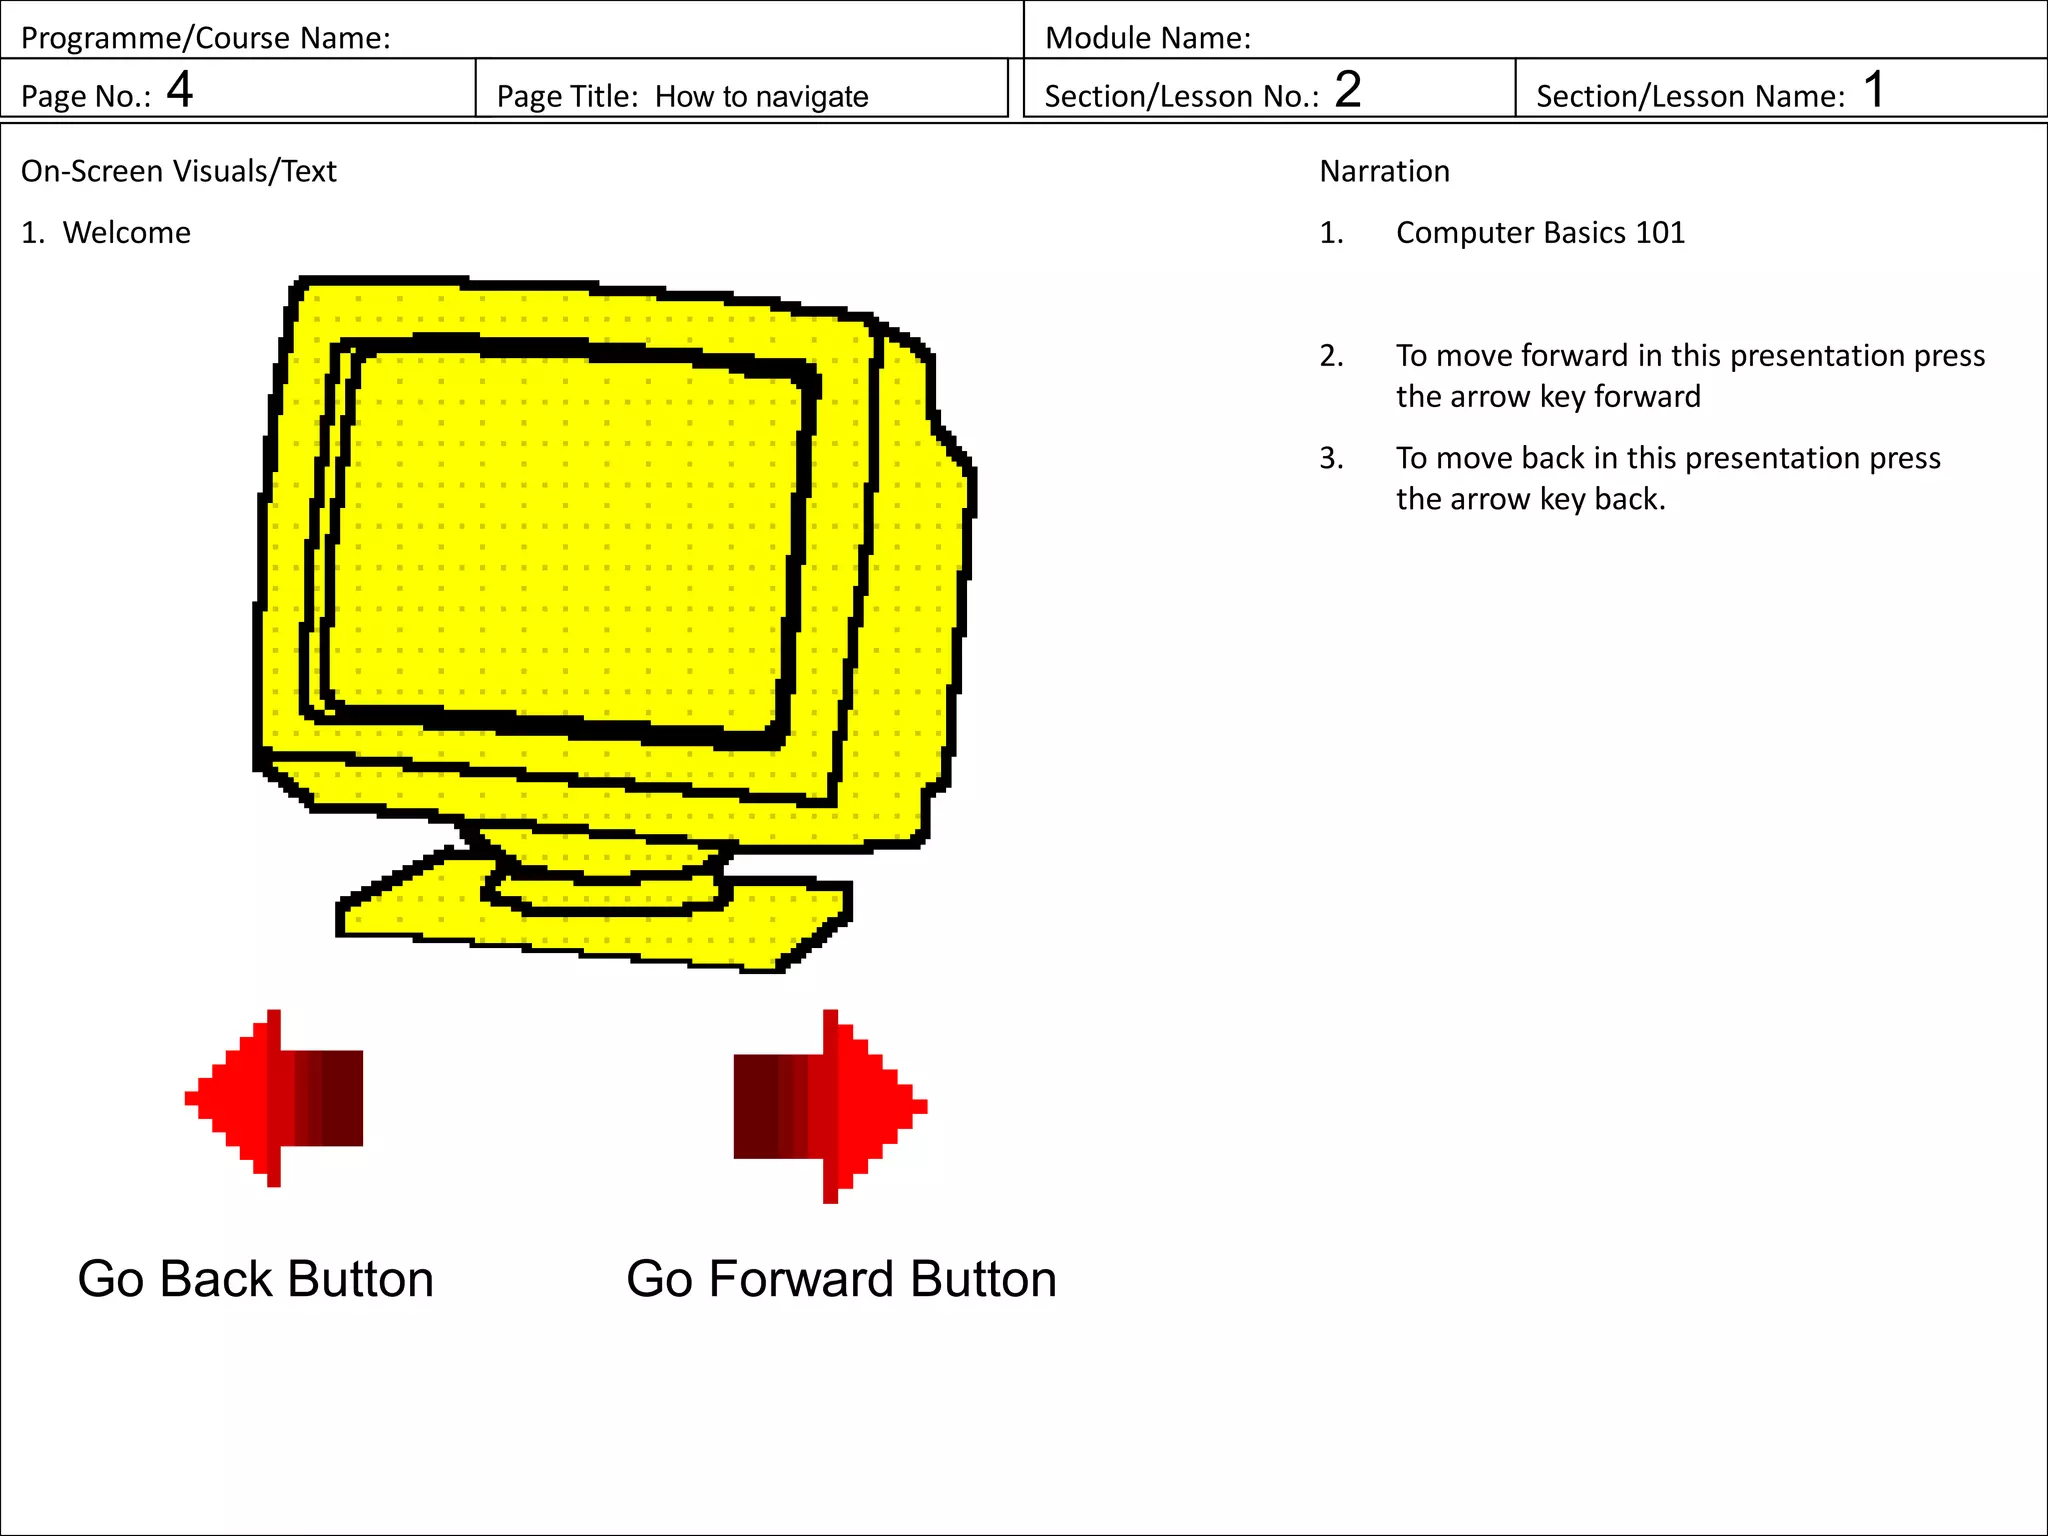
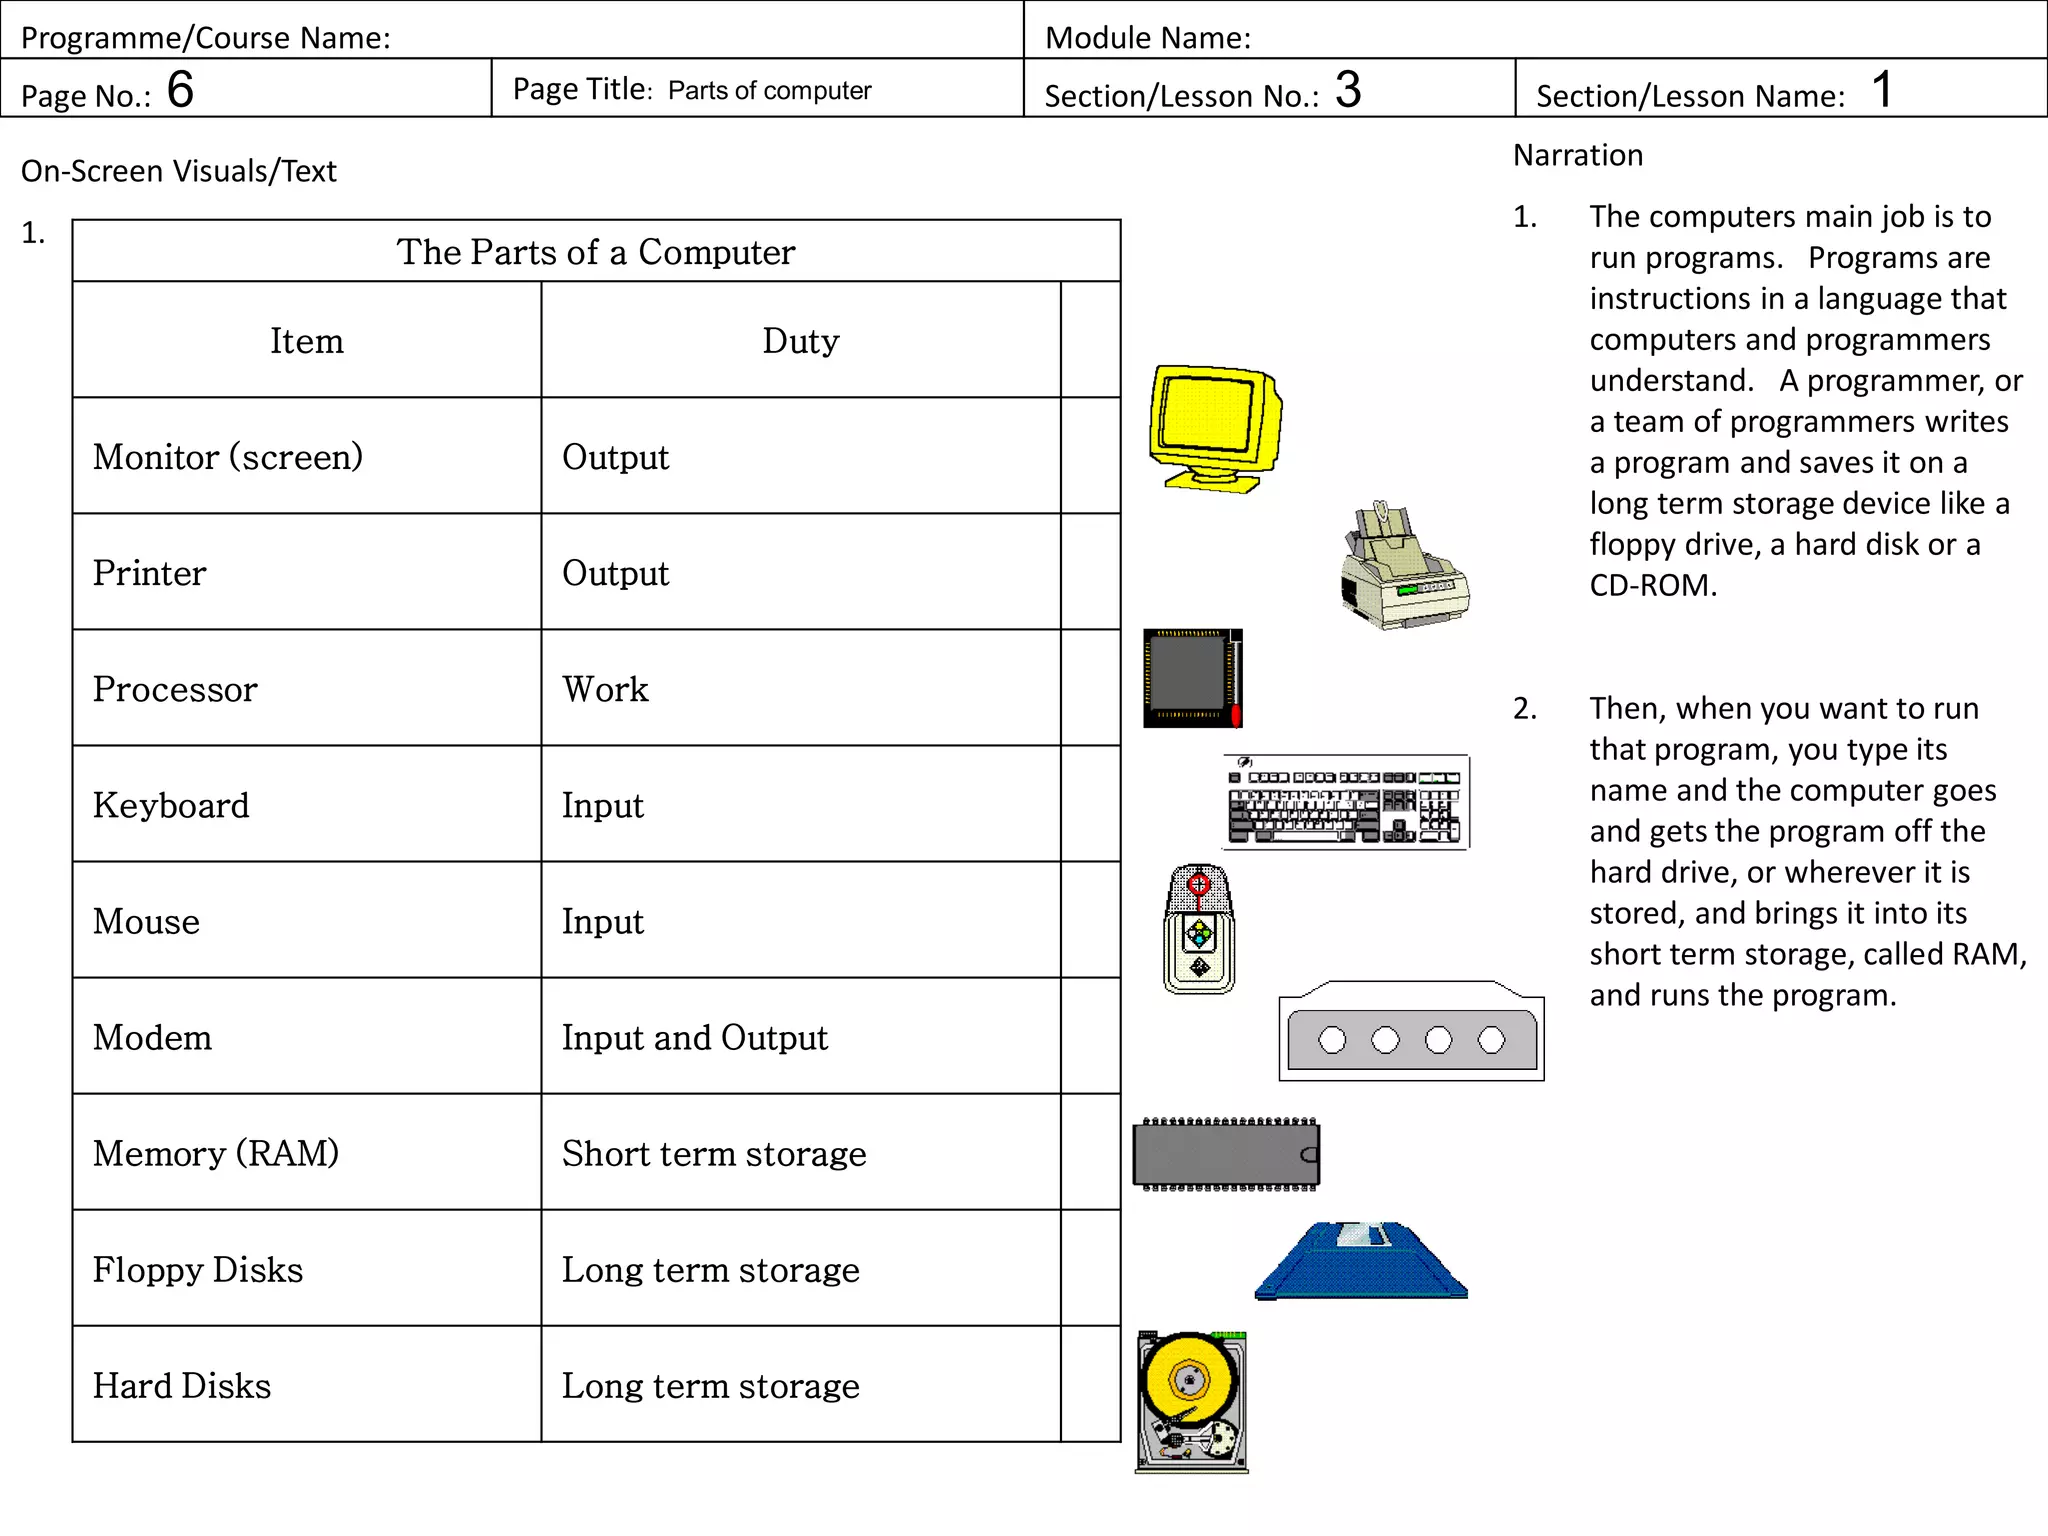
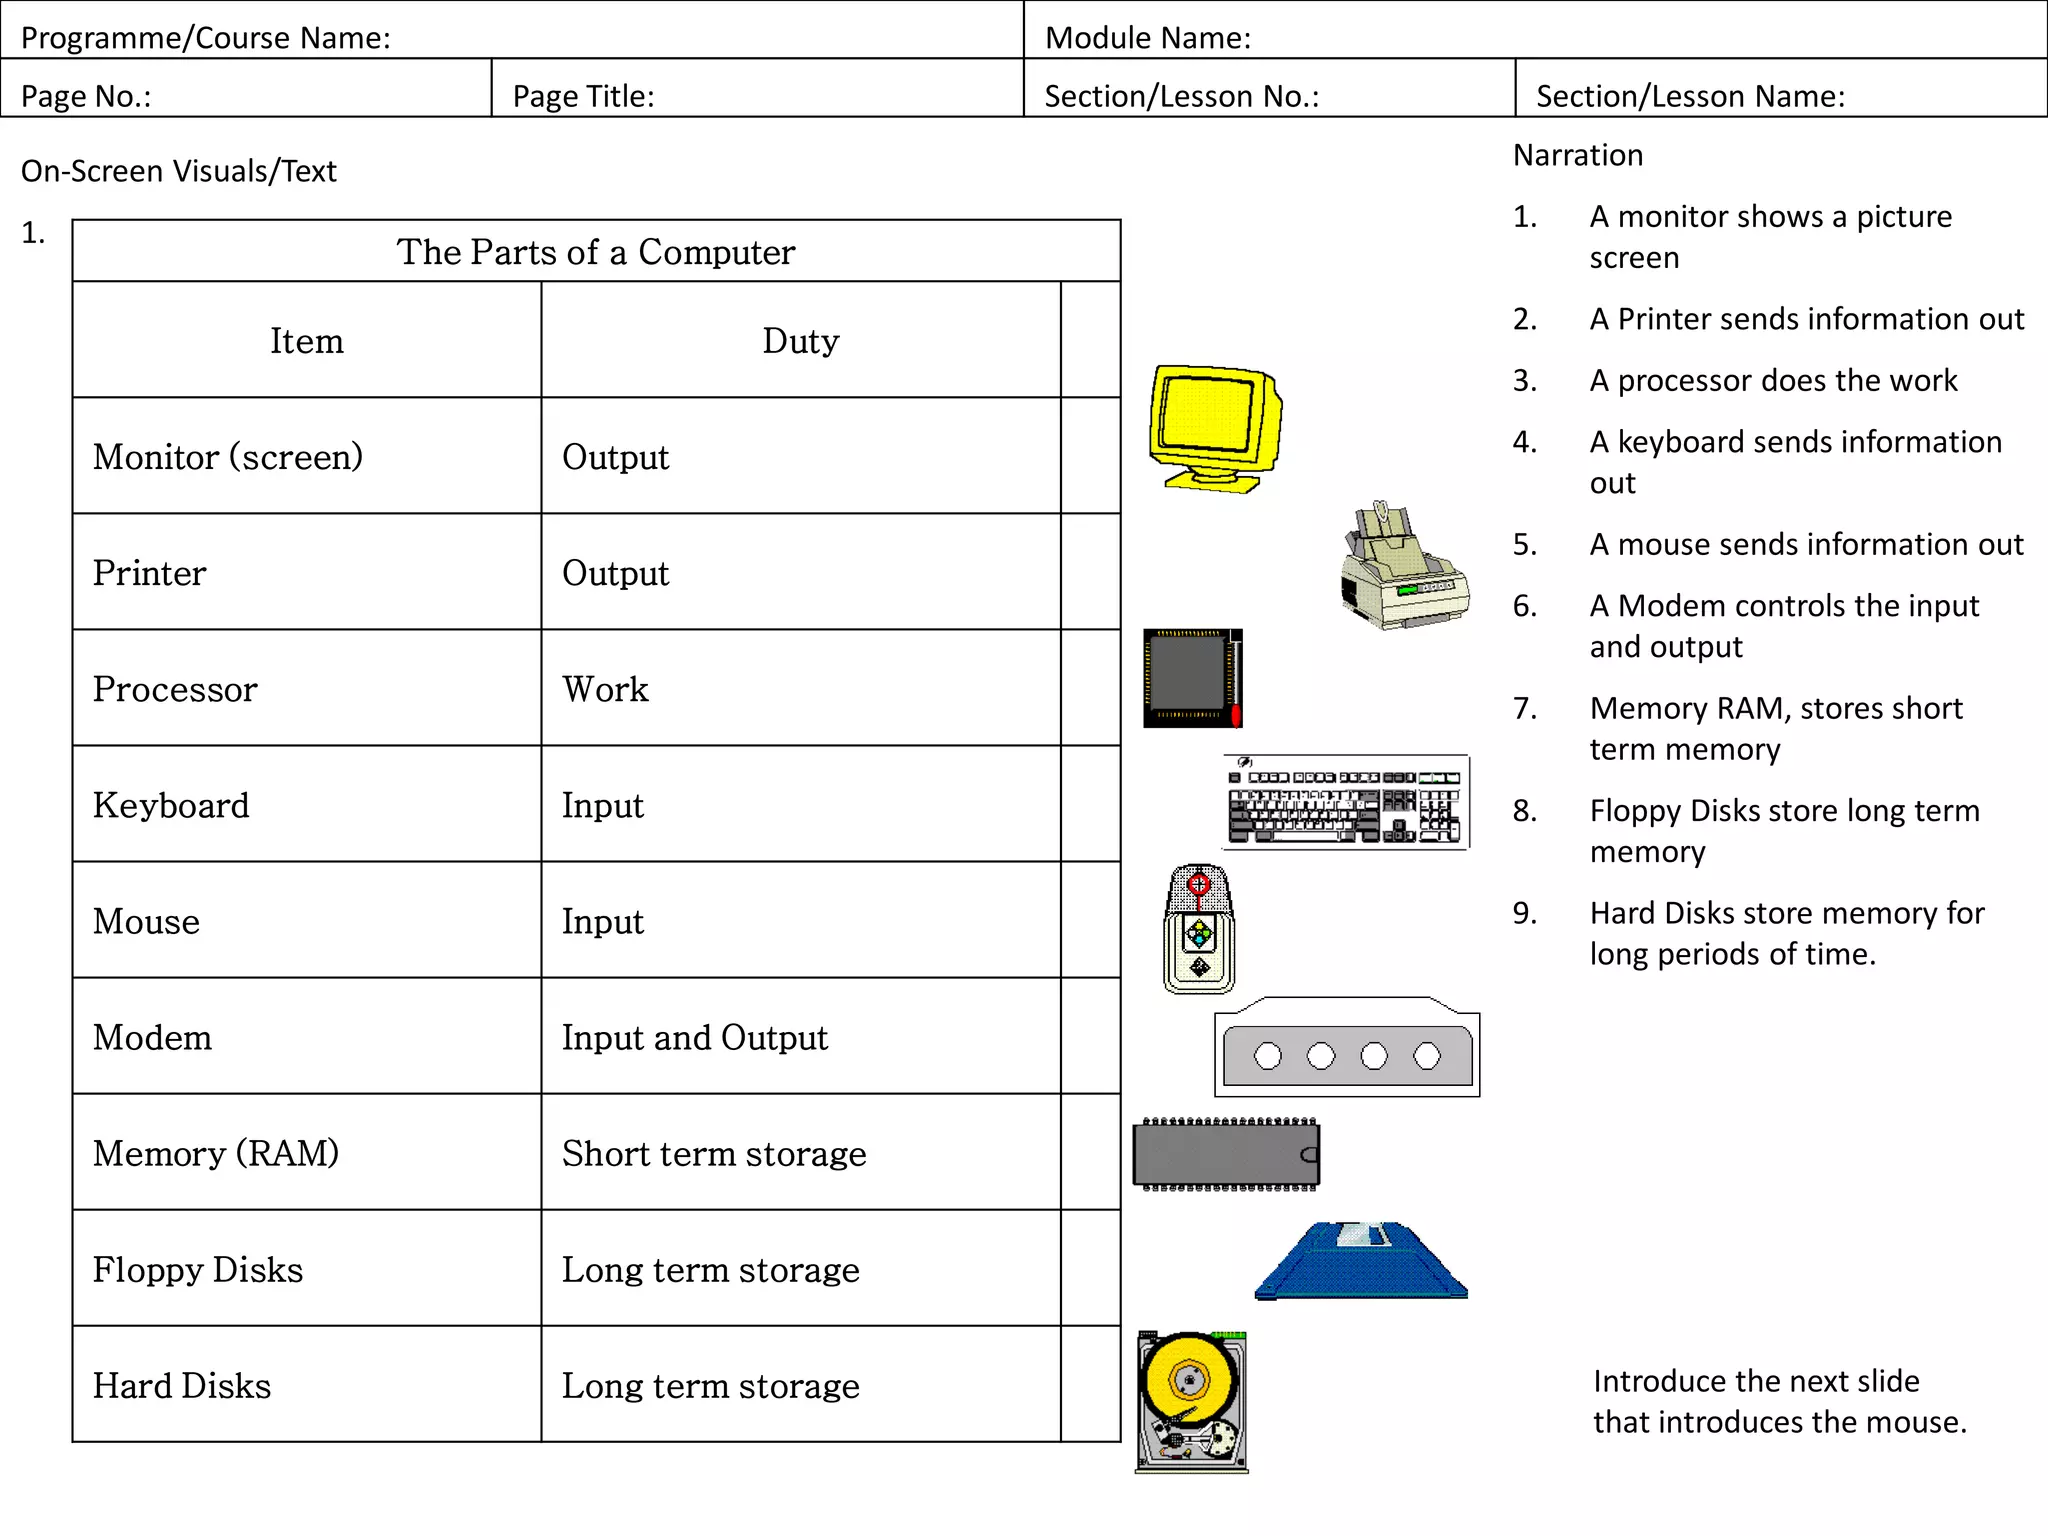
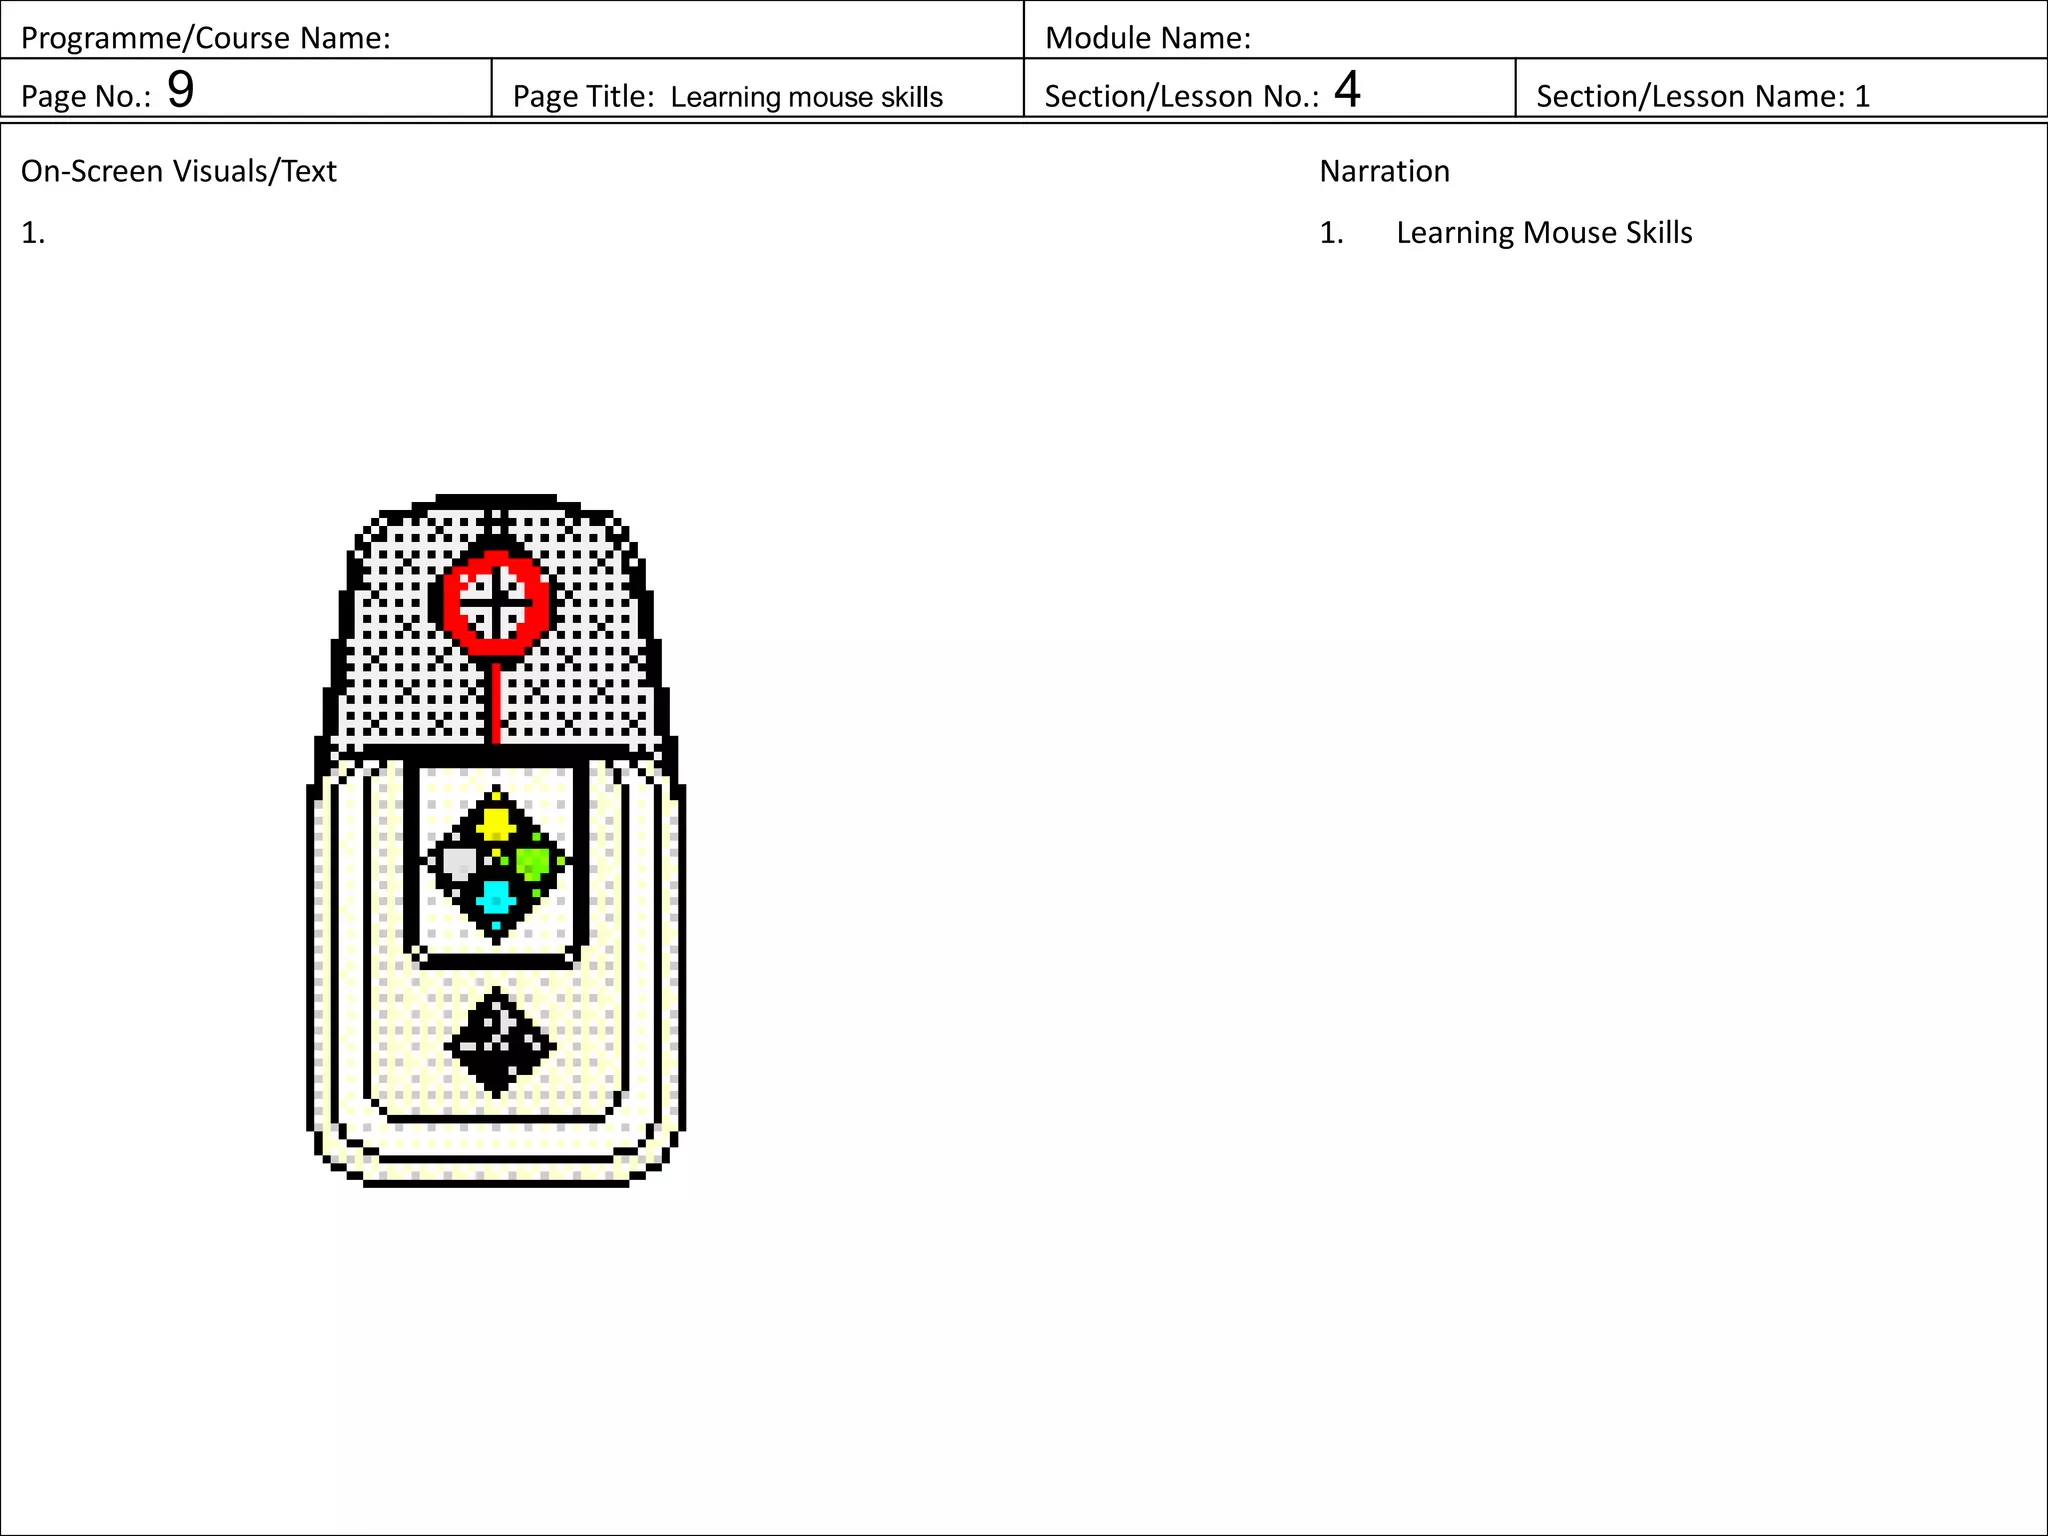
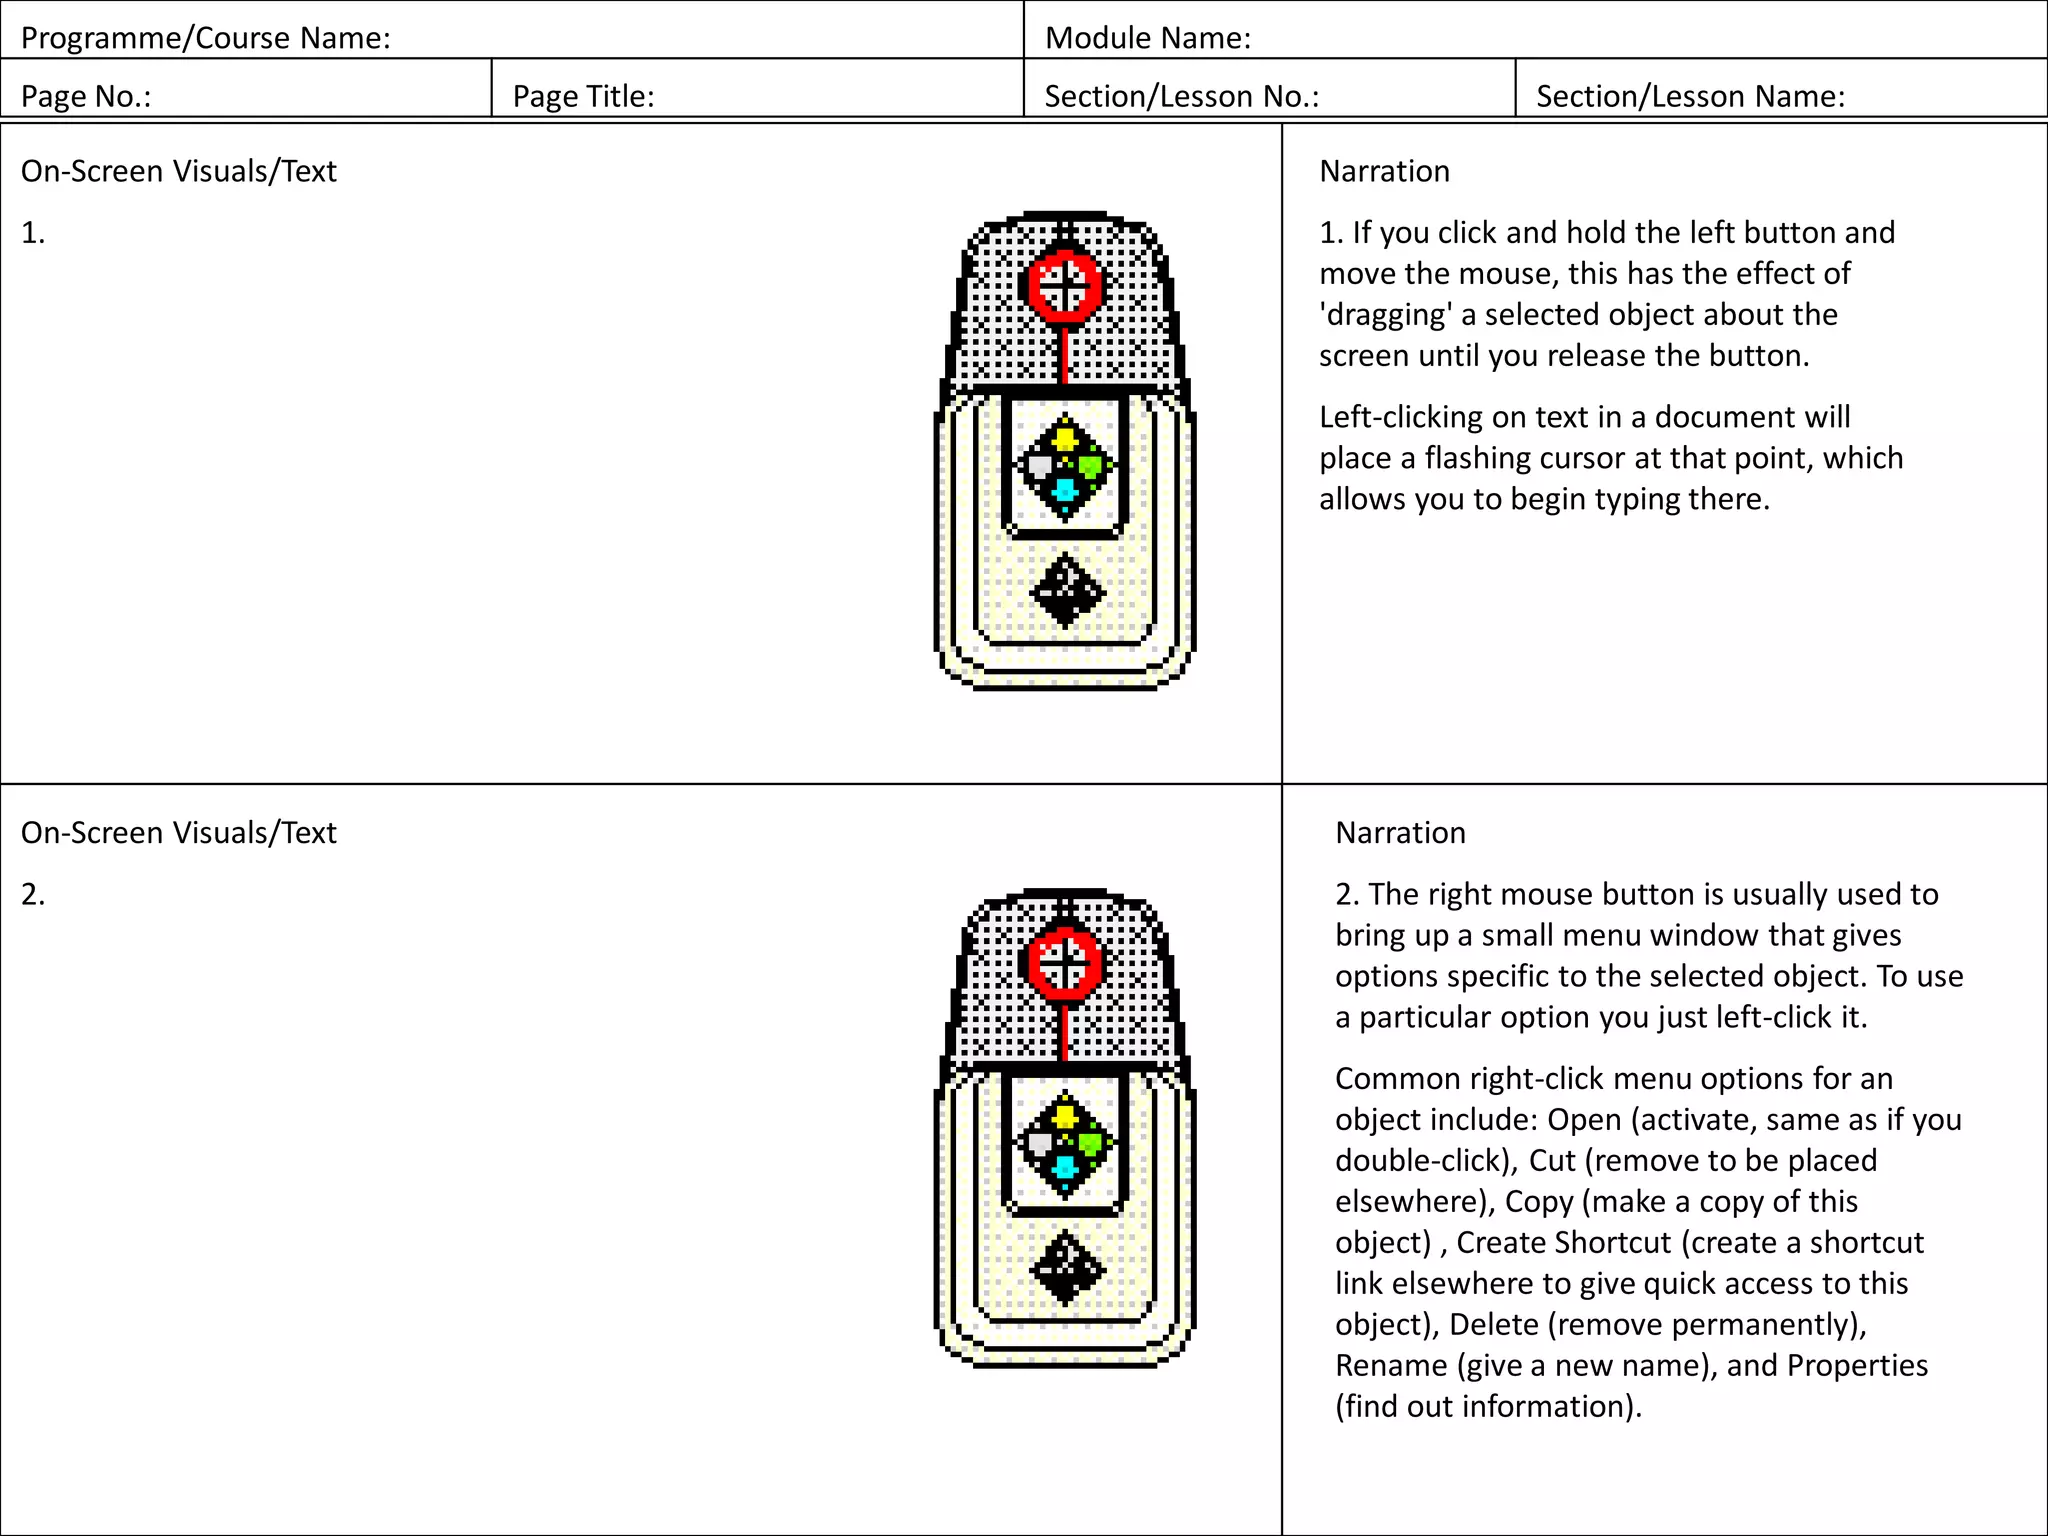
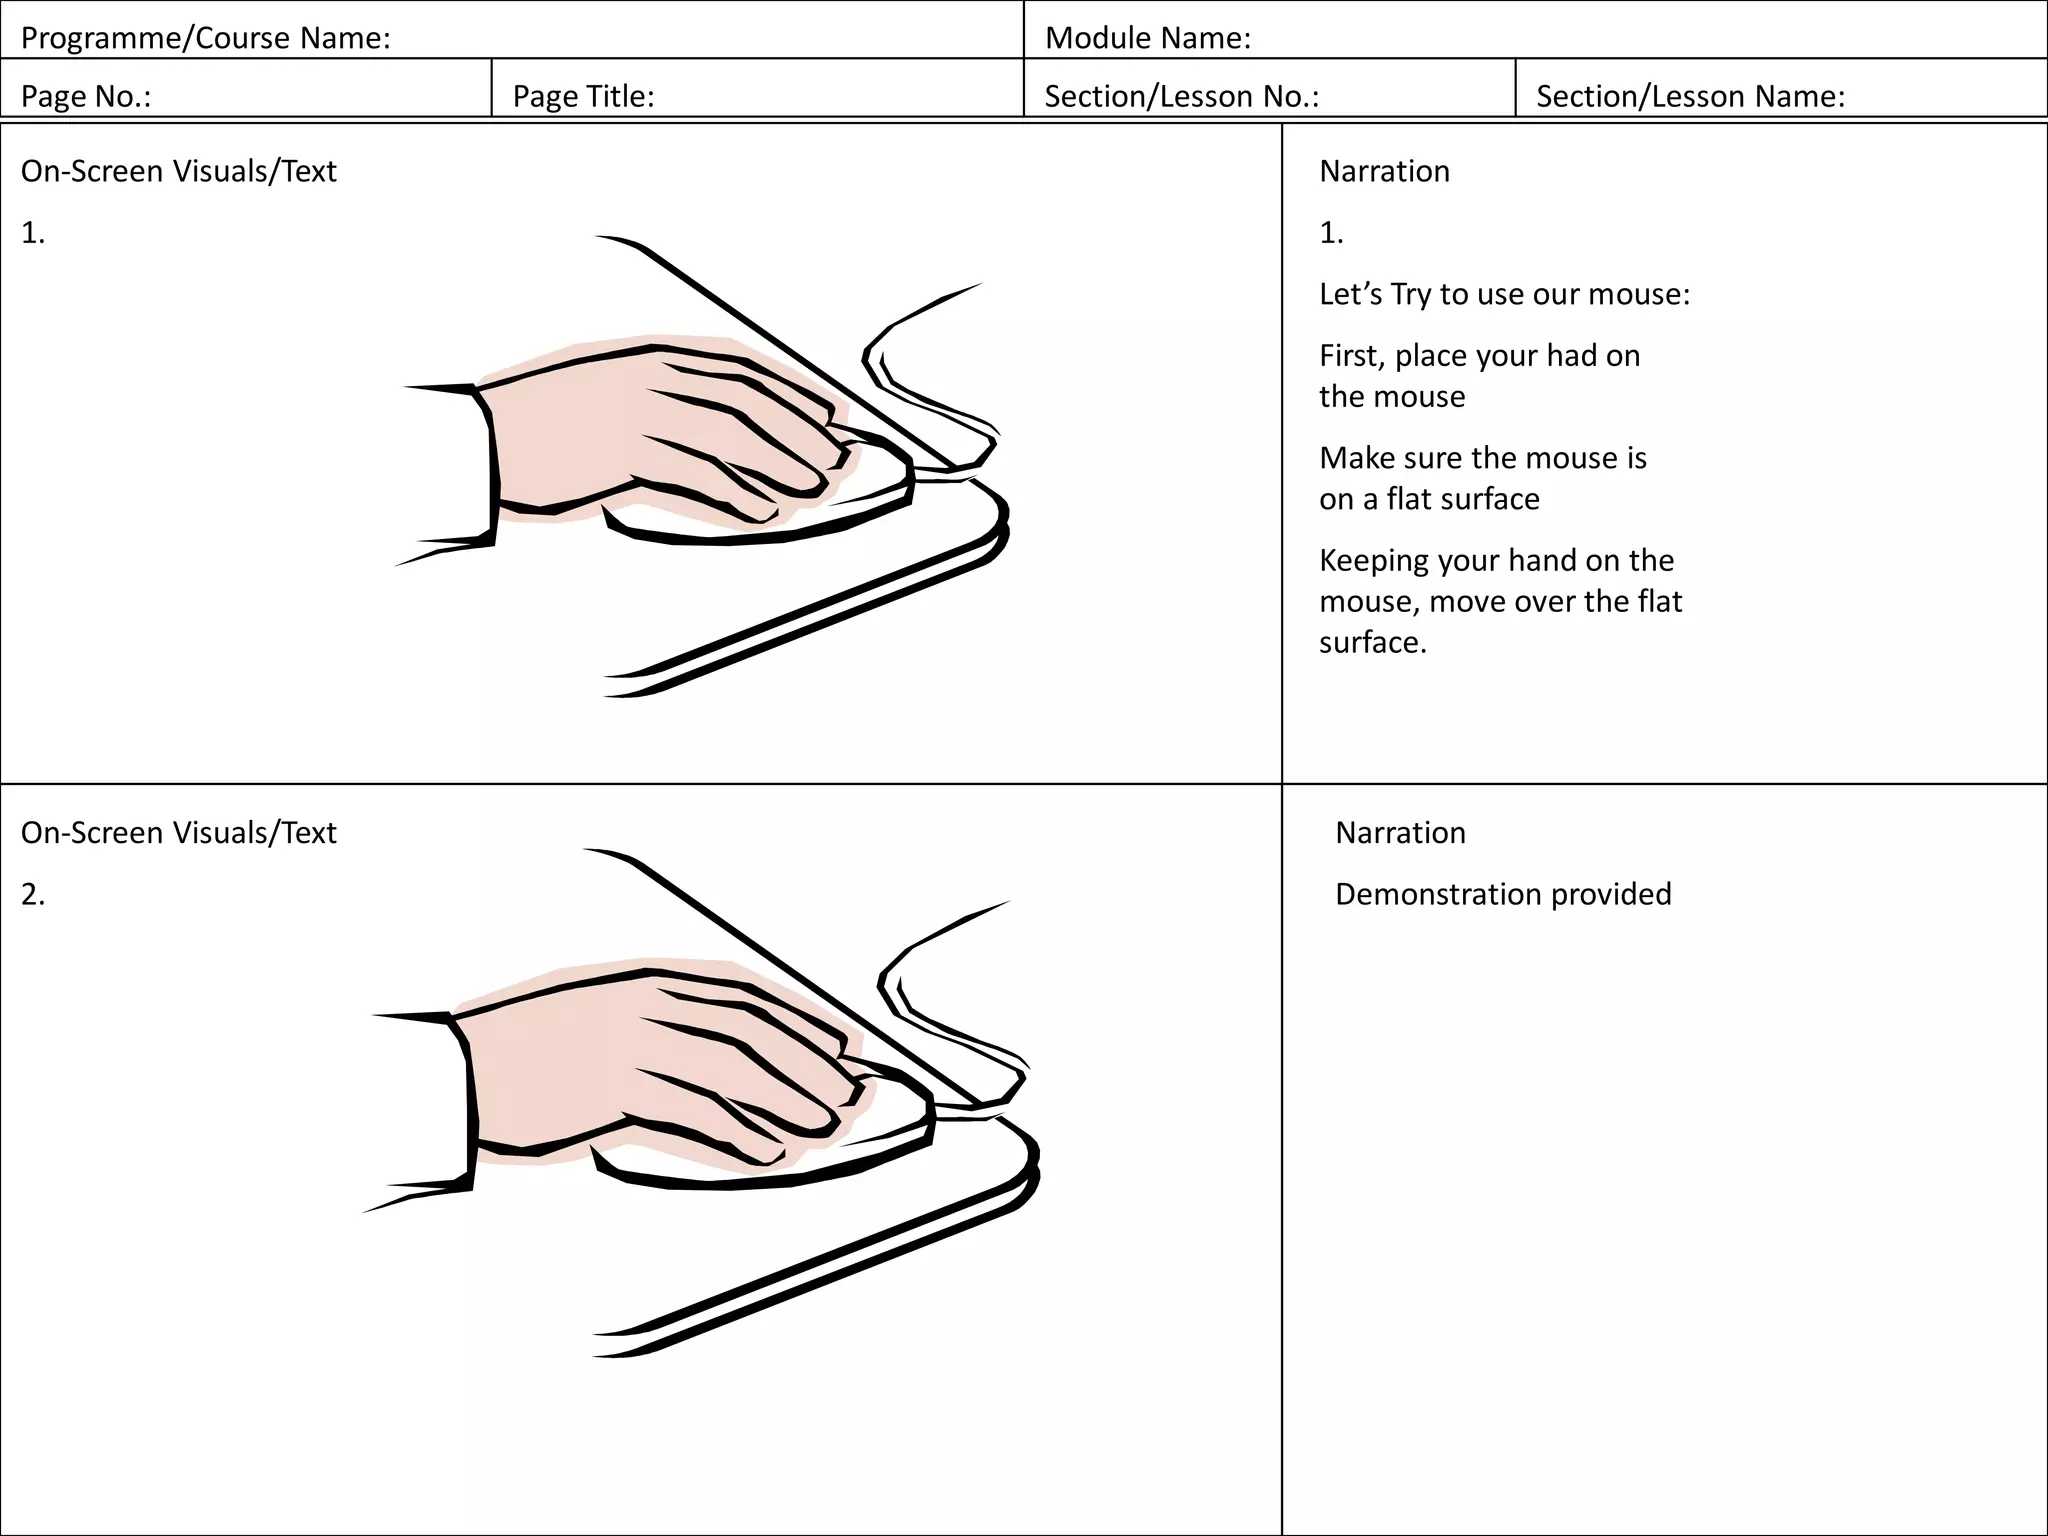
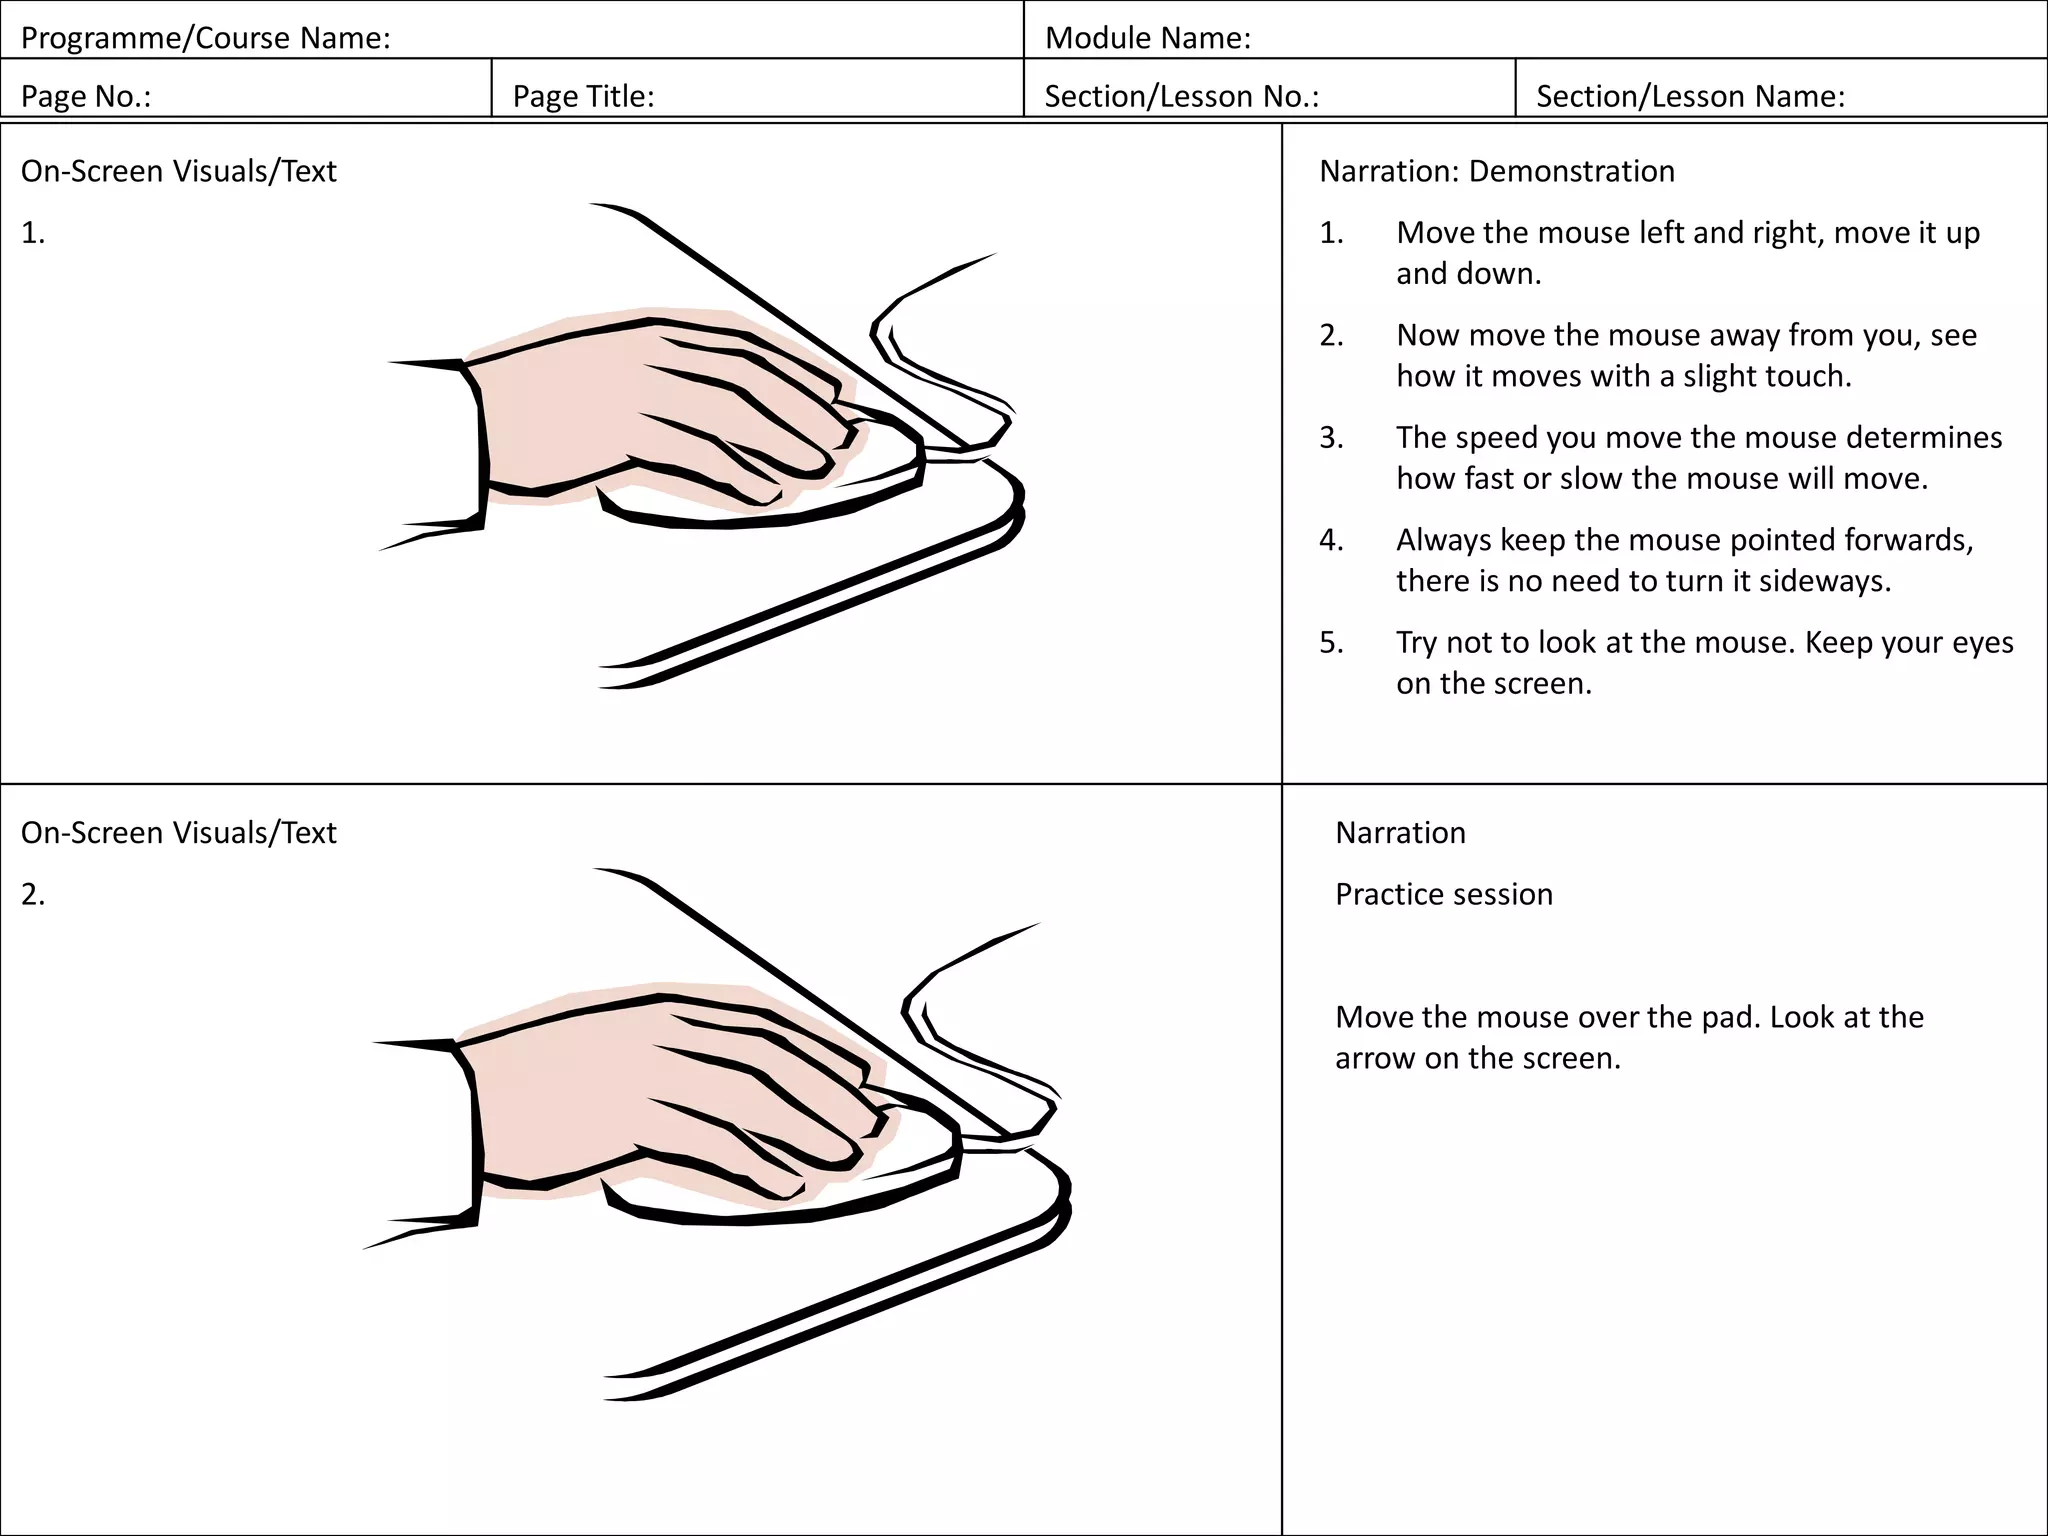
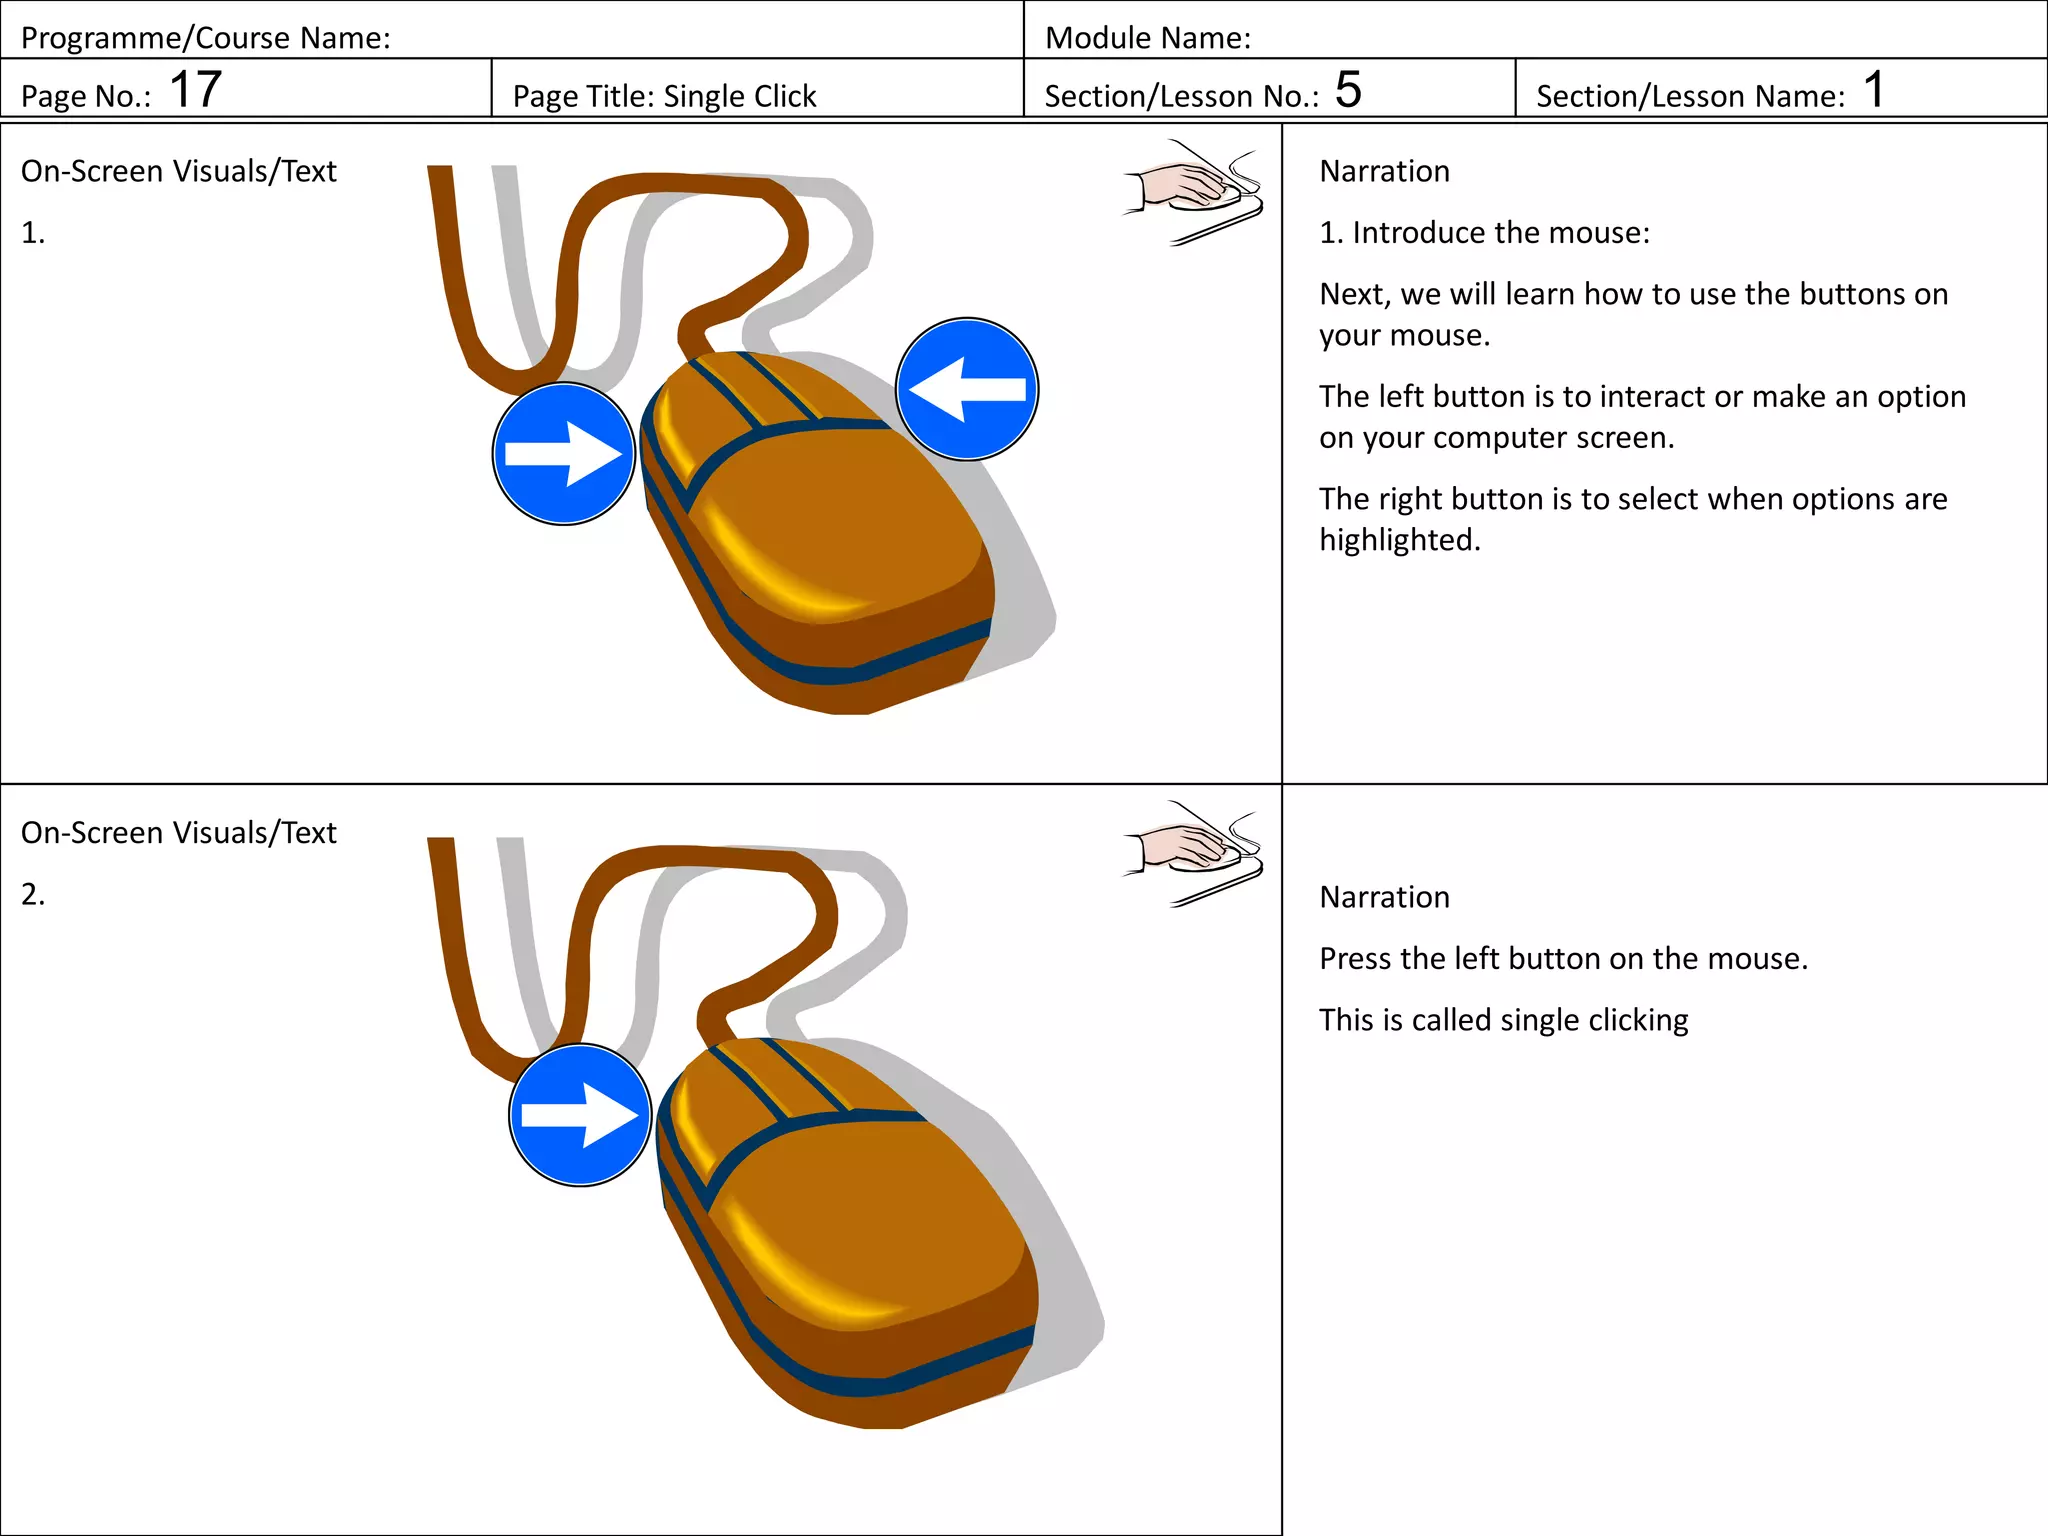
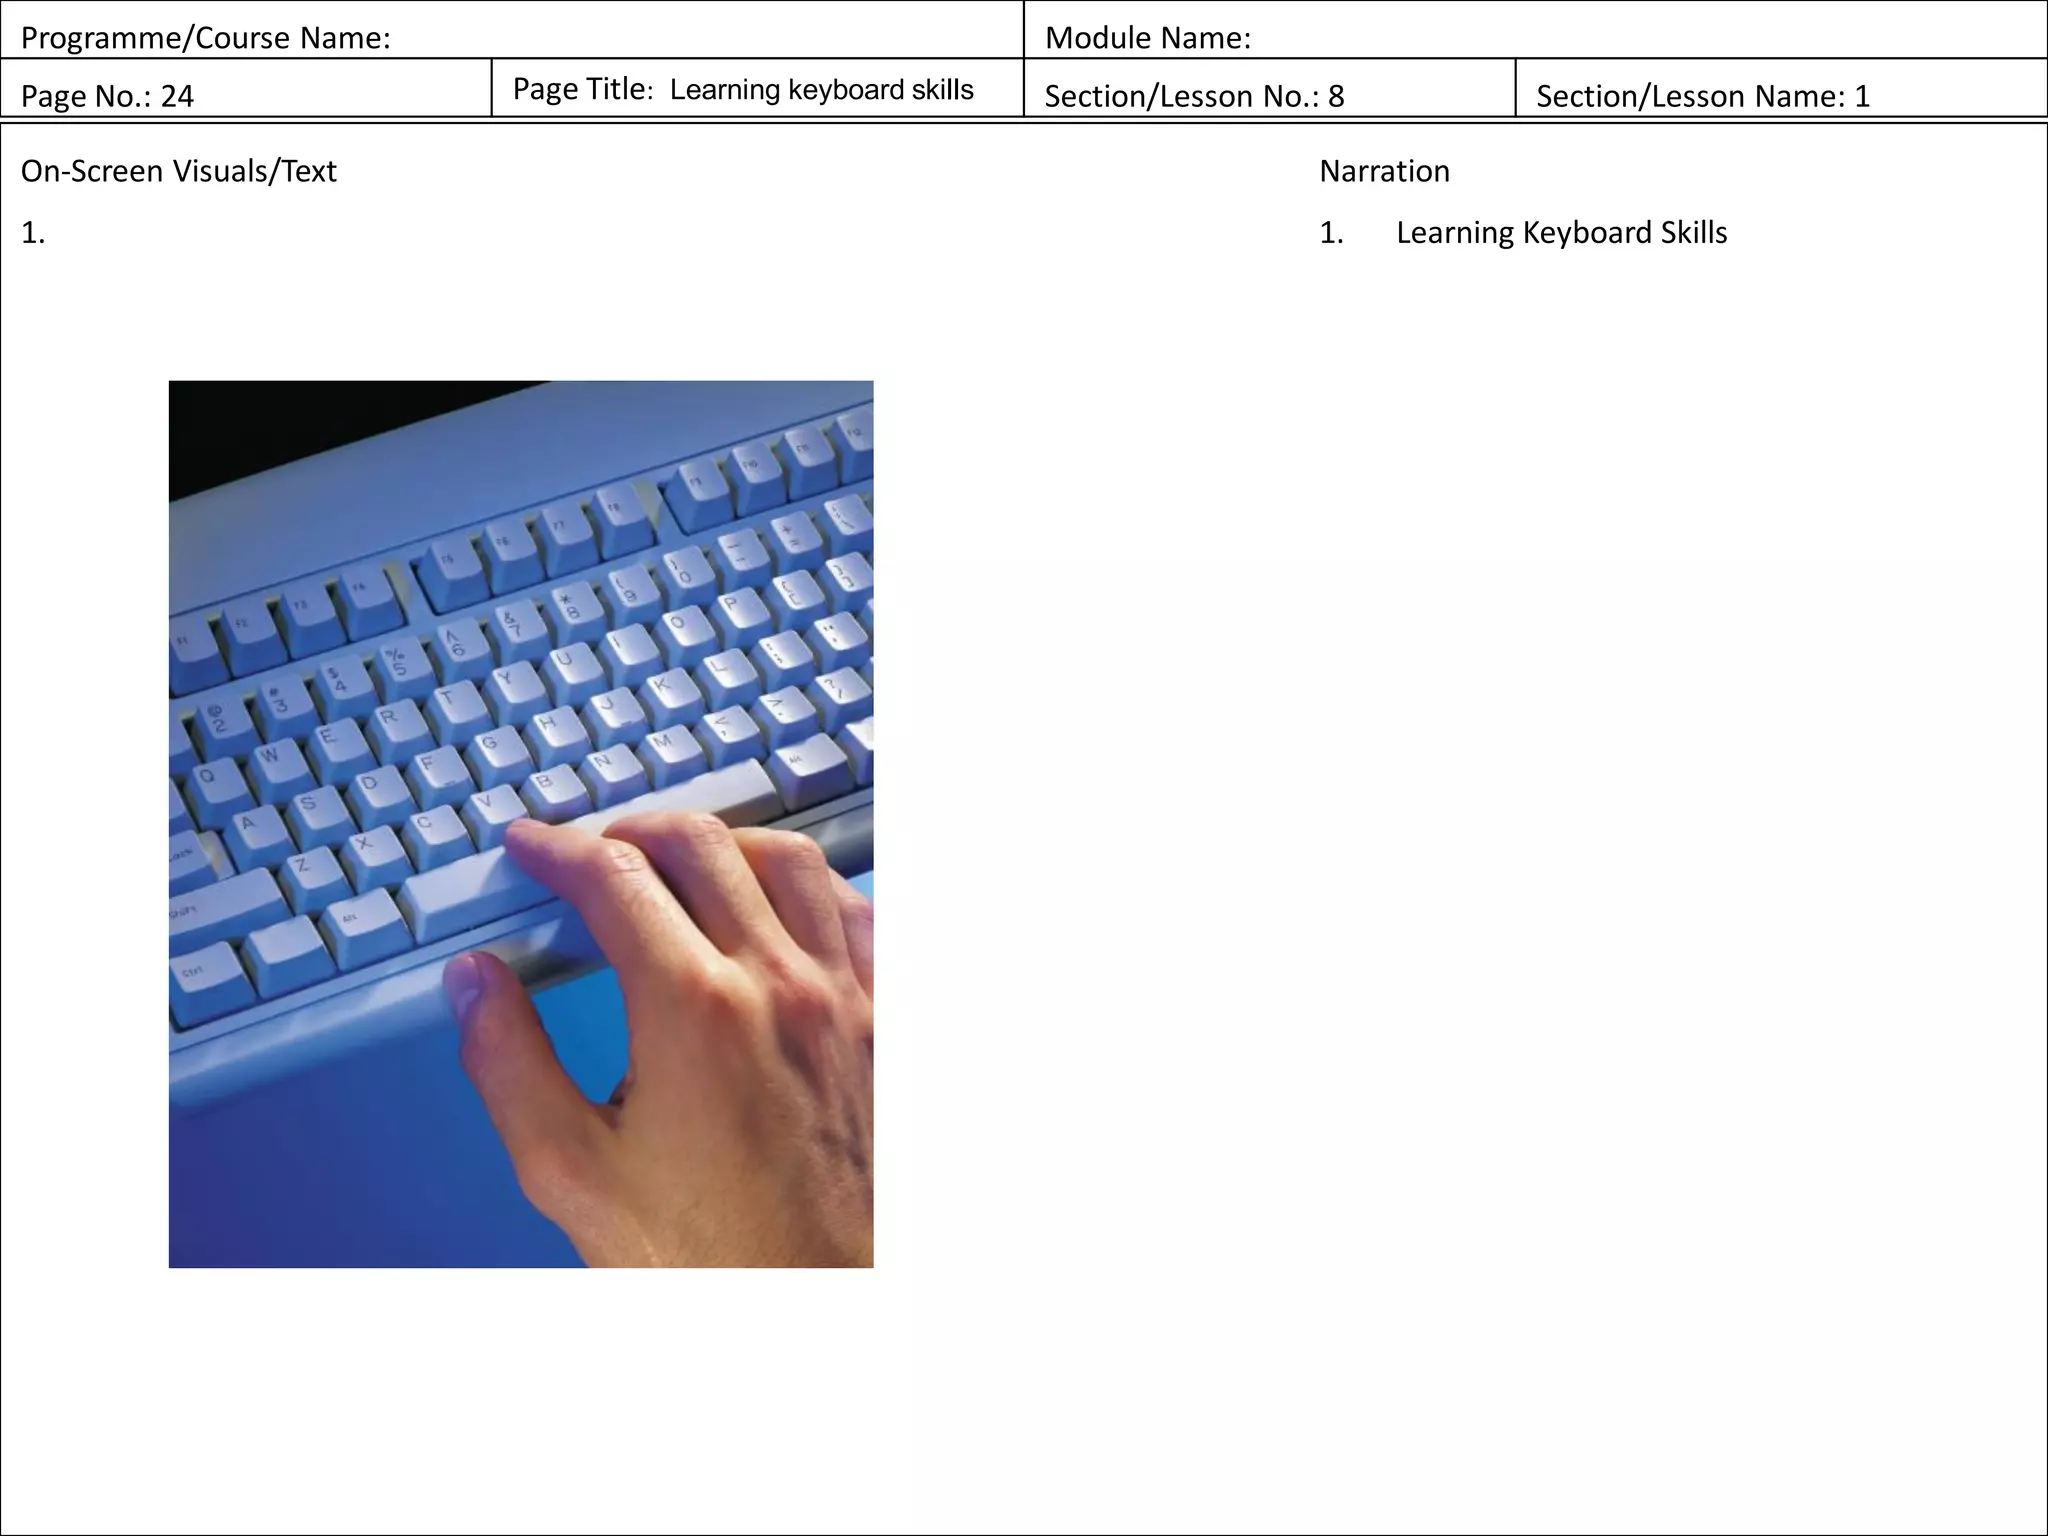
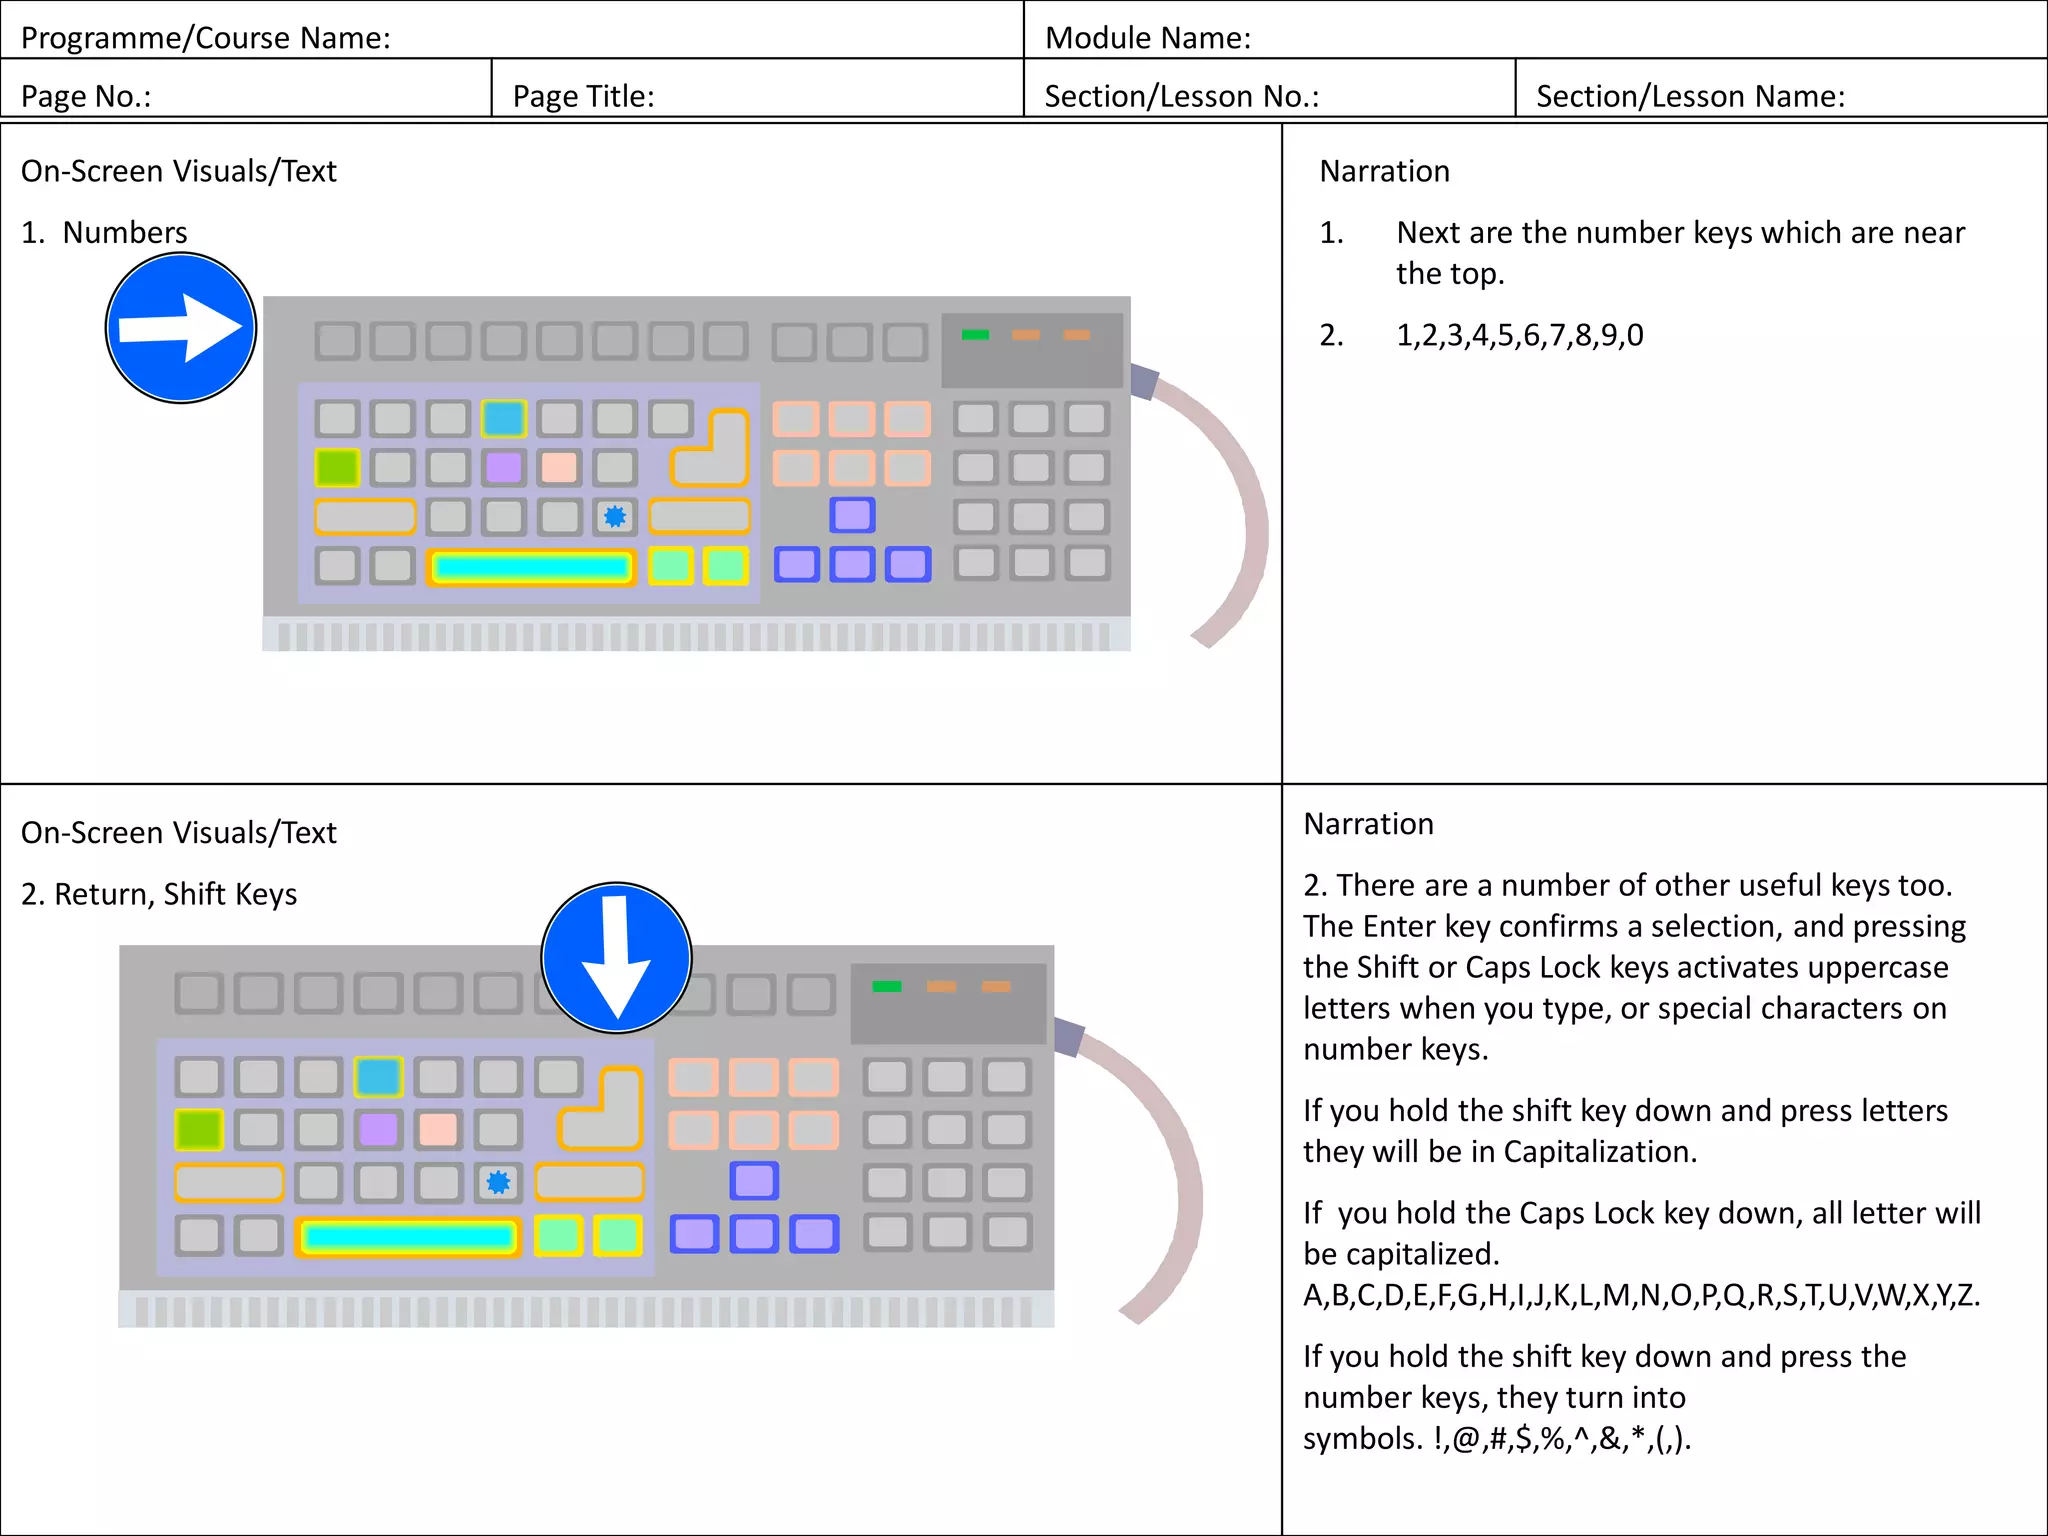
2) Lessons on computer uses, navigating the module, computer parts and their functions, mouse skills like clicking and dragging, and keyboard skills.
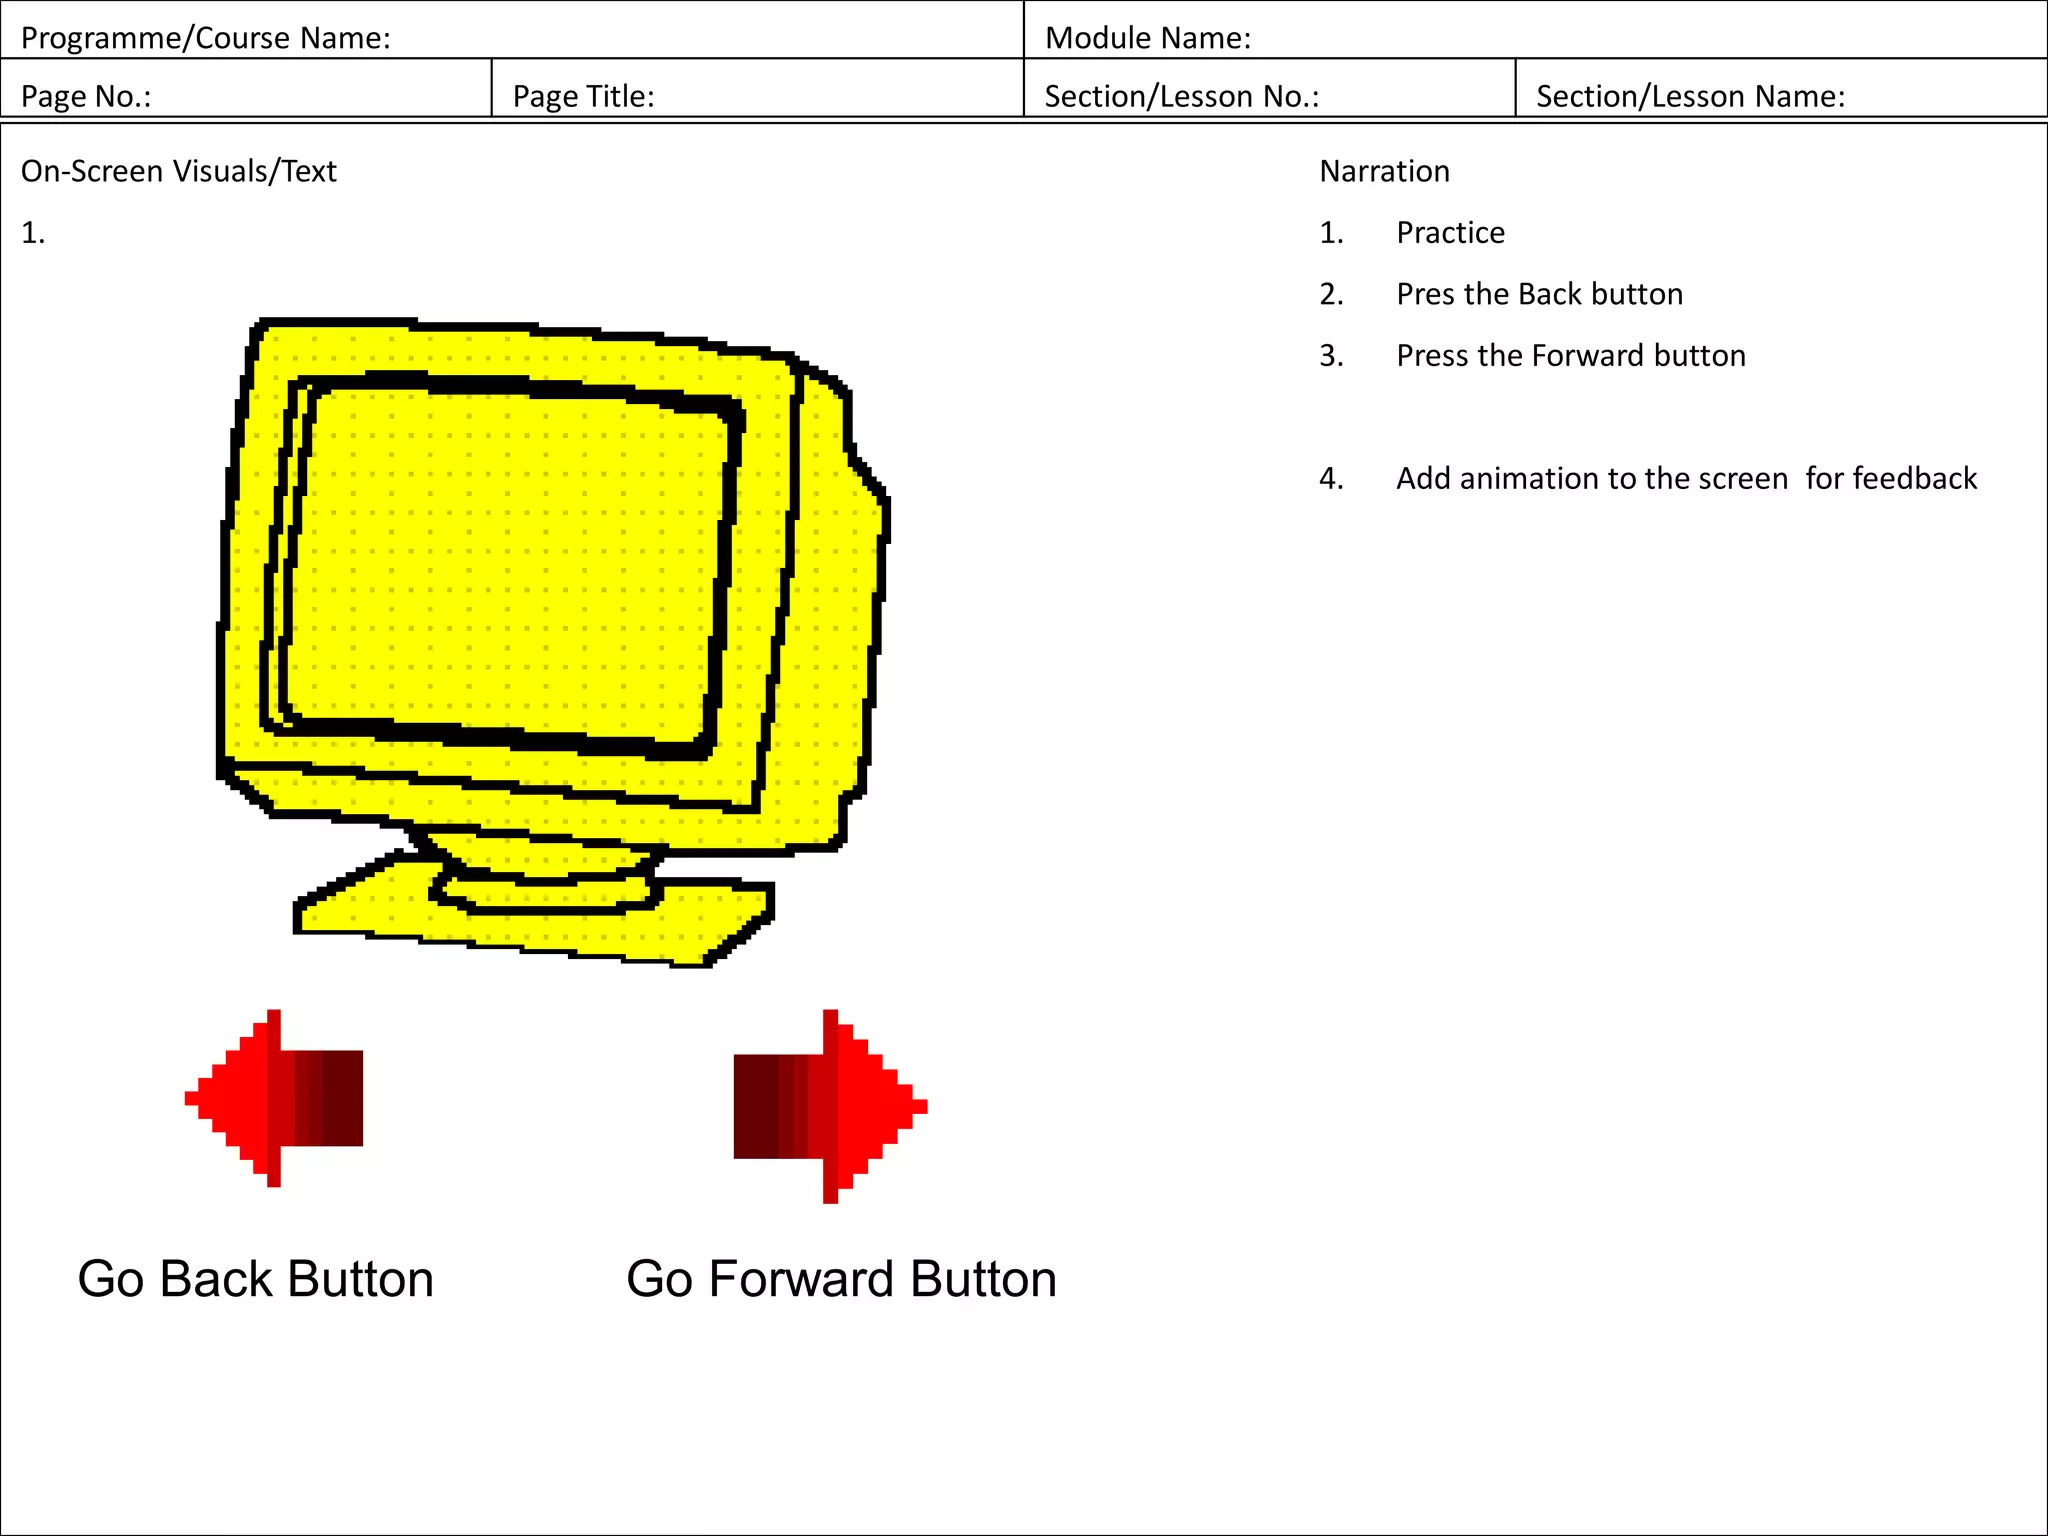
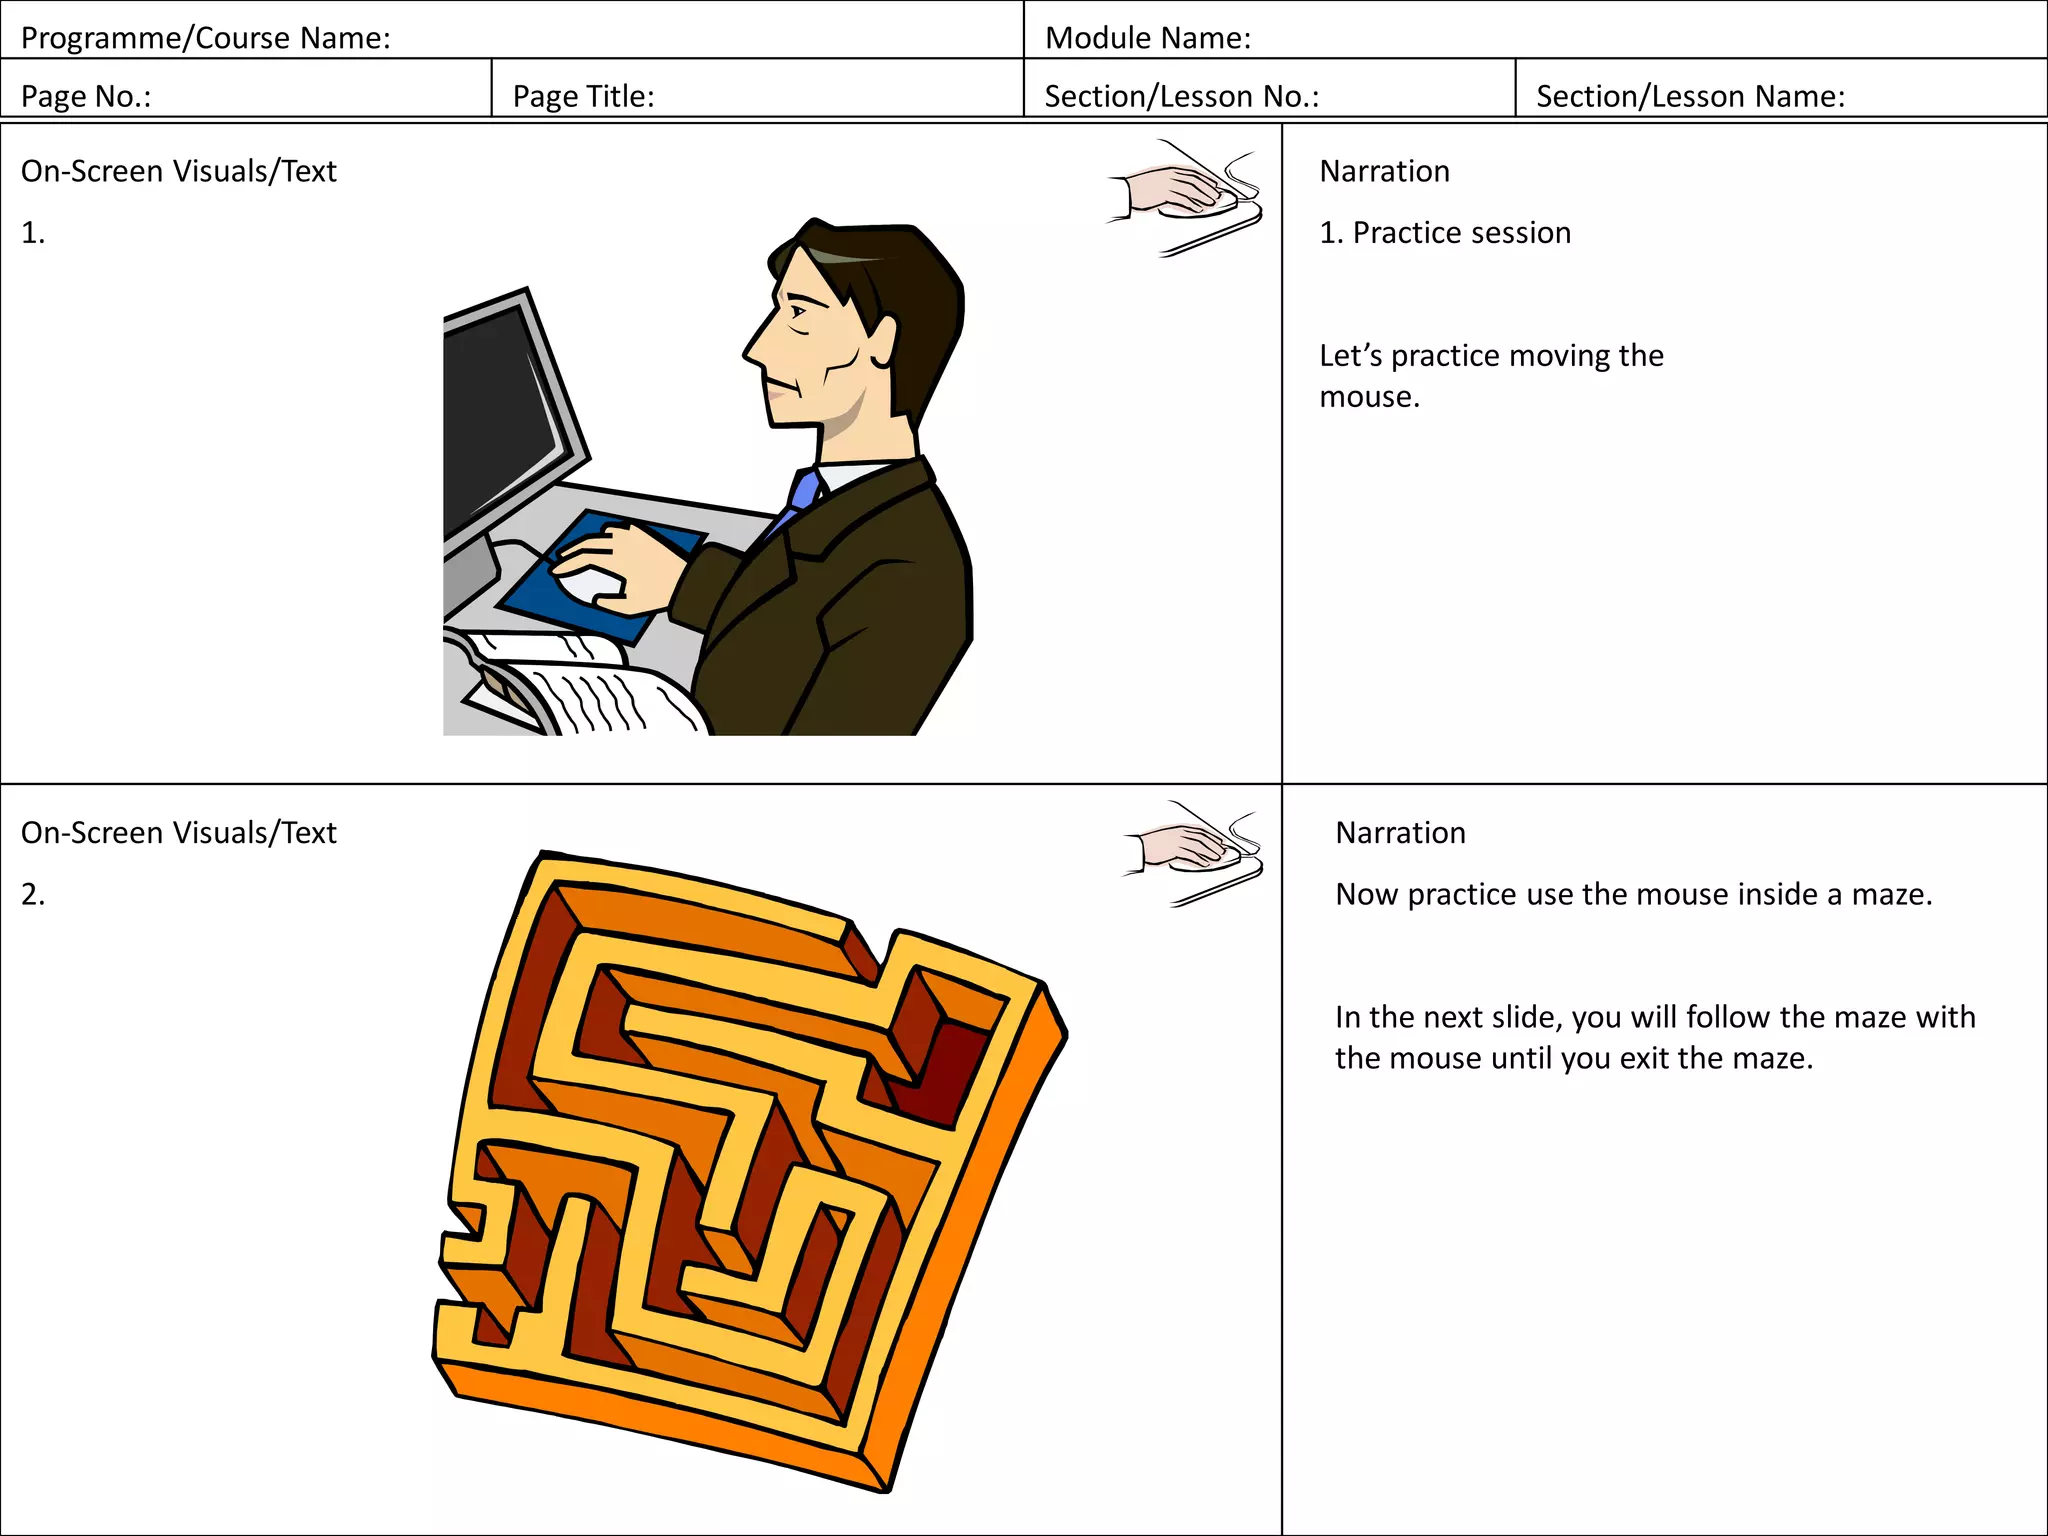
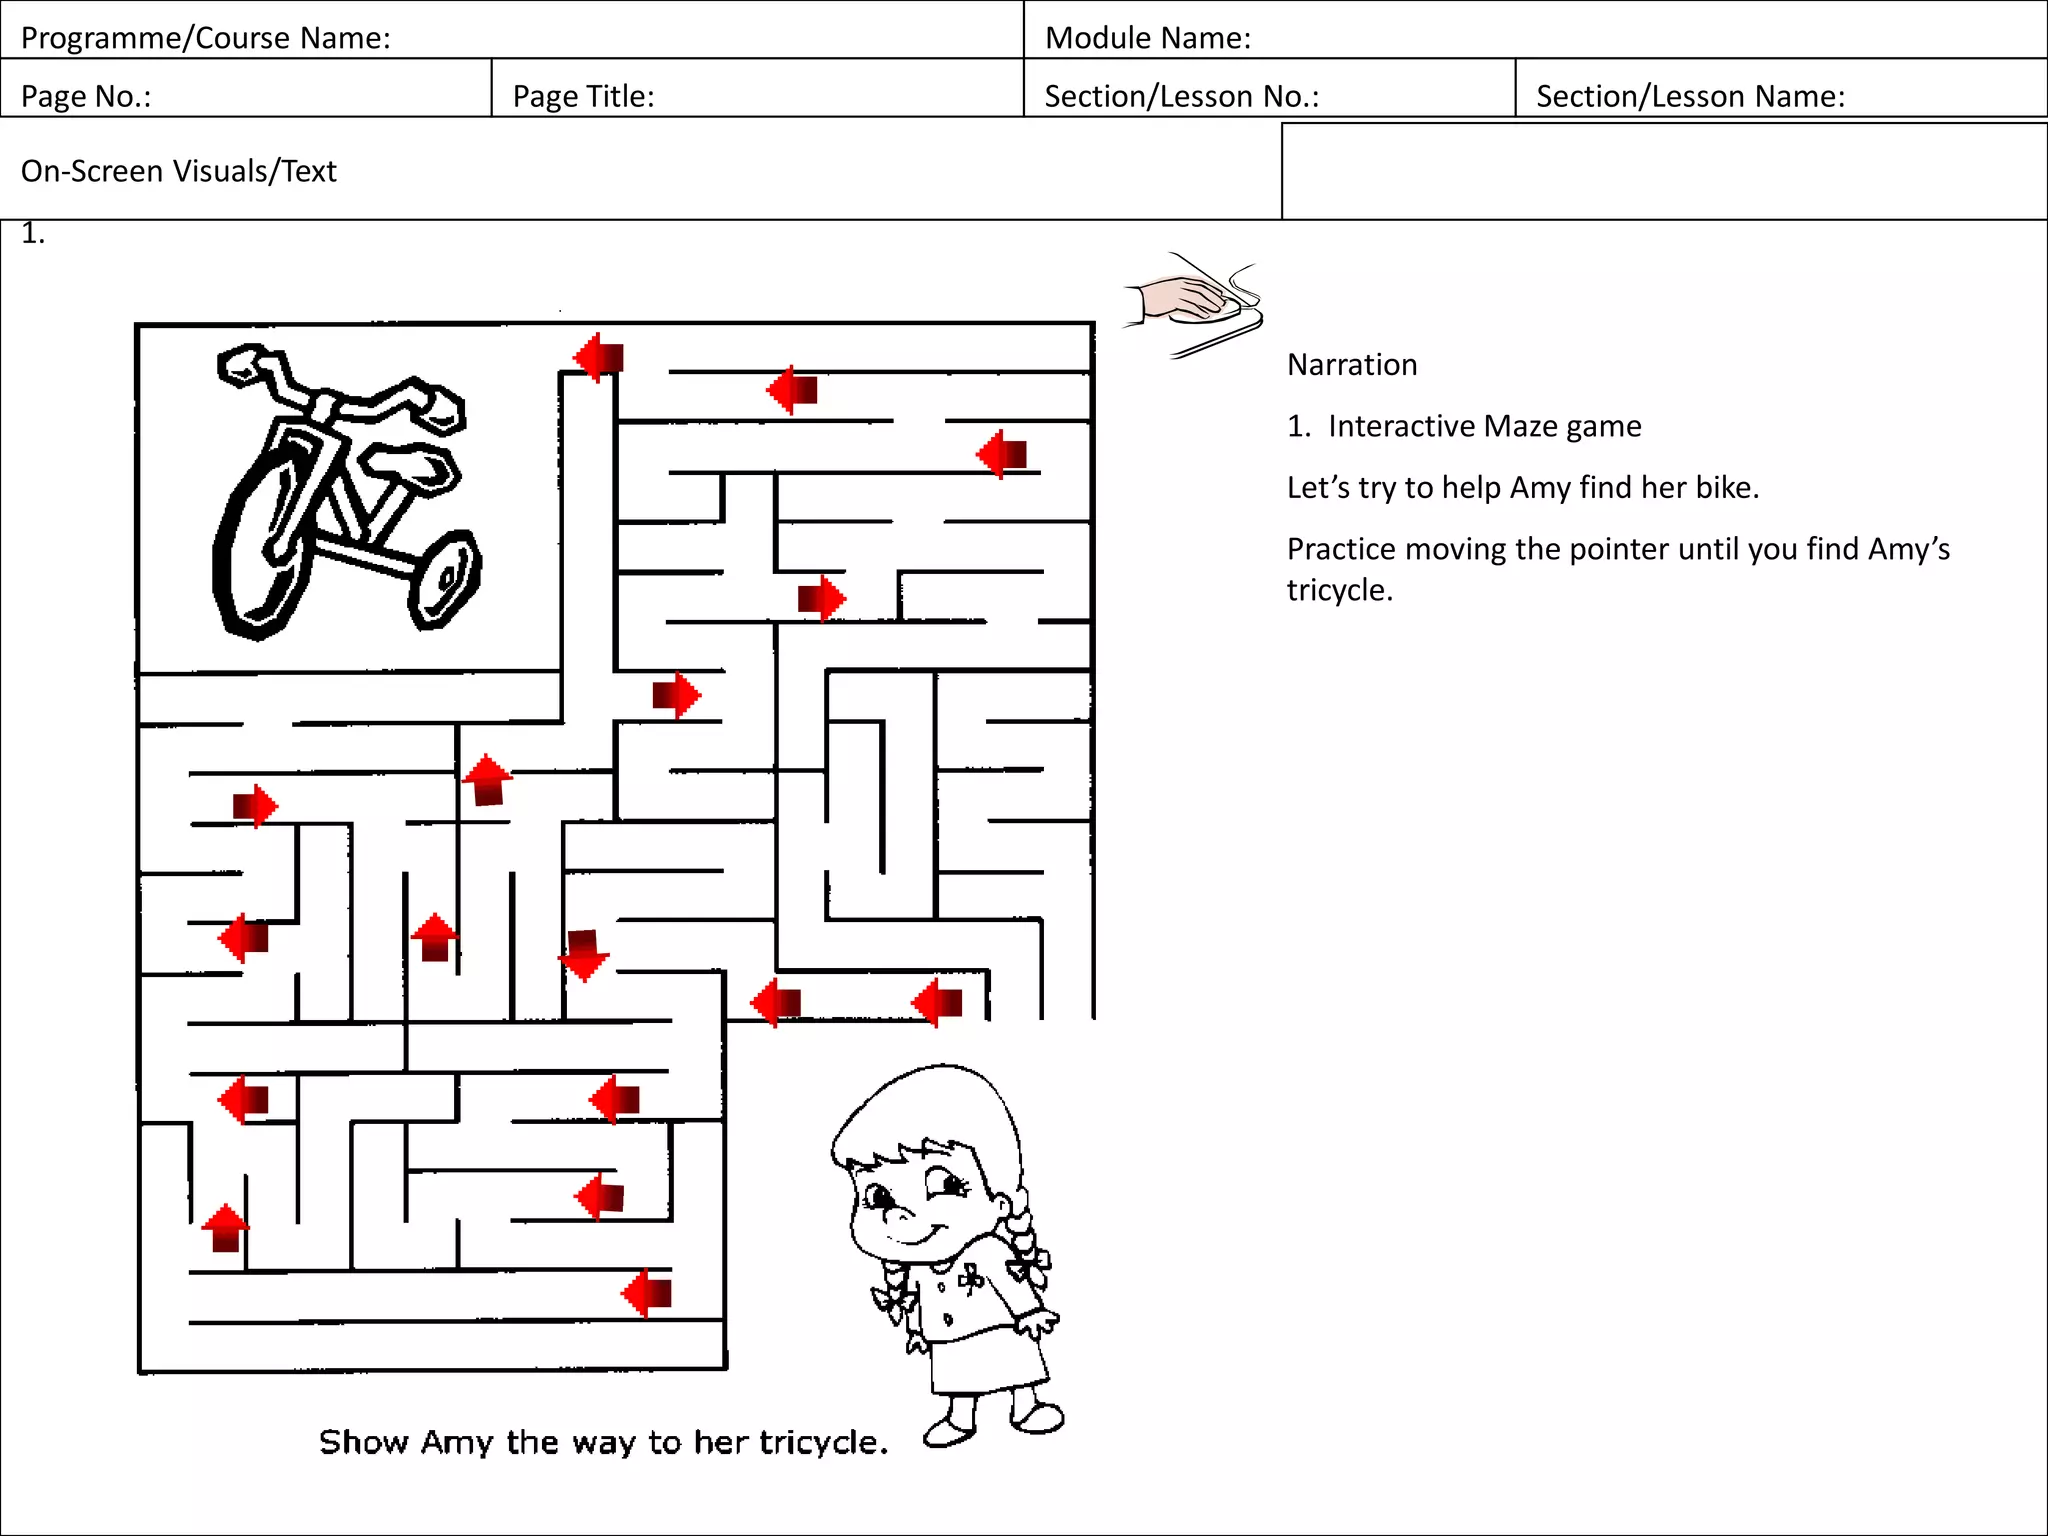
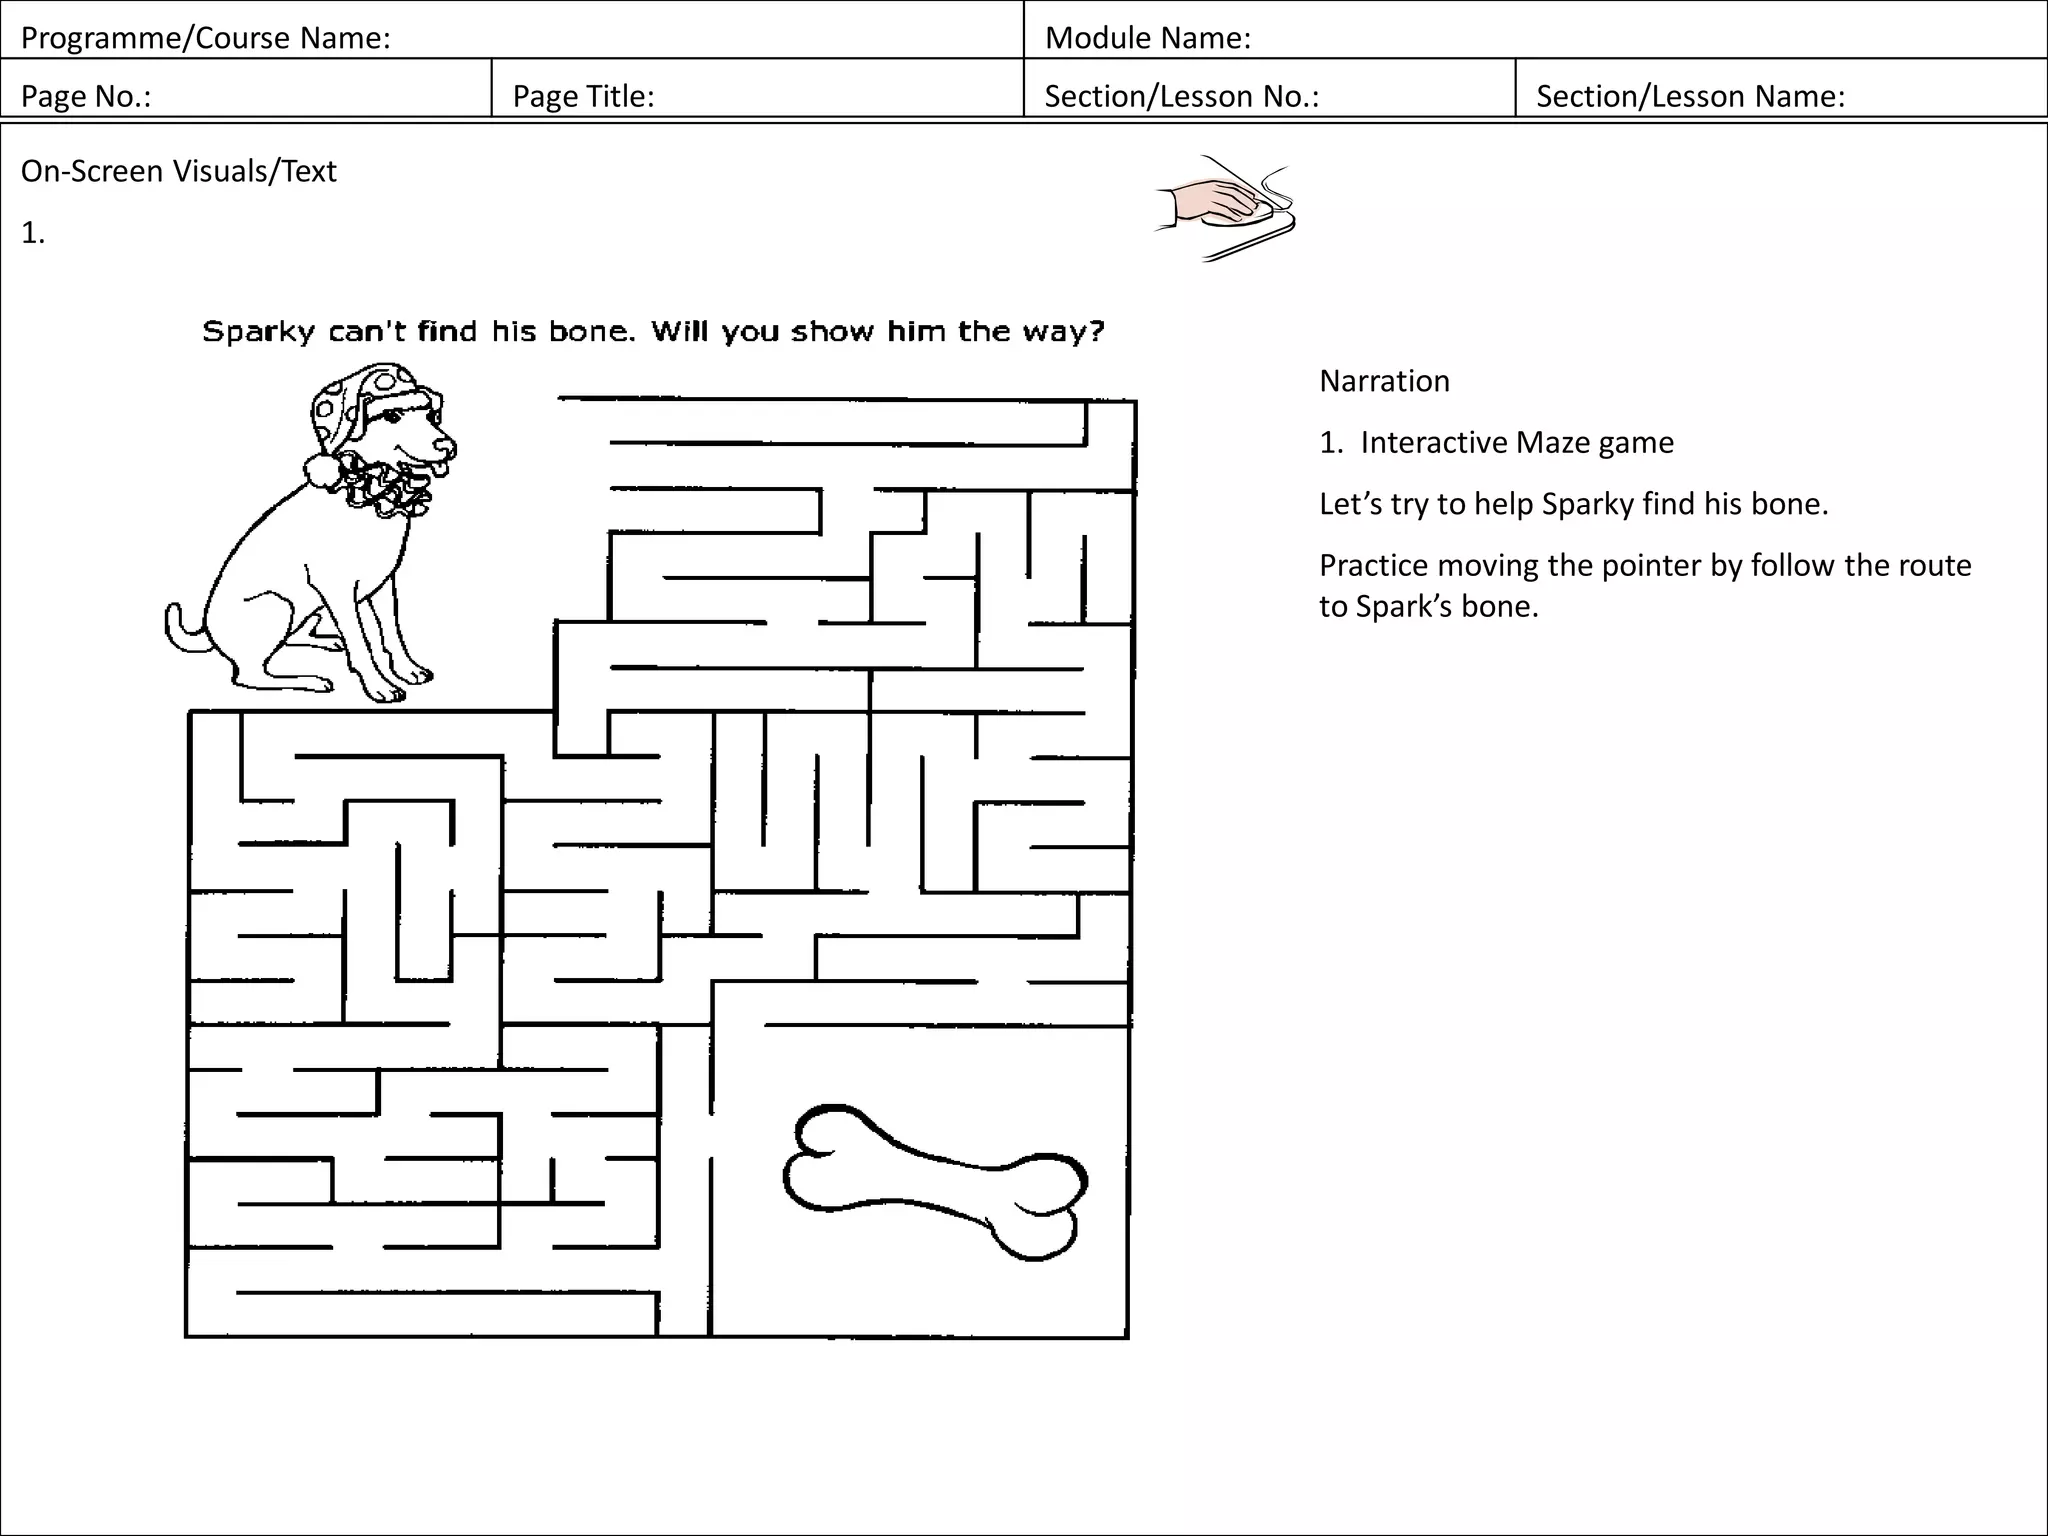
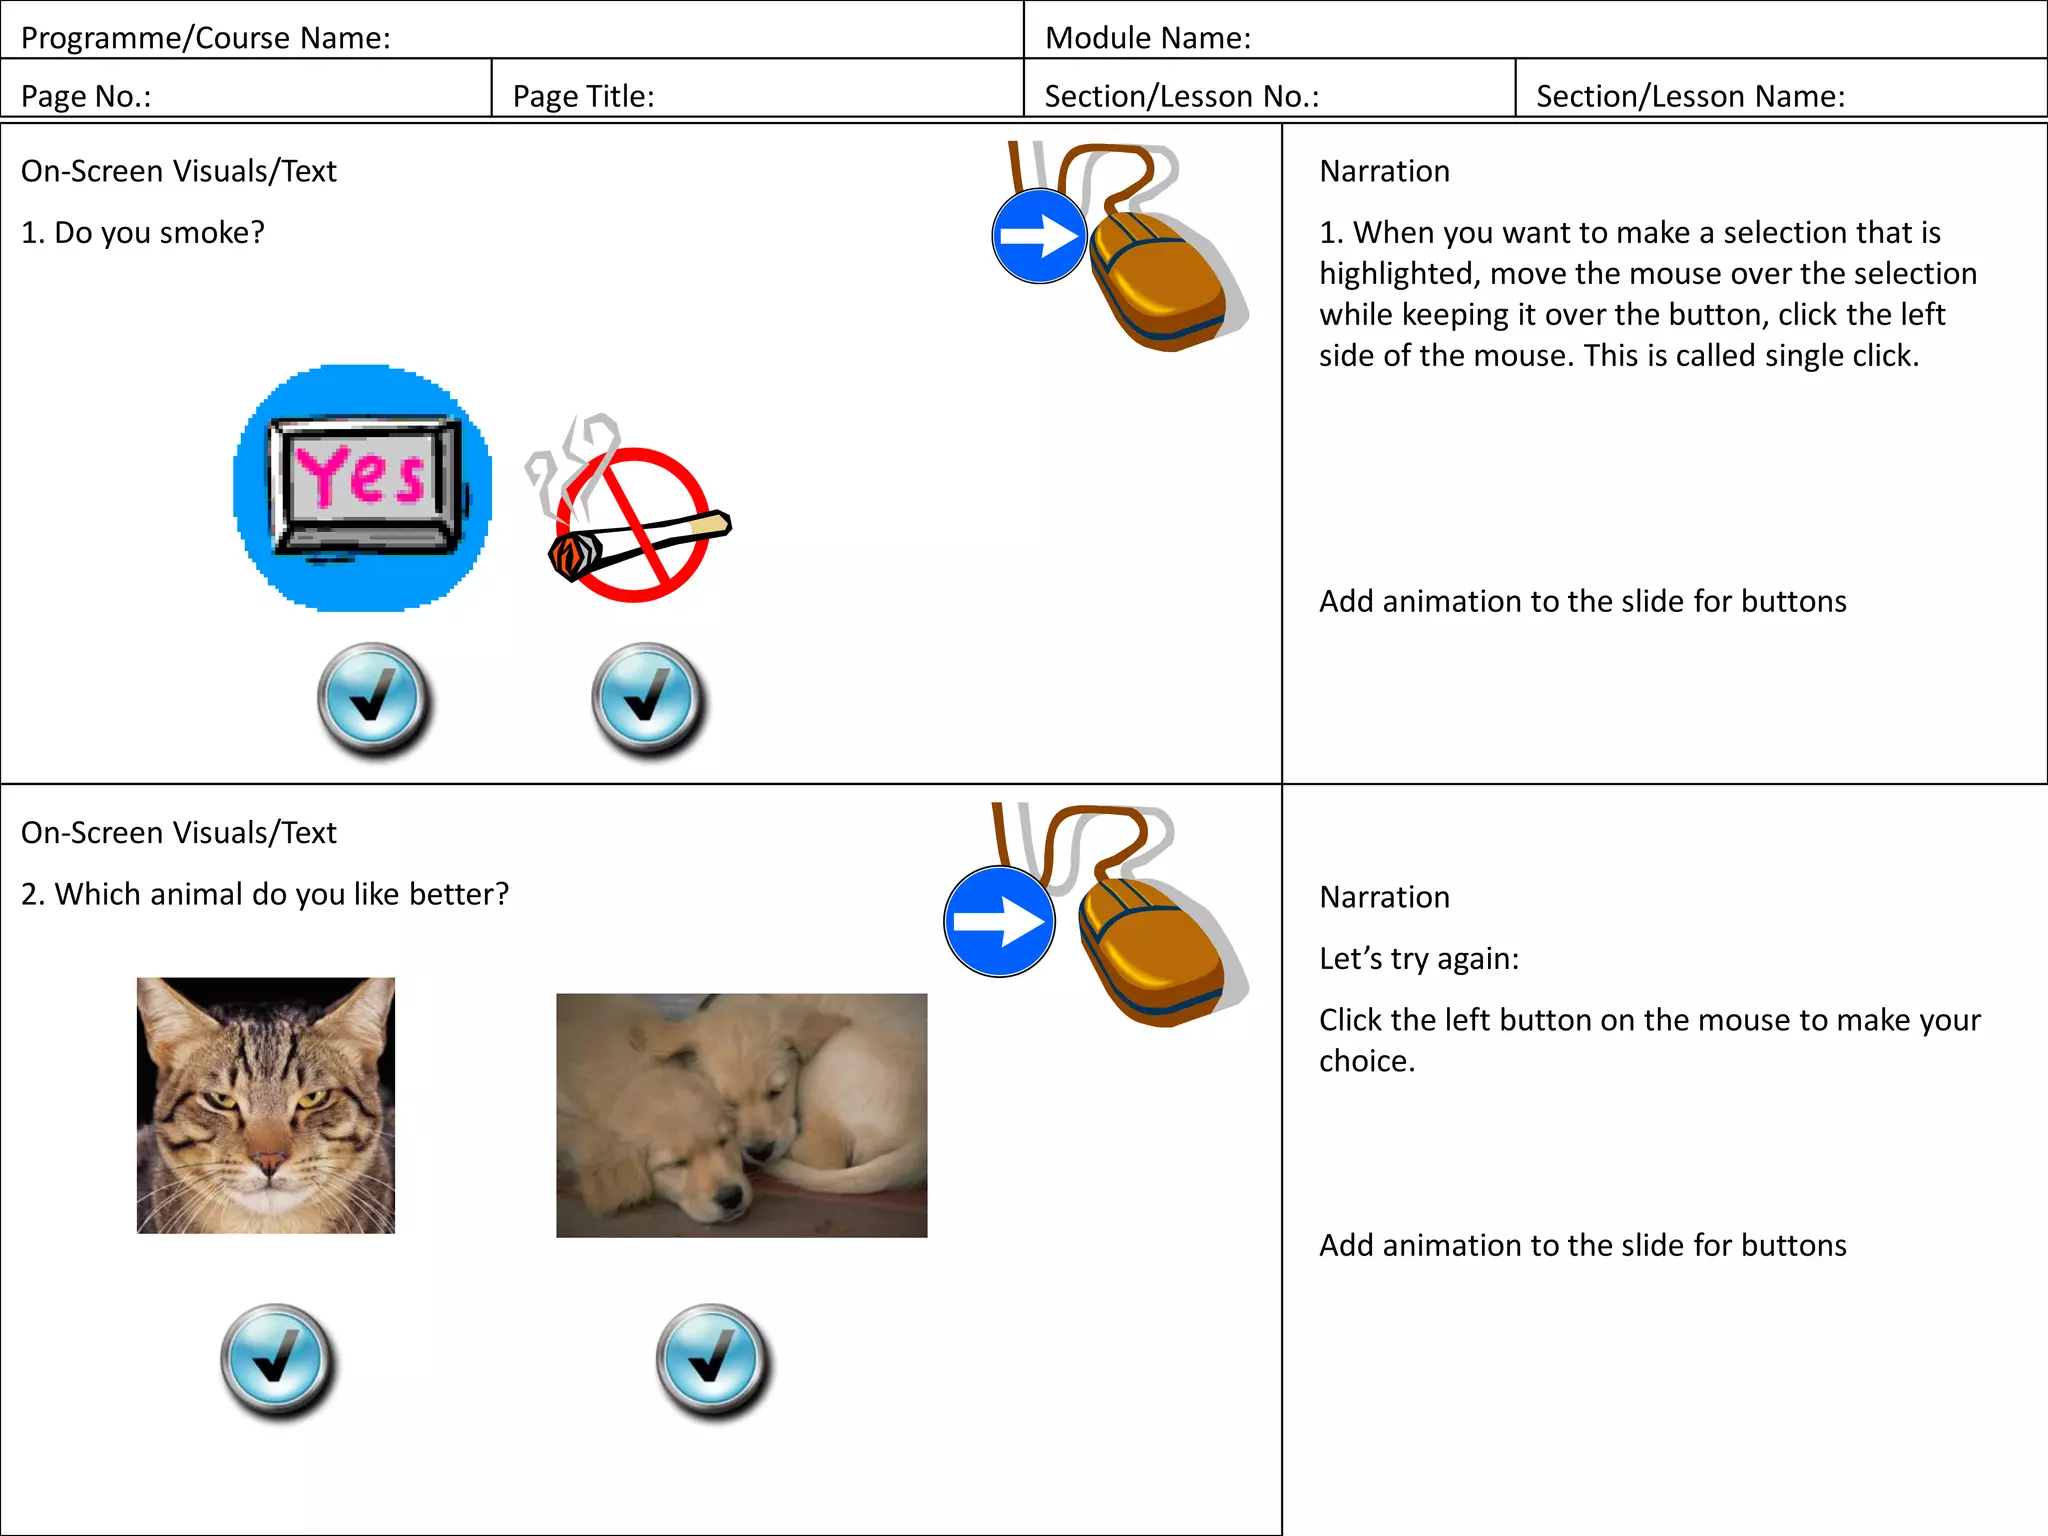
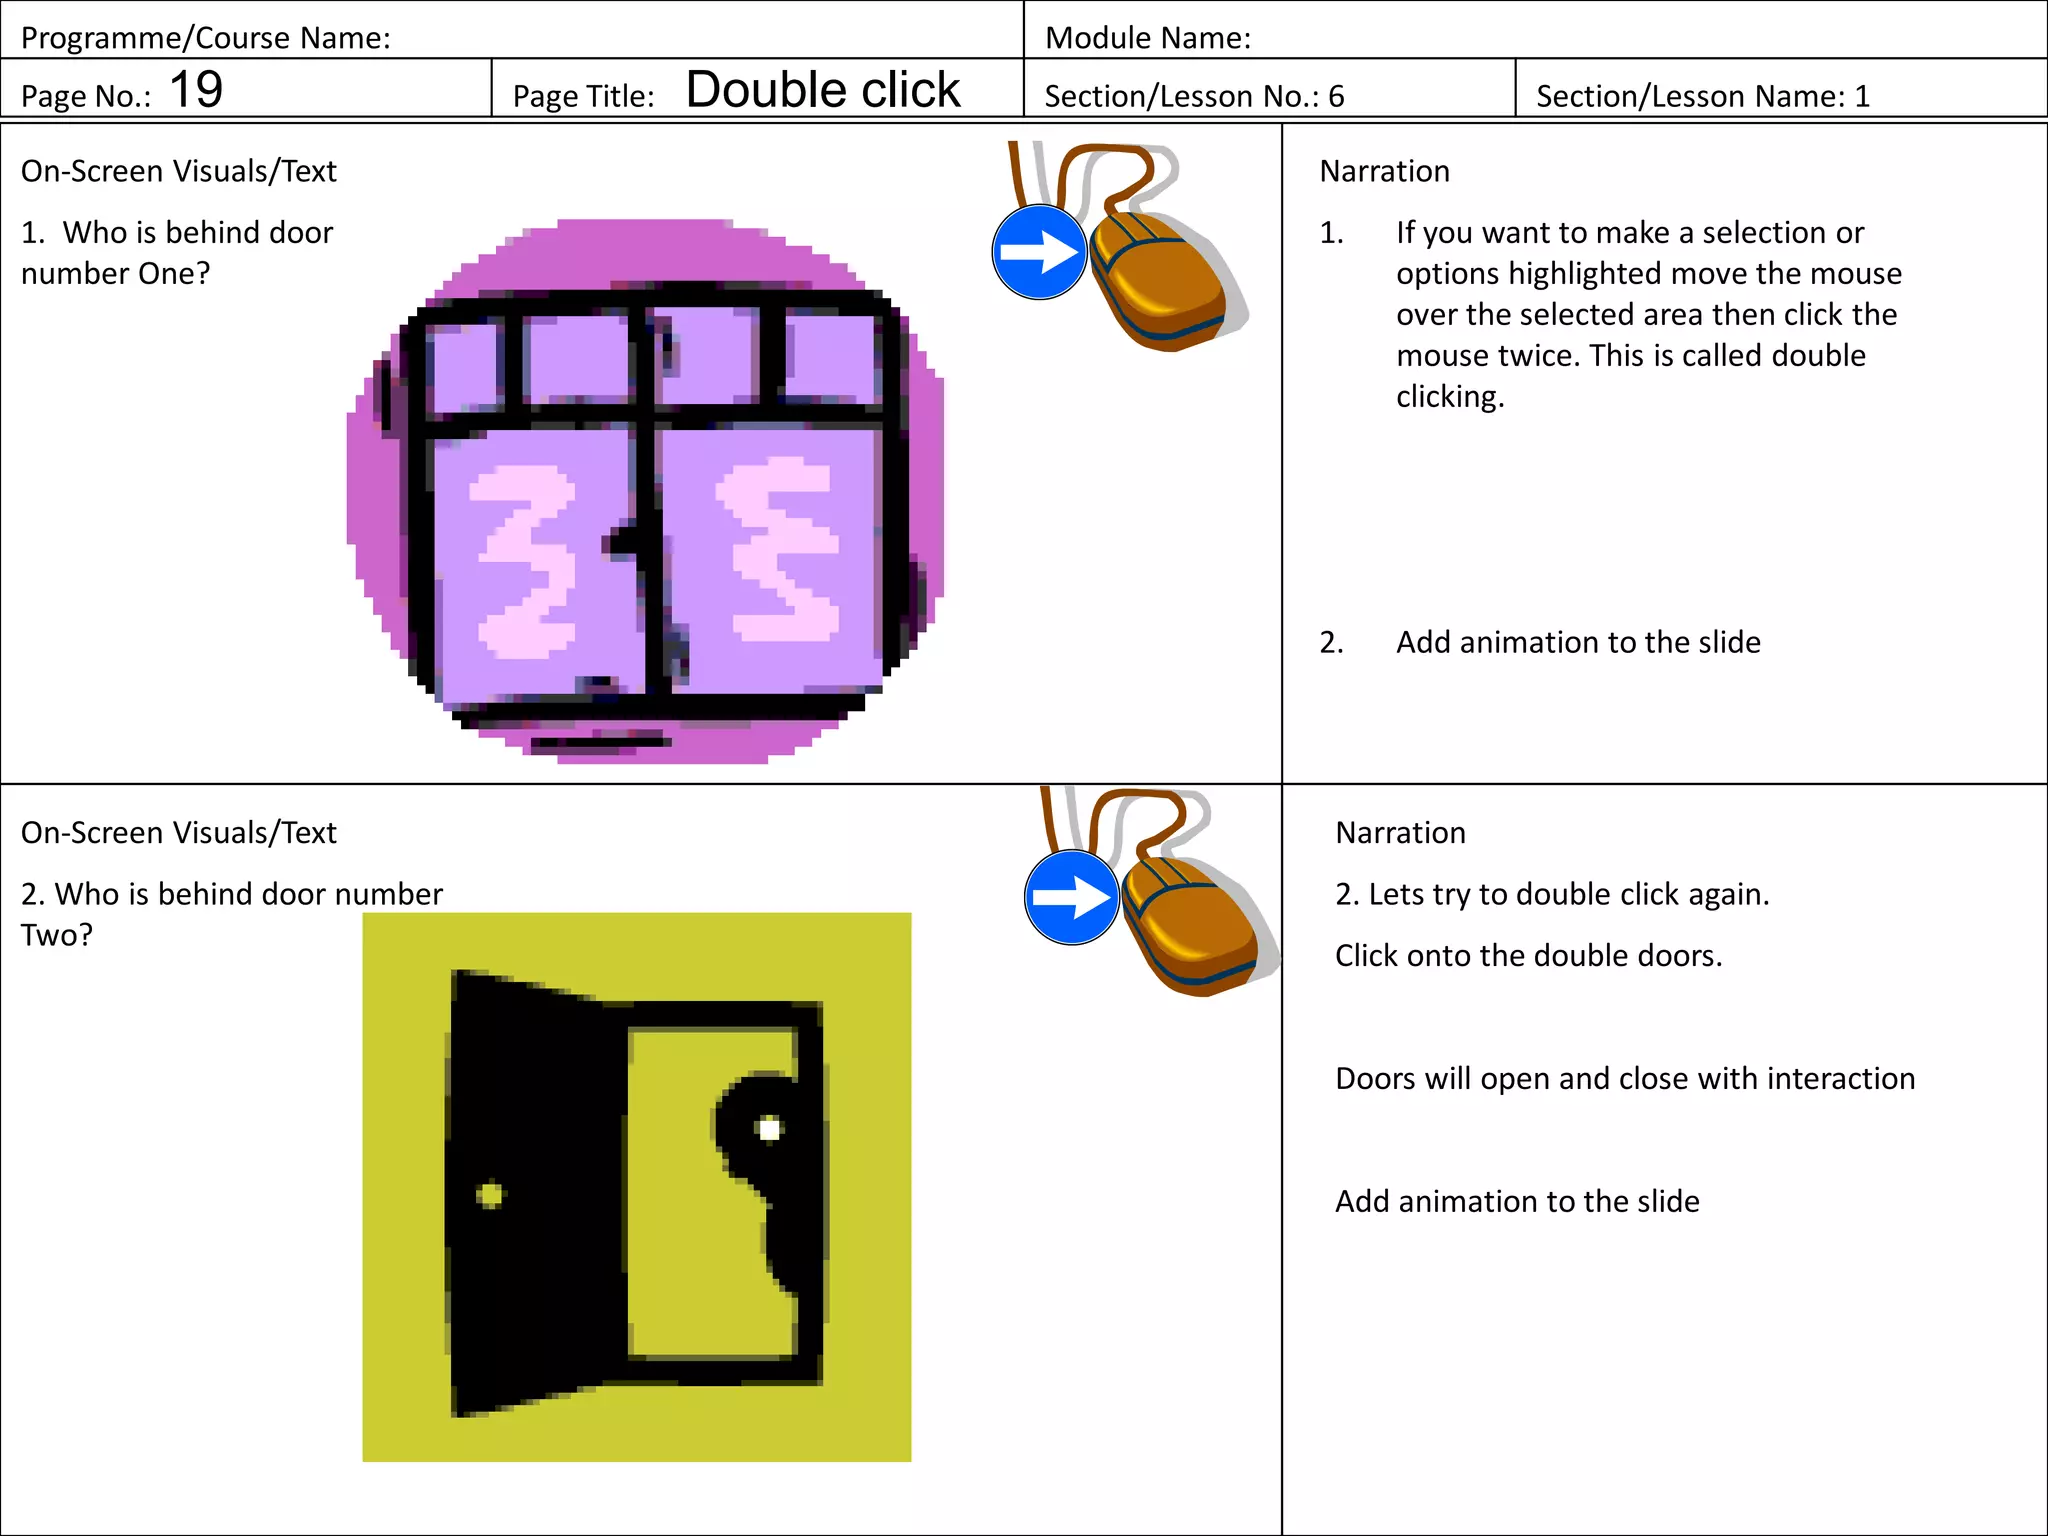
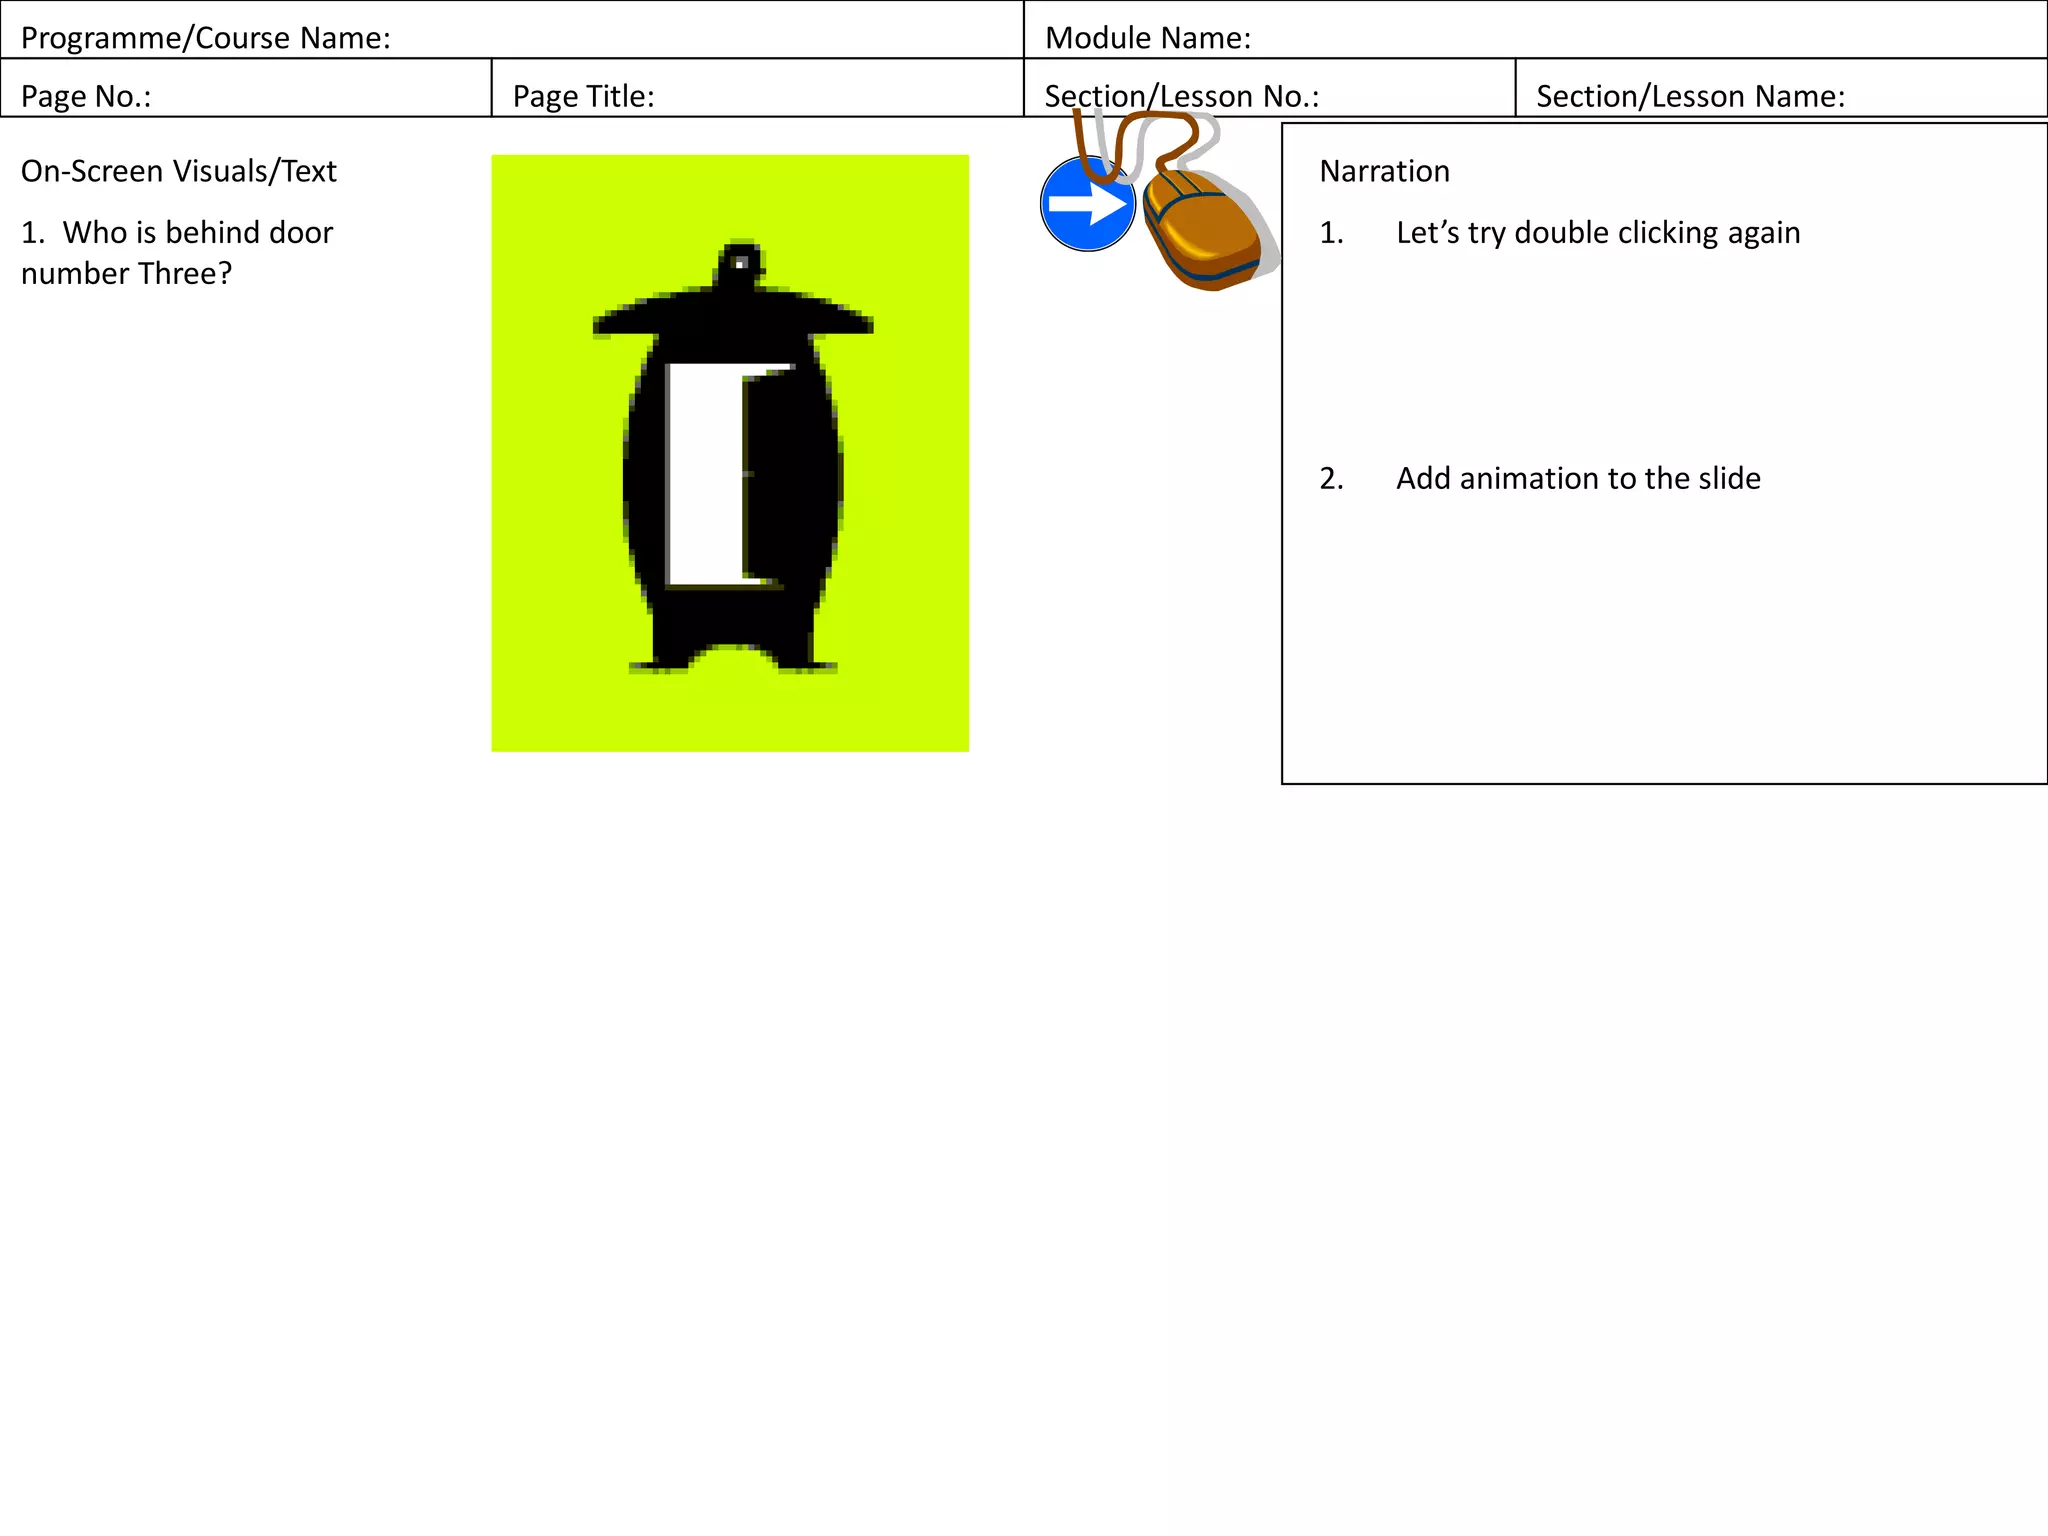
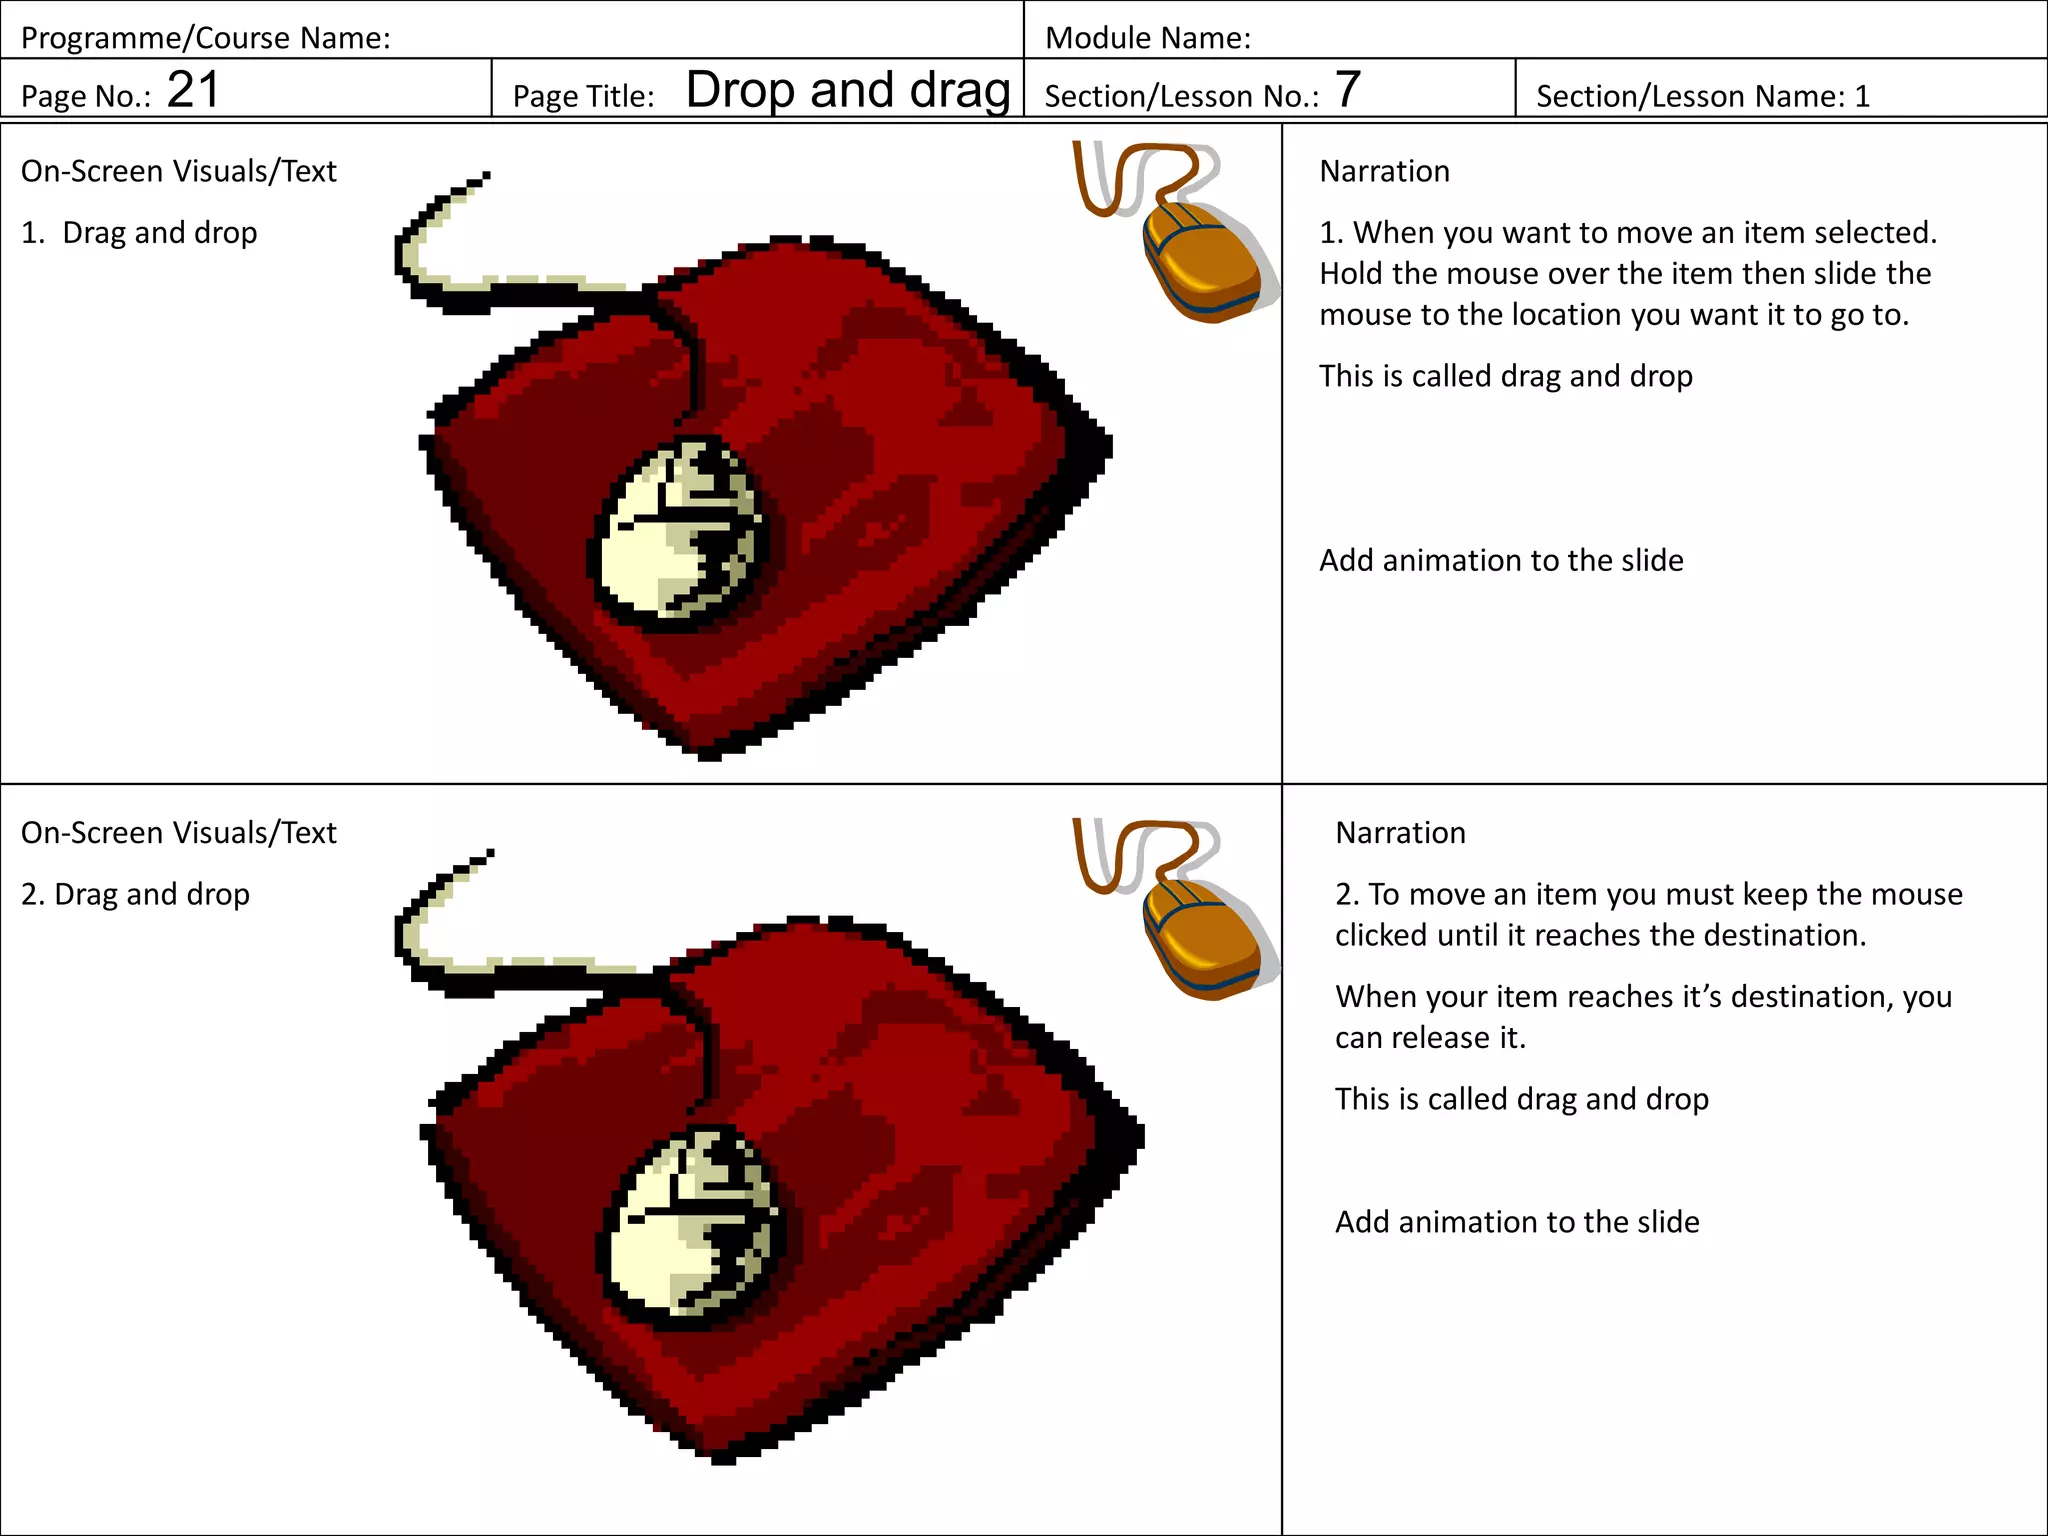
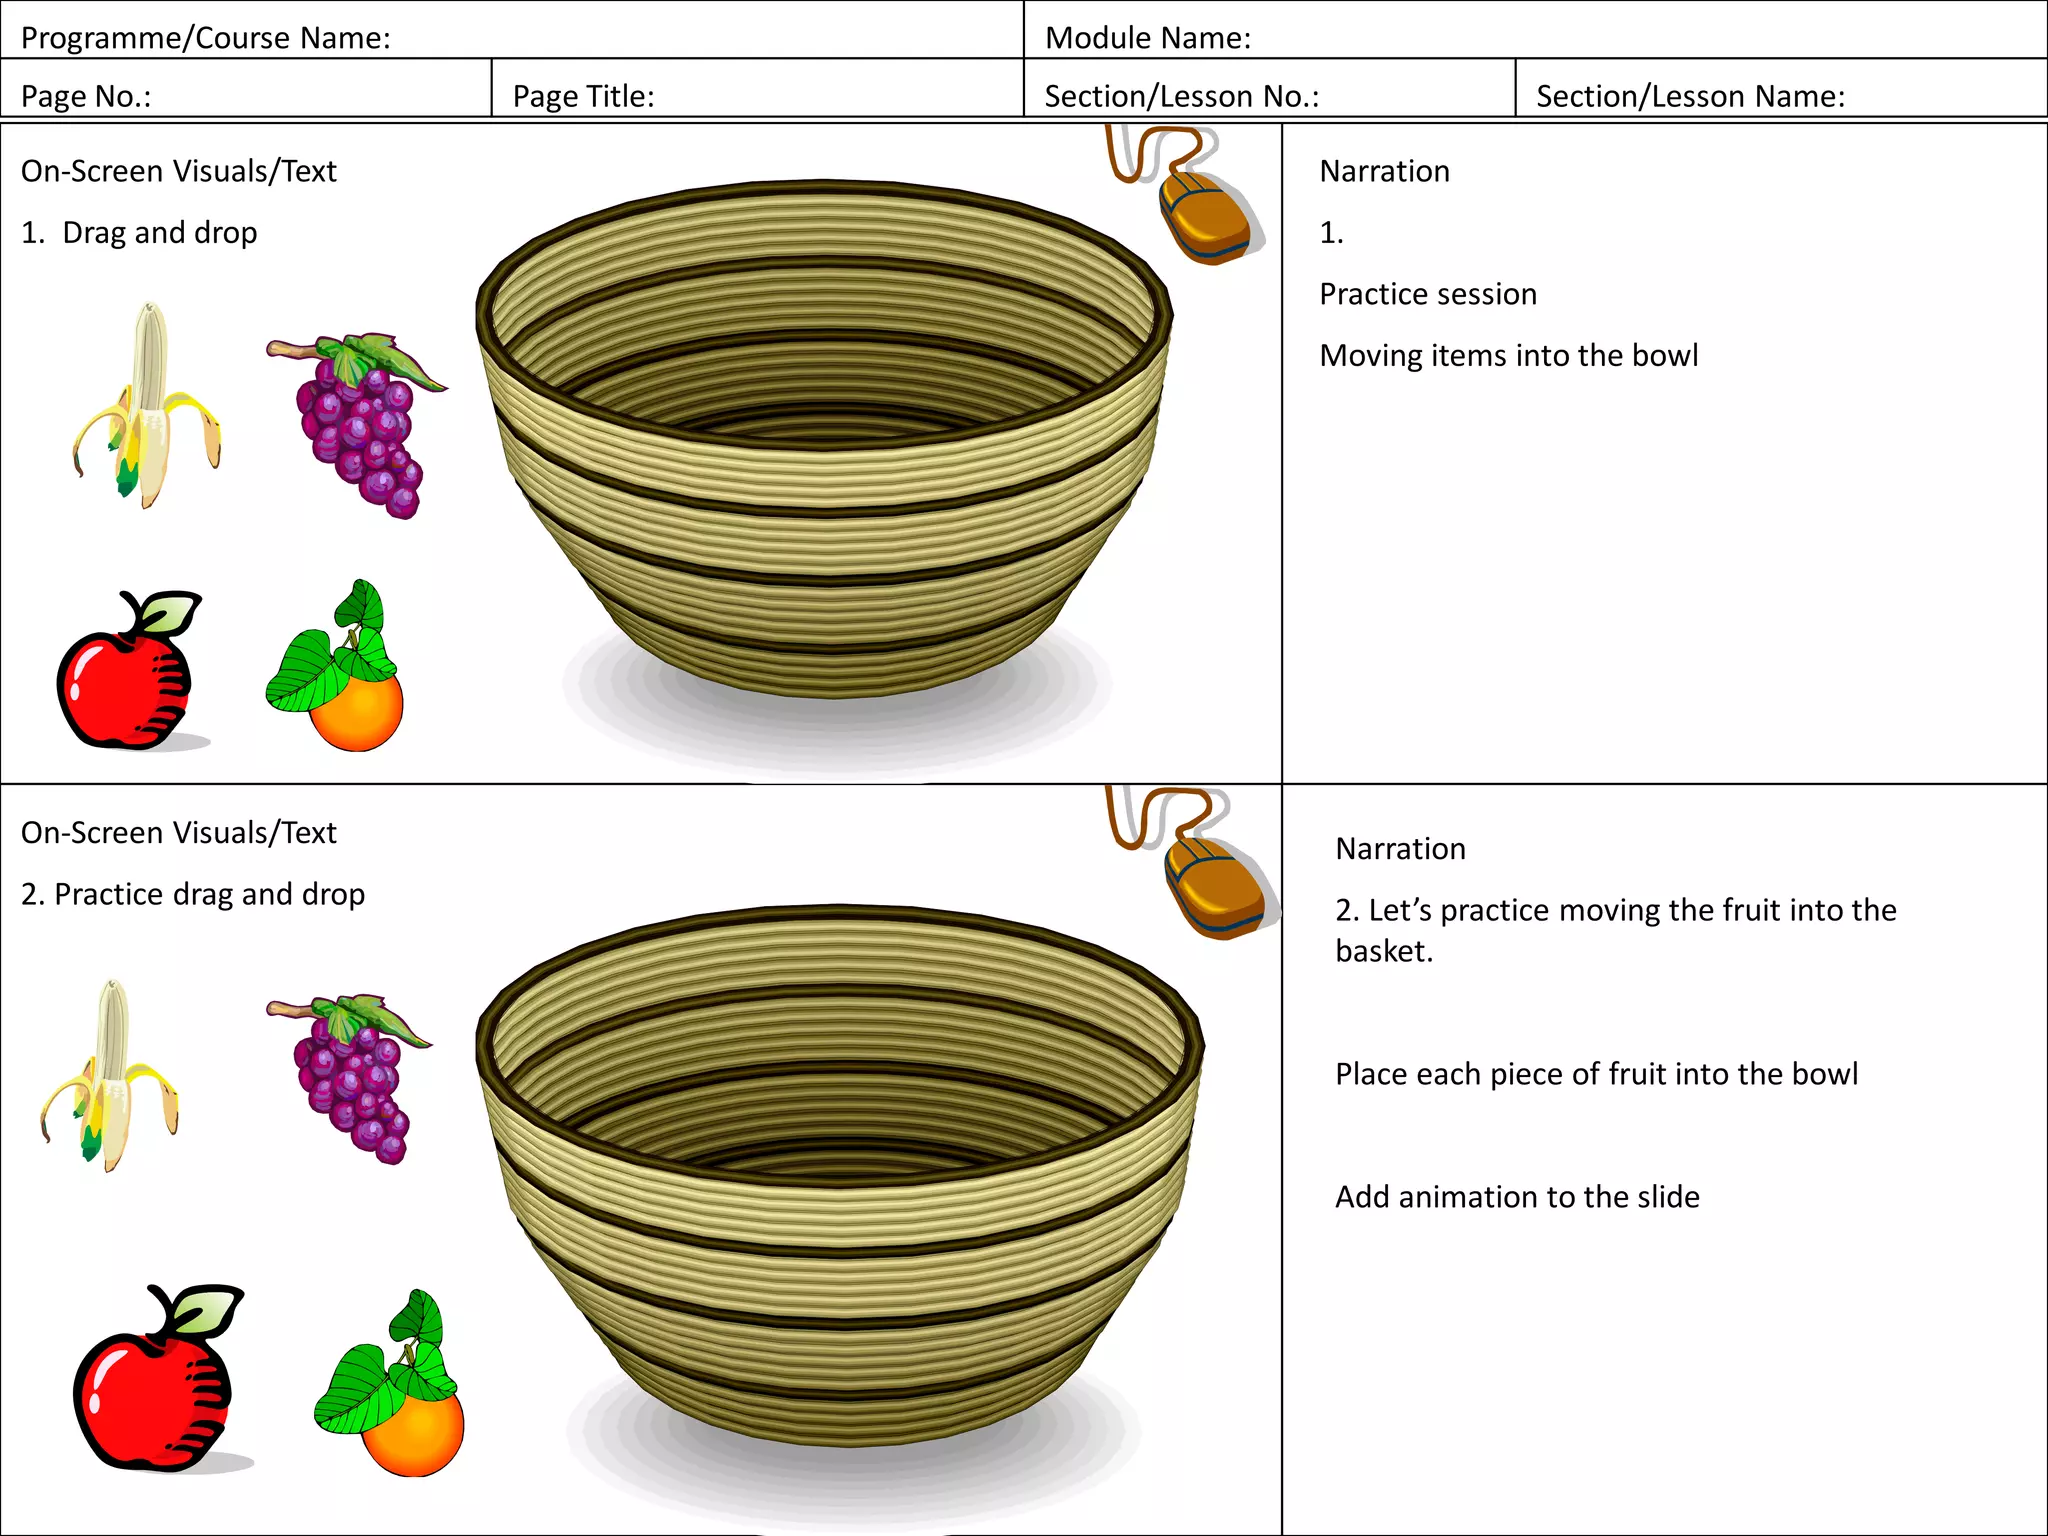
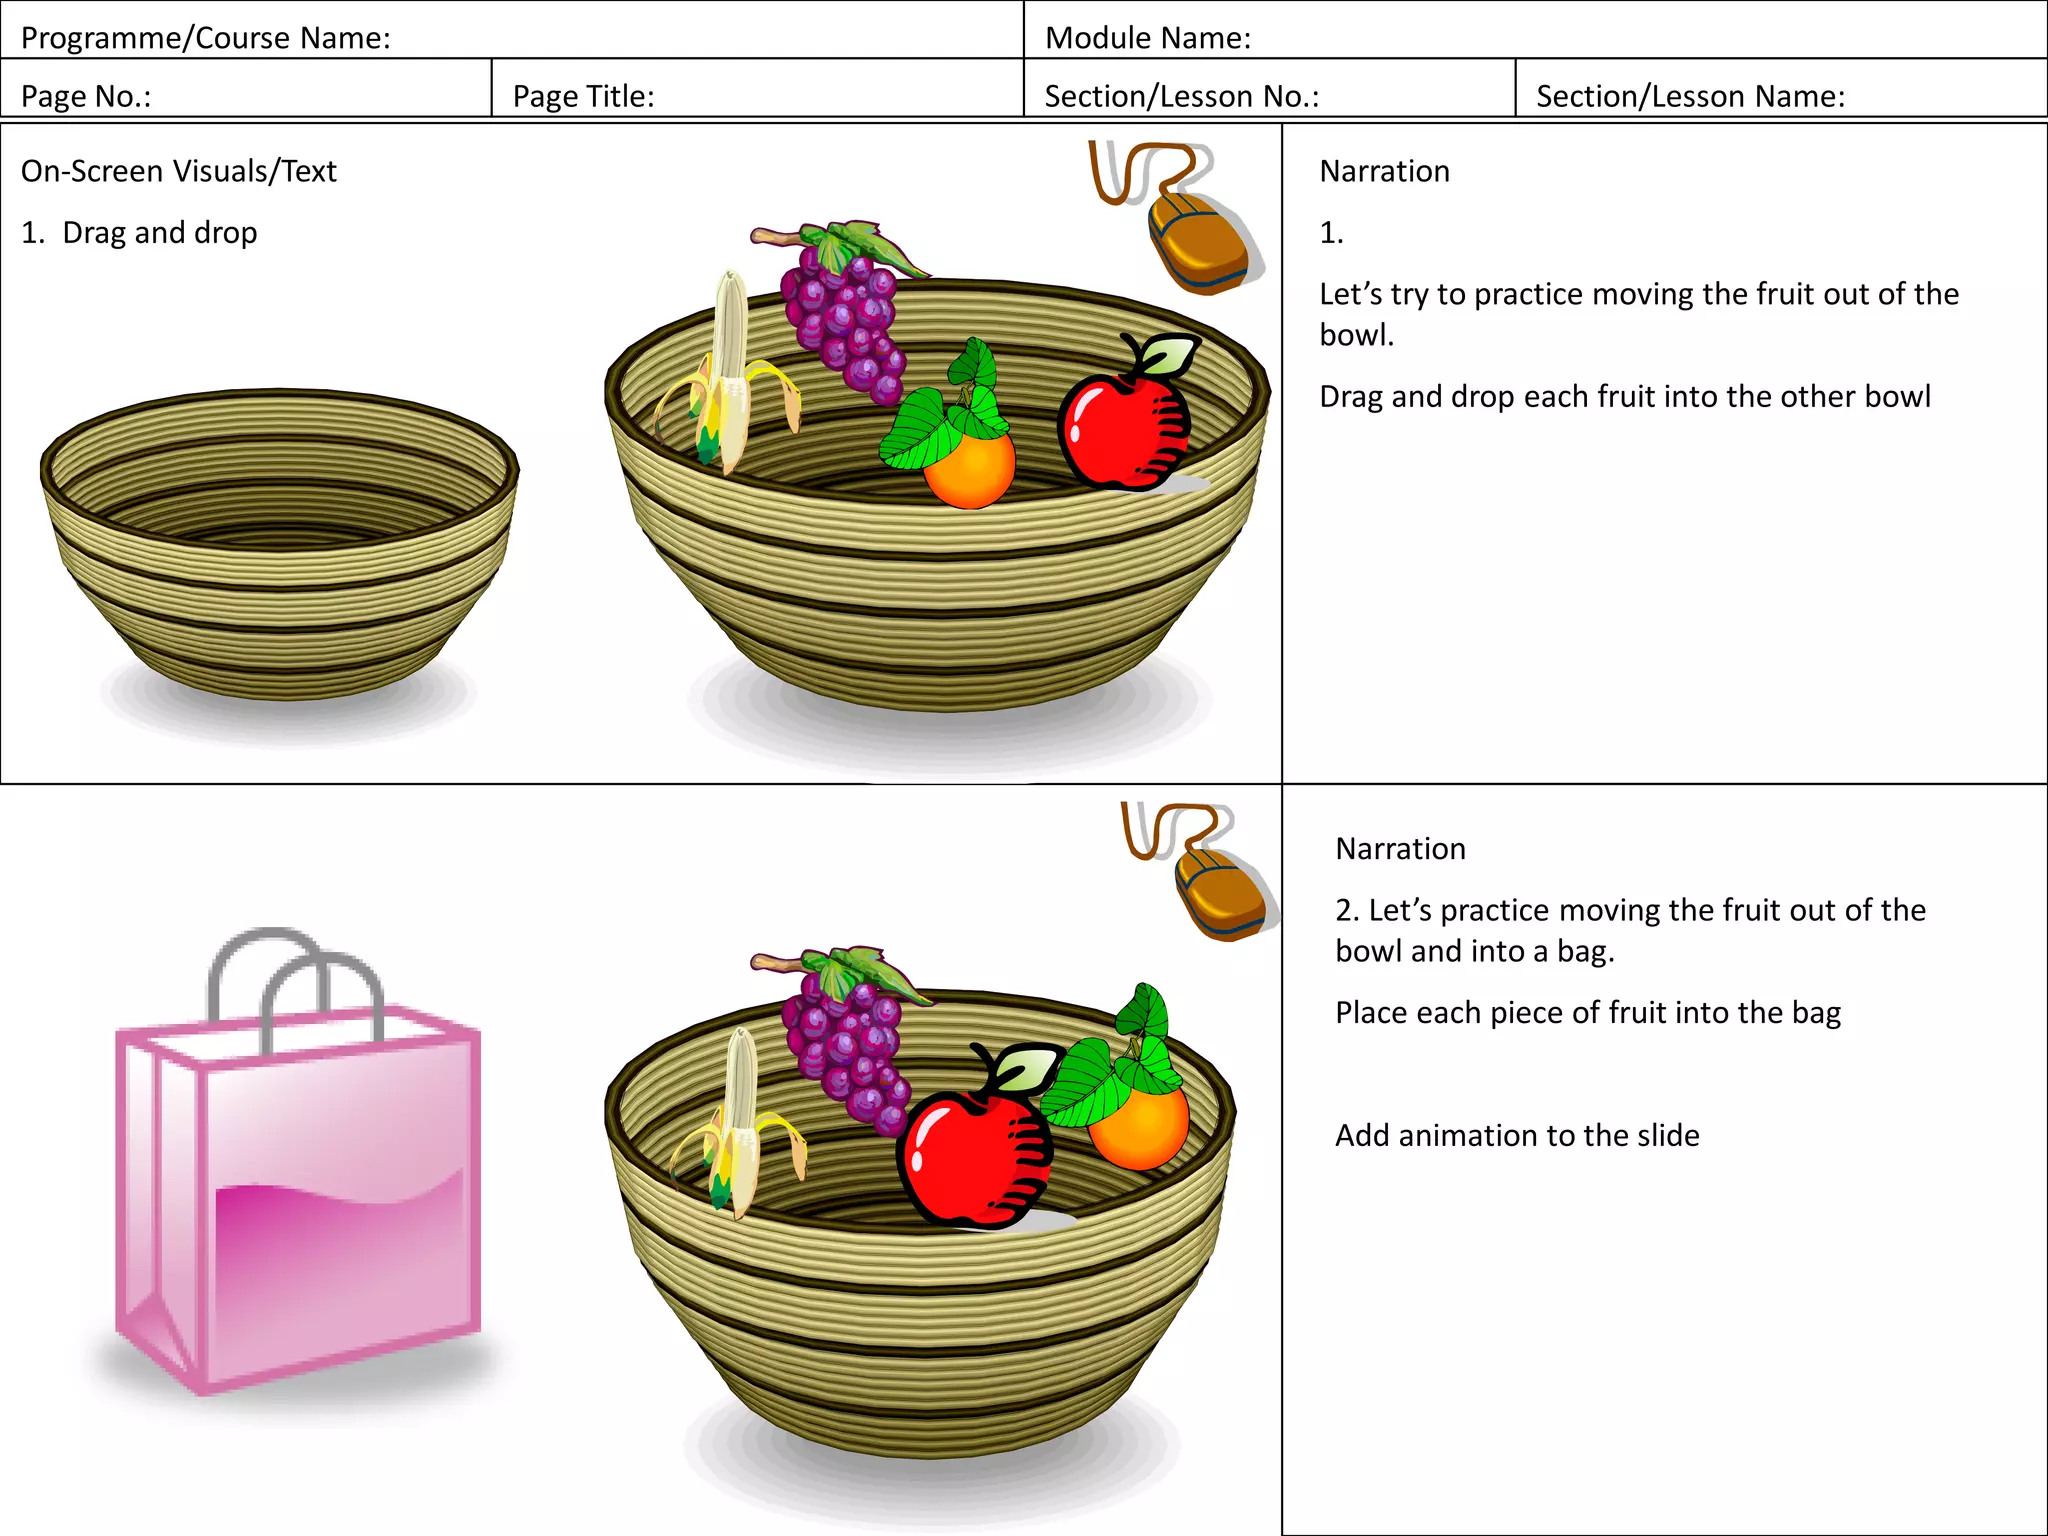
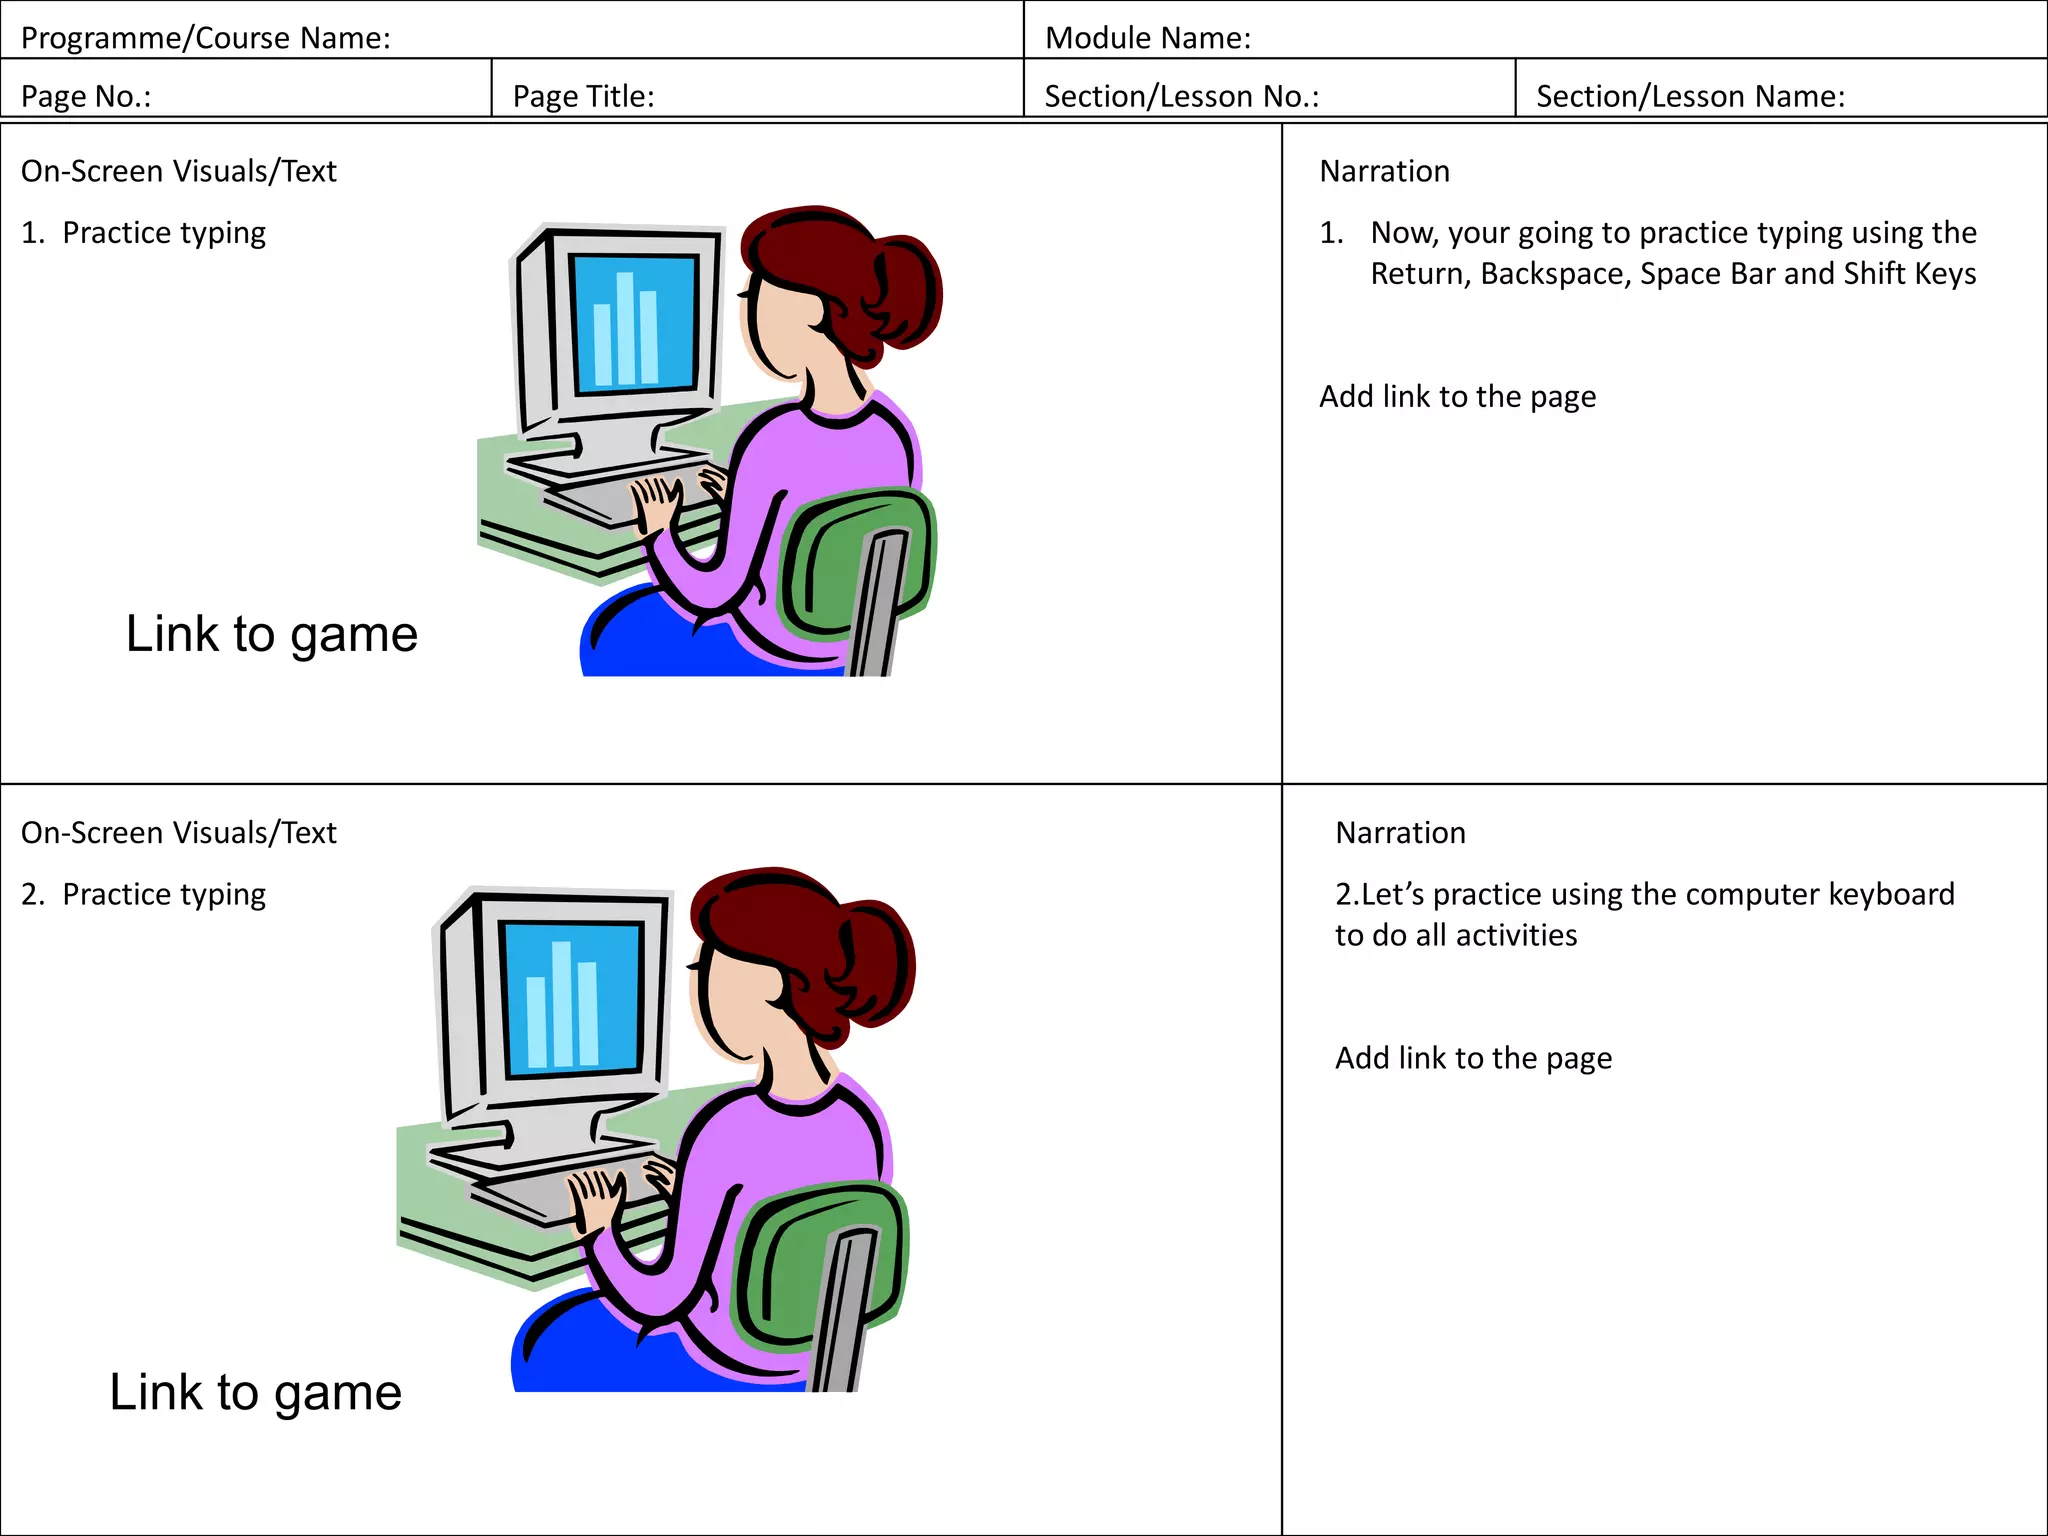
3) Interactive exercises are provided to practice mouse and keyboard functions like clicking, double clicking, and dragging within games and activities.


![Part two basic_knowledge_and_skills[1]](https://cdn.slidesharecdn.com/ss_thumbnails/parttwobasicknowledgeandskills1-150131022855-conversion-gate02-thumbnail.jpg?width=640&height=640&fit=bounds)


