Downloaded 27 times


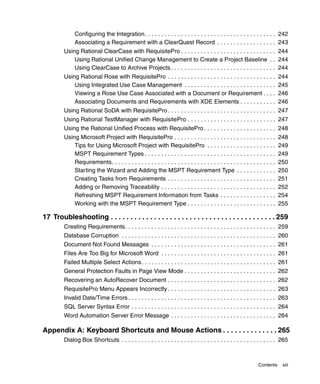
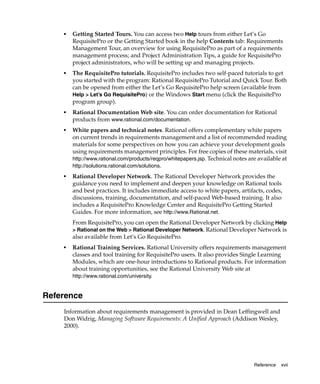

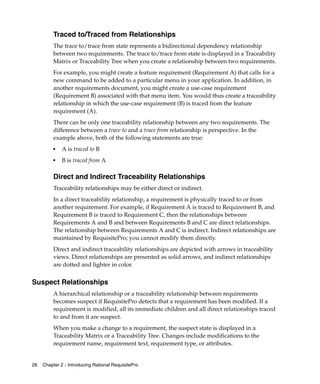
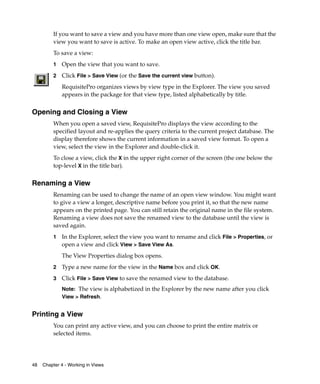
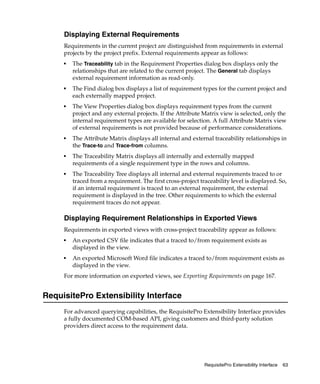
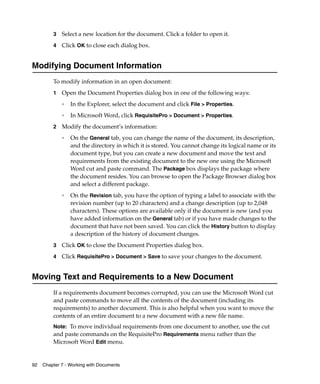
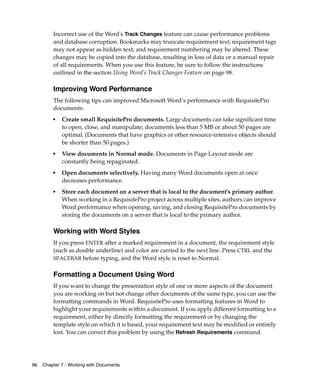
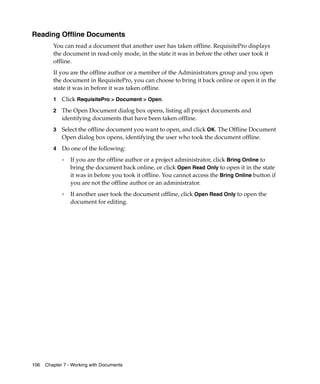
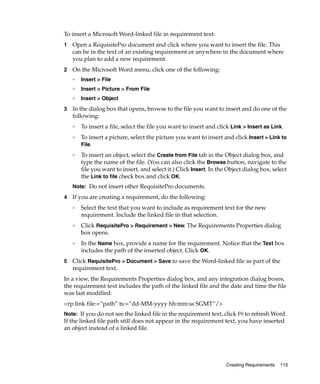
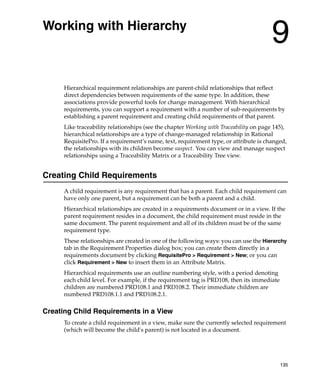
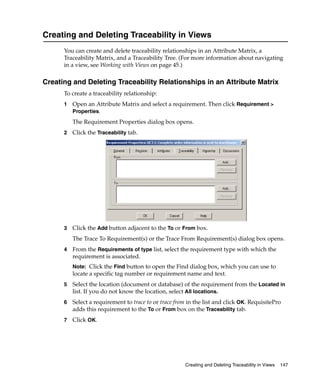
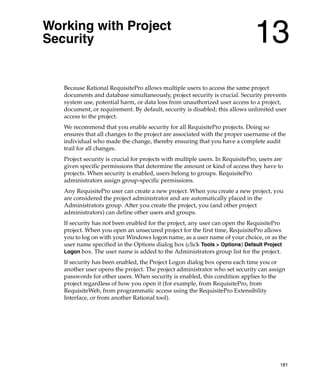
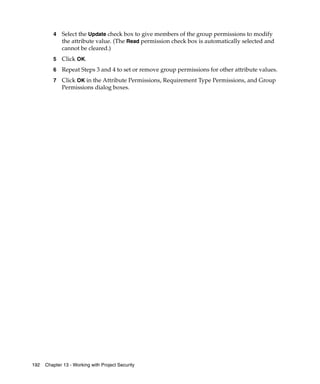
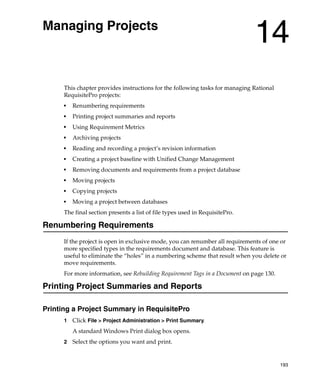
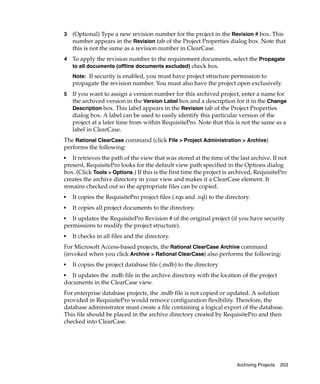
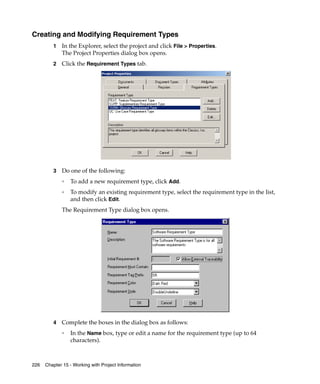
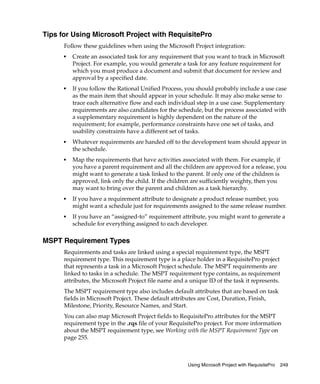
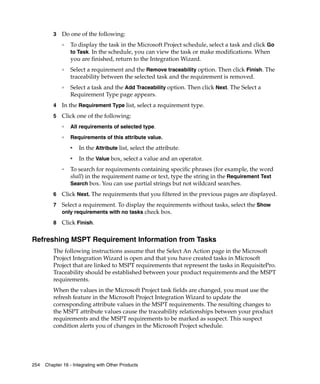
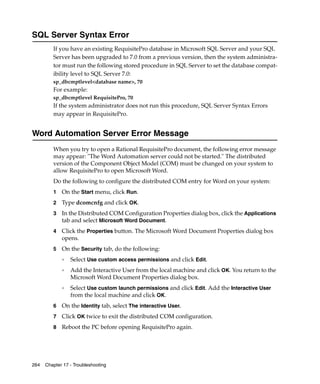
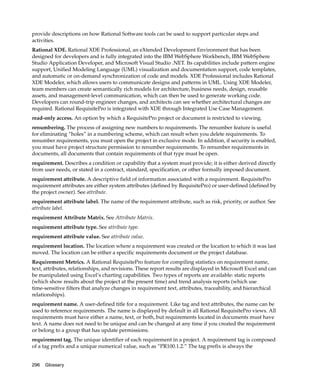
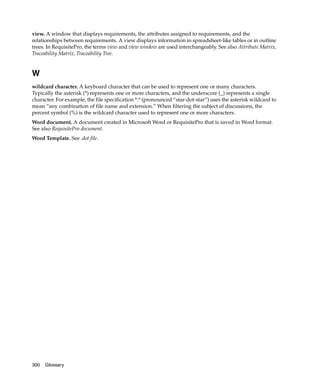
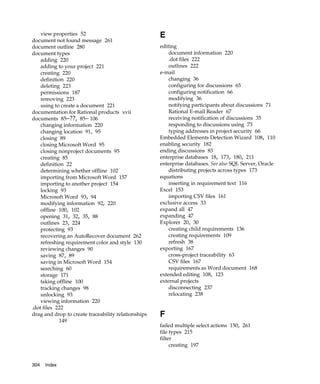
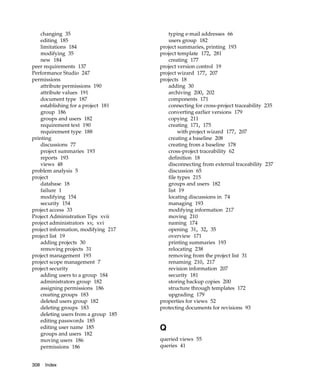
![Requirements management applies equally to software-only projects and to projects
in which software is only a part of the end result or is not included at all. For
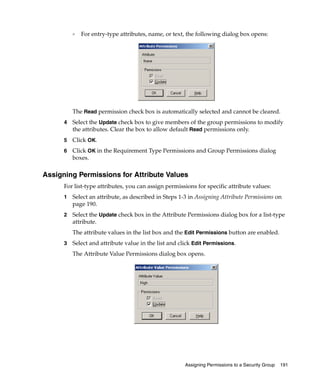
convenience, the term system is used here to mean any or all of these things. However,
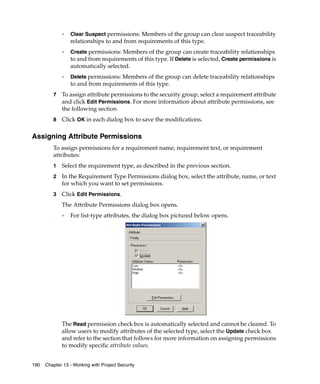
it is the abstract nature of software development, alone or in combination with
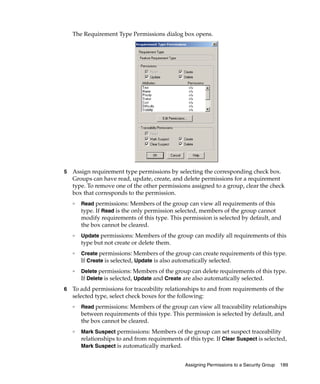
hardware, that complicates requirements management and is therefore the primary
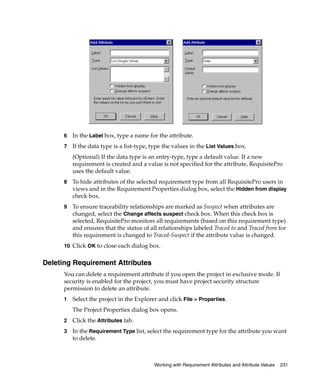
focus of this chapter.
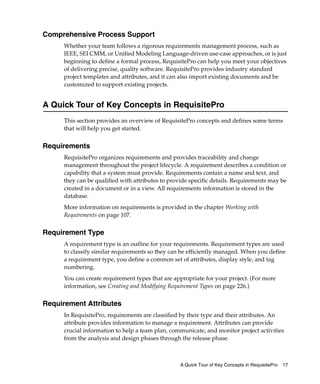
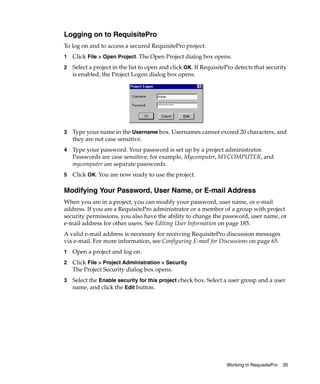
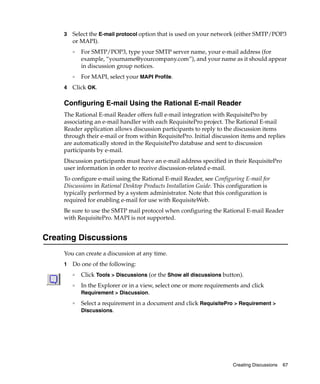
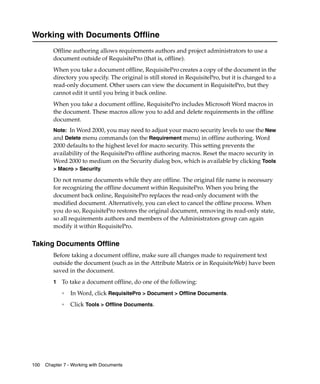
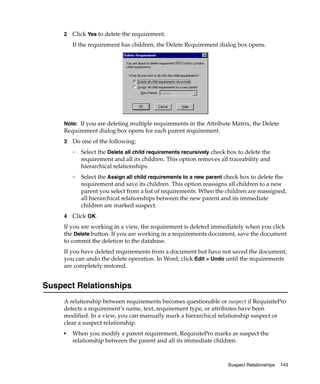
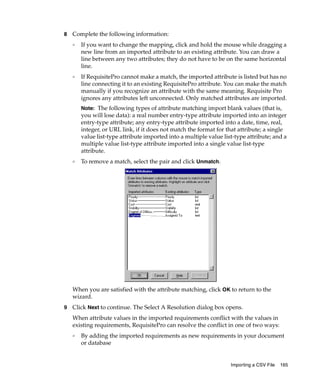
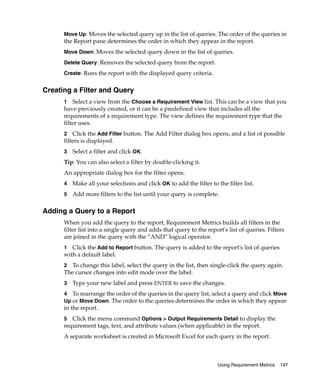
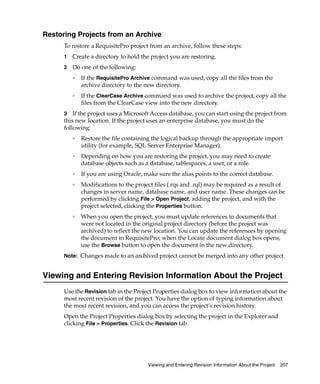
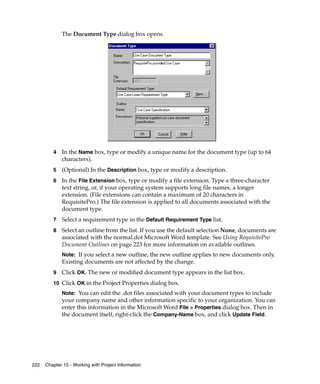
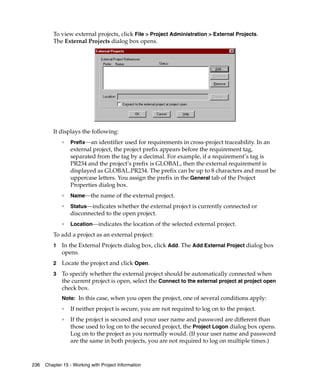
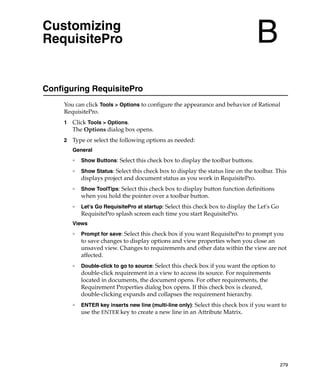
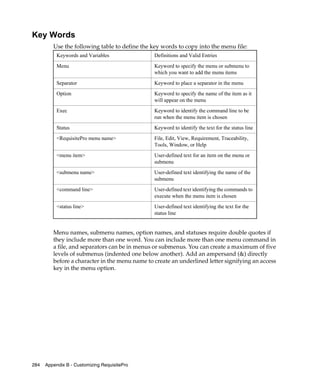
What Is a Requirement?
The first step toward understanding requirements management is to agree on a
common vocabulary. Rational defines a requirement as “a condition or capability to
which the system [being built] must conform.” The Institute of Electronics and
Electrical Engineers (IEEE) uses a similar definition.
Well-known requirements engineering authors Merlin Dorfman
A requirement is a
and Richard H. Thayer offer a compatible and more refined condition or
definition that is specific—but not necessarily limited—to capability to which
software: the system must
conform.
“A software requirement can be defined as:
❑
A software capability needed by the user to solve a
problem or achieve an objective.
❑
A software capability that must be met or possessed by a system or system
component to satisfy a contract, specification, standard, or other formally
imposed documentation.”1
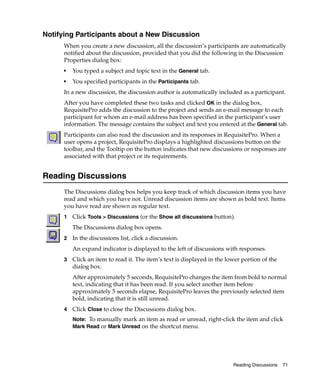
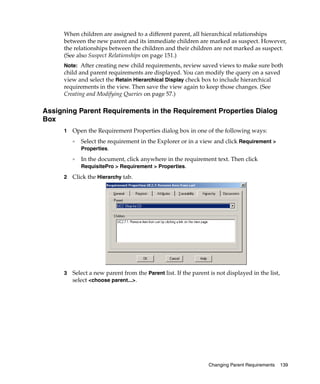
Why Manage Requirements?
Simply put, system development teams that manage requirements do so because they
want their projects to succeed. Meeting their project’s requirements defines success.
Failing to manage requirements decreases the probability of meeting these objectives.
Recent evidence is supportive:
■
The Standish Group’s CHAOS Reports from 1994, 1997, and 2000 established that
the most significant contributors to project failure relate to requirements.2
■
In December 1997, Computer Industry Daily reported on a Sequent Computer
Systems, Inc., study of 500 IT managers in the U.S. and U.K. that found 76 percent
of the respondents had experienced complete project failure during their careers.
The most frequently named cause of project failure was “changing user
requirements.”3
2 Chapter 1 - Introducing Requirements Management](https://image.slidesharecdn.com/reqprouser-120329094807-phpapp02/85/Reqpro-user-22-320.jpg)


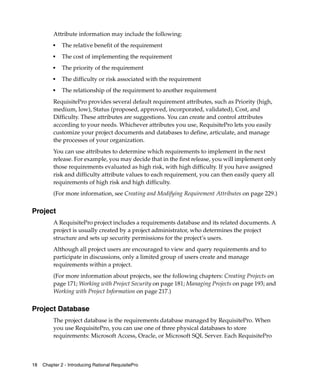

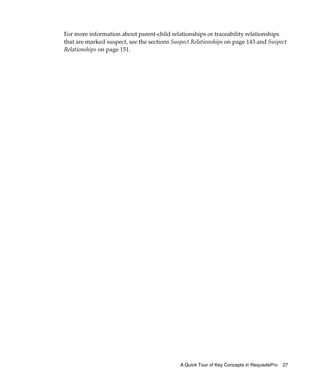

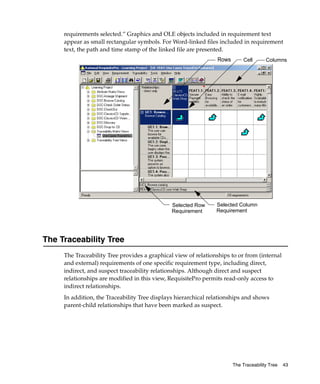

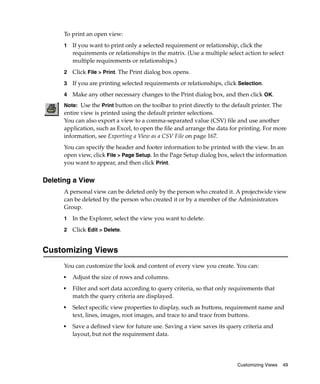

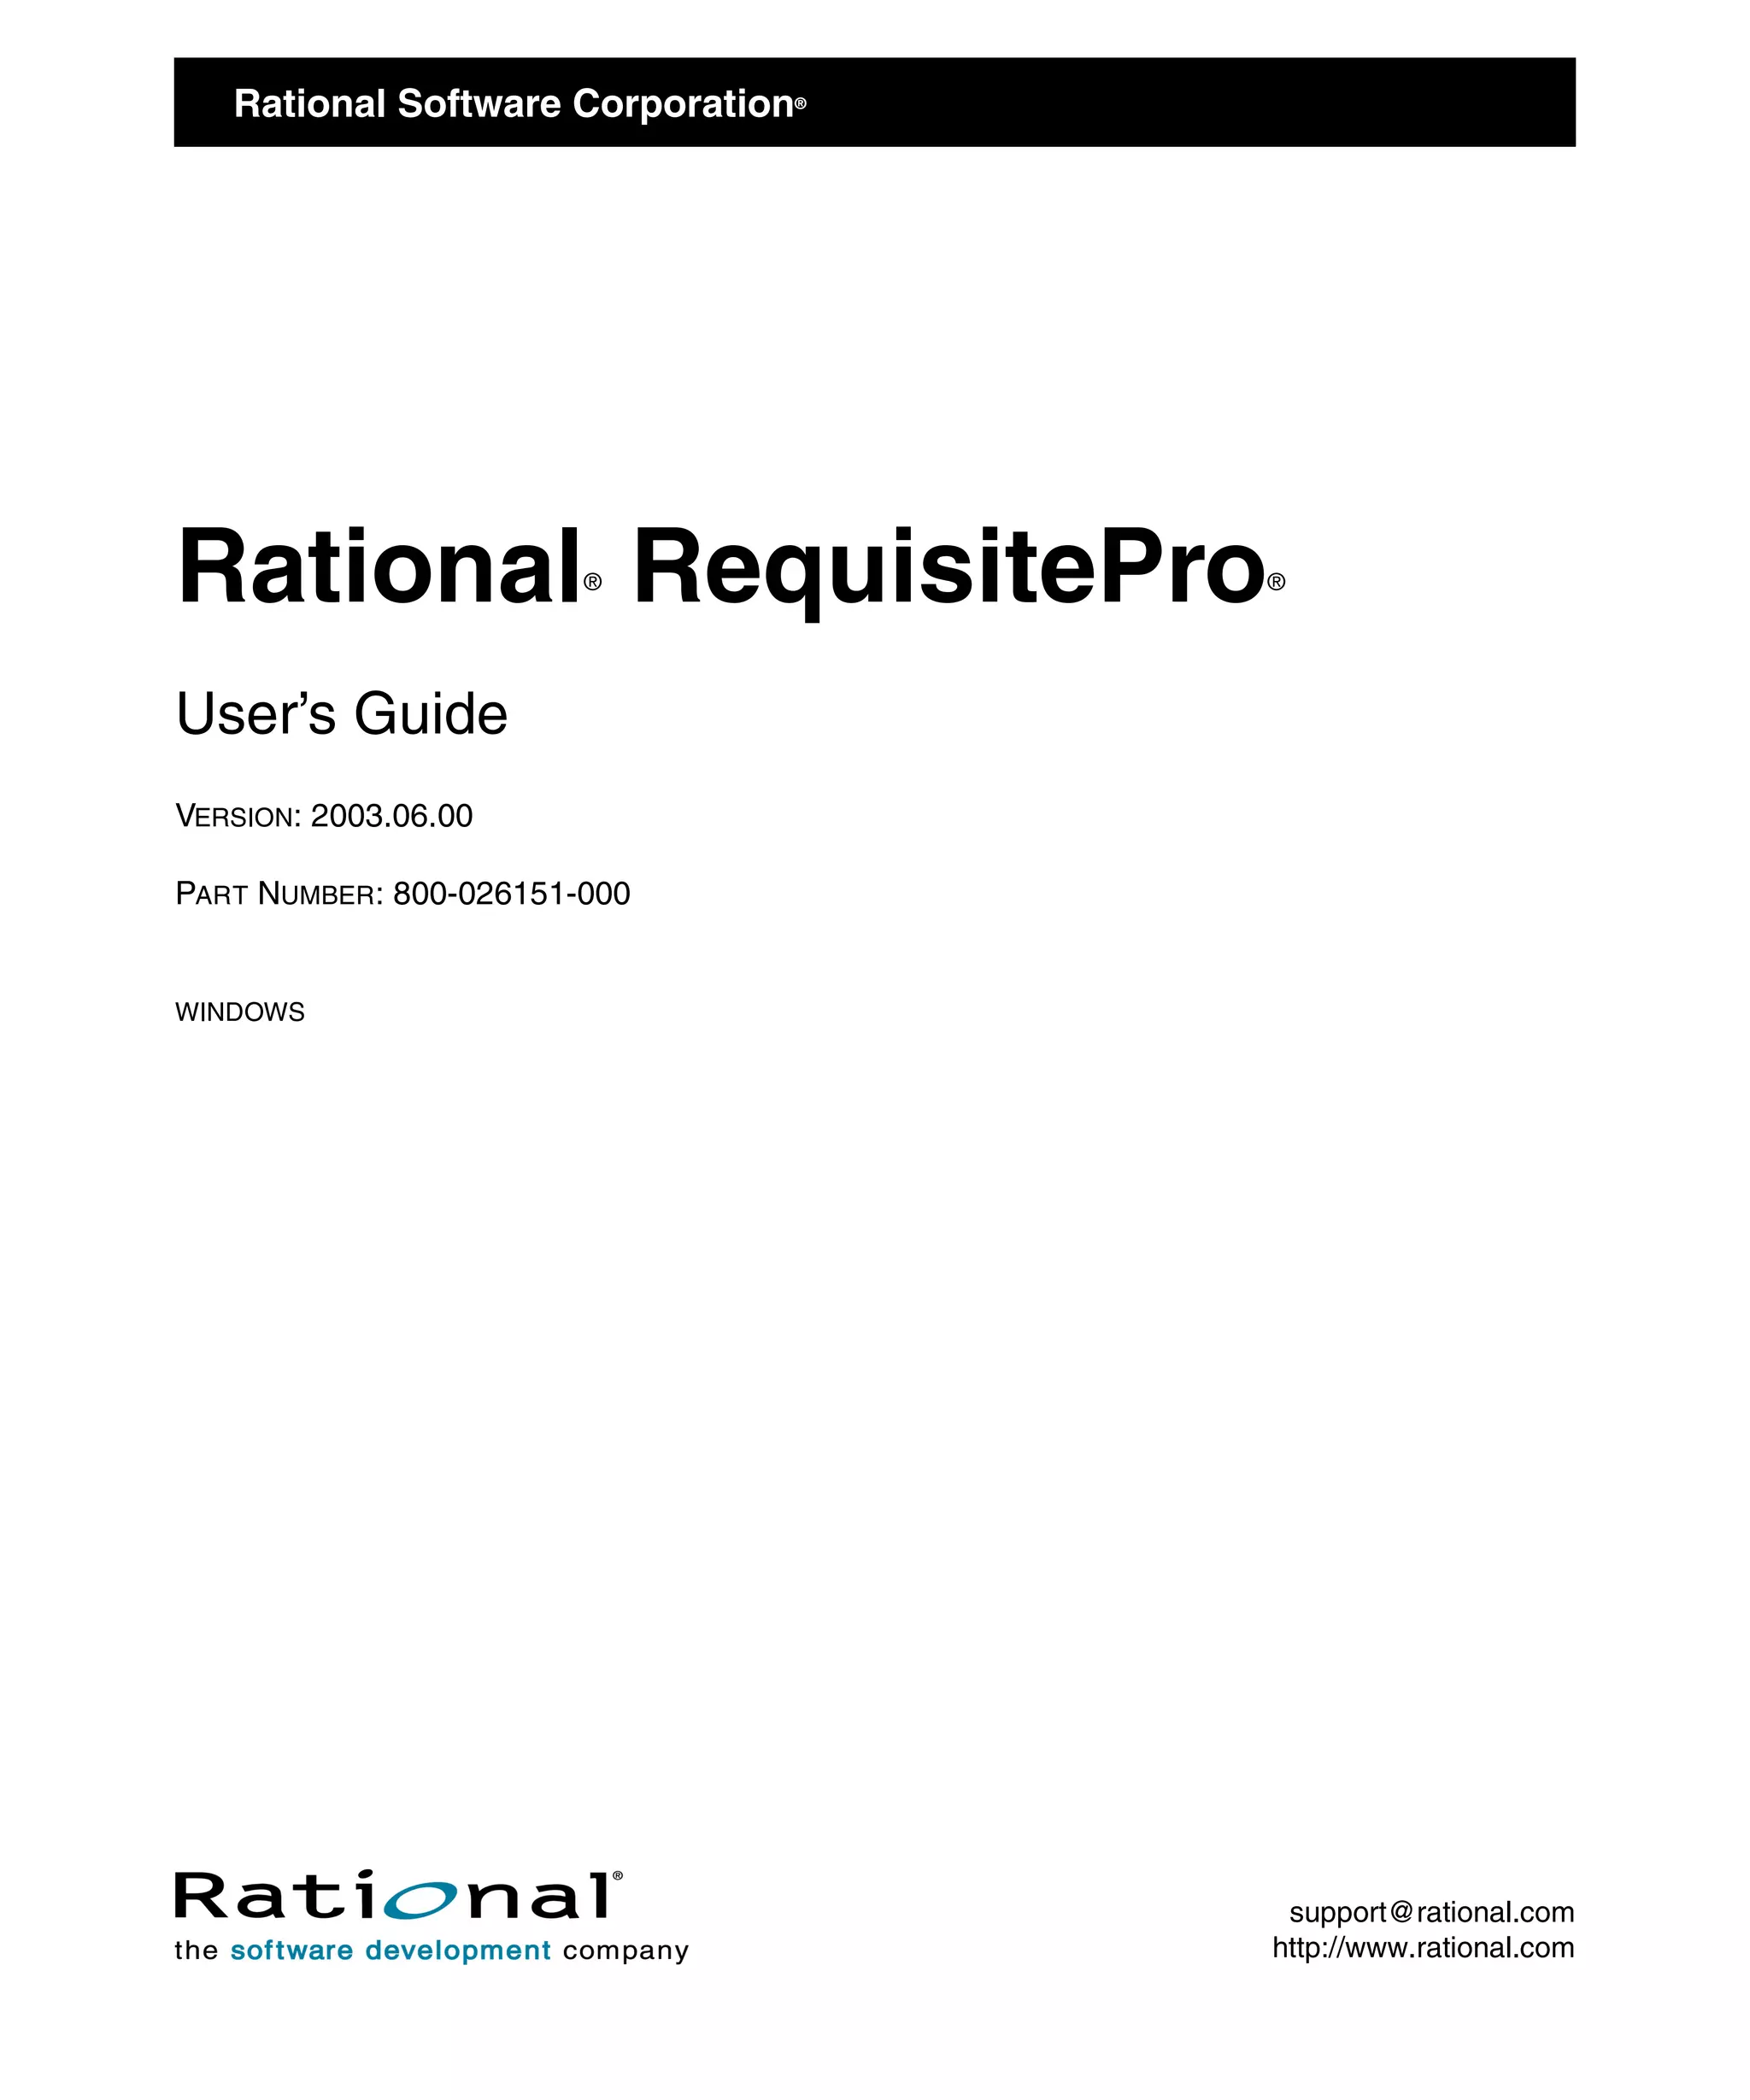
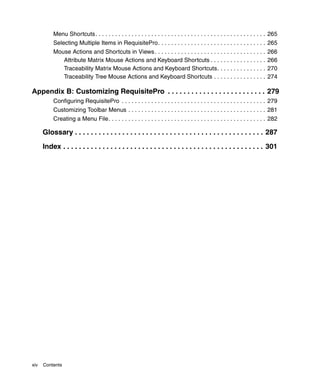
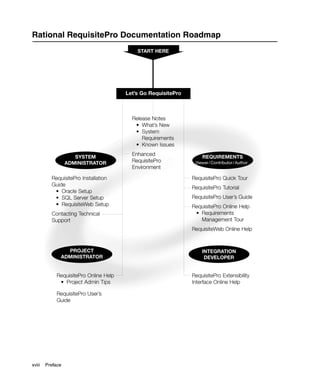
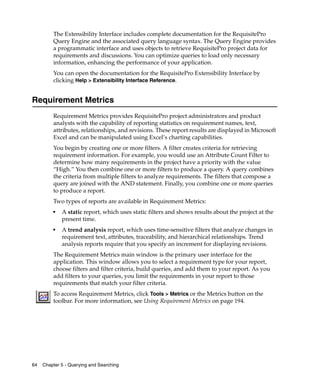
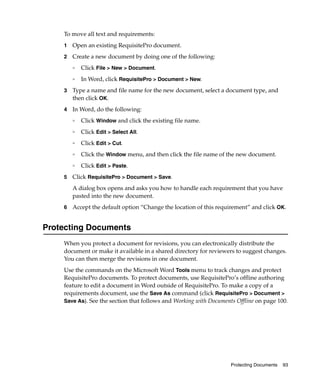
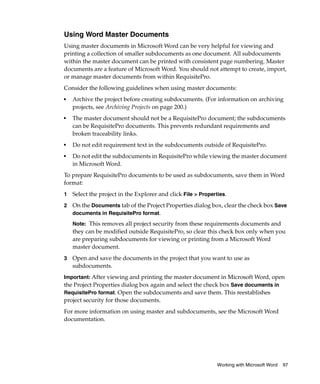
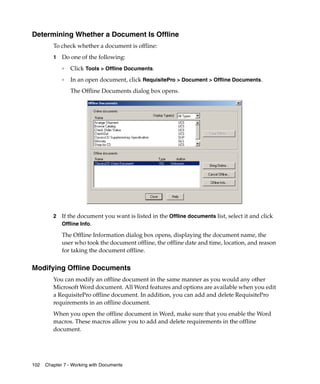
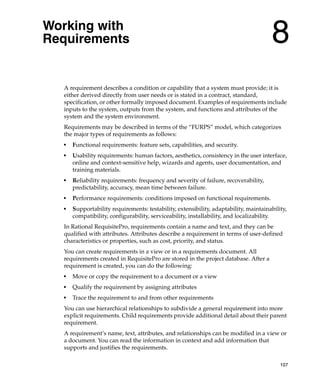
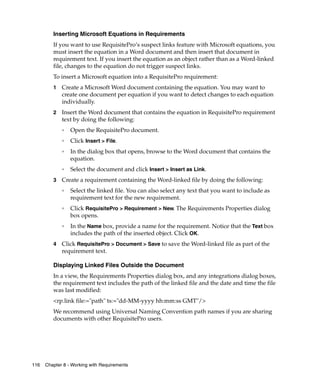
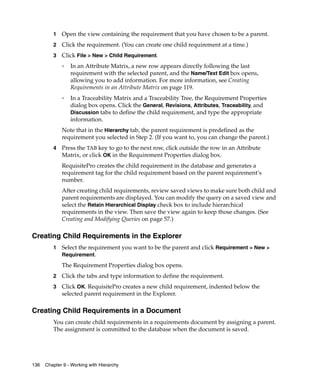
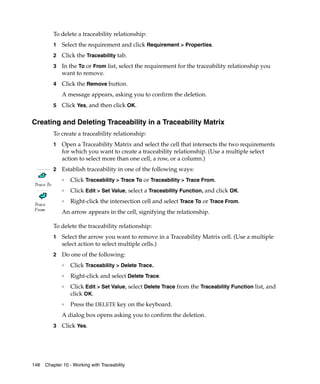
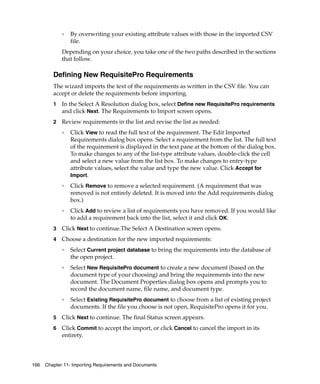
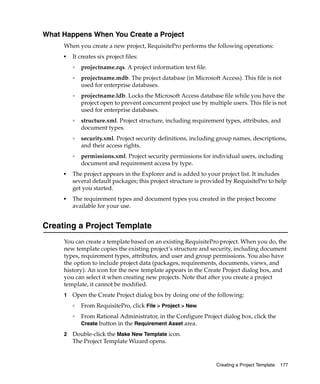
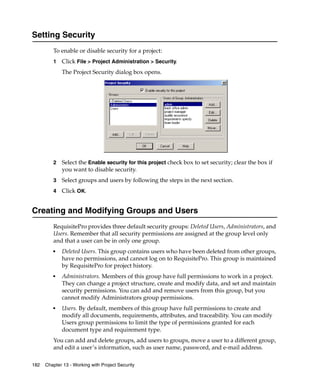
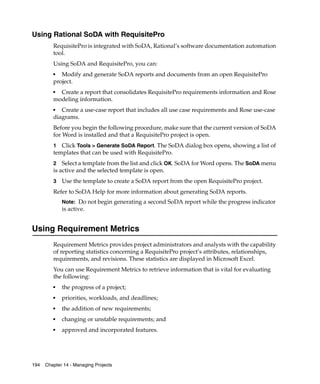
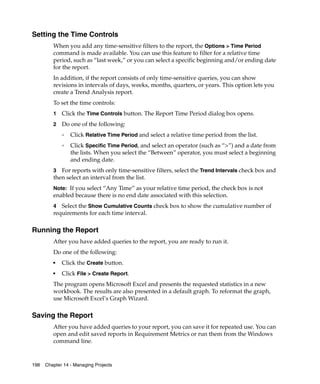
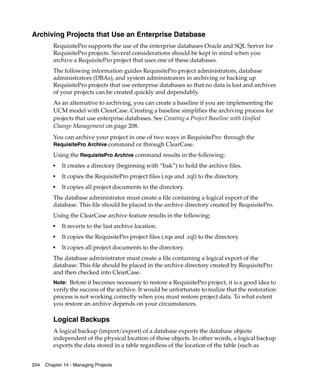
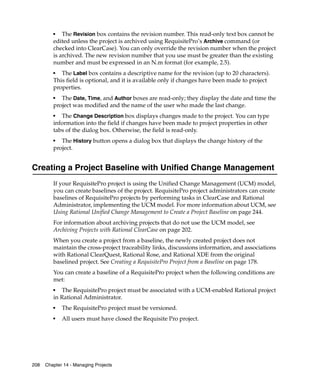
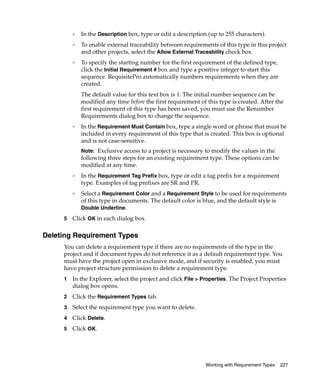
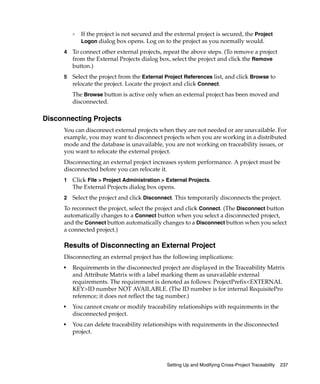
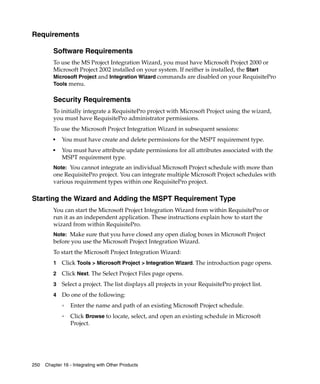
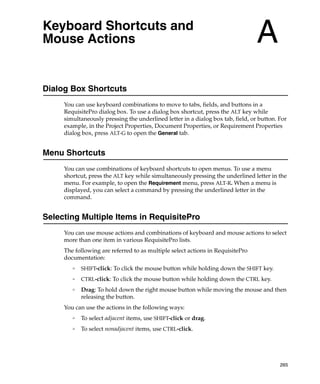
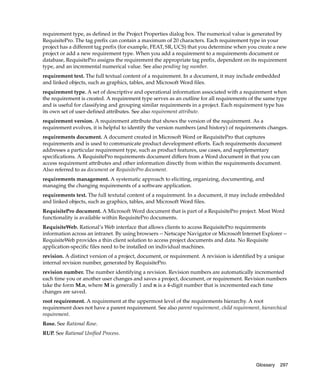
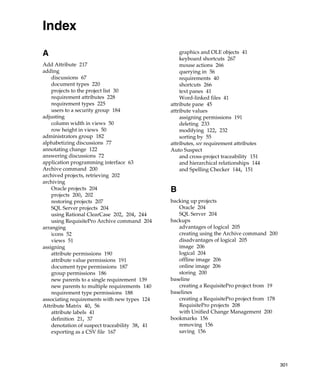
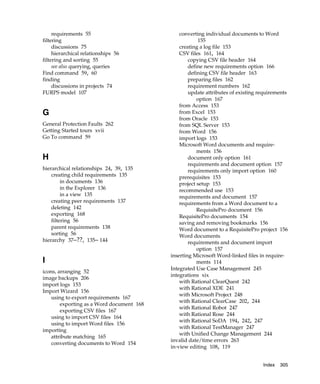
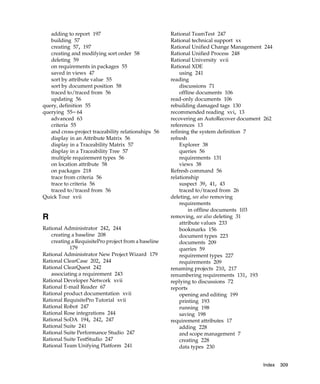
![■ The Traceability Tree view displays all requirements of one type (root) and all
requirements related to/from them.
Note: When an Attribute Matrix view or a Traceability Matrix view is queried, a filter
or a sort is applied to the row or column requirements in the view. When a
Traceability Tree view is queried, the filter and sort criteria are applied to the root
requirements in the view.
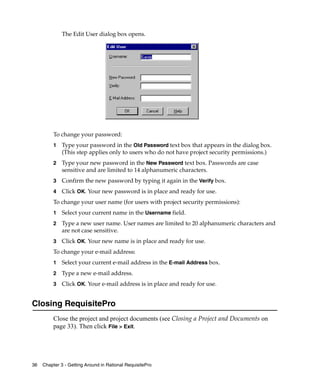
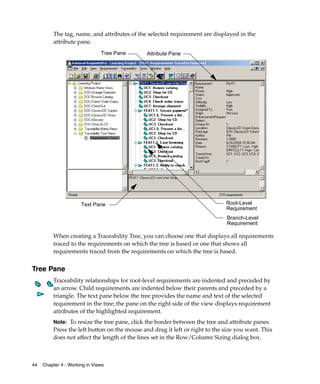
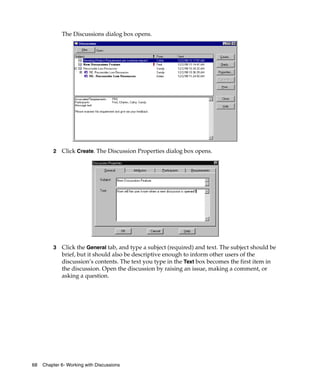
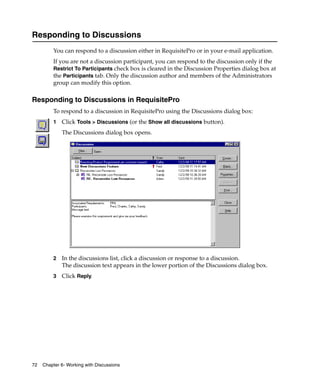
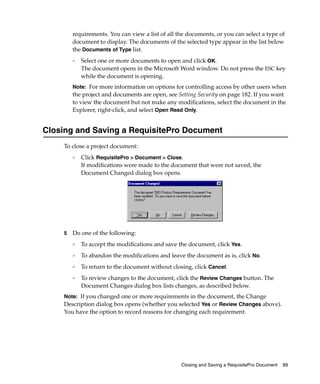
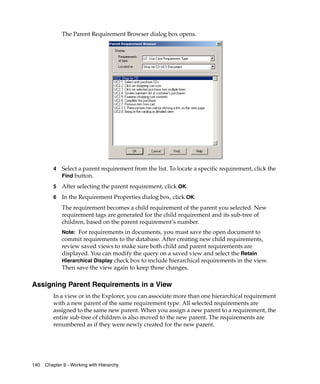
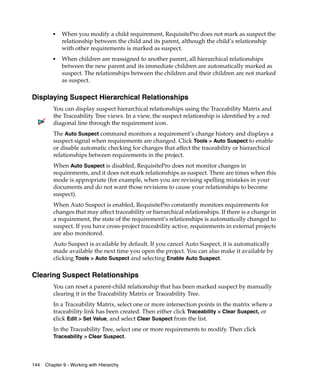
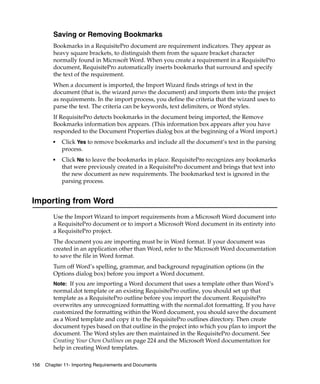
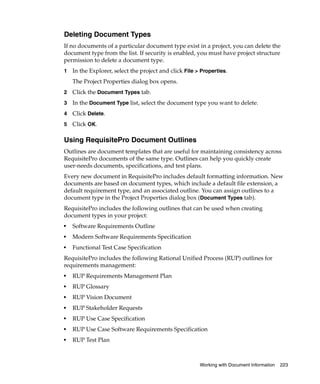
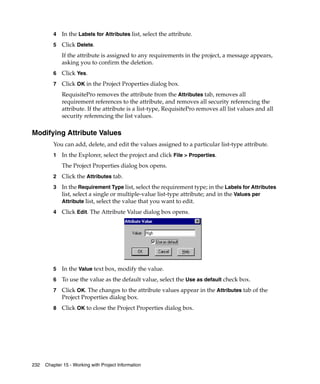
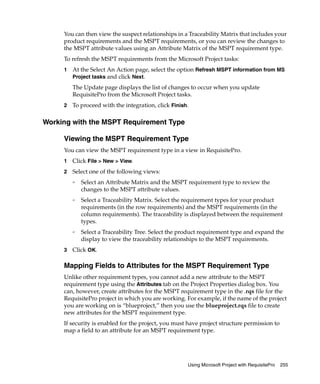
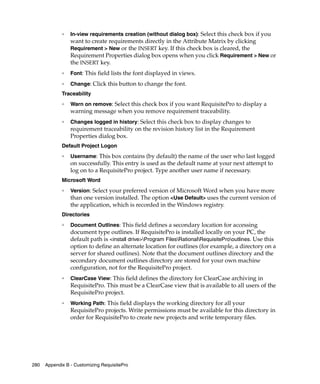
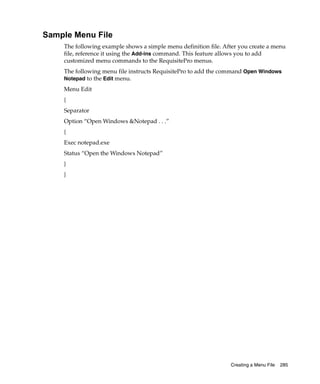
Creating and Modifying Queries
You can filter requirements in views by limiting the values of one or more attributes or
by limiting traceability. You can query row, column, root requirements, and external
requirement types.
1 Select a view in the Explorer and click File > Properties. The View Properties dialog
box opens.
2 Click the Query button.
The Query [Row/Column/Root] Requirements dialog box opens. If you have not
yet added any query criteria, the Select Attribute dialog box opens.
3 Select the attribute value that you want to use to query, and click OK.
Only one requirement type is available in the Select Attribute dialog box, unless
you are querying with trace to or trace from attributes and have returned to this
dialog box to modify the query.
The Query Requirements dialog box opens. The dialog box displayed depends on
whether the attribute is a list-type or an entry-type attribute.
4 For list-type attributes, select one or more attribute values by which you want to
filter an attribute; the logical operator OR is assumed for list-type attributes. For
entry-type attributes, select an operator (that is, includes, equal to) and specify the
value.
Tip: When querying on a date, enter the date in the same format as specified for
your computer under Regional Settings in your Microsoft Windows Control Panel.
Creating and Using Queried Views 57](https://image.slidesharecdn.com/reqprouser-120329094807-phpapp02/85/Reqpro-user-77-320.jpg)
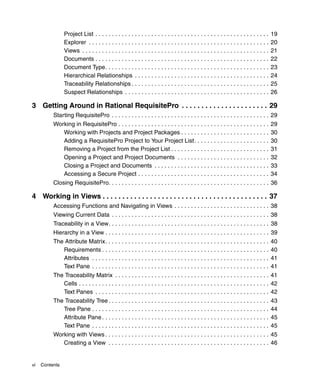
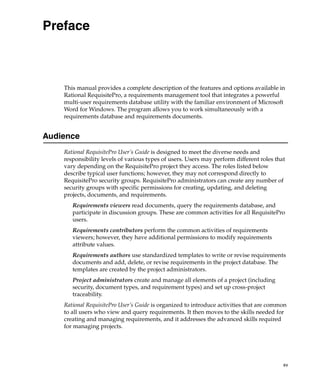
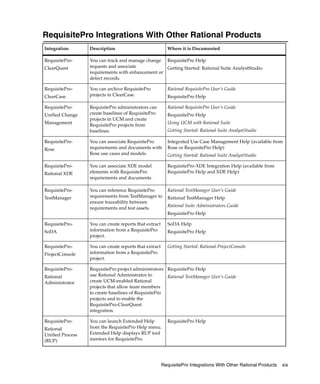
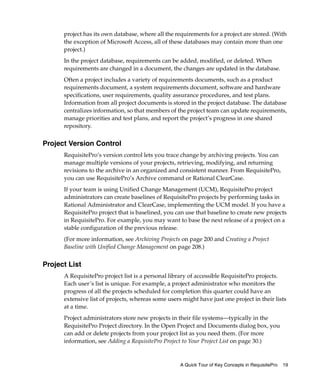
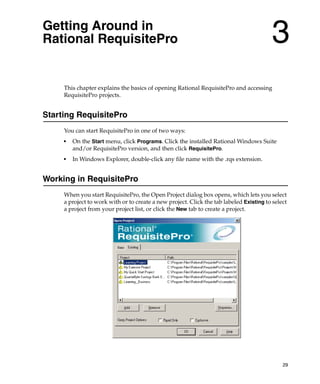
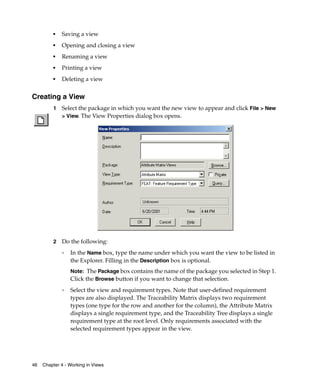
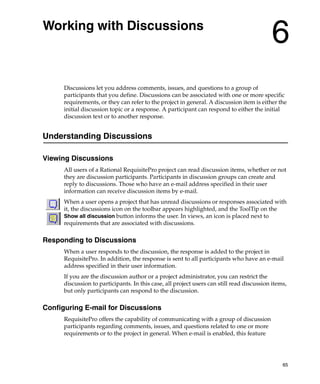
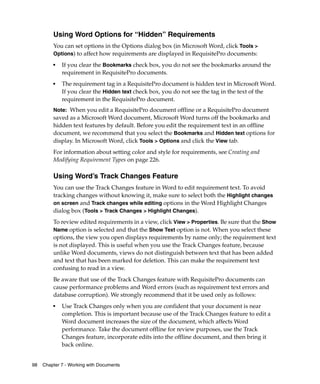
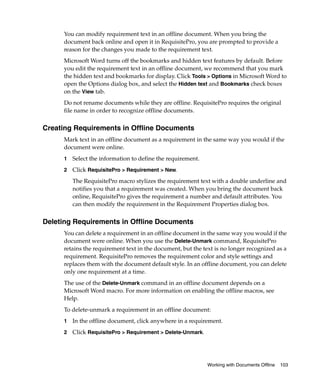
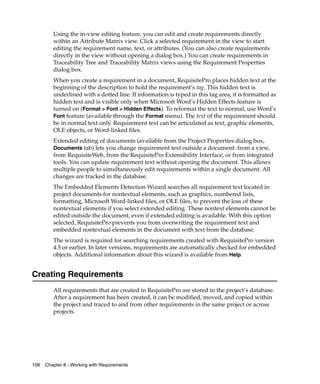
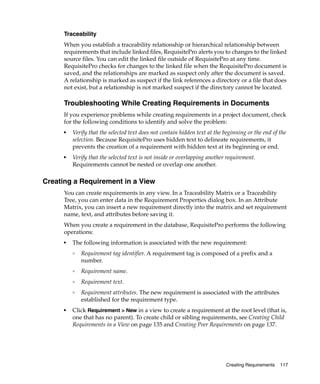
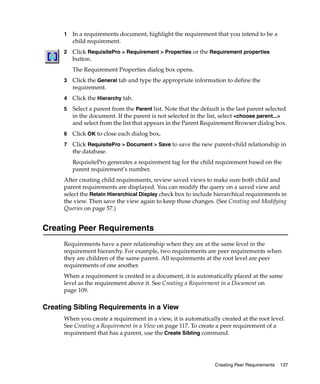
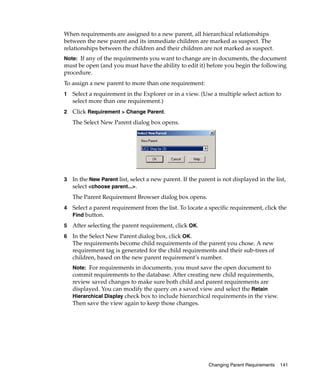
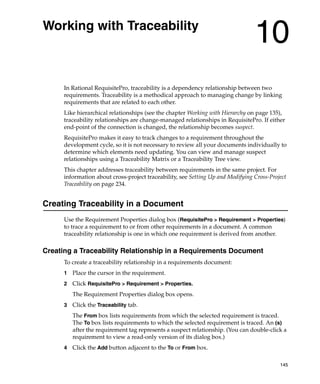
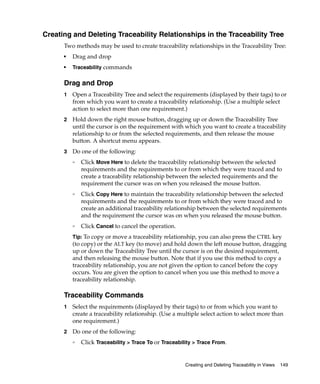
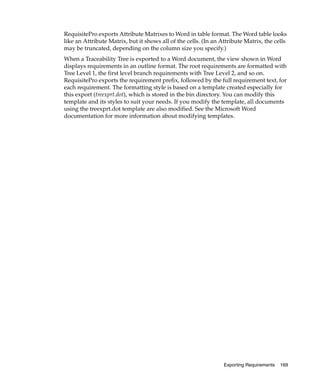
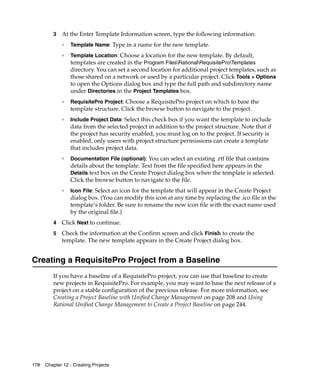
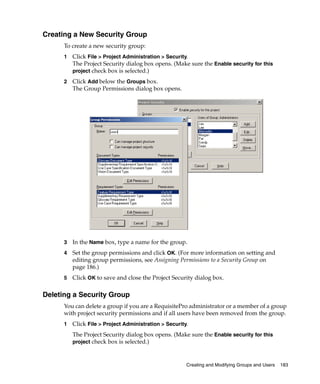
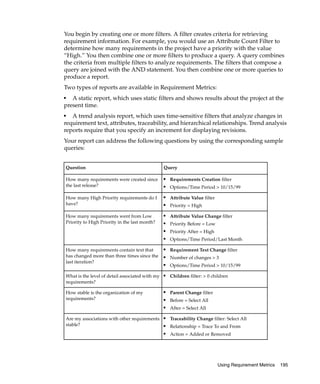
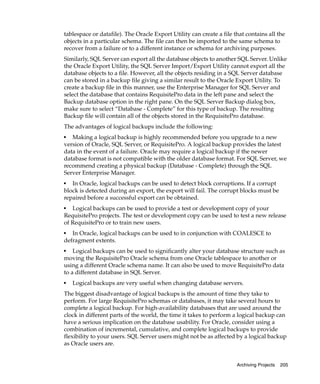
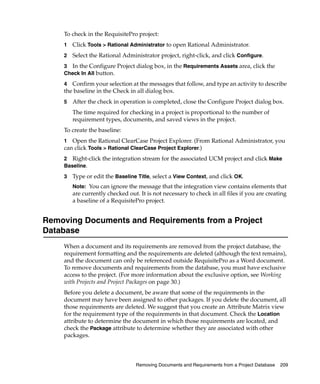
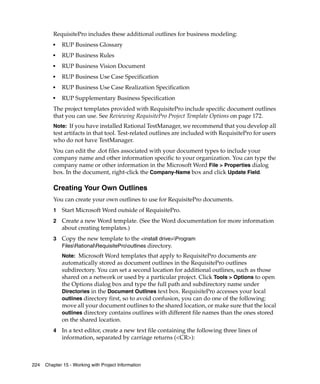
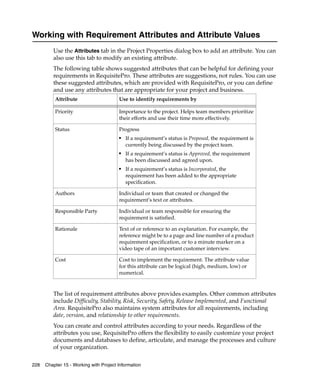
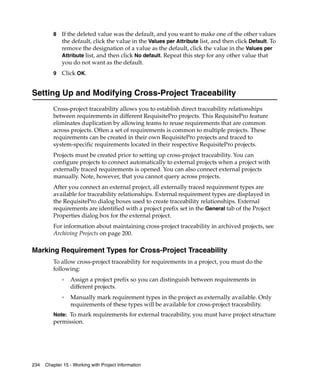
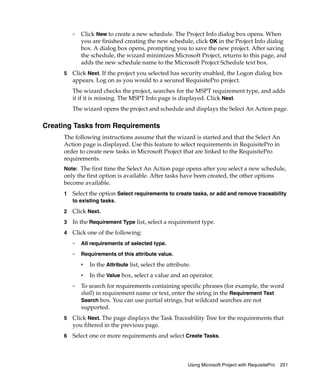
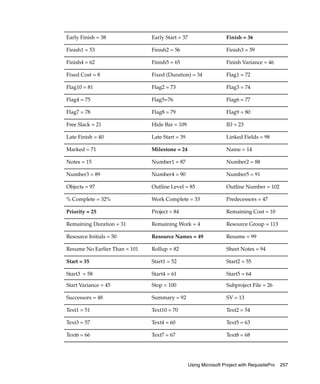
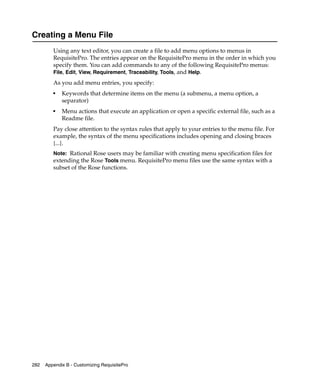
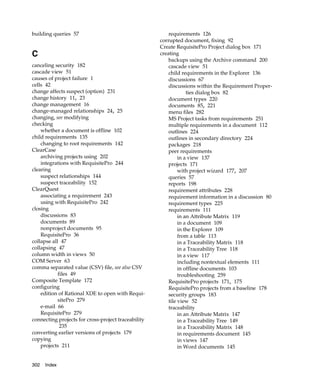
![5 Select a sort order (None, Ascending, or Descending). If you are querying on the
Location attribute, you can select the Sort by document position check box to sort
the requirements in the view in the same order as in the document that contains
them.
6 Type When Traced criteria, if applicable. The When Traced option is available only
when trace to or trace from attributes are queried. For hierarchical requirements,
traceability queries automatically include the parent if the child participates in a
traceability relationship. You cannot query for suspect hierarchical relationships,
and you cannot create a traceability query between two external requirements.
7 Click OK. The Query [Row/Column/Root] Requirements dialog box opens again.
8 To add other query criteria, click Add and repeat Steps 3 through 7.
(The logical operator and is assumed between multiple attributes.)
9 Select the Retain Hierarchical Display check box to include the parents of filtered
child requirements in the view, even if the parent requirements do not match the
filter criteria you specified in the query.
(For more information about parent-child requirements, see Working with Hierarchy
on page 135.)
10 Click OK.
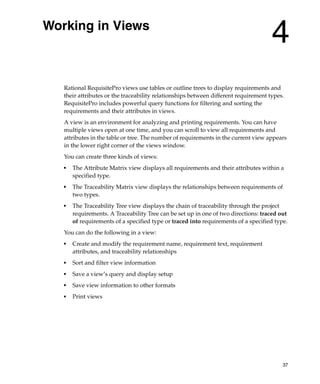
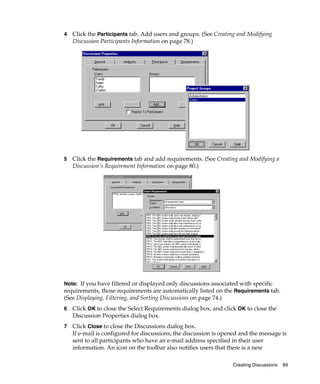
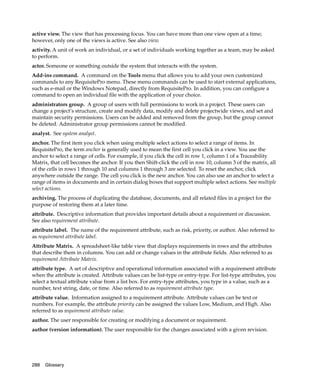
Creating and Modifying Sort Order for Queries
The default sort order in a view is ascending by requirement tag. When you create a
query that includes multiple query criteria, you can sort the criteria to determine the
order in which the requirements are sorted when you query the active view. You can
also modify the sort order after you have created a query.
1 Open an Attribute Matrix, Traceability Matrix, or Traceability Tree.
2 Click View > Query [Row/Column/Root] Requirements. (The command displayed in
the View menu depends on the view type you selected in Step 1.)
The Query [Row/Column/Root] Requirements dialog box opens.
3 To move criteria higher in the list, select the criteria and click Move Up. The criteria
at the top of the list are applied first. To move criteria lower in the list, select the
criteria and click Move Down. The criteria at the bottom of the list are applied last.
4 Click OK.
In an Attribute Matrix, you can temporarily sort requirements by attribute value.
Right-click the attribute label and click Sort Ascending or Sort Descending on the
shortcut menu. When you save a view, this sorting is not saved.
58 Chapter 5 - Querying and Searching](https://image.slidesharecdn.com/reqprouser-120329094807-phpapp02/85/Reqpro-user-78-320.jpg)
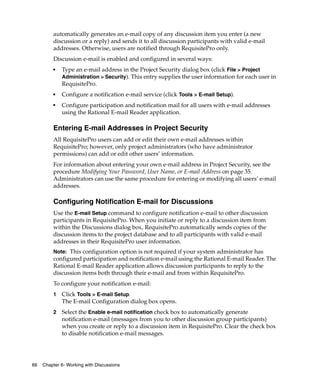
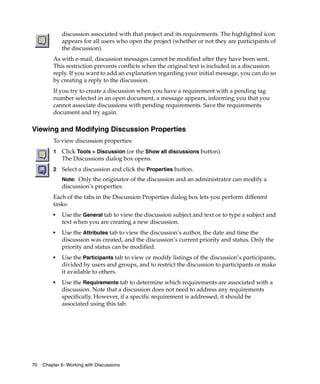
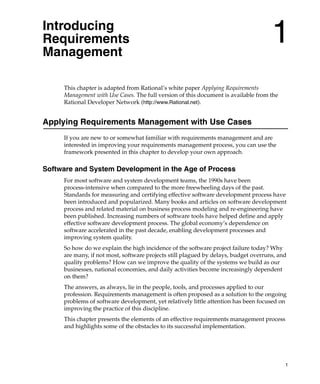
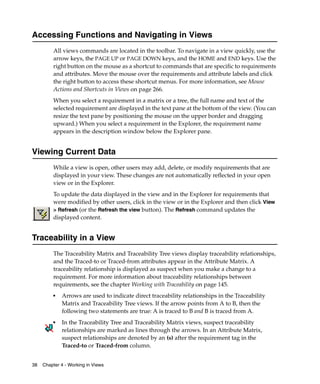
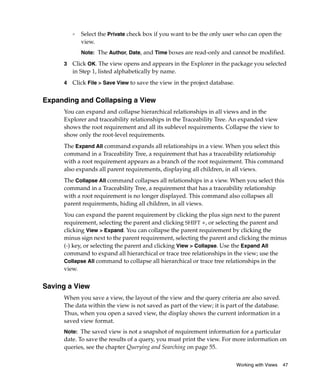
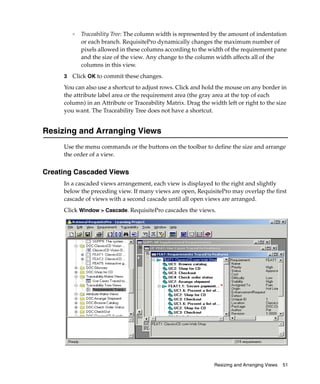
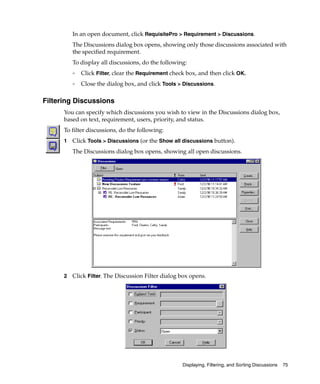
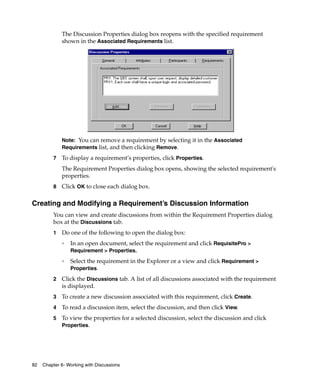
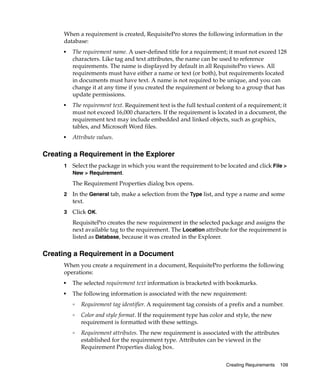
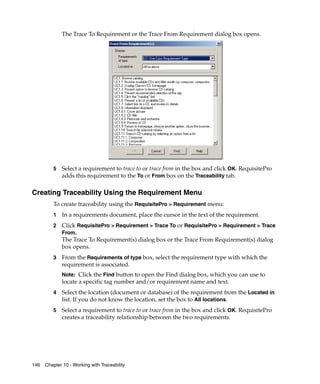
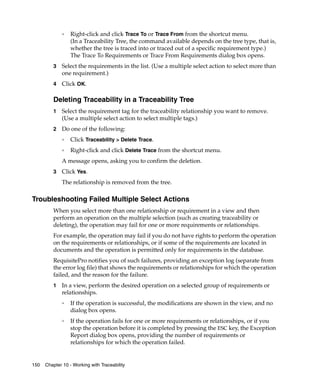
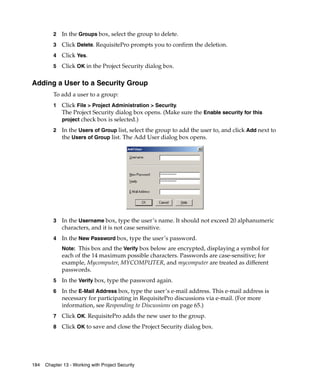
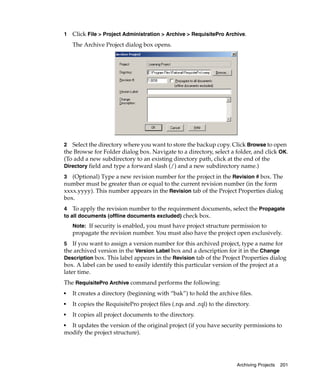
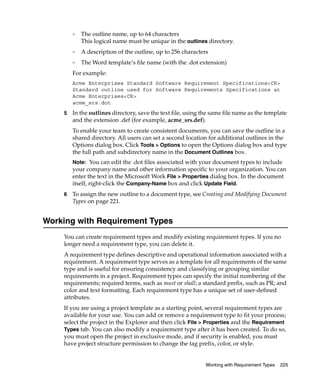
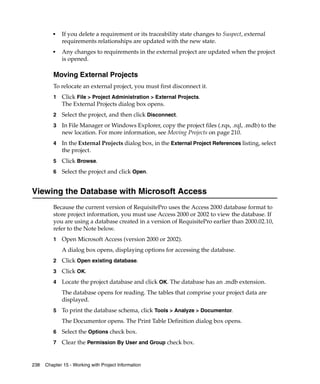
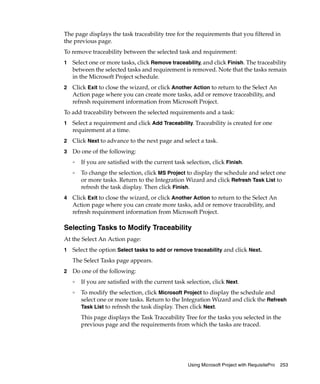
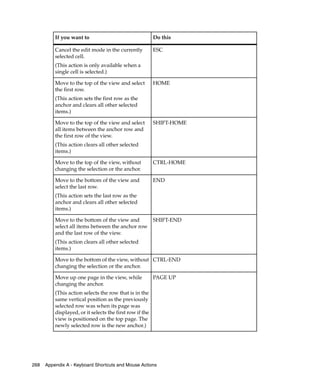
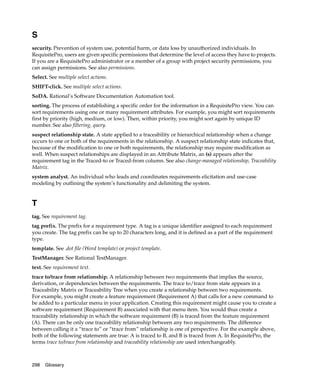
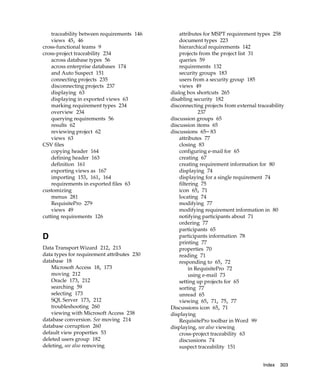
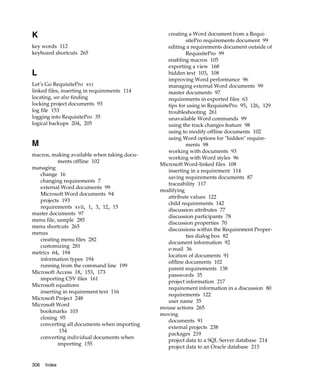
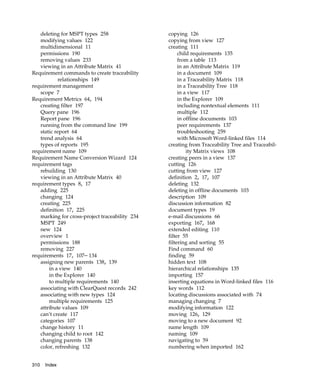
![The Discussion Response dialog box opens.
The default subject is “RE: [previous discussion item's subject].” You can change
the subject.
4 Type your response.
The text automatically wraps at the end of each line you type. You can use CTRL-C
to copy selected text from another application or document and CTRL-V to paste it
into the response text box. Text formatting, such as bold and underline, is not
available in the Discussion Response dialog box. You cannot attach files to the
response.
5 Click OK. The Discussions dialog box opens again. RequisitePro updates the
associated project and discussion and then sends your response to all participants
who have an e-mail address specified in their user information.
Responding to Discussions Using E-mail
You can respond to a discussion using your e-mail application. Depending on
whether your system administrator has enabled participation e-mail using the
Rational E-mail Reader, one of two conditions apply:
■
If participation e-mail is enabled, your reply is delivered to all discussion
participants and stored in the RequisitePro database. It is then accessible from
within RequisitePro.
■
If participation e-mail is not configured, your reply is delivered to the recipients
you select, but it is not stored in the RequisitePro database.
To respond to a discussion using your e-mail application:
1 In your e-mail application, open the message containing the discussion item to
which you wish to reply.
2 Select the reply option.
Responding to Discussions 73](https://image.slidesharecdn.com/reqprouser-120329094807-phpapp02/85/Reqpro-user-93-320.jpg)


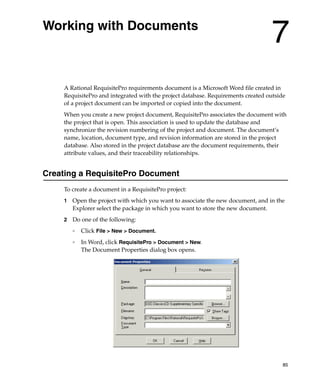


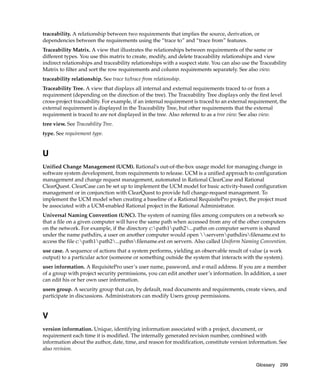
![5 To save your changes, click RequisitePro > Document > Save.
RequisitePro saves the document, updates the database, and assigns a requirement
number to the requirement (in place of the Pending tag). The Location attribute for
the requirement is listed as the name of the document.
Note: If you press ENTER after a marked requirement, the requirement style (such as
double underline) and color are carried to the next line. Press CTRL and the SPACEBAR
before typing, and the Word style is reset to Normal.
Creating Multiple Requirements from a Range of Text
Click RequisitePro > Requirement > New Wizard to create multiple requirements from a
range of selected text in a document. When you select this command, the New
Requirements Wizard opens. You specify the keywords to use for the requirements
and indicate whether the requirements are in sentences or a paragraph.
RequisitePro uses three methods to distinguish individual requirements in the
selected range of text:
■
Key words. RequisitePro searches for a specific word, such as shall (the default) or
any word you specify in each sentence or paragraph (according to the options you
select).
■
Text delimiters. RequisitePro searches for text contained within specific text
delimiters, such as < >, { }, [ ], BEGINREQ ENDREQ. You can designate text to become
a requirement by surrounding the text with any delimiters you choose. We
recommend you use a different character on each end of the text, such as open and
close brackets [ ].
■
Word style. RequisitePro searches the text for specified style settings, such as
“Heading 1” or “Body text” or highlighted text. The styles in your current
document outline are loaded into the Styles box.
To create requirements from a range of text:
1 In the document, select the text you want to identify as requirements.
2 Click RequisitePro > Requirement > New Wizard.
The New Requirements Wizard opens.
3 Select a requirement type to apply to the requirements.
4 Click Set Defaults to open the Set Requirement Defaults dialog box, where you can
enter default attributes, hierarchy, traceability, and a change description for the
requirements you create. Then click OK.
112 Chapter 8 - Working with Requirements](https://image.slidesharecdn.com/reqprouser-120329094807-phpapp02/85/Reqpro-user-132-320.jpg)
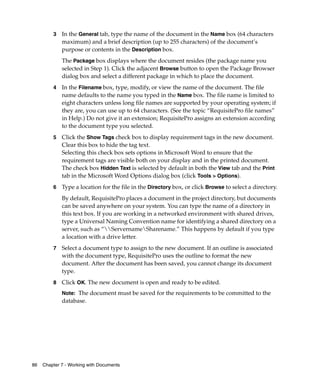
![Occasionally, you may want to include requirements of multiple types in a single
document. For example, any sentence containing the word shall could become a
product requirement, and any sentence containing the word will could become a
software requirement. As you create search criteria in the step below, you can use
the Requirement Type list to select which requirement types you want to apply.
5 Click the Set Defaults button to open the Set Requirement Defaults dialog box,
where you can enter default attributes, hierarchy, and traceability and type a
change description for the requirements you import.
6 Mark one of three methods for differentiating or parsing the Word document. The
Import Wizard finds strings of text in the Word document and imports them into
the project as requirements.
❑
Keywords. Import Wizard searches the Word document for a specific word, such
as shall (the default). Type keywords in the Keywords box and click Add to add
the keywords to the requirements criteria field. Select the Match case check box
to make the keyword match the case of the text you enter in the Keyword box, or
select the Use * as wildcard check box if you want to use the * as a wildcard
character in the Keyword box. Enter the word and click Add.
If you want to create requirements from the selected text for each sentence or
for each paragraph without parsing based on a keyword, type only an * and
select the Use * as wildcard check box.
❑
Text delimiters. The Import Wizard searches the Word document for text
contained within specific text delimiters, such as < >, { }, [ ]. When you have
entered both the starting and ending delimiters, click Add.
❑
Word styles. The Import Wizard searches the Word document for specified style
settings, such as “Heading 1” or “Body text” or highlighted text. Select the
appropriate styles and click Add.
You do not need to limit the search to one criteria only. You can add keywords,
text delimiters, and Word styles to the search list by marking each button in
turn. Use Remove to delete a criteria from the search list.
7 Click Next to continue.
RequisitePro parses the document using the differentiation methods you selected.
When a requirement is located, the Requirement found dialog box opens.
8 Indicate whether the text found is a valid requirement: Click Yes or No for each.
Choose Yes to all to automatically accept all requirements found in the document.
Each requirement is added to the Requirements to import box on the Import
Wizard screen. Each new requirement begins with a pending tag, followed by the
initial text of the requirement.
When you are satisfied with your selection, click Next to continue.
The Import Wizard displays the final Status screen.
Importing from Word 159](https://image.slidesharecdn.com/reqprouser-120329094807-phpapp02/85/Reqpro-user-179-320.jpg)

![Updating Attributes of Existing Requirements
The new imported requirement attributes overwrite the requirement attributes in the
open project. The text of the imported requirements is not imported. You can accept or
delete the requirements before importing them.
1 In the Select A Resolution dialog box, select Update attributes of existing
requirements and click Next.
The Requirements to Import screen opens. The list box shows tag numbers,
followed by the comment: [text will not be imported].
2 Review requirements in the list and revise the list as needed:
❑ Click the View button to access the Edit Imported Requirements dialog box.
❑ Click the Remove button to remove requirements from the list and store them in
the Add requirements dialog box.
3 Click Next. The Import Wizard displays the final Status screen.
4 Click Commit to accept the import, or click Cancel to cancel the import in its
entirety.
Exporting Requirements
Requirements are exported from RequisitePro in views.
■
Attribute Matrixes and Traceability Trees can be exported as CSV files or as
Microsoft Word documents.
■
Traceability Matrixes can be exported as CSV files only.
Setting view properties for requirement text and name affects what is exported. If the
requirement text and name are not displayed in the view, they are not exported. If you
have queried the view, only the filtered requirements are exported.
Exporting a View as a CSV File
As described in Importing a CSV File on page 161, a CSV file is a data file consisting of
fields and records, stored as text, in which the fields are separated from each other by
commas. If the data in a field contains a comma, the field is further surrounded with
quotation marks.
Depending on the view (which is exported as an ASCII file), each requirement is
exported with the requirement tag, followed by the requirement text, requirement
name, and requirement attributes.
■
From an Attribute Matrix, the tag, name, text, and attributes displayed are
exported.
Exporting Requirements 167](https://image.slidesharecdn.com/reqprouser-120329094807-phpapp02/85/Reqpro-user-187-320.jpg)


![1 To save the current report, click File > Save Report As.
The Save As dialog box opens.
2 Browse to a directory and type a file name for the report. Click Save.
Requirement Metrics saves the report, including all queries and settings, to a *.rqm
file.
Opening and Editing a Saved Report
1 To open a saved report, click File > Open Report.
The Open dialog box opens.
2 Browse to a directory, select a saved report (with a .rqm extension), and click Open.
Note: When you edit saved reports and change any of the requirement types or
attributes, the saved report may become obsolete. An error message is displayed if
you try to run an obsolete report.
Running from the Command Line
You can run Requirement Metrics from the command line outside of RequisitePro.
Click the Start button on the taskbar and choose the Run command.
The command line syntax is:
rqmetricsgui.exe ReportFile [user:=Username] [pass:=Password] [save:=Filename]
If any element of an argument contains any spaces, then you must enclose the entire
argument in double quotes.
Include the full path of the rqmetricsgui.exe. Typically this is C:Program
FilesRationalRequisiteProbinrqmetricsgui.exe.
The ReportFile argument should include the path and file name of the .rqm file you
want to run.
The argument user:=Username is required for all projects that have project security
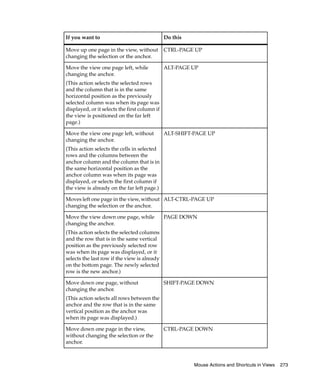
set. If this project has security established, you must use a valid user name for the
project. If this is not a secured project, you must first successfully log into the project.
(This adds your user name to the project.) You can then use the same user name to run
Requirement Metrics from the command line. (Your current user name is specified in
the RequisitePro Options dialog box.)
The optional argument pass:=Password specifies the password needed for the user
name. If either of these arguments is incorrect, you cannot access the project or run the
report you requested.
Using Requirement Metrics 199](https://image.slidesharecdn.com/reqprouser-120329094807-phpapp02/85/Reqpro-user-219-320.jpg)


![To map fields to attributes:
1 In a text editor, open the .rqs file for the project with which you are working.
2 Refer to the next section to locate the task field that you want to map to an attribute
for the MSPT requirement type.
3 In the [MSProjectMappings] section of the .rqs file, enter the following:
field ID=attribute name
where field ID is the field ID listed in the next section, and attribute name is the
label you want to give the attribute in RequisitePro.
4 Save the .rqs file.
The Microsoft Project Integration Wizard creates an attribute for the MSPT
requirement type based on the information entered.
Microsoft Project Field IDs
Use the following Microsoft Project field IDs to map attributes for the MSPT
requirement type in RequisitePro to corresponding constants in Microsoft Project.
Add your entries to the [MSProjectMappings] section in <project name>.rqs file using
a text editor.
Use the format “field ID=attribute name,” where field ID is the numeric constant
listed below and the attribute name is the label you want to give the attribute in
RequisitePro. Field IDs shown in bold are already provided as default attributes for
the MSPT requirement type.
Actual Cost = 28 Actual Duration = 28 Actual Finish = 42
Actual Start = 41 Actual Work = 2 Baseline Cost = 6
Baseline Duration = 27 Baseline Finish = 44 Baseline Start = 43
Baseline Work = 1 BCWP = 11 BCWS = 12
Confirmed = 110 Constraint Date = 18 Constraint Type = 17
Contact = 112 Cost = 5 Cost1 = 106
Cost2 = 107 Cost3 = 108 Cost Variance = 9
Created = 93 Critical = 19 CV = 83
Delay = 20 Duration = 29 Duration1 = 103
Duration2 = 104 Duration3 = 105 Duration Variance = 30
256 Chapter 16 - Integrating with Other Products](https://image.slidesharecdn.com/reqprouser-120329094807-phpapp02/85/Reqpro-user-276-320.jpg)
![Text9 = 69 Total Slack = 22 Unique ID = 86
Unique ID Predecessors = 95 Unique ID Successors = 96 Update Needed = 111
WBS = 16 Work = 0 Work Variance = 3
Deleting Attributes for MSPT Requirement Types
If security is enabled for the project, you must have project structure permission to
remove the MSPT requirement type if you want to delete an attribute for the
requirement type.
To delete attributes:
1 Open the RequisitePro project file (projectname.rqs) with a text editor.
2 In the project file, under the heading [MSProjectMappings], locate the requirement
attribute that you want to delete. Attributes are listed with the Microsoft Project
field ID, followed by an equal sign (=), and the attribute name; for example,
5=Cost.
3 Delete the entire line that contains the attribute. Save and close the project file.
4 Click File > Open Project.
5 Select the project, select the Exclusive check box, and click OK. Log on to the
project, if necessary.
6 Click Tools > Microsoft Project > Integration Wizard.
7 Click Next. Be sure that the current RequisitePro project and related Microsoft
Project are selected. Click Next.
8 Select the option Refresh MSPT information from MS Project tasks. Click Next.
9 After the processing is complete, click Finish. Click Exit and Yes at the confirmation
prompt.
258 Chapter 16 - Integrating with Other Products](https://image.slidesharecdn.com/reqprouser-120329094807-phpapp02/85/Reqpro-user-278-320.jpg)


![Glossary
The terms that follow are used throughout Rational RequisitePro User’s Guide. Most are specific to
RequisitePro.
Special Symbols
.bak file. A backup of a document file. A new .bak file is created in the same directory each time a
document is saved and contains a version of the document before it was saved. You can delete .bak files
at any time; they are created whenever the original documents are saved.
.def file. A file, located in the RequisitePro outlines directory, that specifies information about a
particular document outline used by RequisitePro. This type of file has the following format:
outline_logical_name is the name of the outline (up to 64 bytes); outline_description is a description of
the outline (up to 256 bytes); and outline_filename.dot is the name of the corresponding Microsoft Word
template file. See document outline.
.doc file. A DOS file name extension for Microsoft Word documents.
.dot file (Word template). A DOS file name extension for Microsoft Word template files. A Word
template determines the basic structure for a document, including fonts, menus, special formatting, and
styles. A Word template is associated with a document template, which can be used to create Word
documents in RequisitePro. Document outline information is stored in .def files. You can edit the .dot
files associated with your document types to include your company name and other information specific
to your organization. You can enter the company name and other information in the Microsoft Word
Properties dialog box (click File > Properties). Then in the document itself, right-click the
Company-Name field, and select Update Field (Word template).
.rqs file. A text file, created and updated automatically by RequisitePro, that stores project-specific
information. Every RequisitePro project has an .rqs file, which resides in the project directory. Do not
modify any section of this file, except the [MSProjectMappings] section, as described in RequisitePro
Help.
.~sr file. A text file created for each user who accesses a project. When a user opens a project, a file is
written to the project directory with a unique system-generated file name and an extension of *.~sr. This
file simply records the user ID, the type of access the user has to the project, and a session ID. The
exclusive lock file name will always be exclusive.~sr. All other file names will begin with a prefix that
indicates the type of project access reflected by the user in the project: RO indicates “read only” access,
and RW indicates “read/write” access.
A
active document. The document that has processing focus. You can have more than one document open
at a time; however, only one of the documents is active.
287](https://image.slidesharecdn.com/reqprouser-120329094807-phpapp02/85/Reqpro-user-307-320.jpg)
![B
baseline. A reviewed and approved release of artifacts that constitutes an agreed basis for further
evolution or development and that can be changed only through a formal procedure, such as change
management and configuration control. See also Unified Change Management.
bookmark. A marker inserted at a specific point in a document to which the user may return for later
reference. In Microsoft Word, a bookmark is a location or selection of text named for reference purposes.
Bookmarks are implemented in RequisitePro documents to designate requirement text. Bookmarks are
designated by square brackets, as in the following: [example].
C
change description (version information). Textual information that specifies the justification or
reasoning behind the changes associated with a given revision of a project, document, or requirement.
See also version information.
change-managed relationship. A connection between two requirements that implies dependency or
another type of relationship. RequisitePro tracks two types of change-managed relationships: hierarchical
relationships and traceability relationships. Changes to either of the requirements can cause a “suspect”
condition in the relationship. See also suspect relationship state.
child requirement. A requirement that participates in a hierarchical relationship with a parent
requirement. A child can have only one parent requirement. See also parent requirement, hierarchical
requirement.
circular traceability relationship. A relationship between a requirement and itself, or an indirect
relationship that leads back to a previously traced-from node. Traceability relationships cannot have
circular references. RequisitePro checks for circular references each time you establish a traceability
relationship. RequisitePro also checks for circularity when you create an external relationship. The
circular check references only internal requirements and first-level external requirements.
ClearCase. See Rational ClearCase.
ClearQuest. See Rational ClearQuest.
collapse indicator. See expand/collapse indicator.
cross-project traceability. A RequisitePro feature that allows you to establish traceability relationships
between requirements that reside in different projects. See also external traceability.
CSV file. A comma-separated value text file, commonly used to exchange files between database
systems that use different formats. Sometimes called comma-delimited files, CSV files can be imported into
RequisitePro.
D
deleted users group. A security group of users who have been removed from other groups, have no
permissions, and cannot log on to RequisitePro. This group is maintained by the project administrator
for project history.
dialog box. An interactive window displayed on the screen that solicits a response from the user.
Glossary 289](https://image.slidesharecdn.com/reqprouser-120329094807-phpapp02/85/Reqpro-user-309-320.jpg)


This document is the user's guide for Rational RequisitePro version 2003.06.00. It provides legal notices and copyright information for Rational Software Corporation. The document contains preface information for the audience and references. It also outlines the table of contents which includes chapters on introducing requirements management, introducing Rational RequisitePro, getting around in Rational RequisitePro, and working in views.


![www.webre24h.com - [Wordware] advanced javascript, 3rd ed. - [easttom]](https://cdn.slidesharecdn.com/ss_thumbnails/wordware-advancedjavascript3rded-160421130838-thumbnail.jpg?width=640&height=640&fit=bounds)