This document provides an overview of GUI and Tkinter in Python. It discusses:
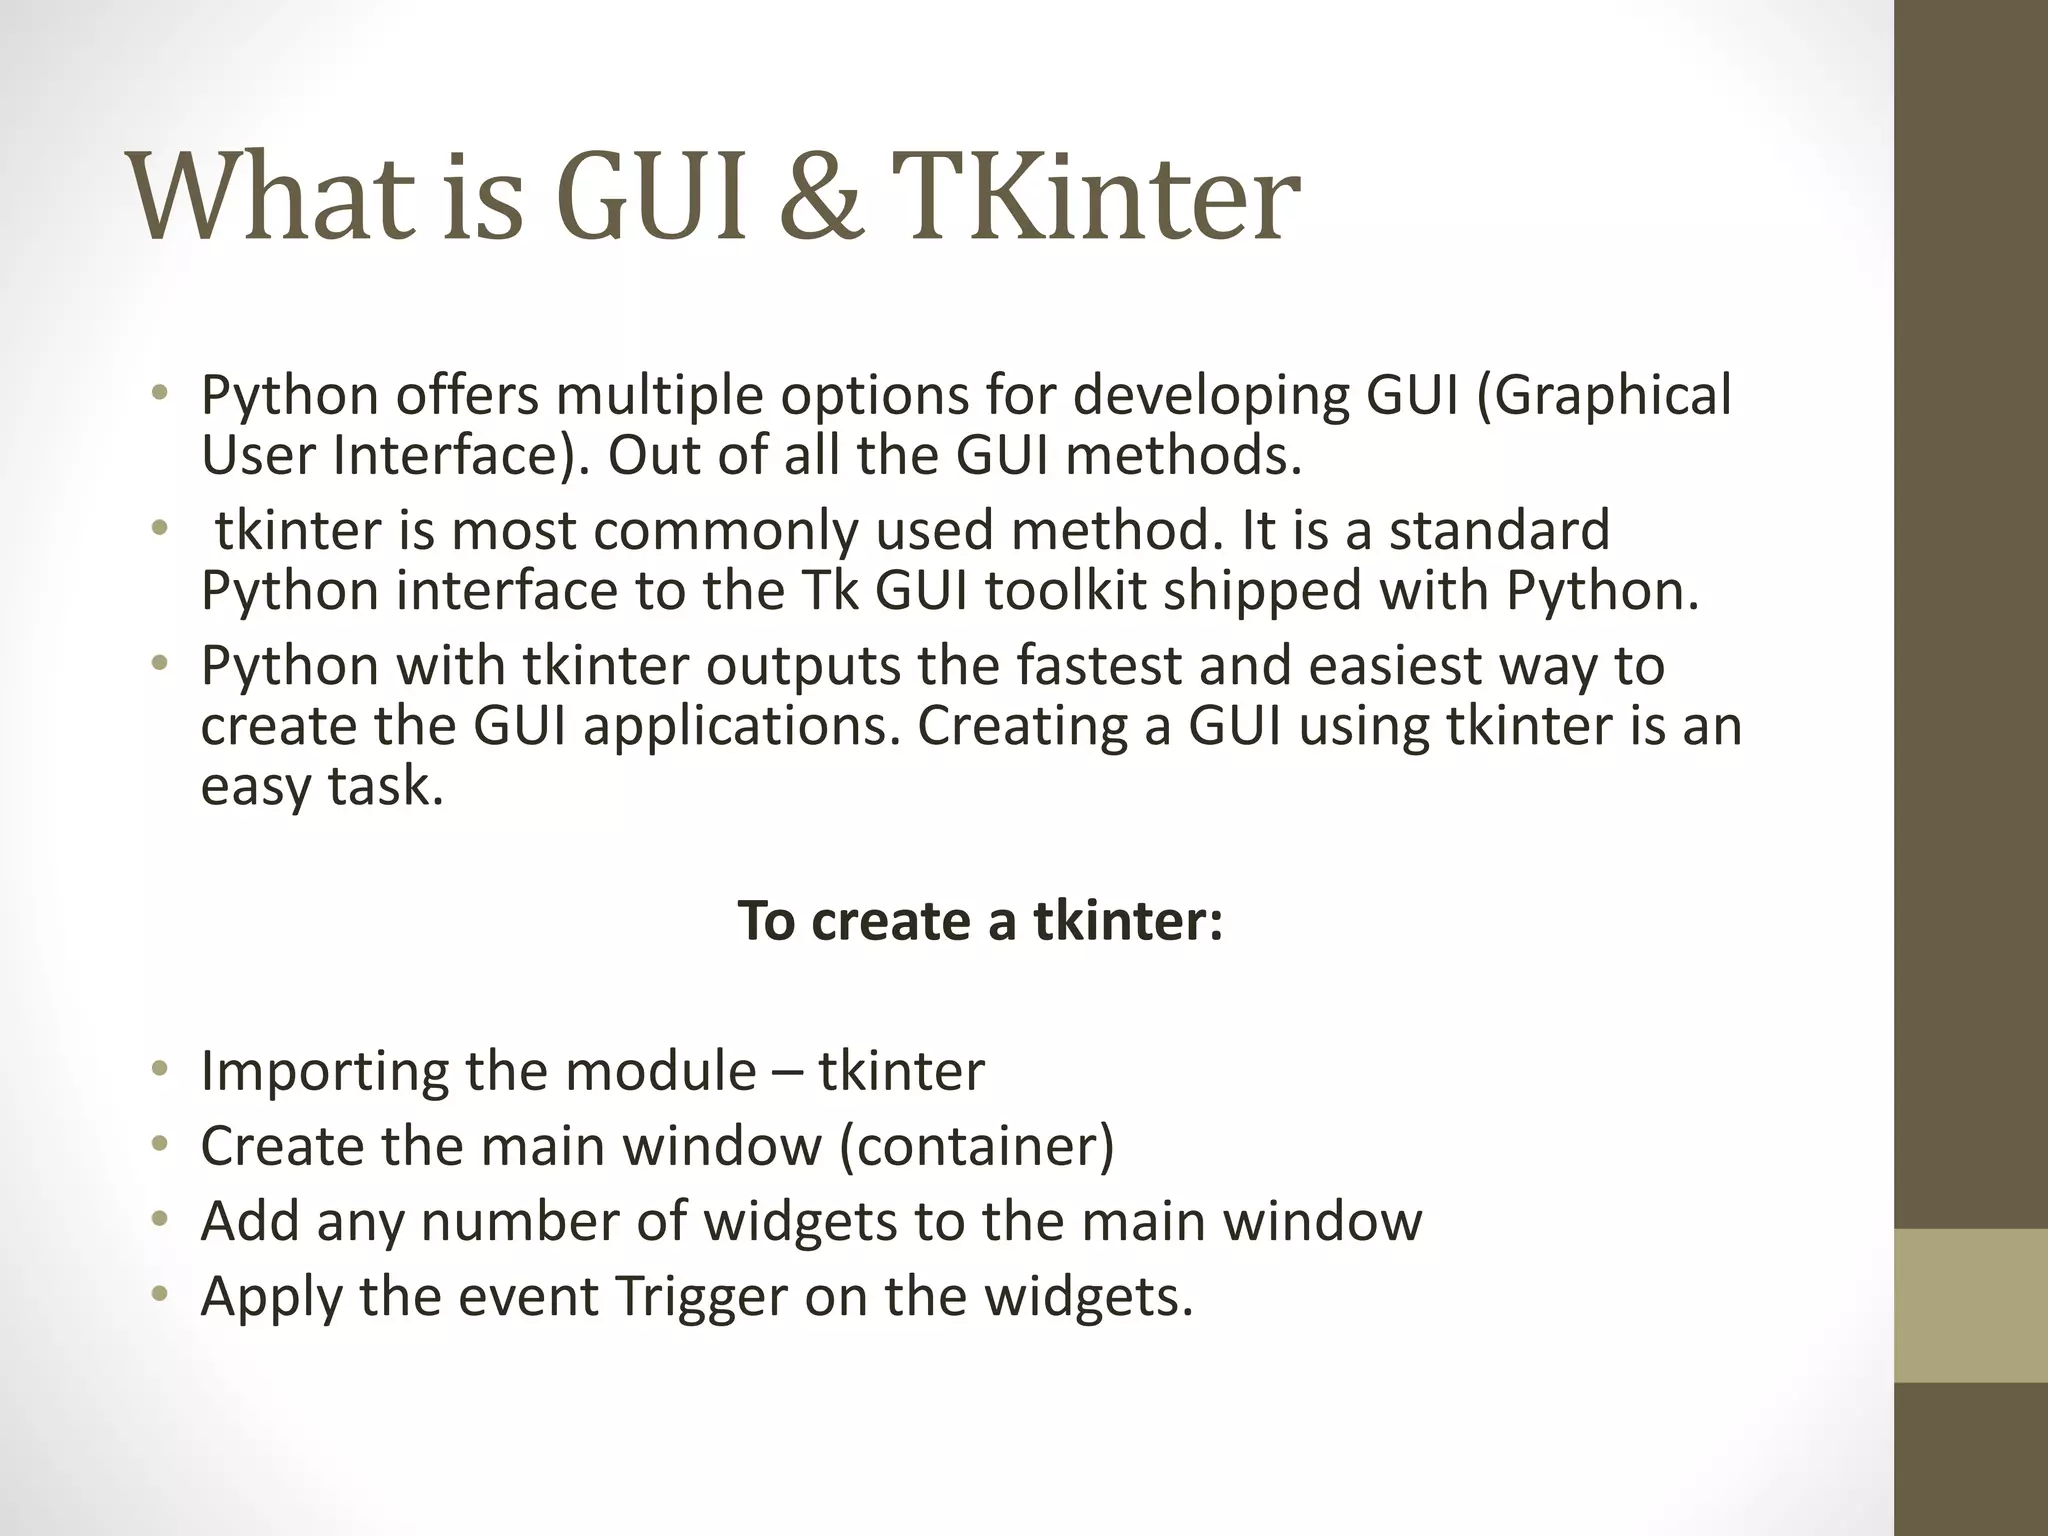
- Tkinter is the most commonly used method for developing GUI applications in Python as it is bundled with Python and offers a simple interface.
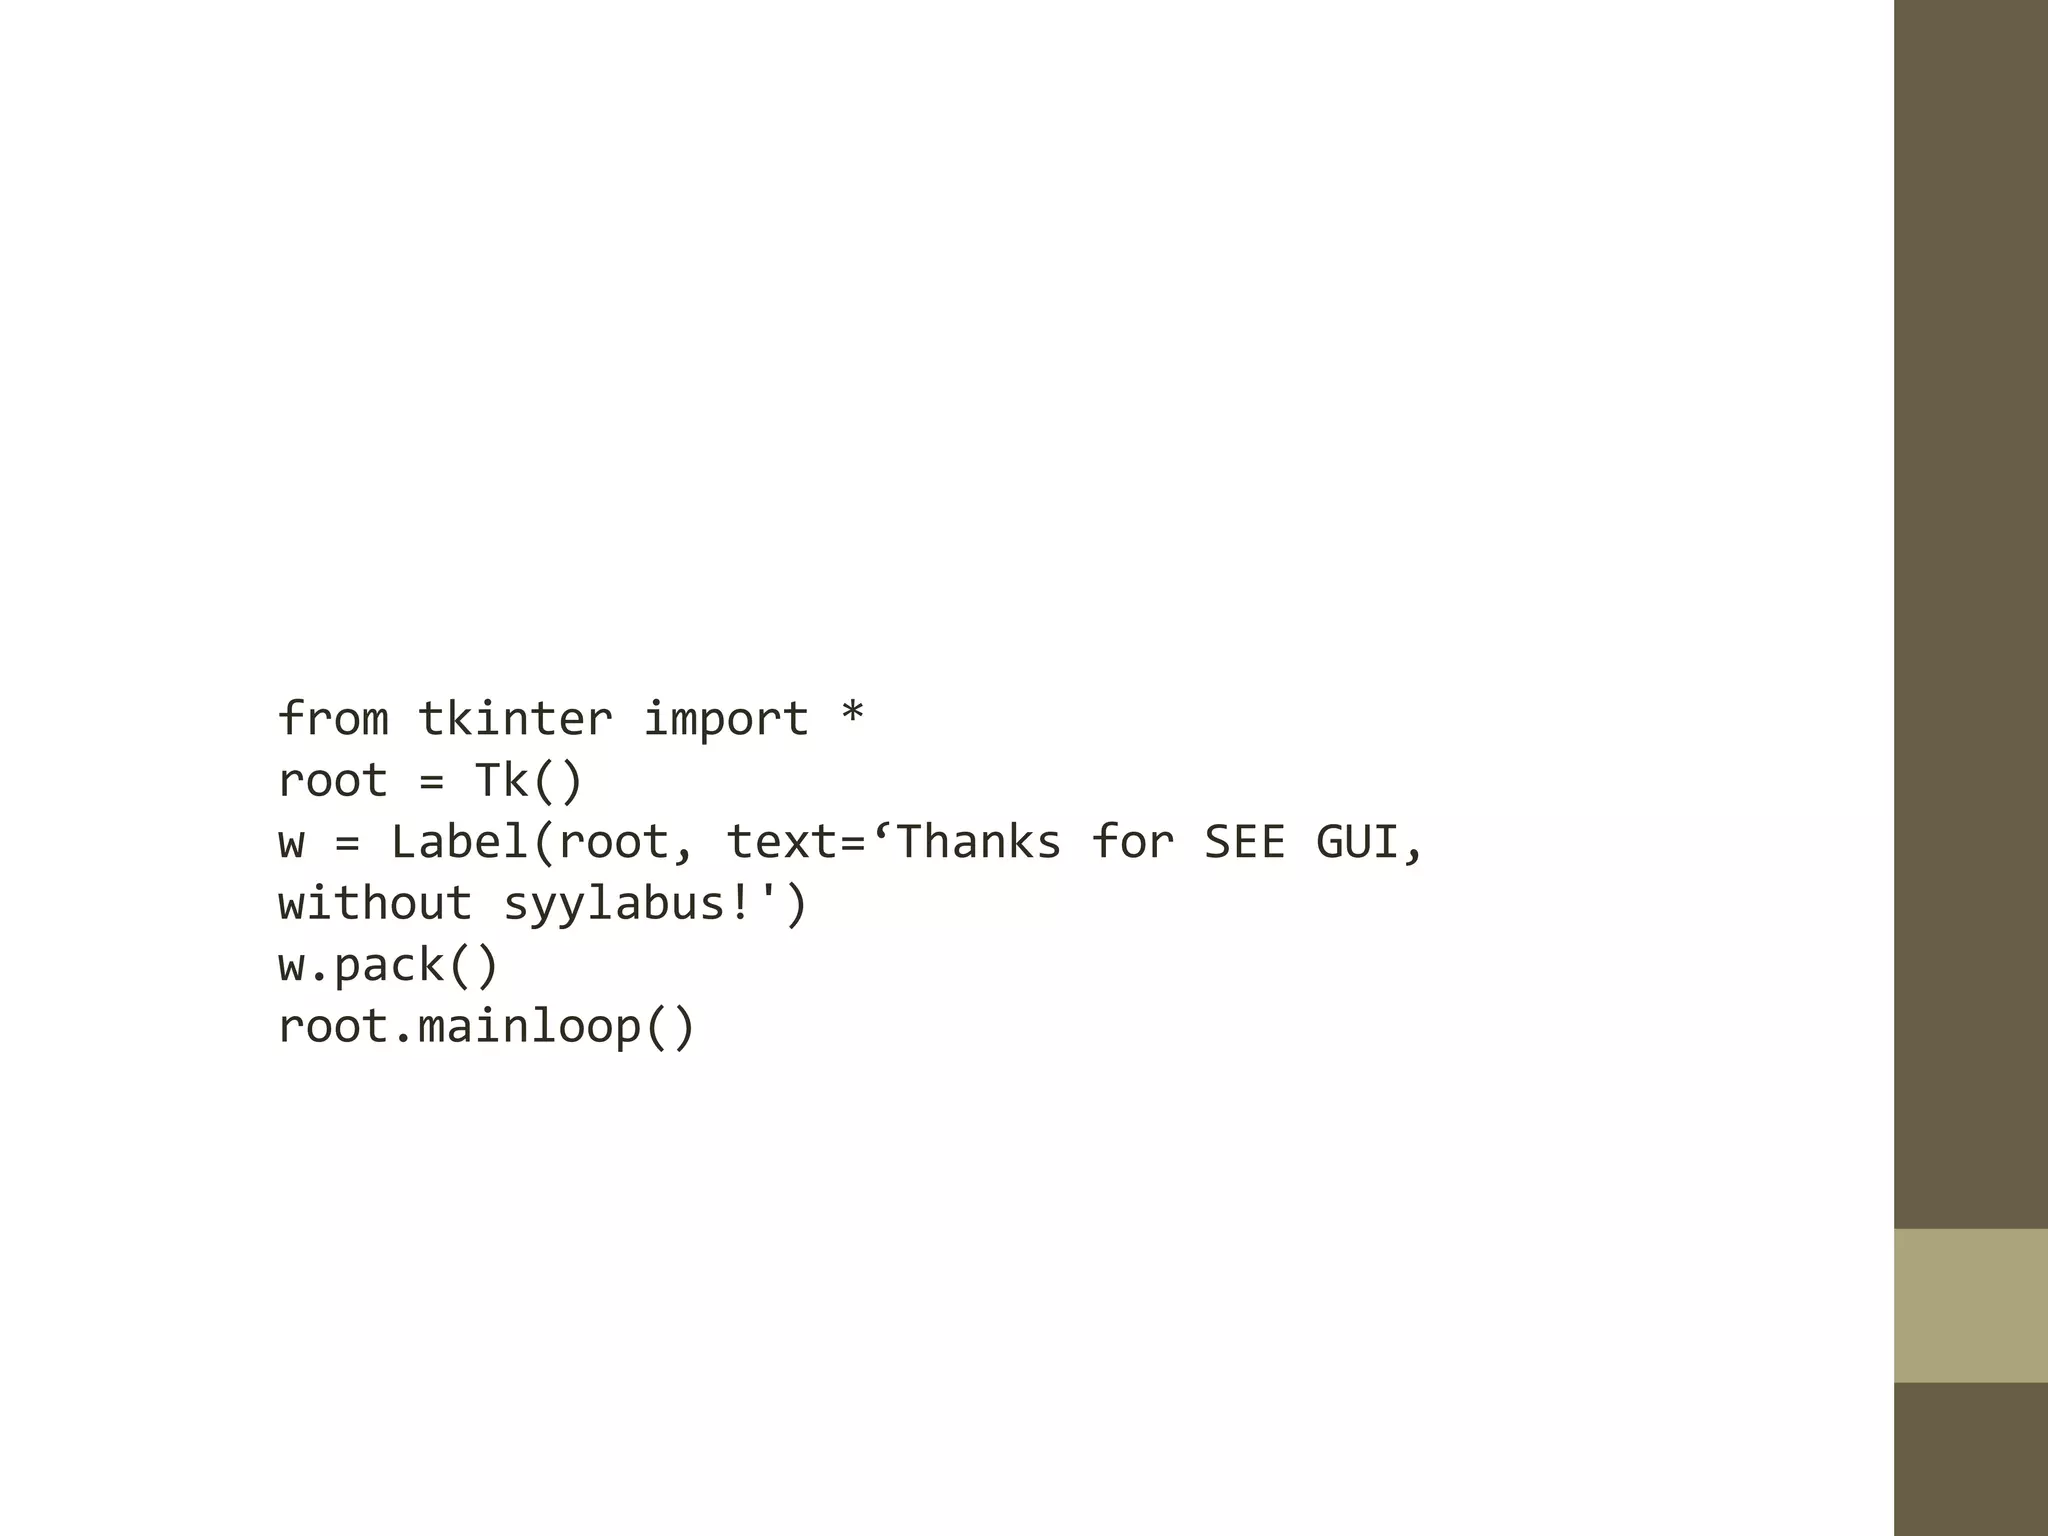
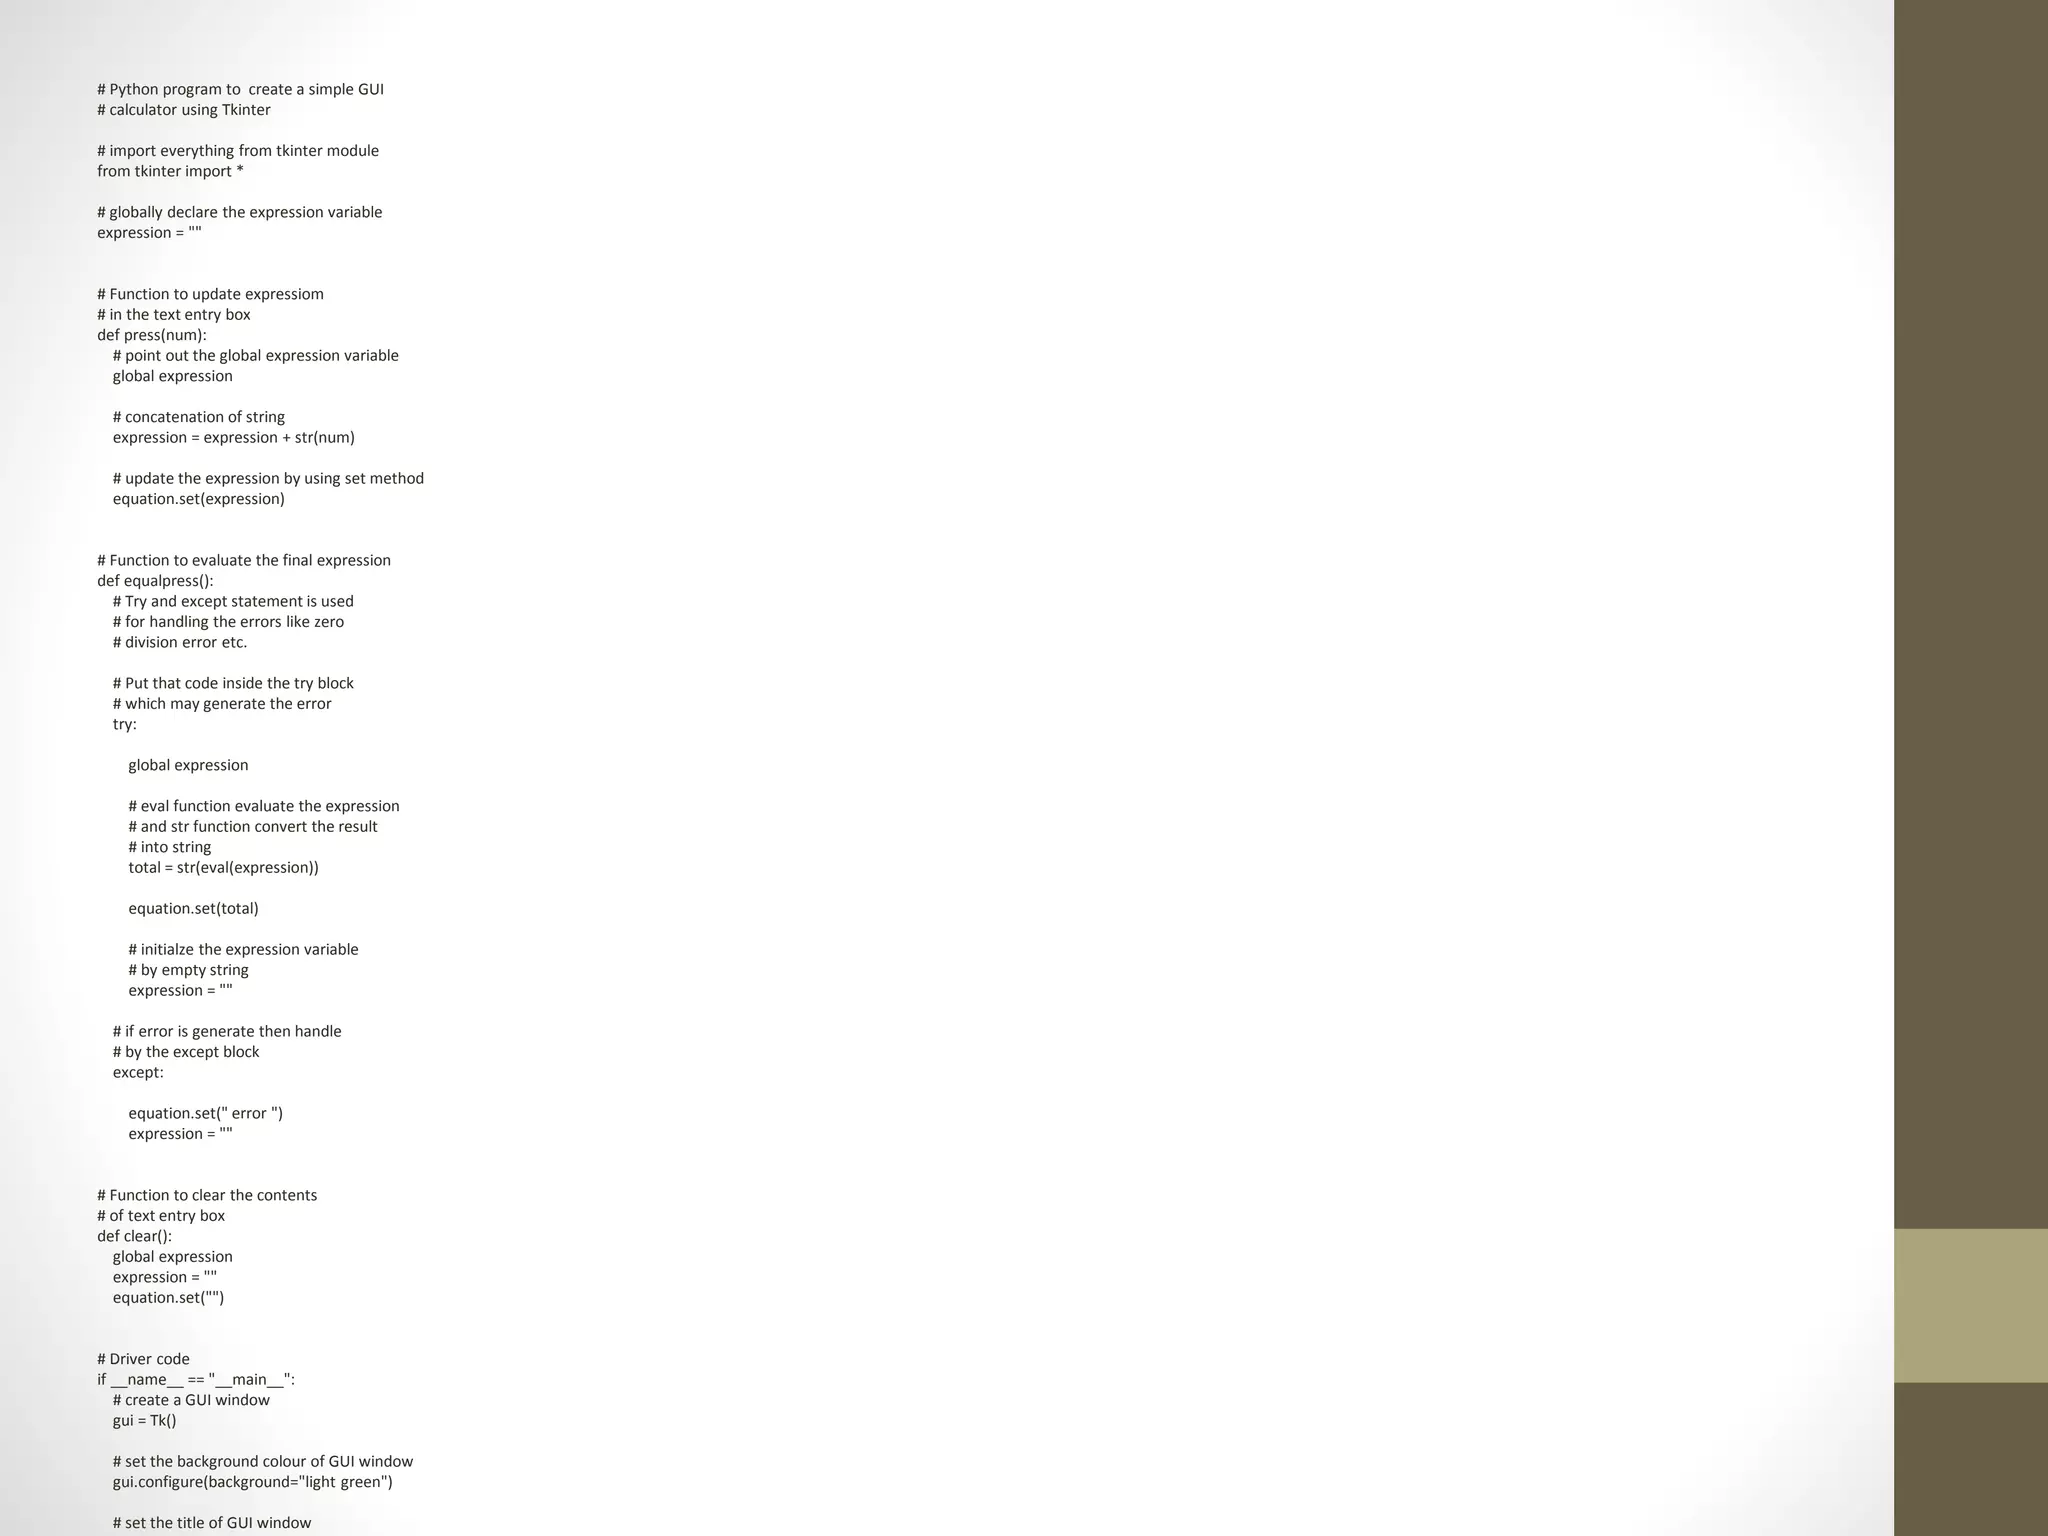
- The main components of a Tkinter application include importing Tkinter, creating a main window container, adding widgets to the window, and applying events to widgets.
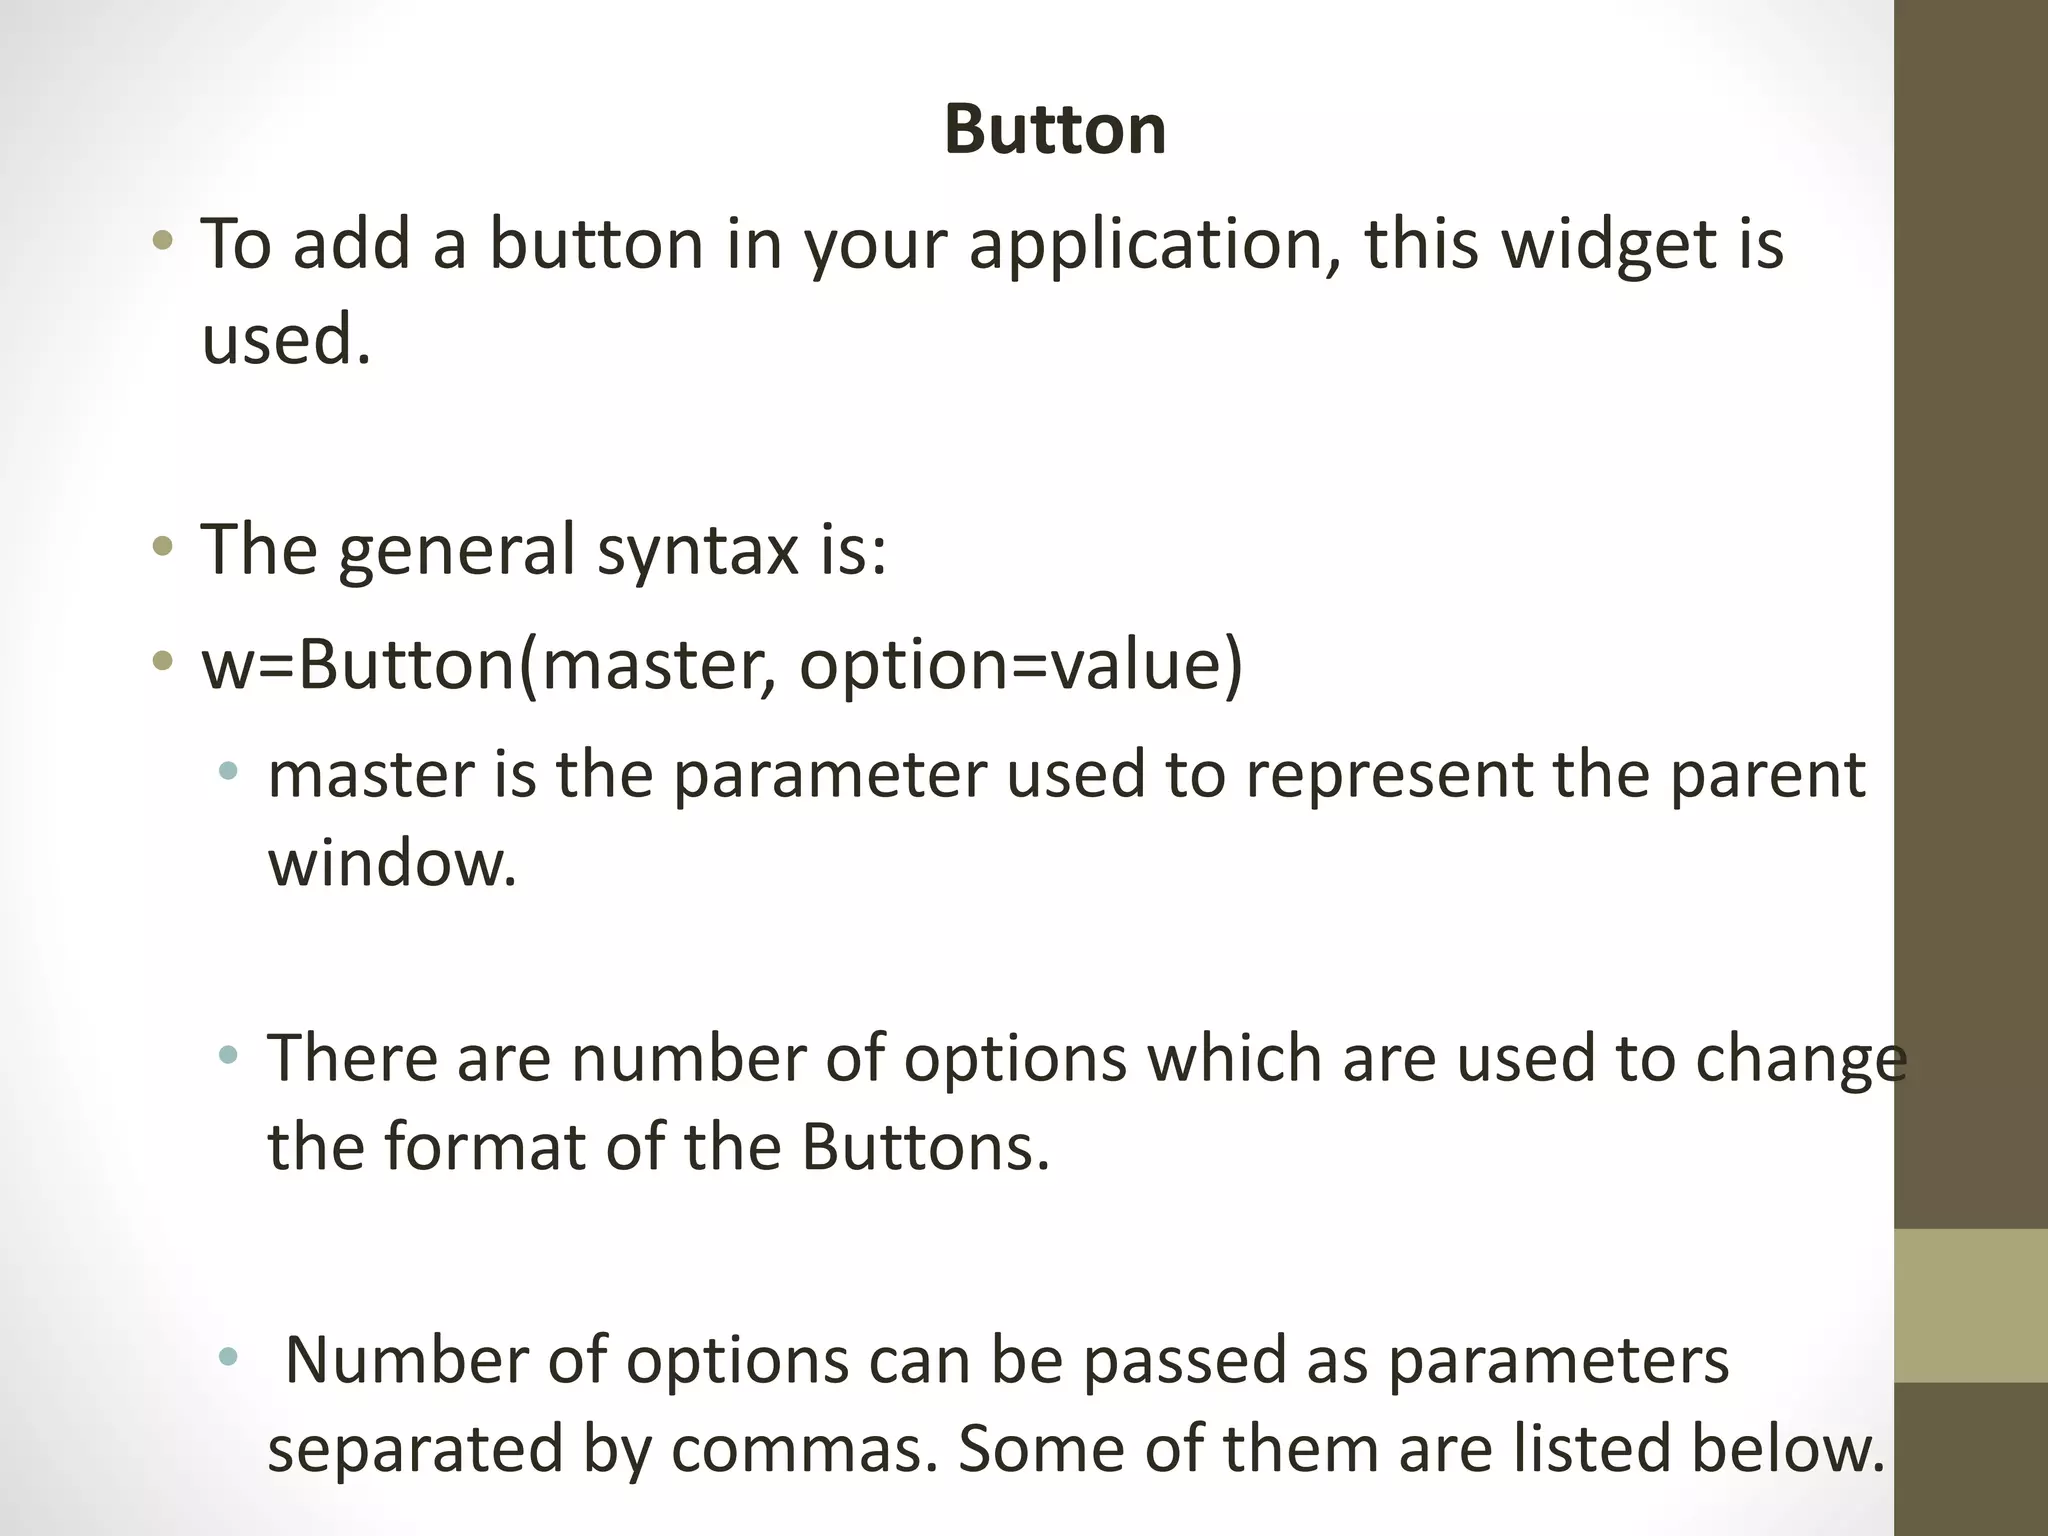
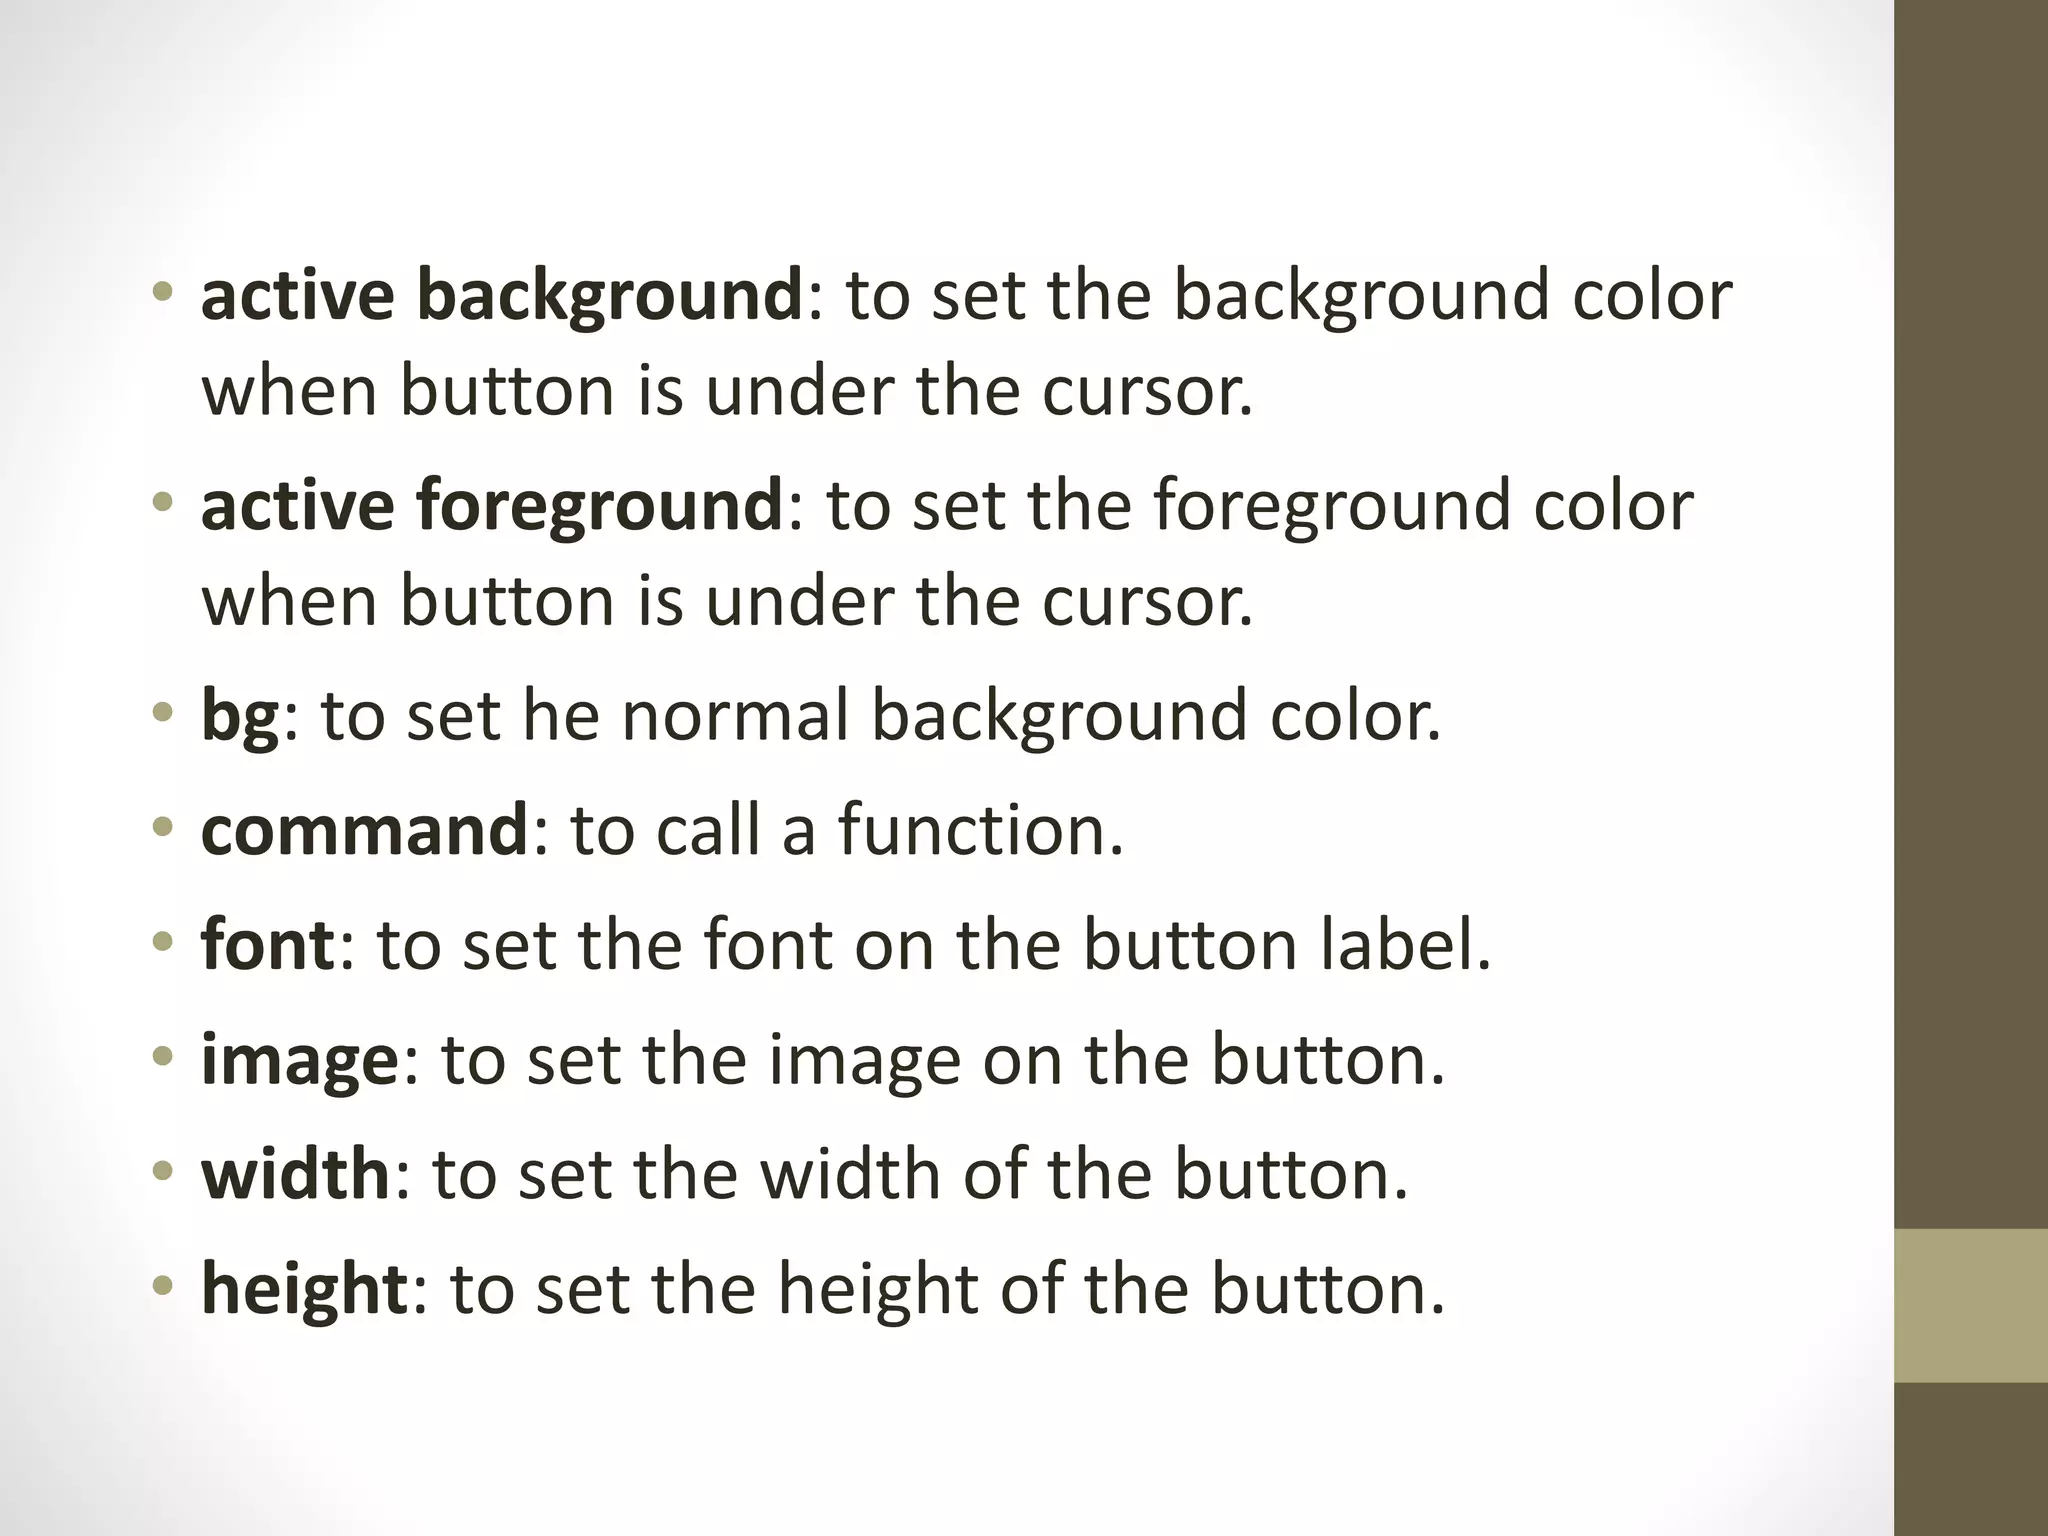
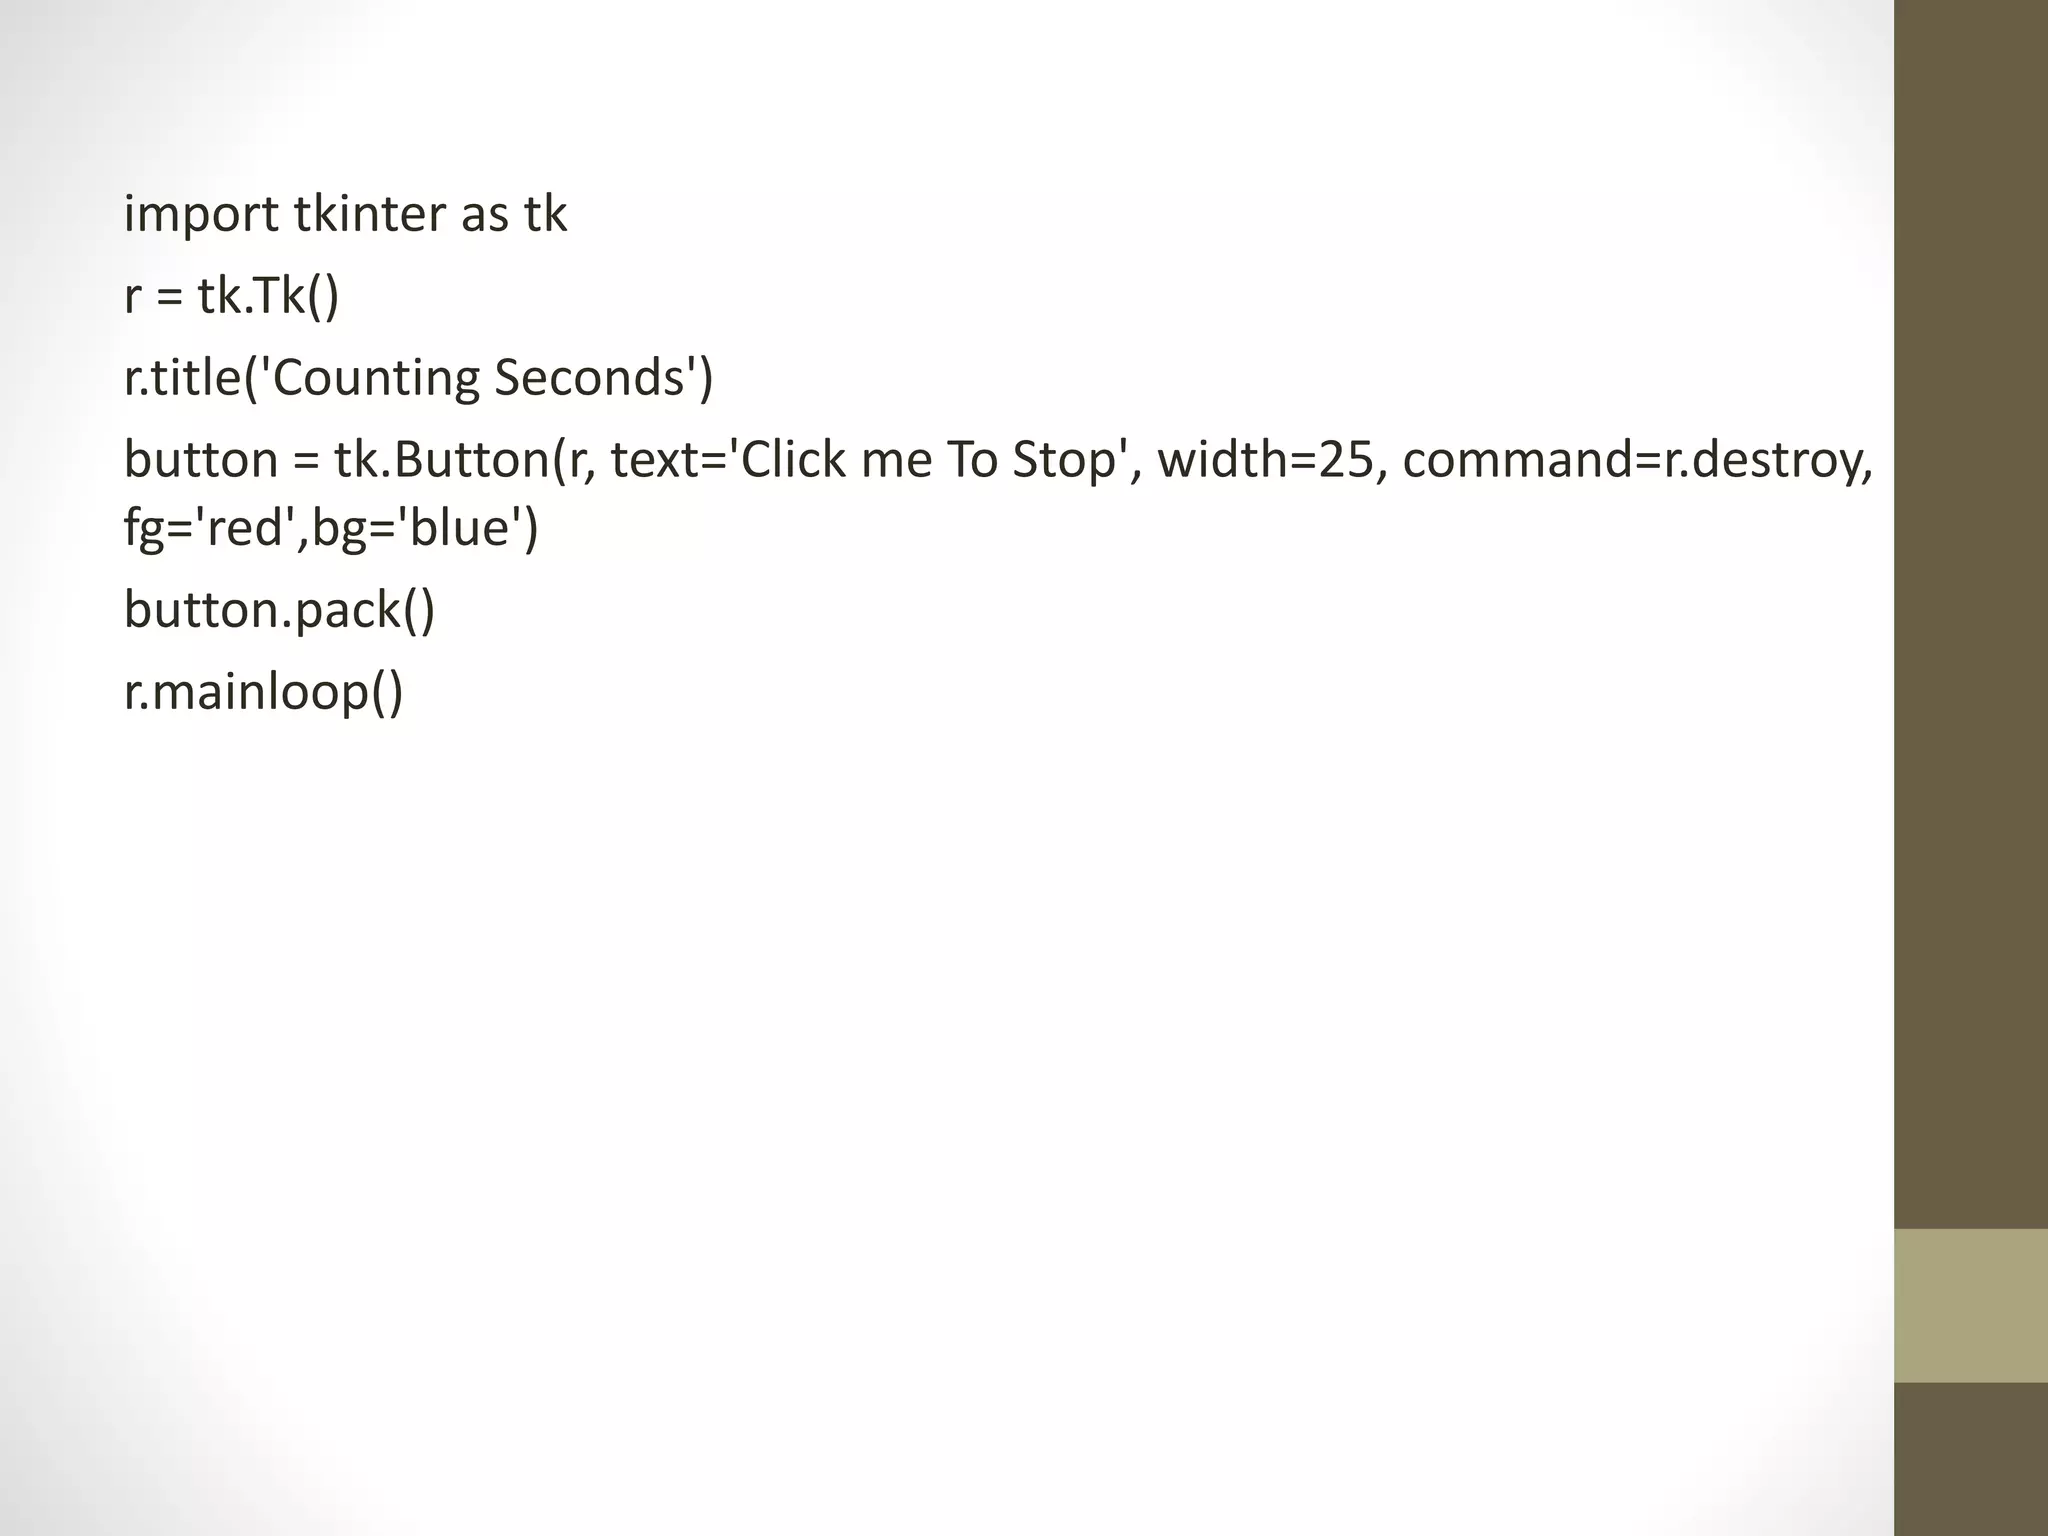
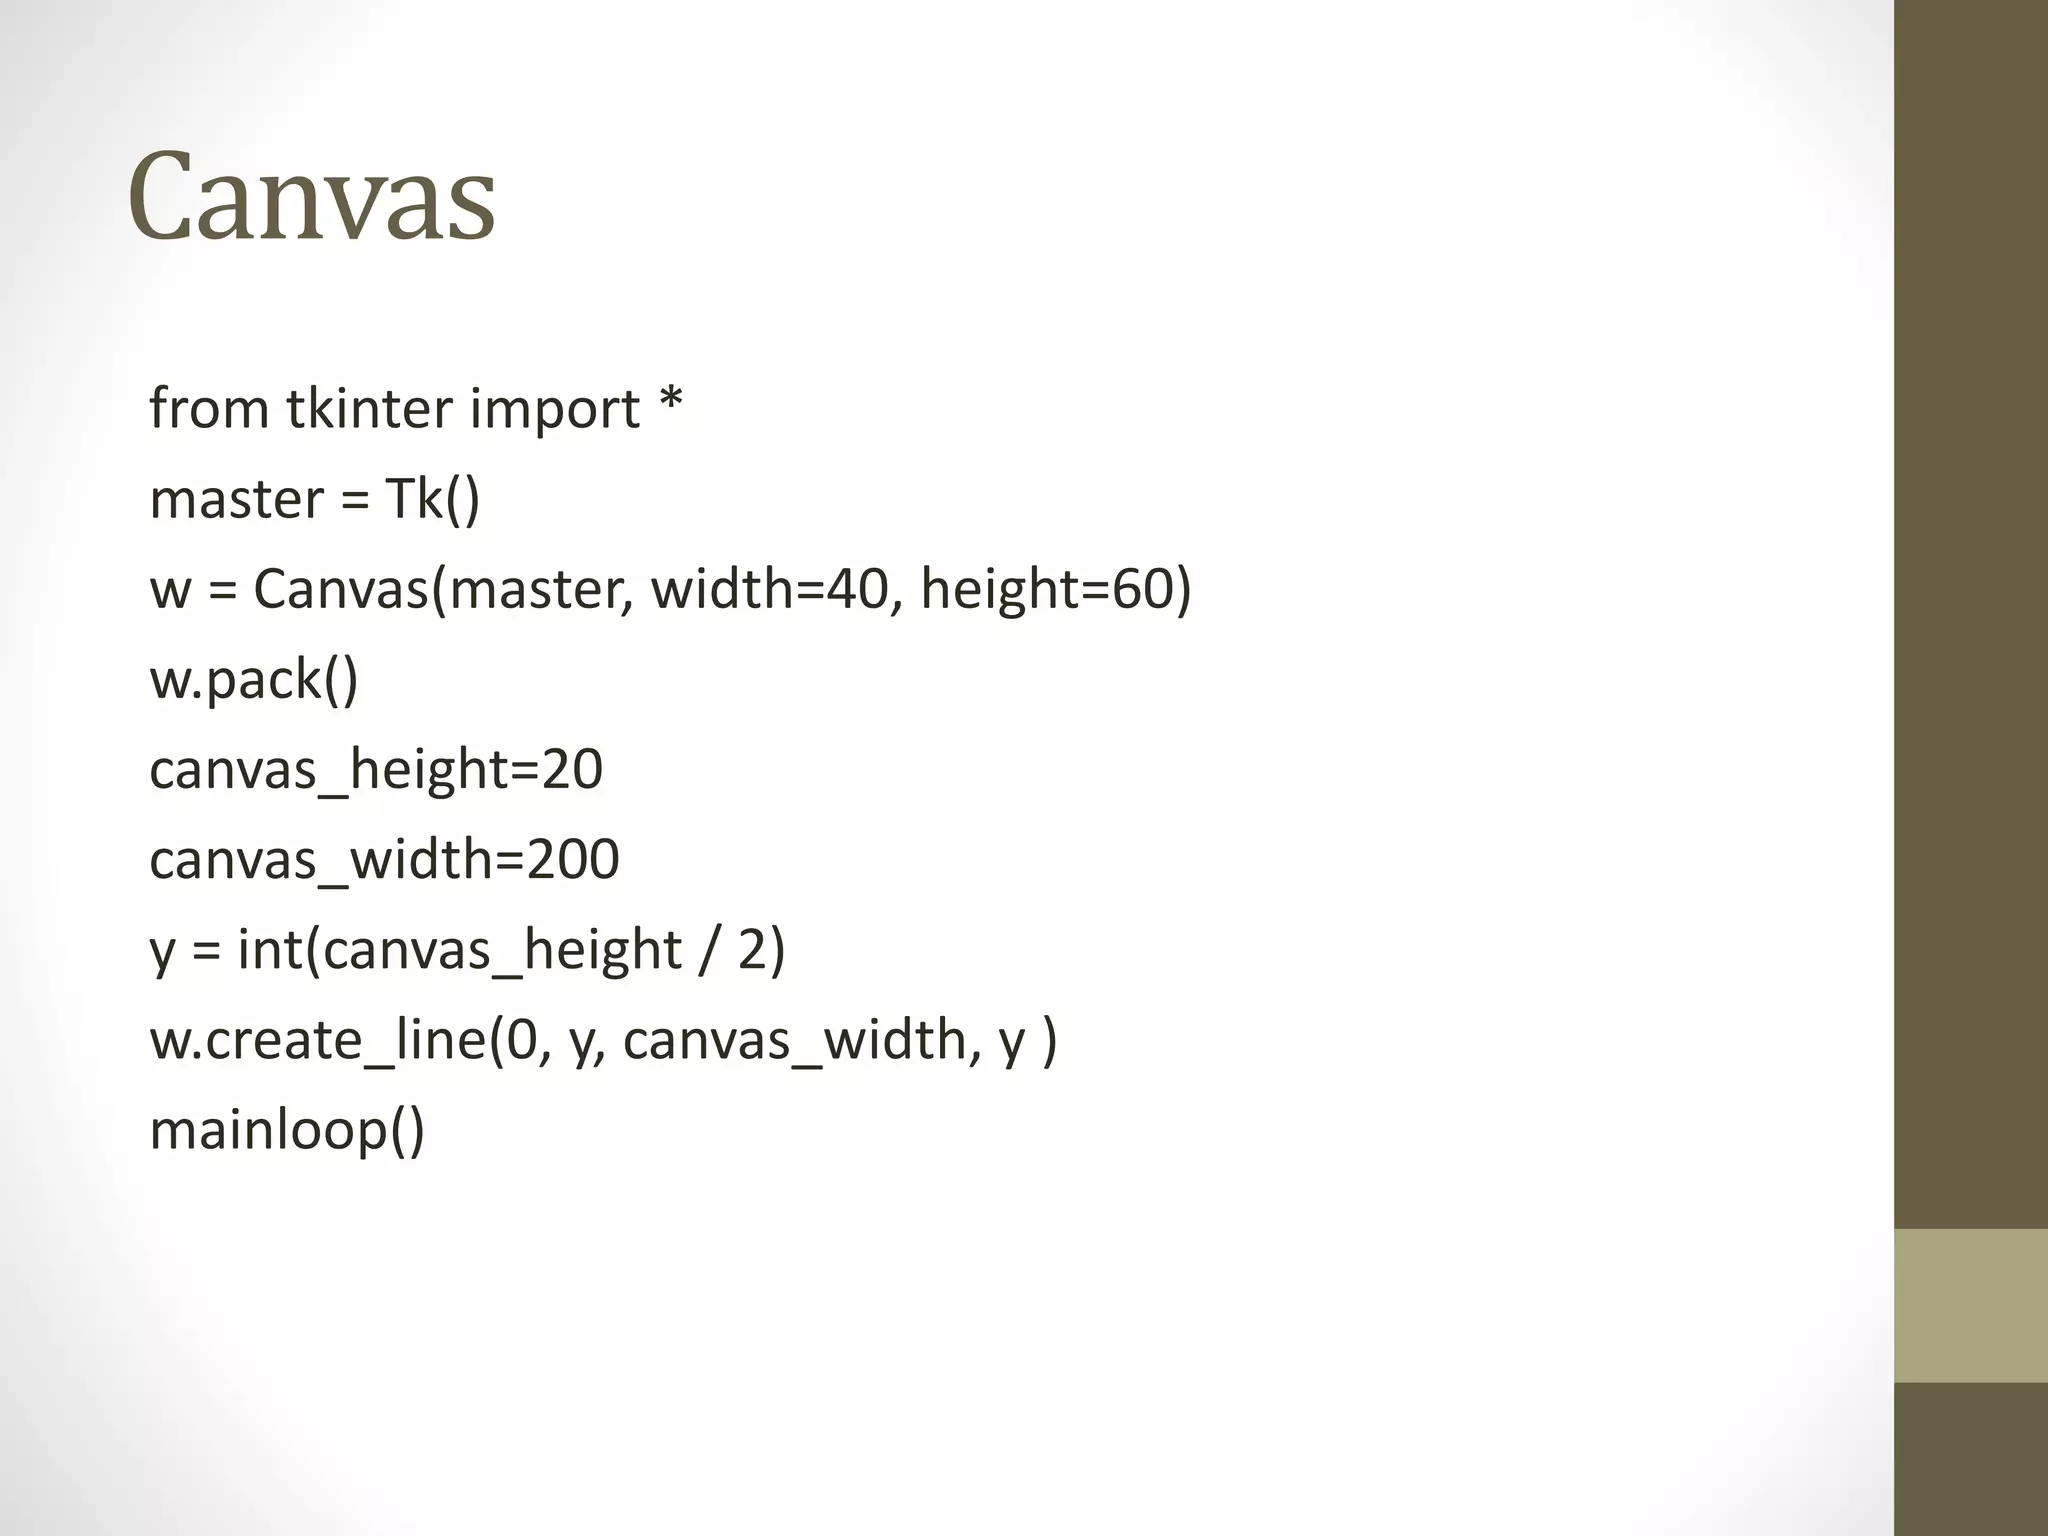
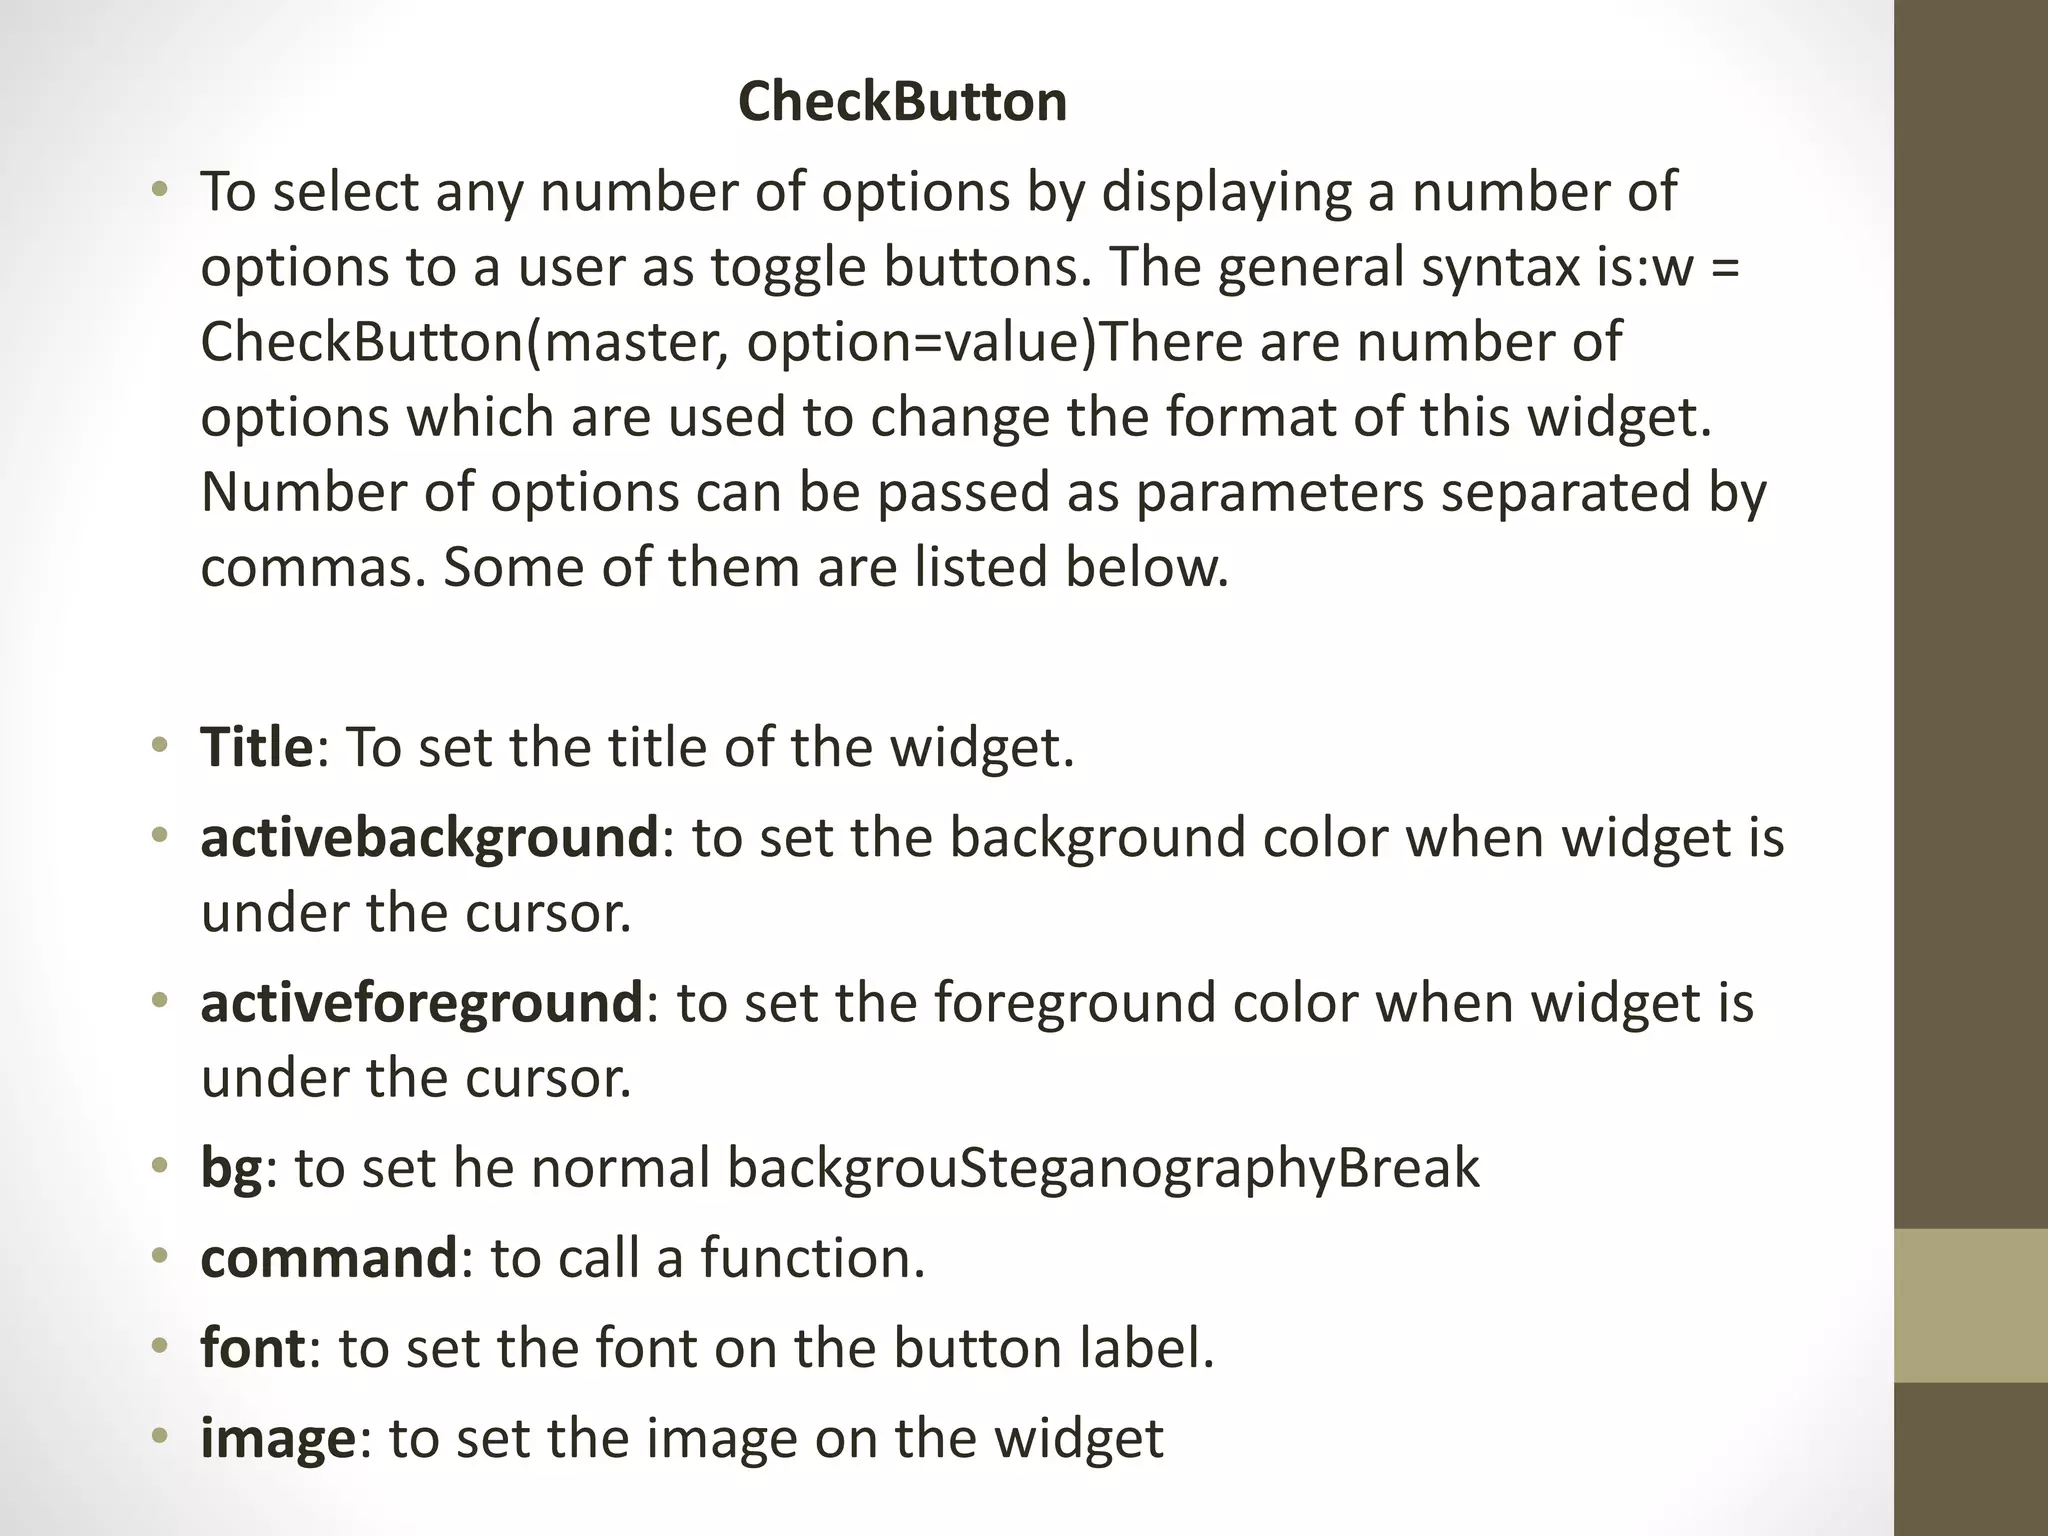
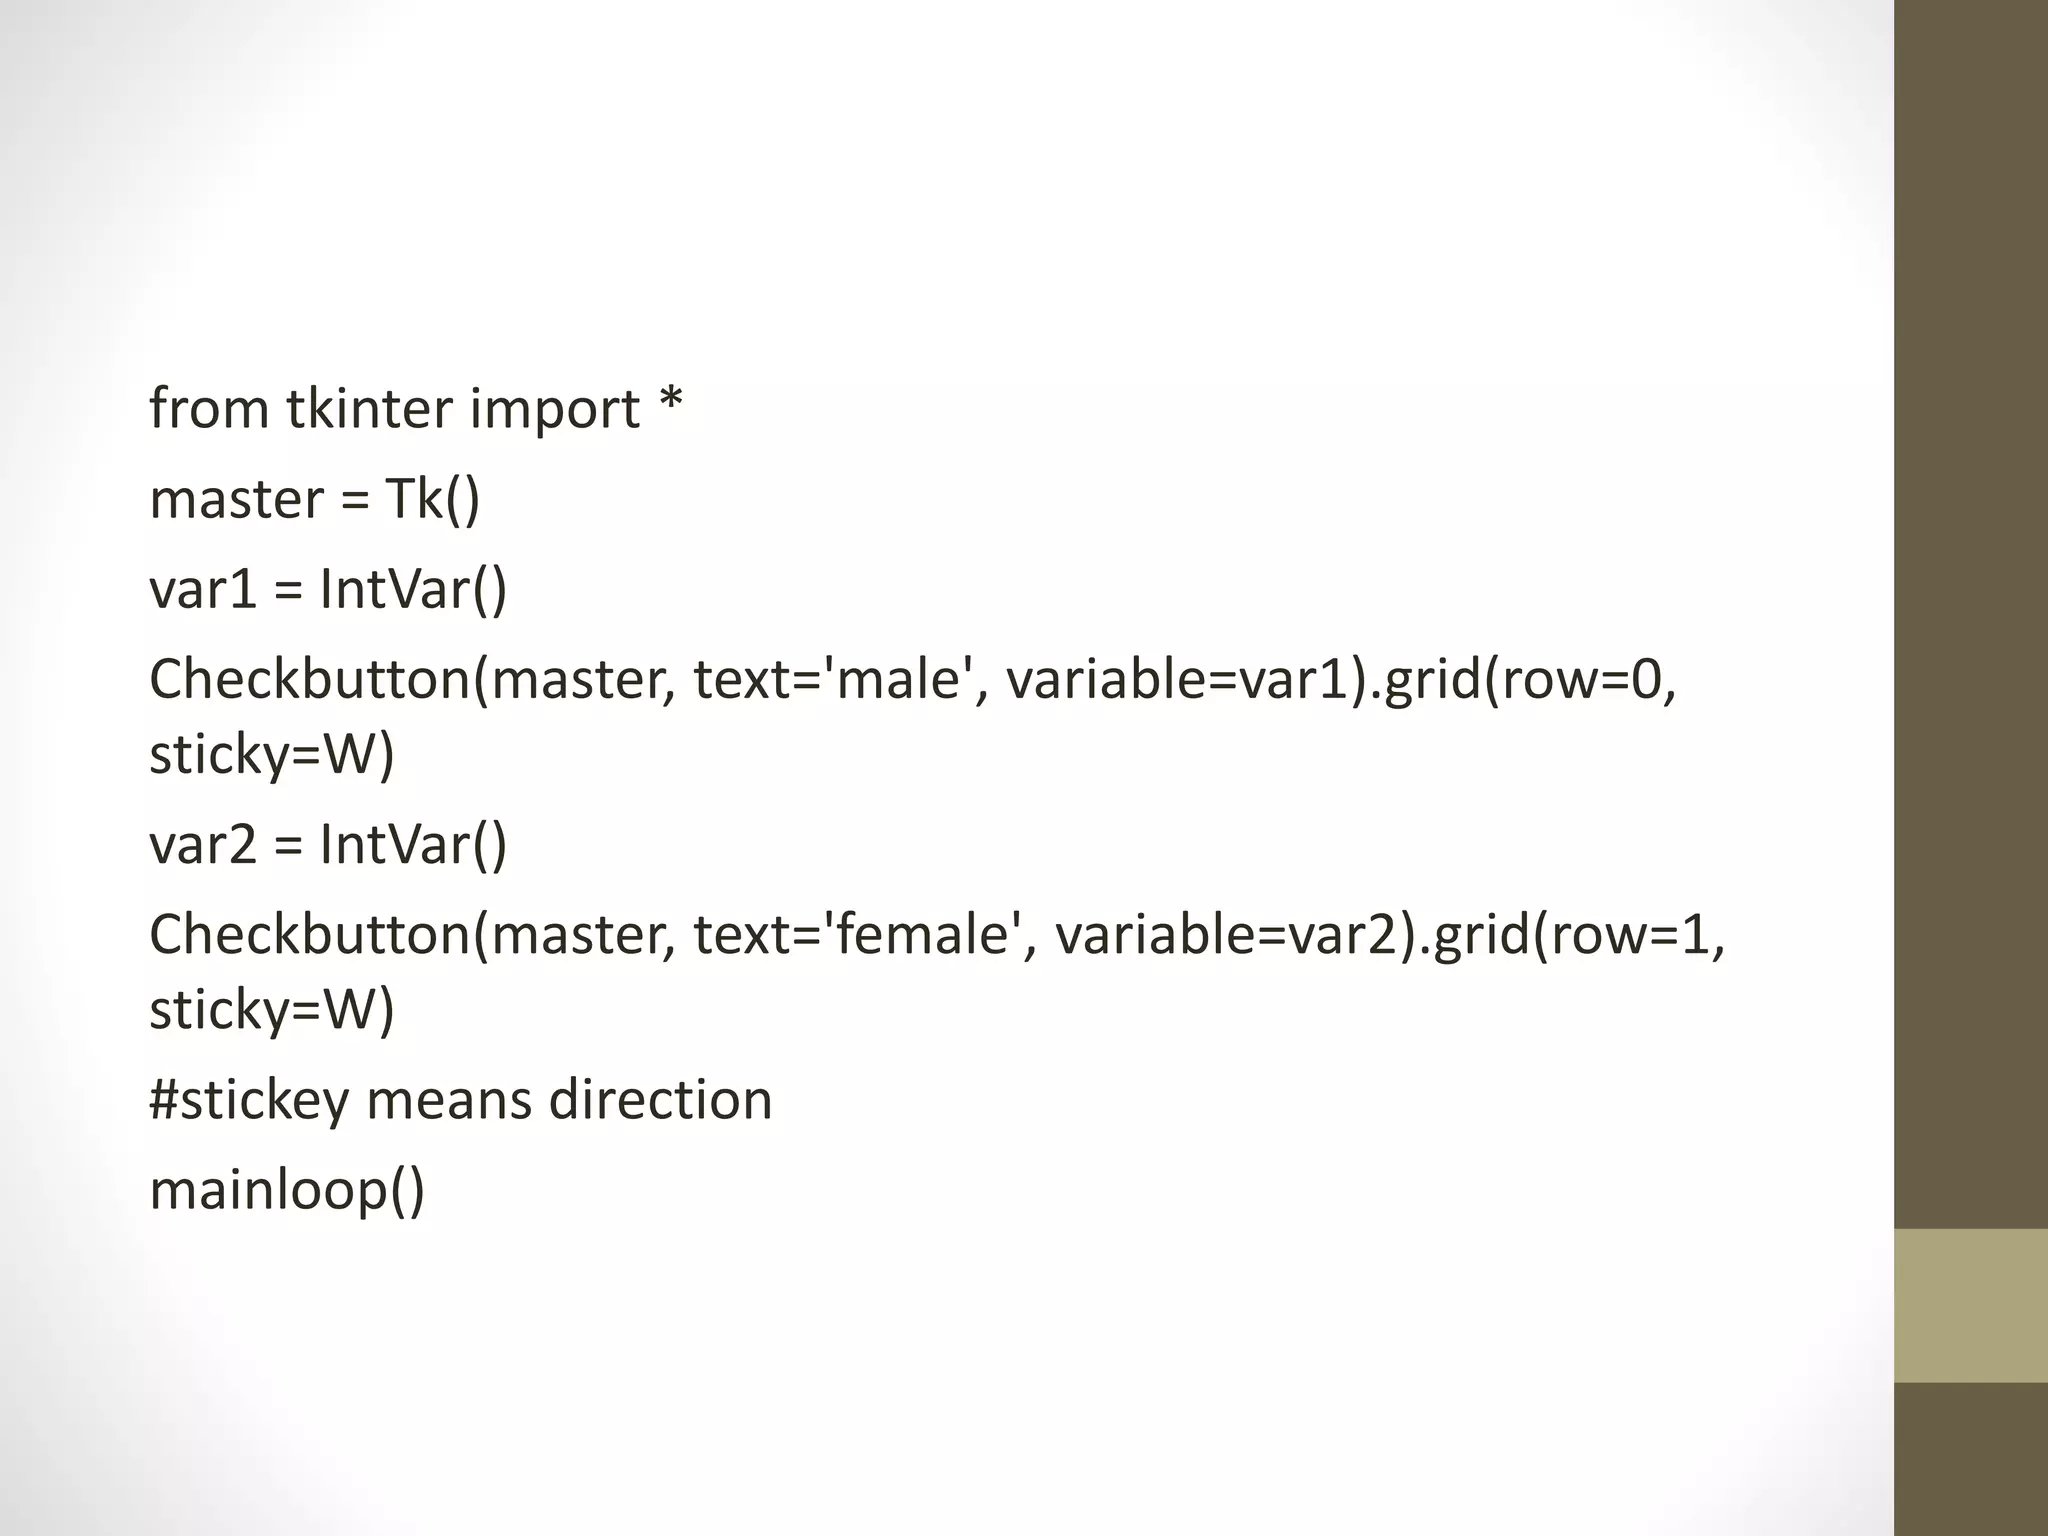
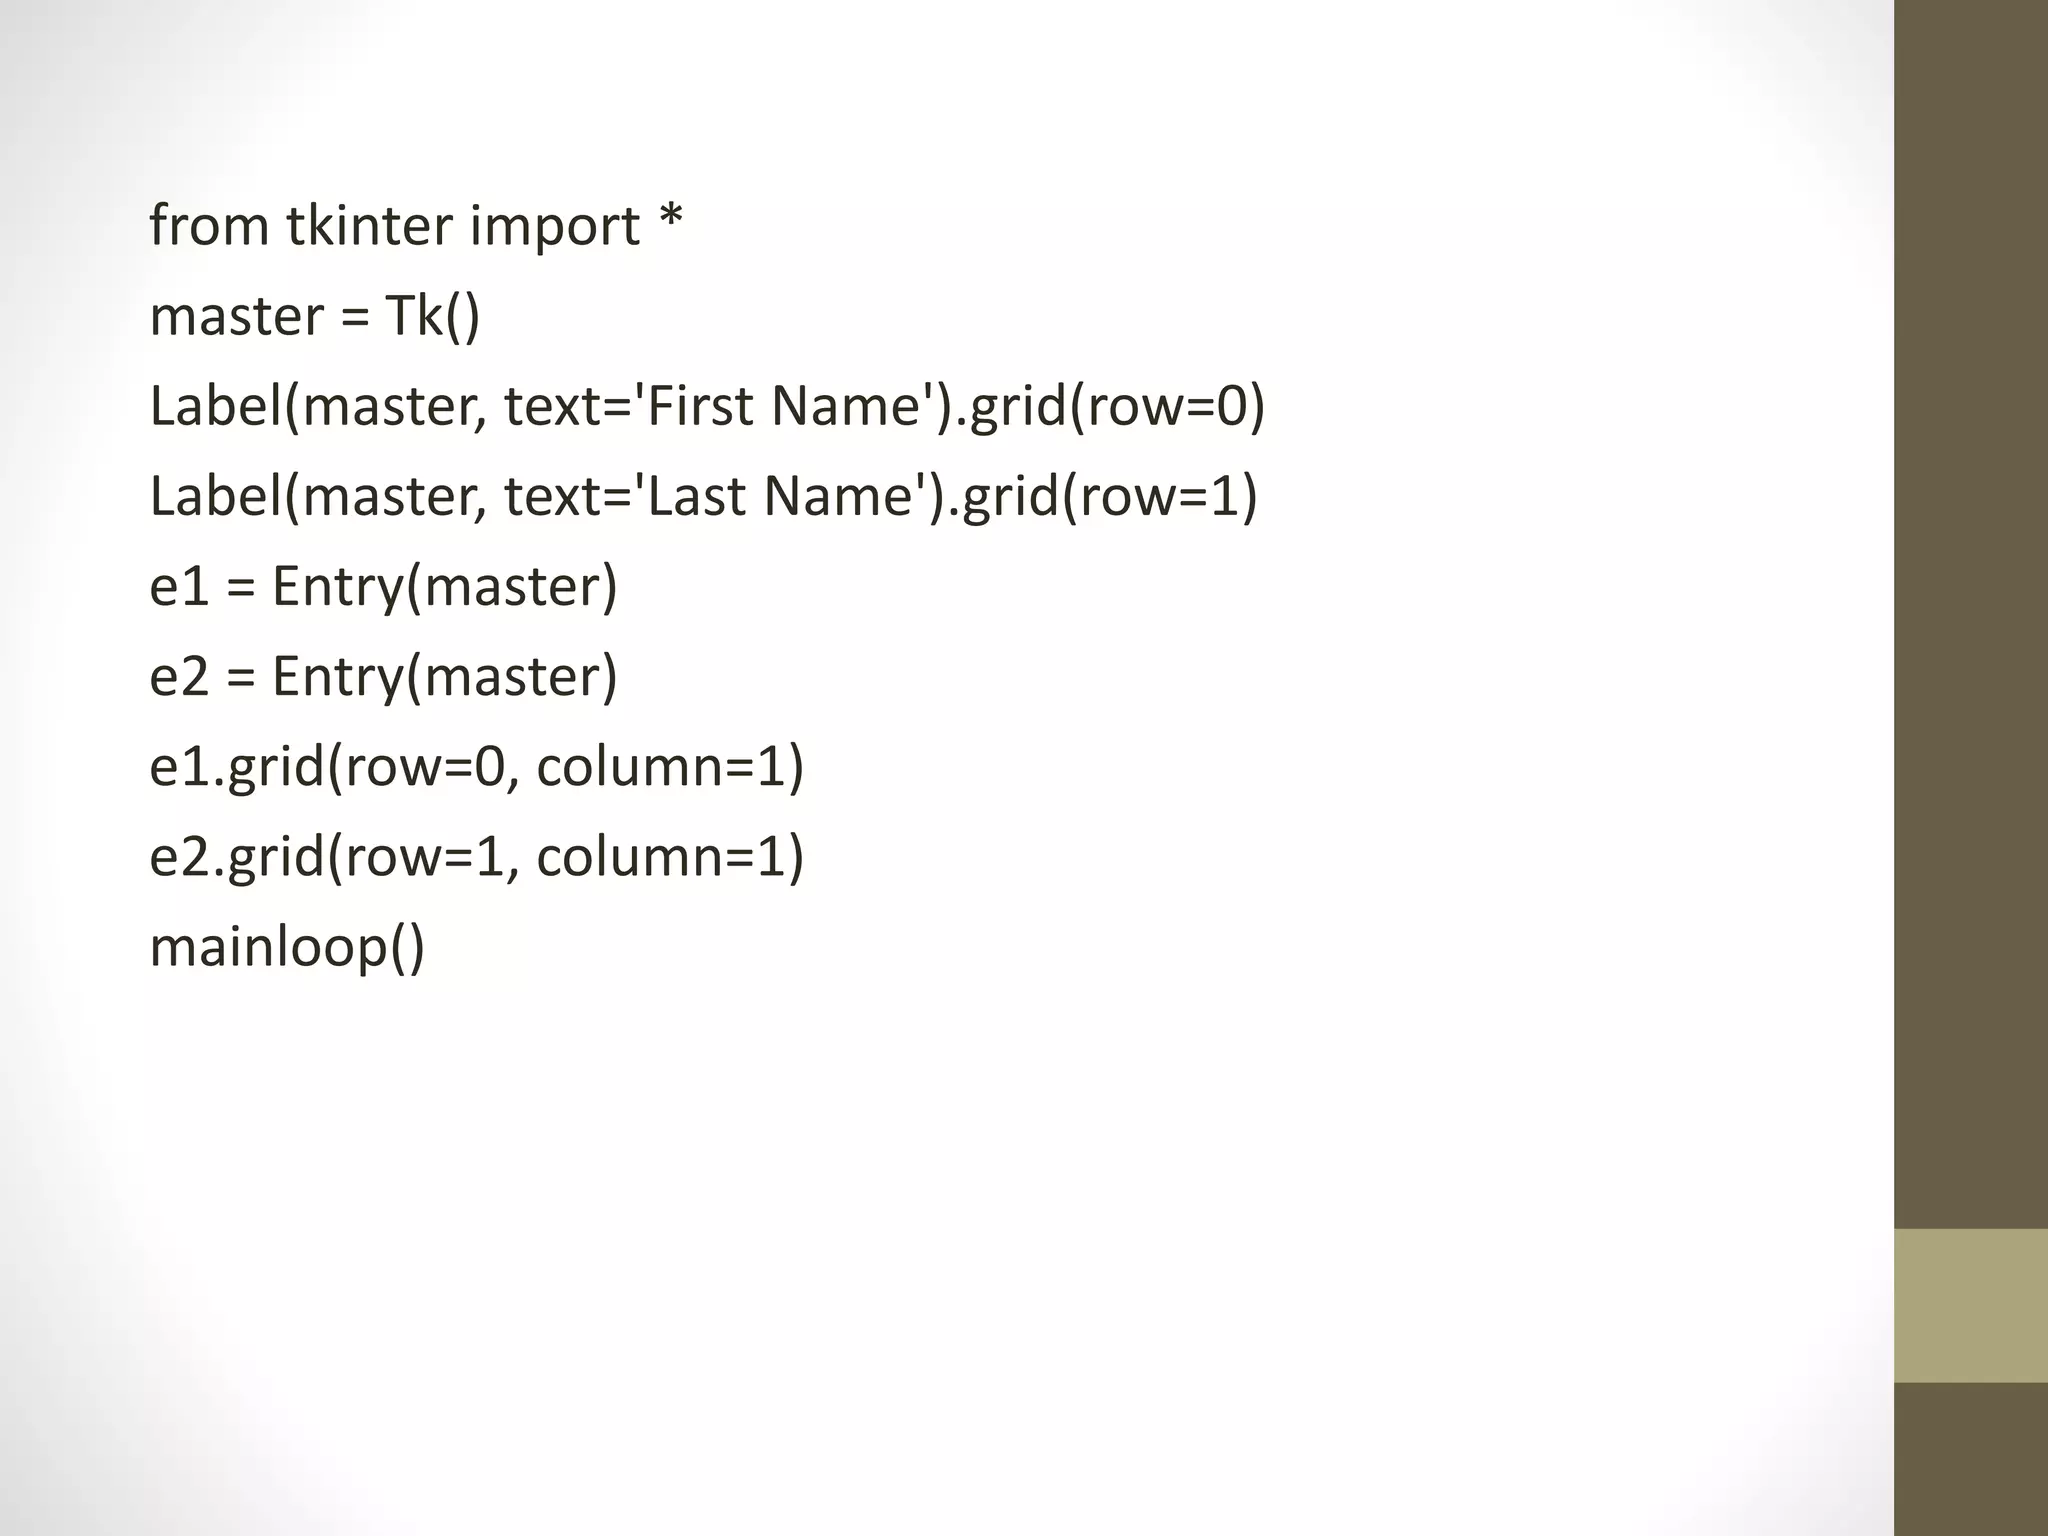
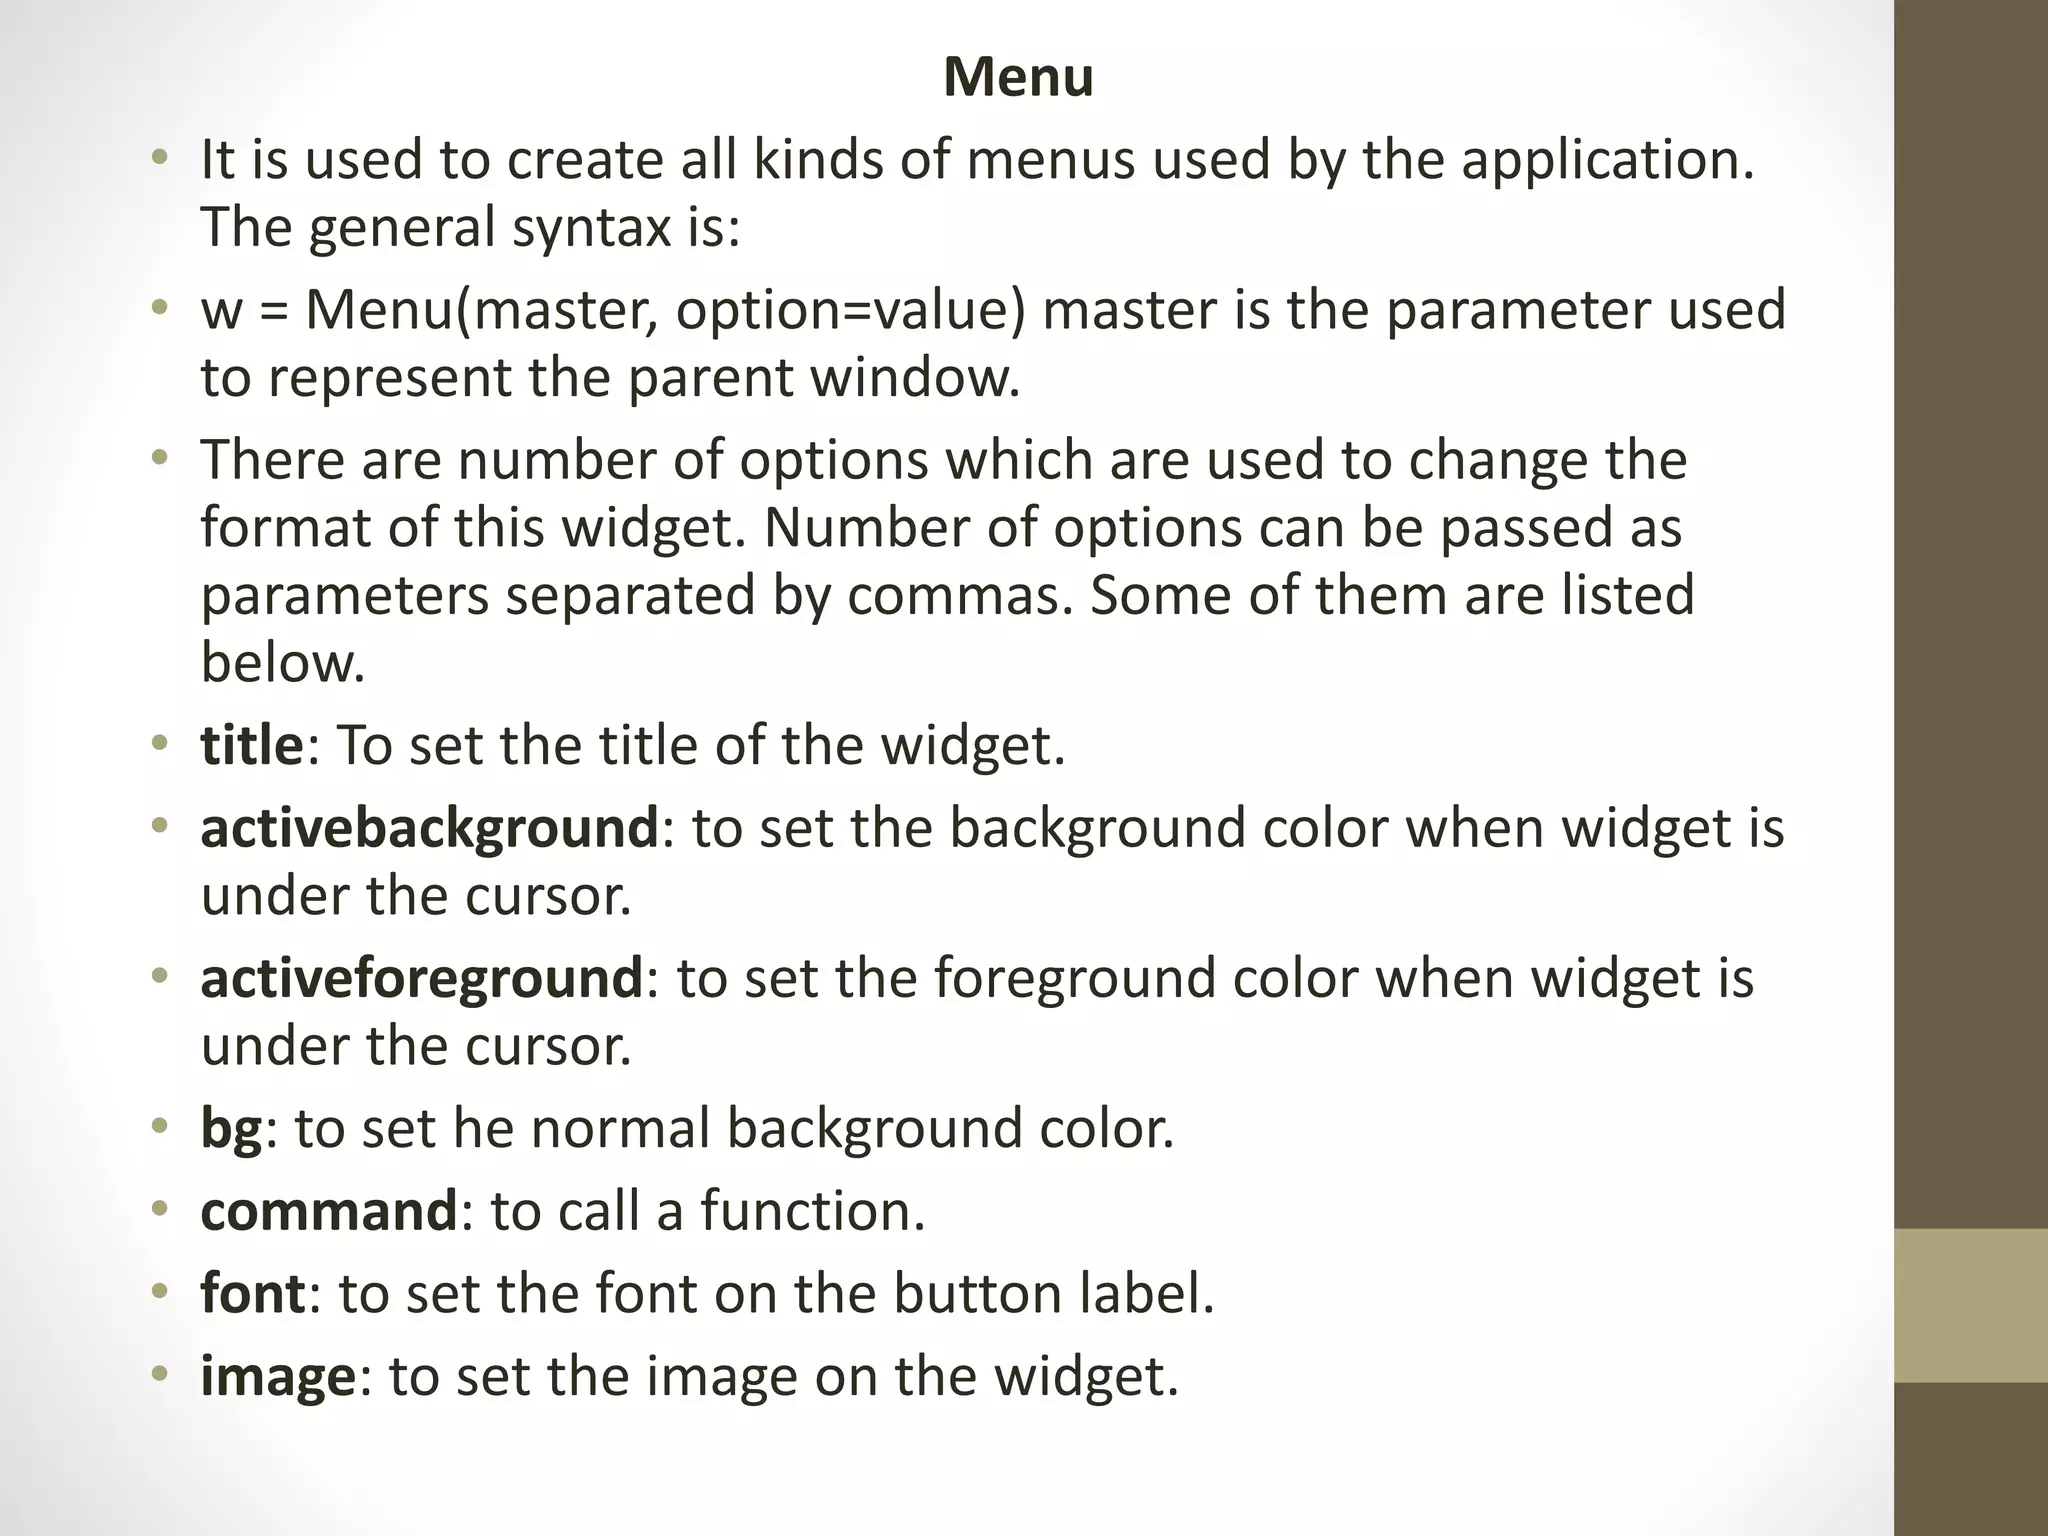
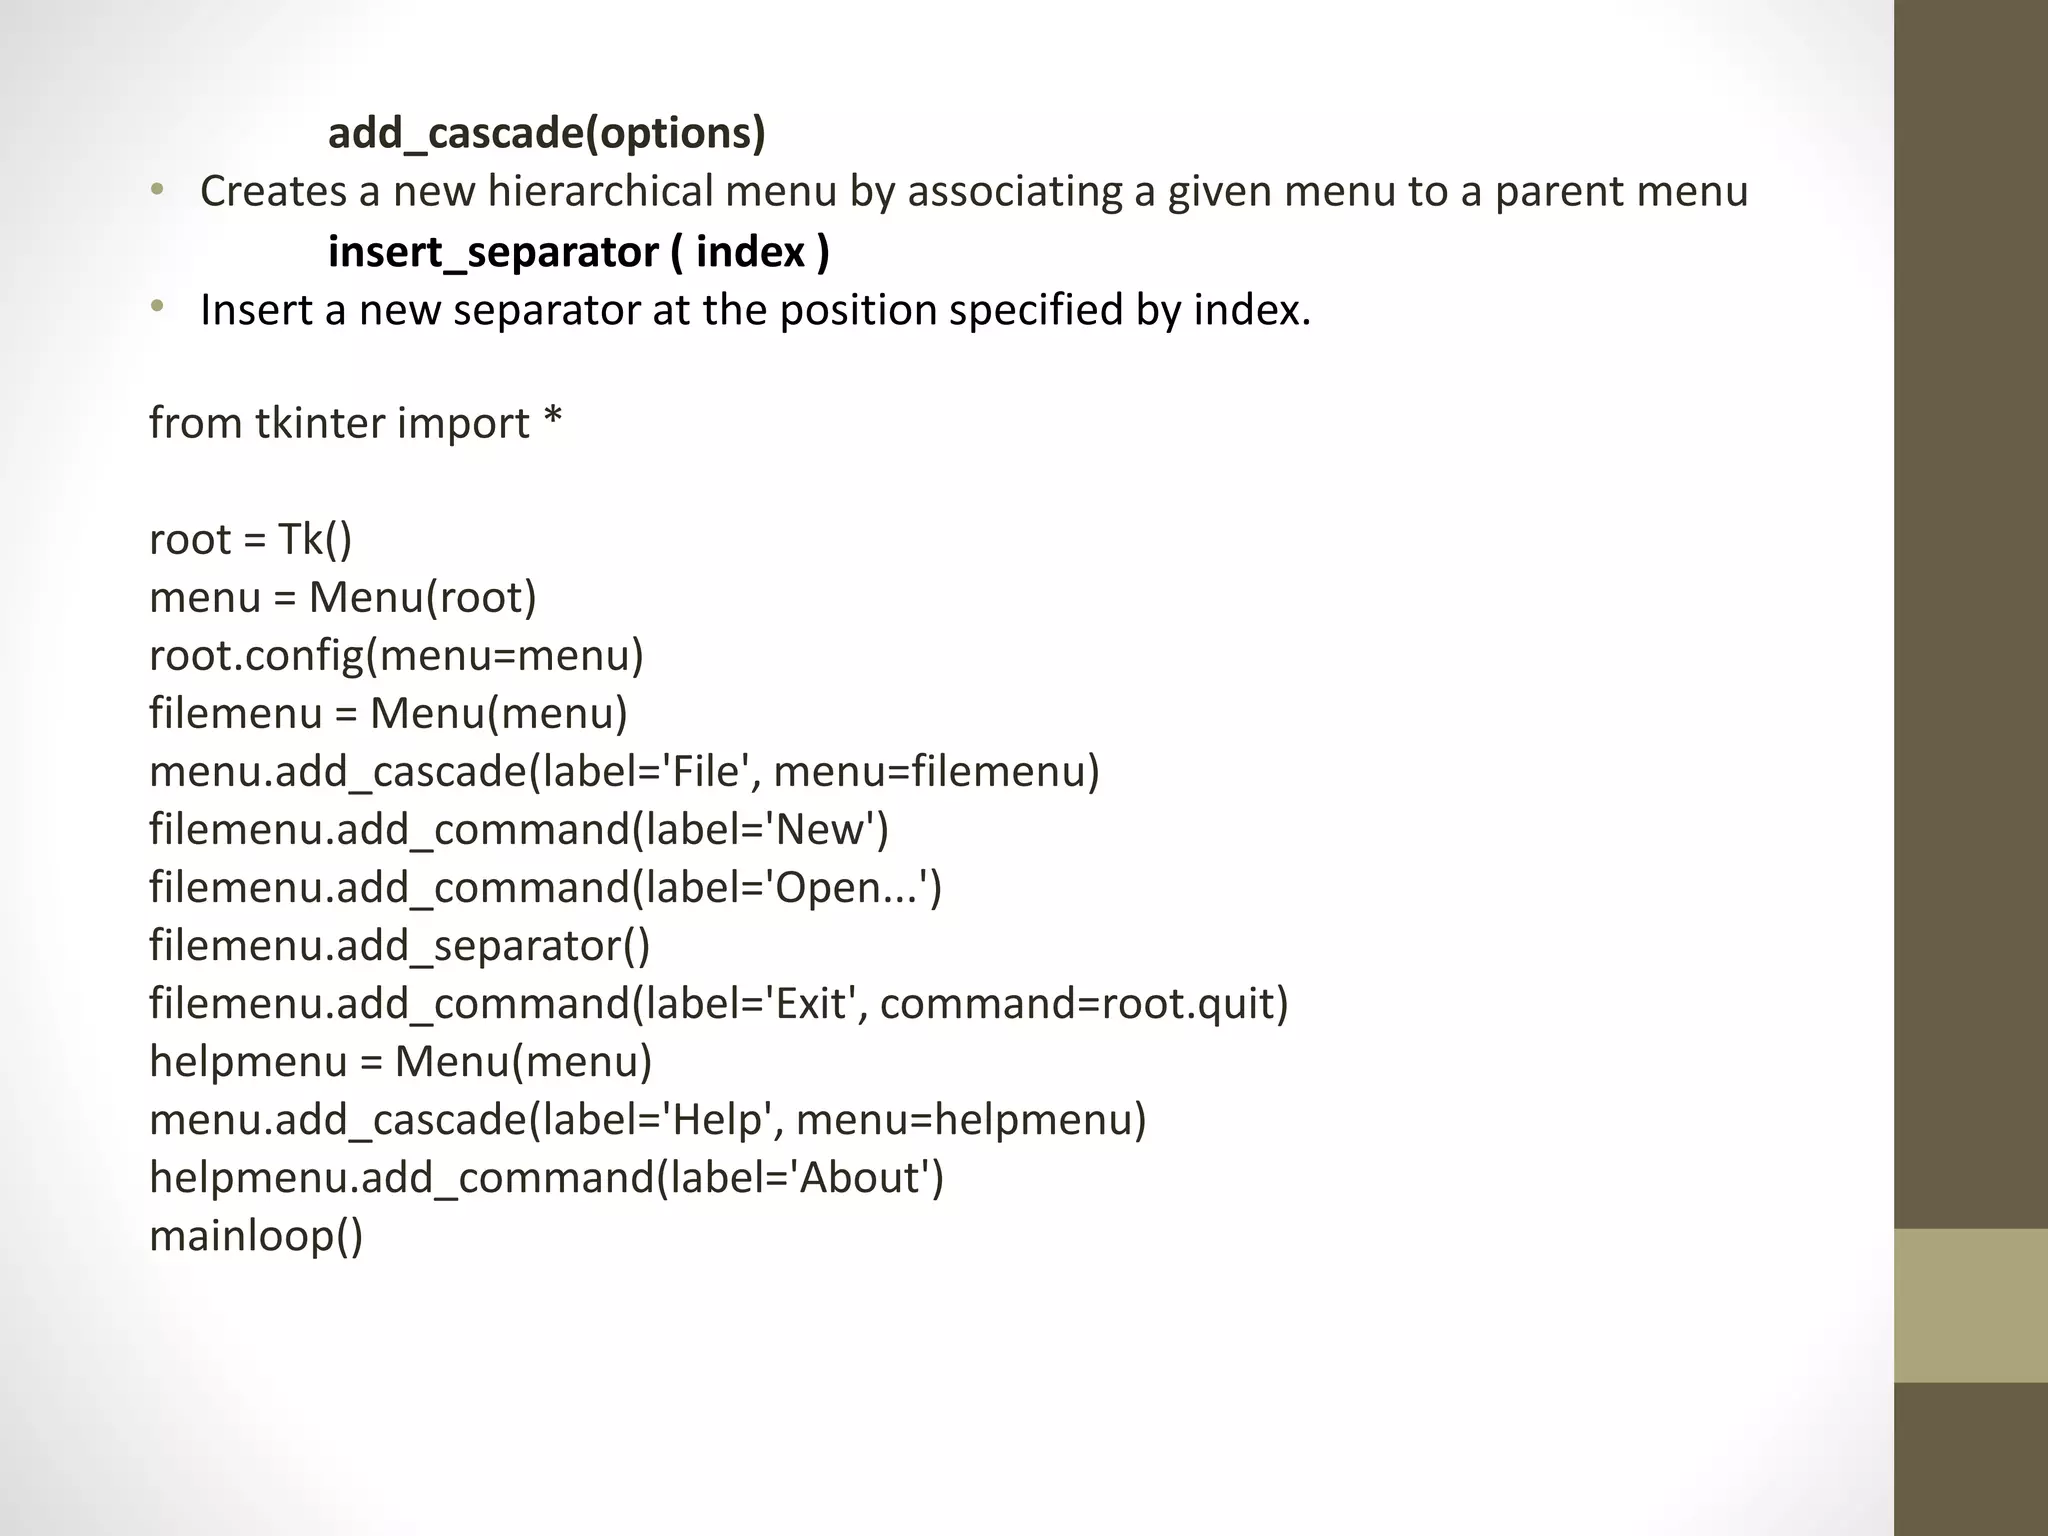
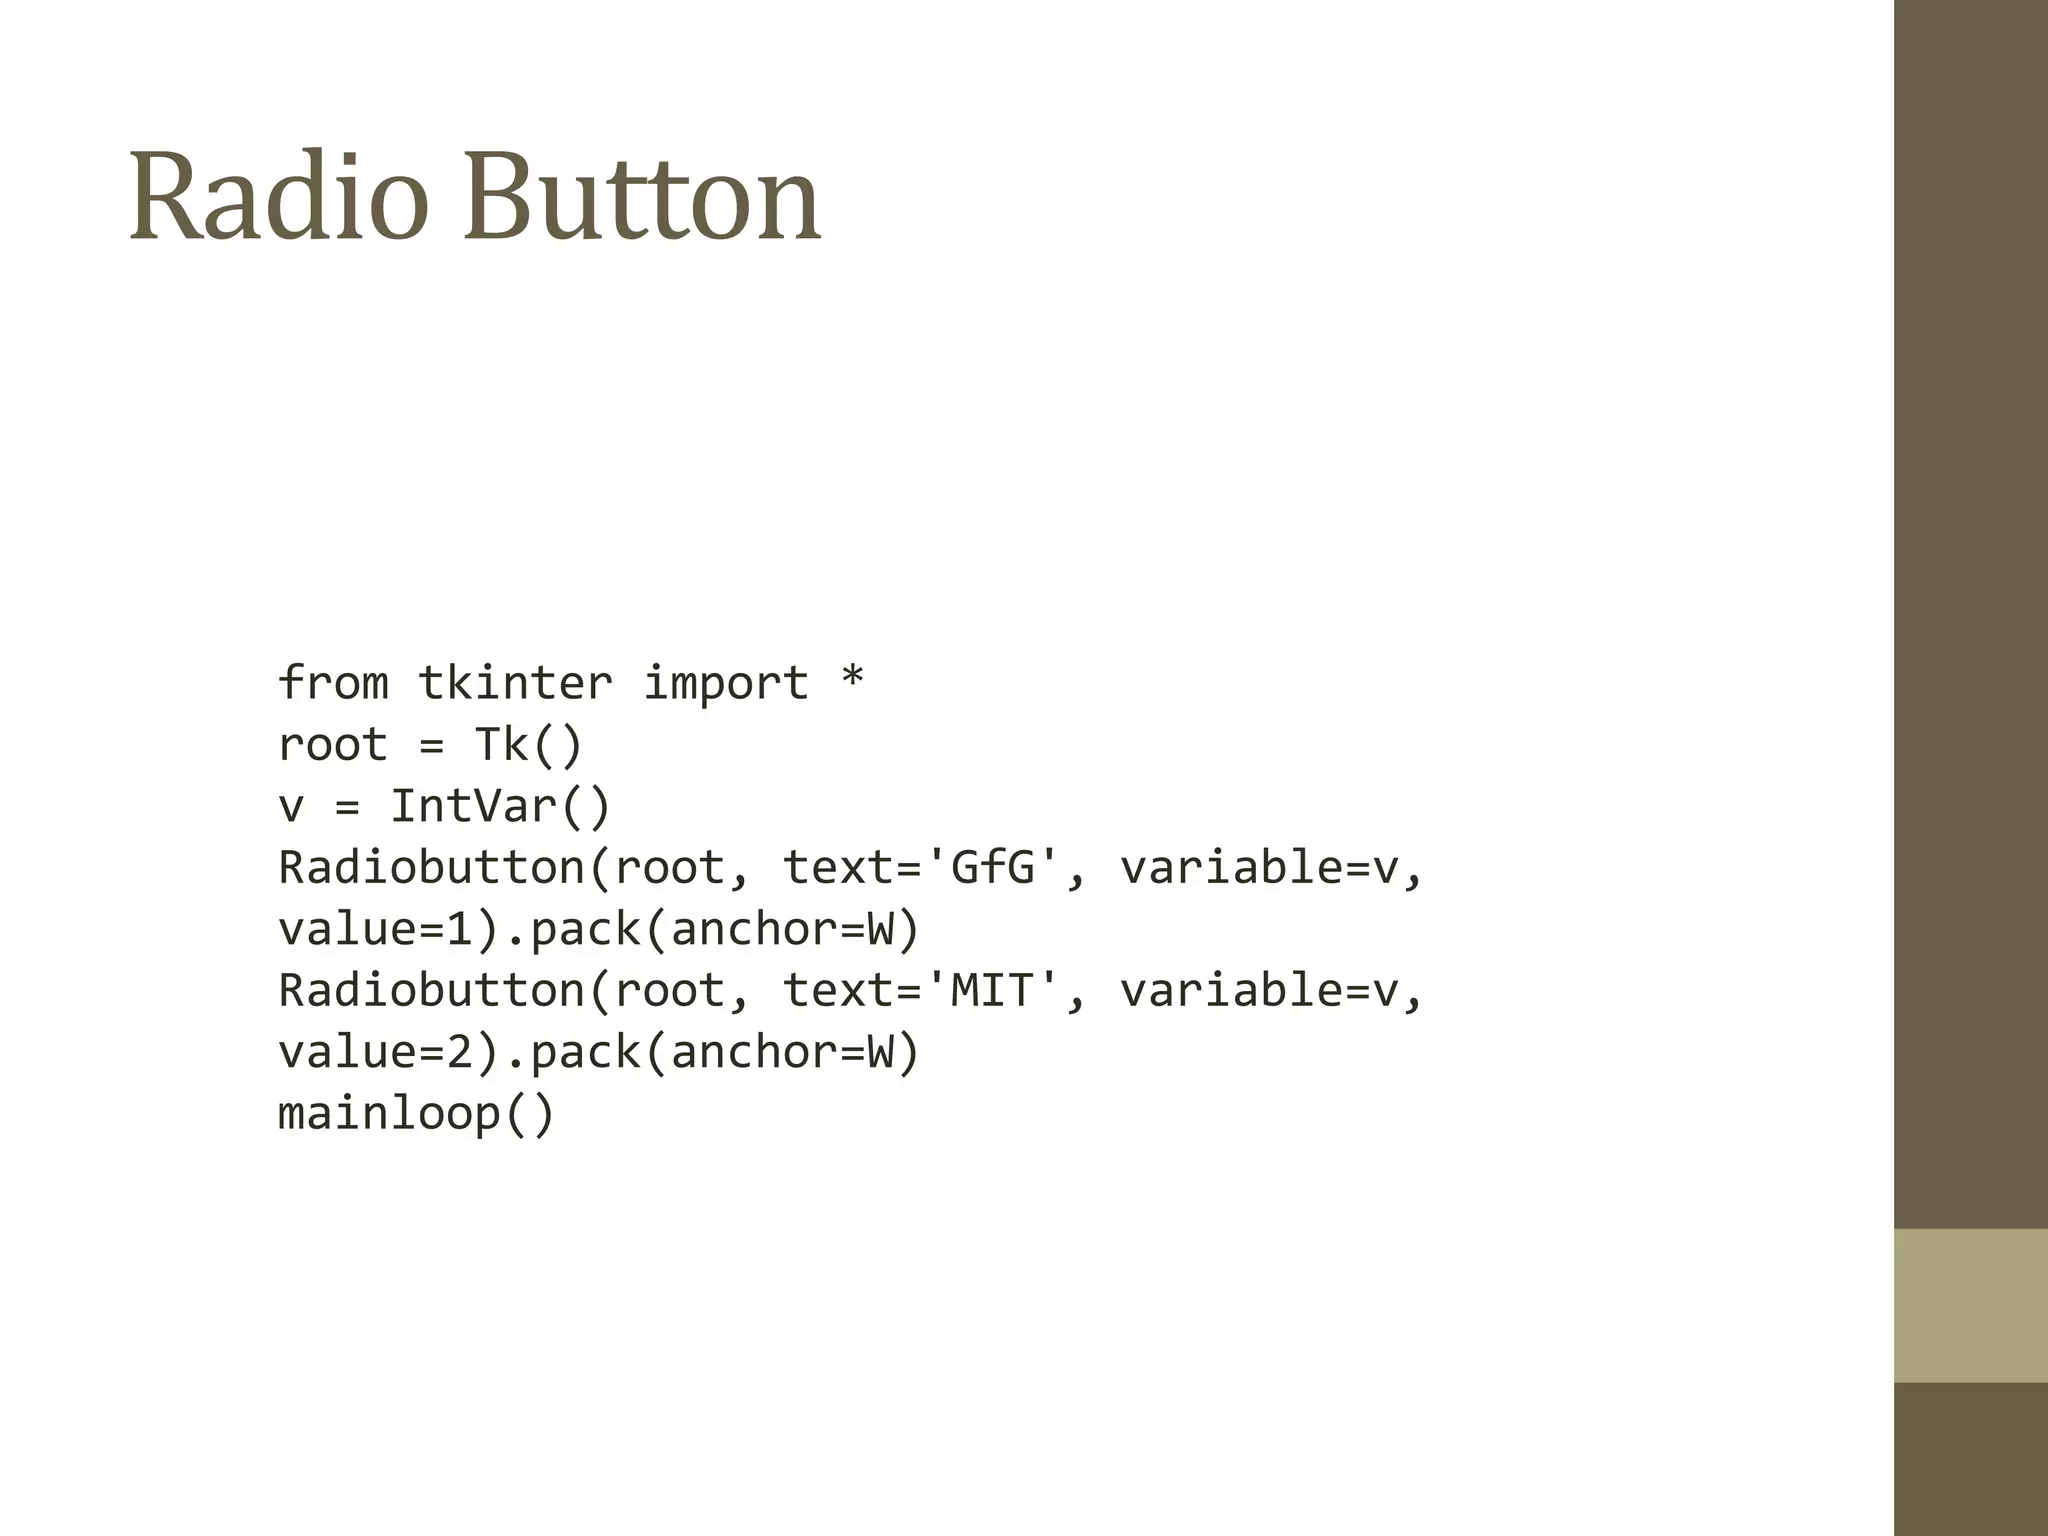
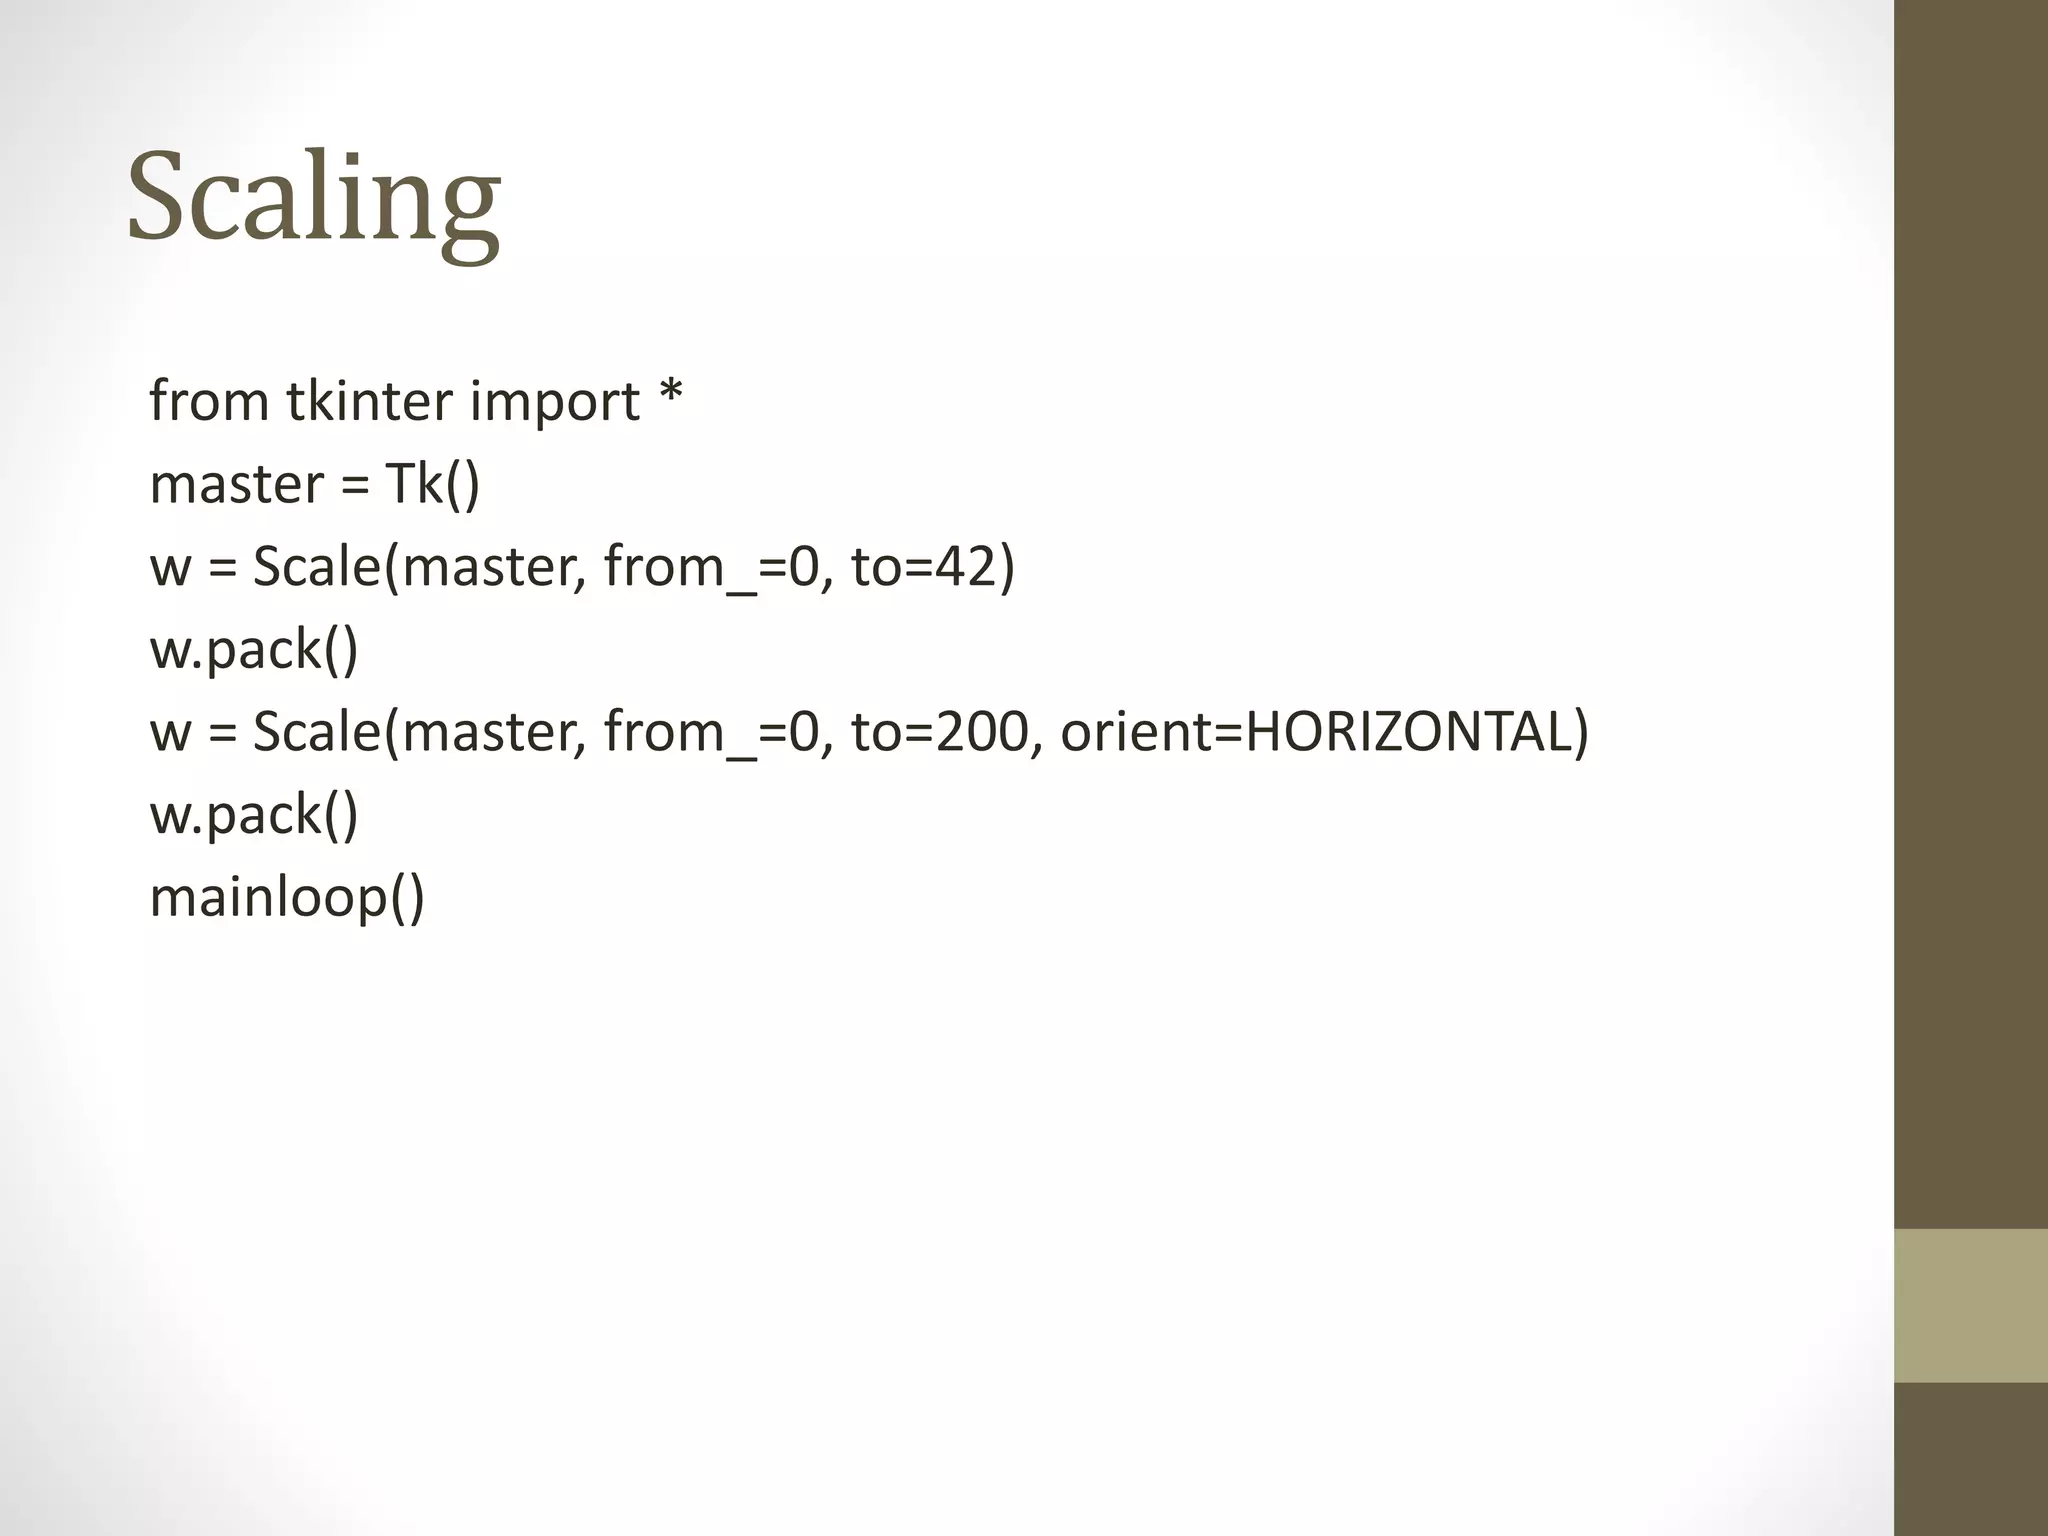
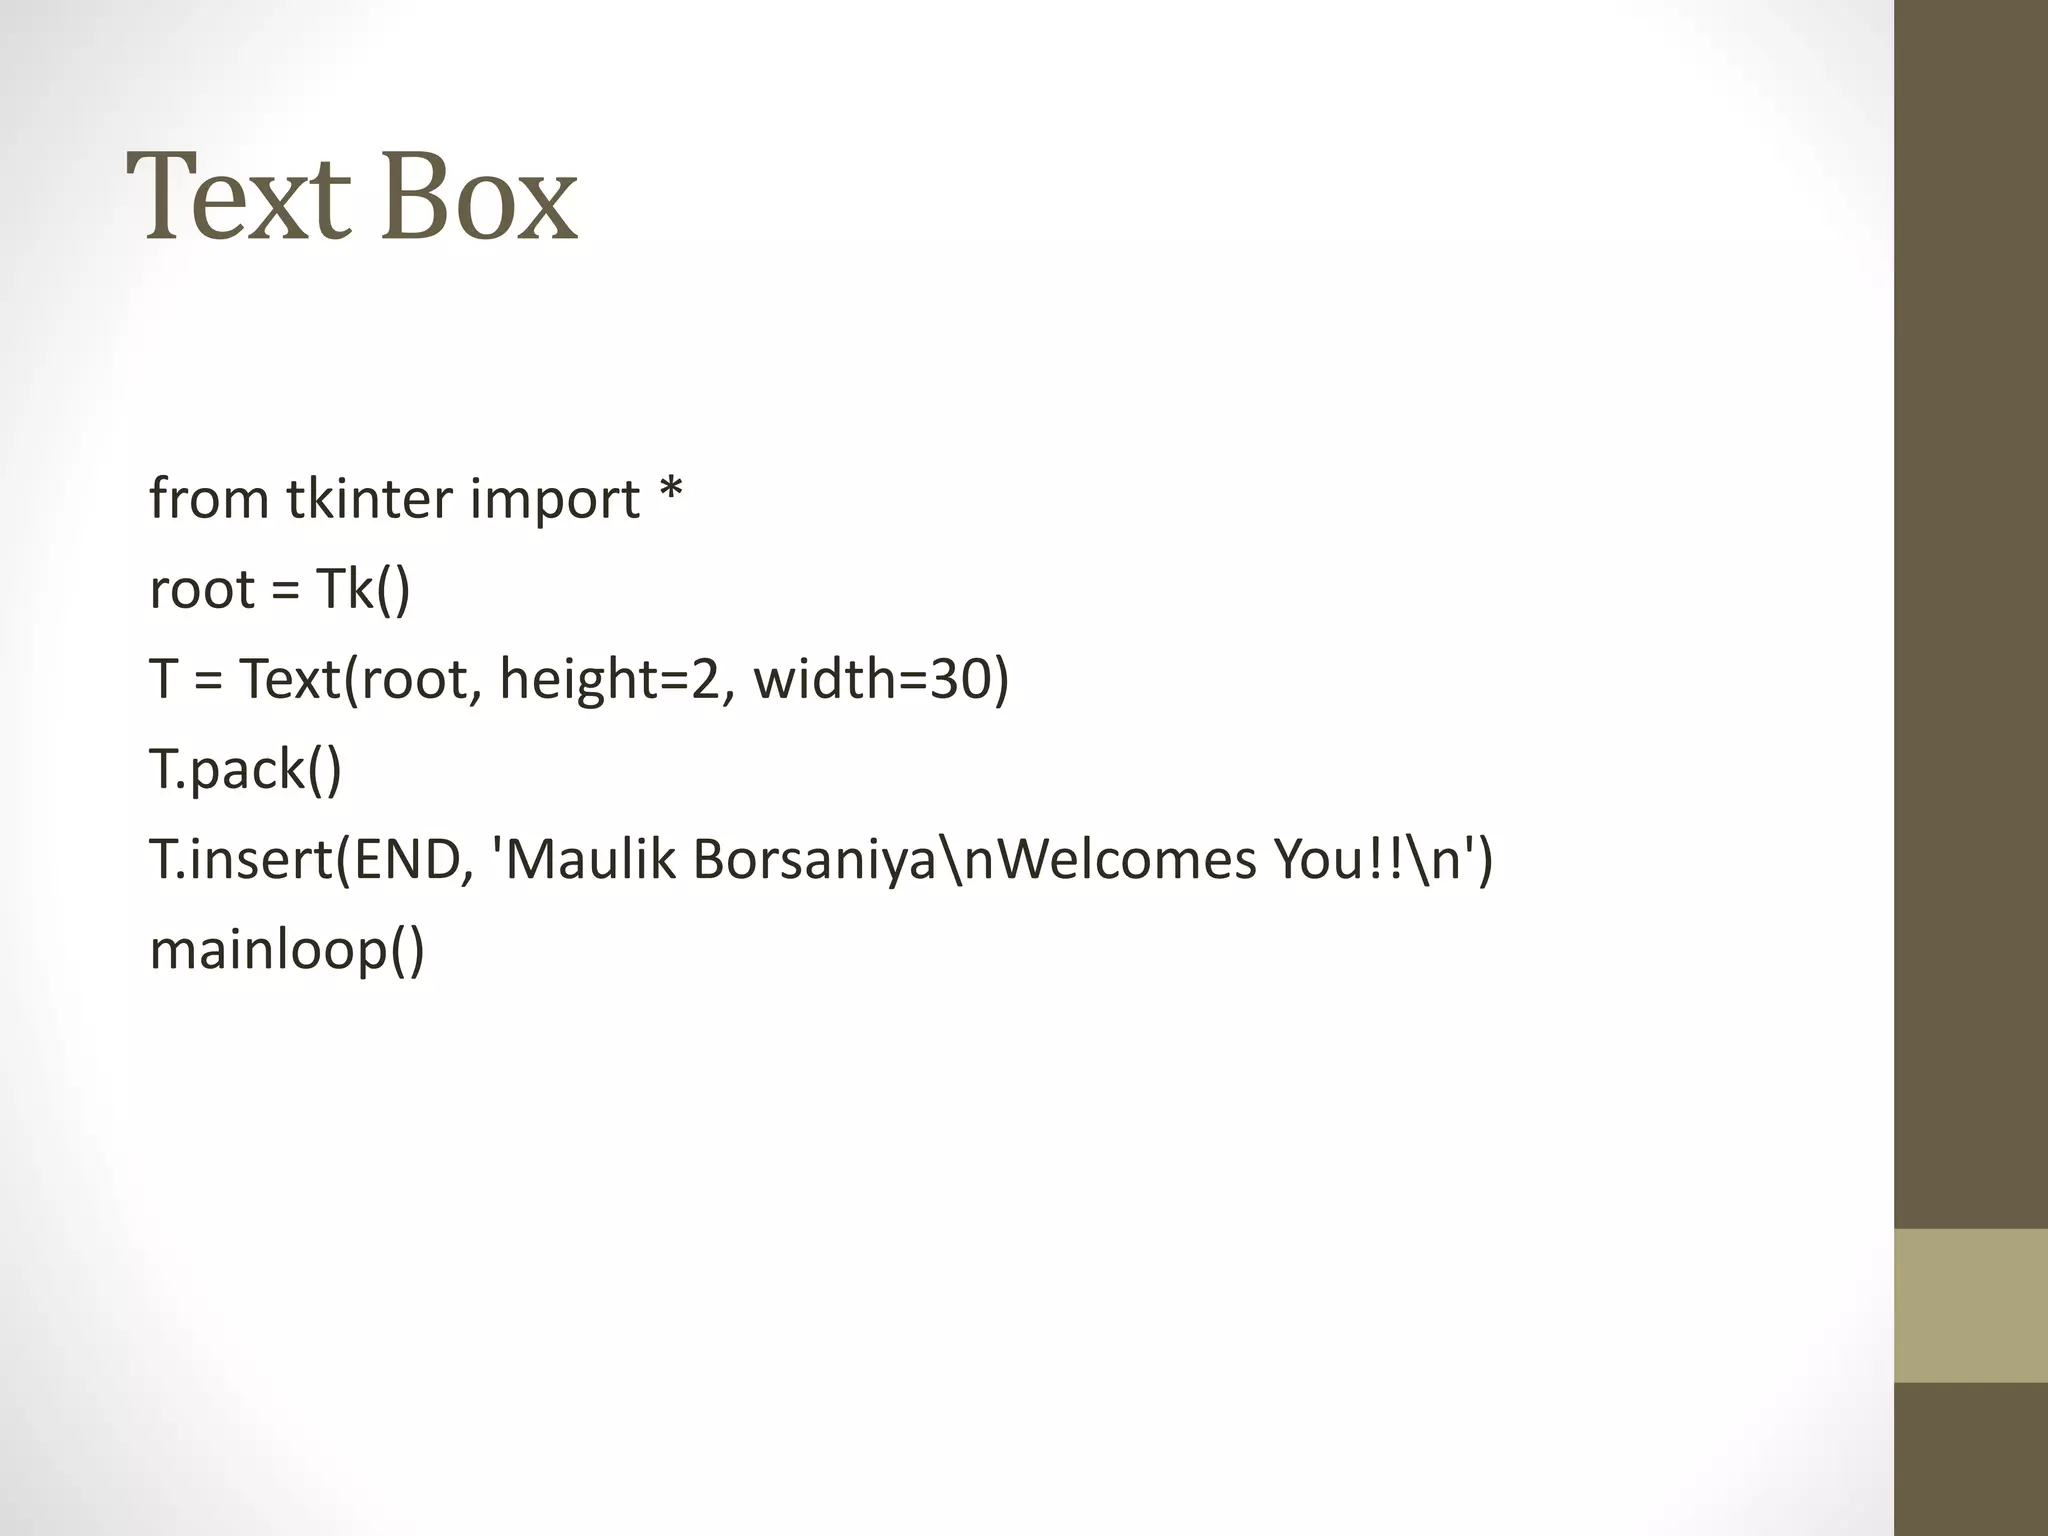
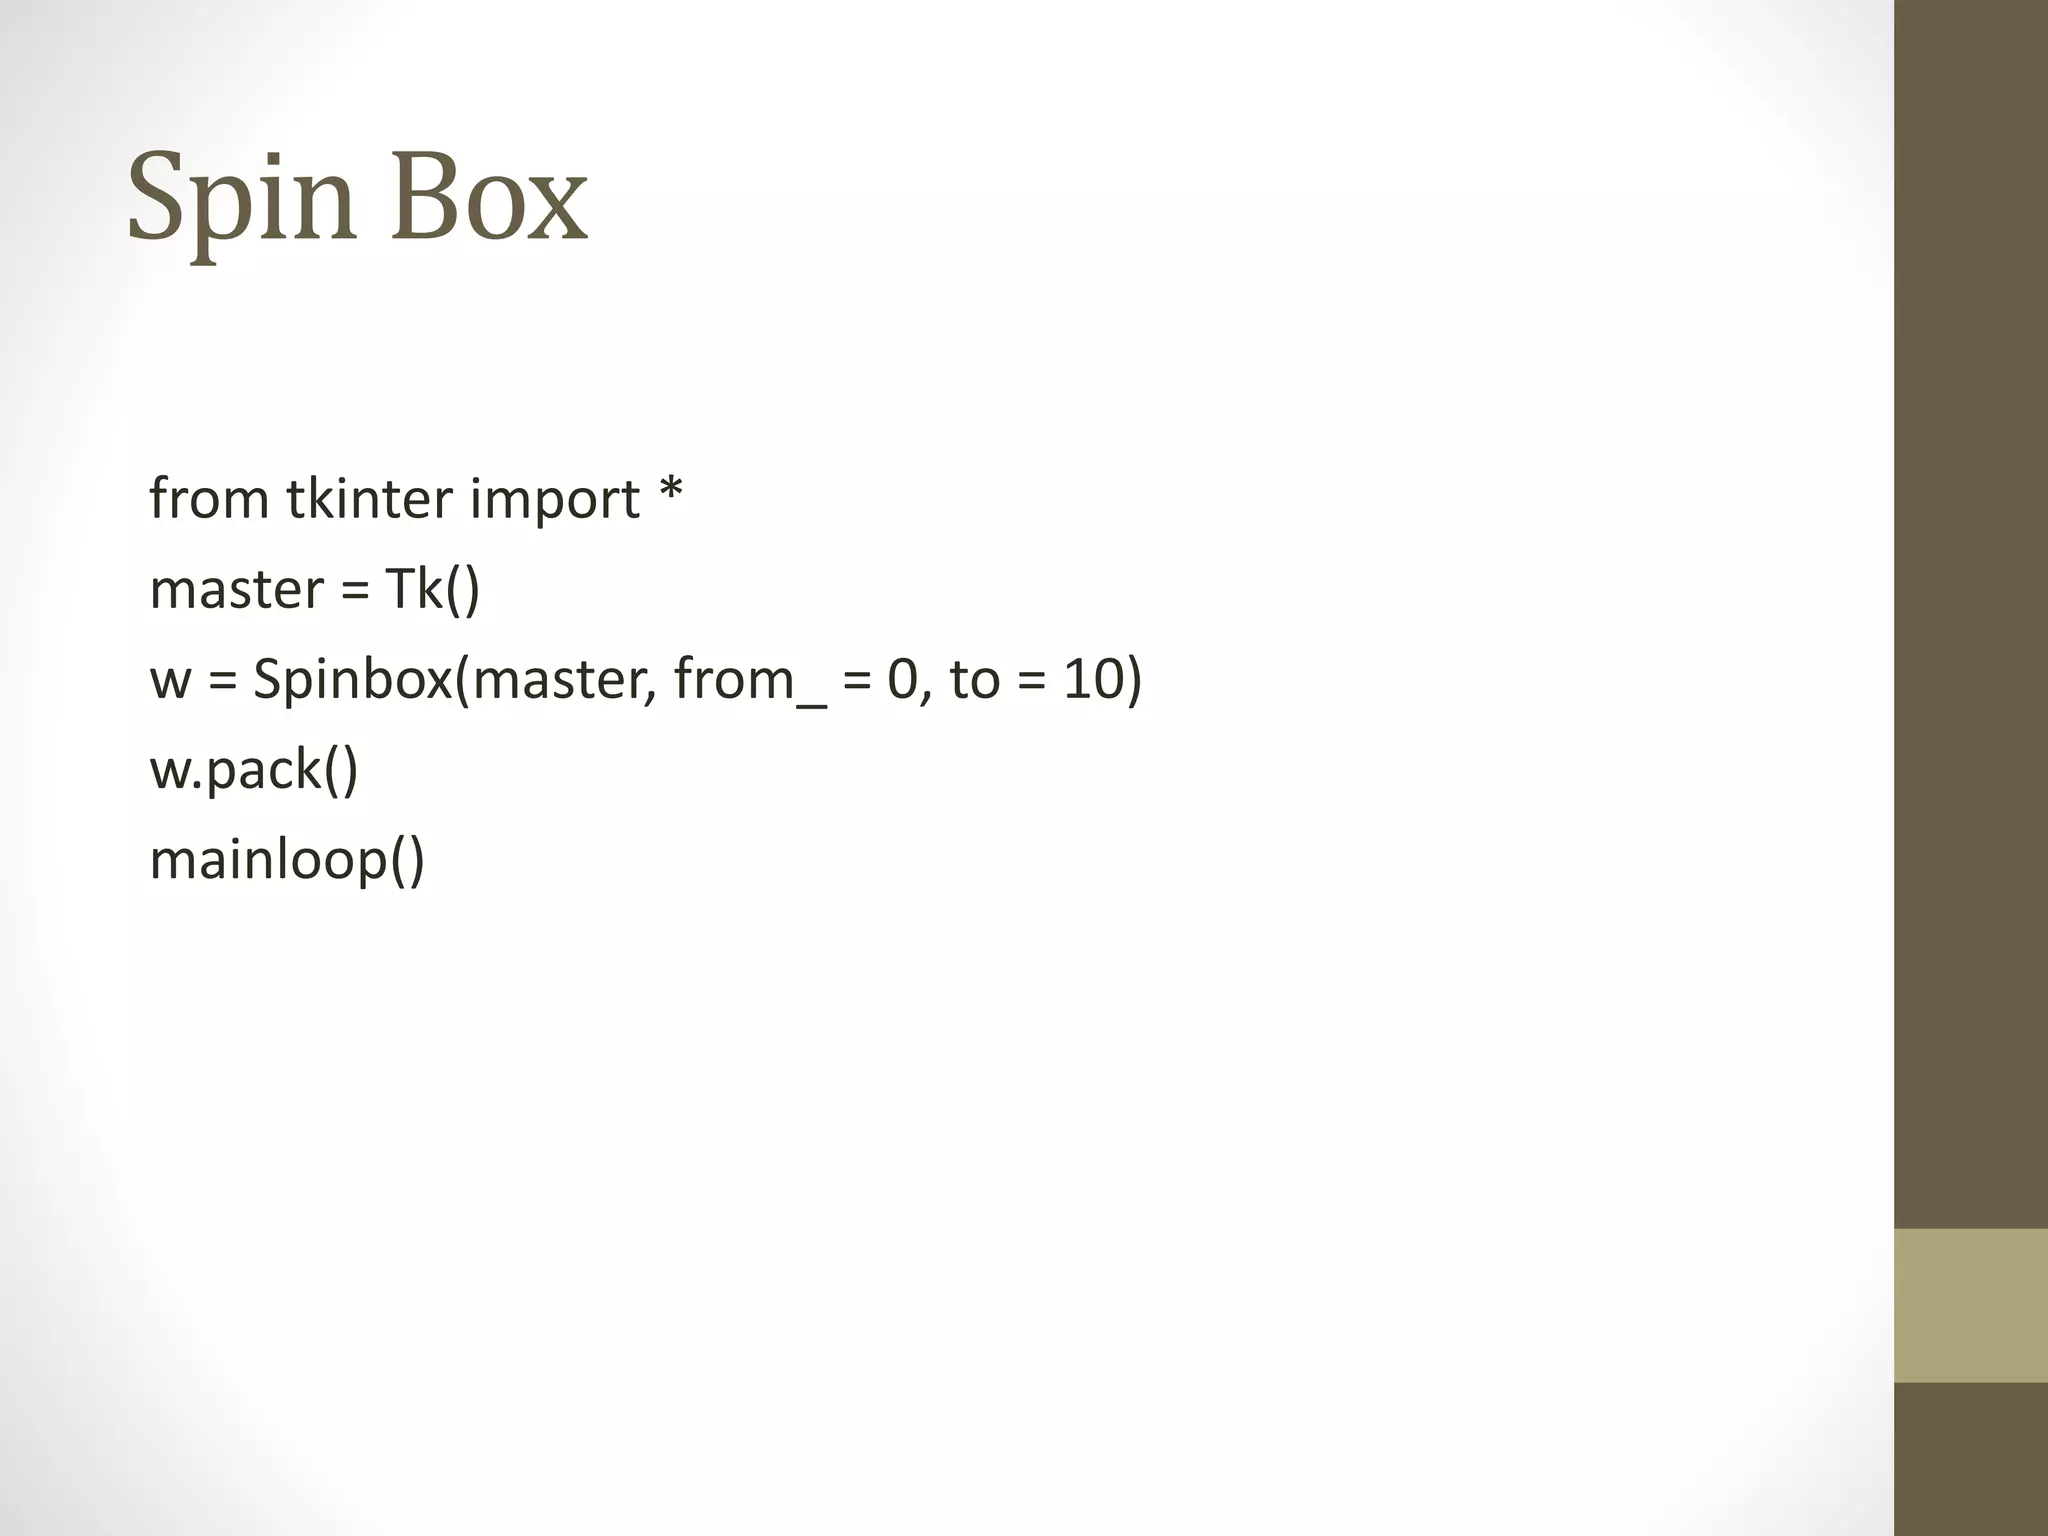
- Common widgets like Button, Canvas, Checkbutton, Entry, Label, Menu, Radiobutton, Scale, Text, Spinbox are explained along with examples of how to create and use them.
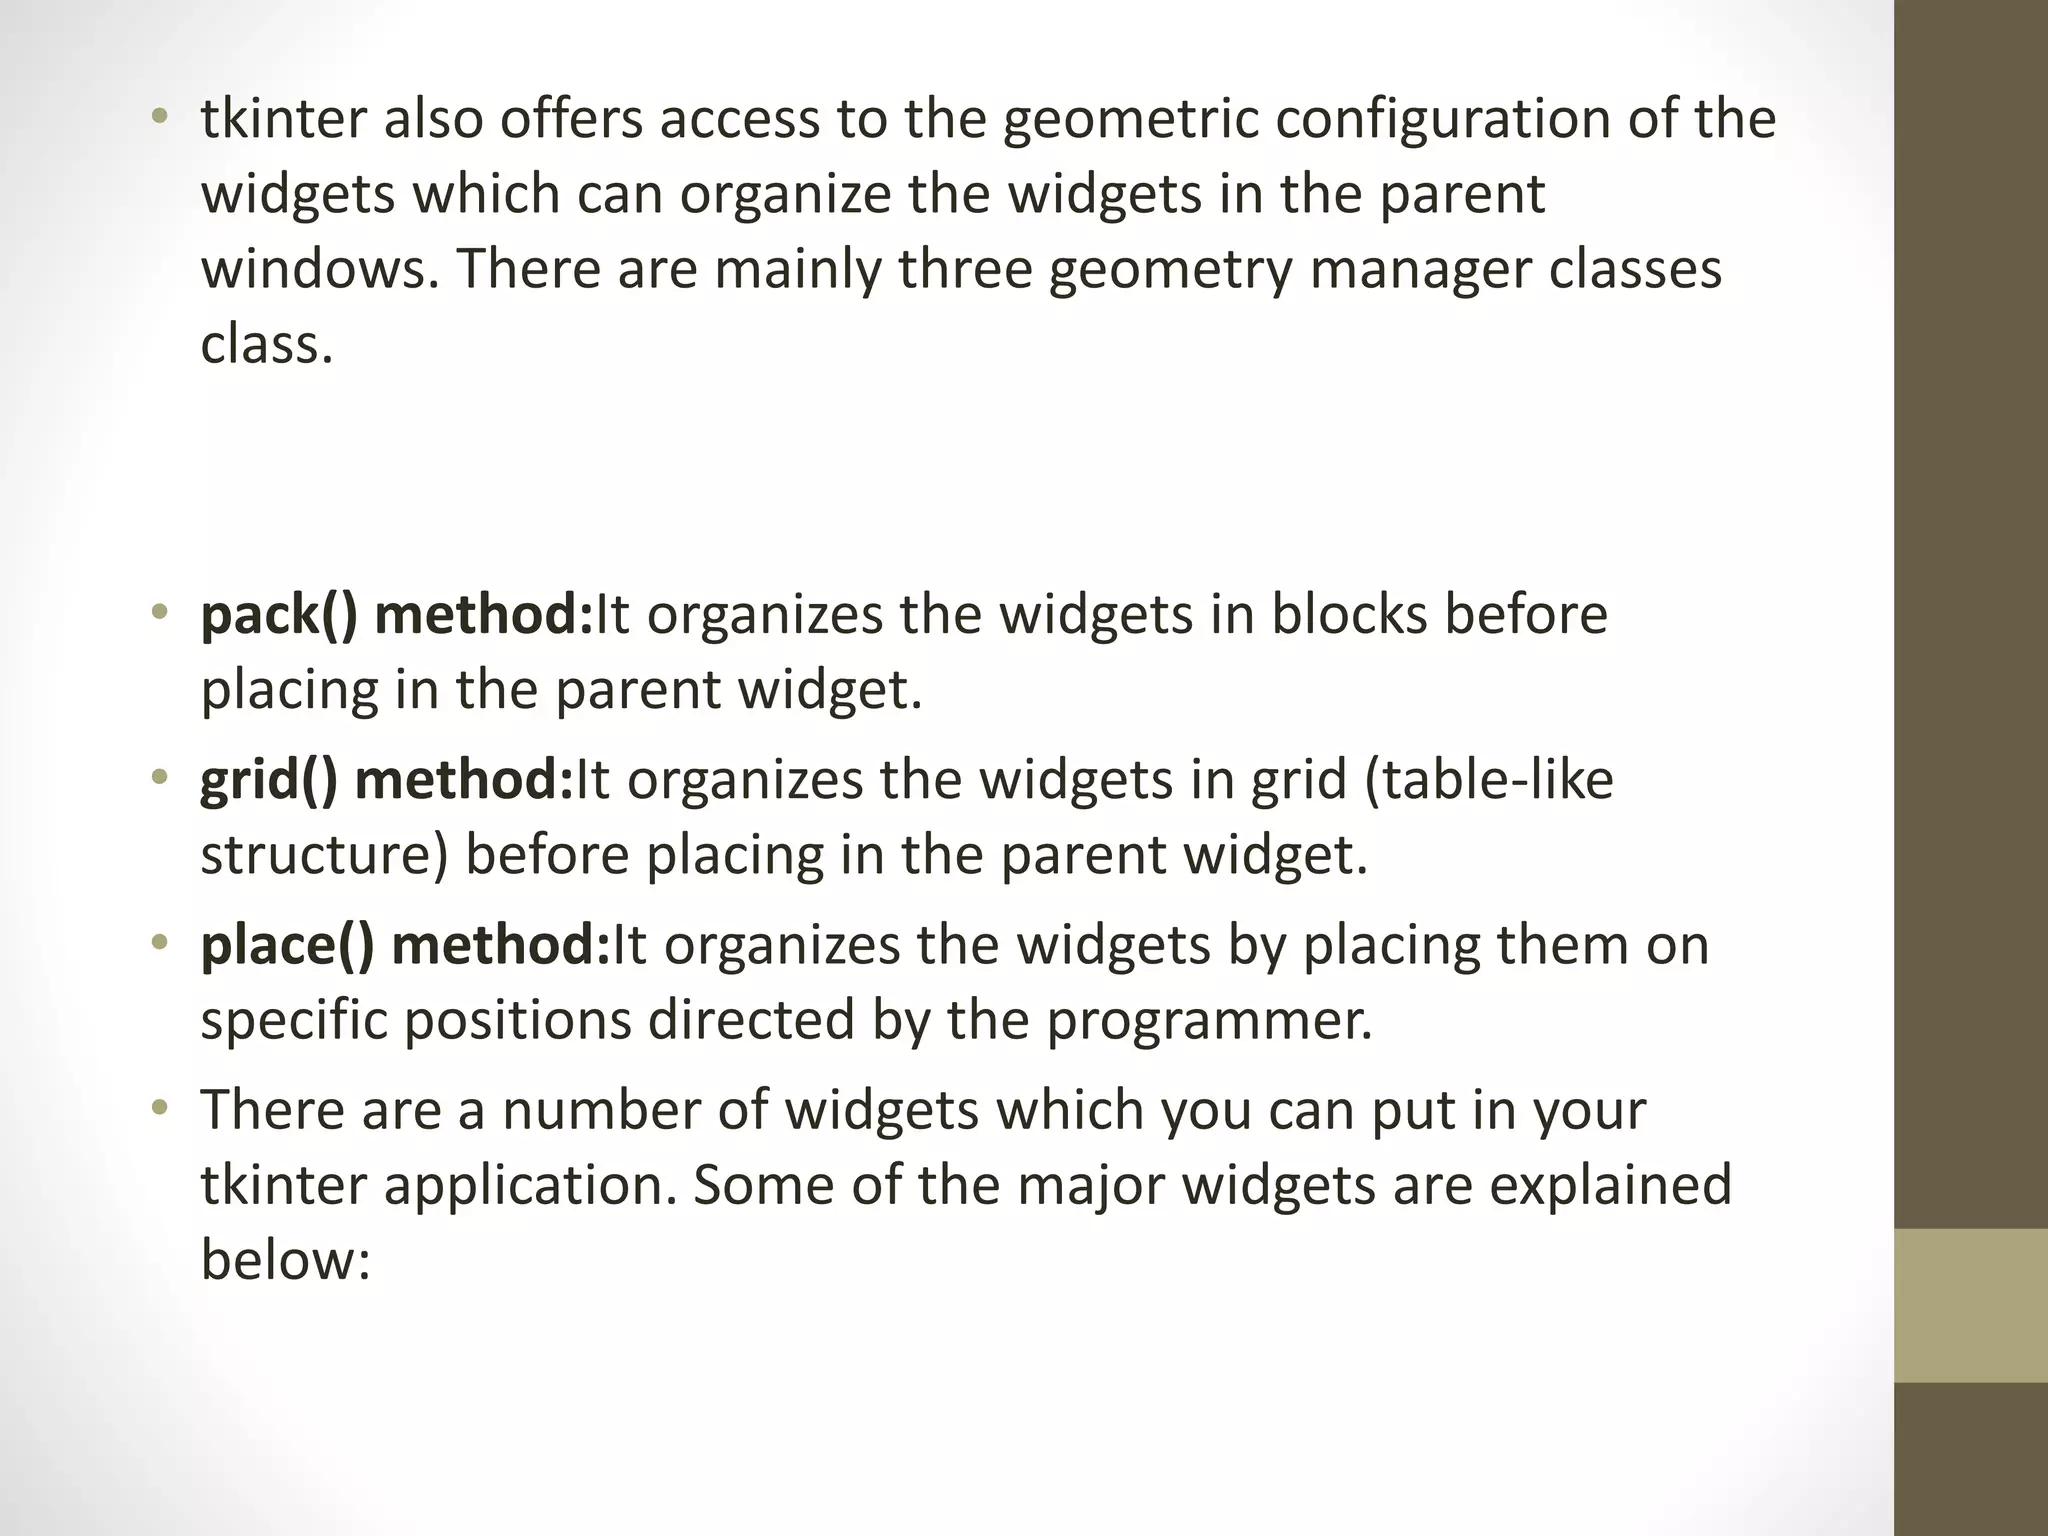
- Geometry managers like pack, grid, place are discussed which control widget layout within their parent window.
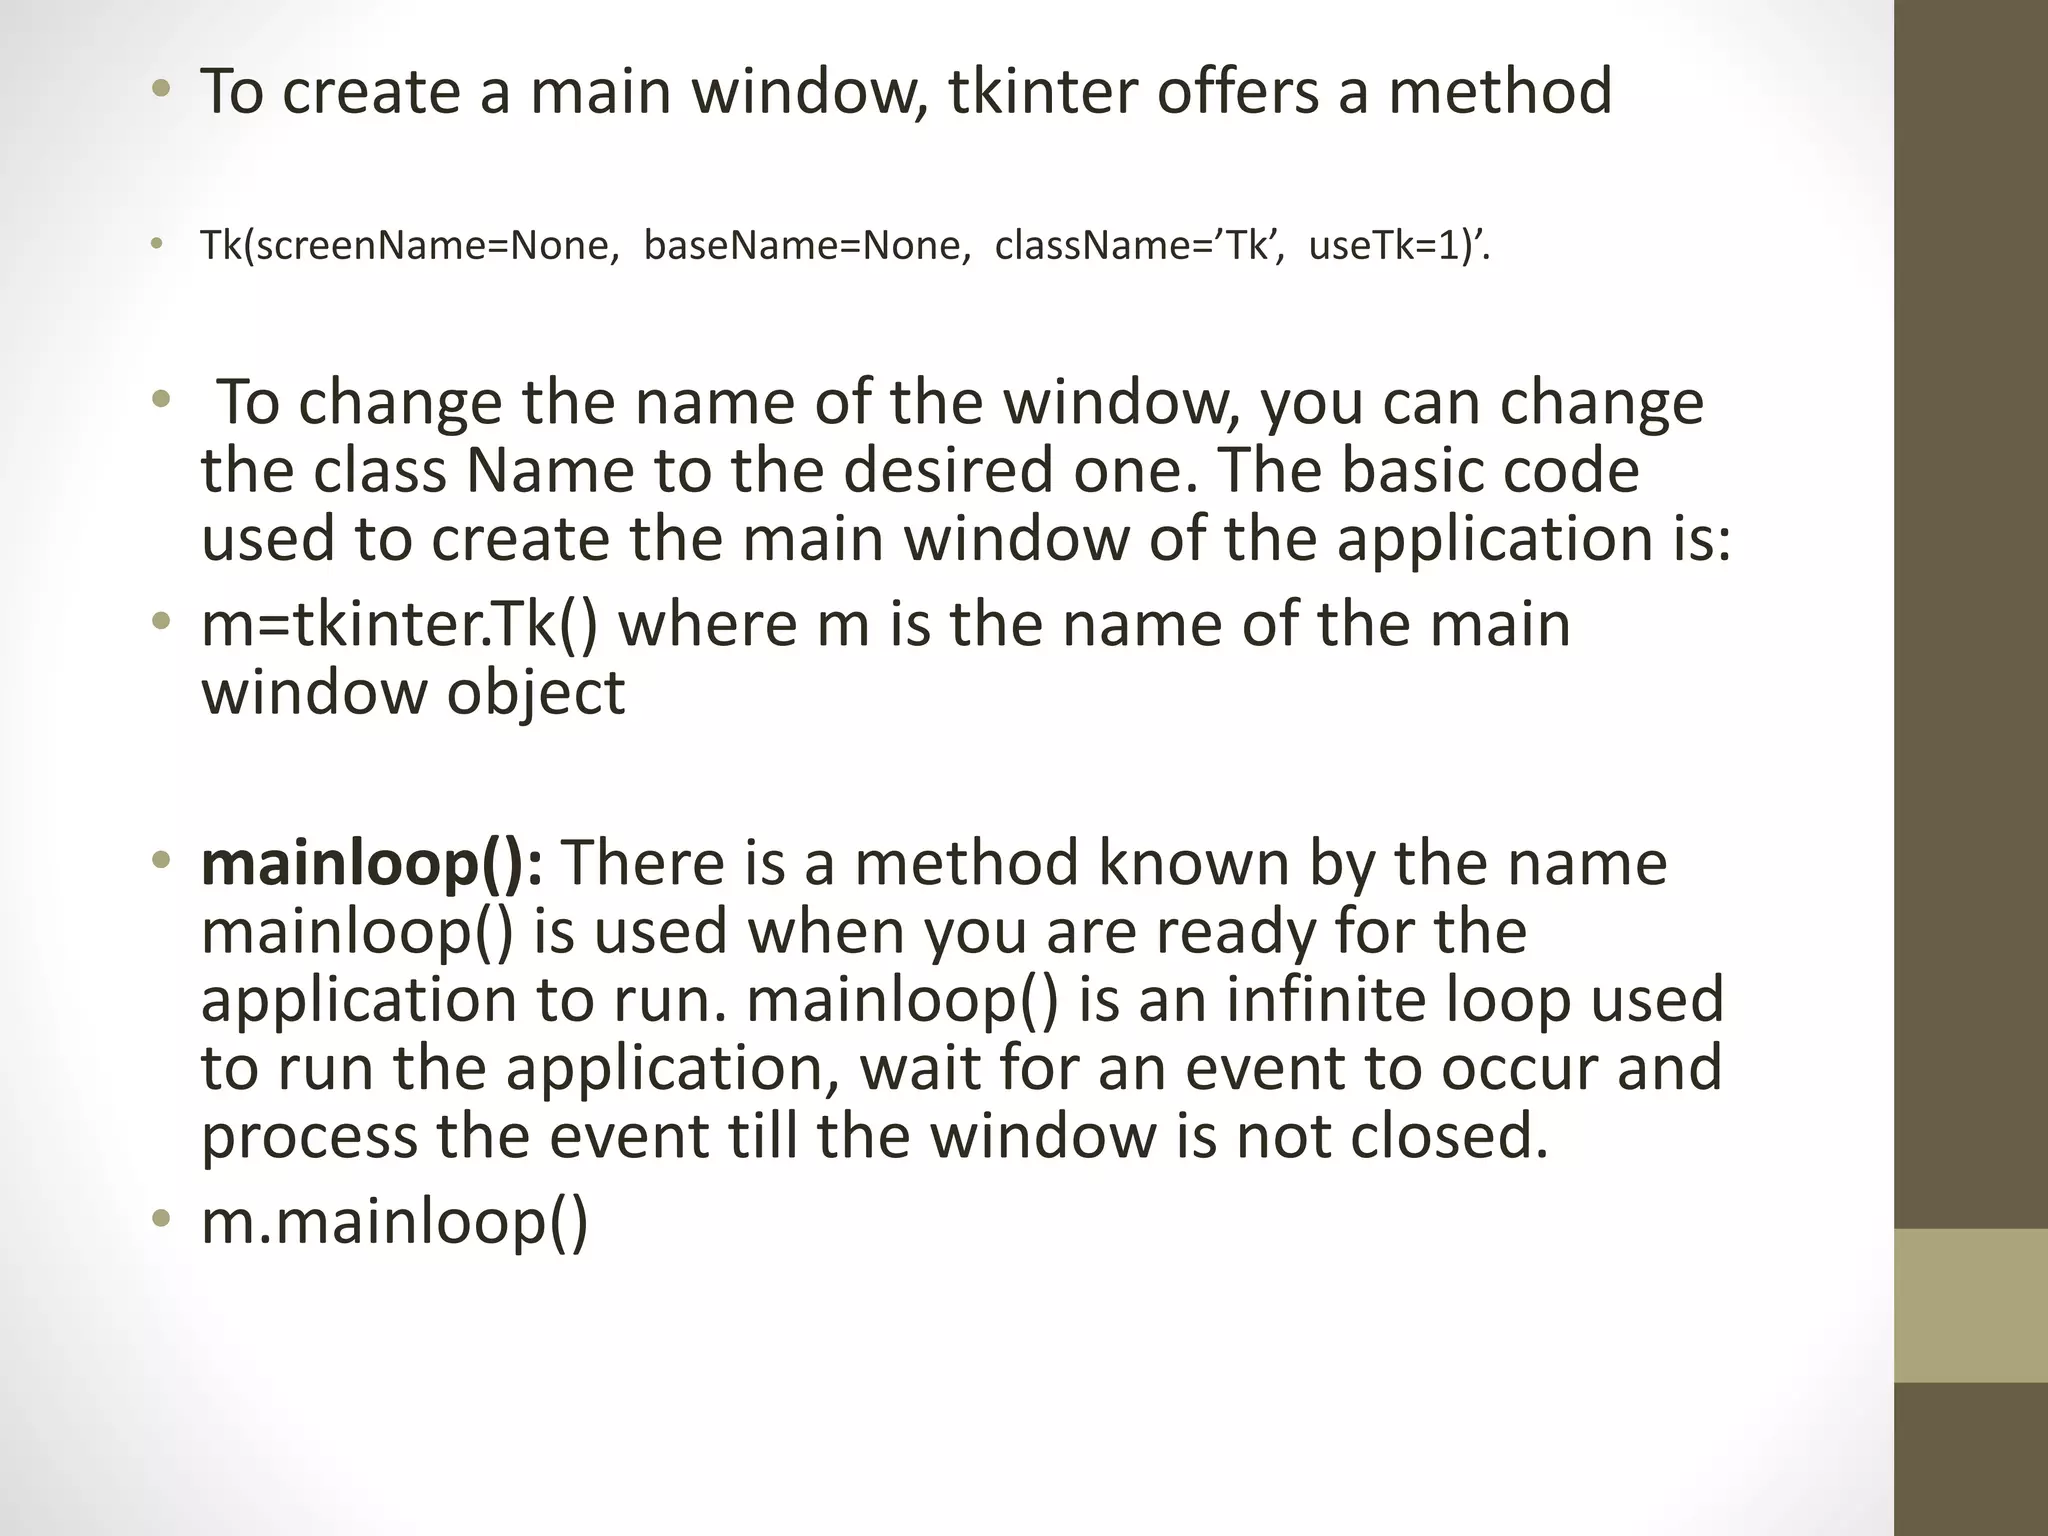
- The mainloop method is used


![Vibe Coding vs. Spec-Driven Development [Free Meetup]](https://cdn.slidesharecdn.com/ss_thumbnails/vibecodingvsspecdrivendevelopment-251209105622-43f455e7-thumbnail.jpg?width=640&height=640&fit=bounds)


