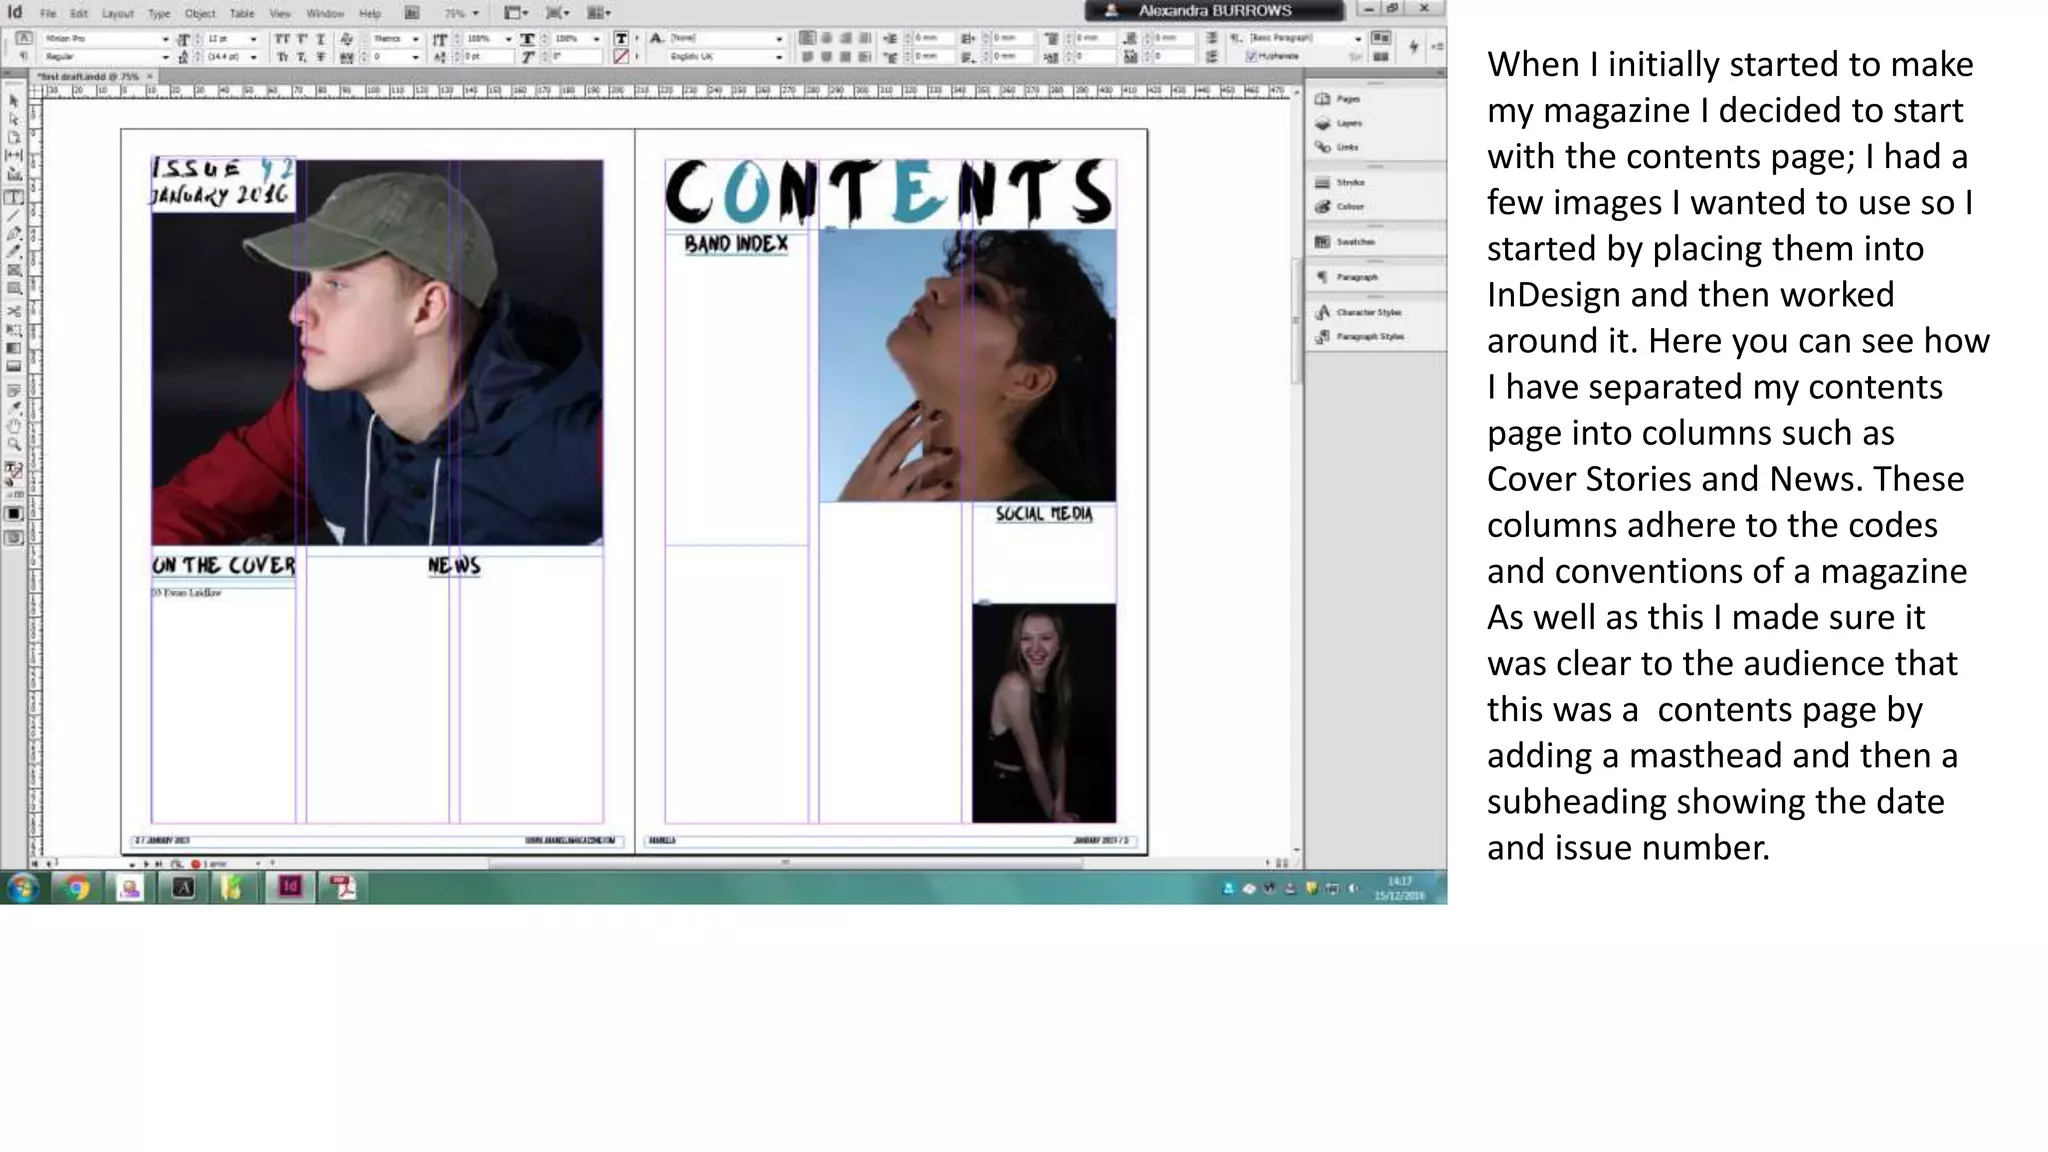
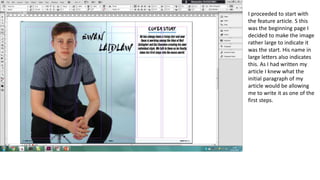
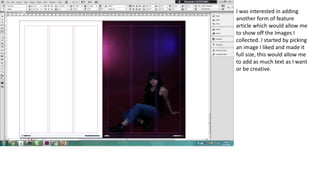
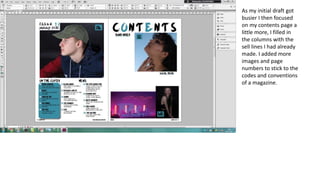
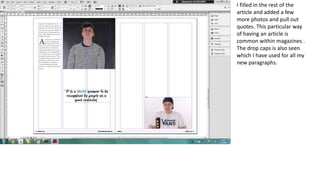
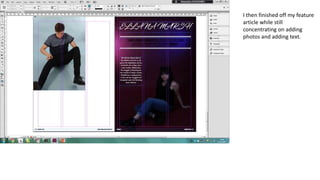
When I initially started to make
my magazine I decided to start
with the contents page; I had a
few images I wanted to use so I
started by placing them into
InDesign and then worked
around it. Here you can see how
I have separated my contents
page into columns such as
Cover Stories and News. These
columns adhere to the codes
and conventions of a magazine
As well as this I made sure it
was clear to the audience that
this was a contents page by
adding a masthead and then a
subheading showing the date
and issue number.
I proceeded to start with
the feature article. S this
was the beginning page I
decided to make the image
rather large to indicate it
was the start. His name in
large letters also indicates
this. As I had written my
article I knew what the
initial paragraph of my
article would be allowing
me to write it as one of the
first steps.
I was interested in adding
another form of feature
article which would allow me
to show off the Images I
collected. I started by picking
an image I liked and made it
full size, this would allow me
to add as much text as I want
or be creative.
As my initial draft got
busier I then focused
on my contents page a
little more, I filled in
the columns with the
sell lines I had already
made. I added more
images and page
numbers to stick to the
codes and conventions
of a magazine.
Once I finished
the contents
page I then
moved onto the
feature article. I
filled in the
columns with
text, adjusted
the size of the
photos and text
and then add
two pull out
quotes in order
for it to look
busier.
I filled in the rest of the
article and added a few
more photos and pull out
quotes. This particular way
of having an article is
common within magazines .
The drop caps is also seen
which I have used for all my
new paragraphs.
I then finished off my feature
article while still
concentrating on adding
photos and adding text.

Processes

  • 1.
    When I initiallystarted to make my magazine I decided to start with the contents page; I had a few images I wanted to use so I started by placing them into InDesign and then worked around it. Here you can see how I have separated my contents page into columns such as Cover Stories and News. These columns adhere to the codes and conventions of a magazine As well as this I made sure it was clear to the audience that this was a contents page by adding a masthead and then a subheading showing the date and issue number.
  • 2.
    I proceeded tostart with the feature article. S this was the beginning page I decided to make the image rather large to indicate it was the start. His name in large letters also indicates this. As I had written my article I knew what the initial paragraph of my article would be allowing me to write it as one of the first steps.
  • 3.
    I was interestedin adding another form of feature article which would allow me to show off the Images I collected. I started by picking an image I liked and made it full size, this would allow me to add as much text as I want or be creative.
  • 4.
    As my initialdraft got busier I then focused on my contents page a little more, I filled in the columns with the sell lines I had already made. I added more images and page numbers to stick to the codes and conventions of a magazine.
  • 5.
    Once I finished thecontents page I then moved onto the feature article. I filled in the columns with text, adjusted the size of the photos and text and then add two pull out quotes in order for it to look busier.
  • 6.
    I filled inthe rest of the article and added a few more photos and pull out quotes. This particular way of having an article is common within magazines . The drop caps is also seen which I have used for all my new paragraphs.
  • 7.
    I then finishedoff my feature article while still concentrating on adding photos and adding text.