Download to read offline


![Code
#include<LiquidCrystal.h>
LiquidCrystal lcd(7,6,5,4,3,2);
const int Sensor = A0;
byte degree_symbol[8] =
{0b00111,
0b00101,
0b00111,
0b00000,
0b00000,
0b00000,
0b00000,
0b00000
};](https://image.slidesharecdn.com/presentation-i-m-170601161009/85/Presentation-i-m-13-320.jpg)
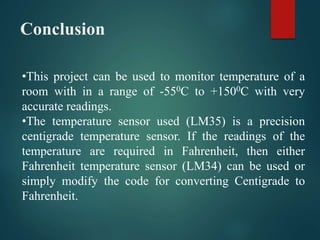


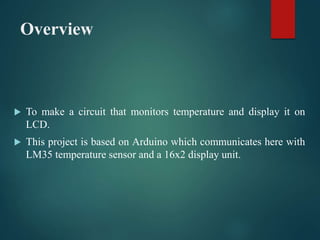
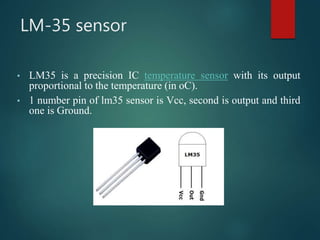
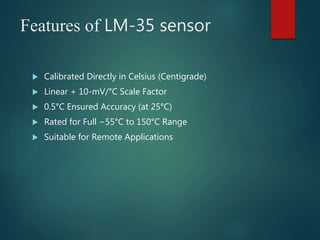
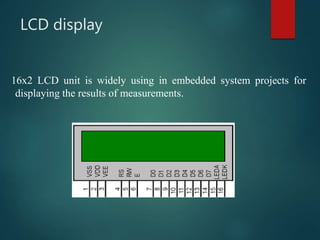
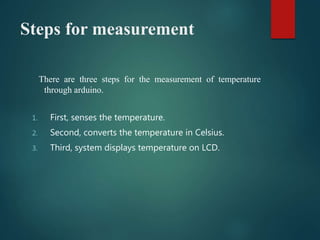
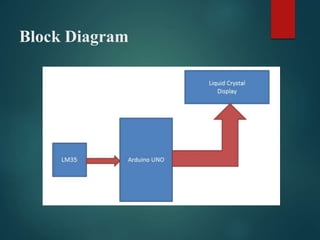
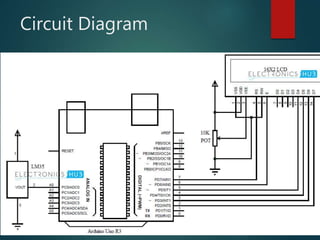
The document discusses a digital thermometer project utilizing Arduino, an LM35 temperature sensor, and a 16x2 LCD display for monitoring temperature. It outlines the thermometer's specifications, operation steps, and code implementation, highlighting its accuracy and portability for various applications. The project can monitor temperatures between -55°C and 150°C and can be adapted for Fahrenheit readings as needed.