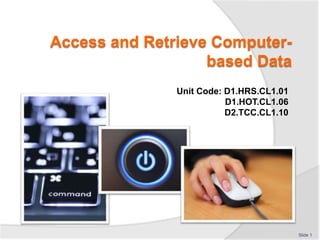
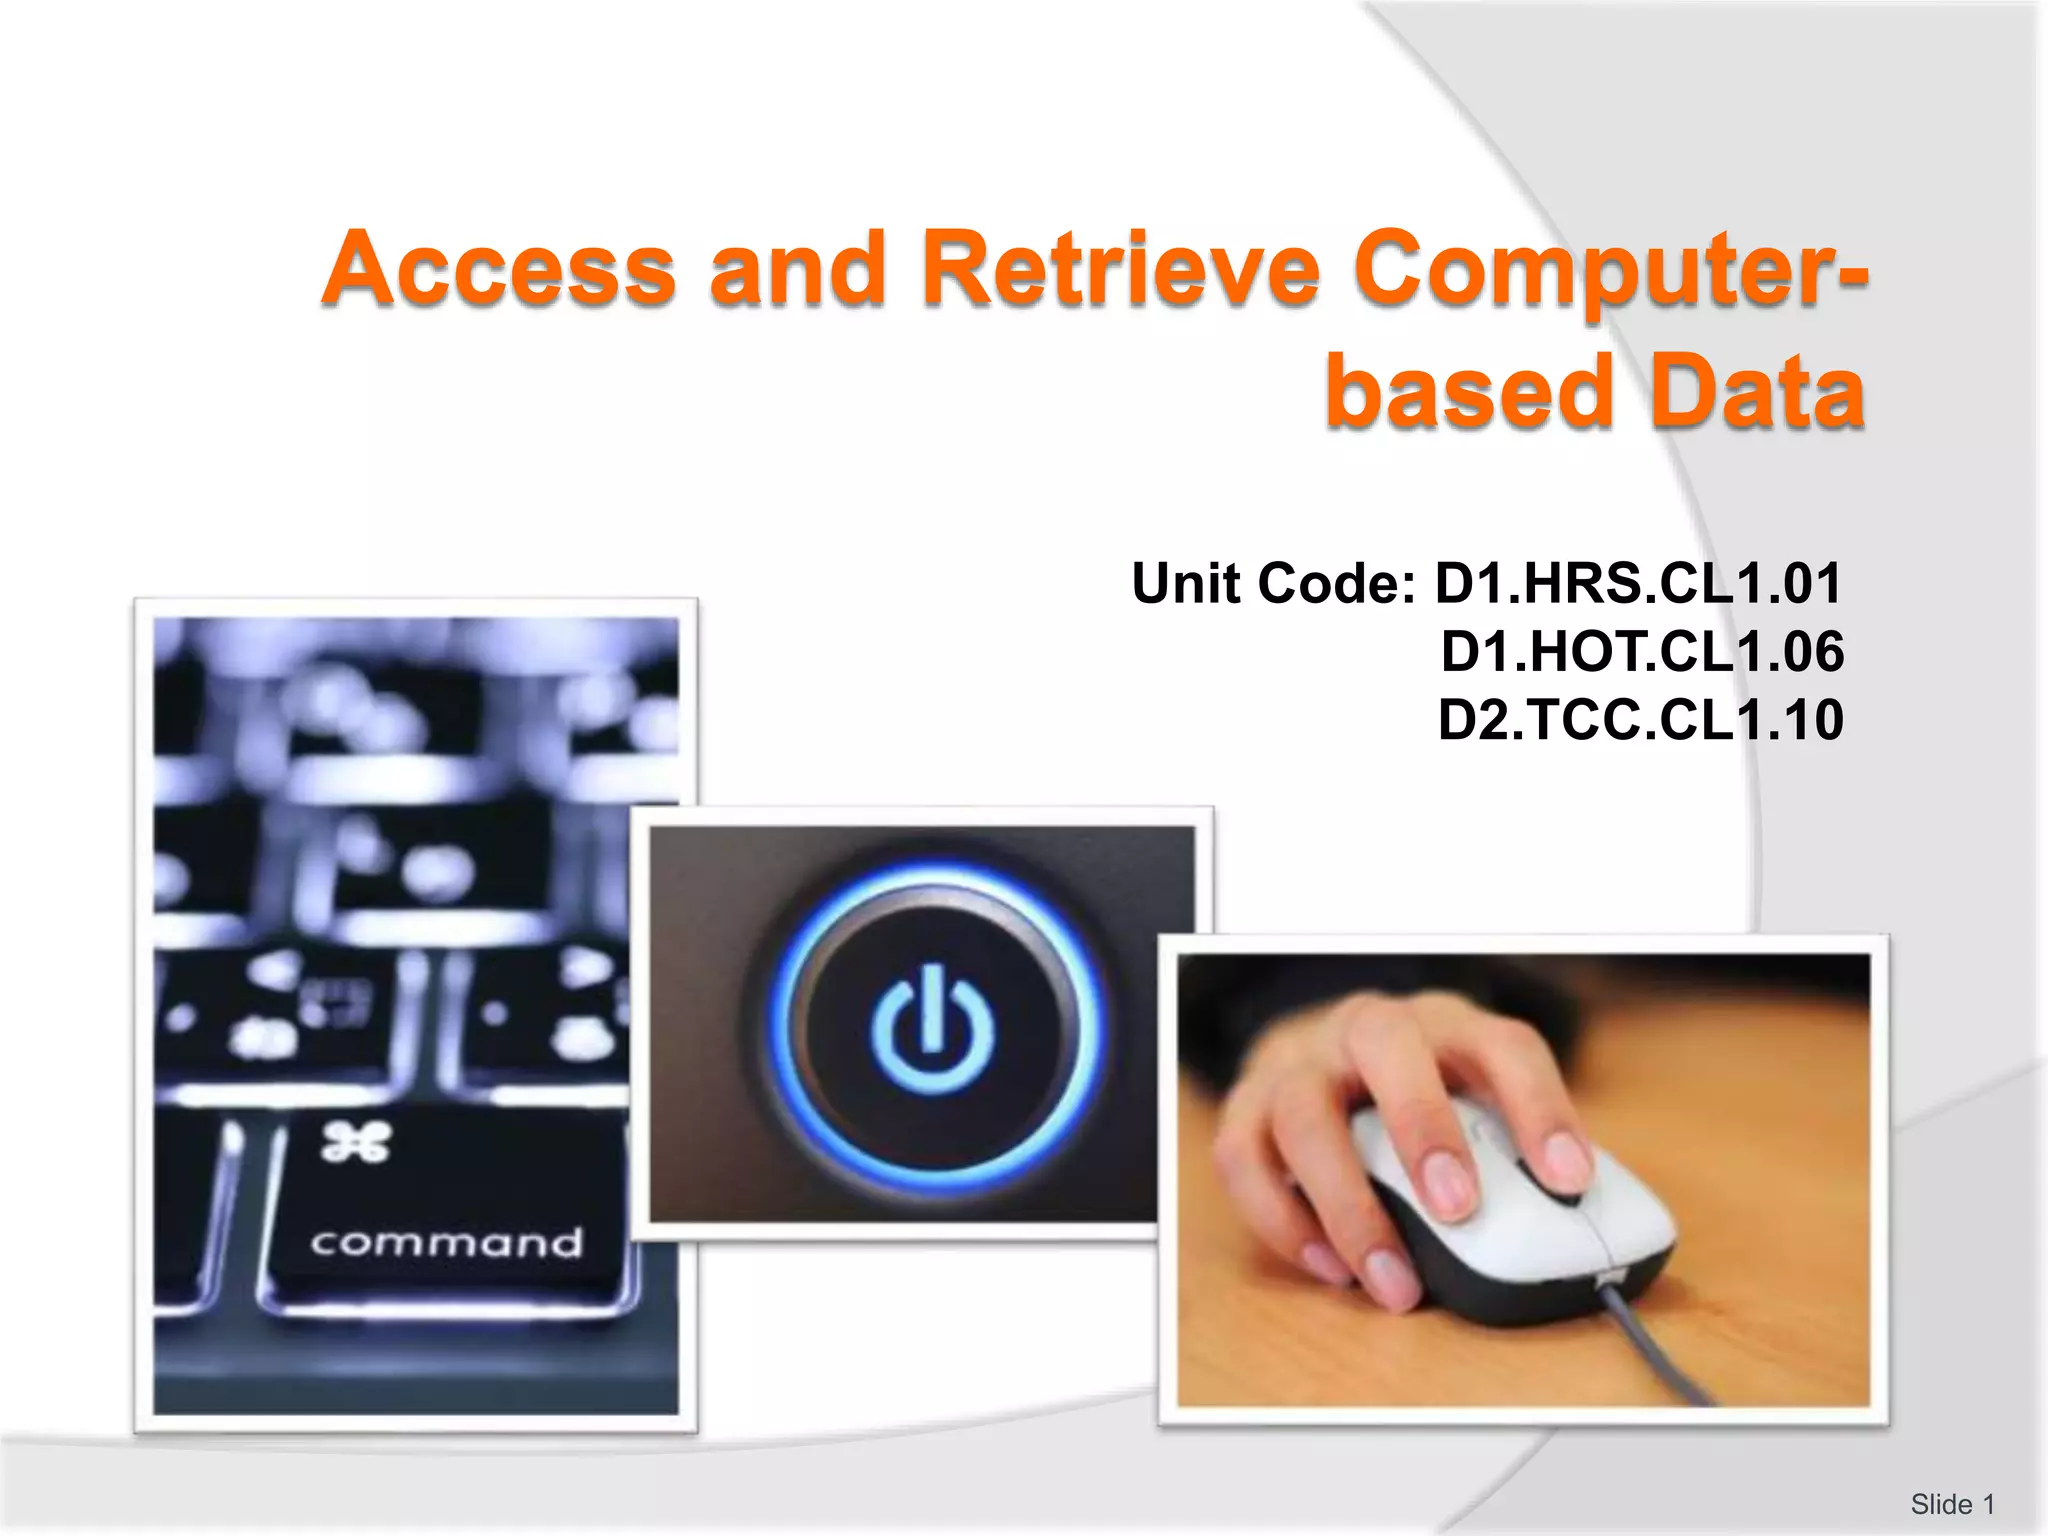
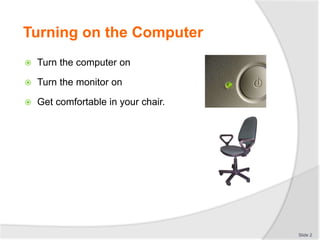
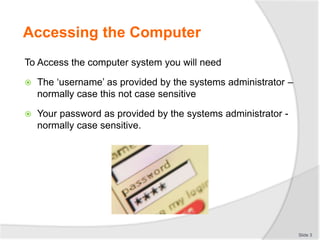
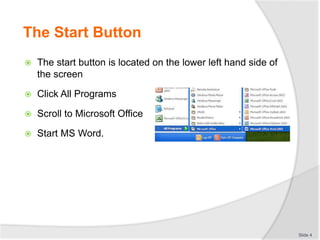
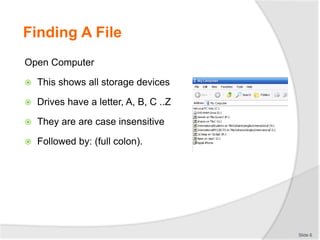
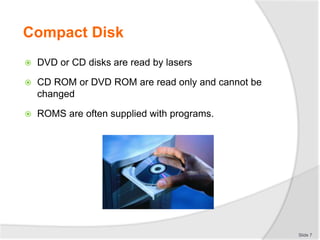
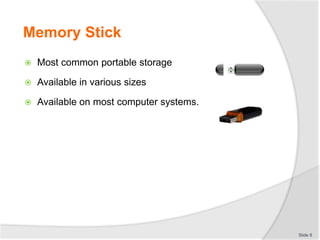
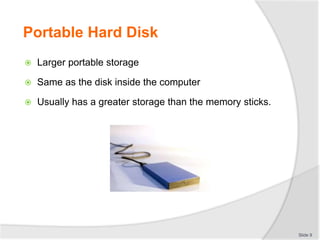
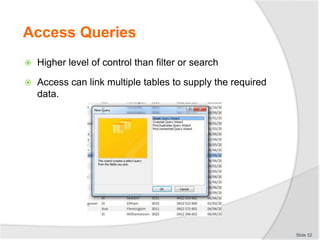
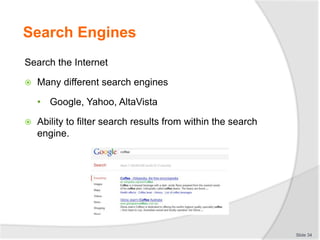
Kisan Call Centre - To harness potential of ICT in Agriculture by answer farm...
PPT_Access_retrieve_computer_based_data.pptx
1. Access and Retrieve Computer-
based Data
Unit Code: D1.HRS.CL1.01
D1.HOT.CL1.06
D2.TCC.CL1.10
Slide 1
2. Turning on the Computer
Turn the computer on
Turn the monitor on
Get comfortable in your chair.
Slide 2
3. Accessing the Computer
To Access the computer system you will need
The ‘username’ as provided by the systems administrator –
normally case this not case sensitive
Your password as provided by the systems administrator -
normally case sensitive.
Slide 3
4. The Start Button
The start button is located on the lower left hand side of
the screen
Click All Programs
Scroll to Microsoft Office
Start MS Word.
Slide 4
5. Word
Word has a tab interface
Each Tab has buttons
There is also the Quick Access tool bar
Open File is under ‘File>Open’
To close the program use ‘File>Exit’
They can also use the ‘X’ on the top of the form on the
right hand side to close
Slide 5
6. Finding A File
Open Computer
This shows all storage devices
Drives have a letter, A, B, C ..Z
They are are case insensitive
Followed by: (full colon).
Slide 6
7. Compact Disk
DVD or CD disks are read by lasers
CD ROM or DVD ROM are read only and cannot be
changed
ROMS are often supplied with programs.
Slide 7
8. Memory Stick
Most common portable storage
Available in various sizes
Available on most computer systems.
Slide 8
9. Portable Hard Disk
Larger portable storage
Same as the disk inside the computer
Usually has a greater storage than the memory sticks.
Slide 9
10. Network Drive
Drive attached to another computer within a network
Often accessible to many in the network
May be a drive that only stores data files from users.
Slide 10
11. Extensions
Each file has an extension after the dot
Each extension indicates the program that created the
file
Can be 3 or 4 letters
Case insensitive
Allows the operating system to know which program to
open when the file is double-clicked.
Slide 11
Word.doc / Image.jpg
extensions
12. Exercise
MS Word
Open Word
Click on all of the tabs and examine
the buttons on each
Close Word.
MS Excel
Open Excel
Click on all of the tabs and examine
the buttons on each
Close Excel.
Slide 12
13. Searching
File names can be forgotten
Click Start
Enter the name or partial name in the search block.
Slide 13
14. File Name Rules
Some businesses have conventions on file naming
May include
Department name
Author
Version Number
For example – “HK_GC_V1_13032012”.
Slide 14
15. System File Name Rules
In a Windows Environment
Name should be descriptive of the contents
Maximum of 256 characters
May include numbers, letters and other characters
May NOT use / * ? | <> : ;
Slide 15
16. Folders
These store files
Naming rules are the same as for files
Levels are separated by “”
Should also have meaningful names, for example:
‘Access & Retrieve Computer DataFilesWord’
‘Access & Retrieve Computer DataFilesExcel’.
Slide 16
17. Opening A File
The Common User Interface Concept
All programs have a common approach to common
tasks
Open file is ‘File>Open’ or ‘Ctrl-O’.
Slide 17
18. Searching in a Document
Word:
Click on the Home tab
Click the Find Button
‘Ctrl-F’ is the shortcut key
Enter the text to search.
Slide 18
19. Class Exercise
Click on the Start button
Find the Office Group
Start Word
Open the file “Personal Computers”
Click on the Home tab, then
Click the Find Button
Search for
‘and’
‘brand’.
Slide 19
20. Closing A Program
Click on the Home tab
Click File
Click Close.
Slide 20
21. Excel
Start Excel
Find is on the Home tab
Search options allow more control over searches than
in Word.
Slide 21
22. Excel: Go to
‘Go to’ allows quick movement between cells
Enter the cell in the Name box and the cursor moves to
the cell
Short cut key is ‘Ctrl-G’.
Slide 22
23. Exercise
Use the name box and go to cell ‘AB110’
Use the name box and go to cell ‘AB1110’
Use the ‘Ctrl-G’ to go to ‘ZZ6700’
‘Ctrl-Home’ moves cursor to ‘A1’.
Slide 23
24. Search in Excel
Search can be by:
Within
Sheets
Workbooks
By
Rows
Columns.
Slide 24
25. Exercise
Open the file Recipe.xlsx
Click Home Tab and then ‘Find’
Enter ‘chicken’ and click ‘Find Next’
Close
Search for same but this time click ‘Find All’.
Slide 25
26. Sort
This rewrites the file into a specified order
Order sequence can be listed alphabetically in a
column:
Ascending
Descending.
Slide 26
27. Exercise
Open the file Computers.xlsx
Sort the sheet on computer brands in ascending order
Sort the sheet on those that have McAfee and those that do
not, with the NO group appearing in the list first
Filter the group on computer type and show only desktop
models
Filter the group on OS (Operating System) and show all
those with an Apple operating system
Save the sheet as ‘Computers-Sorted.xlsx’
Close file
Exit Excel.
Slide 27
28. Row Filter
A filter hides rows
Click on the Home tab
Select the data
Set the filter rules.
Slide 28
29. Exercise
Open the file Recipes.xlsx
Select all the rows
Click Home then Sort and Filter
Click Filter
Filer the recipe list on Chicken
Close Excel.
Slide 29
31. Exercise
Open Access
Open Customers.accdb
Sort the file on suburb ascending
Sort the file on suburb descending
Sort on Amount Owning ascending
Sort on Amount Owning descending.
Slide 31
32. Access Queries
Higher level of control than filter or search
Access can link multiple tables to supply the required
data.
Slide 32
33. Exercise
Start Access
Open Customers.accdb
Create a query to show all columns
for all customers with a credit limit
over 1,000.
Slide 33
34. Search Engines
Search the Internet
Many different search engines
• Google, Yahoo, AltaVista
Ability to filter search results from within the search
engine.
Slide 34
35. Exercise
Open the browser and go to google.com
Search for
Coffee
House
Change the options and repeat the search.
Slide 35
36. Printing - Word
Click File and Print
Select the options
Print.
Slide 36
37. Class Exercise
Open Word
Open Personal_Computers.docx
Print the first page.
Slide 37
38. Printing - Excel
Printing is very similar to Word
Use print preview to see the page breaks occur at the
appropriate places.
Slide 38
39. Exercise
Open Excel
Open the file Computers.xlsx
Print Preview the file
Print the page.
Slide 39
Trainer welcomes trainees to class and introduces the unit.
Trainer will need to explain where the on switch is for the computer and the screen
The order is not important but it is usually better to turn the computer and then the screen on.
The username is normally case insensitive but this should be checked with the system administrator
Both the username and password will be provided or there will be rules for the password
The username and password may be a combination of the given name, surname, student number, and date of birth.
Windows will have loaded
Trainer to show the desktop and the start bar to the trainees
Computer may only be accessible from the desktop depending on the setup of the system
There may be a word icon on the screen or they may have to obtain access via the menu start bar
Direct students to the icon and also show them how to load from the start button
Demonstrate how to close down the computer.
Describe the tabs and show the students the various tabs
Exercise: Get the students to click through the various tabs so they can see the options that are available
The important buttons are File, save, find, and print
Show these in Word
Also, demonstrate the various methods to close the program.
Much will depend on the setup for each system
Click on ‘My Computer” may be on desktop or from Start Button and on the right
“M Computer” will show all the storage devices that are attached to the computer
Teacher to discuss the options that are visible
Draw attention to any USB devices.
Operation is via a light which hits the disk to read the data. DVDs and CDs are very similar. A DVD stores about 7 times more data than a CD
Some are read only memory – ROM – which means the data cannot be changed
This is the most common method to distribute programs on media.
These devices do not require any special software so they can be attached to most computers
Allows files to be available on different computers
When correctly connected the drive will appear in ‘My Computer”
There is a specific process to detach. Click the icon in the lower right hand and follow the instructions
Teacher to demonstrate the process.
These are connected by a cable to the computer into the USB connection
They may hold as many as 100 DVDs or more
A person can have all the Word, Excel and Access files from their computer on hand.
These are disks that are attached to another computer within a network
In a network a user can save to a disk that is attached to a computer that is in another room or building
In a network all users will normally save to a drive in a computer and this is ‘backed up’ to ensure that, should there be an issue, the possibility of data loss is minimal.
When Word, Excel, or any other program saves a file an extension is added to the filename. The extension indicates which program made the file and which program should be used to open or edit the file
When a user is looking at the list of files and double clicks on the file the computer looks at the extension and uses this to open the appropriate program and then open the file
The extension is usually three but. may be as long as four characters.
Provide instructions on how to open the program
It may be a desktop icon.
It is possible that a person wants to open a file that they created a year ago and cannot remember the filename or where the file was saved
Searching asks the computer to find a file with all or part of the filename
Searching may take some time depending on the size of the disk, the number of files, and the speed of the computer.
Where there are many users and a file may be edited or accessed by many users a file naming convention may be useful
This means that the name of the file has details to assist in determining the contents of the file without opening the file
It is impossible for two files in the same folder to have the same name
So by adding a version number to the filename you will be able to keep a copy of the file before the edits were made.
A file with a name of “Doc” is hardly helpful in determining the contents of the file
Each file name can have up to 256 characters and this can be used to provide some description as to what is in the file
Filename can have upper and lower case characters, numbers, and characters such as $@!
May not use the characters shown.
A computer can store files in folders or subdirectories
These can be used to store common files
They assist in finding a file because the search should involve only relevant files
Same naming rules as for filenames
One directory stores the Word files and one stores the Excel files.
Program developers are moving to a Common User Interface. This means that how a user does something is the same in many programs. To open a file the user clicks on ‘File’ and then ‘Open’
The same shortcut is used – hold down the ‘Ctrl’ key and while holding it down hit the ‘O’ key (for open) and the dialogue box will display to find the file and open it for editing or viewing
There are many short-cut keys which can be accessed from the keyboard so they do not require a mouse and are much faster.
To find text in Word:
Click on the Home Tab
Locate the Find Button
Click it and a dialogue box will open in which the text can be entered.
If possible, each student using their own computer (or sharing with another student) allow them time to practice the exercise on their own rather than the Trainer simply demonstrating it from the front of the class.
There are a vast number of cells in Excel
The ‘go to’ option allows the focus to move to a cell very quickly
Users can use the name box or the ‘Ctrl-G’ option.
Allow students to practice with the ‘Go to’ command.
There are various methods by which to search in Excel
By setting the options the search can be very focused or very wide
The narrower the search the quicker
A good idea is to open a search box and mention each item and explain the significance to the trainees.
Show the difference between ‘Find Next’ and ‘Find All’
Point out the list that appears.
A sort changes the order of the data in the file
Can take time depending on computer speed and file size
Any changes in the order will be lost unless the file is saved.
If possible, each student using their own computer (or sharing with another student) allow them time to practice the exercise on their own.
A filter will hide or show rows of data according to particular criteria
Direct attention to relevant data and hide irrelevant data
Show customers that have exceeded their credit limit and hide the customers that are within their limit.
Demonstrate how to do the search
Have students perform a filter
Filter list on the ingredient ‘chicken’.
The program ‘Access’ has the same filter and sort features as Excel
Sort and Filter apply to all records.
Open the Customers.accdb and then sort on the suburb
Do various sorts.
A query provides a high degree of control over records that are included and excluded in the search
A query can combine tables to show information
A query does not write the file - it extracts information from the file and shows the information.
Demonstrate a query that will return the fields with the criteria.
Search engines or sites keep a database of data they have discovered on the Internet
When a search is conducted they query their database and show results
Because the databases are different and they search differently there are different results in different sites.
If possible, each student using their own computer (or sharing with another student) allow them time to practice the exercise on their own.
The printing process in Word is on the Home Tab – click File and then Print
There are many options
Set the options and select print.
Print a page from Word.
The printing process in Excel is on the Home Tab – click File and then Print
There are many options
Need to check for page breaks
Set the options and select print.
Allow students to print preview and print a page
Go through the options that are presented to the student.