The document provides an overview of the different views and functionalities in PowerPoint, including:
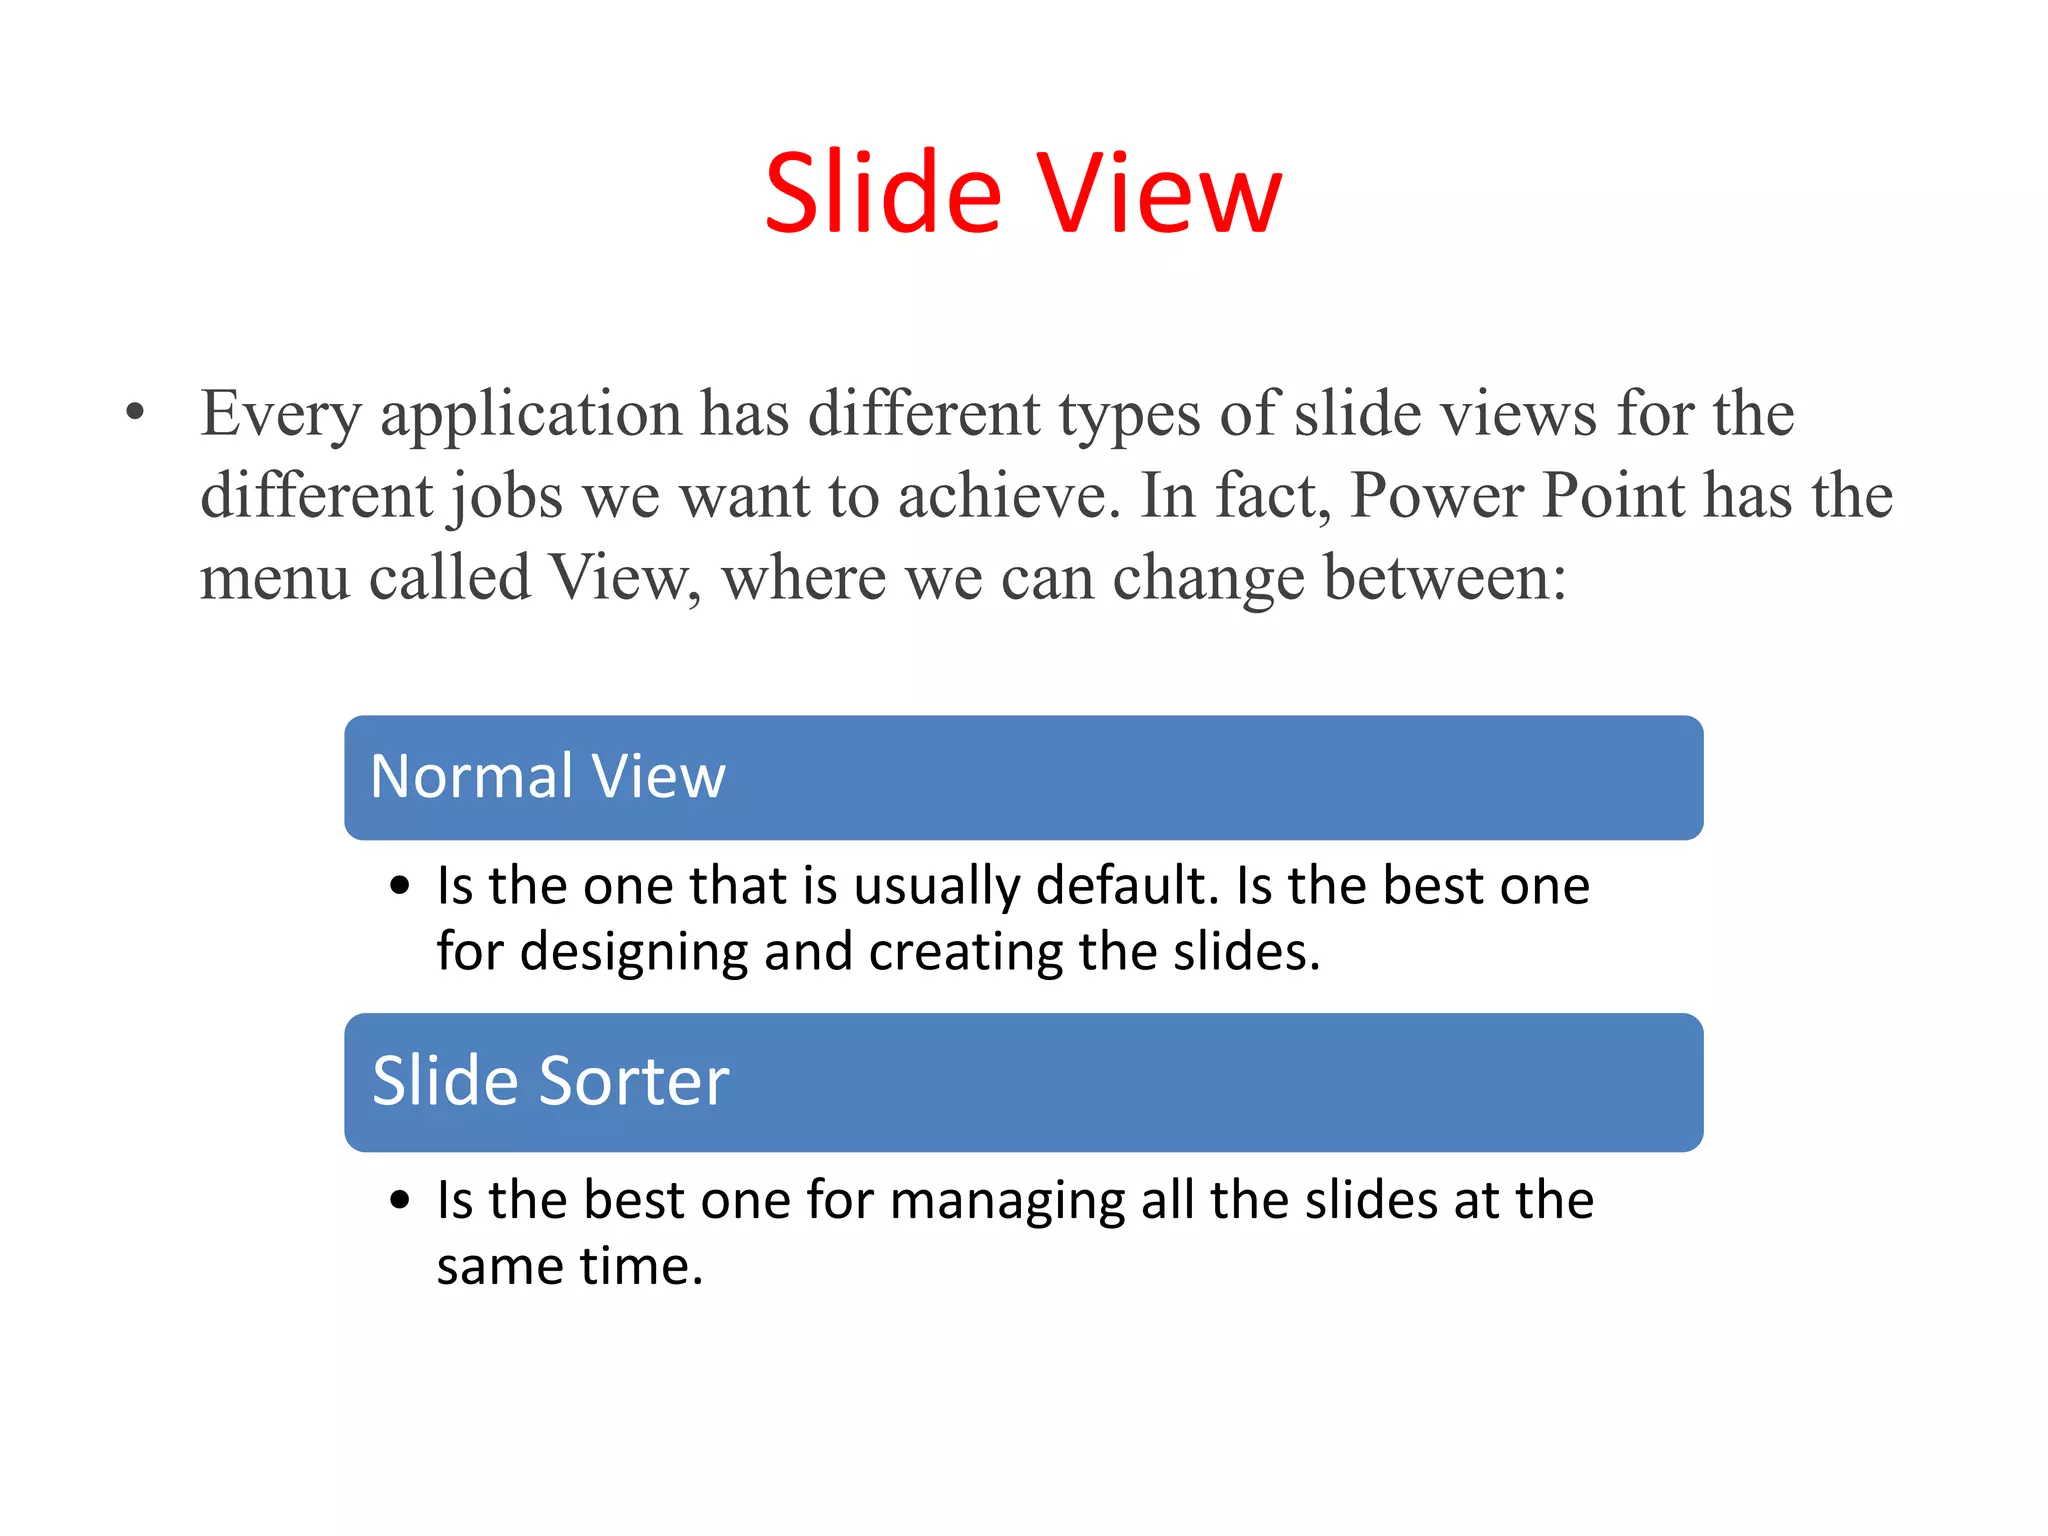
- Normal view is best for designing slides while Slide Sorter view manages all slides.
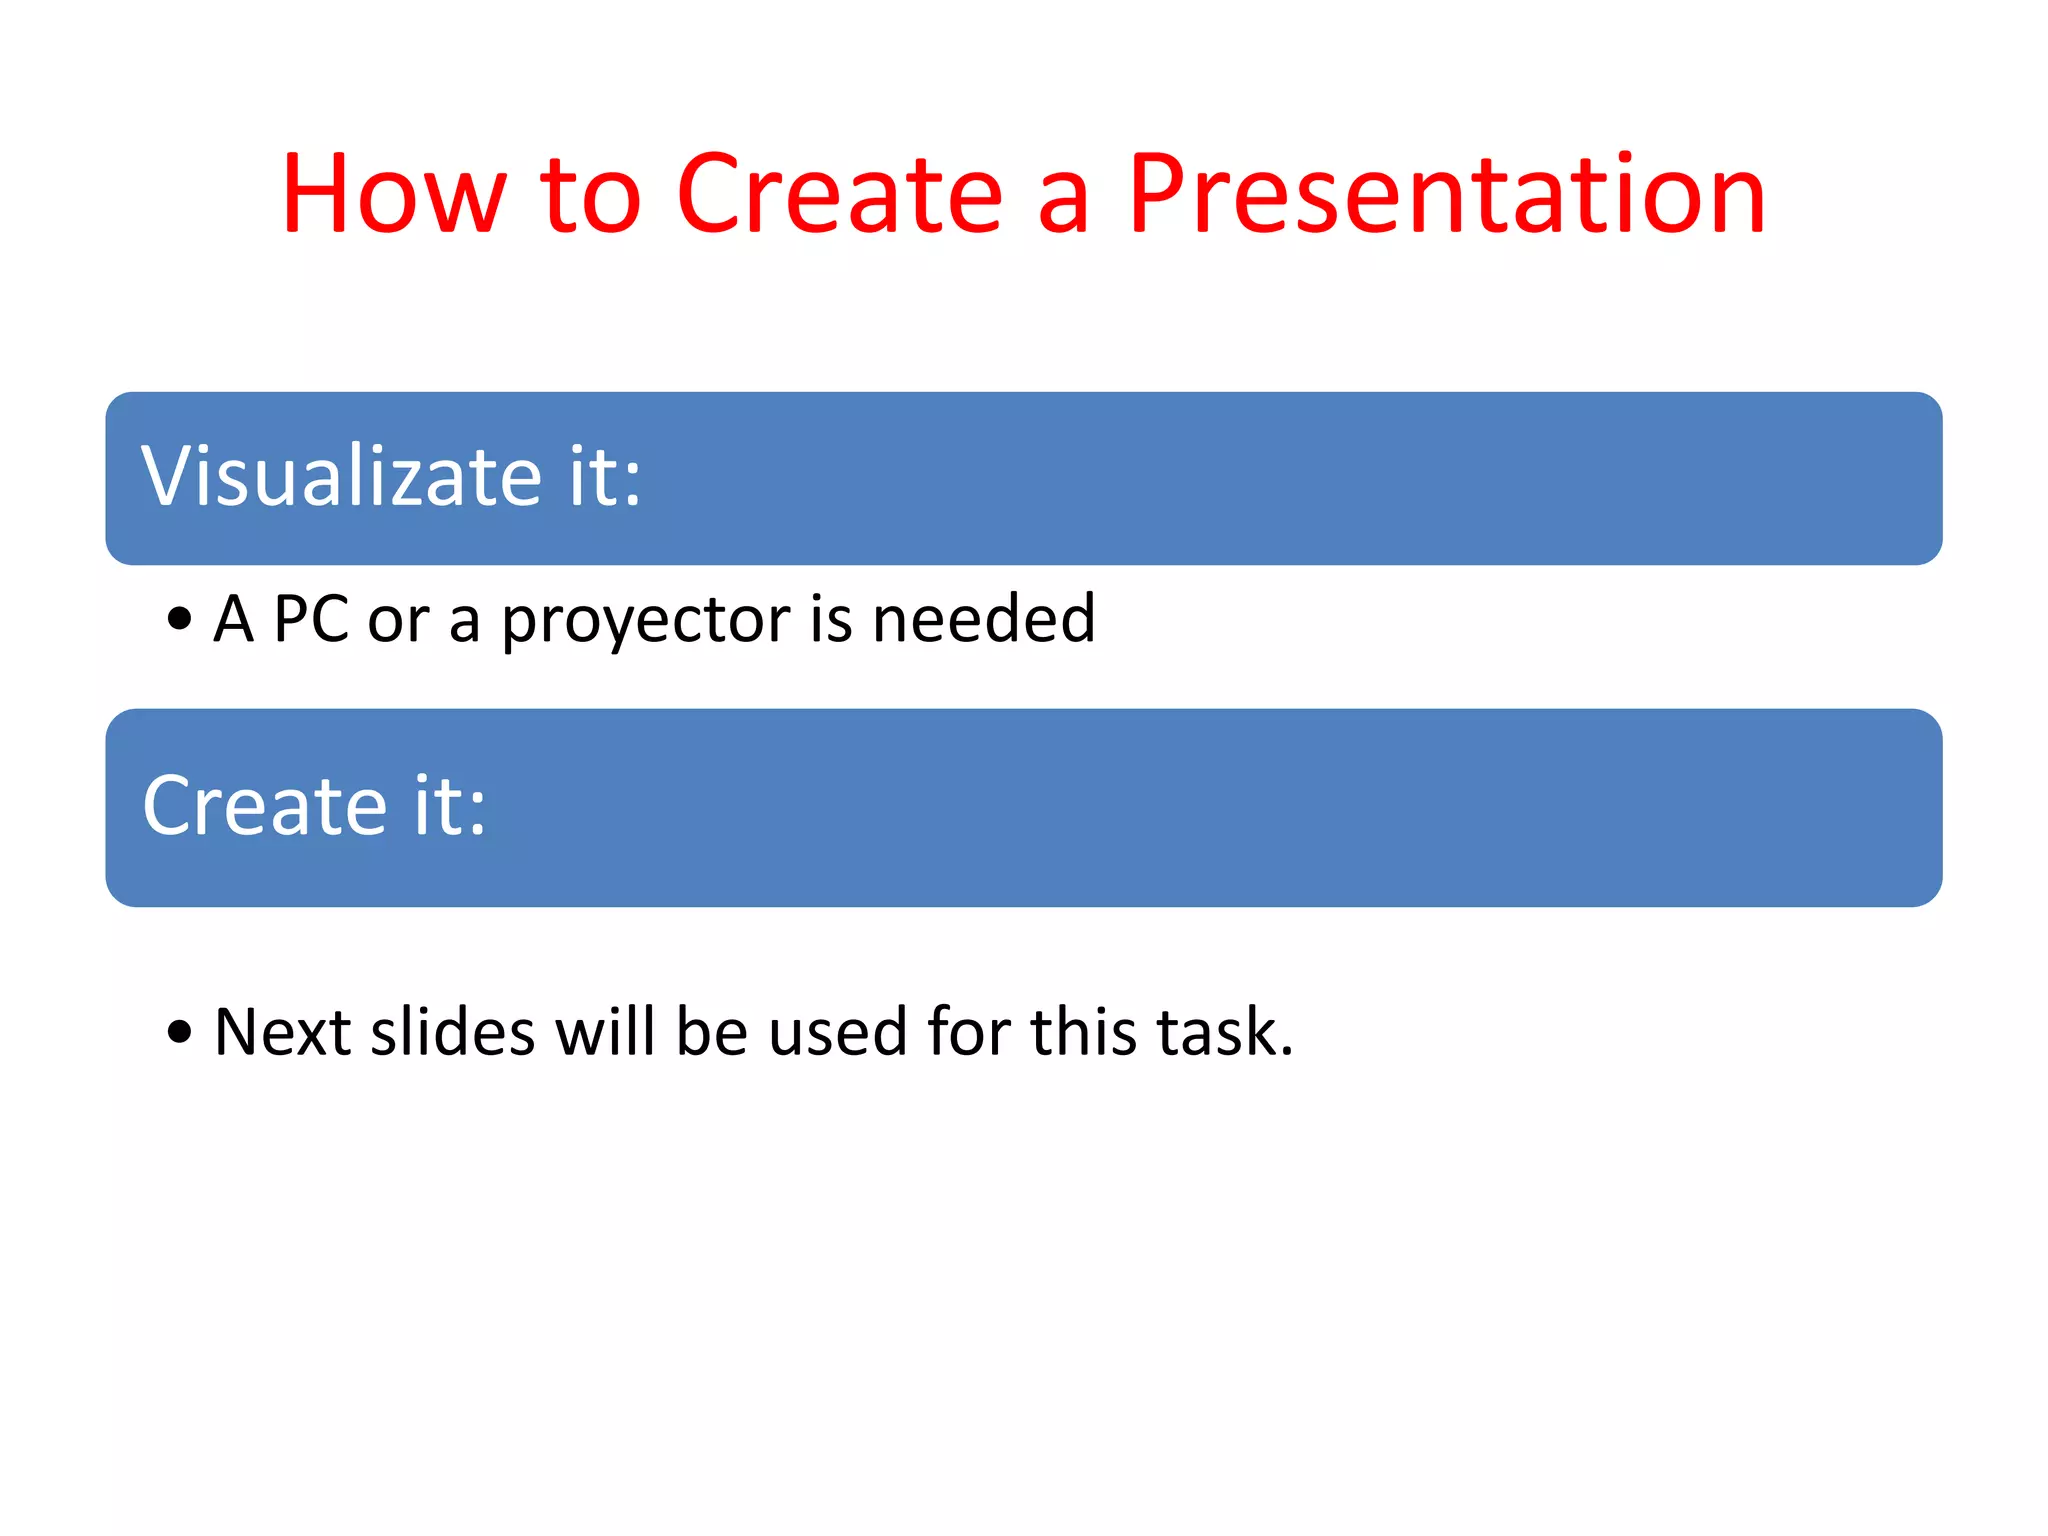
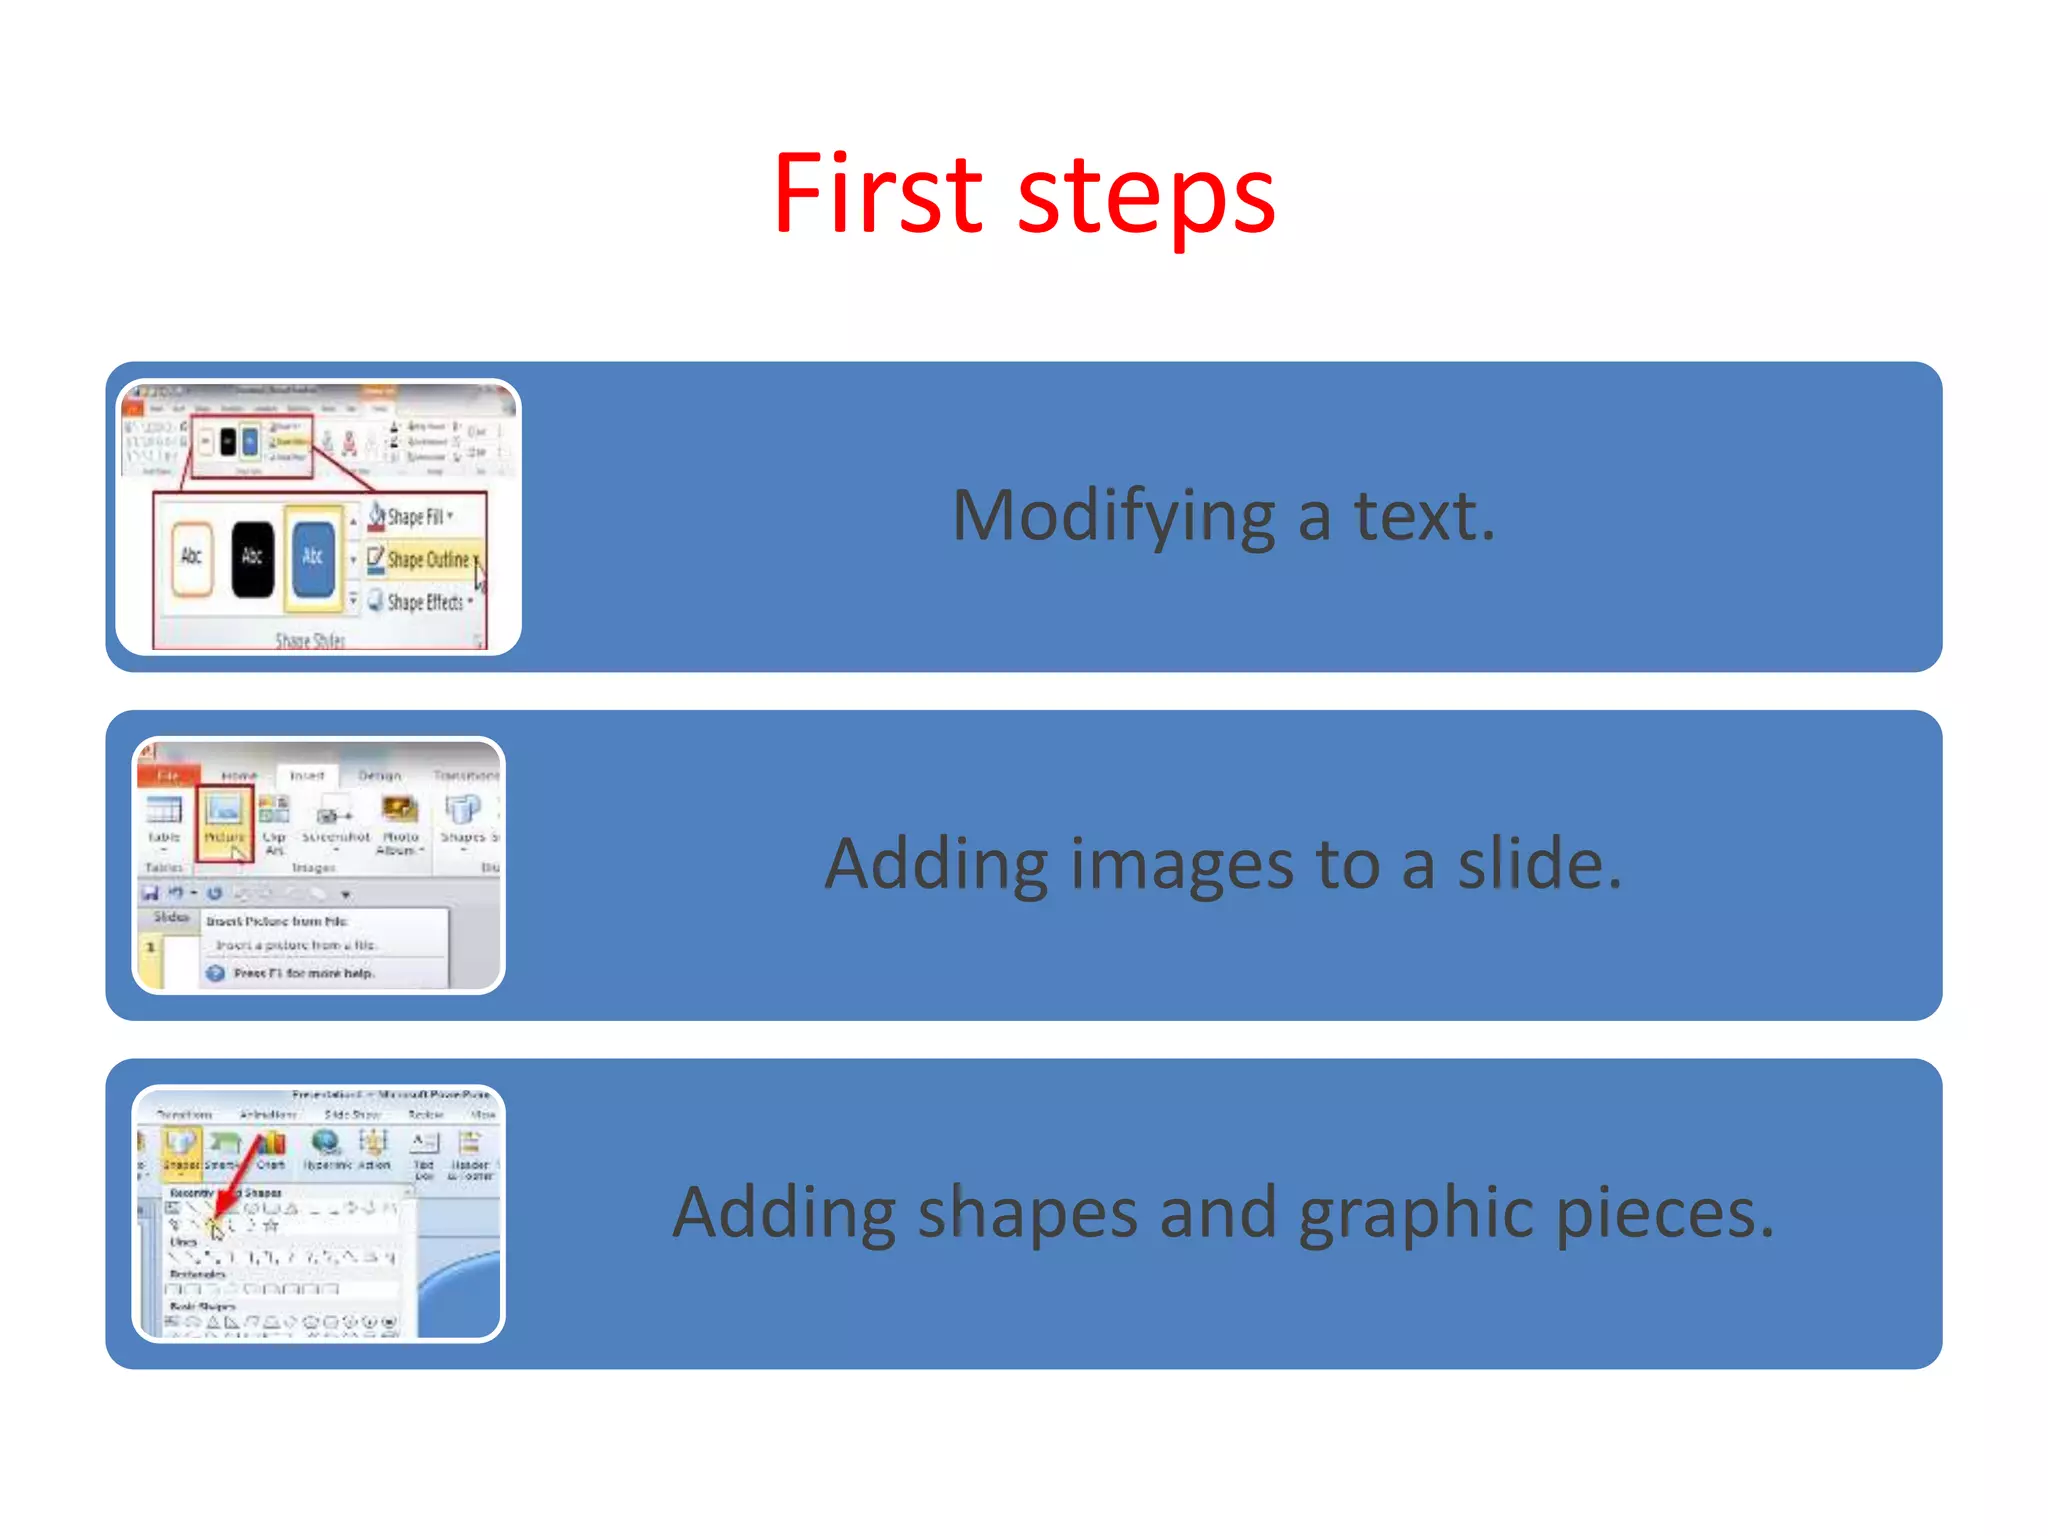
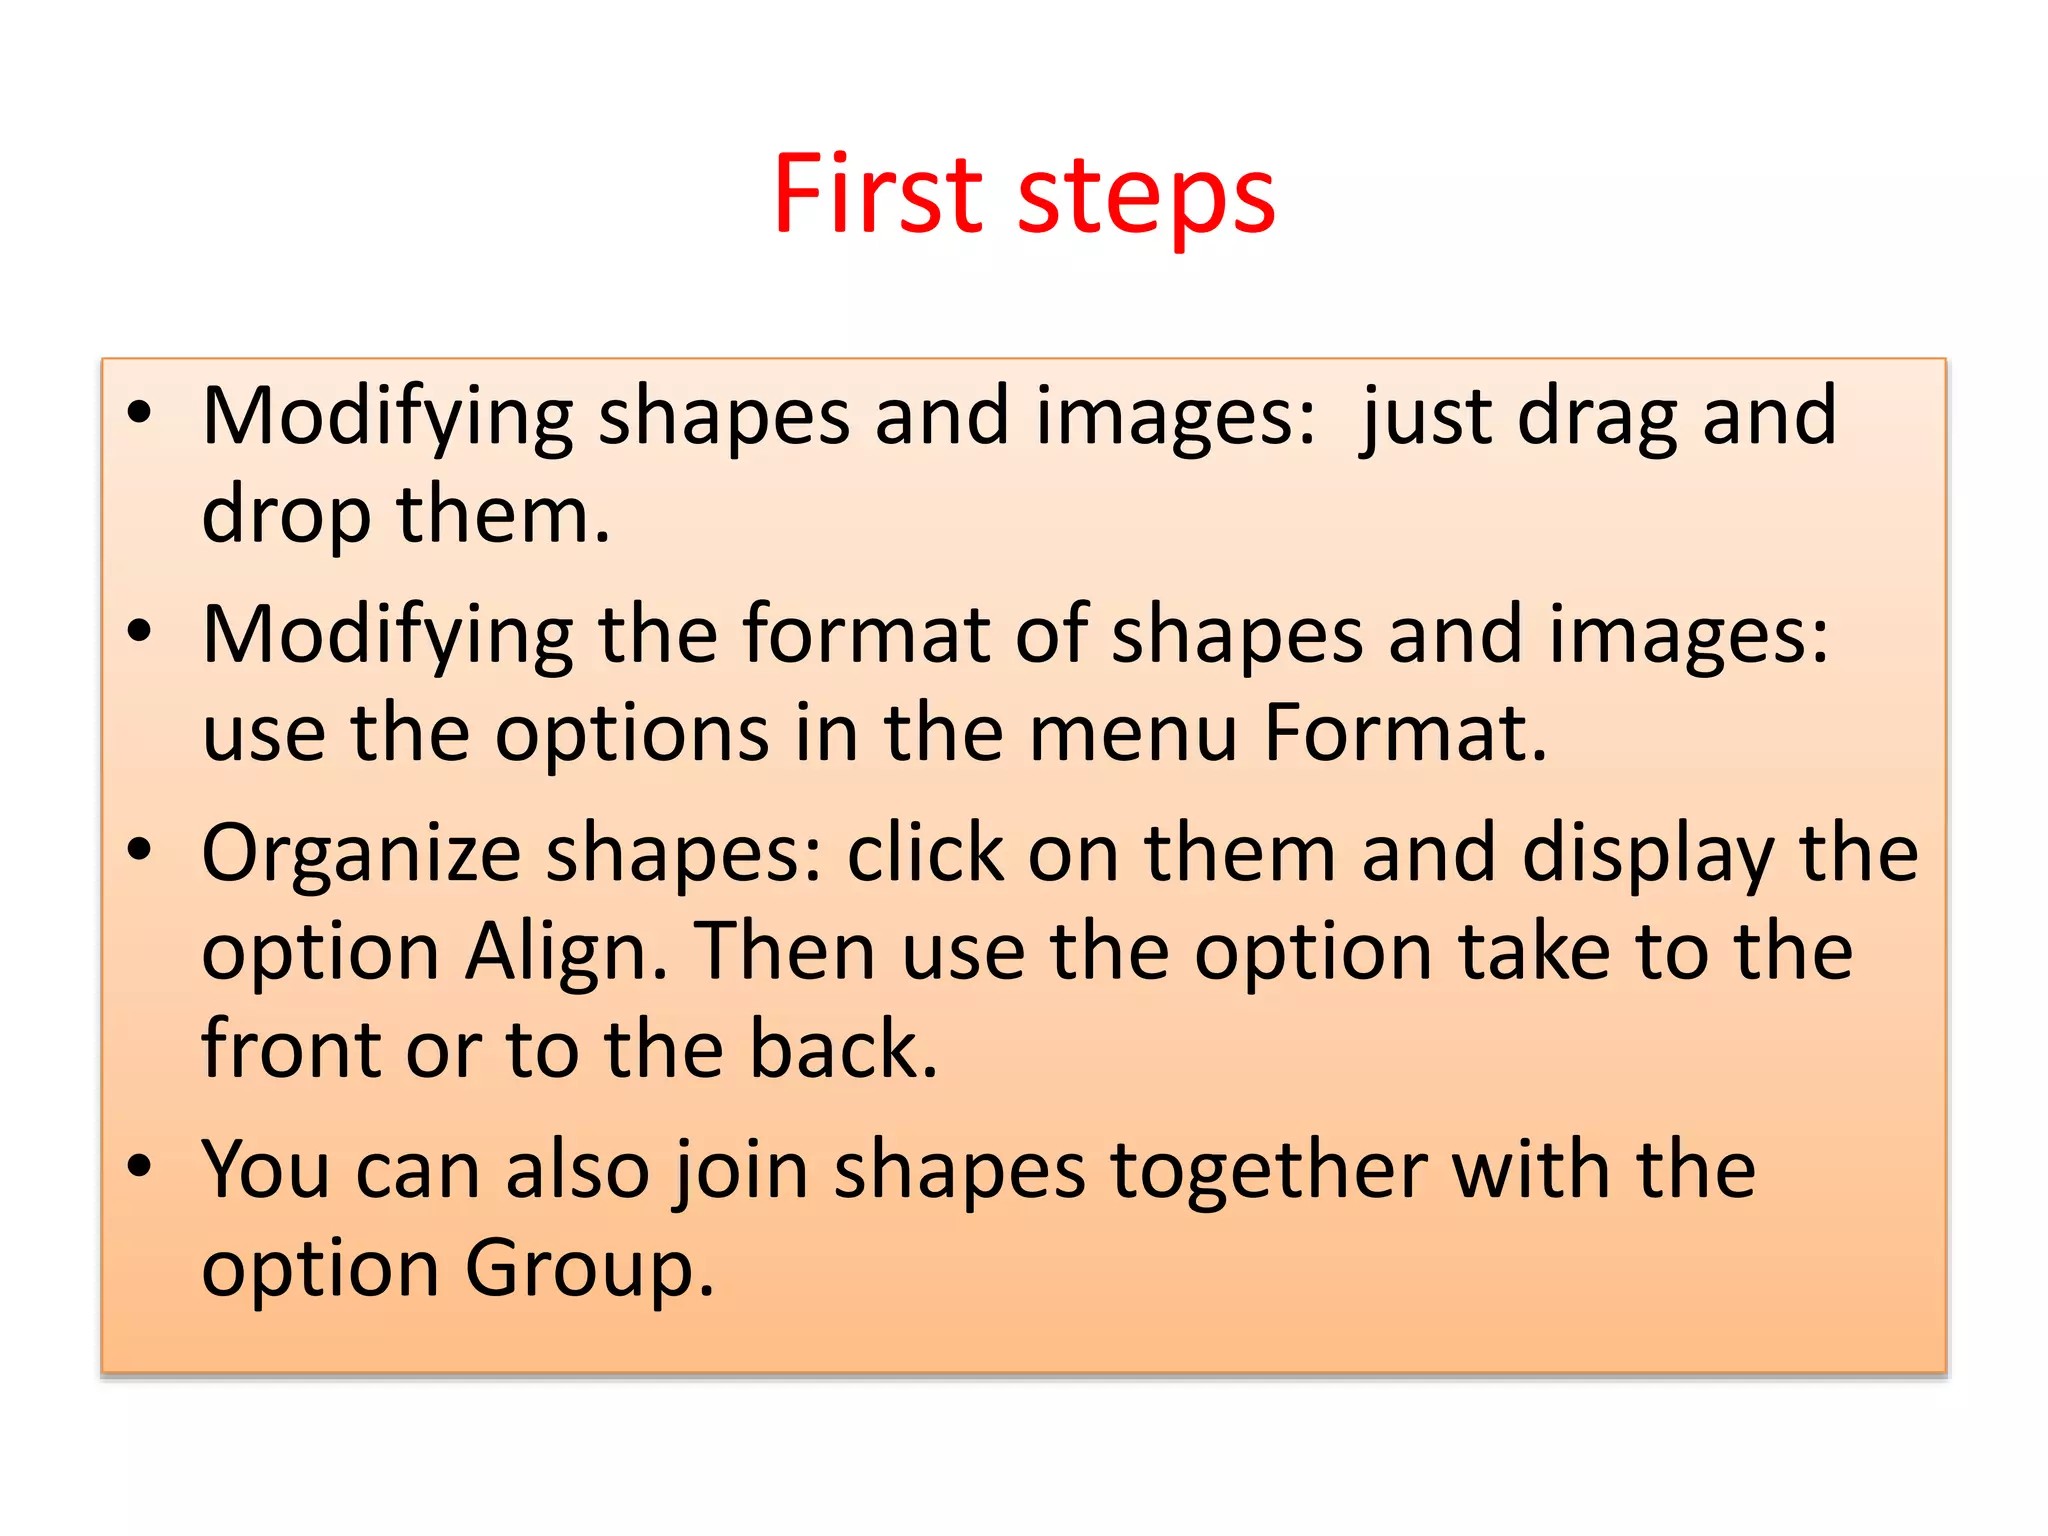
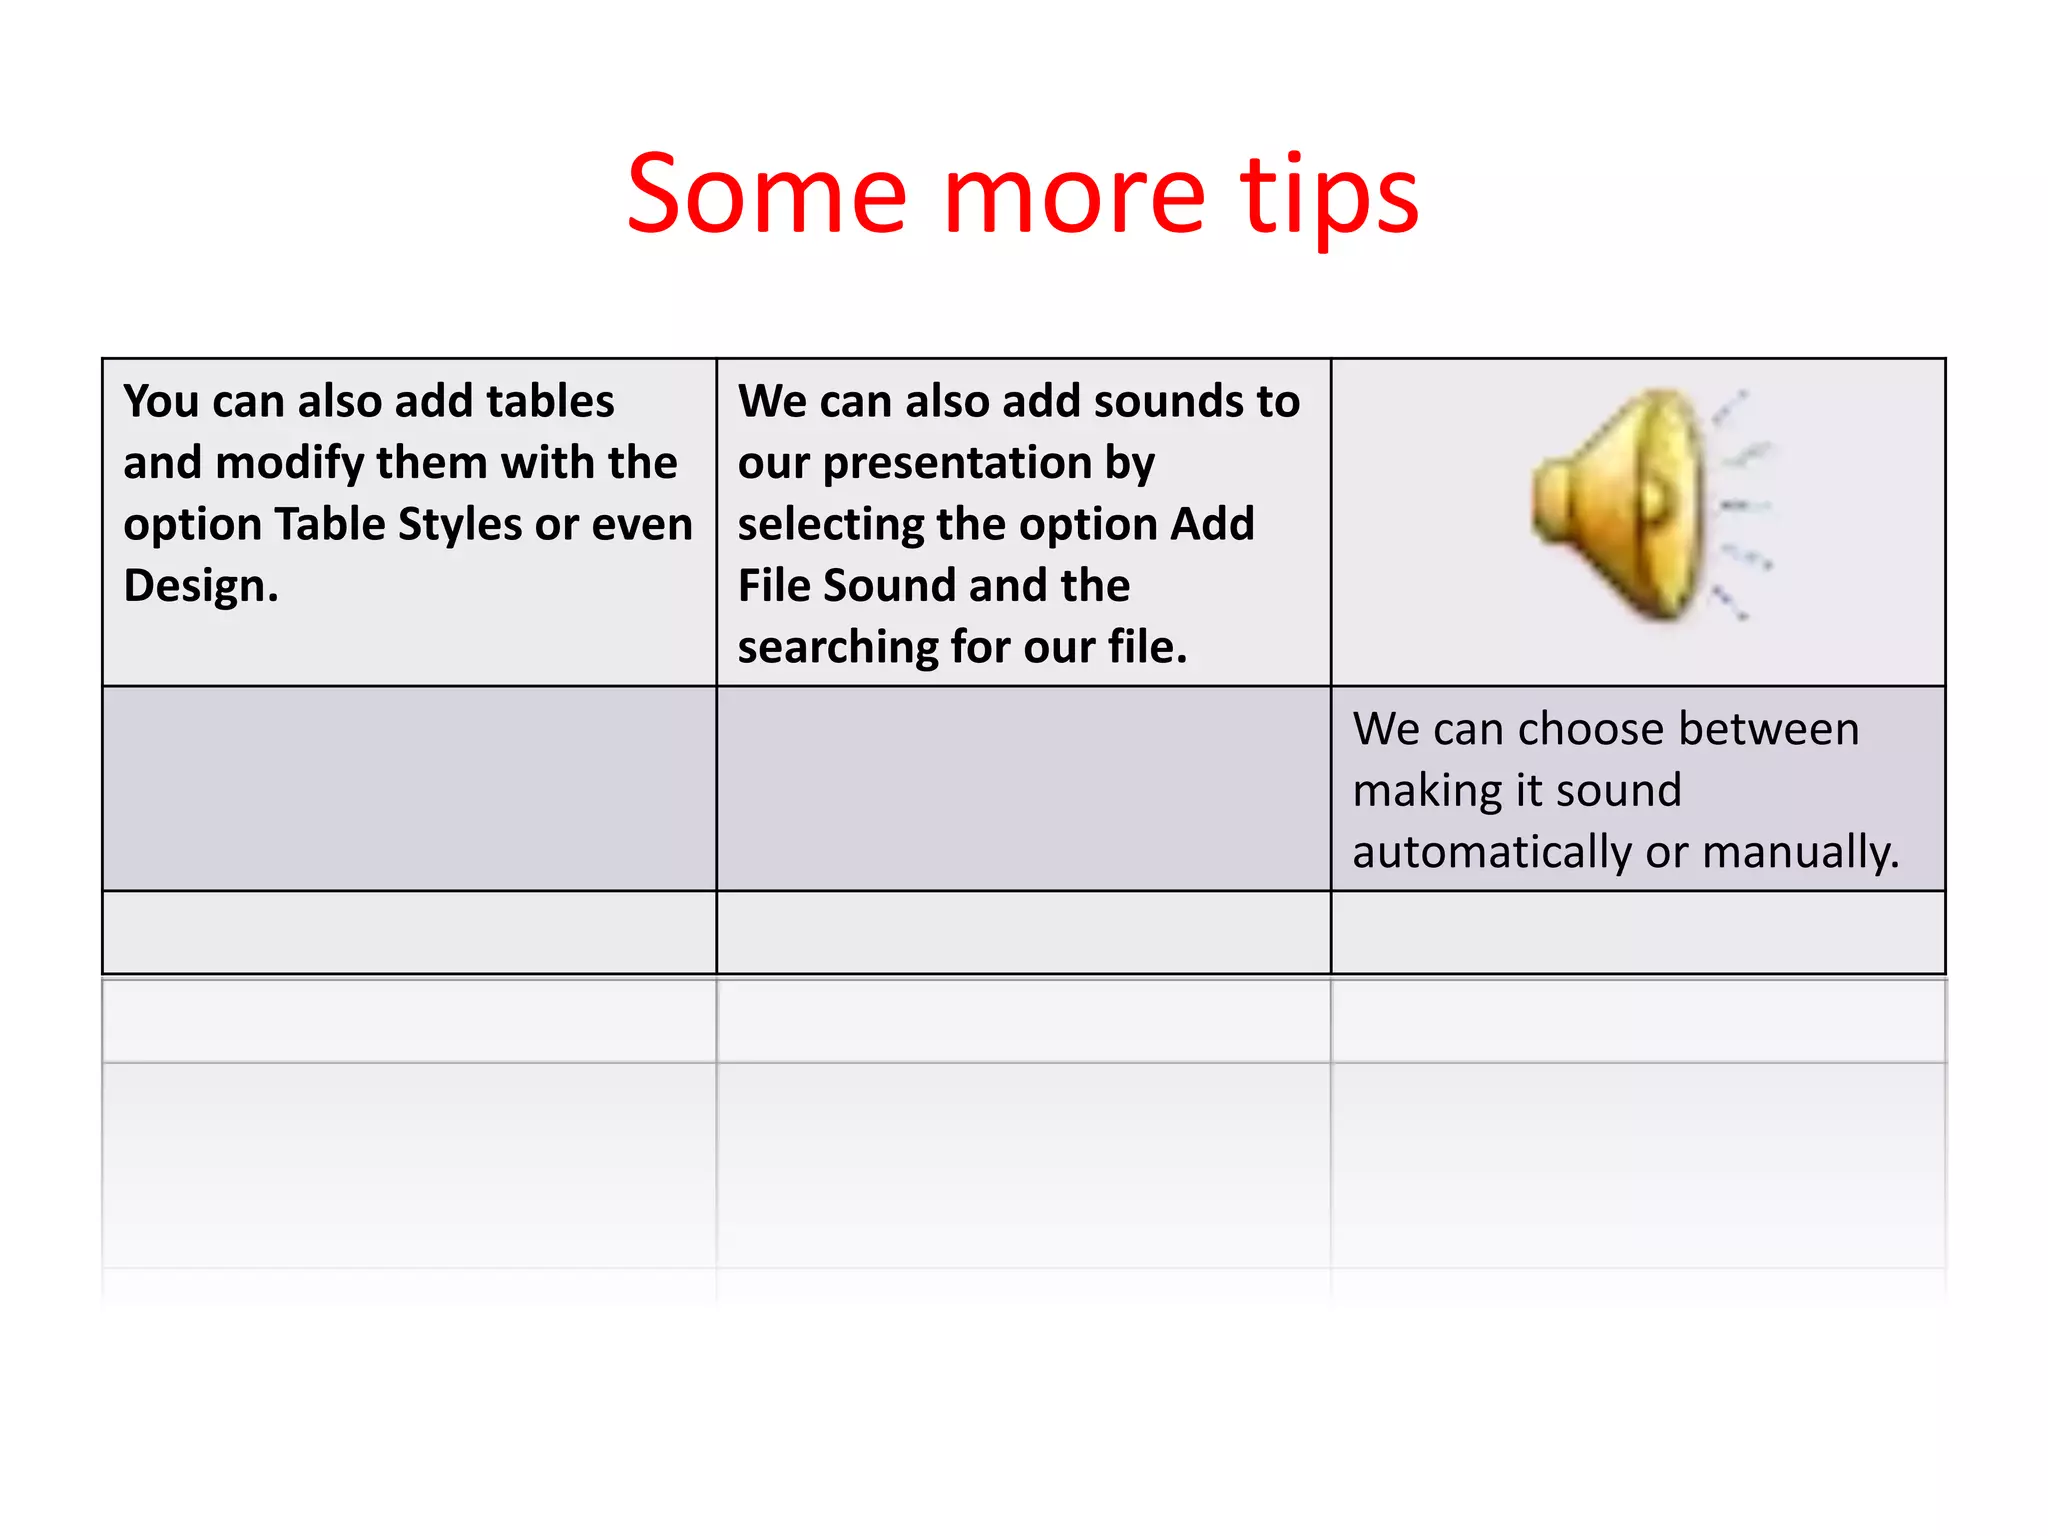
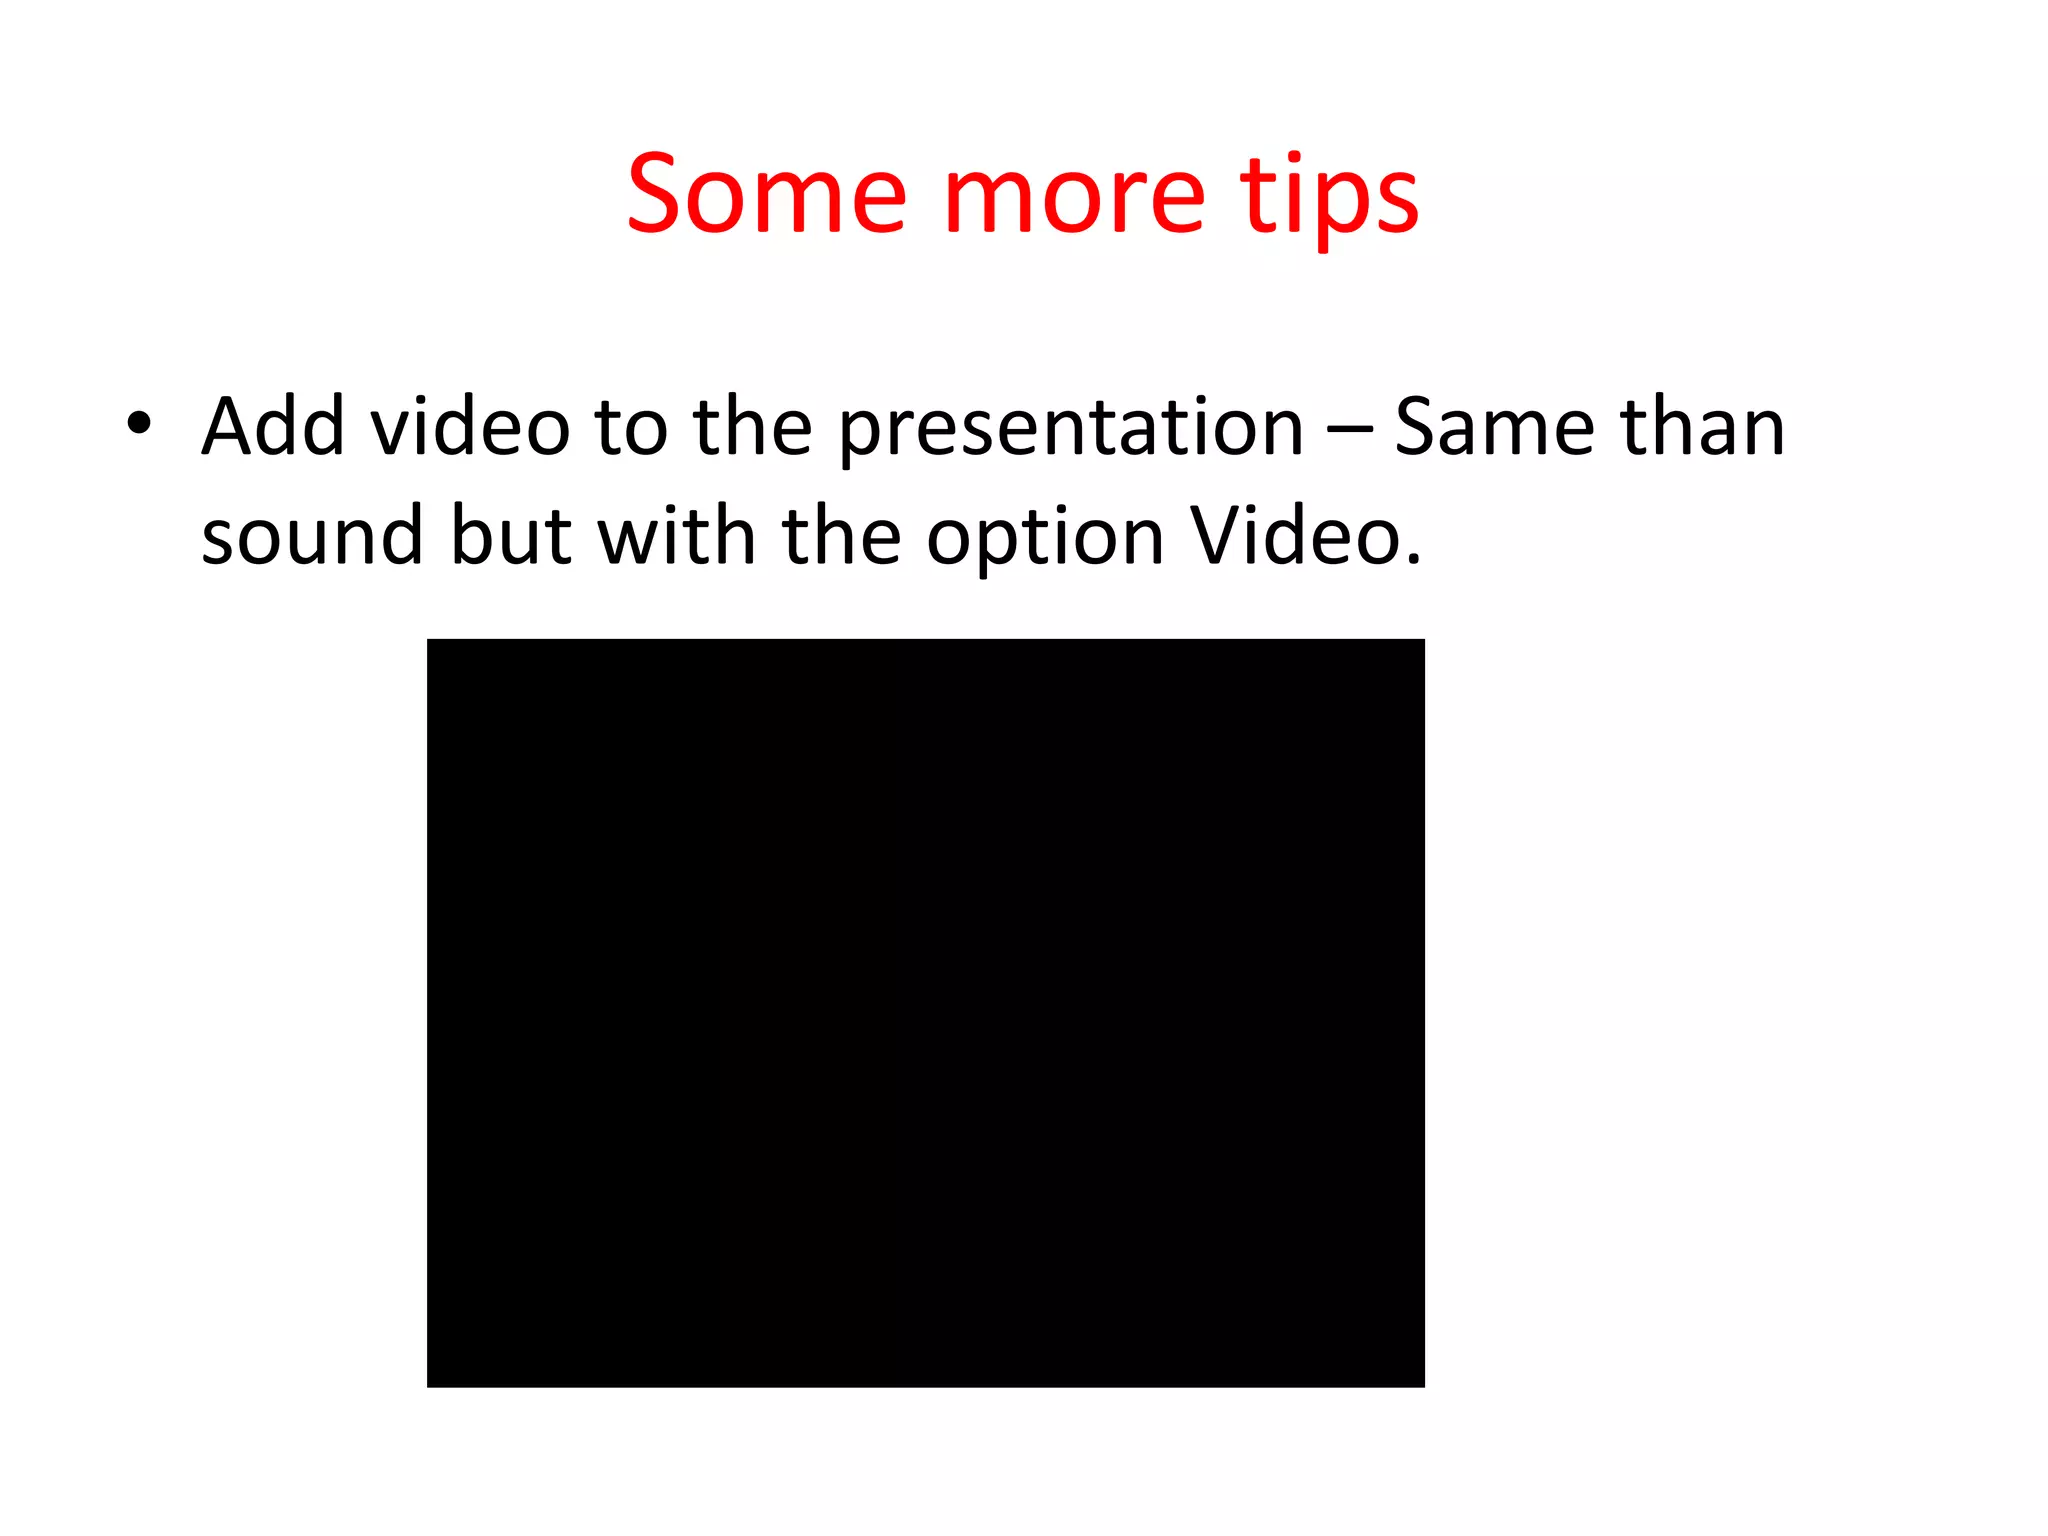
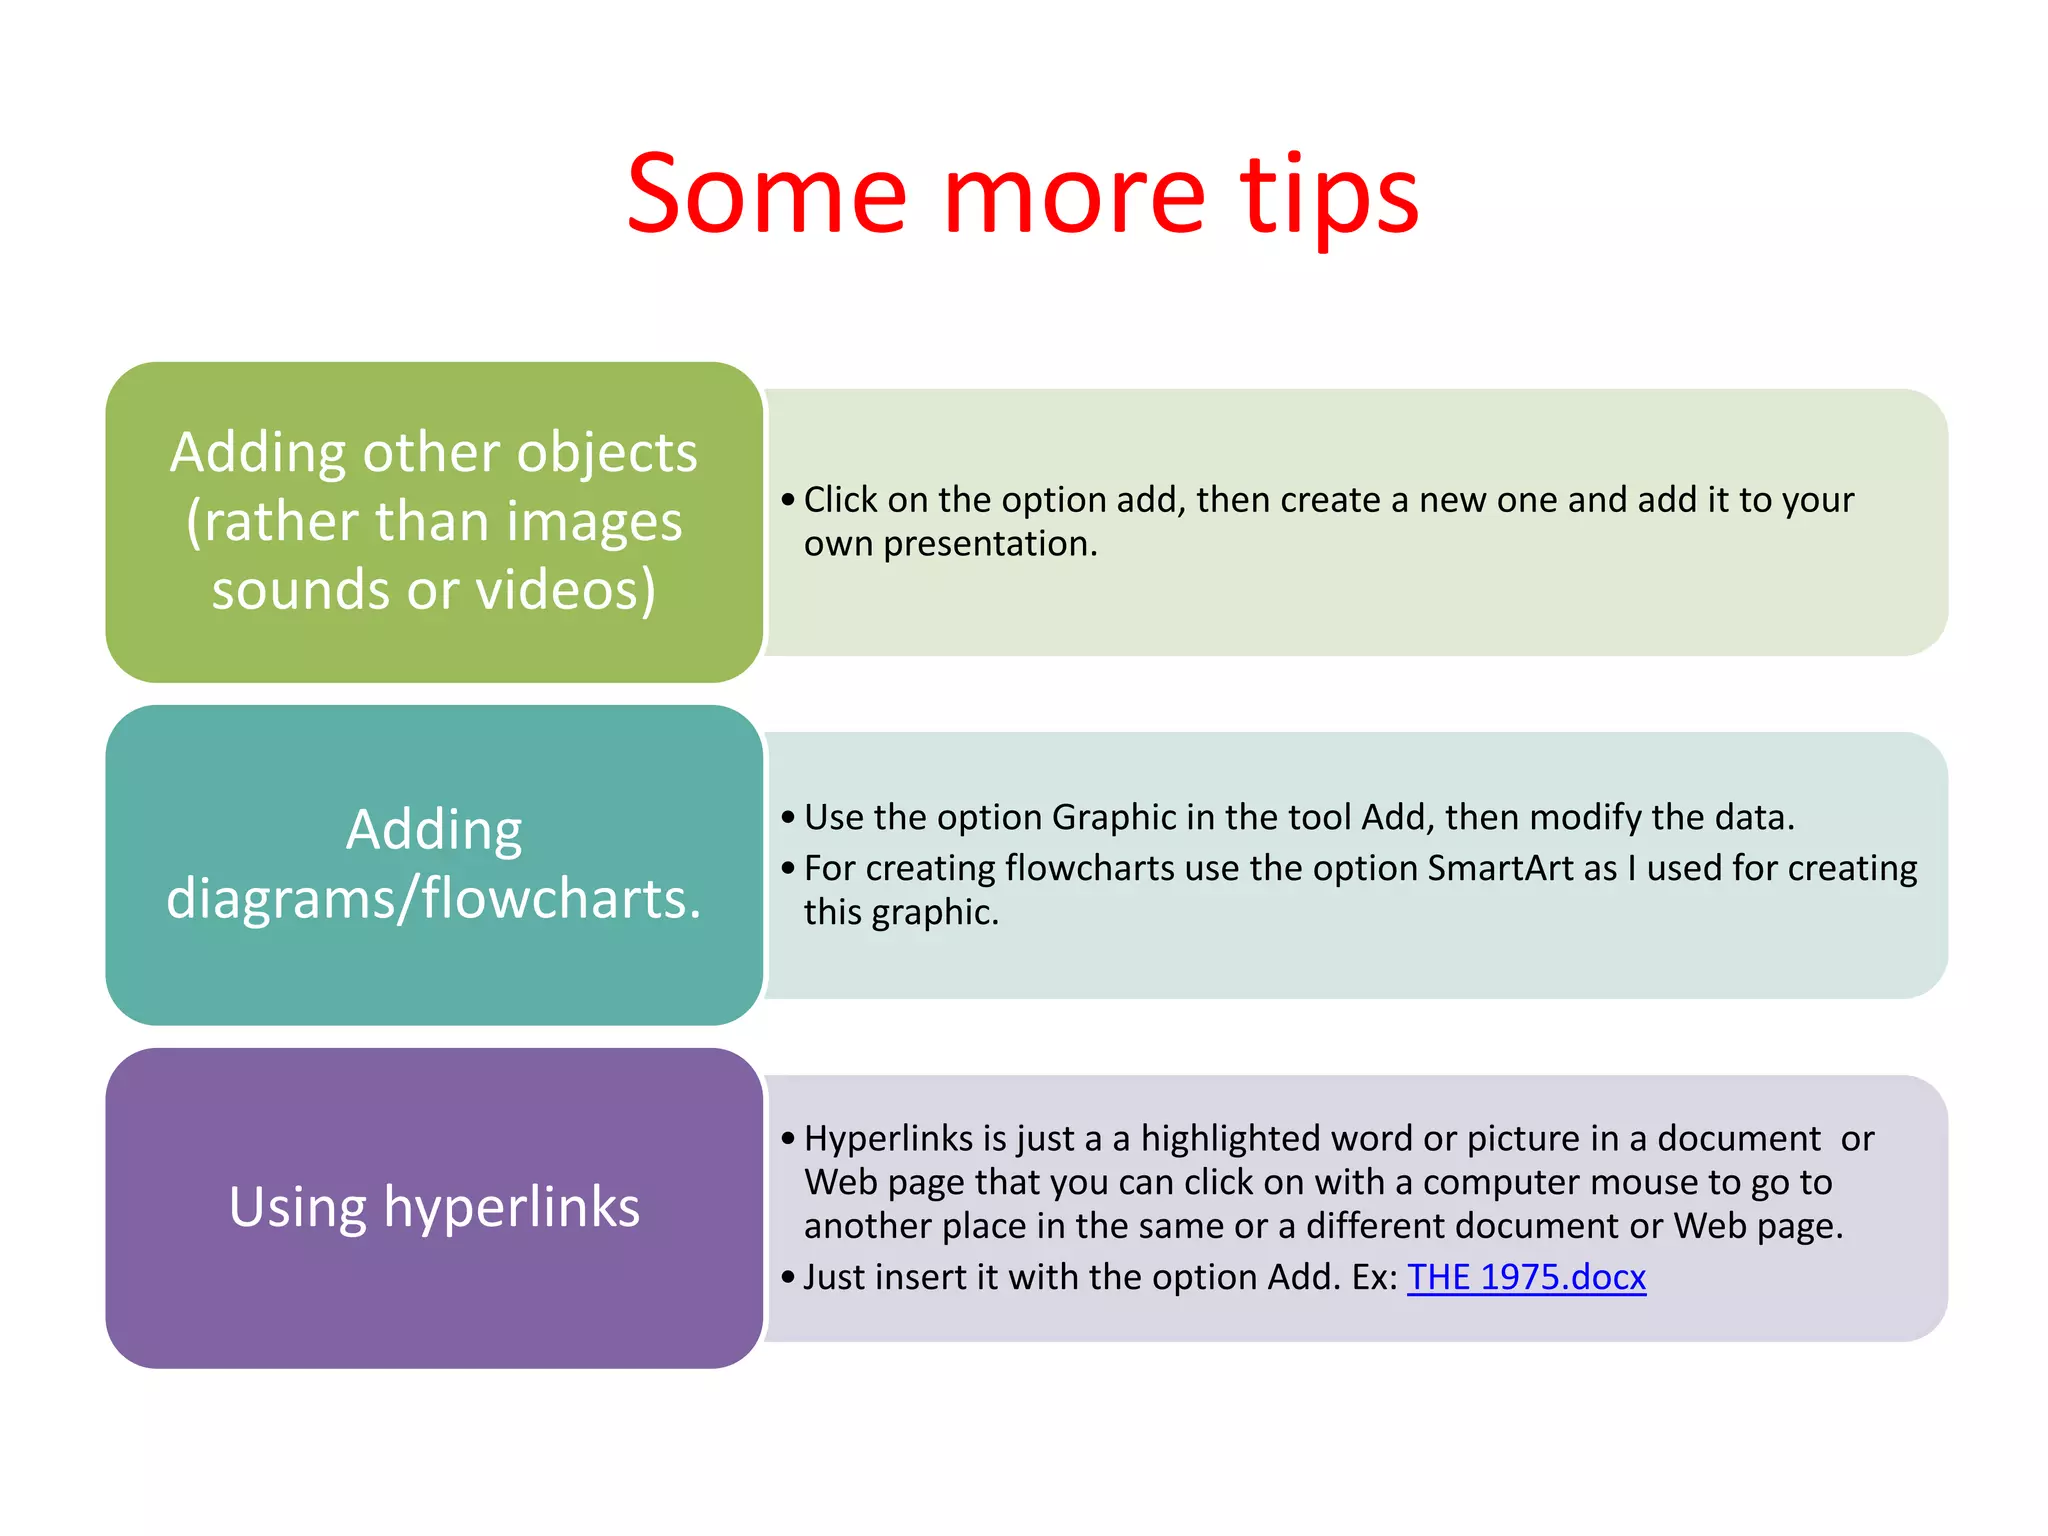
- Steps for creating a presentation include visualizing it, adding slides, titles, text, images, shapes, tables, sounds, videos, diagrams, and hyperlinks.
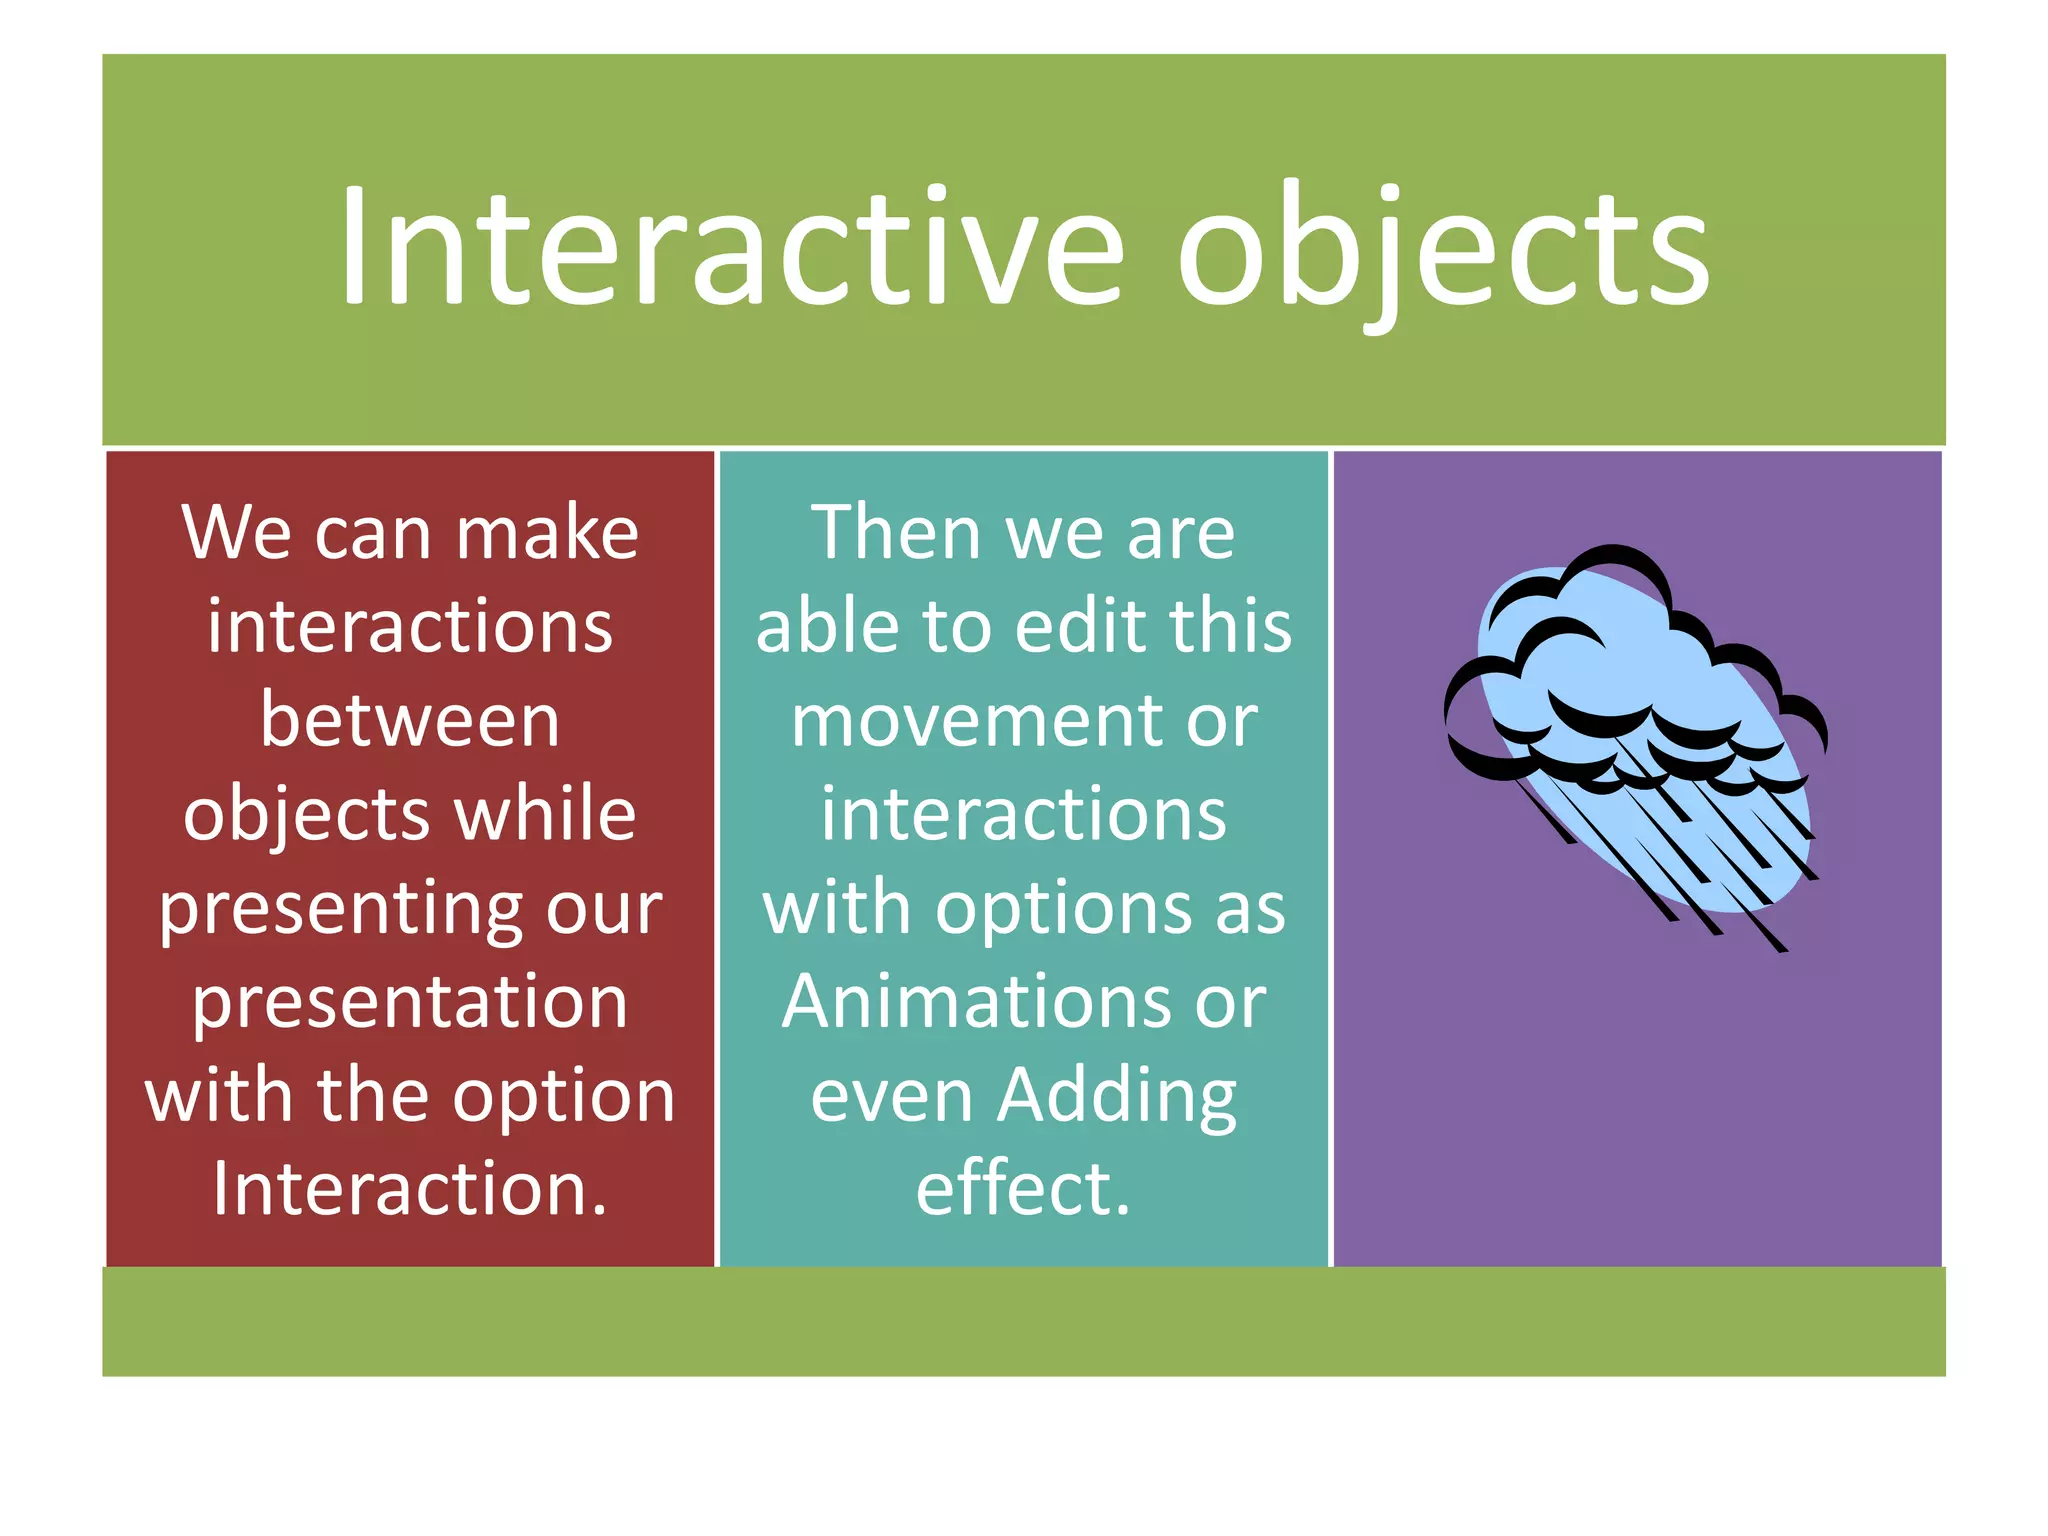
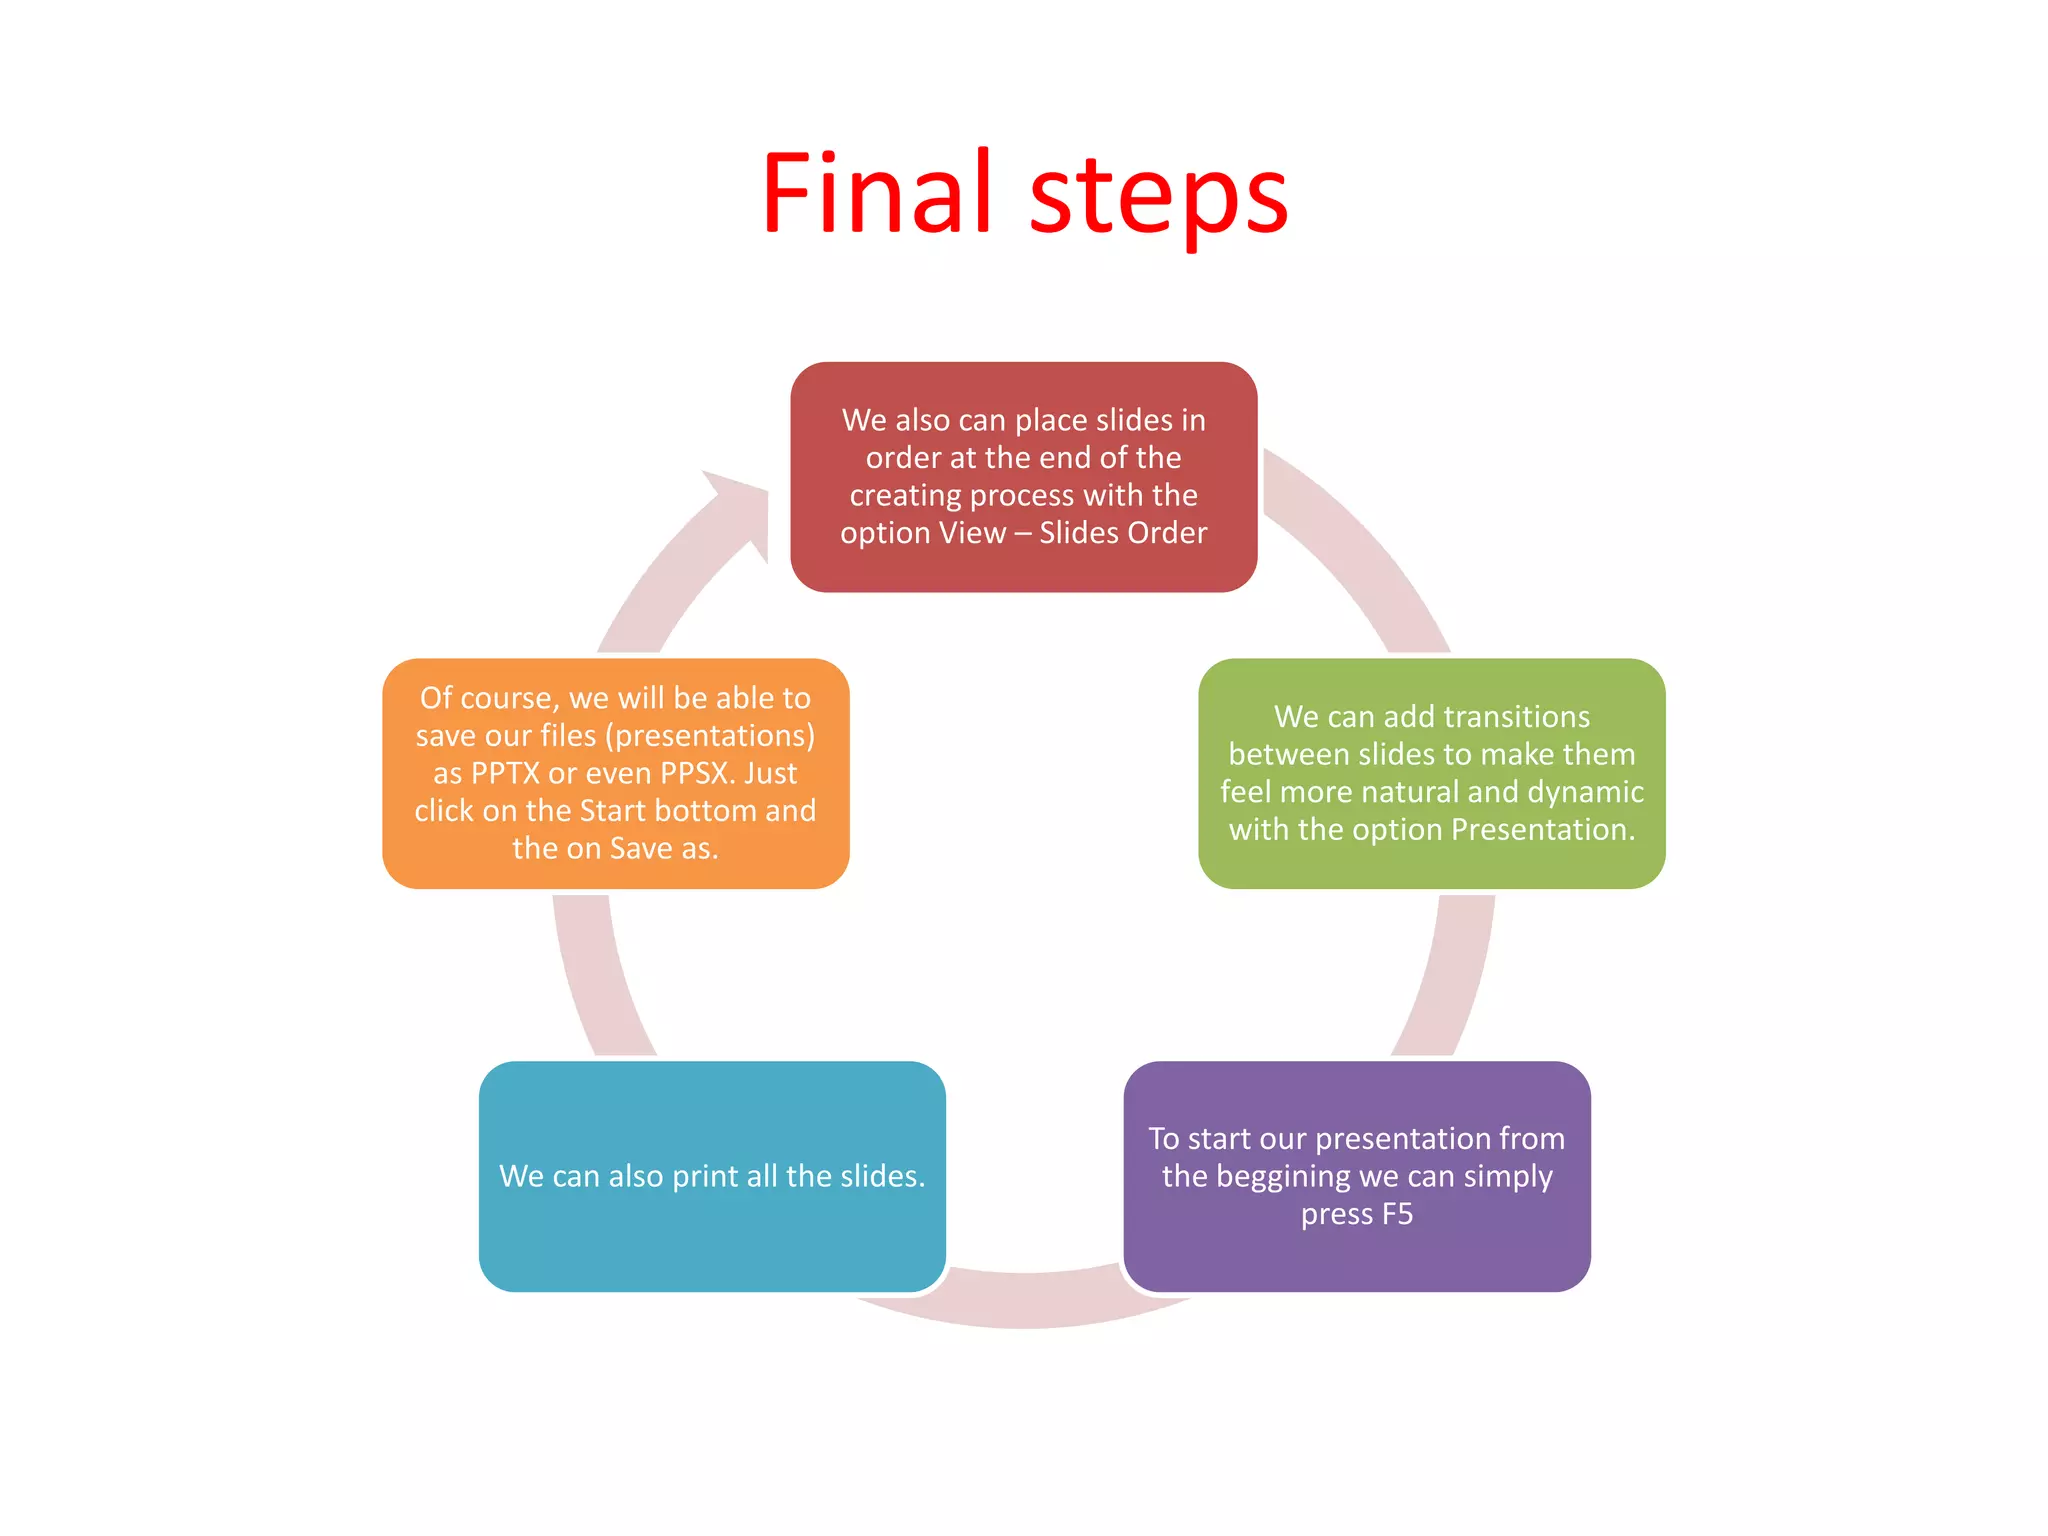
- Interactive objects and animations can be added using options like Interaction and Animations to make the presentation more engaging. Transitions and slide order can also be customized.