Downloaded 469 times


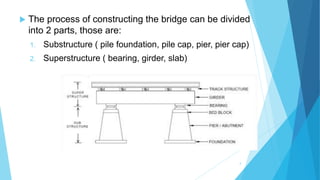

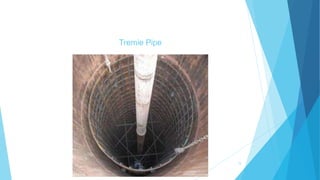
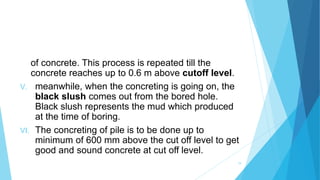
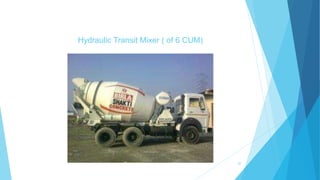
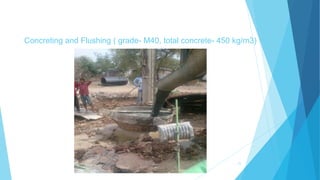

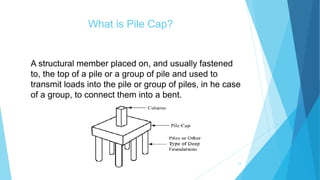
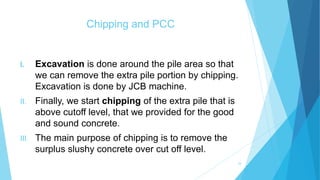
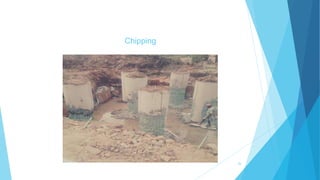


This document provides details on the construction process for the substructure of a bridge, including pile foundations and a pile cap. It describes the steps to construct cast-in-place concrete piles, which include boring holes for the piles, lowering reinforced steel cages into the holes, fitting tremie pipes to pour concrete, and flushing out debris. It also outlines the process for constructing the pile cap, such as excavating around the piles, chipping off excess concrete, forming shutters, placing reinforcing steel, and pouring concrete. The overall bridge construction process is divided into substructure and superstructure work.


