Download to read offline

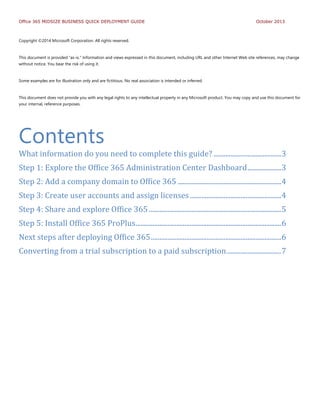


This document provides a 5-step guide for quickly deploying Office 365 Midsize Business without migrating data from other services: 1. Explore the Office 365 Administration Center dashboard 2. Add a company domain to Office 365 3. Create user accounts and assign licenses 4. Share login information and have users explore Office 365 features 5. Install Office 365 ProPlus on users' devices