Download to read offline


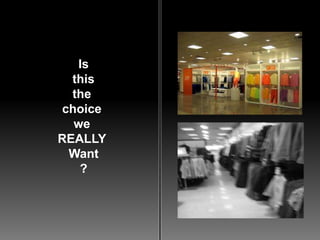

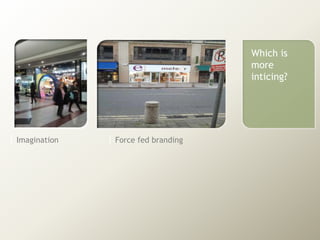
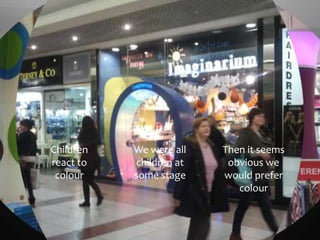

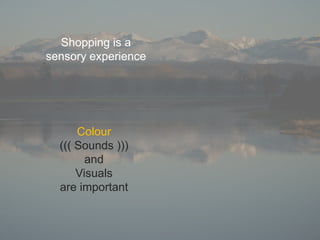


This document discusses issues with modern consumerism and shopping experiences. In 3 sentences: It notes how stores cram products and force branding on customers rather than listening to what people really want. The document suggests making shopping a more sensory and exciting experience by using color, sounds, and a knowledgeable staff in order to attract and retain customers rather than relying on apathy. It encourages corporations to try new unproven approaches and making stores feel more welcoming and less like cold warehouses.


