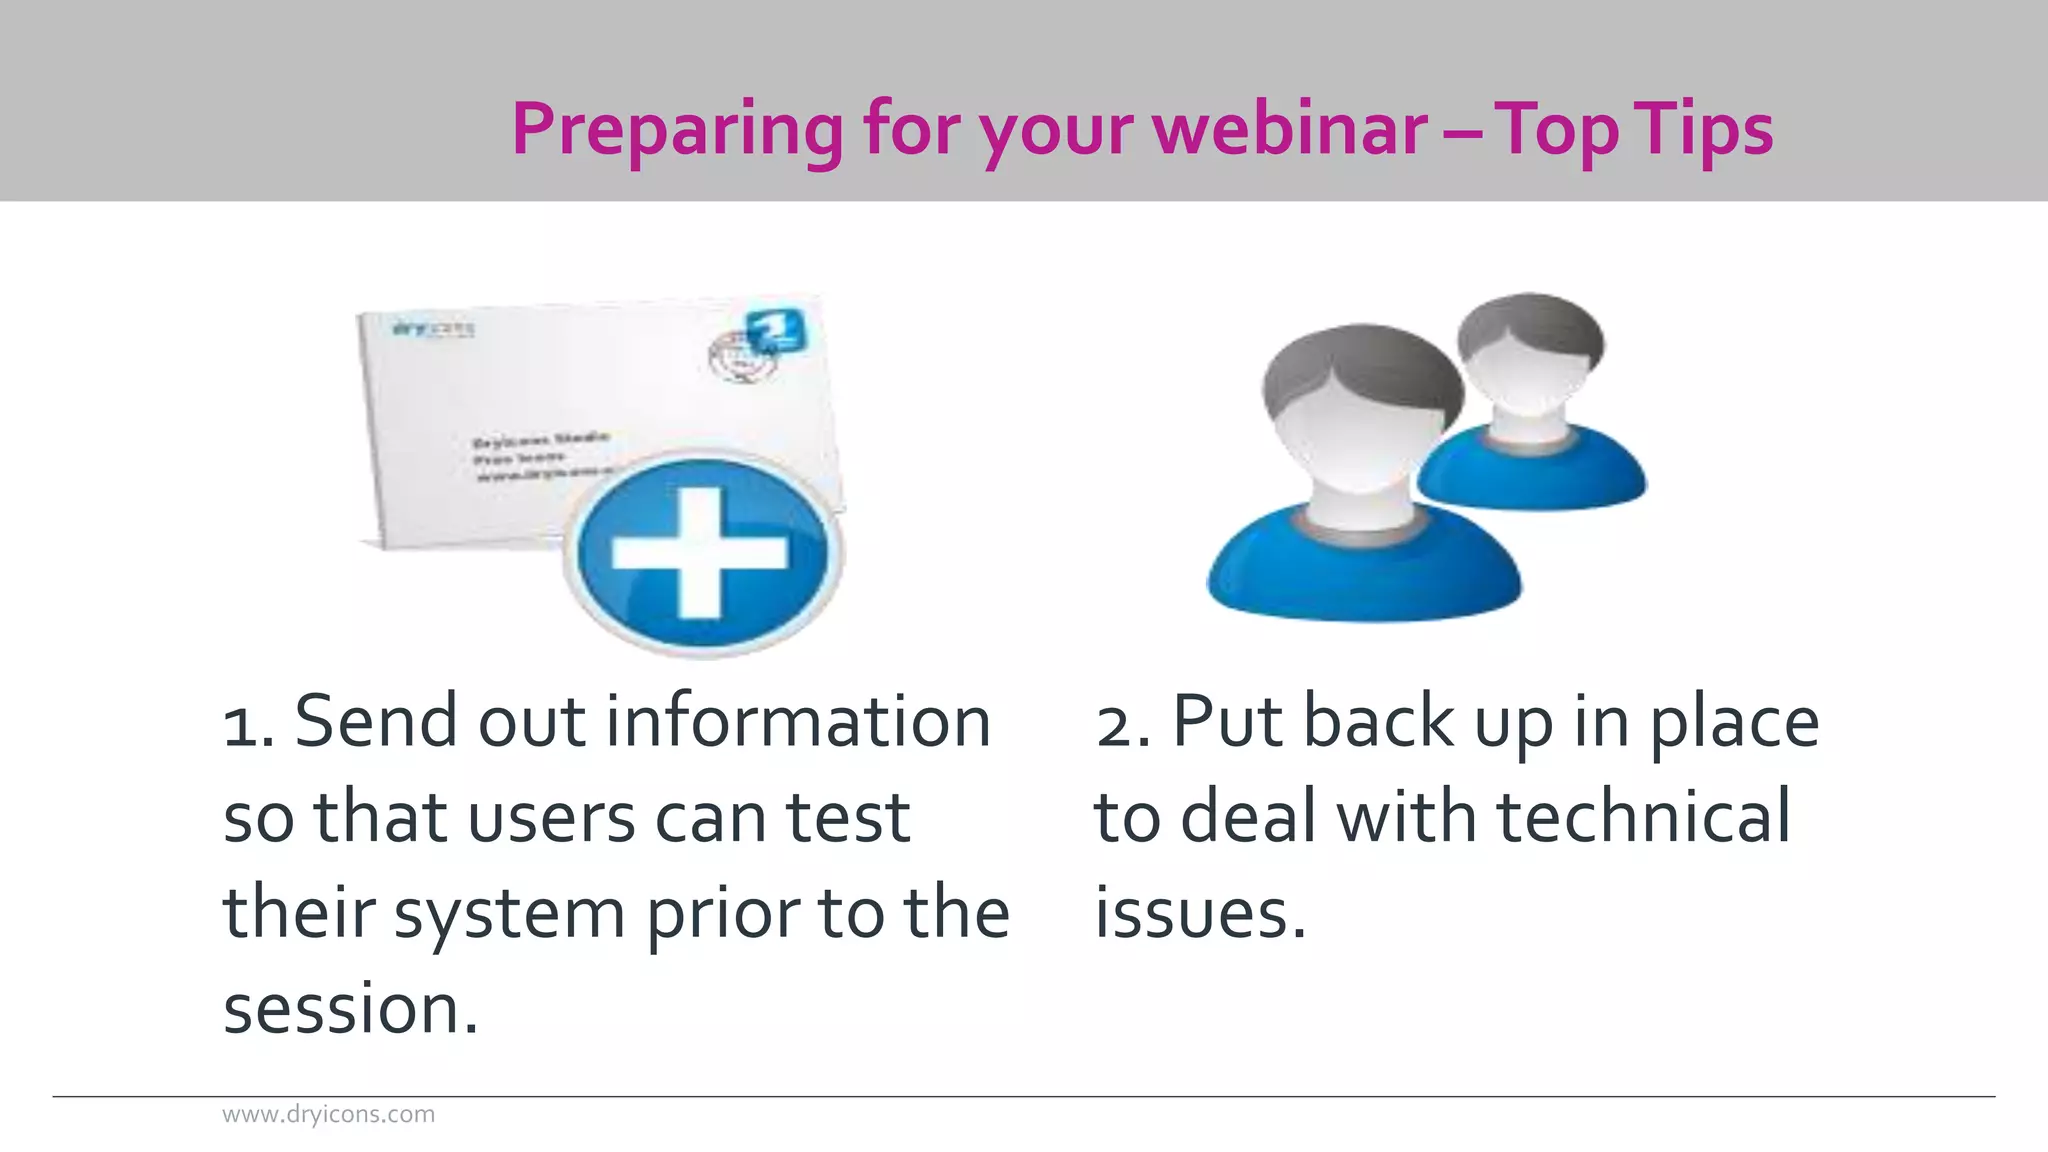
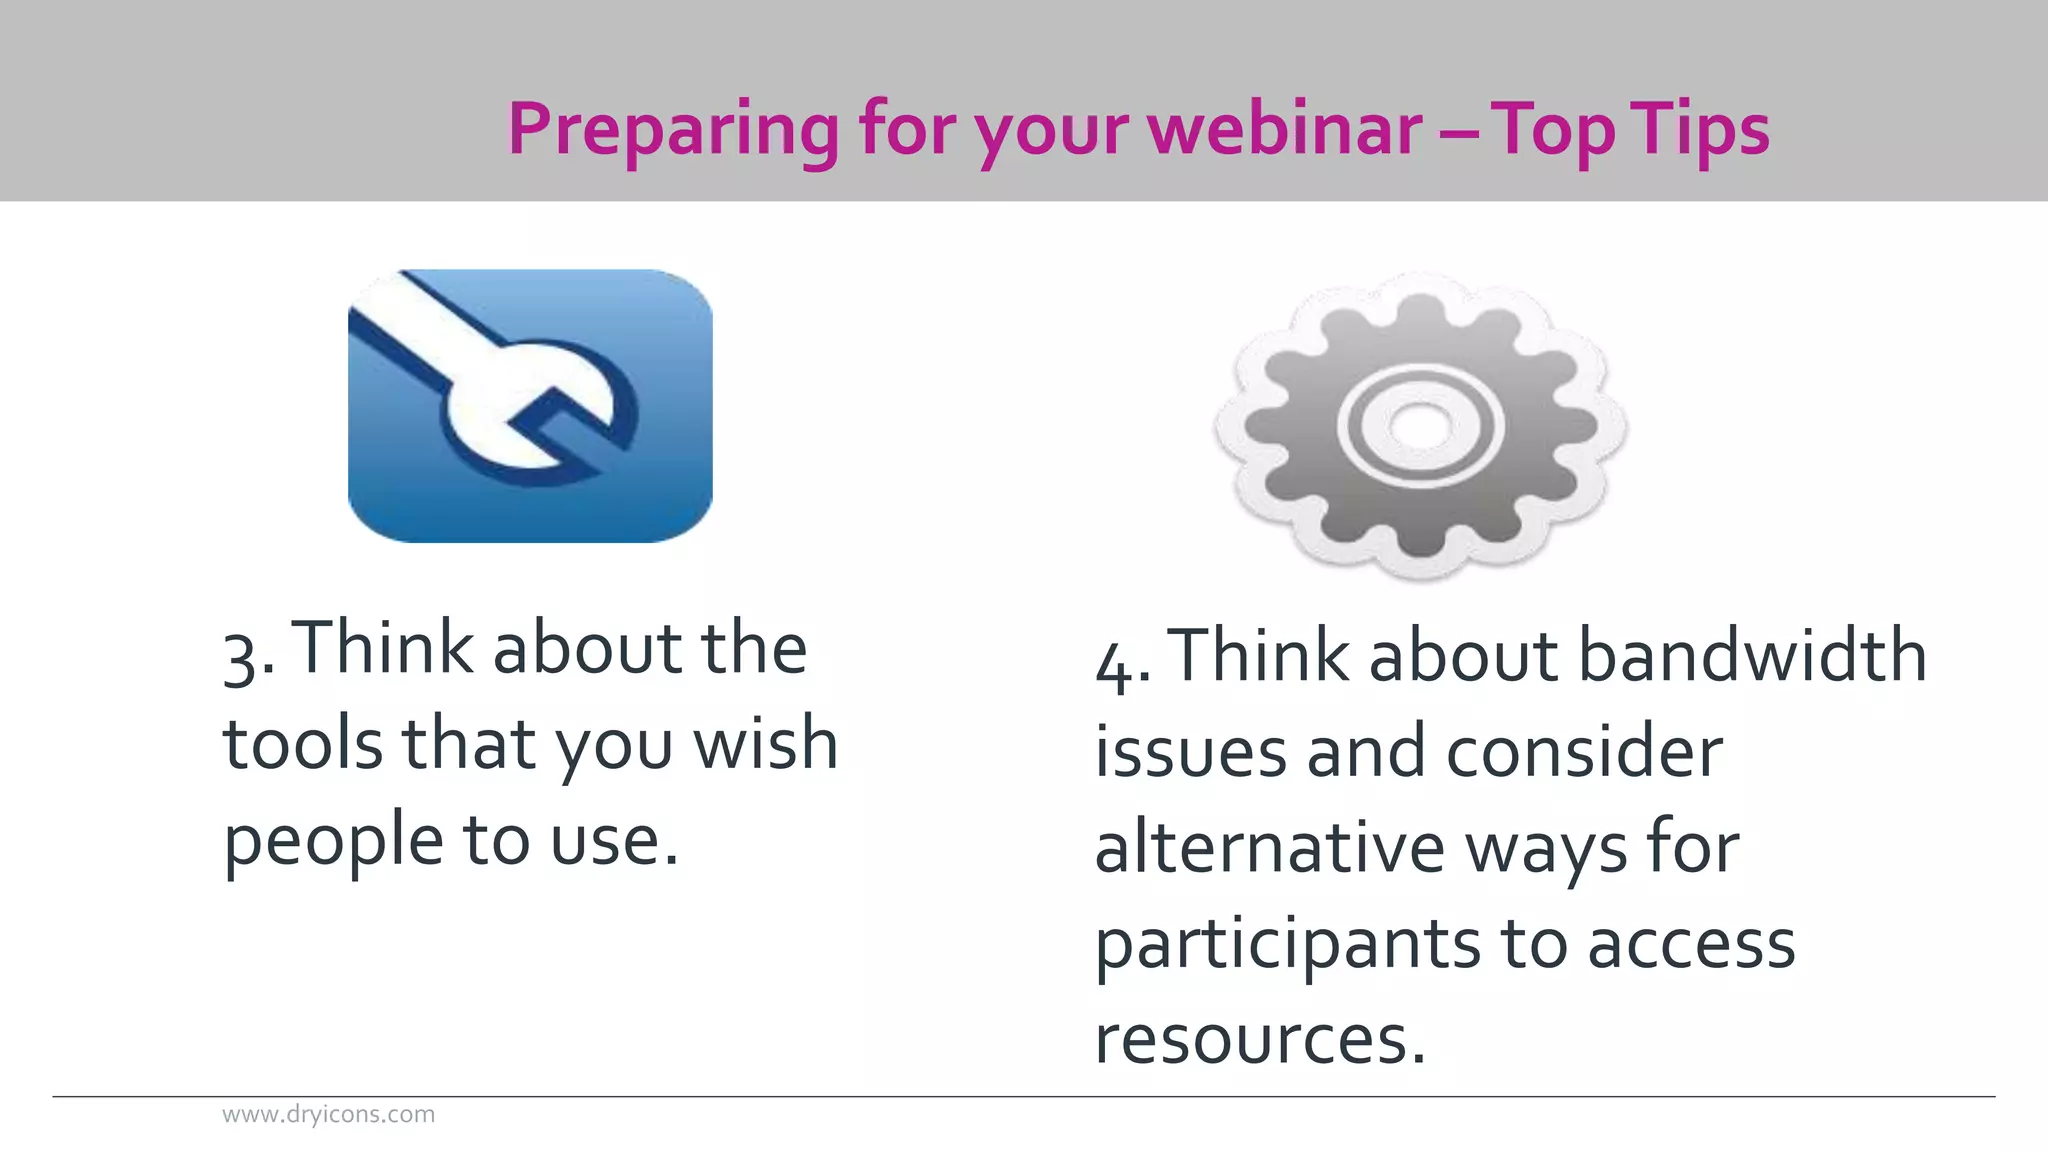
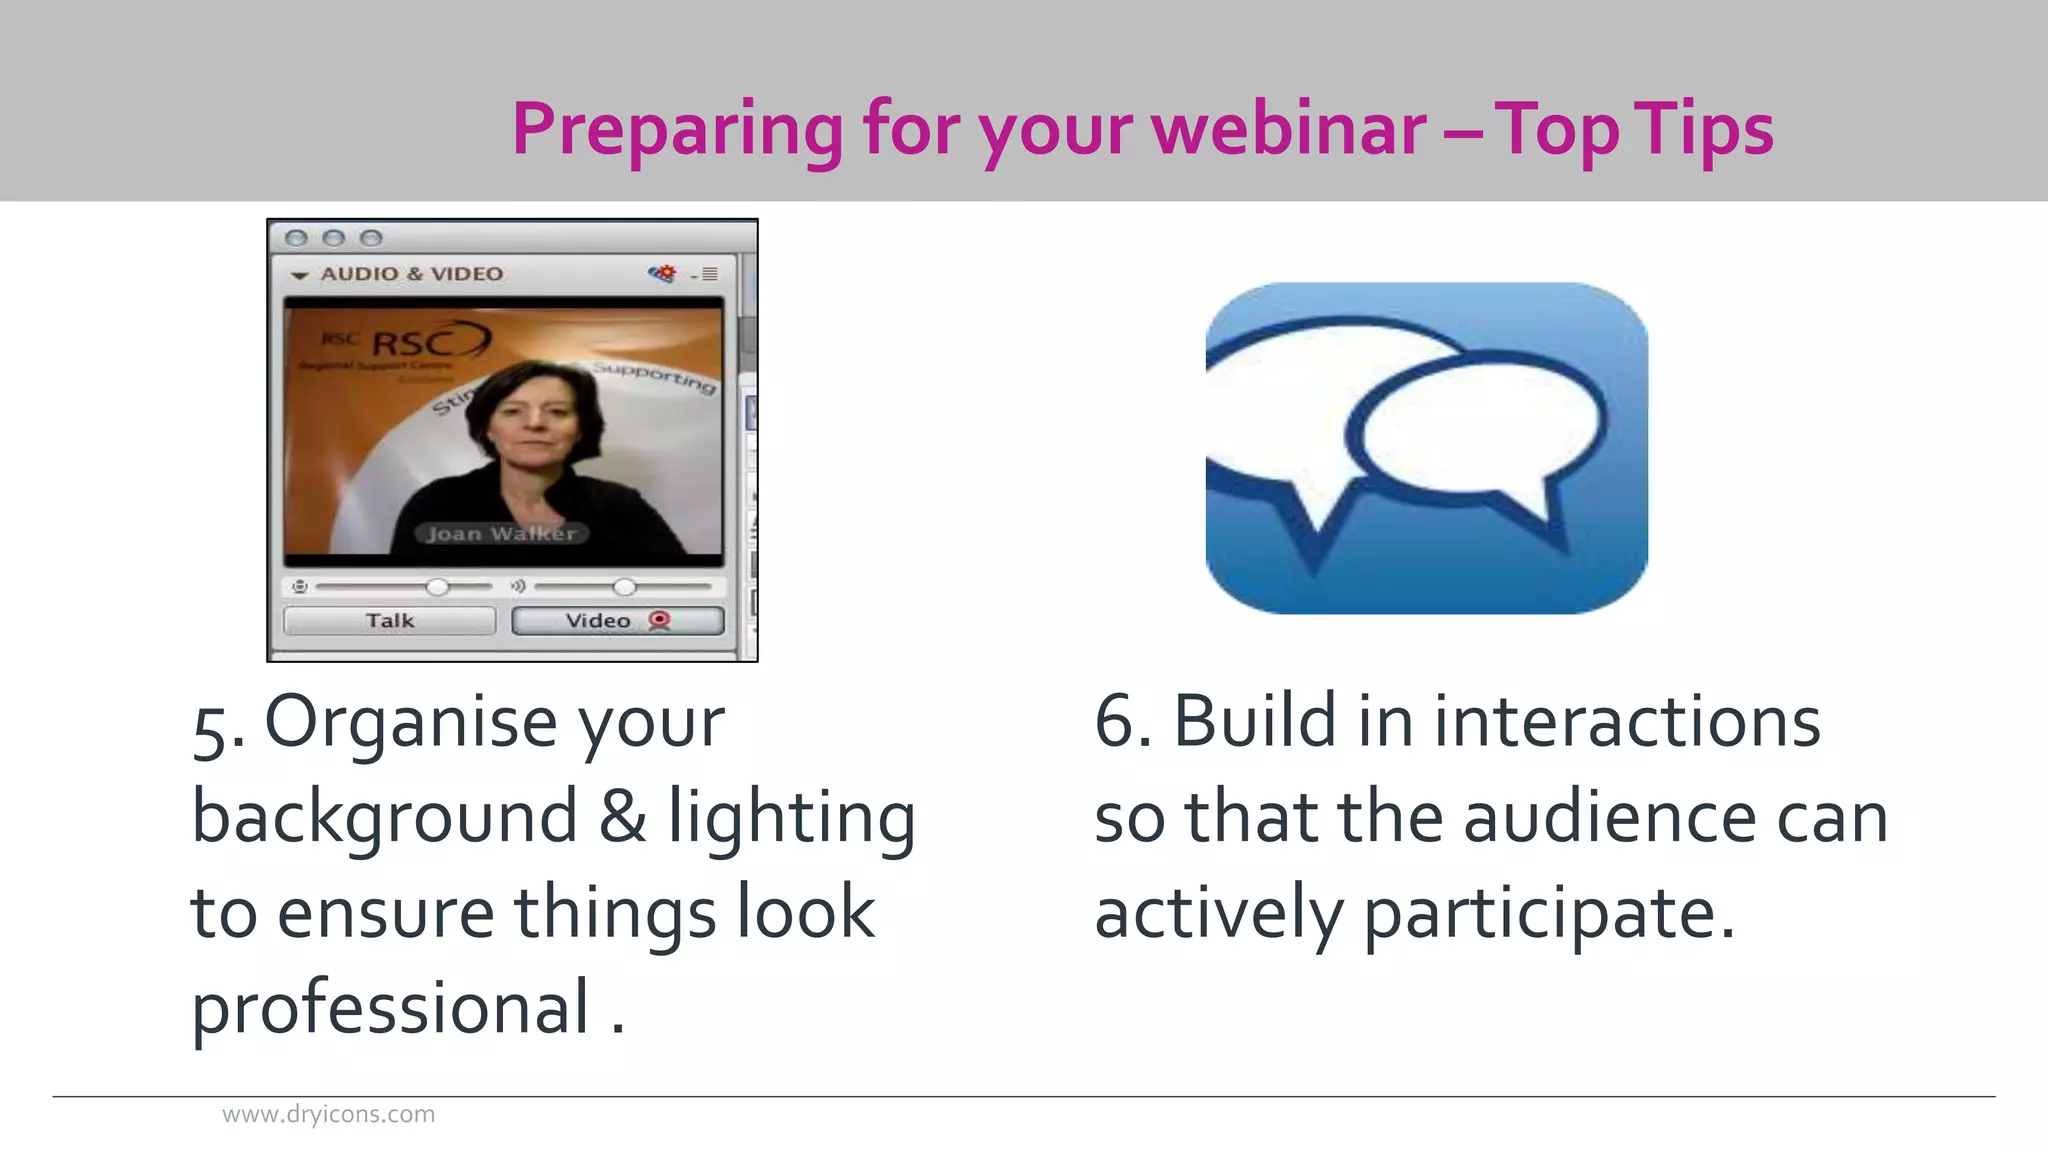
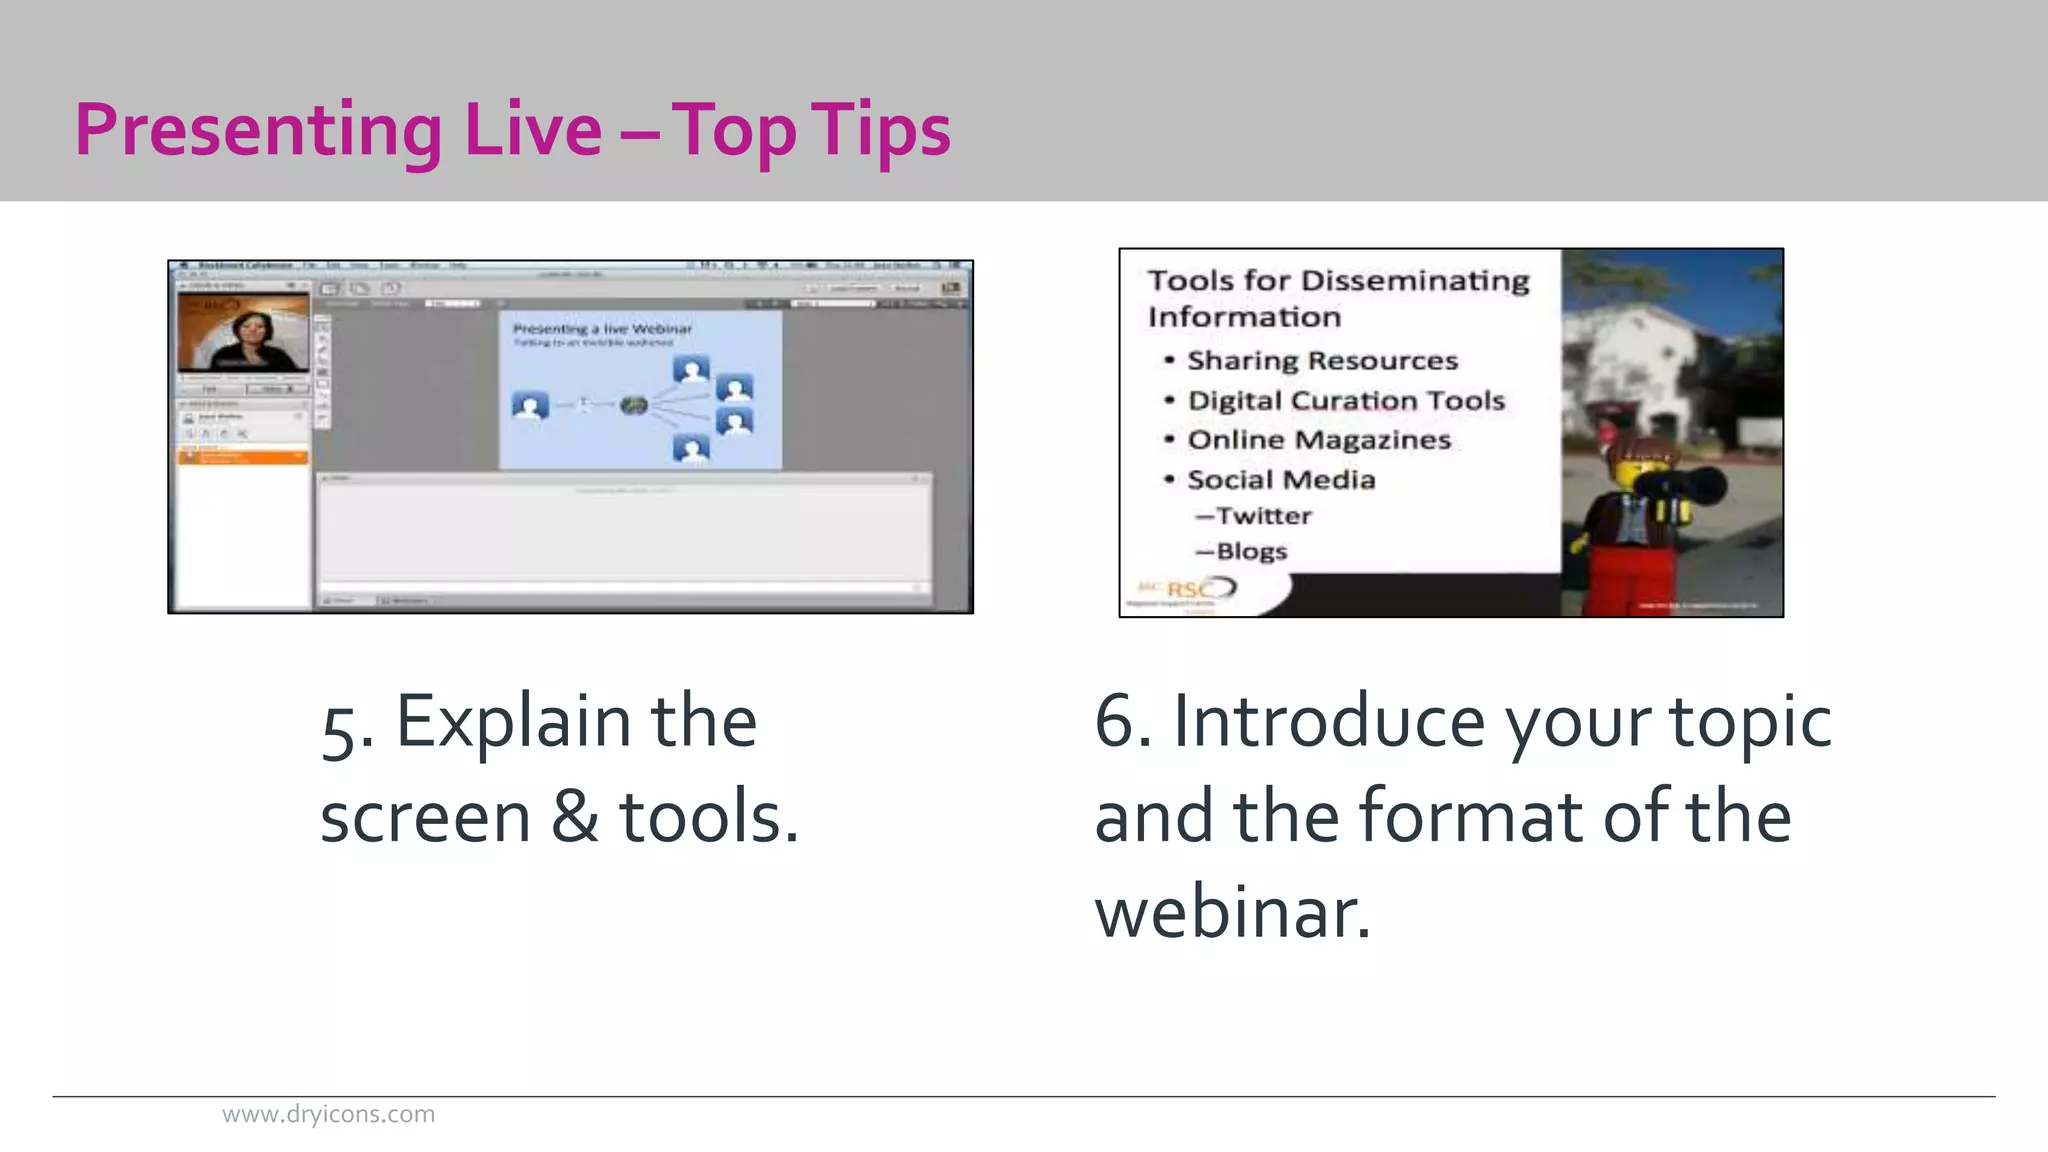
23/9/14 Top Tips for webinars 
Celeste McLaughlin
Preparing for your webinar – top tips
Preparing for your webinar –Top Tips 
1. Send out information 
so that users can test 
their system prior to the 
session. 
2. Put back up in place 
to deal with technical 
issues. 
www.dryicons.com
Preparing for your webinar –Top Tips 
3. Think about the 
tools that you wish 
people to use. 
4. Think about bandwidth 
issues and consider 
alternative ways for 
participants to access 
resources. 
www.dryicons.com
Preparing for your webinar –Top Tips 
5. Organise your 
background & lighting 
to ensure things look 
professional . 
6. Build in interactions 
so that the audience can 
actively participate. 
www.dryicons.com
Preparing for your webinar –Top Tips 
7. Think about 
contingencies to 
deal with the 
unexpected 
8. Manage questions & 
discussion 
• hand raise 
• round robin 
• Prefix with “Q” 
www.dryicons.com
Presenting a live webinar – top tips
1. Set timers for 
sections to keep 
speakers to time. 
Presenting Live –Top Tips 
2. Record your session 
& tell participants. 
www.dryicons.com
Presenting Live –Top Tips 
3. Consider a last 
minute checklist for 
participants on the 
opening screen. 
hi & 
welcome 
4. Welcome participants 
personally if possible as 
they join the session. 
www.dryicons.com
Presenting Live –Top Tips 
5. Explain the 
screen & tools. 
6. Introduce your topic 
and the format of the 
webinar. 
www.dryicons.com
Presenting Live –Top Tips 
7. Provide some 
interactivity 
• ask questions 
• consider polling 
8. Manage questions & 
discussion 
• hand raise 
• round robin 
• Prefix with “Q” 
www.dryicons.com
Presenting Live –Top Tips 
9. Rehearse. 10. Relax and try to look 
into the camera if you 
can. 
www.dryicons.com

Moving on with Mobile - Webinar Toptips

  • 1.
    23/9/14 Top Tipsfor webinars Celeste McLaughlin
  • 2.
    Preparing for yourwebinar – top tips
  • 3.
    Preparing for yourwebinar –Top Tips 1. Send out information so that users can test their system prior to the session. 2. Put back up in place to deal with technical issues. www.dryicons.com
  • 4.
    Preparing for yourwebinar –Top Tips 3. Think about the tools that you wish people to use. 4. Think about bandwidth issues and consider alternative ways for participants to access resources. www.dryicons.com
  • 5.
    Preparing for yourwebinar –Top Tips 5. Organise your background & lighting to ensure things look professional . 6. Build in interactions so that the audience can actively participate. www.dryicons.com
  • 6.
    Preparing for yourwebinar –Top Tips 7. Think about contingencies to deal with the unexpected 8. Manage questions & discussion • hand raise • round robin • Prefix with “Q” www.dryicons.com
  • 7.
    Presenting a livewebinar – top tips
  • 8.
    1. Set timersfor sections to keep speakers to time. Presenting Live –Top Tips 2. Record your session & tell participants. www.dryicons.com
  • 9.
    Presenting Live –TopTips 3. Consider a last minute checklist for participants on the opening screen. hi & welcome 4. Welcome participants personally if possible as they join the session. www.dryicons.com
  • 10.
    Presenting Live –TopTips 5. Explain the screen & tools. 6. Introduce your topic and the format of the webinar. www.dryicons.com
  • 11.
    Presenting Live –TopTips 7. Provide some interactivity • ask questions • consider polling 8. Manage questions & discussion • hand raise • round robin • Prefix with “Q” www.dryicons.com
  • 12.
    Presenting Live –TopTips 9. Rehearse. 10. Relax and try to look into the camera if you can. www.dryicons.com

Editor's Notes

  • #2 Go to ‘View’ menu > ‘Header and Footer…’ to edit the footers on this slide (click ‘Apply’ to change only the currently selected slide, or ‘Apply to All’ to change the footers on all slides). To change the image on this slide: Click once on the image to select it, and then delete it Drag a replacement picture to the placeholder or click the icon in the centre of the placeholder to browse for & add another image Once you have added your replacement image, you may need to put it into the background so that it doesn’t cover other items on the slide. Do this by right-clicking on the new image and choosing ‘Arrange’ > ‘Send to Back’ from the contextual menu Once added, the image can be cropped, resized or repositioned to suit.
  • #3 Use the chat pane to briefly describe what tool you used and how you used it.
  • #8 U