Here are the basic steps in sketching simple objects:
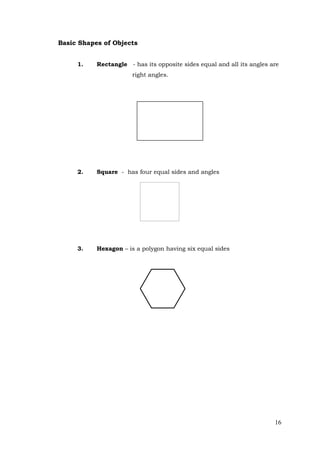
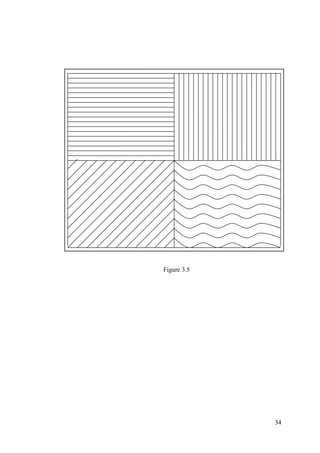
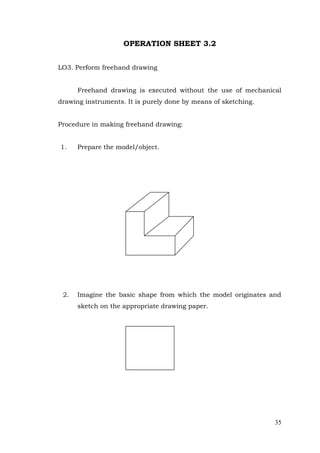
1. Identify the basic shape of the object - circle, square, rectangle, triangle.
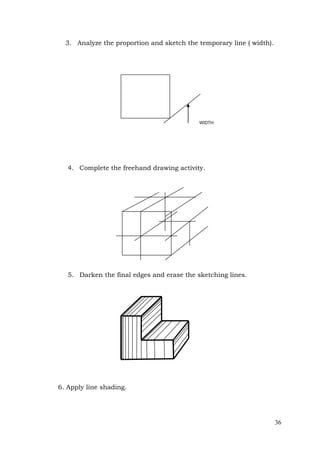
2. Establish the height and width proportions based on the actual size of the object.
3. Lightly draw the outline of the basic shape using a pencil.
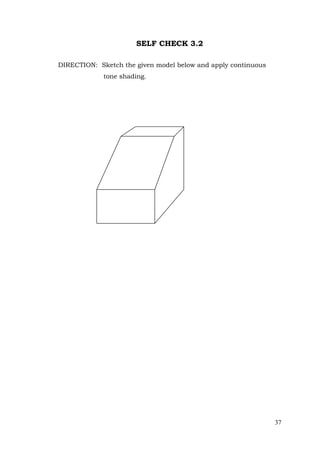
4. Add any other minor details like curves, angles, dimensions.
5. Erase unnecessary lines and clean up the sketch.
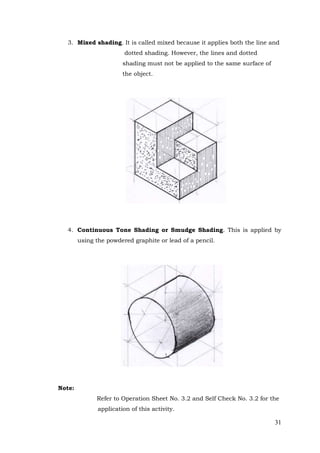
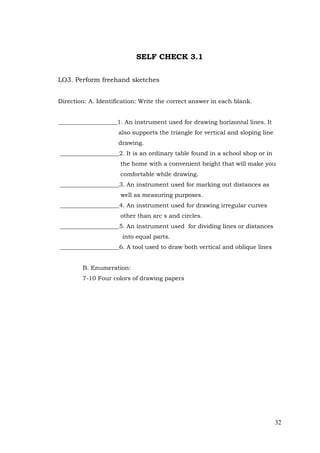
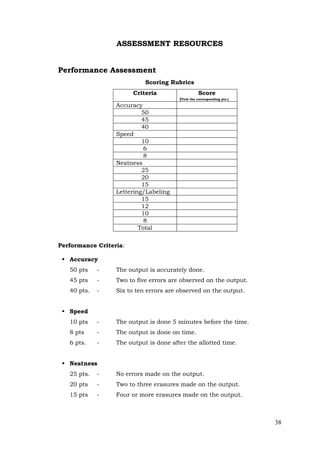
6. Apply shading if needed to represent the object better.
7. Check if all measurements and proportions are accurate before finalizing the sketch.
The key things to remember are analyzing proportions, establishing dimensions, drawing the basic shape


![WELCOME TO OUR CLASS ORIENTATION [Autosaved].pptx](https://cdn.slidesharecdn.com/ss_thumbnails/welcometoourclassorientationautosaved-250708003927-6c99c108-thumbnail.jpg?width=640&height=640&fit=bounds)


