Download to read offline
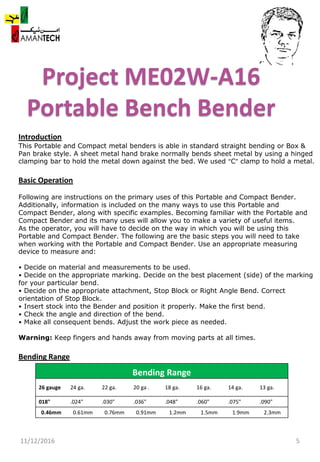
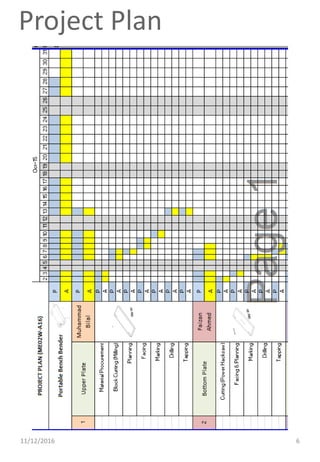
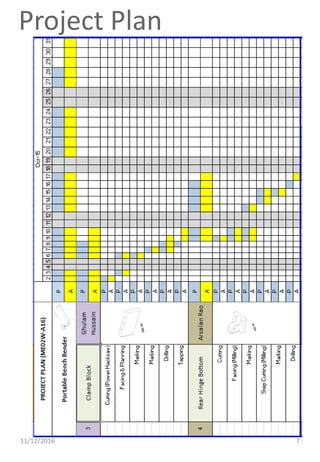


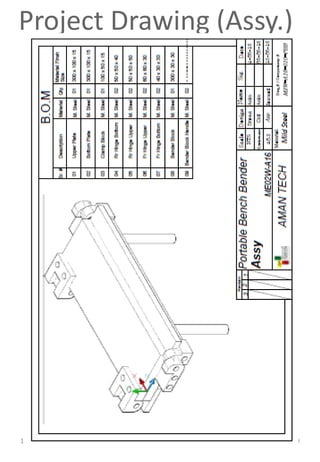
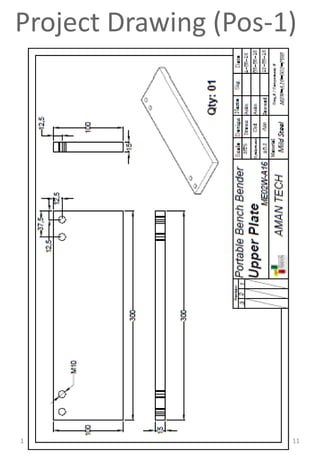
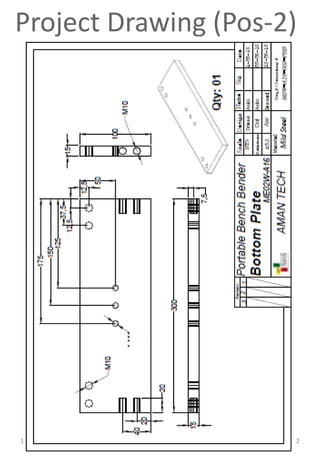
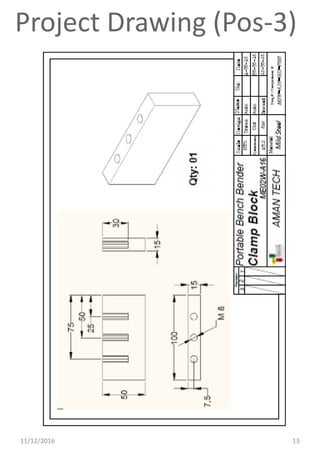
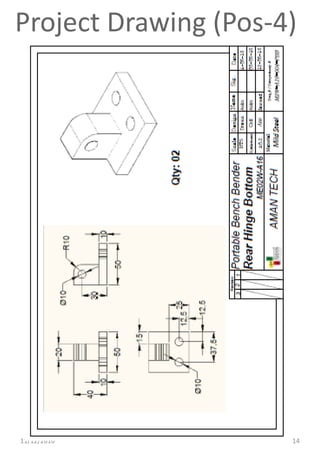

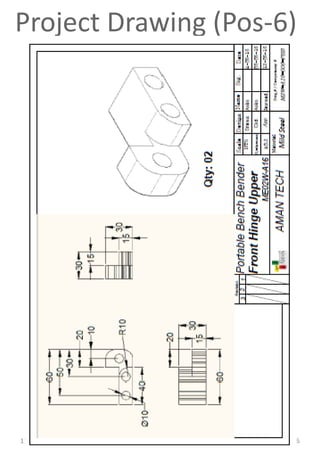
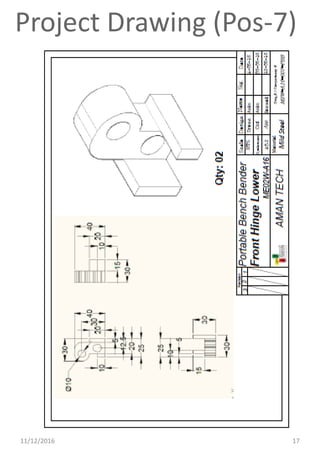
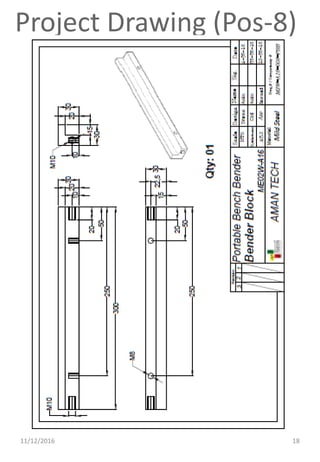
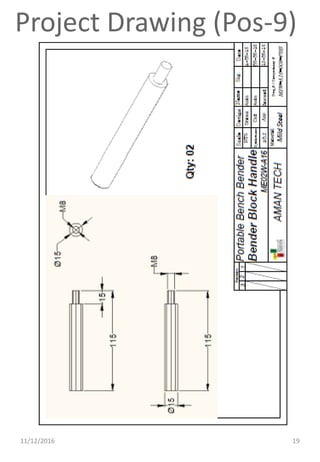
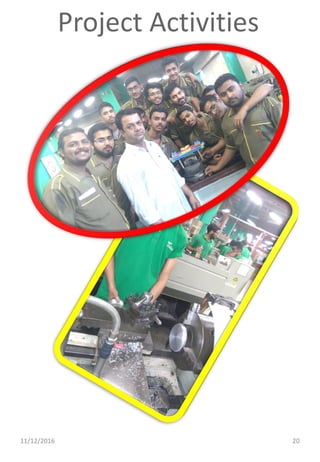
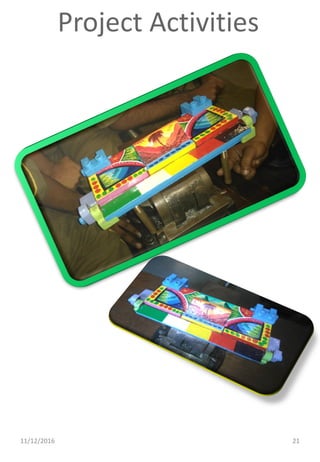


The document describes a project to design and build a portable bench bender. It lists the project coordinators and student team members. It then provides details of the bending range and basic operation of the bench bender. Schematics and drawings of the bender design are presented, along with photos from construction activities. Feedback forms are included to collect comments from visitors.


