Download as PPSX, PPTX
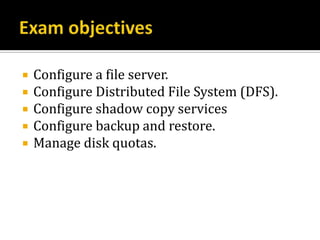


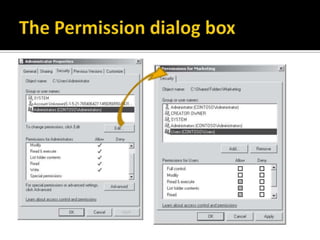
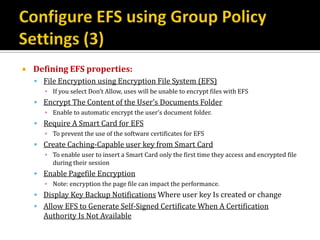
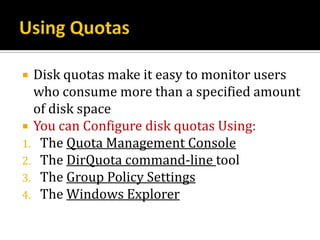
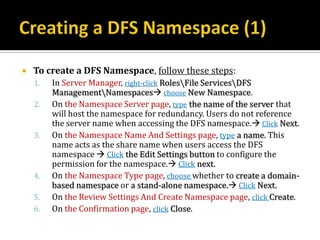
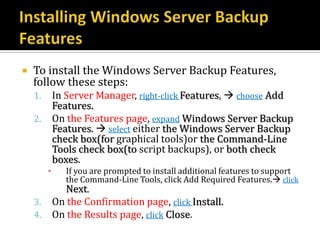
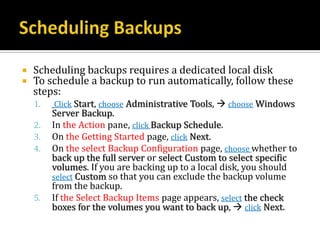
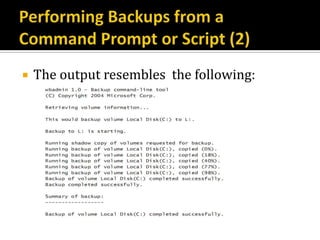
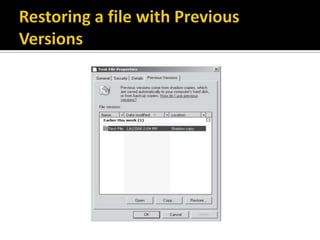
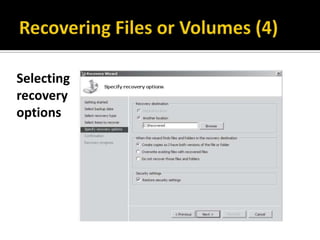
![ Within the Group Policy Management Editor
Right-Click [Computer configurationPolices Windows Setting
Security Setting Public Key Policies Encryption File System] node
Choose Properties to open the Encryption file system properties
dialog box
Additionally; configuring the EFS-related Group Policy settings:
[Computer configurationPolices Administrative Templates
Network Offline Files Encrypt the Offline files Cache]
▪ Enable to encrypt Offline files.
[Computer configurationPolices Administrative Templates
Windows Components Search Allow Indexing of Encrypted Files]
▪ Disable indexing of encrypted files improve security](https://image.slidesharecdn.com/q-lesson-9-managing-files-130301174003-phpapp01/85/Lesson-9-Managing-Files-16-320.jpg)
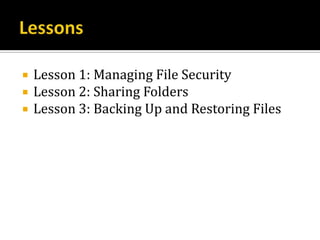
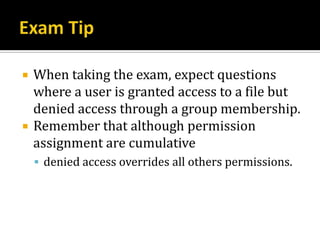
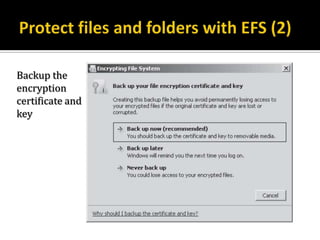
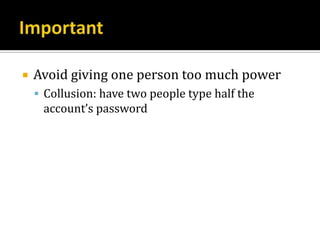
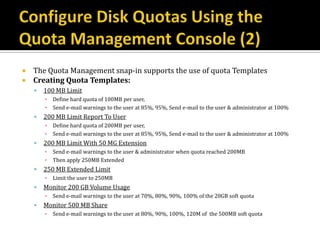
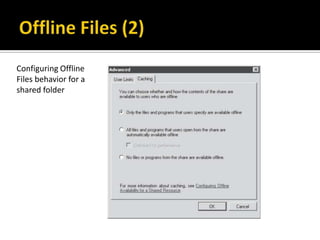
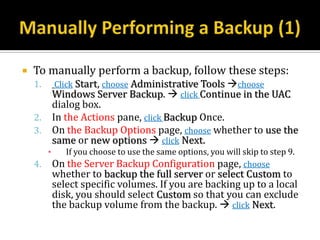
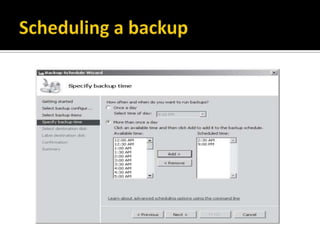
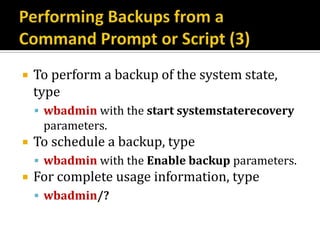
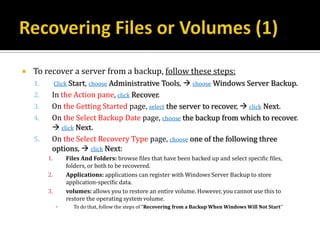
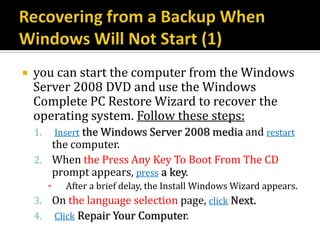
![ To enable recovery of encrypted files, EFS supports DRAs
DRAs can decrypt the encrypted files
To configure an enterprise DRA, Follow these steps:
1. Configure an enterprise CA.
i.e. , you can install the Windows Server 2008 Active Directory Certificate Services
server role. The default settings work well.
2. Create a dedicated user account to act as the DRA.
the DRA has the ability to access any encrypted file-an almost unlimited power that
must be carefully controlled in most organizations. Log on using the DRA account.
3. Open the GPO in the Group Policy Management Editor.
4. Right-click [Computer ConfigurationPoliciesWindows Settings Security
SettingsPublic Key PoliciesEncrypting File System] Create Data
Recovery Agent.
The Group Policy Management Editor creates a file recovery certificate for the DRA
account.](https://image.slidesharecdn.com/q-lesson-9-managing-files-130301174003-phpapp01/85/Lesson-9-Managing-Files-19-320.jpg)
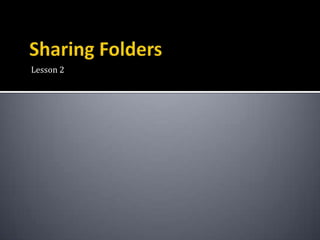
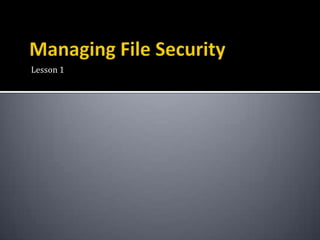
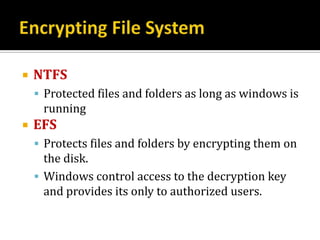
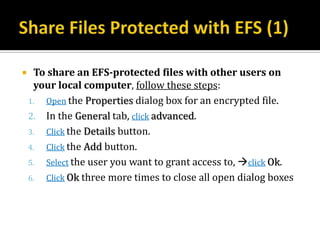
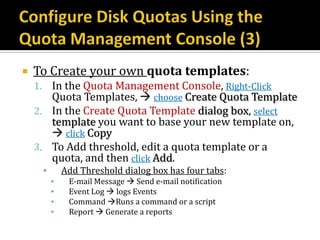
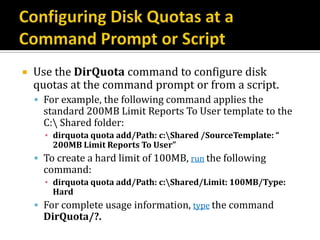
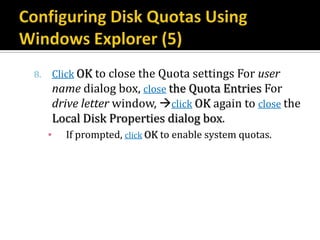
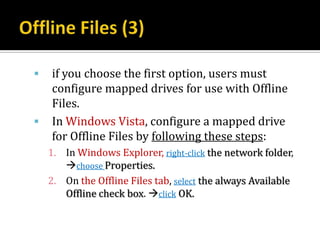
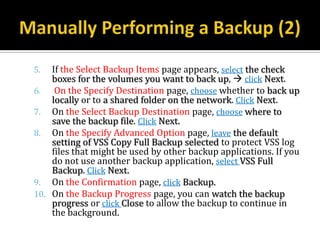
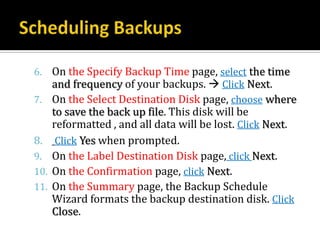
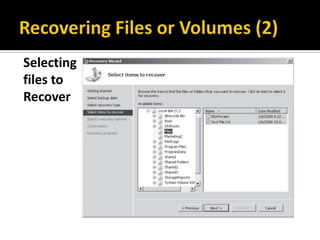
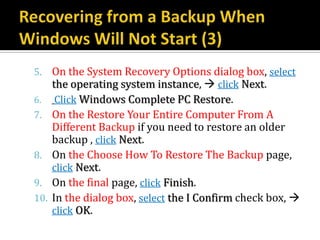
![ You can mange disk quotas Using:
1. The Quota Management Console
In Server Manager, You can access form [Roles
File Services Share And Storage Management File
Server Resource Manager Quota Management]](https://image.slidesharecdn.com/q-lesson-9-managing-files-130301174003-phpapp01/85/Lesson-9-Managing-Files-24-320.jpg)
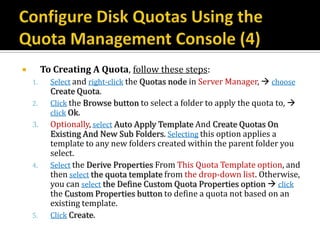
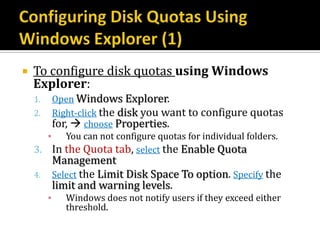

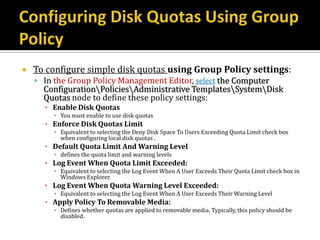
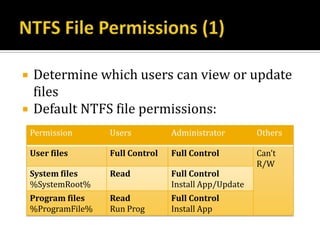
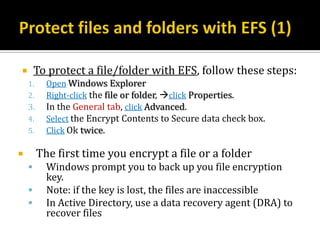
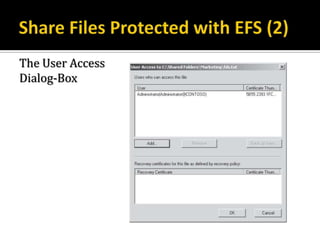
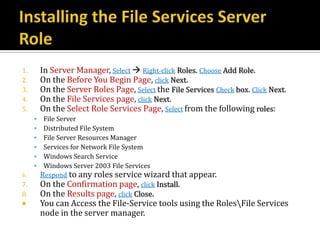
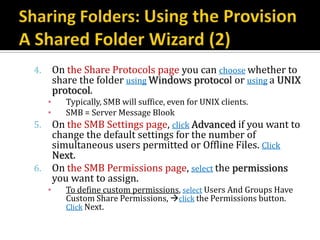
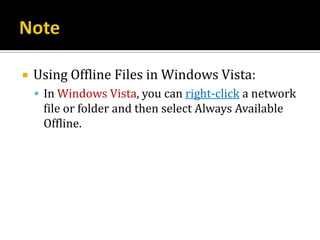
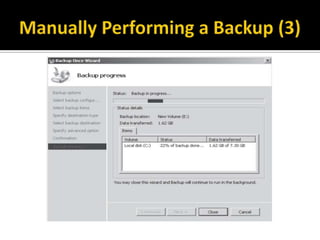
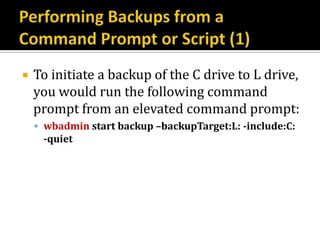
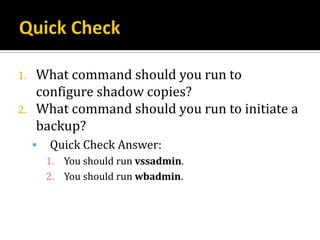
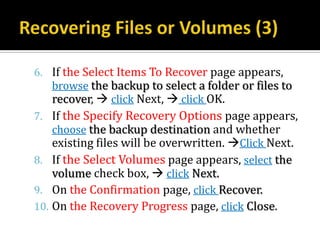
![ You can share folders, configure quotas, and
specify security by following steps:
1. In Server Manager, Right-click [RolesFile
ServicesShare And Storage Management]
choose Provision Share.
2. On the Shared Folder Location page, Click the
Browse button to select the folder to share. Click
OK. Click Next.
3. On the NTFS Permission page, select Yes, Change
NTFS Permissions if necessary, Click Edit
Permissions. Configure the NTFS permissions as
necessary Click OK. Click Next.](https://image.slidesharecdn.com/q-lesson-9-managing-files-130301174003-phpapp01/85/Lesson-9-Managing-Files-37-320.jpg)
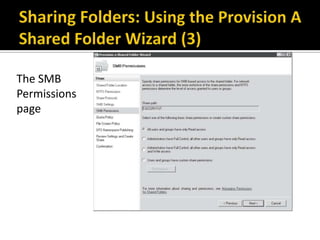
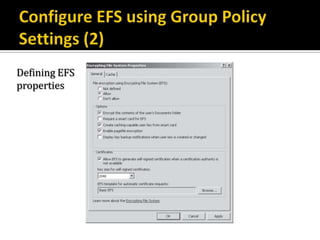
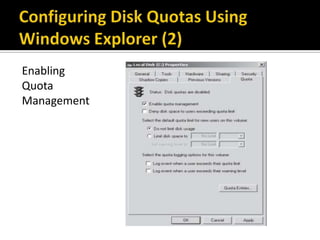
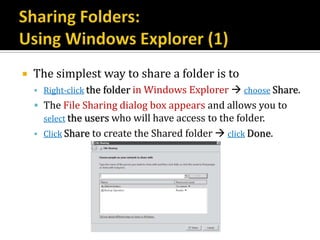
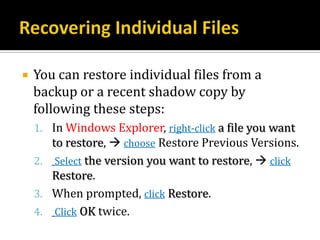
![ Configuring file screening:
Using the [RolesFile ServicesShare And
storage ManagementFile Server Resource
ManagerFile Screening Management] node of
Server Manager.
Using the FileScrn.exe command-line tool in
scripts or when running Windows Server 2008
Server Core.](https://image.slidesharecdn.com/q-lesson-9-managing-files-130301174003-phpapp01/85/Lesson-9-Managing-Files-41-320.jpg)
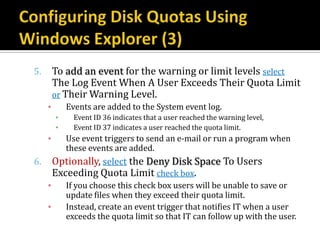
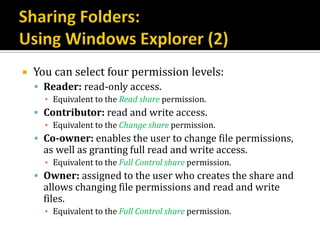
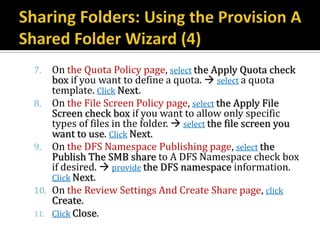
![ To share folders from a script or a command prompt use the net
share command.
To view existing shares, type:
▪ net share
To create a share, use the following syntax:
▪ net share ShareName = Path[/GRANT: user,
[READ|CHANGE|FULL]][/CACHE:Manual|Documents|Programs|None]
▪ For example, to share the C: Shared folder:
▪ net share Files=C:Shared
To share the same folder with read access for everyone but disallow
Offline Files, type:
▪ net share Files=C:Shared/GRANT: Everyone, Read/CACHE: None
To remove a share, specify the share name and the /DELETE
parameter:
▪ net share Files /DELETE
For complete usage information, type:
▪ net share/?](https://image.slidesharecdn.com/q-lesson-9-managing-files-130301174003-phpapp01/85/Lesson-9-Managing-Files-42-320.jpg)
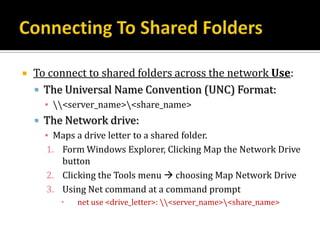

![ You can install DFS :
By adding the File Services server role using the Add Roles Wizard
By Add the role service later using Server Manager by right-click
[RolesFile Services] and then choosing Add Role Services.
Whichever method you use, follow these Steps:
1. On the DFS Namespace page, choose whether to create a namespace.
Click Next.
2. If the Namespace type page appears, choose whether to use a domain-
based (Active Directory environments) or stand-alone namespace
(workgroup environments). If all DFS server for the namespace are
running Windows Server 2008, enable Window Server 2008 mode.
Click Next.
3. If the Namespace Configuration page appears, click Add button to add
folders. You can also do this later using the DFS Management snap-in.
click Next.
If you don’t create a DFS namespace or add folders, you can add them
later using the DFS Management console in Server Manager.](https://image.slidesharecdn.com/q-lesson-9-managing-files-130301174003-phpapp01/85/Lesson-9-Managing-Files-45-320.jpg)

![ To add folders to a DFS namespace, follow
these steps:
1. In Server Manager, select [RolesFile
ServicesShare And Storage Management].
2. In the details pane, right-click the share you want to
configure, choose Properties.
3. Type the name for the folder,
▪ if you want the folder to contain files, click Add button to
associate it with a shared folder,
▪ If you add multiple folder target, you can configure
automatic replication between folders
4. Click OK](https://image.slidesharecdn.com/q-lesson-9-managing-files-130301174003-phpapp01/85/Lesson-9-Managing-Files-48-320.jpg)

![ To Configure Offline caching behavior for a shared folder,
follow these steps:
1. In Server Manager, select [RolesFile ServicesShare And Storage
Management].
2. In the details pane, right-click the share you want to configure,
choose Properties.
3. In the Sharing tab, click Advanced.
4. In the Advanced dialog box, click the Caching tab.
▪ Select one of the following three options, click OK twice.
1. Only The Files And Programs That Users Specify Are Available
Offline.
▪ Works well when users understand how to use offline files
2. All Files And Programs That Users Open From The Share Are
Automatically Available Offline.
▪ Works well when users don’t understand how to use offline files
3. No Files Or Programs From The Share Are Available Offline.
▪ The best choice for confidential docs should be stored on the mobile computers](https://image.slidesharecdn.com/q-lesson-9-managing-files-130301174003-phpapp01/85/Lesson-9-Managing-Files-50-320.jpg)


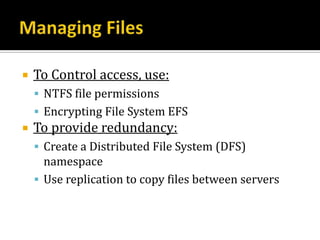
The document discusses file security and sharing on a file server. It covers: - Using NTFS permissions and Encrypting File System (EFS) to control access and provide redundancy. - Configuring a file server including Distributed File System (DFS), backups, disk quotas, and shadow copy services. - Lessons on file security management using NTFS permissions and EFS, sharing folders, and backing up and restoring files. - Steps for configuring NTFS permissions, EFS encryption, data recovery agents, and disk quotas.