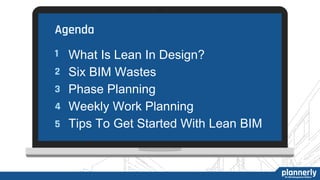
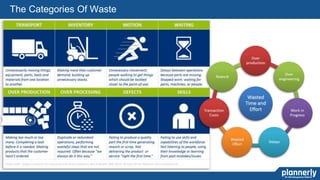
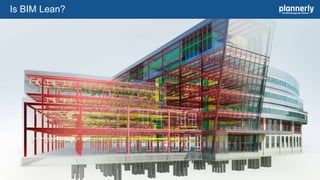
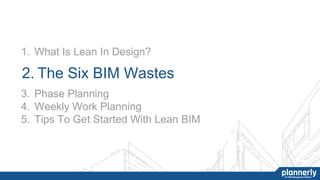
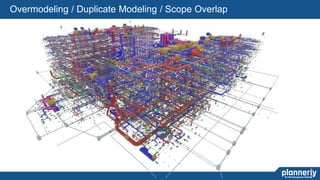
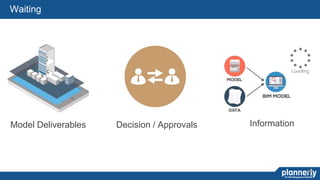
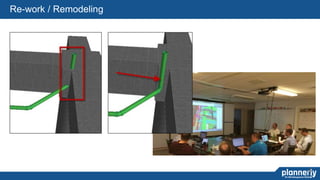
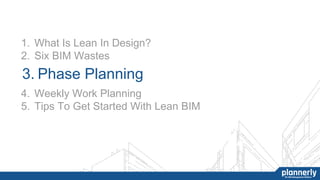
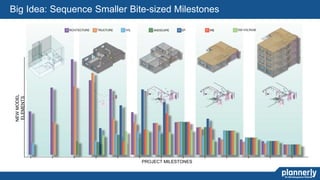
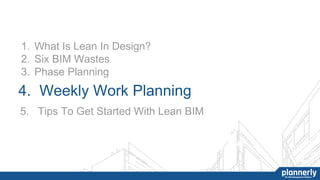
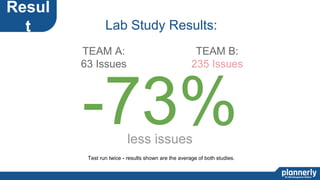
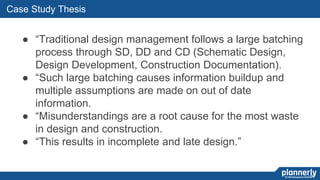
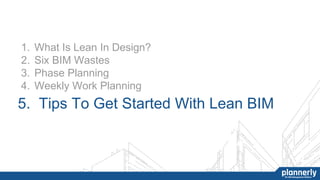
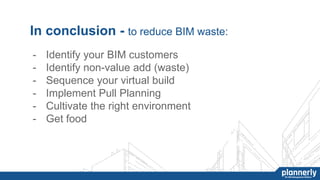
1. What Is Lean Design?
2. Six BIM Wastes
3. Phase Planning
4. Weekly Work Planning
5. Tips To Get Started With Lean BIM
Watch more BIM Management Videos HERE: https://www.plannerly.com/bim-management-videos
26. 3. Phase Planning
4. Weekly Work Planning
5. Tips To Get Started With Lean BIM
1. What Is Lean In Design?
2. Six BIM Wastes
27. 28
Levels of the Last Planner® System
*Milestone – The Strategic Plan
“30,000’ View” (12 – 18 months)Typically done
once on most
projects1
* Phase Pull – Sequence & Activity Handoffs
“10,000’ View” (2 – 4 months)
Typically done 3-
4 times on a
project, and as
time goes on,
before the WWP
is “looking further
out” than the
phase plan.
2
*Weekly Work Plan – The Schedule
“Where the rubber hits the road” (6 weeks)
Should be
updated on a
daily (5-15
minute) and
weekly (30-45
minute) basis.
3
47. -73%less issues
TEAM A:
63 Issues
TEAM B:
235 Issues
Test run twice - results shown are the average of both studies.
Lab Study Results:
Resul
t
48. What Are The Results?:
2. Case Study
A multifamily mixed-use design-build project
49. 50
Case Study Thesis
● “Traditional design management follows a large batching
process through SD, DD and CD (Schematic Design,
Design Development, Construction Documentation).
● “Such large batching causes information buildup and
multiple assumptions are made on out of date
information.
● “Misunderstandings are a root cause for the most waste
in design and construction.
● “This results in incomplete and late design.”
53. 54
Who needs to be part of the session?
● At least one person from each firm
involved in design:
○ Project Manager and/or lead
design
○ A person from that firm with
authority to commit resources.
● Choose a facilitator:
○ someone who knows the
process
○ keeps the session running on
time
○ focused on making sure the
entire team provides input.
54. 55
Where should we pull plan?
● Find a suitable room in which to hold the
pull planning session
○ Location where most teams can attend
● Clear space from the wall for
collaboration:
○ No tables in the way
○ All for plenty of group
movement and discussion
55. 56
How do I prepare my team?
● Meet with your leadership team to set the
expectations:
○ Decide on the Milestone
○ Identify separate areas of work that
will need to be pulled separate
○ Create separate “swimlanes” by
areas, buildings, floors, etc)
● Clarify any “Conditions of
Satisfaction” for major
milestones and deliverables.
56. 57
What do we need?
● Print or have ready electronically
necessary visuals to facilitate the
team’s discussions and understanding
of the project and project needs.
● Provide extra material:
○ Blank Scope Cards
○ Post-it notes
○ Tape
○ Markers
○ Paper
AND don’t forget the FOOD! ;)
57. In conclusion - to reduce BIM waste:
- Identify your BIM customers
- Identify non-value add (waste)
- Sequence your virtual build
- Implement Pull Planning
- Cultivate the right environment
- Get food
58. 1. Five Steps To Better BIM Management
2. BEPs 101 - BIM Execution Planning
3. How do you contract for the right BIM at the right
time?
4. Lean BIM Management 101
5. Did You Get The BIM You Paid For?
6. Agile Standards Management
7. Building Lean BIM Standards
8. Protecting Against BIM Risk
9. BIM Management Across Multiple Companies
10. Win More Work With Practical BIM
20 Minute
BIM Management Webinar Series
Often Boiled Down To A Single Line On The Gantt Chart
At least one person from each firm involved in design, preferably the one doing the design, and for the initial planning session, a person from that firm with authority to commit resources.
Choose the Pull Planning facilitator: someone who knows the process, keeps the session running on time, and is focused on making sure the entire team provides input. It’s probably not the lead designer, but it could be.
Call or text all attendees to assure their participation. If your team has critical persons missing during the session, the planning will be more tentative and less complete.
Find a suitable room in which to hold the pull planning session. You’ll need lots of uninterrupted wall space, preferably one or two walls of 16’-20’ on which you can affix two rows of 36” plotter paper. There should be at least 8’-10’ of clear space from the wall – no tables in the way. This allows plenty of group movement and discussion as the pull session gets under way.
Arrange the room properly ensuring 8-10’ of open space in front of the wall.
Print out the tags and position them on a table 8-10’ away from the wall.
Set several dispensers of tape near the tags.
Hang the 16’-20’ of plotter paper.
Recommended - Meet with your leadership team to set the expectations (at least 10 days before session
Decide which Milestone from which to pull
Identify what separate areas of work will need to be pulled separate in what we call “swim lanes”, which might be different areas, buildings, floors, etc
Clarify any “Conditions of Satisfaction” for major milestones and deliverables. (You will revisit each of these during the session to make needed adjustments and gain consensus.)
Print or have ready electronically necessary visuals to facilitate the team’s discussions and understanding of the project and project needs.
Confirm with them that they already have entered (or will enter before the session) information about their tasks and ready to print out before the session.
The day of the session:
Make reservations for breakfast/lunch/snacks as needed. Something with some protein and lighter on the carbs is best to keep people from getting sluggish.
For example, breakfast burritos instead of sugary pastries and sandwiches as opposed to pizza or pasta. Coffee for afternoon sessions is also highly recommended.