The document discusses JDBC, servlets, and session management in Java web applications. It covers the following key points in 3 sentences:
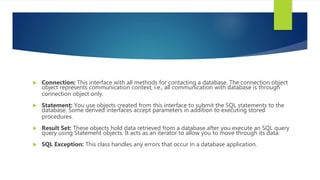
JDBC is a Java API that allows Java programs to connect to and interact with database management systems. It includes interfaces and classes for establishing a connection to a database, executing SQL statements, and processing the results. The document also provides an example of a simple JDBC program that connects to a MySQL database and inserts a record.
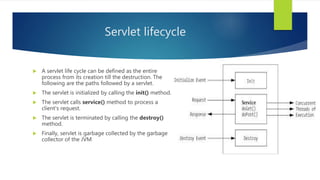
Servlets are Java classes that handle HTTP requests and responses. The document explains the servlet lifecycle and deployment process, and provides a simple "Hello World" example servlet code. It also discusses how to maintain state across HTTP requests


![JDBC Program
package DAY1;
public class JdbcDemo1 {
public static void main(String[] args) {
JdbccDao jdbcDao = new JdbccDao();
jdbcDao.getConnection();
}
}](https://image.slidesharecdn.com/jdbc-210214120402/85/Jdbc-7-320.jpg)