Q.Explain the AWTHierarchy in Java. What are its main components and how are
they related?
Definition:
AWT (Abstract Window Toolkit) in Java is a platform-dependent GUI (Graphical User
Interface) framework used for building window-based applications.It provides classes for
creating and managing graphical components such as windows, buttons, text fields, labels,
checkboxes, menus, and many more.AWT is part of the java.awt package, which interacts with
the underlying operating system to display graphical components.
AWT Hierarchy :
AWT follows an object-oriented hierarchical structure that organizes all GUI elements
under a parent-child relationship. At the top of this hierarchy is the Object class, from which all
other classes are derived.The Abstract Window Toolkit (AWT) was one of the first GUI
frameworks in Java, introduced in Java 1.0.
It acts as a bridge between Java programs and the native GUI system of the operating
system.AWT allows Java developers to create interactive, event-driven applications.
It provides graphical components such as buttons, text boxes, checkboxes, scrollbars, and
menus, which can be used to build complete windows-based interfaces.
Each component in AWT is a class derived from the Component class, making it easier to
reuse and organize GUI elements.
Key Features of AWT:
1. Platform-dependent: Uses native OS components.
2. Event-driven programming model: Handles user actions via event listeners.
3. Rich set of GUI controls: Buttons, labels, menus, etc.
4. Graphics support: Enables drawing of shapes, lines, and images.
5. Layout managers: Automatically arrange components inside containers.
3.
AWT Class Hierarchy
TheAWT class hierarchy defines how components are organized. At the top of the
hierarchy is the Object class, and at the bottom, there are GUI elements like Button,
TextField, etc.
AWT Hierarchy Diagram :
Object
└── Component
├── Container
│ ├── Window
│ │ ├── Frame
│ │ ├── Dialog
│ │ └── FileDialog
│ └── Panel
│ └── Applet
├── Button
├── Canvas
├── Label
├── Text Component
│ ├── Text Field
│ └── Text Area
├── Checkbox
├── Choice
├── List
└── Scrollbar
4.
EXPLANATION OF MAINCLASSES
1. COMPONENT CLASS
It is the base class for all AWT components.
Every visual element like Button, Label, or TextField is a subclass of Component.
Provides methods such as:
setSize()
setVisible()
setBackground()
setForeground()
Example:
Button b = new Button(“Click Me”);
b.setSize(100, 50);
2. CONTAINER CLASS
A Container is a special type of Component that can hold other components. It manages the
layout of its child components using Layout Managers (like Flow Layout, Border Layout, Grid
Layout).
Important methods:
Add(Component c)
Remove(Component c)
setLayout(LayoutManager m)
5.
Example:
Frame f =new Frame(“Example”);
Button b = new Button(“OK”);
f.add(b);
3. WINDOW CLASS
A top-level window with no borders or menu bar. Used as a base for creating frames and
dialogs.
4. FRAME CLASS
Most commonly used top-level container in AWT. Represents a normal window that can
hold components, menus, and titles. Used for building full desktop applications.
Example:
Frame f = new Frame(“My Frame”);
f.setSize(300, 200);
f.setVisible(true);
5. PANEL CLASS
A generic container inside which components can be grouped. Often used to organize
layout within a Frame or Applet.
Example:
Panel p = new Panel();
p.add(new Button(“Submit”));
f.add(p);
6. APPLET CLASS
Used to create web-based Java programs that run inside browsers.Extends the Panel
class.Contains lifecycle methods: init(), start(), stop(), destroy().
6.
Other AWT Components
1.LABEL
Displays static text or messages.
Example:
Label l = new Label(“Username:”);
2. BUTTON
Used to perform actions when clicked.
Example :
Button b = new Button(“Login”);
3. TEXT FIELD
Single-line text input component.
Example :
TextField t = new TextField(20);
4. TEXTAREA
Multi-line text input area.
Example :
TextArea a = new TextArea(“Write your text here…”);
5. CHECKBOX
Allows selection or deselection of options.
Example :
Checkbox c = new Checkbox(“Accept Terms”);
7.
6. CHOICE
Drop-down listof items.
Example :
Choice ch = new Choice();
Ch.add(“Option 1”);
Ch.add(“Option 2”);
7. LIST
Displays a list of selectable items.
8. SCROLLBAR
Allows scrolling within components.
Q: Explain the AWT Components in Java with a neat diagram and suitable
examples.
Definition:
AWT Components are the building blocks of Java’s GUI (Graphical User Interface)
applications.They are part of the java.awt package and represent visual elements that appear on the
screen — such as buttons, text fields, labels, checkboxes, scrollbars, etc.
Each AWT component is an object that inherits from the Component class, which provides
common properties like size, position, color, font, and visibility.The Abstract Window Toolkit
(AWT) provides a wide range of predefined components used for designing graphical interfaces in
Java applications.
Each component is platform-dependent, meaning it uses the native GUI elements of the
underlying operating system (like Windows, macOS, or Linux).
Main Features of AWT Components:
Platform Dependent: Uses native OS peer components.
Event Driven: Works based on user interactions (like clicks, typing, etc.).
Layout Managed: Components are arranged using layout managers.
Reusable Objects: Each GUI element is an object that can be created and
customized.
Hierarchy-Based: All components inherit from the Component class.
8.
The AWT ComponentHierarchy
The AWT component hierarchy starts from the Object class and is organized as
follows:
Java.lang.Object
↳ java.awt.Component
↳ java.awt.Container
↳ java.awt.Window
↳ java.awt.Frame
↳ java.awt.Applet
↳ java.awt.Dialog
↳ java.awt.Panel
↳ Button, Label, TextComponent, List, Checkbox, Canvas, Scrollbar
This structure shows how every graphical control derives from the main Component class.
Basic AWT Components
Let’s now explore the most important AWT components in detail 👇
1. Label
A Label is a simple text display component used to show static information or messages.It
cannot be edited by the user.
Syntax:
Label l = new Label(“Username:”);
Important Methods:
setText(String text) – sets the text.
getText() – returns the label text.
setAlignment(int alignment) – aligns the text (LEFT, RIGHT, CENTER).
Example:
Label l = new Label(“Welcome to AWT!”);
Frame.add(l);
9.
2. Button
A Buttongenerates an action event when clicked. Commonly used to perform tasks such as
submitting a form.
Syntax:
Button b = new Button(“Login”);
Methods:
setLabel(String text) – changes button text.
getLabel() – returns button label.
Example:
Button b = new Button(“Submit”);
Frame.add(b);
INPUT COMPONENTS
3. TextField
A TextField is used for single-line text input.Commonly used for username or password
fields.
Syntax:
TextField t = new TextField(20);
Methods:
setText(String text)
getText()
setEchoChar(char c) – hides input (useful for passwords)
Example:
TextField name = new TextField(“Enter name”);
Frame.add(name);
4. TextArea
Used for multi-line text input.Allows users to enter or display longer text.
10.
Syntax:
TextArea ta =new TextArea(“Type here…”, 5, 20);
Methods:
Append(String text) – adds text at the end.
Insert(String text, int pos) – inserts at a position.
replaceRange(String str, int start, int end)
Example:
TextArea comments = new TextArea(“Enter comments”, 5, 30);
Frame.add(comments);
5. Checkbox
A Checkbox is used for selecting or deselecting options.Works independently or in groups.
Syntax:
Checkbox c = new Checkbox(“I Agree”);
Methods:
getState() – returns true if selected.
setState(boolean state)
Example:
Checkbox check = new Checkbox(“Accept Terms”);
Frame.add(check);
SELECTION COMPONENTS
6. CheckboxGroup (Radio Buttons)
When checkboxes are grouped, they act like radio buttons — only one can be selected.
Syntax:
CheckboxGroup gender = new CheckboxGroup();
Checkbox male = new Checkbox(“Male”, gender, false);
Checkbox female = new Checkbox(“Female”, gender, true);
11.
Example:
Frame.add(male);
Frame.add(female);
7. Choice (Drop-downList)
Displays a list of items, but only one is visible at a time.Similar to a ComboBox in Swing.
Syntax:
Choice ch = new Choice();
Example :
Ch.add(“Java”);
Ch.add(“Python”);
Ch.add(“C++”);
Methods:
getSelectedItem() – returns the selected option.
Select(int index) – selects by index.
8. List
Displays a list of selectable items.Can allow single or multiple selections.
Syntax:
List list = new List(4, true);
List.add(“Red”);
List.add(“Blue”);
List.add(“Green”);
VISUAL AND CONTROL COMPONENTS
9. Scrollbar
Used to scroll through content horizontally or vertically.
Syntax:
Scrollbar s = new Scrollbar();
Example :
f.setSize(300,200);
f.setVisible(true);
Layout Managers
Toorganize components properly, AWT provides Layout Managers:
Layout
Manager
Description
FlowLayout . Places components left to right in a row
BorderLayout Divides the area into 5 regions (N, S, E, W, Center).
GridLayout Arranges components in a grid.
CardLayout Displays one component at a time.
Example:
Frame.setLayout(new FlowLayout());
Q: Explain Mouse and Keyboard Events in Java AWT with suitable examples.
Definition:
In Java AWT (Abstract Window Toolkit), Event Handling is a mechanism that controls
how user interactions such as mouse clicks, key presses, or movements are managed.
A Mouse Event occurs when the user interacts with the mouse (clicks, presses, releases,
moves, or drags).A Keyboard Event occurs when the user presses or releases a key on the
keyboard.
Event Delegation Model :
Before understanding Mouse and Keyboard events, it’s important to know how Java
handles events.It is the mechanism by which AWT handles all user interactions in an event-driven
way.
14.
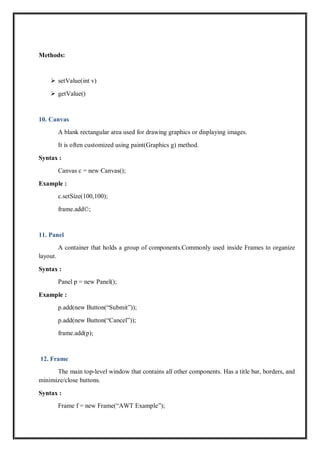
It consists ofthree main components:
COMPONENT DESCRIPTION
Event Source The component that generates the event (like Button, TextField,
Frame, etc.)
Event Object
KeyEvent)
Encapsulates the details of the event (e.g., MouseEvent,
Event Listener An interface that receives and handles the event
Example of Event Delegation:
When a button is clicked:
The Button (source) generates an ActionEvent (object).
The Listener (ActionListener) handles the event by executing a method.
This same concept applies to Mouse and Keyboard events as well.
Mouse Events Overview
Mouse events are generated when the user interacts with a mouse within a component’s
area — such as clicking, pressing, releasing, dragging, or moving.
Mouse Event Classes:
All mouse-related events are part of the java.awt.event package.
MouseEvent – Contains details of mouse actions.
MouseListener – Interface for handling mouse clicks, presses, releases, enters, and
exits.
MouseMotionListener – Interface for handling mouse movement and dragging.
Common MouseEvent Methods:
METHOD DESCRIPTION
getX() /
getY()
Returns the X/Y coordinate of the event.
getClickCoun Returns the number of clicks.
15.
t()
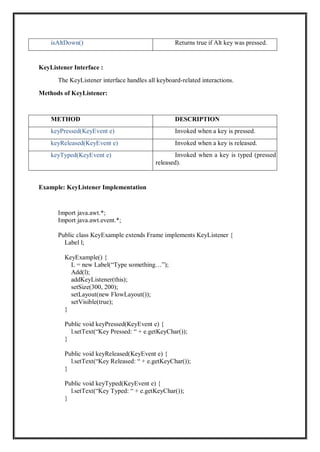
isAltDown() Checks ifAlt key was pressed during the event.
isShiftDown(
)
Checks if Shift key was pressed.
getButton() Returns which mouse button was clicked (1 = left, 2 = middle,
3 = right).
MouseListener Interface
The MouseListener interface handles basic mouse actions.
It has five abstract methods that must be implemented.
Methods of MouseListener:
METHOD DESCRIPTION
mouseClicked(MouseEvent e) Invoked when the mouse is clicked.
mousePressed(MouseEvent e) Invoked when a mouse button is pressed.
mouseReleased(MouseEvent e) Invoked when the mouse button is released.
mouseEntered(MouseEvent e) Invoked when the mouse enters a component.
mouseExited(MouseEvent e) Invoked when the mouse exits a component.
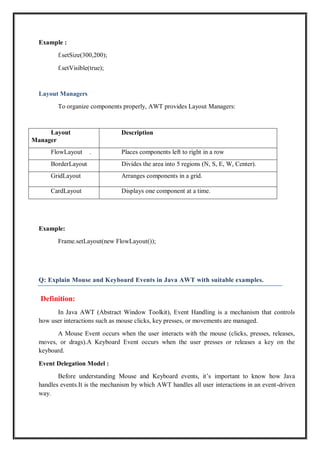
Example: MouseListener Implementation
Import java.awt.*;
Import java.awt.event.*;
Public class MouseExample extends Frame implements MouseListener {
Label l;
MouseExample() {
L = new Label(“Move or click the mouse…”);
Add(l);
addMouseListener(this);
16.
setSize(300, 200);
setLayout(new FlowLayout());
setVisible(true);
}
Publicvoid mouseClicked(MouseEvent e) {
l.setText(“Mouse Clicked at “ + e.getX() + “, “ + e.getY());
}
Public void mousePressed(MouseEvent e) { l.setText(“Mouse Pressed”); }
Public void mouseReleased(MouseEvent e) { l.setText(“Mouse Released”); }
Public void mouseEntered(MouseEvent e) { l.setText(“Mouse Entered”); }
Public void mouseExited(MouseEvent e) { l.setText(“Mouse Exited”); }
Public static void main(String[] args) {
New MouseExample();
}
}
Whenever the mouse interacts with the window, the label text updates to show the event type.
MouseMotionListener Interface:
The MouseMotionListener interface is used for detecting mouse dragging and movement.
METHOD DESCRIPTION
mouseDragged(MouseEvent e) Called when the mouse is dragged.
mouseMoved(MouseEvent e) Called when the mouse moves without
pressing buttons.
Example: MouseMotionListener Implementation
Import java.awt.*;
Import java.awt.event.*;
Public class MouseMotionExample extends Frame implements MouseMotionListener {
Label l;
MouseMotionExample() {
L = new Label(“Move the mouse inside the window.”);
17.
Add(l);
addMouseMotionListener(this);
setSize(300, 200);
setLayout(new FlowLayout());
setVisible(true);
}
Publicvoid mouseDragged(MouseEvent e) {
l.setText(“Mouse Dragged at (“ + e.getX() + “, “ + e.getY() + “)”);
}
Public void mouseMoved(MouseEvent e) {
l.setText(“Mouse Moved at (“ + e.getX() + “, “ + e.getY() + “)”);
}
Public static void main(String[] args) {
New MouseMotionExample();
}
}
Explanation:
As the mouse moves or drags, the coordinates are displayed dynamically in the label.
Keyboard Events Overview:
Keyboard events are generated when a user presses or releases keys on the keyboard while
the component is focused.
Keyboard Event Classes:
All are in the java.awt.event package.
KeyEvent – Describes key actions.
KeyListener – Interface to receive keyboard events.
Methods of KeyEvent Class:
METHOD DESCRIPTION
getKeyChar() Returns the character of the key pressed.
getKeyCode() Returns the key code (e.g., VK_ENTER,
VK_A).
isActionKey() Checks if the key is an action key (like
arrows, F1, etc.).
18.
isAltDown() Returns trueif Alt key was pressed.
KeyListener Interface :
The KeyListener interface handles all keyboard-related interactions.
Methods of KeyListener:
METHOD DESCRIPTION
keyPressed(KeyEvent e) Invoked when a key is pressed.
keyReleased(KeyEvent e) Invoked when a key is released.
keyTyped(KeyEvent e) Invoked when a key is typed (pressed and
released).
Example: KeyListener Implementation
Import java.awt.*;
Import java.awt.event.*;
Public class KeyExample extends Frame implements KeyListener {
Label l;
KeyExample() {
L = new Label(“Type something…”);
Add(l);
addKeyListener(this);
setSize(300, 200);
setLayout(new FlowLayout());
setVisible(true);
}
Public void keyPressed(KeyEvent e) {
l.setText(“Key Pressed: “ + e.getKeyChar());
}
Public void keyReleased(KeyEvent e) {
l.setText(“Key Released: “ + e.getKeyChar());
}
Public void keyTyped(KeyEvent e) {
l.setText(“Key Typed: “ + e.getKeyChar());
}
19.
Public static voidmain(String[] args) {
New KeyExample();
}
}
Explanation:
Whenever a key is pressed, typed, or released, the label updates to show the corresponding key.
Combining Mouse and Keyboard Events
You can combine both listeners in the same program by implementing both MouseListener
and KeyListener interfaces together.
Example:
Public class ComboEvents extends Frame implements MouseListener, KeyListener {
// code combines both event types…
}
This allows handling complete user interactivity (typing + clicking + moving).
Q. Adapter Classes in Java
Definition :
In Java, Adapter Classes are special classes that are part of the java.awt.event
package.They are abstract classes that provide default (empty) implementations for all methods in
an event listener interface.When a programmer needs to handle only a few events of a listener
interface, instead of implementing all its methods, they can extend the adapter class and override
only the required ones.Adapter classes in Java are used to simplify event handling by providing
default implementations for listener interfaces so that programmers can override only the methods
they need.
When we use interfaces like MouseListener, KeyListener, or FocusListener, we must
implement all the methods declared in that interface — even if we only need one or two of
them.This becomes unnecessary and time-consuming.To solve this problem, Java provides adapter
classes that contain empty methods for all the interface methods.
You can extend these adapter classes and override only the required methods.
20.
Example Situation:
Suppose youuse the MouseListener interface to detect a mouse click.
Five methods:
mouseClicked(),
mousePressed(),
mouseReleased(),
mouseEntered(),
mouseExited().
But if you only need mouseClicked(), the other four methods still need to be written —
even if empty.
Instead, use MouseAdapter.
You can just extend it and override only mouseClicked().
This makes code shorter, cleaner, and easier to understand.
Hierarchy of Adapter Classes
All adapter classes belong to the java.awt.event package.
They act as intermediate abstract classes between the Event Listener Interfaces and the User-
Defined Classes that handle events.
Below is the hierarchy:
Java.lang.Object
↳ java.awt.event.* (Event Adapter Classes)
↳ ComponentAdapter
↳ ContainerAdapter
↳ FocusAdapter
↳ KeyAdapter
↳ MouseAdapter
↳ MouseMotionAdapter
21.
↳ WindowAdapter
Types ofAdapter Classes
Let’s explore each of them in detail:
1. ComponentAdapter
Implements: ComponentListener interface
Purpose: Used to handle events related to component resizing, moving, hiding, or showing.
Common Methods:
componentResized(ComponentEvent e)
componentMoved(ComponentEvent e)
componentShown(ComponentEvent e)
componentHidden(ComponentEvent e)
Example:
Import java.awt.event.*;
Import java.awt.*;
Class ComponentAdapterExample extends Frame {
ComponentAdapterExample() {
addComponentListener(new ComponentAdapter() {
public void componentResized(ComponentEvent e) {
System.out.println(“Component resized!”);
}
});
setSize(300, 200);
setVisible(true);
}
Public static void main(String[] args) {
New ComponentAdapterExample();
}
22.
}
2. ContainerAdapter
Implements: ContainerListenerinterface
Purpose: Used to handle events when components are added or removed from a container.
Common Methods:
componentAdded(ContainerEvent e)
componentRemoved(ContainerEvent e)
Example:
addContainerListener(new ContainerAdapter() {
public void componentAdded(ContainerEvent e) {
System.out.println(“Component Added!”);
}
});
3. FocusAdapter
Implements: FocusListener interface
Purpose: Handles focus gained or lost events on a component.
Common Methods:
focusGained(FocusEvent e)
focusLost(FocusEvent e)
Example:
addFocusListener(new FocusAdapter() {
public void focusGained(FocusEvent e) {
System.out.println(“Focus gained!”);
}
});

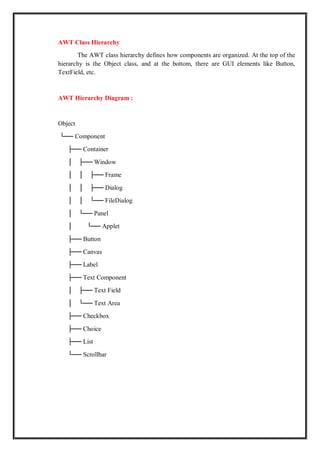
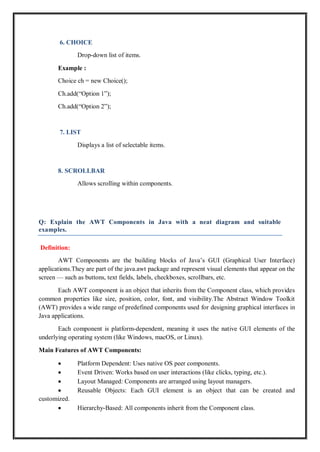

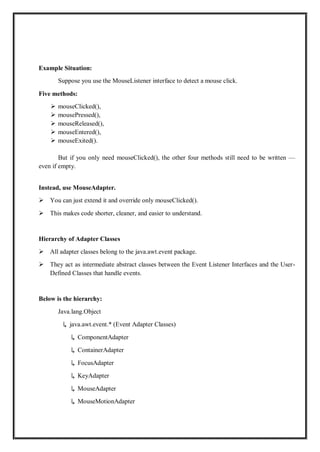
![setSize(300, 200);
setLayout(new FlowLayout());
setVisible(true);
}
Public void mouseClicked(MouseEvent e) {
l.setText(“Mouse Clicked at “ + e.getX() + “, “ + e.getY());
}
Public void mousePressed(MouseEvent e) { l.setText(“Mouse Pressed”); }
Public void mouseReleased(MouseEvent e) { l.setText(“Mouse Released”); }
Public void mouseEntered(MouseEvent e) { l.setText(“Mouse Entered”); }
Public void mouseExited(MouseEvent e) { l.setText(“Mouse Exited”); }
Public static void main(String[] args) {
New MouseExample();
}
}
Whenever the mouse interacts with the window, the label text updates to show the event type.
MouseMotionListener Interface:
The MouseMotionListener interface is used for detecting mouse dragging and movement.
METHOD DESCRIPTION
mouseDragged(MouseEvent e) Called when the mouse is dragged.
mouseMoved(MouseEvent e) Called when the mouse moves without
pressing buttons.
Example: MouseMotionListener Implementation
Import java.awt.*;
Import java.awt.event.*;
Public class MouseMotionExample extends Frame implements MouseMotionListener {
Label l;
MouseMotionExample() {
L = new Label(“Move the mouse inside the window.”);](https://image.slidesharecdn.com/awtconceptsinjava-251111055203-f3e54ea6/85/Java-on-Abstract-Window-Toolkit-Concepts-pdf-16-320.jpg)
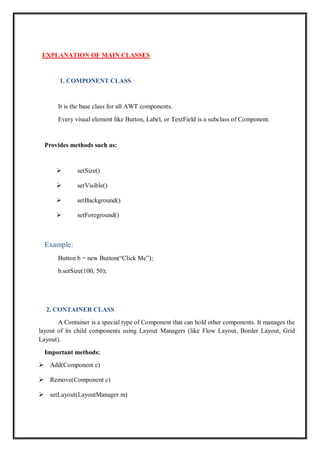
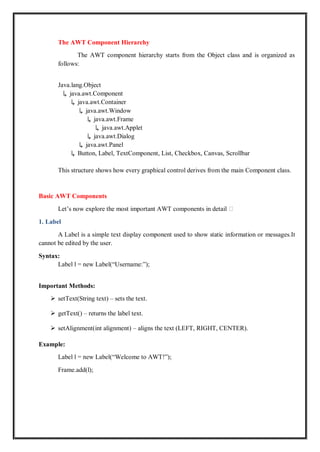
![Add(l);
addMouseMotionListener(this);
setSize(300, 200);
setLayout(new FlowLayout());
setVisible(true);
}
Public void mouseDragged(MouseEvent e) {
l.setText(“Mouse Dragged at (“ + e.getX() + “, “ + e.getY() + “)”);
}
Public void mouseMoved(MouseEvent e) {
l.setText(“Mouse Moved at (“ + e.getX() + “, “ + e.getY() + “)”);
}
Public static void main(String[] args) {
New MouseMotionExample();
}
}
Explanation:
As the mouse moves or drags, the coordinates are displayed dynamically in the label.
Keyboard Events Overview:
Keyboard events are generated when a user presses or releases keys on the keyboard while
the component is focused.
Keyboard Event Classes:
All are in the java.awt.event package.
KeyEvent – Describes key actions.
KeyListener – Interface to receive keyboard events.
Methods of KeyEvent Class:
METHOD DESCRIPTION
getKeyChar() Returns the character of the key pressed.
getKeyCode() Returns the key code (e.g., VK_ENTER,
VK_A).
isActionKey() Checks if the key is an action key (like
arrows, F1, etc.).](https://image.slidesharecdn.com/awtconceptsinjava-251111055203-f3e54ea6/85/Java-on-Abstract-Window-Toolkit-Concepts-pdf-17-320.jpg)
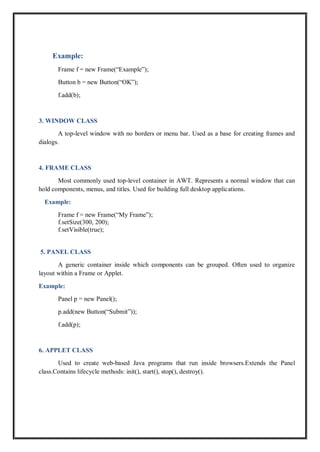
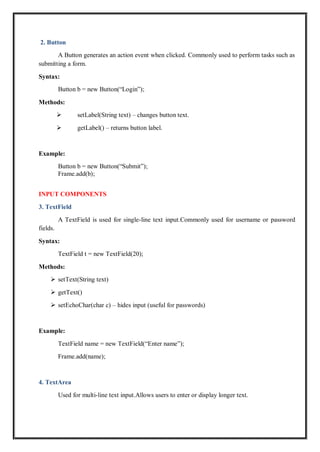
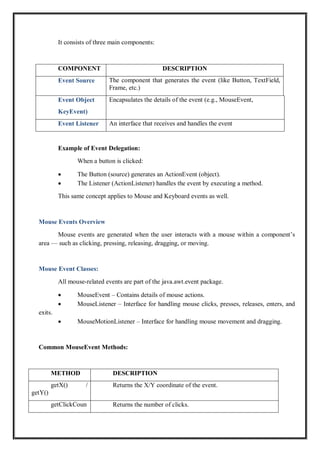
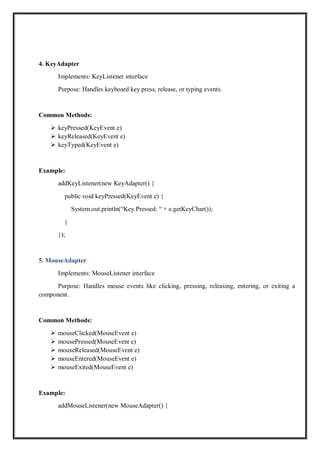
![Public static void main(String[] args) {
New KeyExample();
}
}
Explanation:
Whenever a key is pressed, typed, or released, the label updates to show the corresponding key.
Combining Mouse and Keyboard Events
You can combine both listeners in the same program by implementing both MouseListener
and KeyListener interfaces together.
Example:
Public class ComboEvents extends Frame implements MouseListener, KeyListener {
// code combines both event types…
}
This allows handling complete user interactivity (typing + clicking + moving).
Q. Adapter Classes in Java
Definition :
In Java, Adapter Classes are special classes that are part of the java.awt.event
package.They are abstract classes that provide default (empty) implementations for all methods in
an event listener interface.When a programmer needs to handle only a few events of a listener
interface, instead of implementing all its methods, they can extend the adapter class and override
only the required ones.Adapter classes in Java are used to simplify event handling by providing
default implementations for listener interfaces so that programmers can override only the methods
they need.
When we use interfaces like MouseListener, KeyListener, or FocusListener, we must
implement all the methods declared in that interface — even if we only need one or two of
them.This becomes unnecessary and time-consuming.To solve this problem, Java provides adapter
classes that contain empty methods for all the interface methods.
You can extend these adapter classes and override only the required methods.](https://image.slidesharecdn.com/awtconceptsinjava-251111055203-f3e54ea6/85/Java-on-Abstract-Window-Toolkit-Concepts-pdf-19-320.jpg)
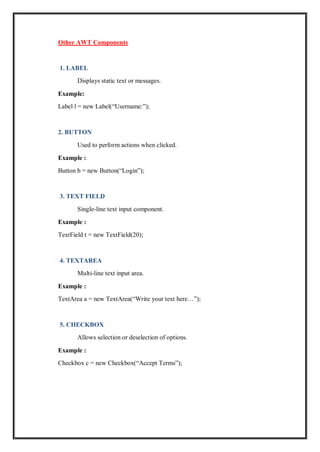
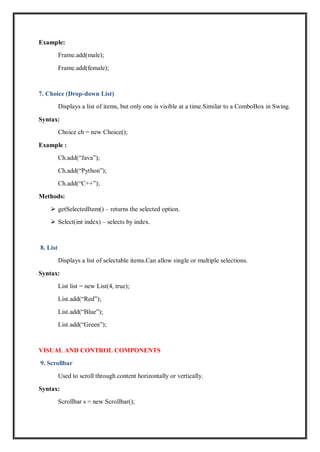
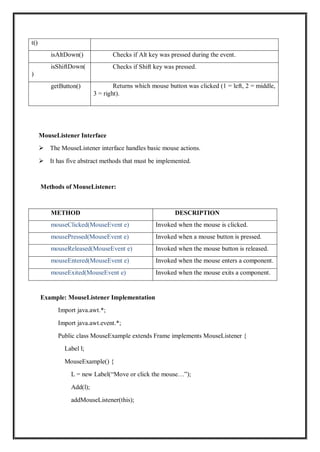
![↳ WindowAdapter
Types of Adapter Classes
Let’s explore each of them in detail:
1. ComponentAdapter
Implements: ComponentListener interface
Purpose: Used to handle events related to component resizing, moving, hiding, or showing.
Common Methods:
componentResized(ComponentEvent e)
componentMoved(ComponentEvent e)
componentShown(ComponentEvent e)
componentHidden(ComponentEvent e)
Example:
Import java.awt.event.*;
Import java.awt.*;
Class ComponentAdapterExample extends Frame {
ComponentAdapterExample() {
addComponentListener(new ComponentAdapter() {
public void componentResized(ComponentEvent e) {
System.out.println(“Component resized!”);
}
});
setSize(300, 200);
setVisible(true);
}
Public static void main(String[] args) {
New ComponentAdapterExample();
}](https://image.slidesharecdn.com/awtconceptsinjava-251111055203-f3e54ea6/85/Java-on-Abstract-Window-Toolkit-Concepts-pdf-21-320.jpg)

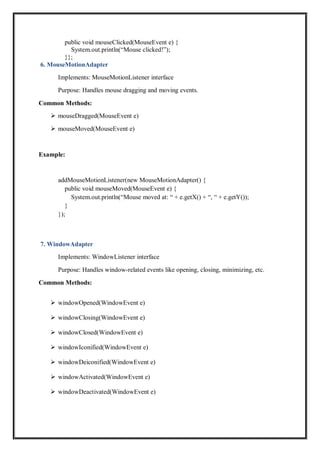
![Example:
addWindowListener(new WindowAdapter() {
public void windowClosing(WindowEvent e) {
System.out.println(“Window closing!”);
System.exit(0);
}
});
Example (Combining Adapters)
Here’s an example showing MouseAdapter and KeyAdapter together:
Import java.awt.*;
Import java.awt.event.*;
Class MultiAdapterExample extends Frame {
MultiAdapterExample() {
addMouseListener(new MouseAdapter() {
public void mouseClicked(MouseEvent e) {
System.out.println(“Mouse clicked!”);
}
});
addKeyListener(new KeyAdapter() {
public void keyPressed(KeyEvent e) {
System.out.println(“Key Pressed: “ + e.getKeyChar());
}
});
setSize(400, 300);
setVisible(true);
}
Public static void main(String[] args) {
New MultiAdapterExample();
}
}](https://image.slidesharecdn.com/awtconceptsinjava-251111055203-f3e54ea6/85/Java-on-Abstract-Window-Toolkit-Concepts-pdf-25-320.jpg)