Downloaded 11 times

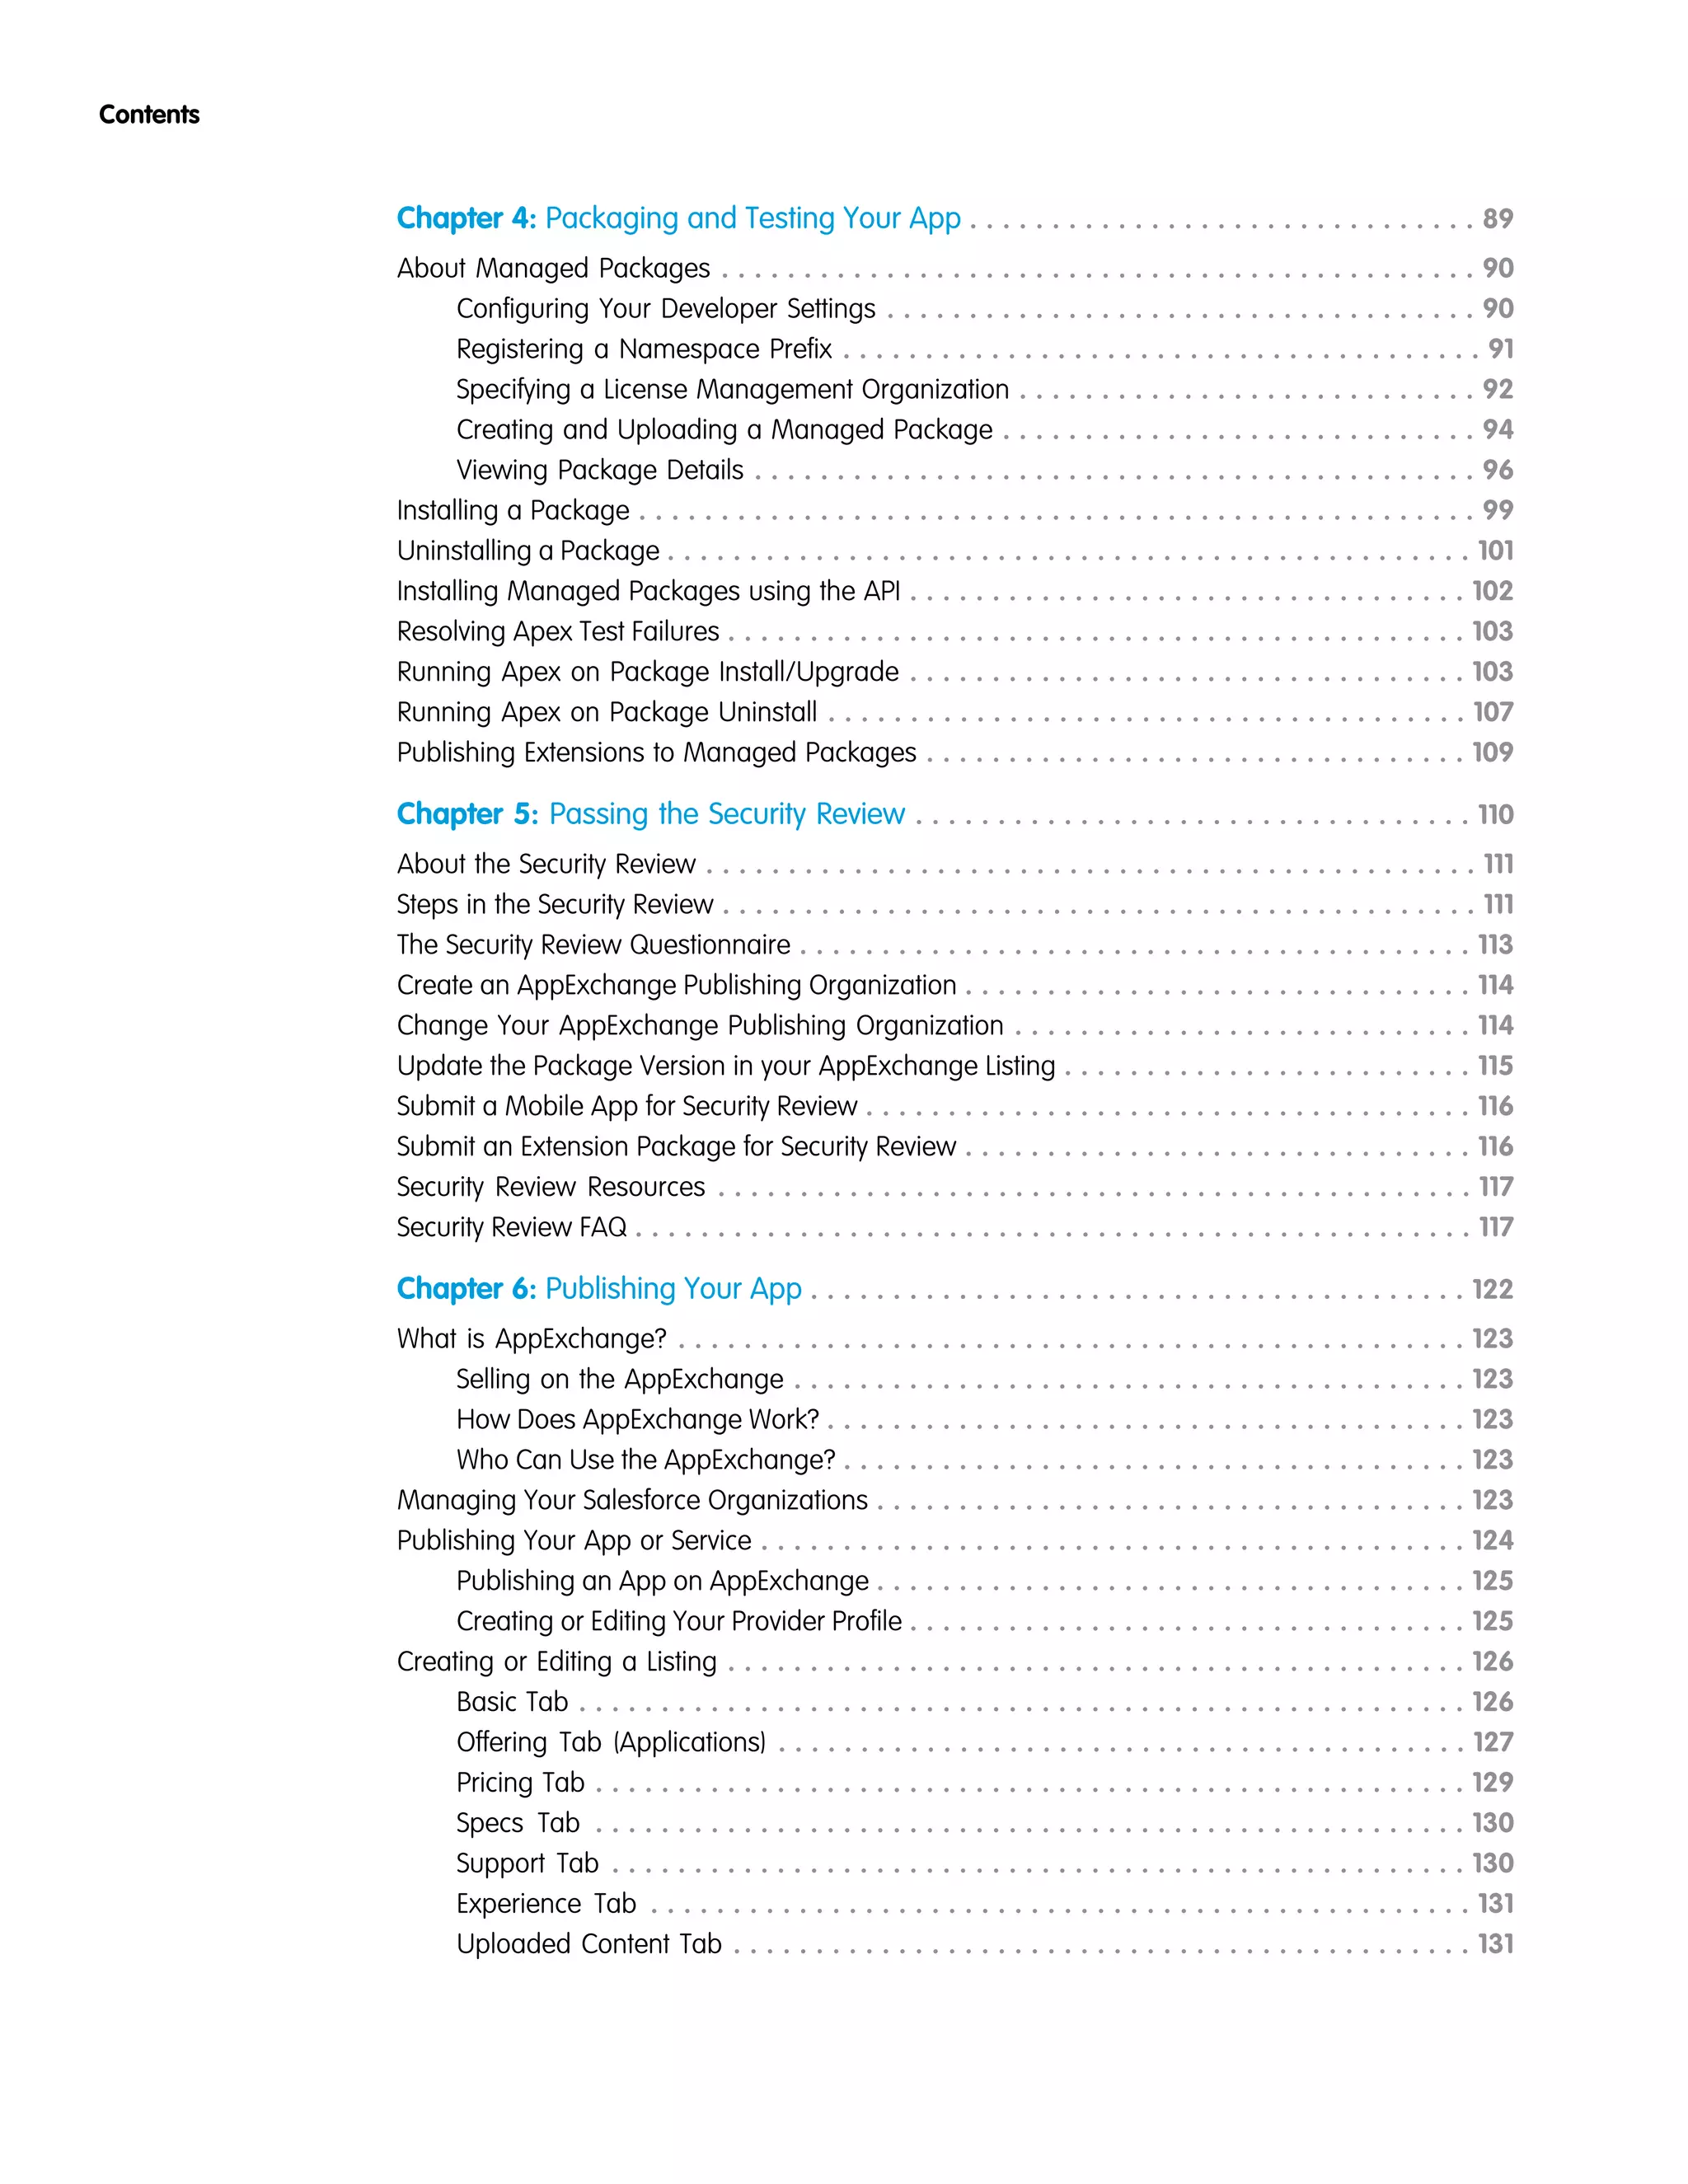
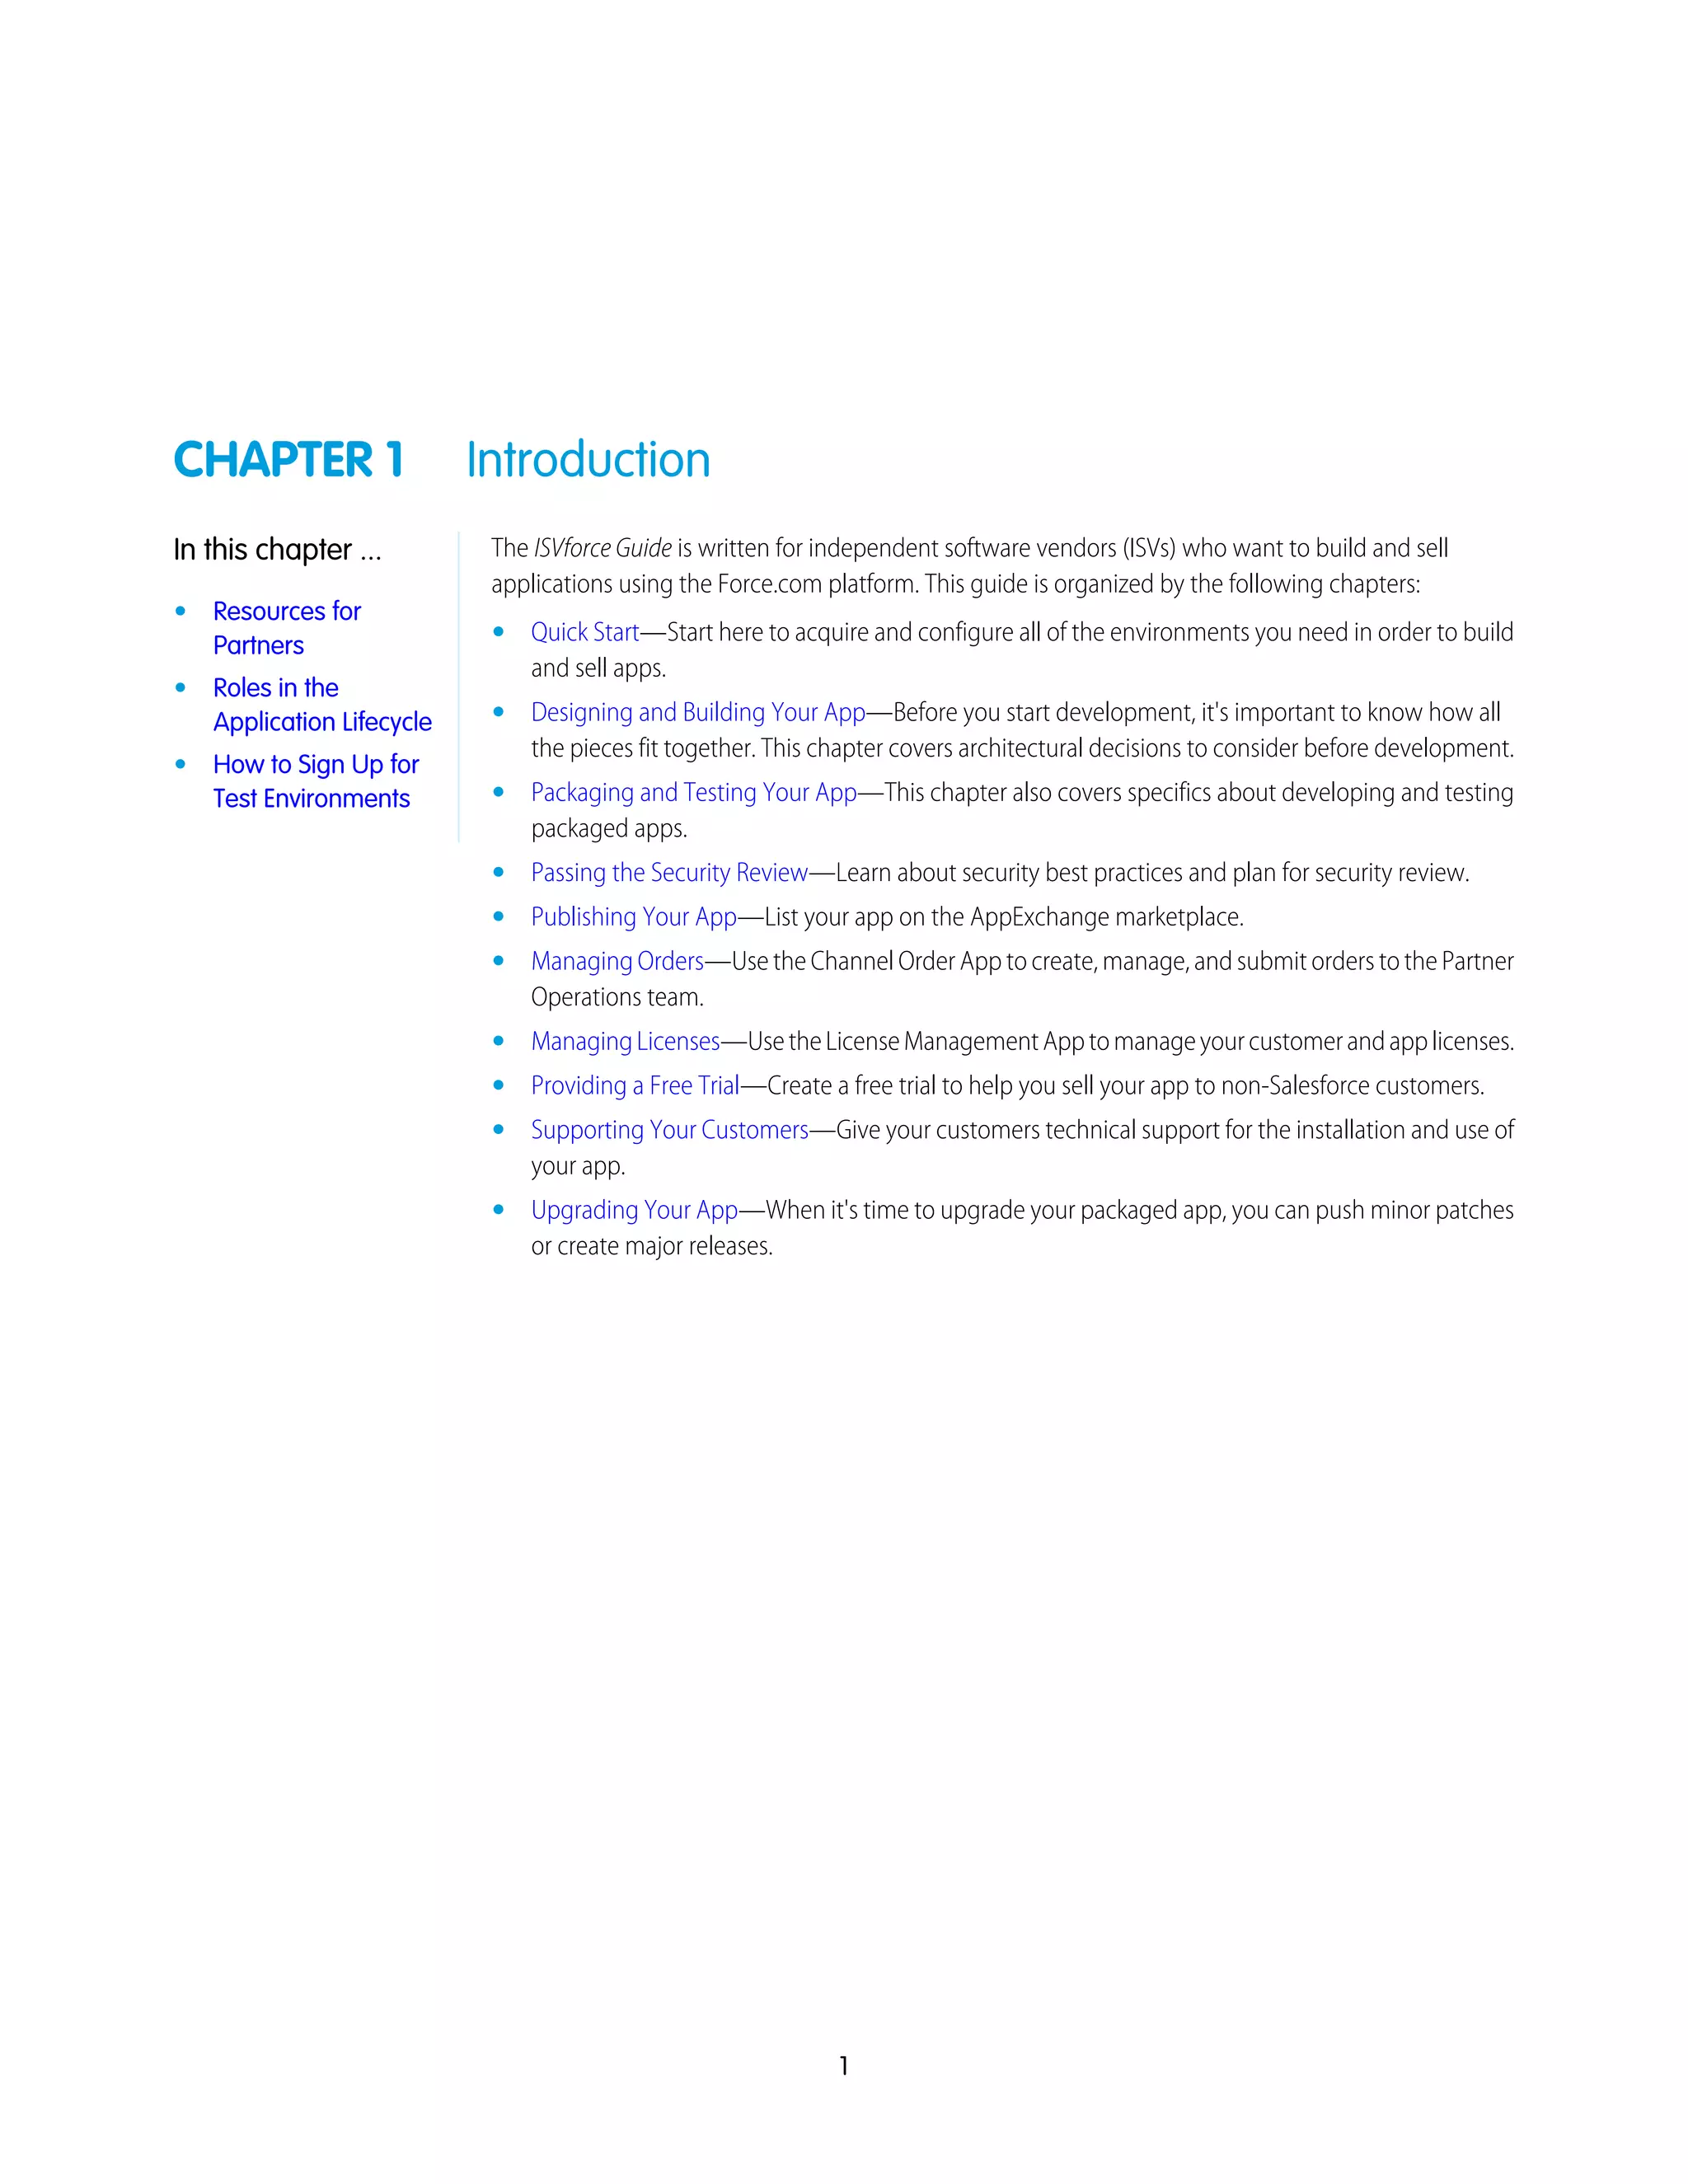
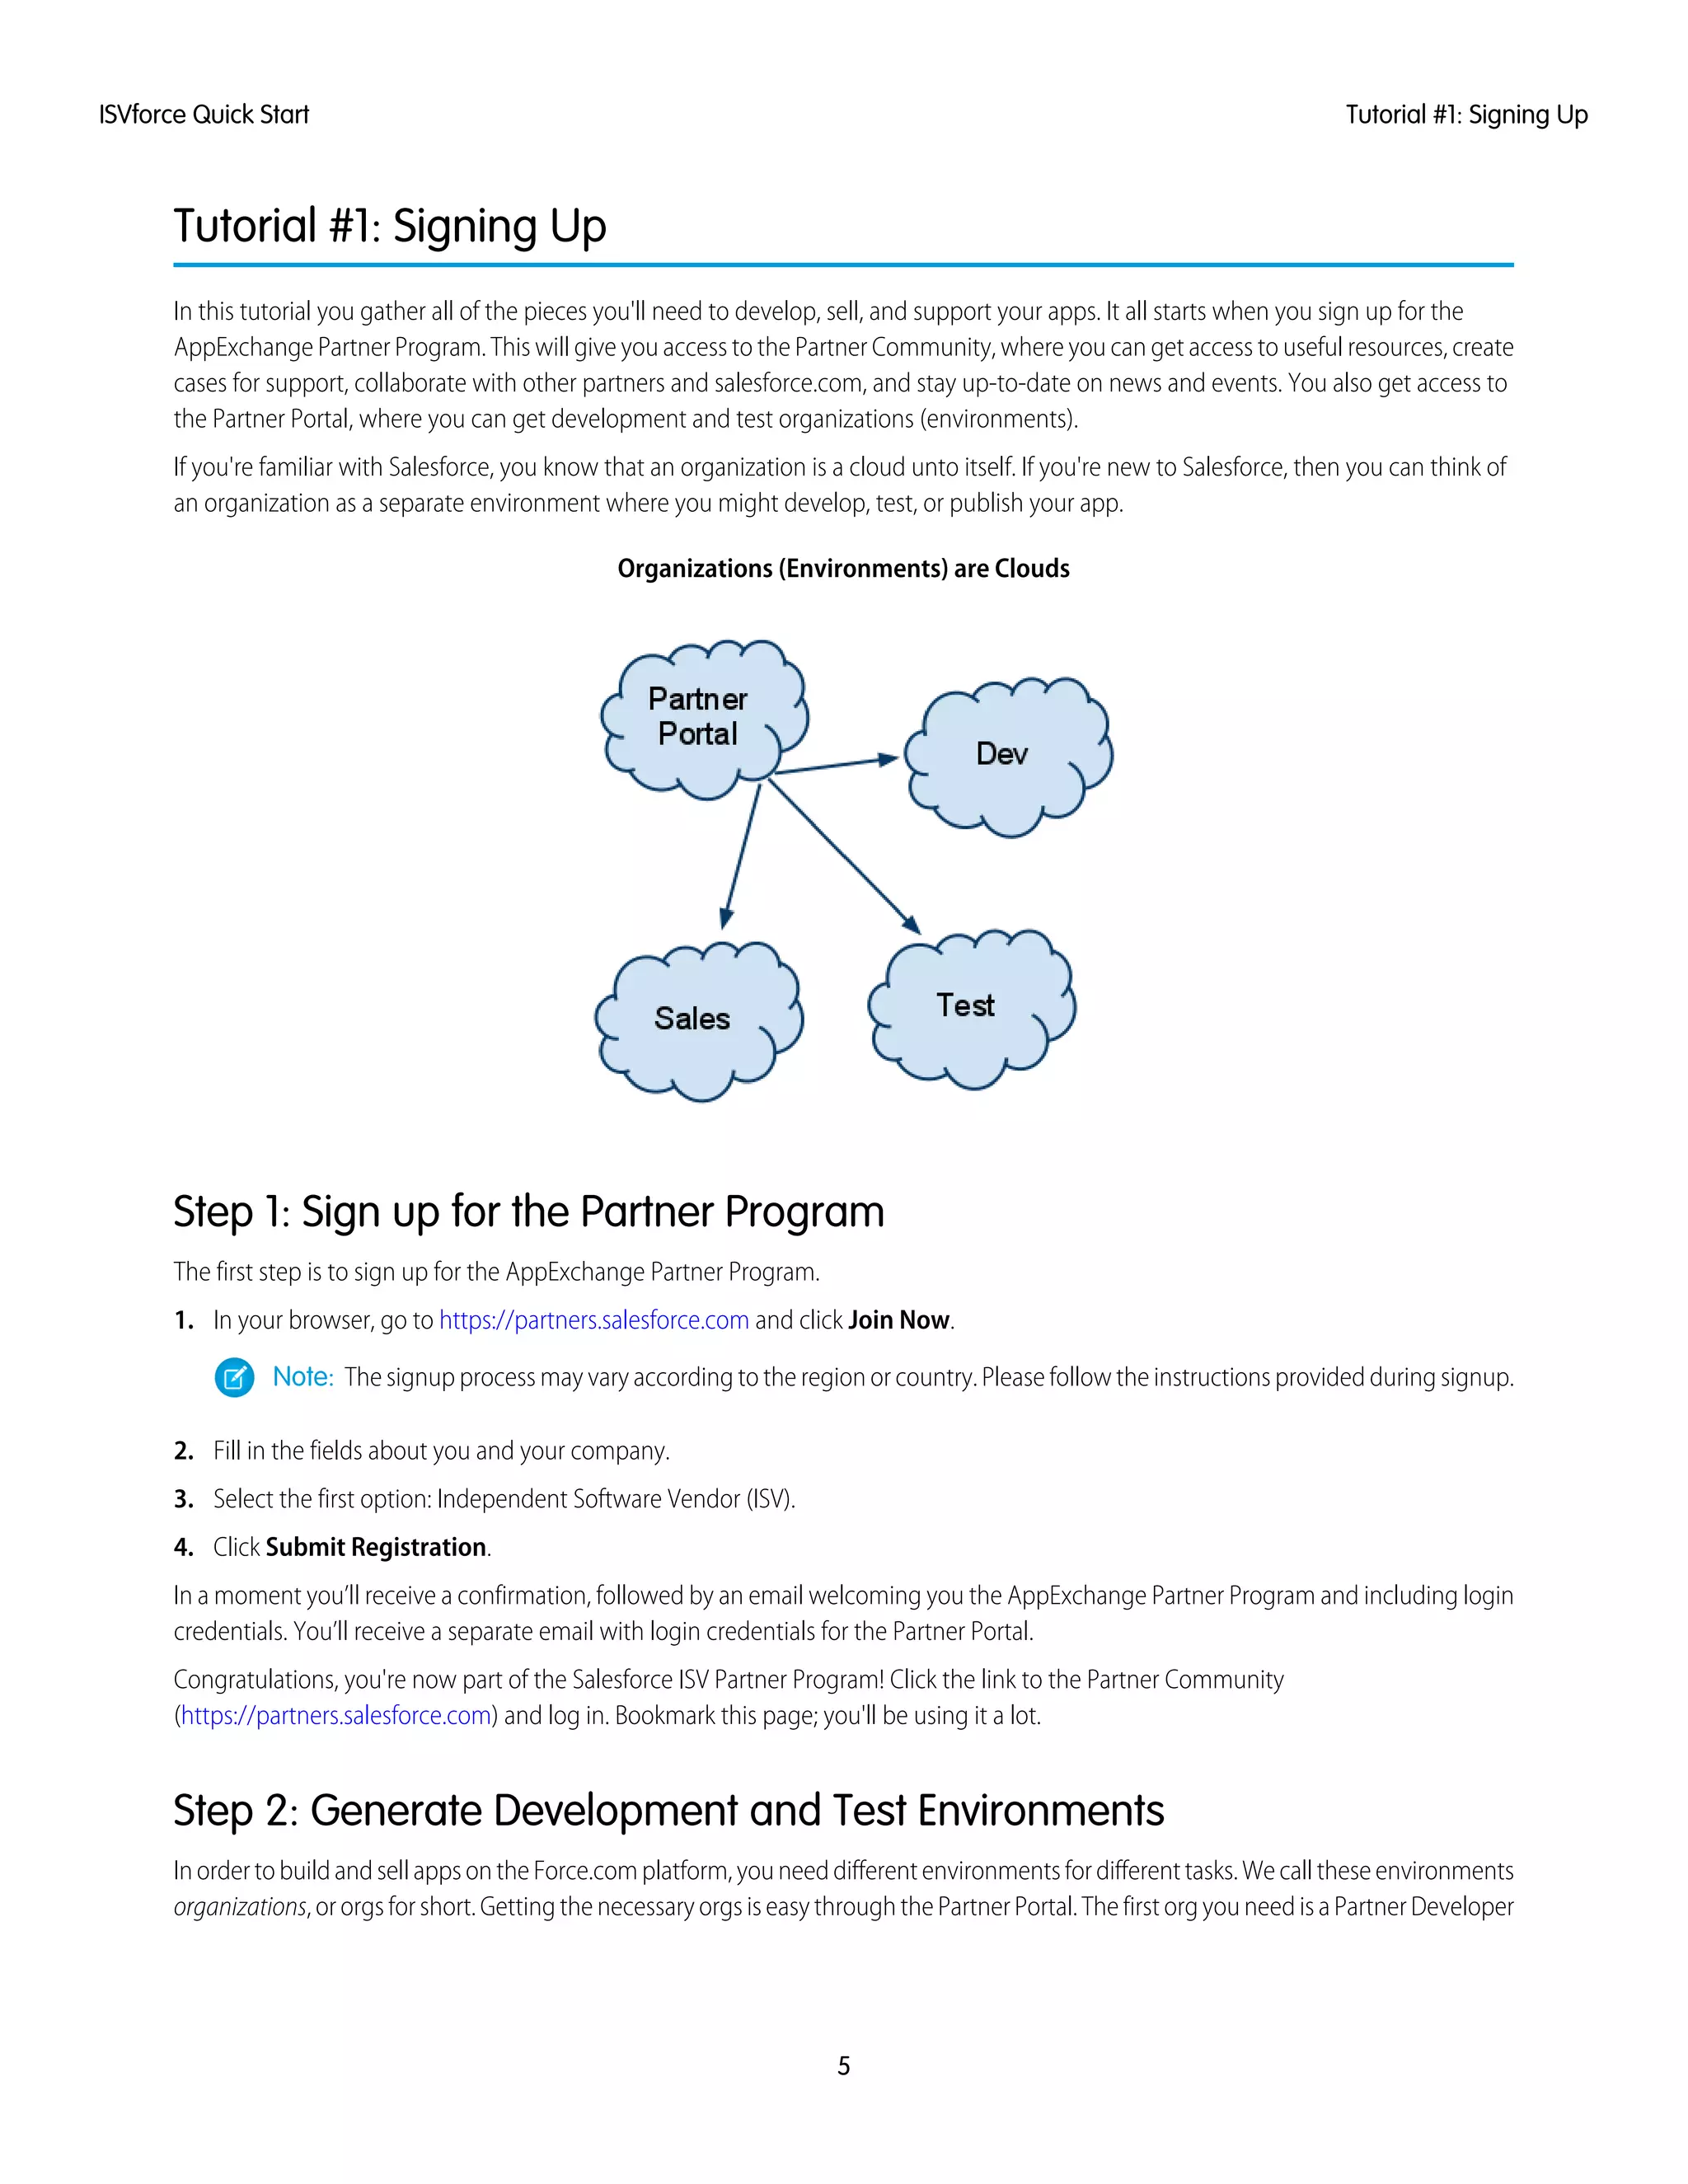

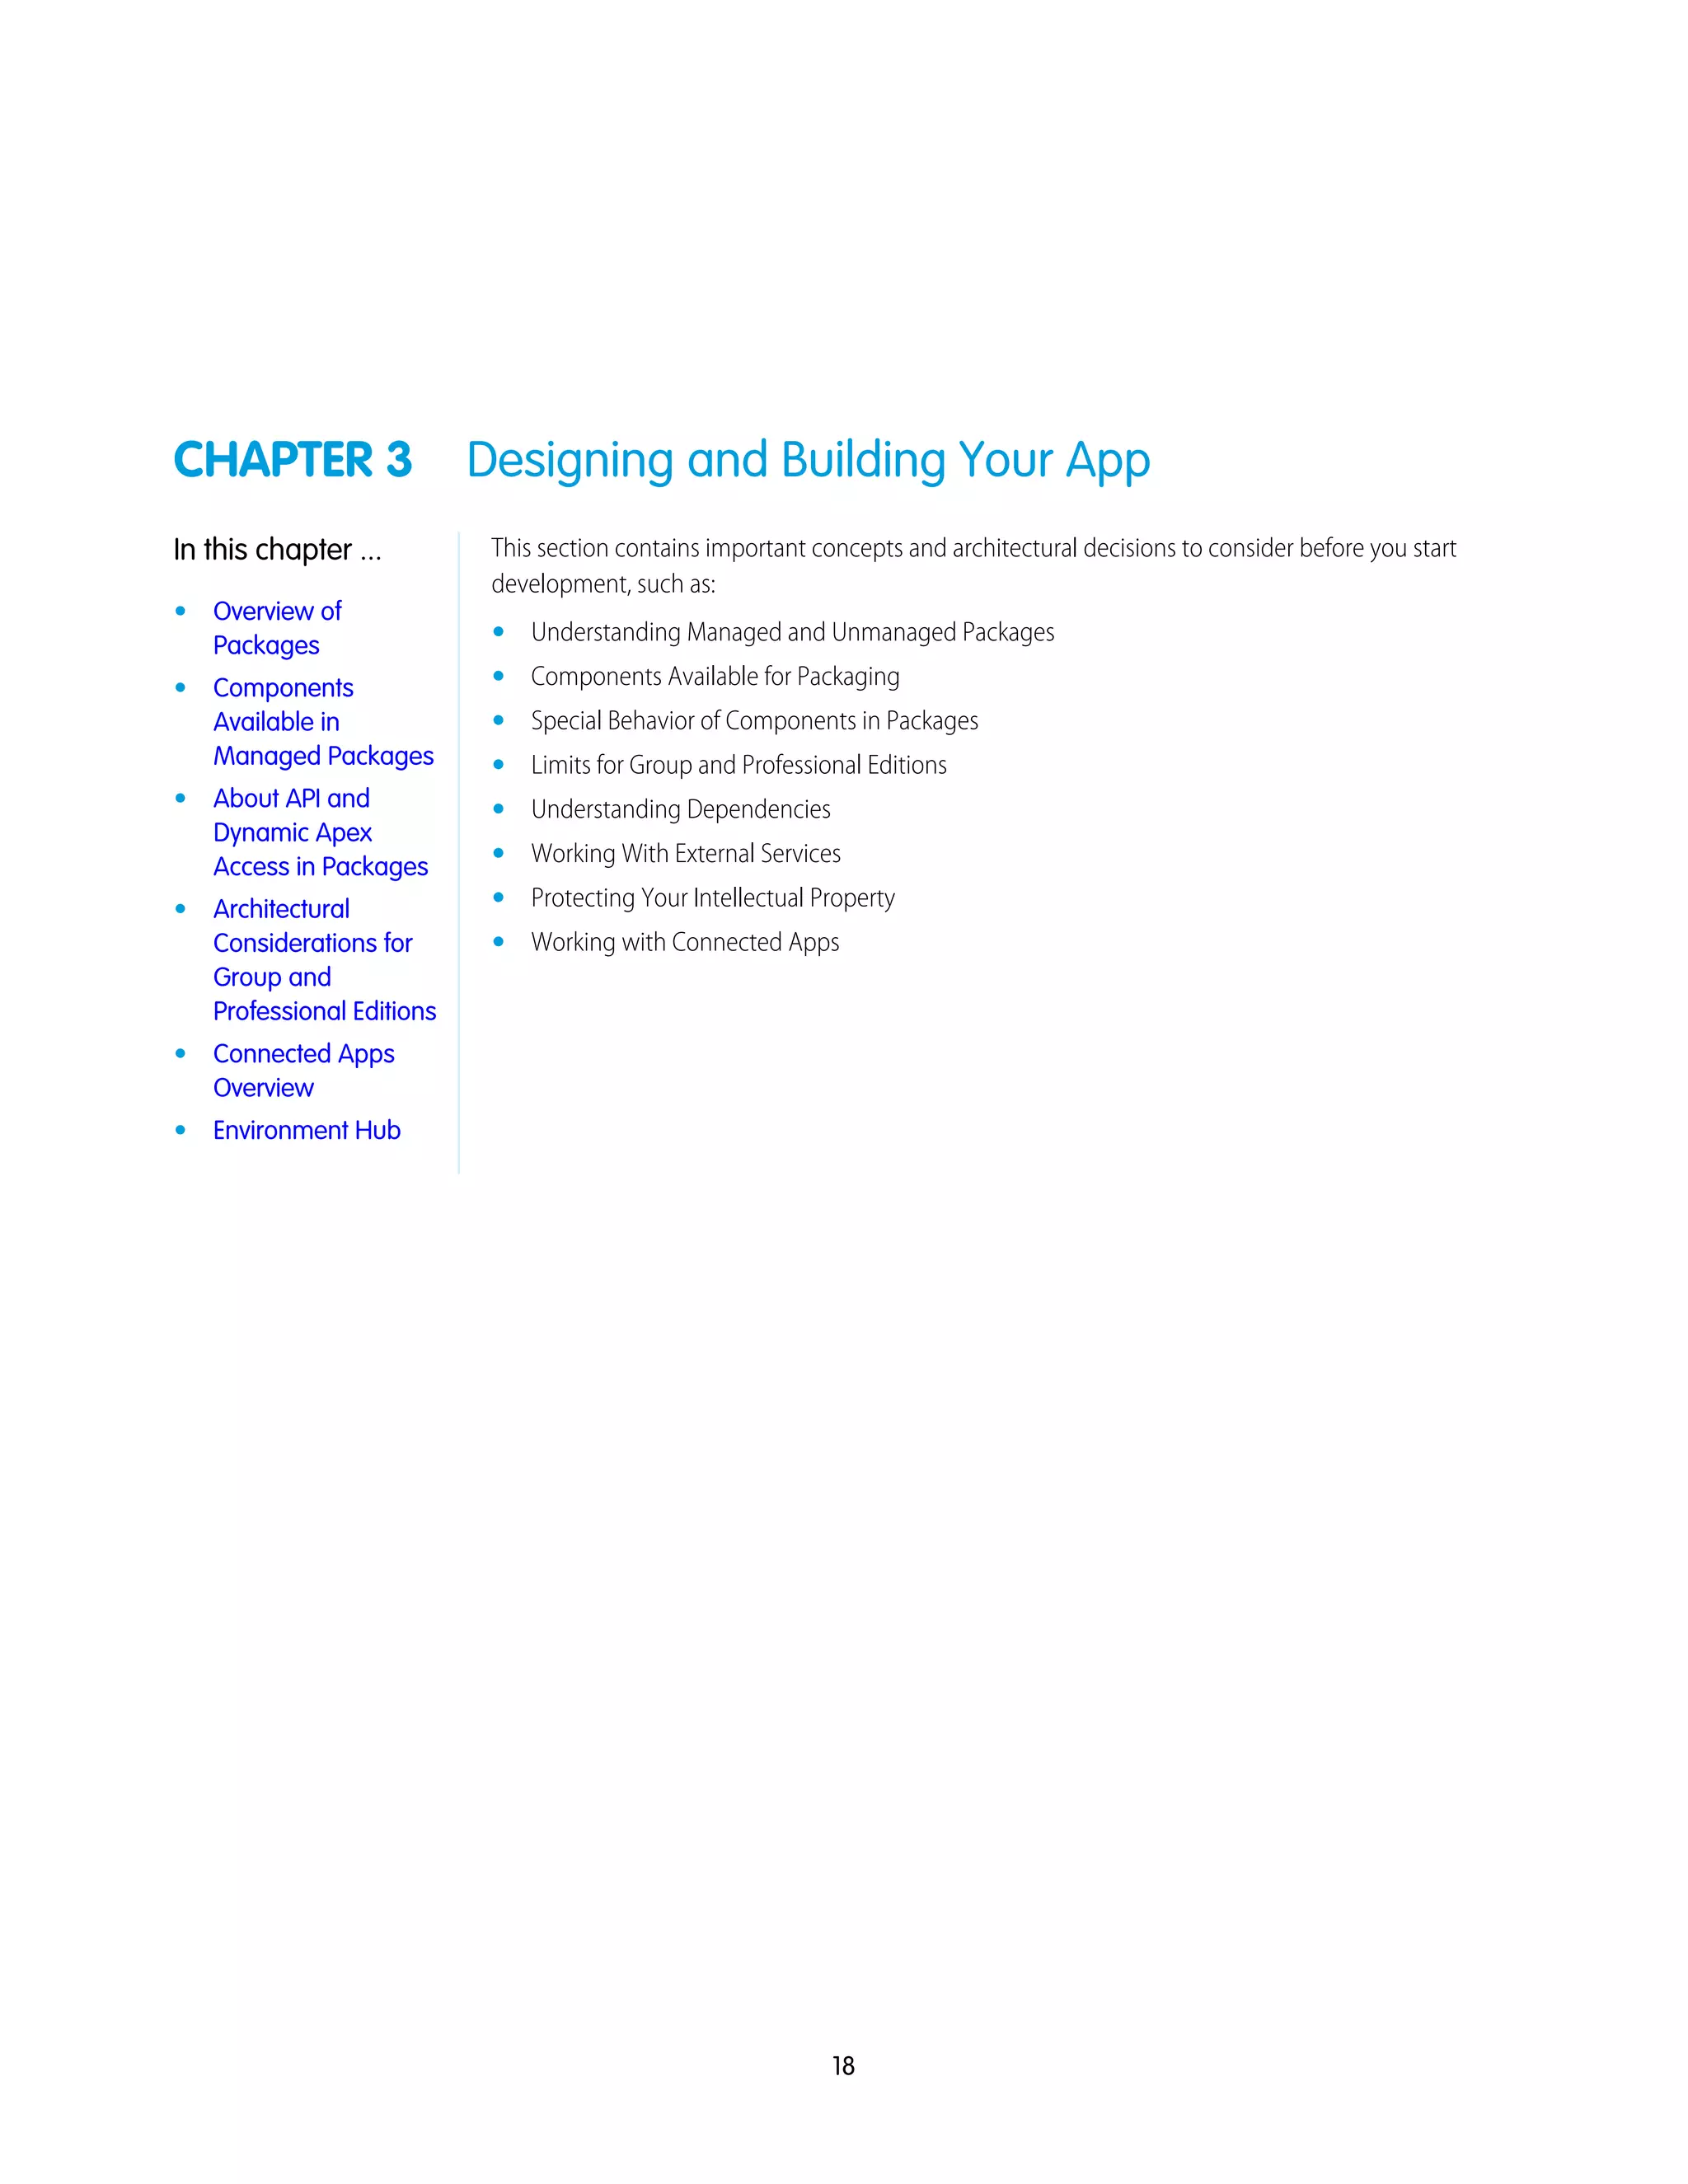


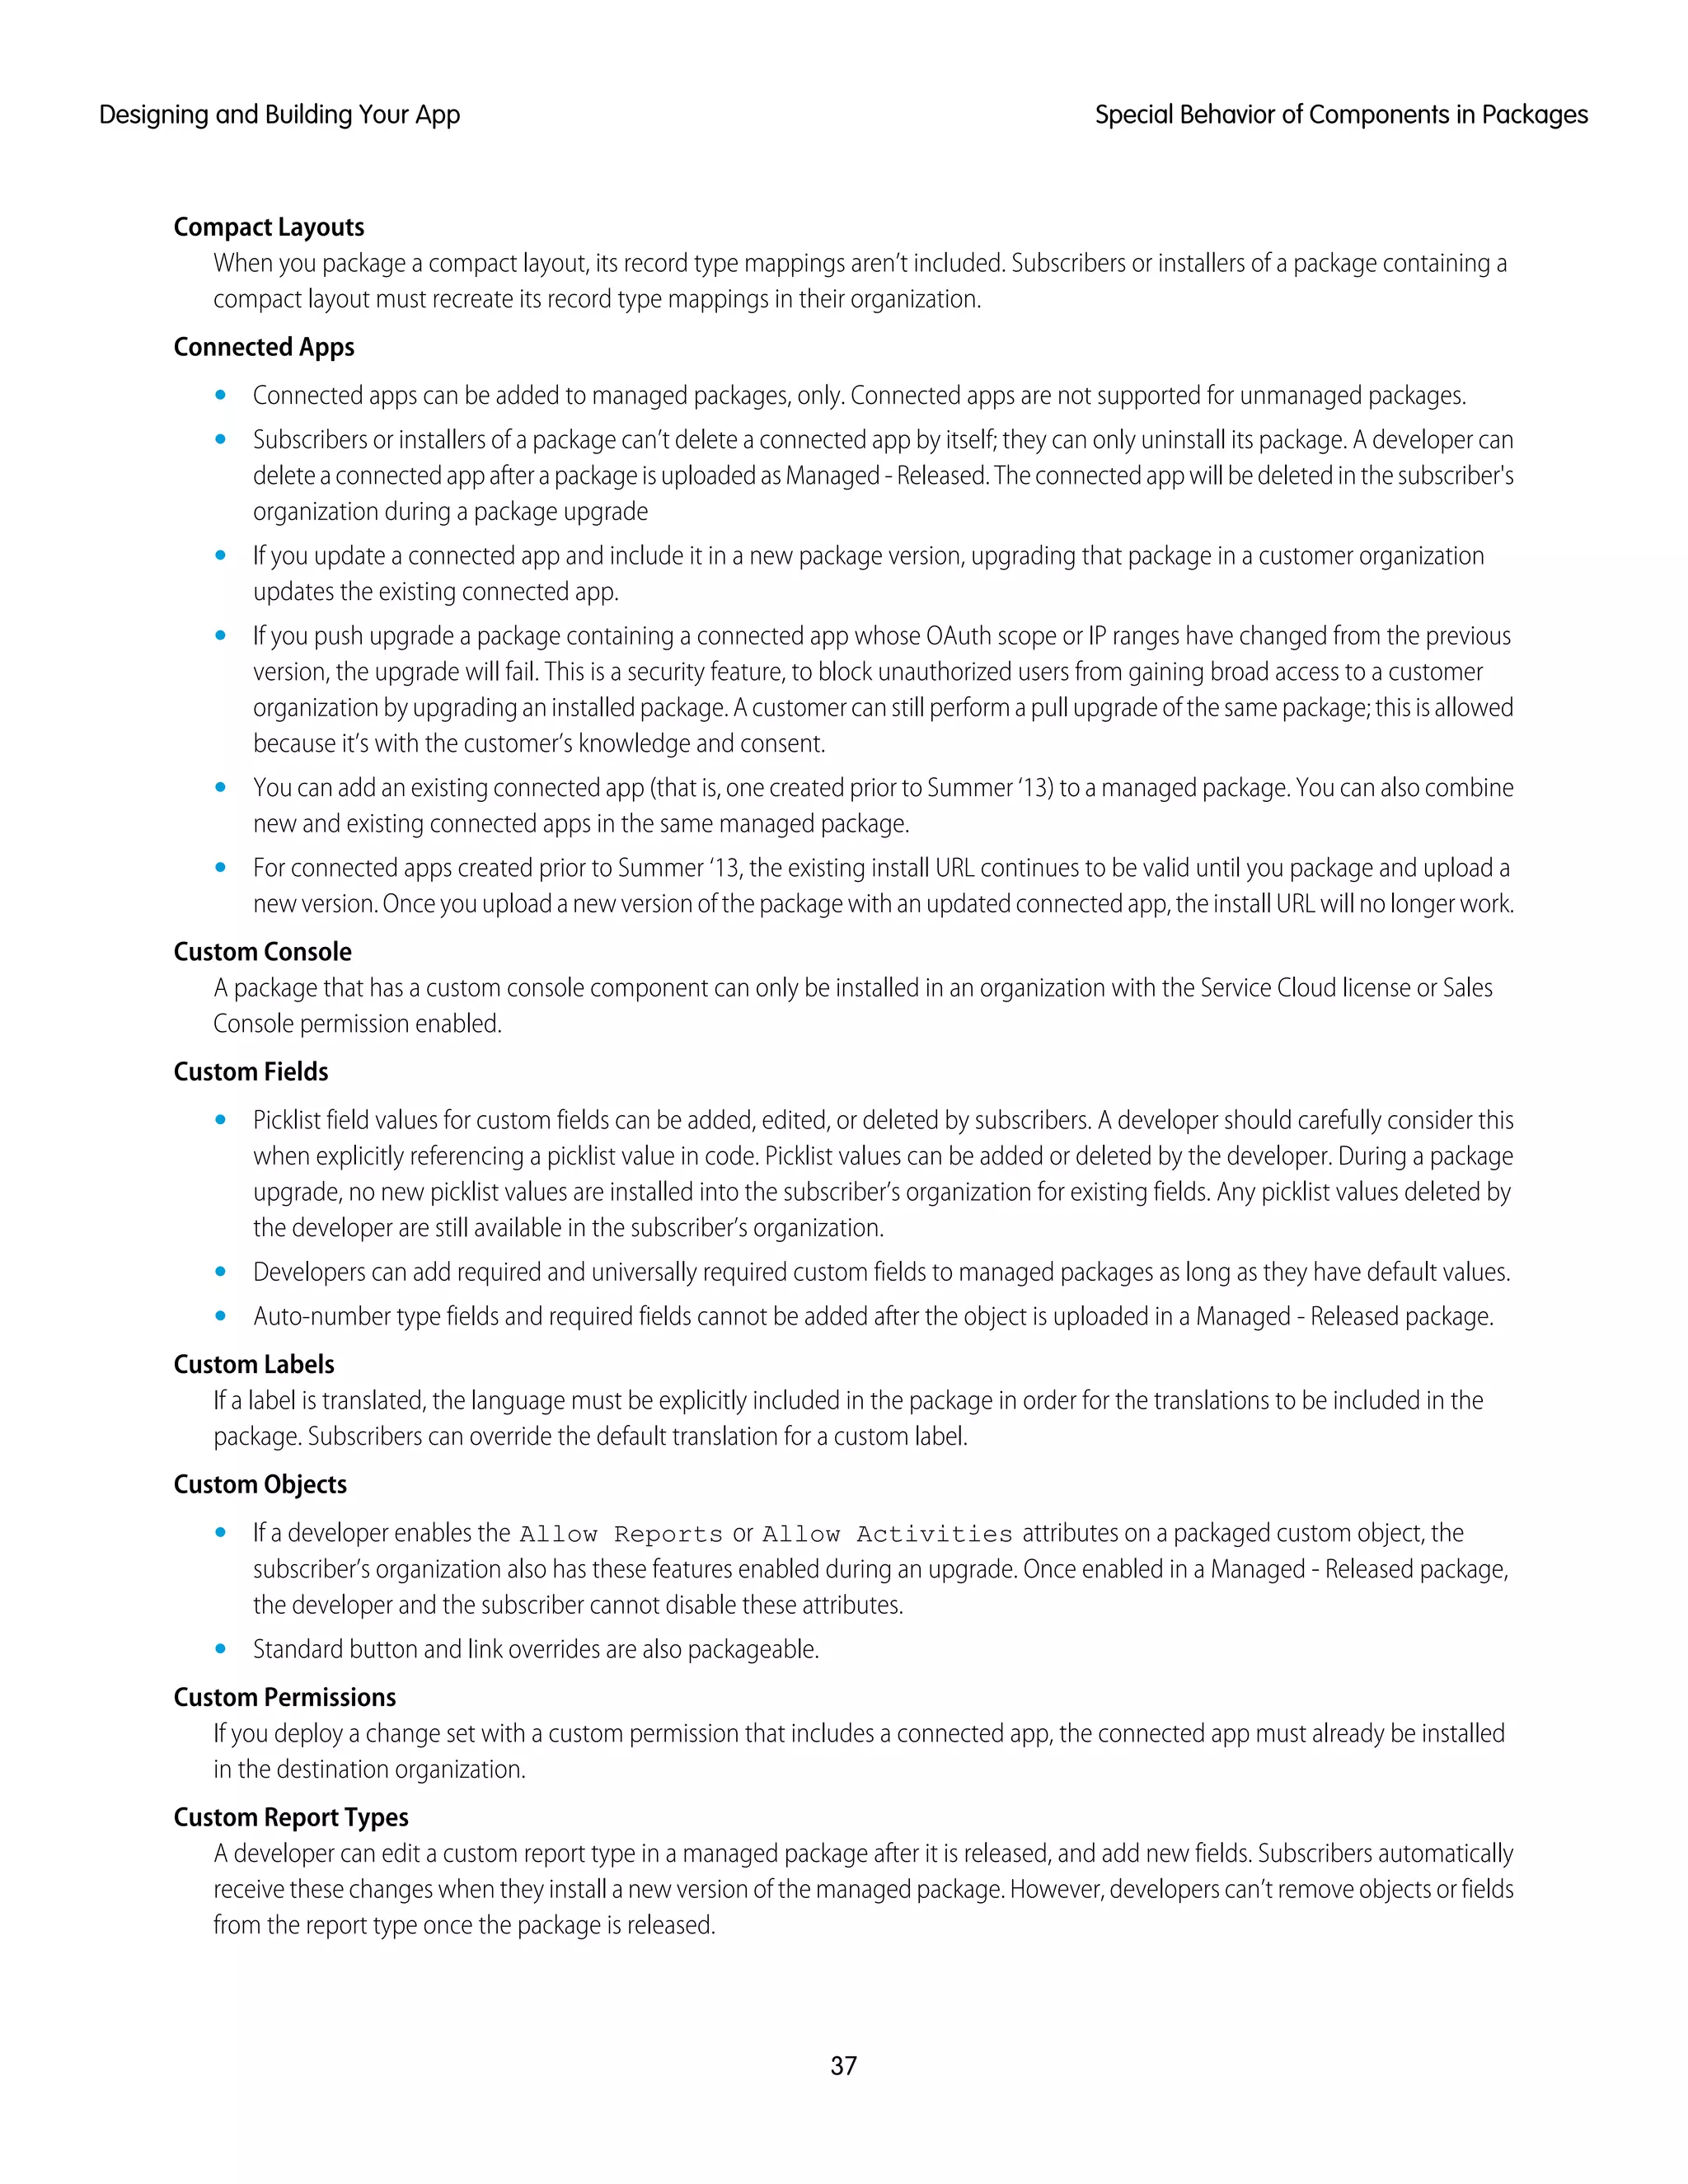
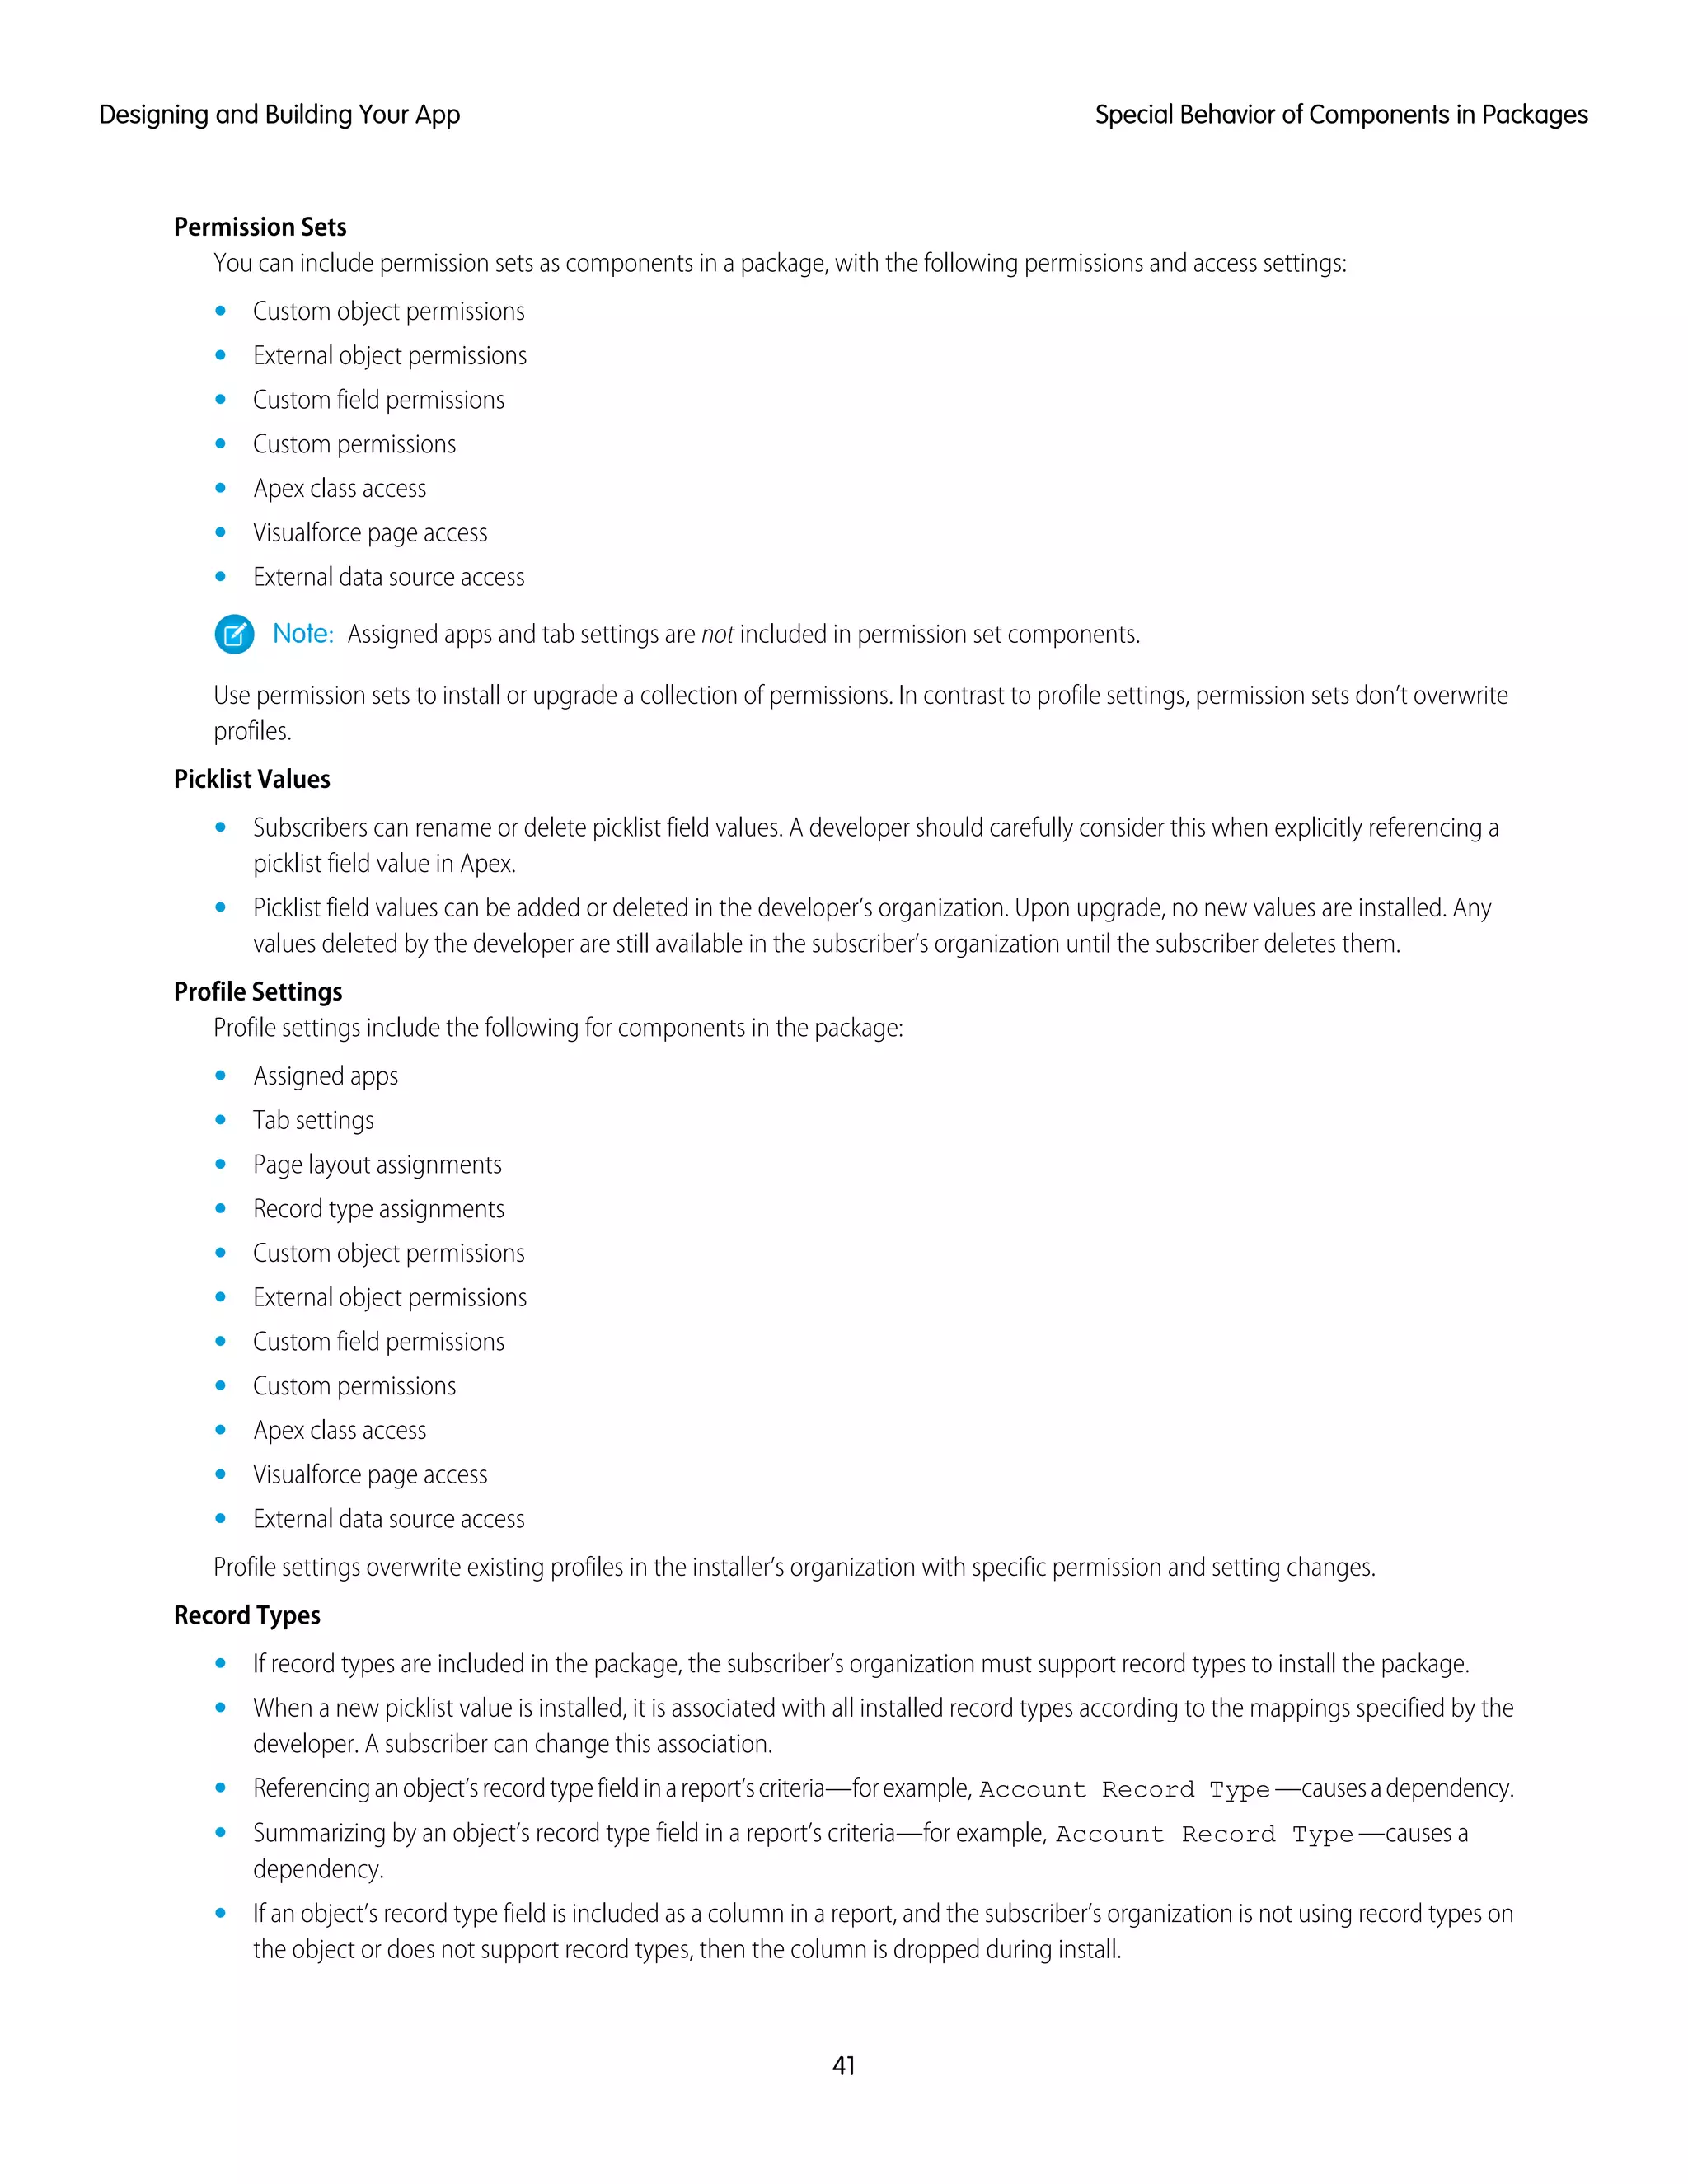
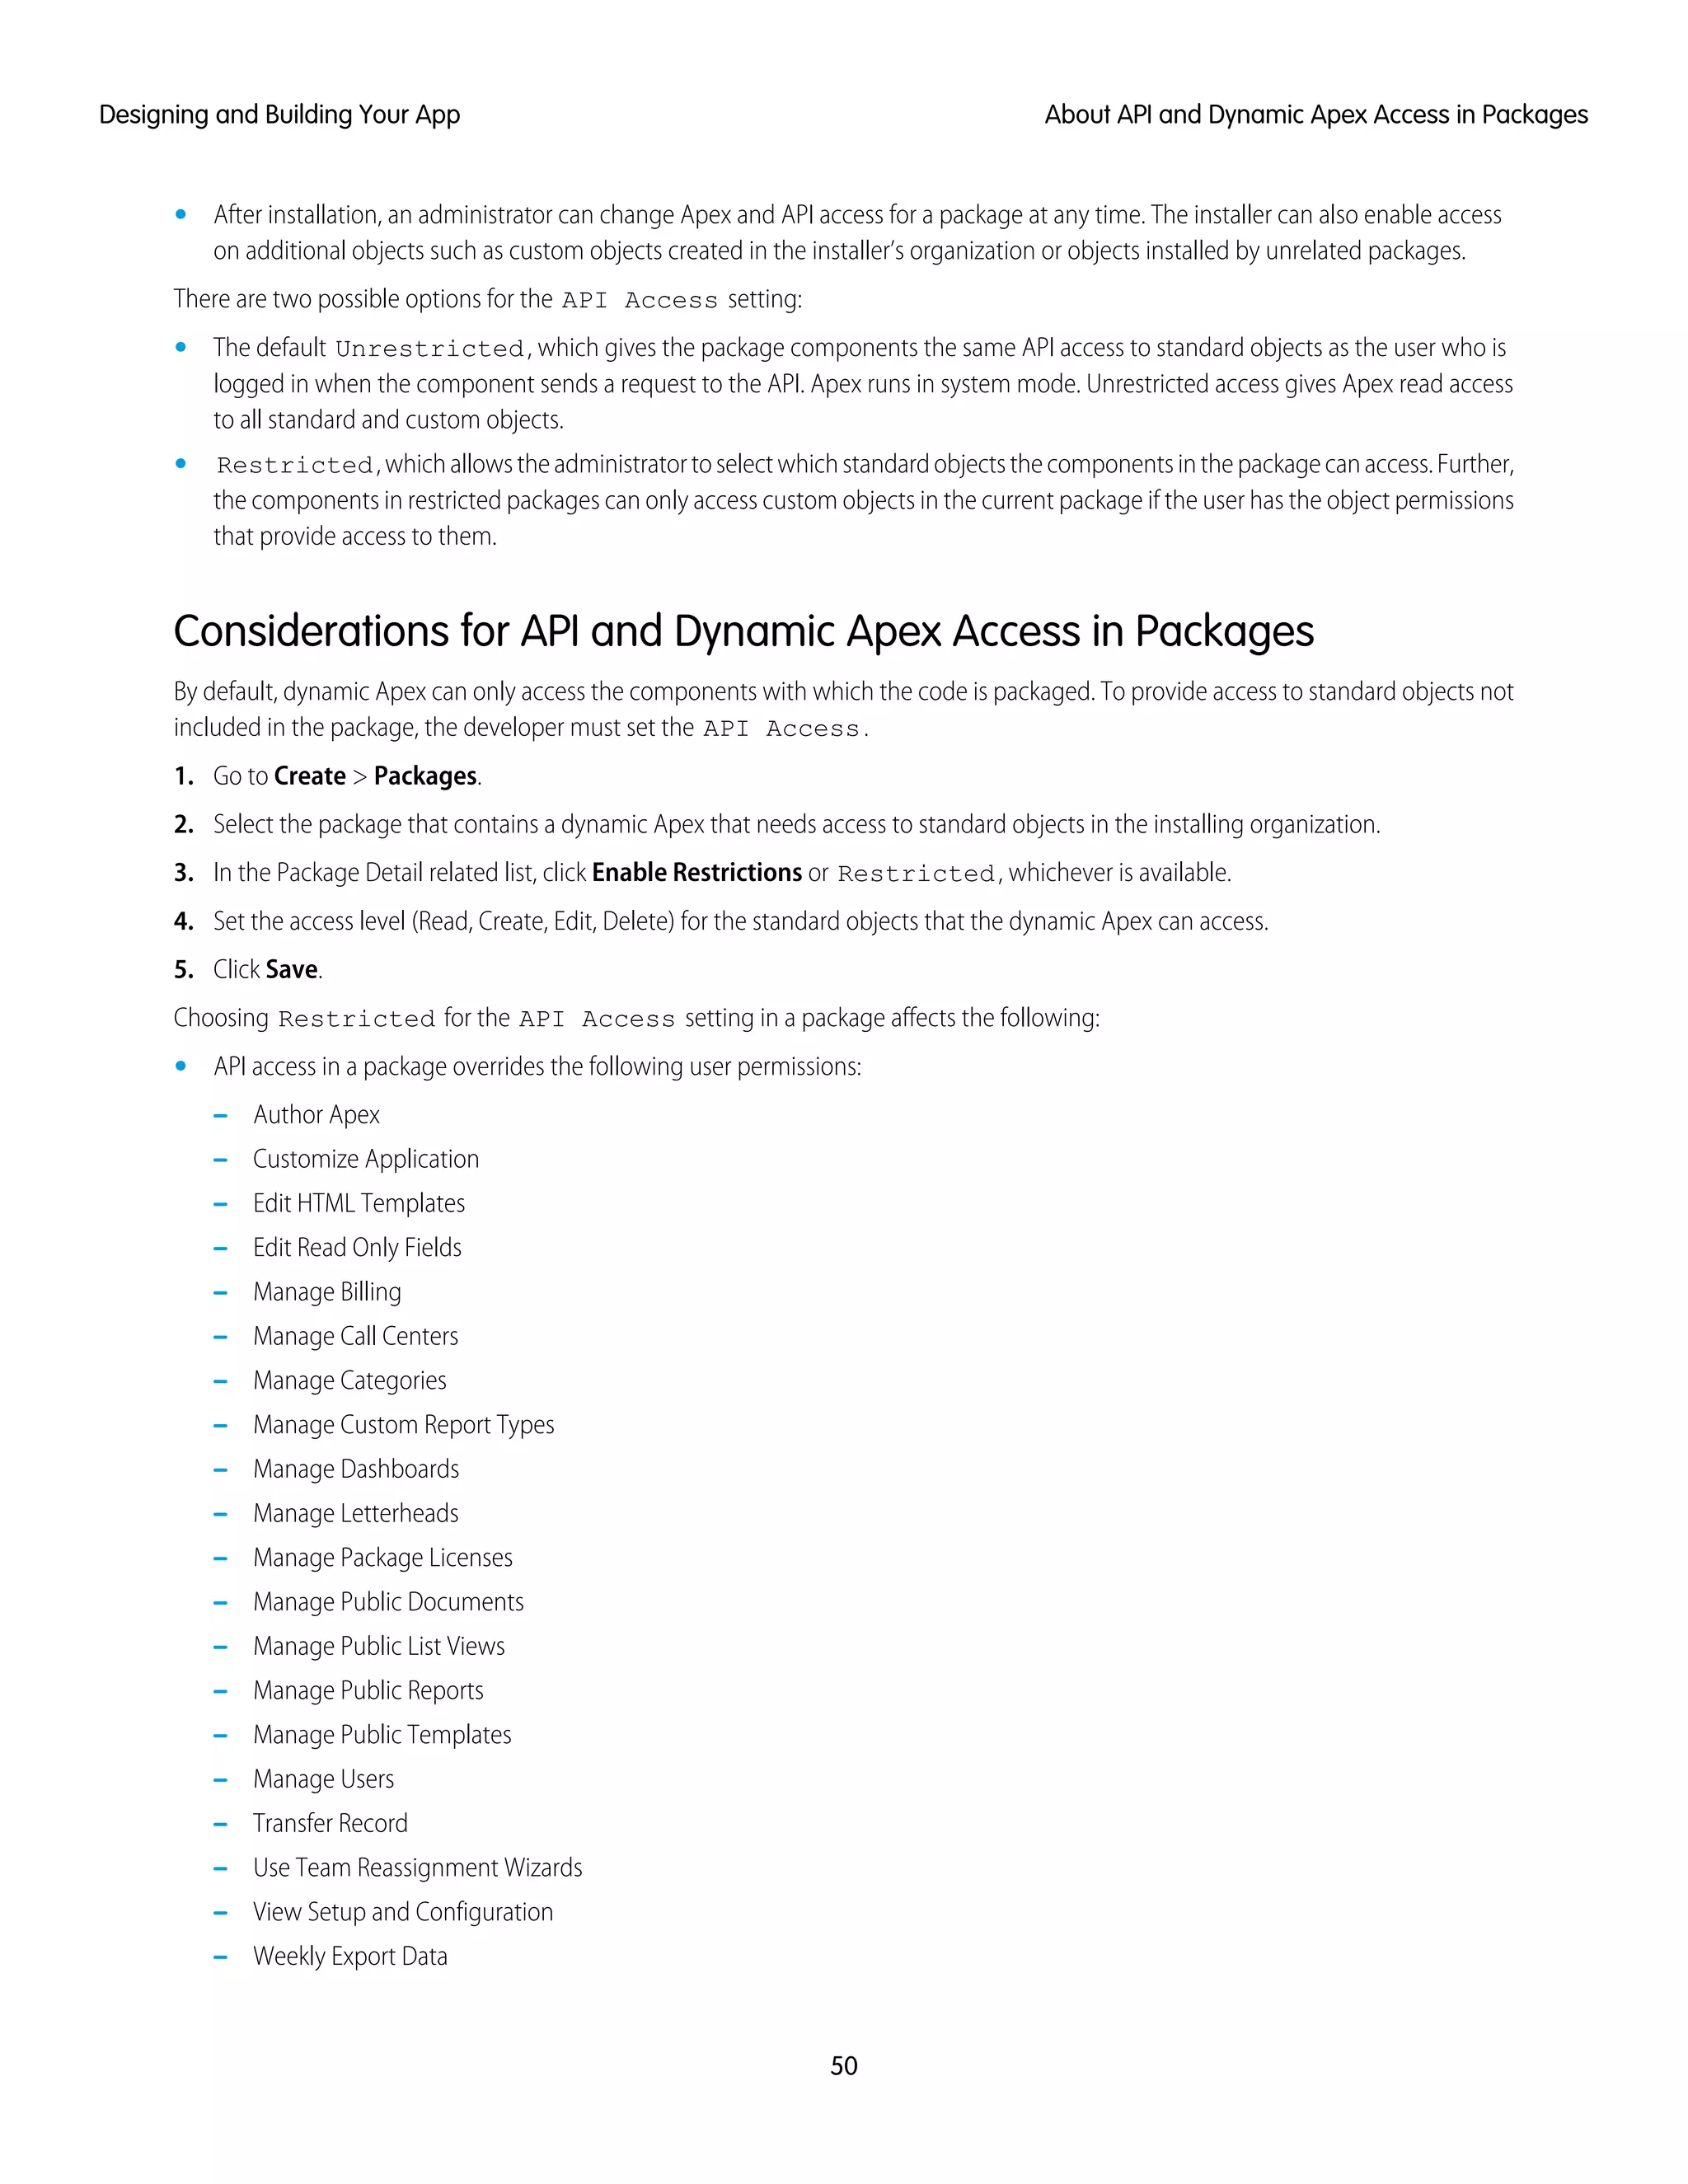
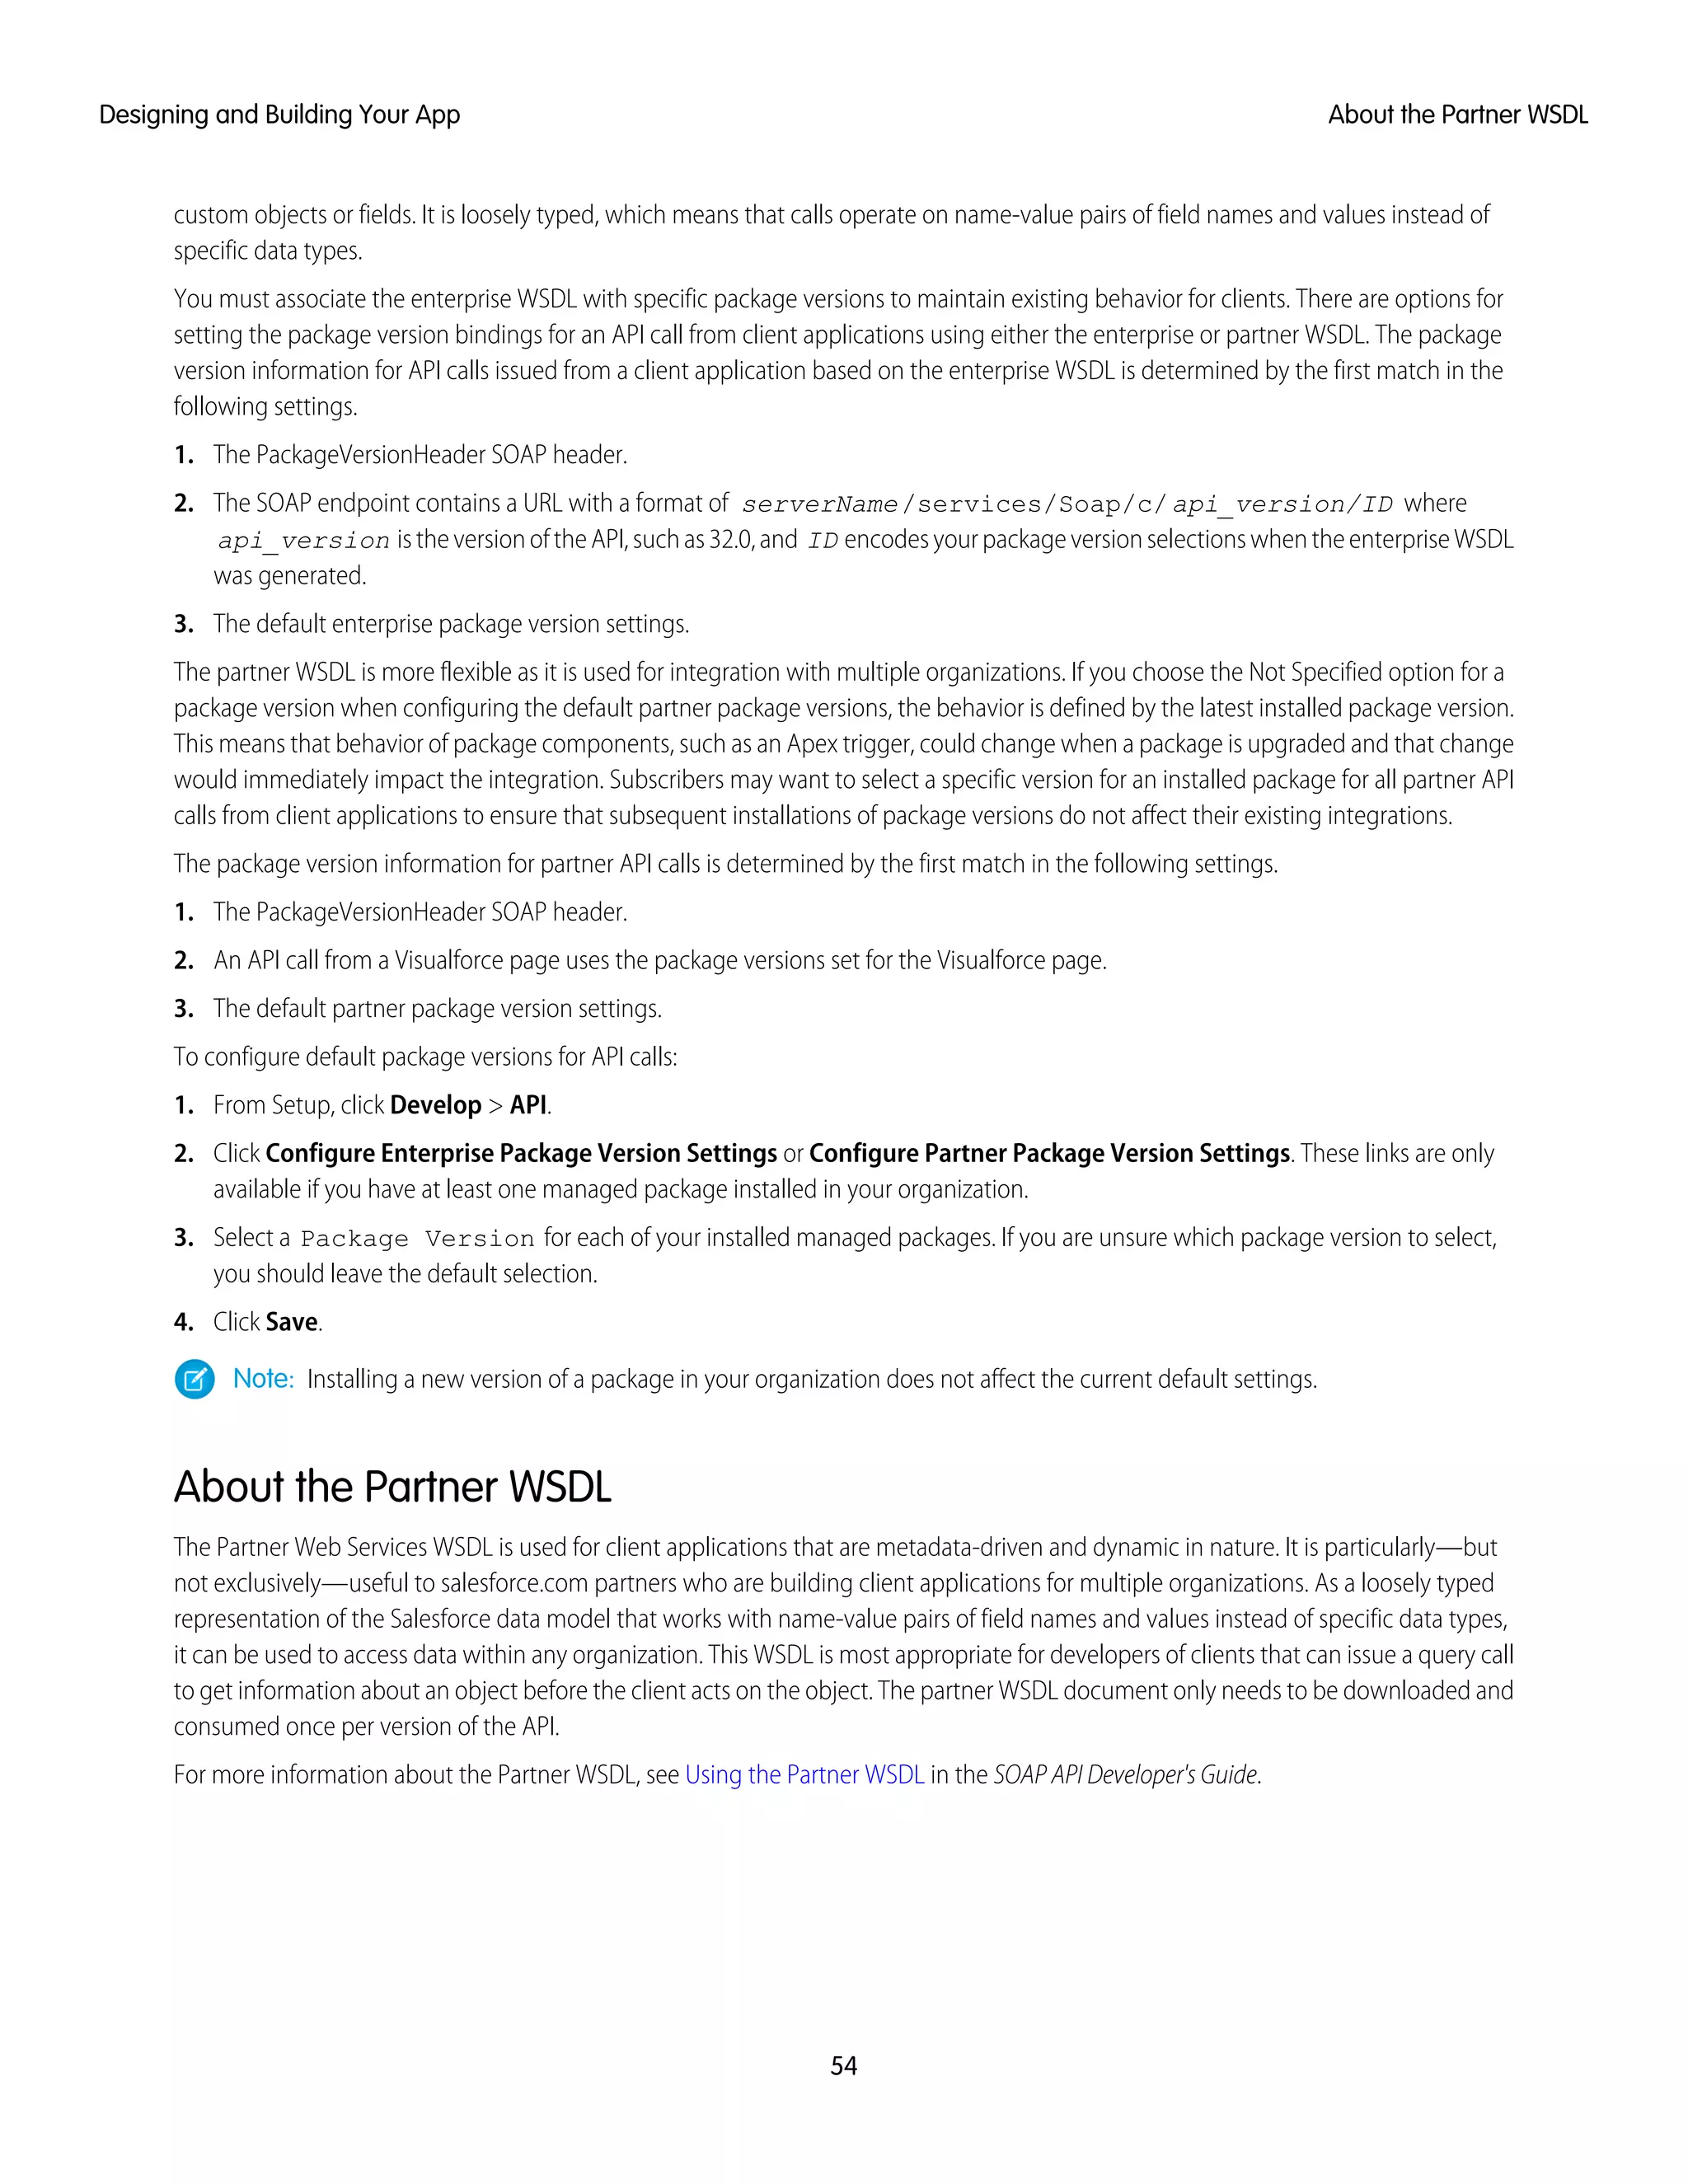
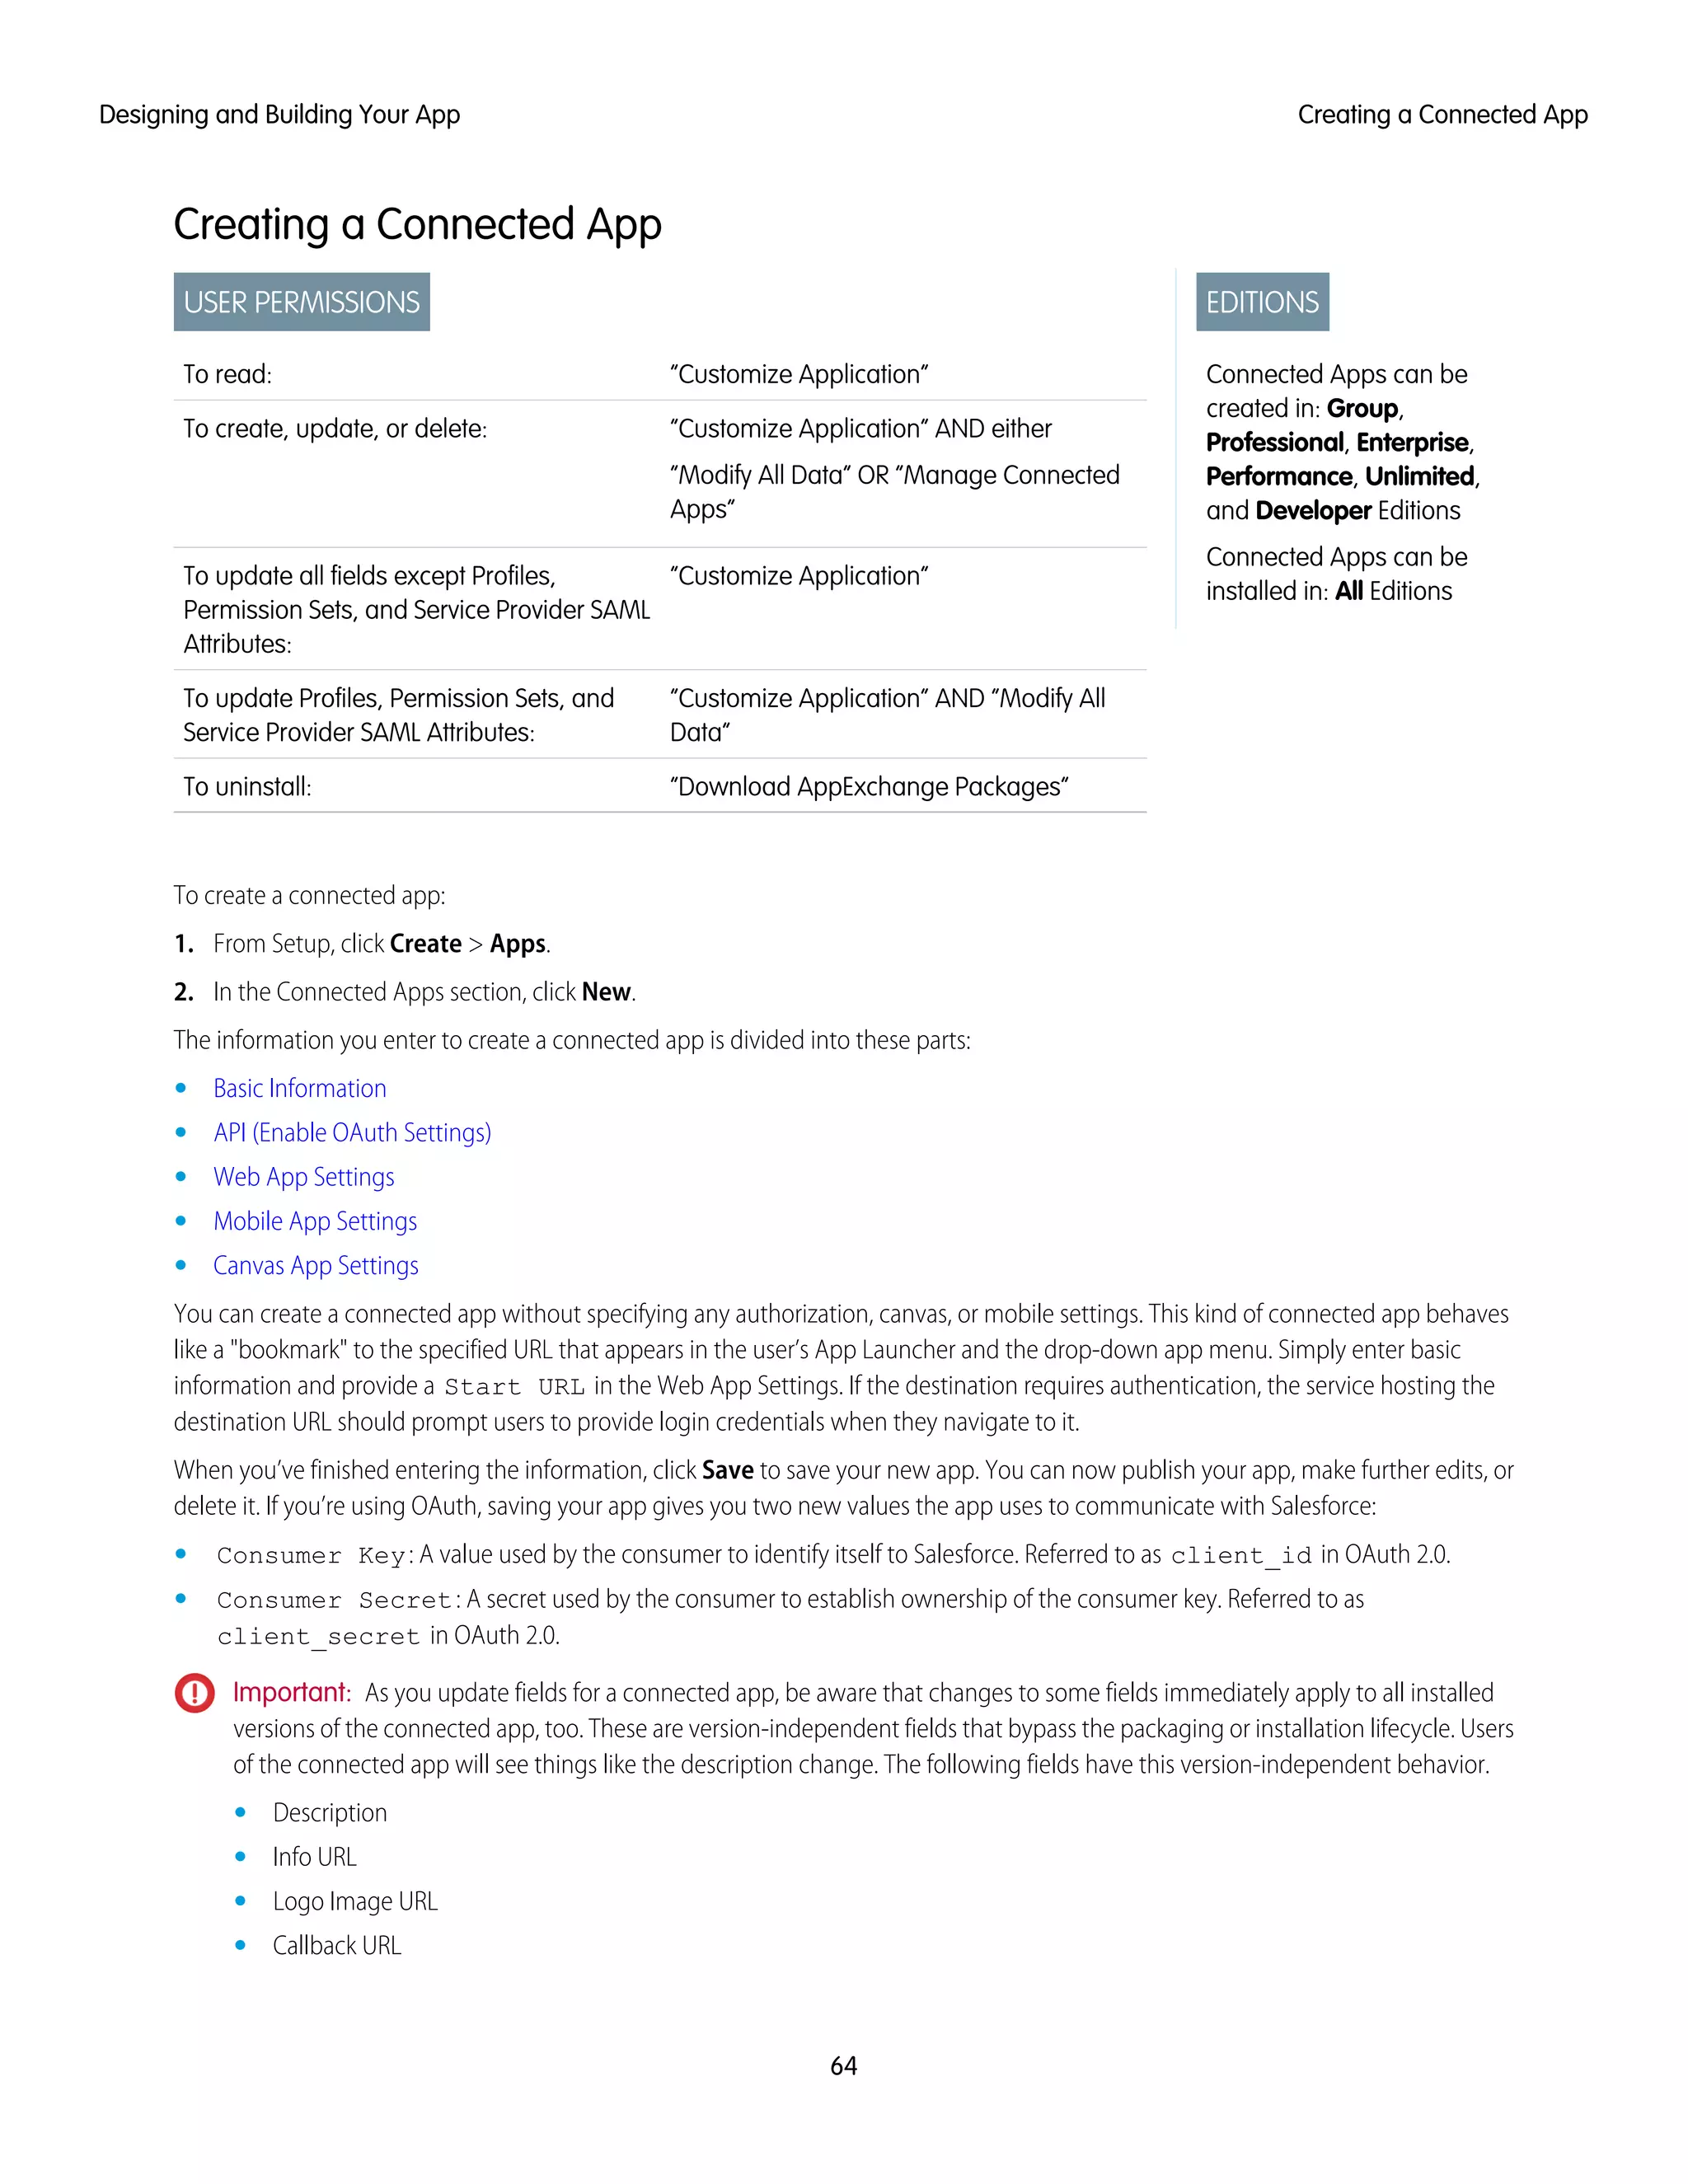
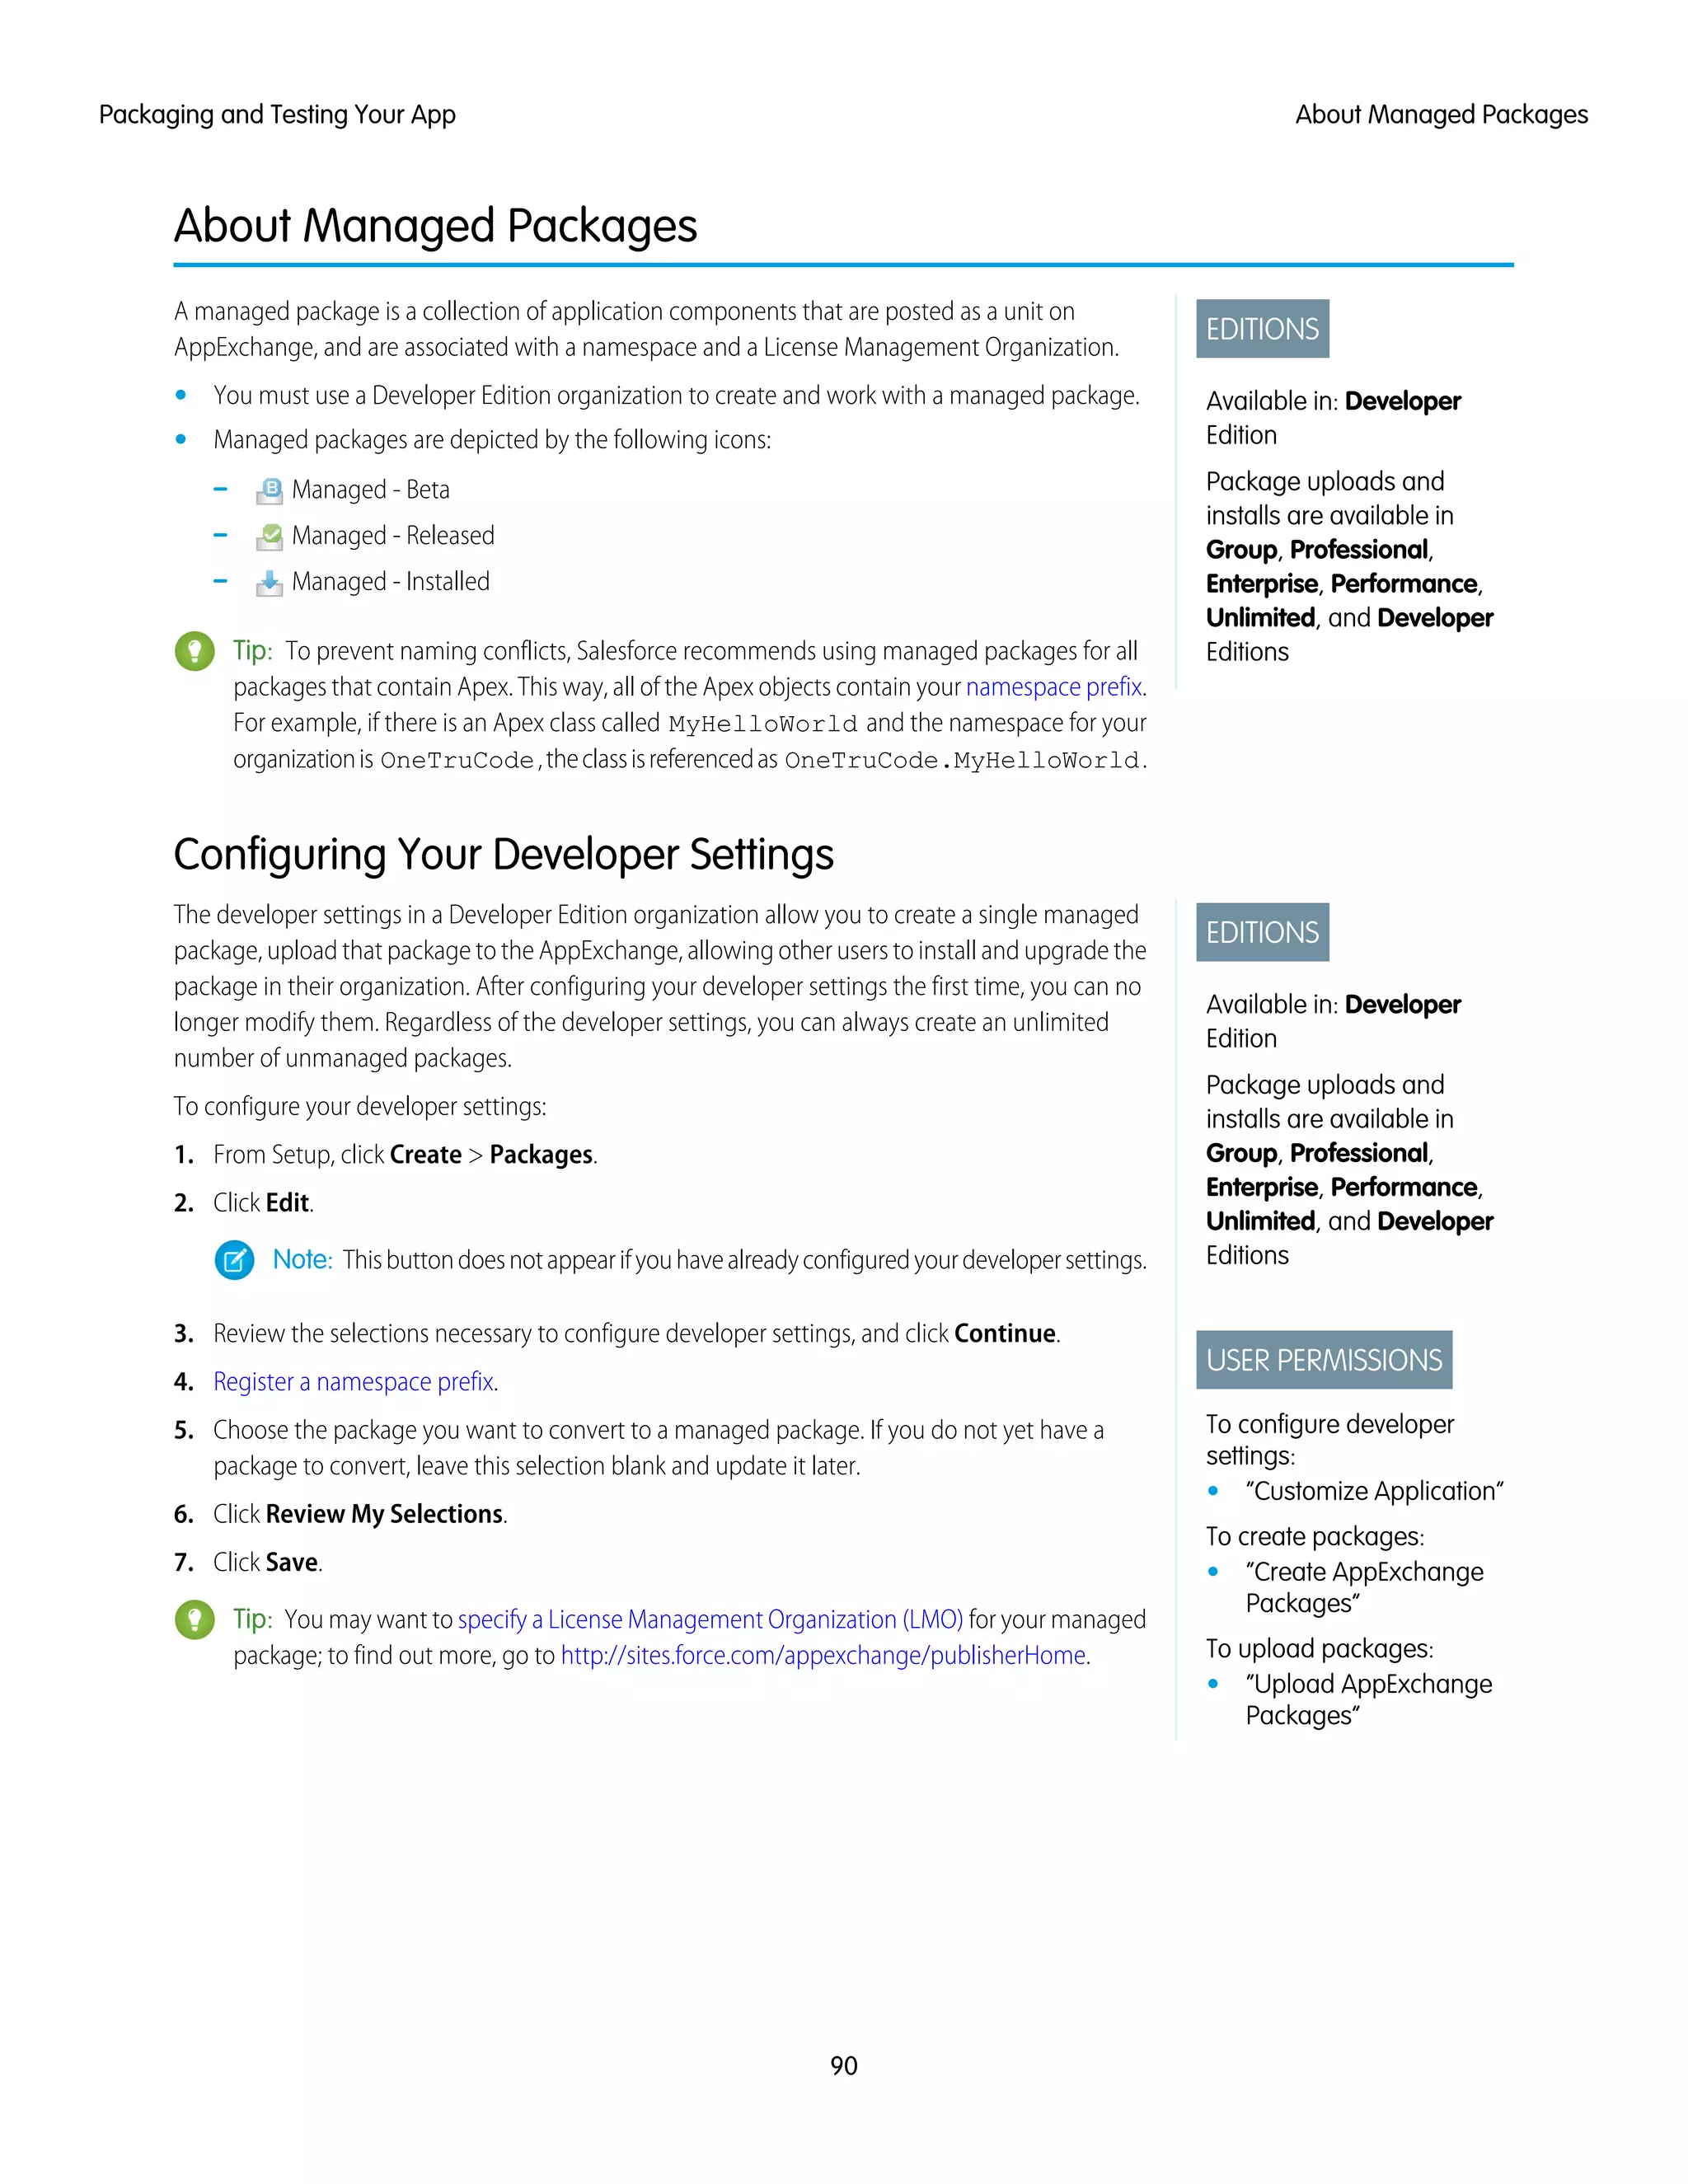
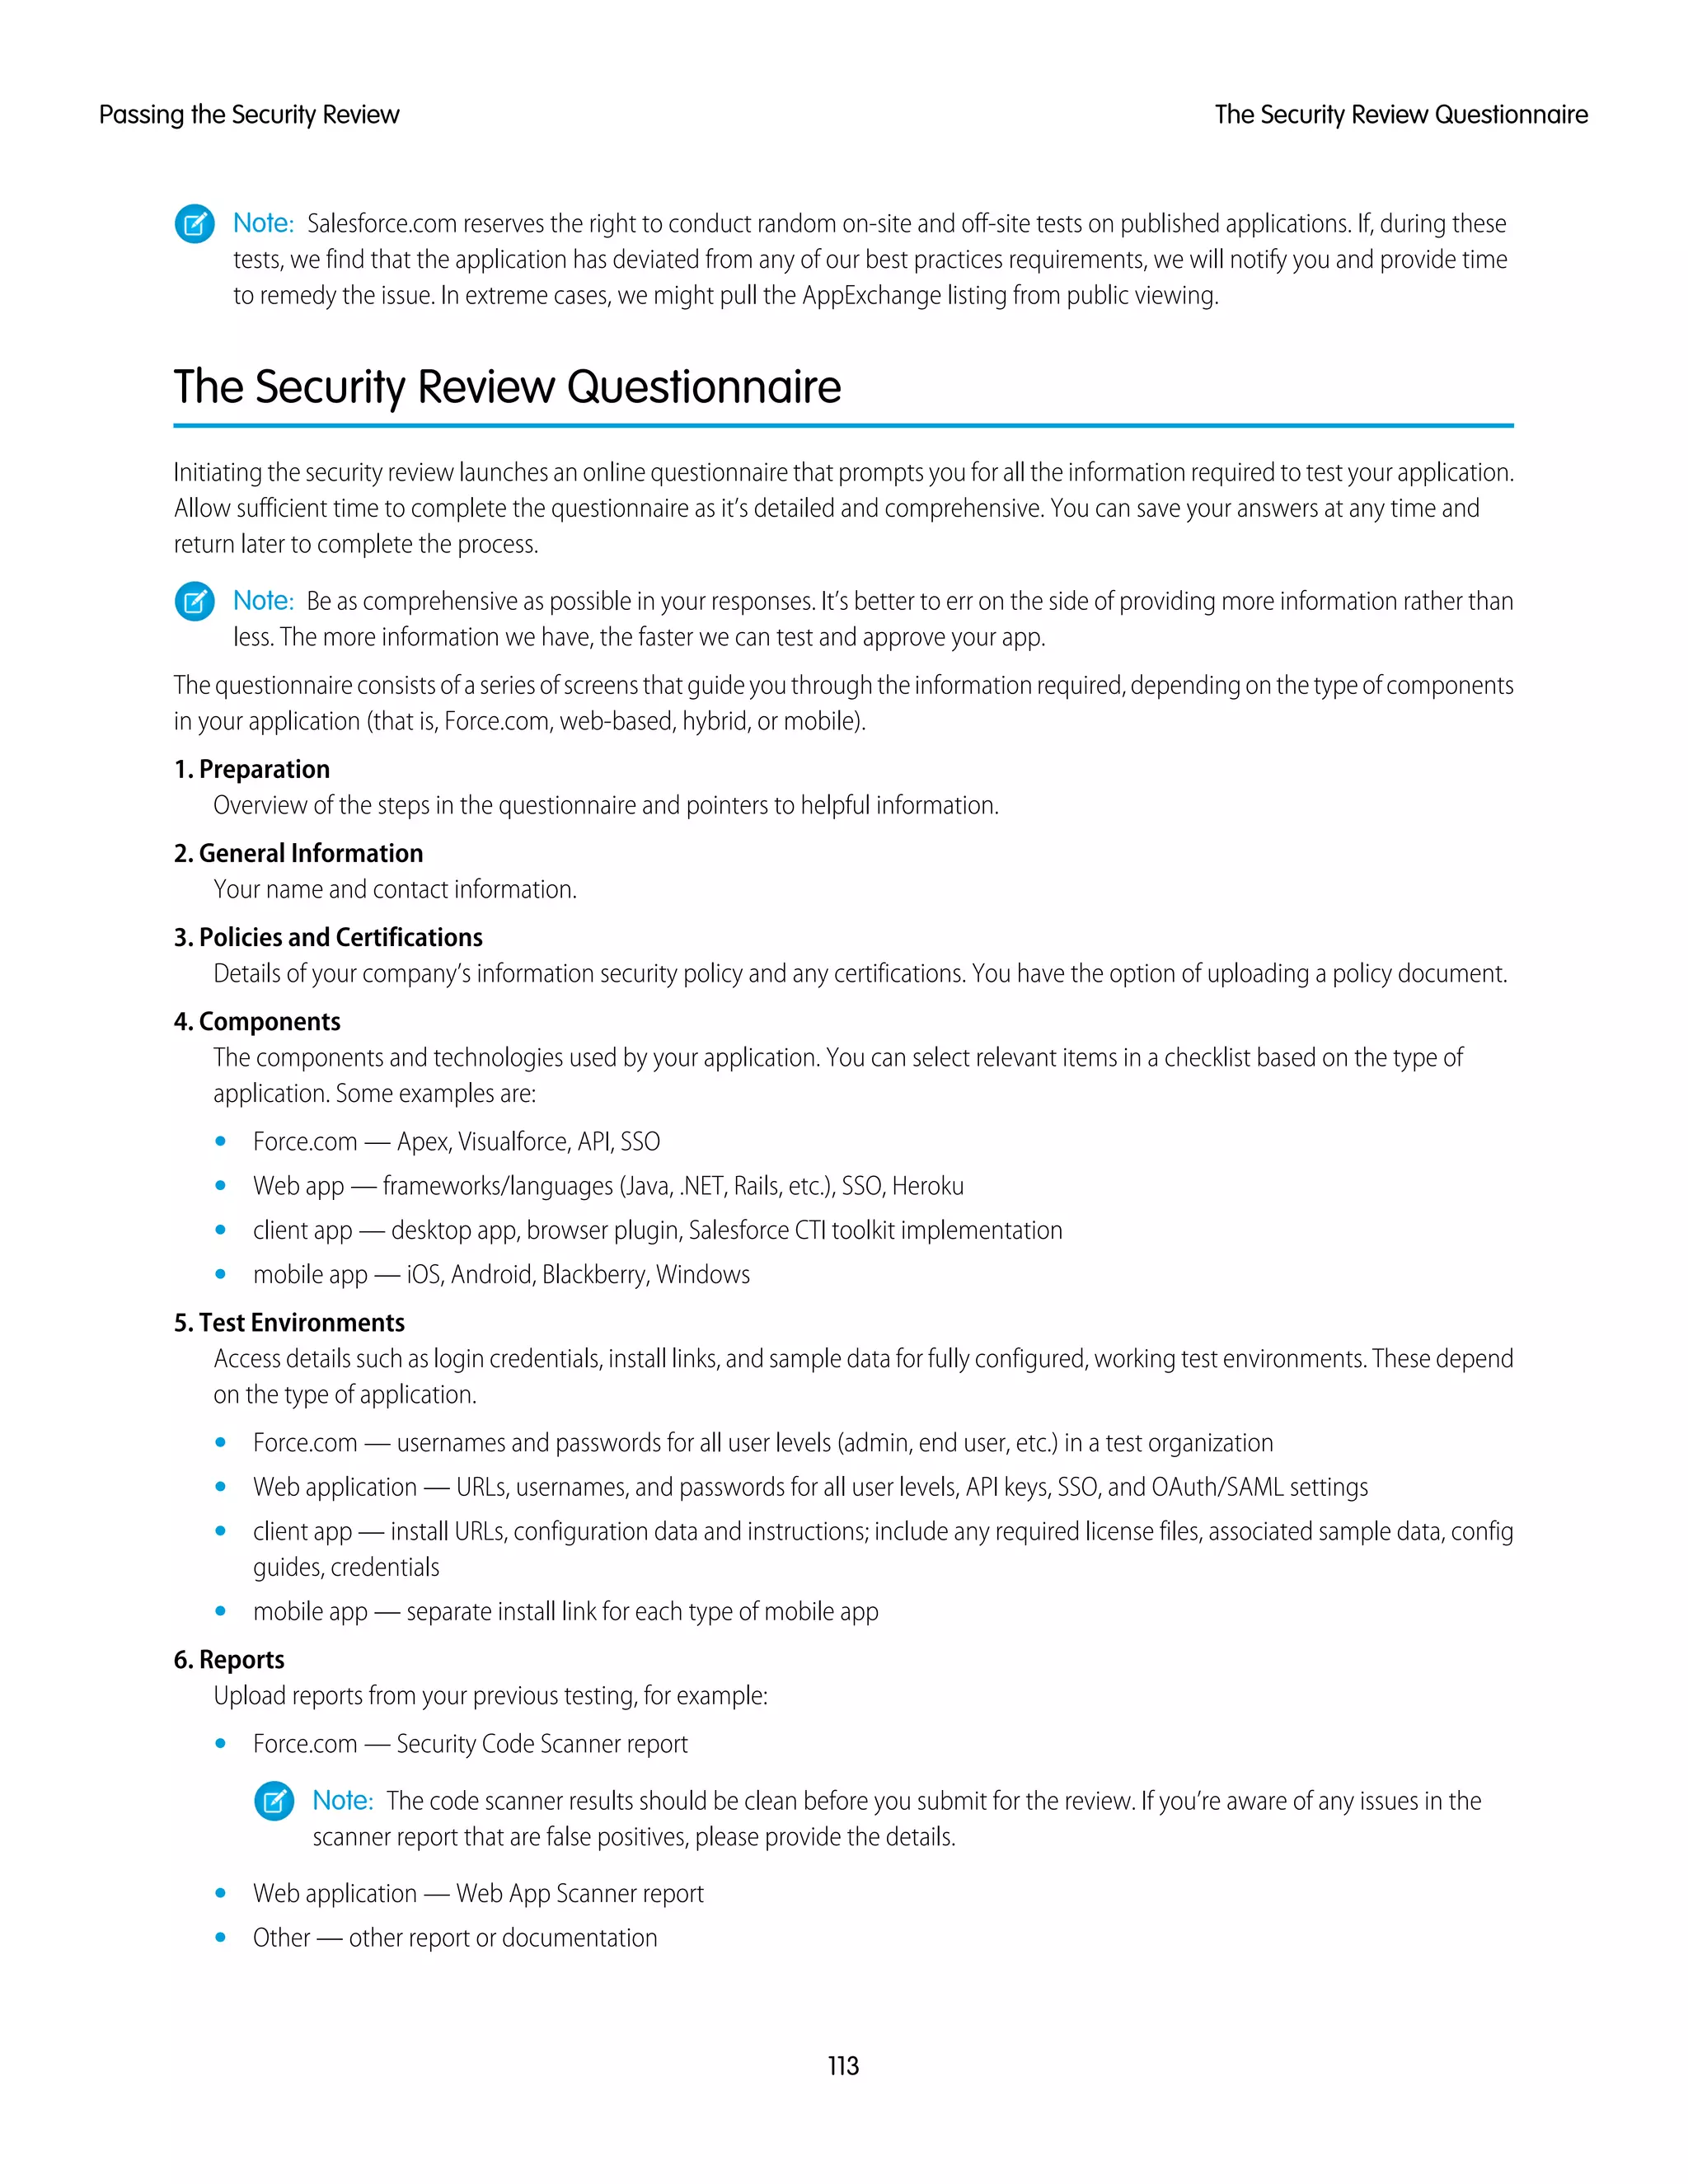
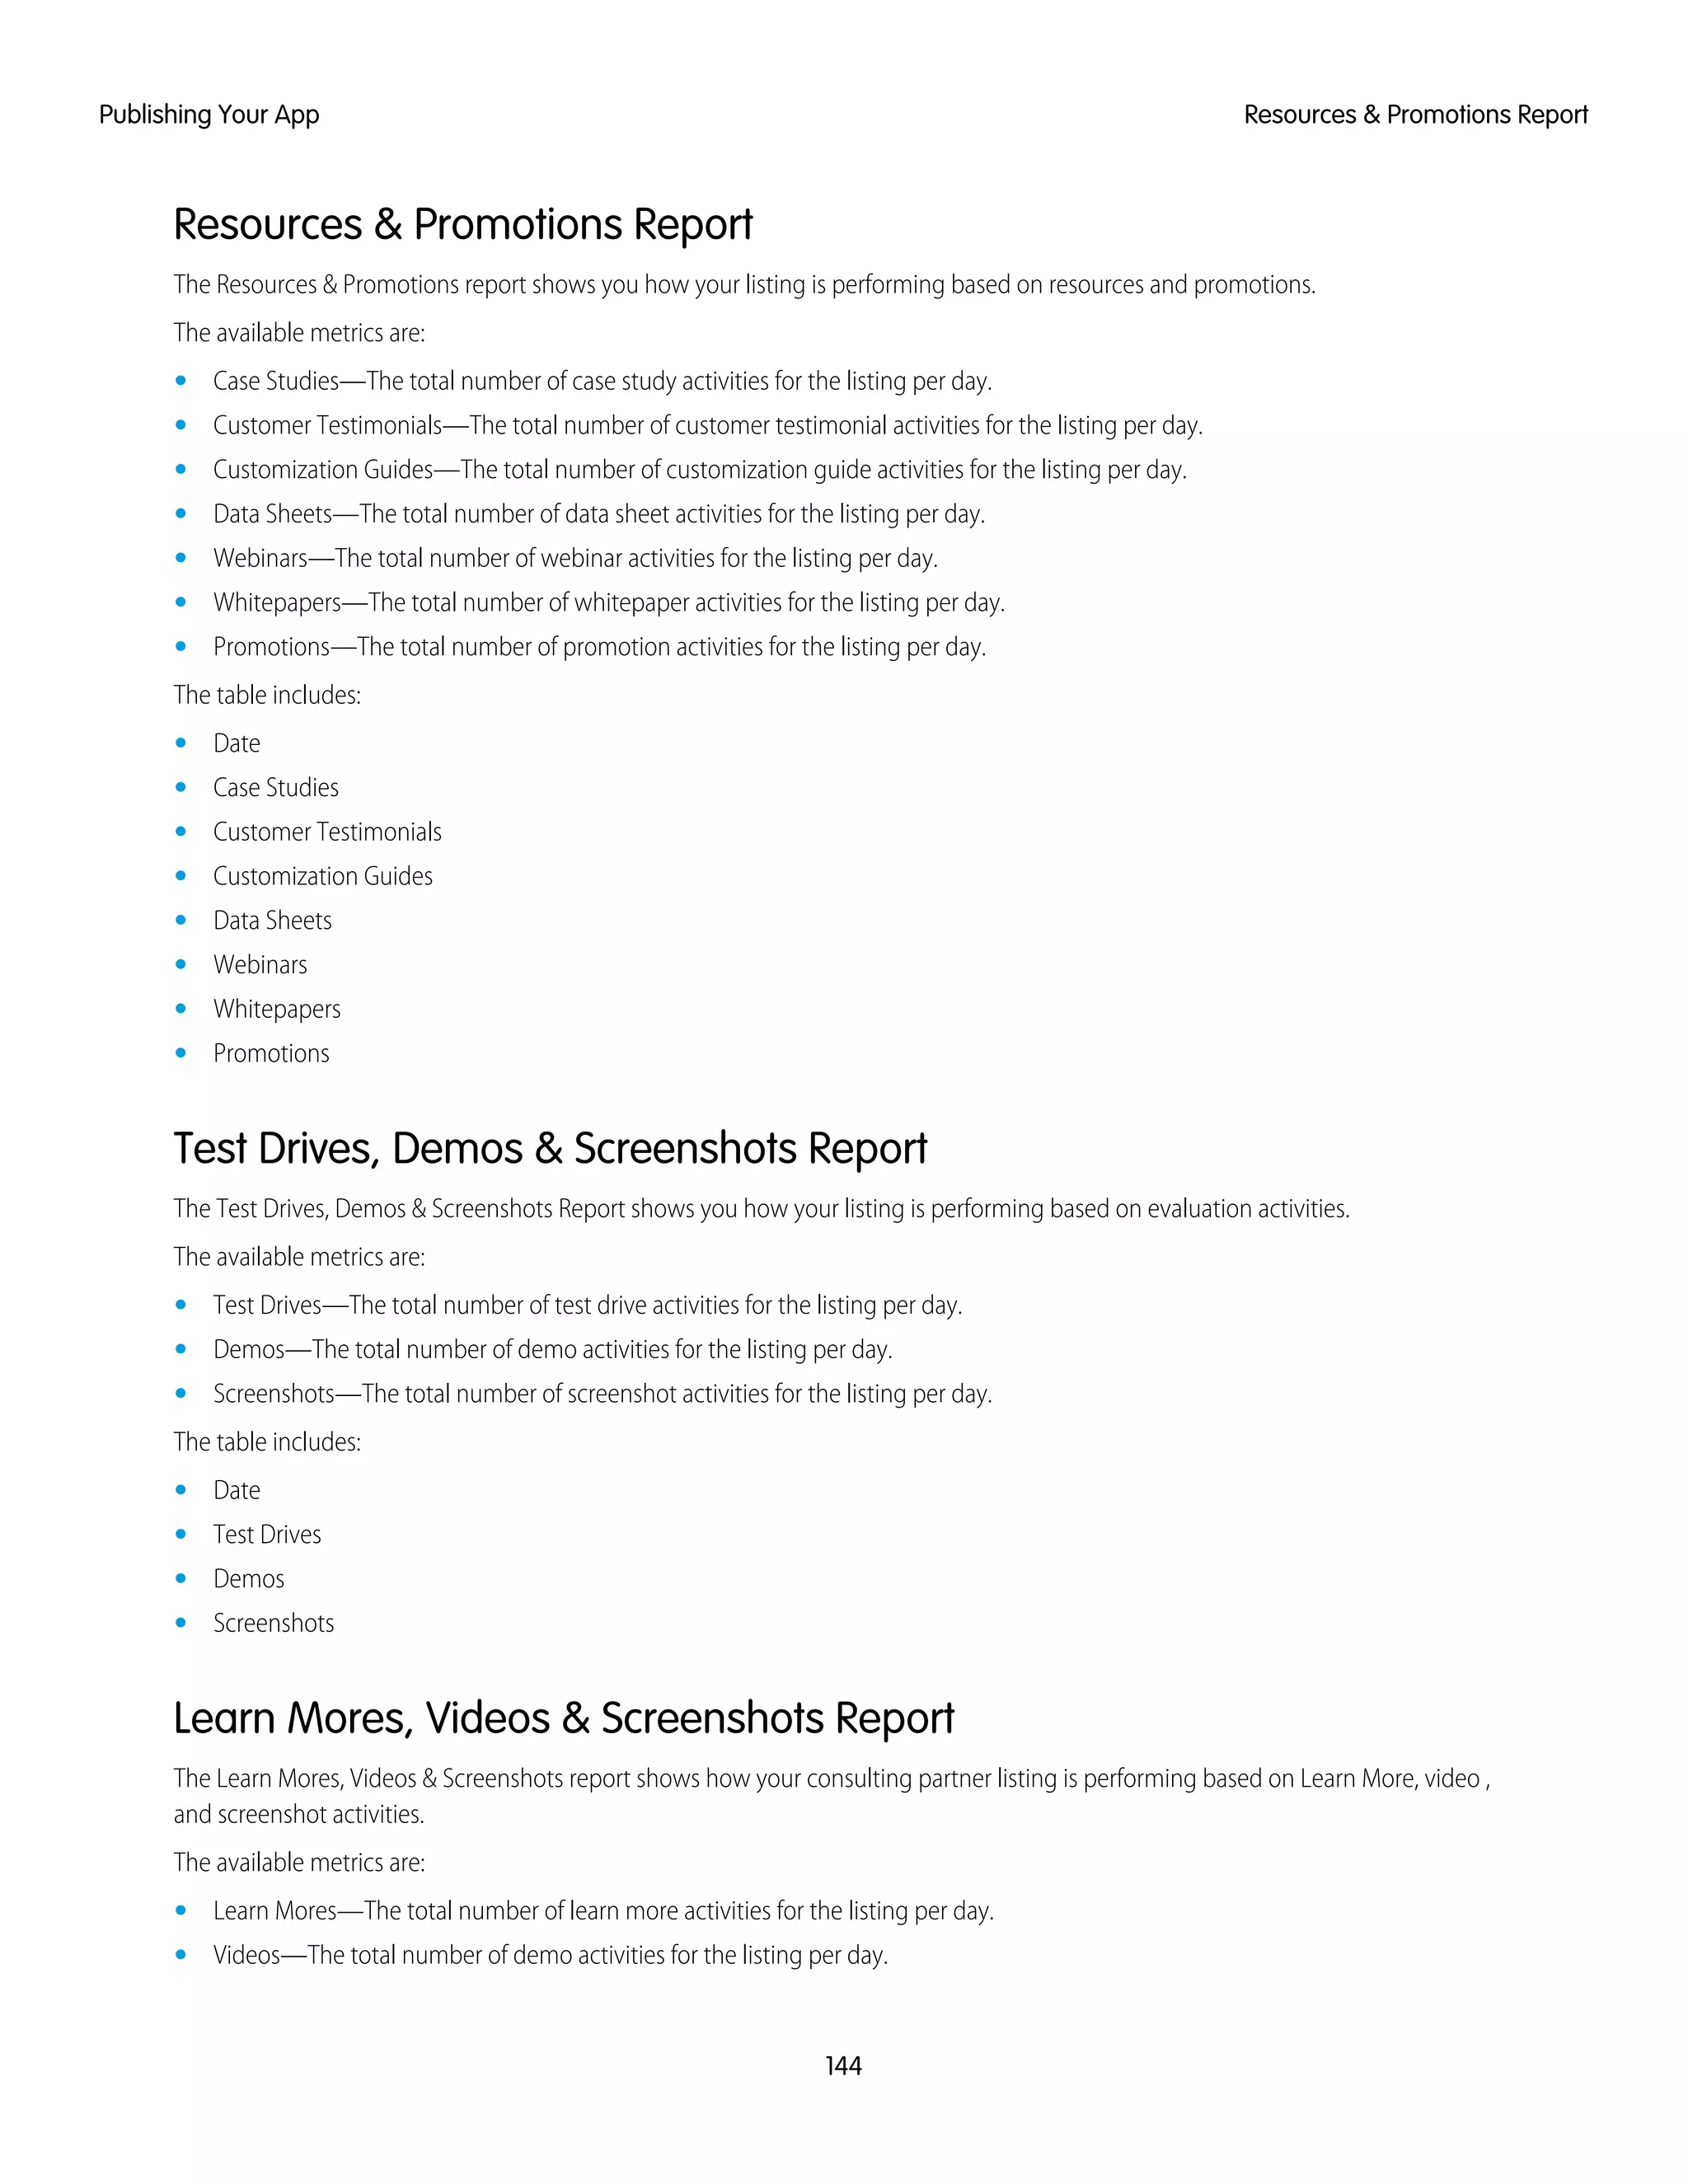
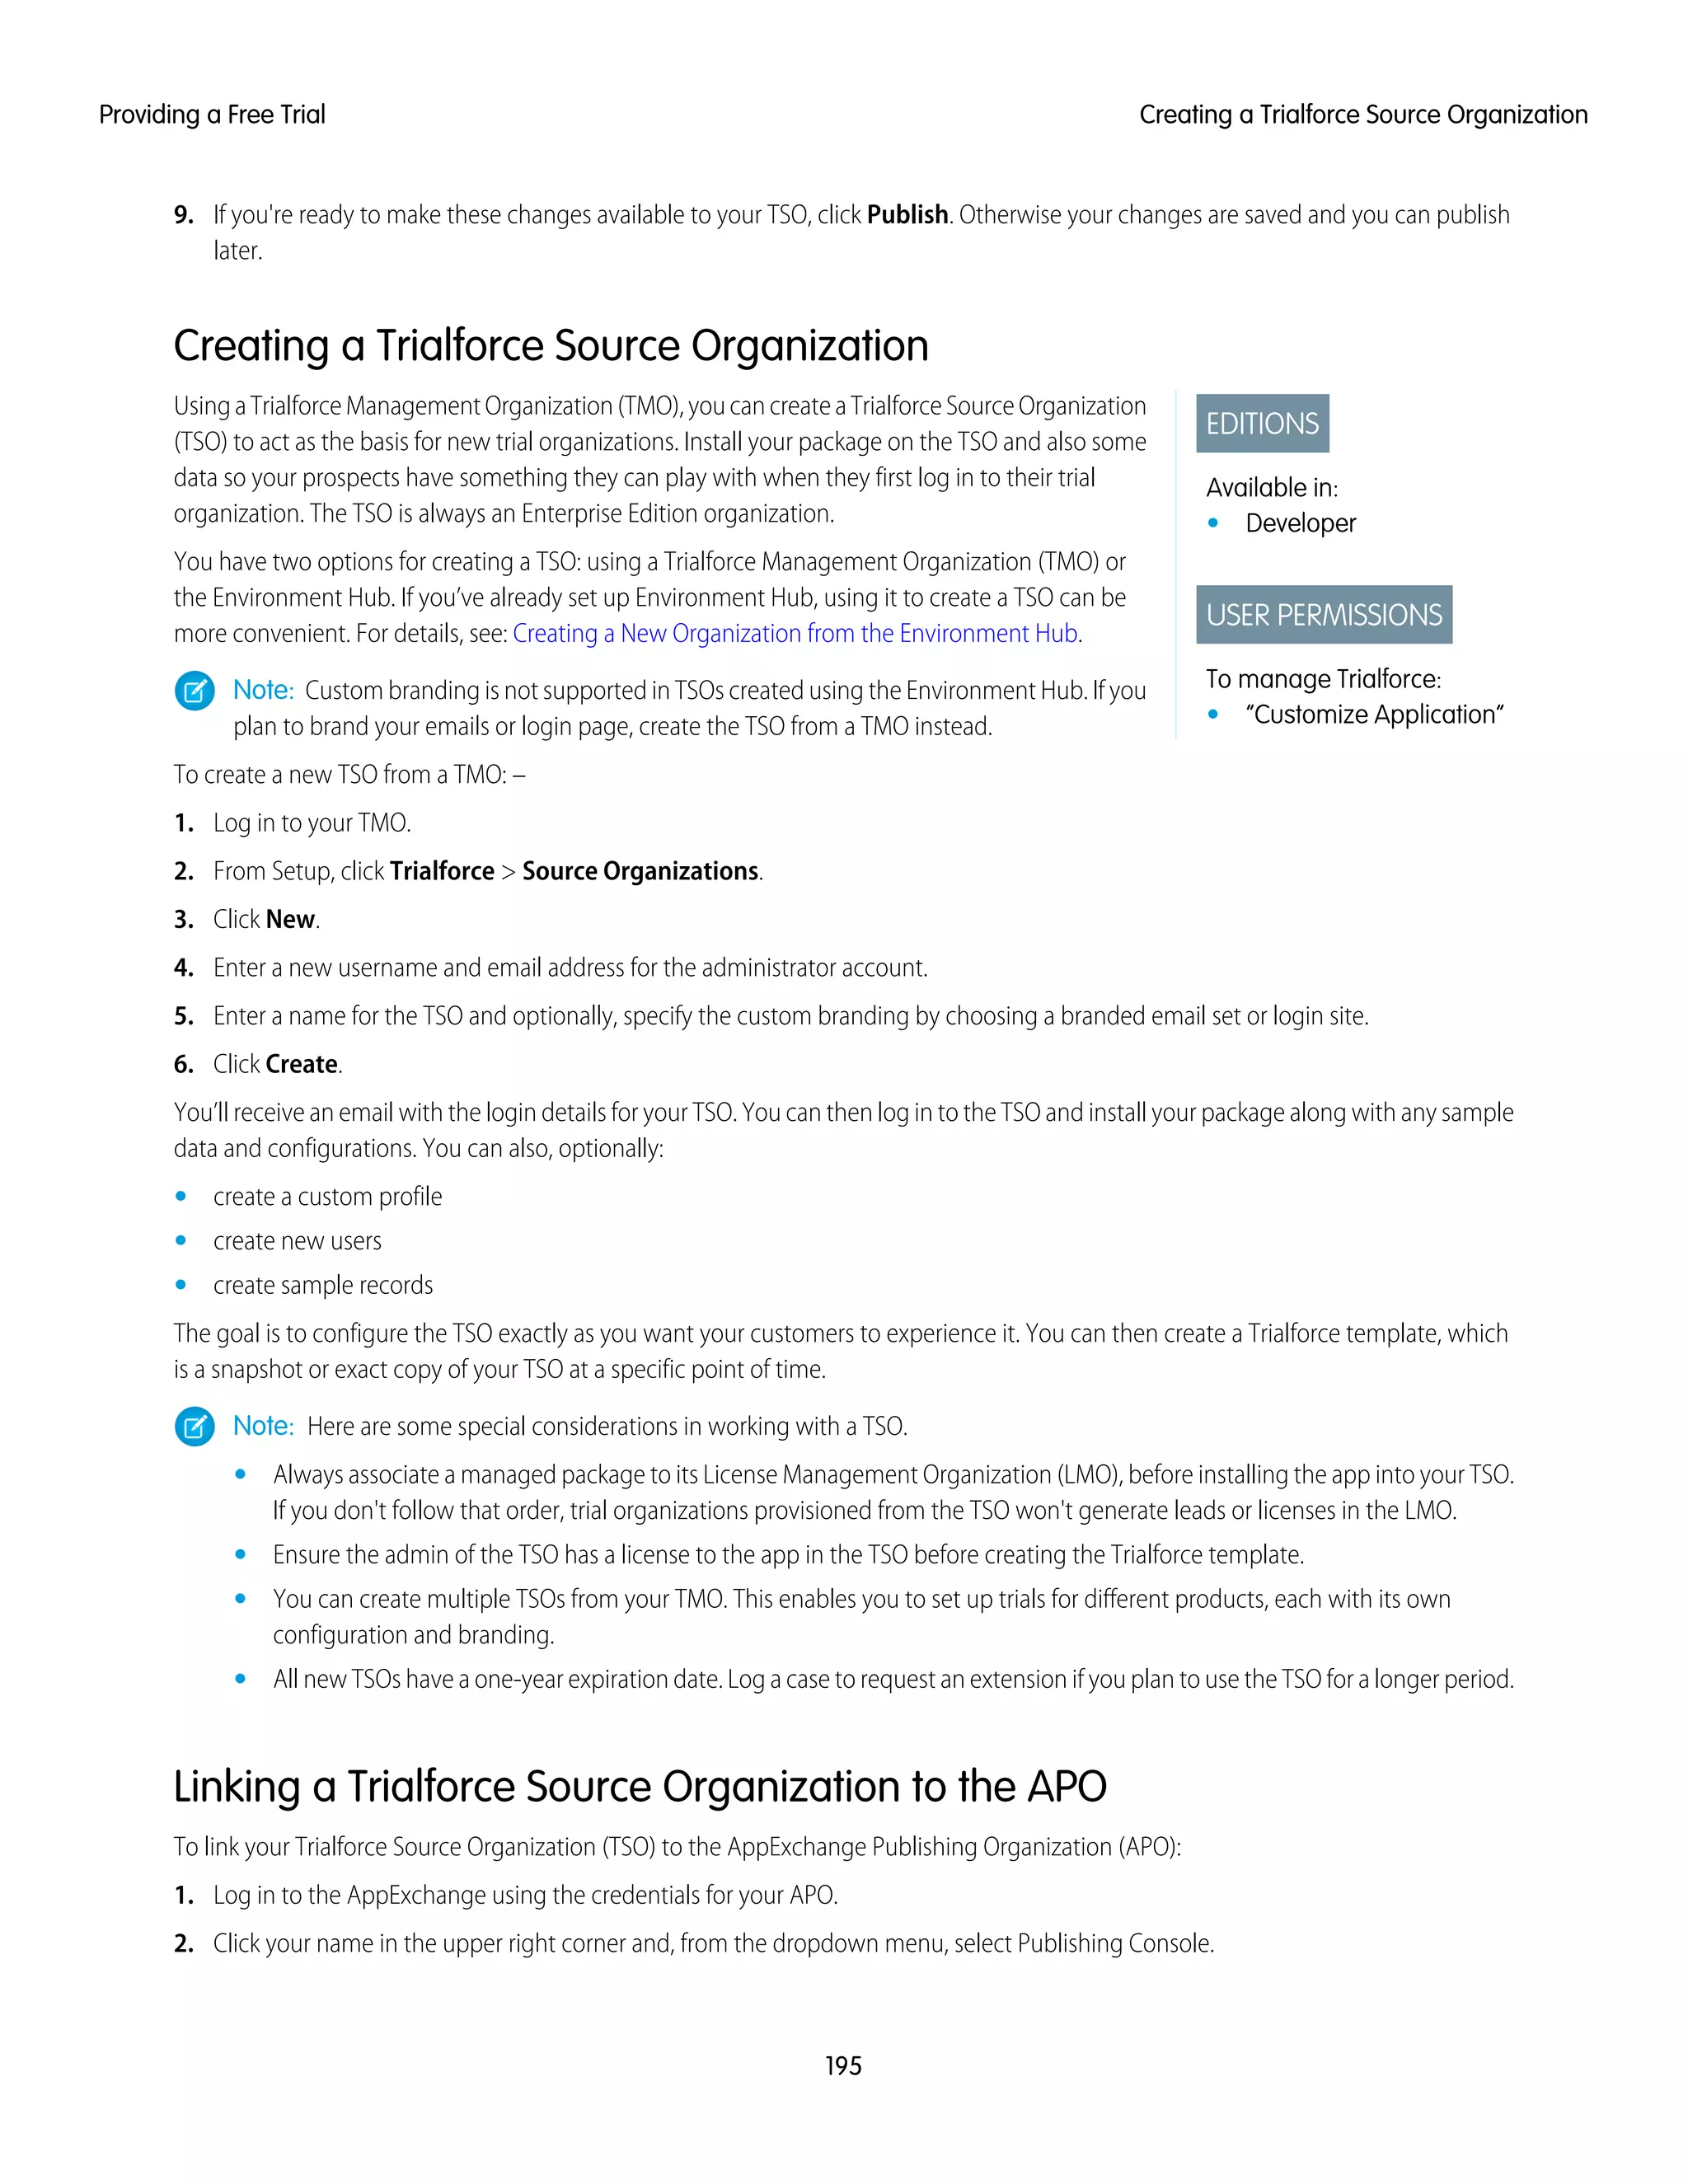
![• When you upload the package, deselect the Chatter required checkbox (this is automatically selected if you have an Apex reference
to Chatter).
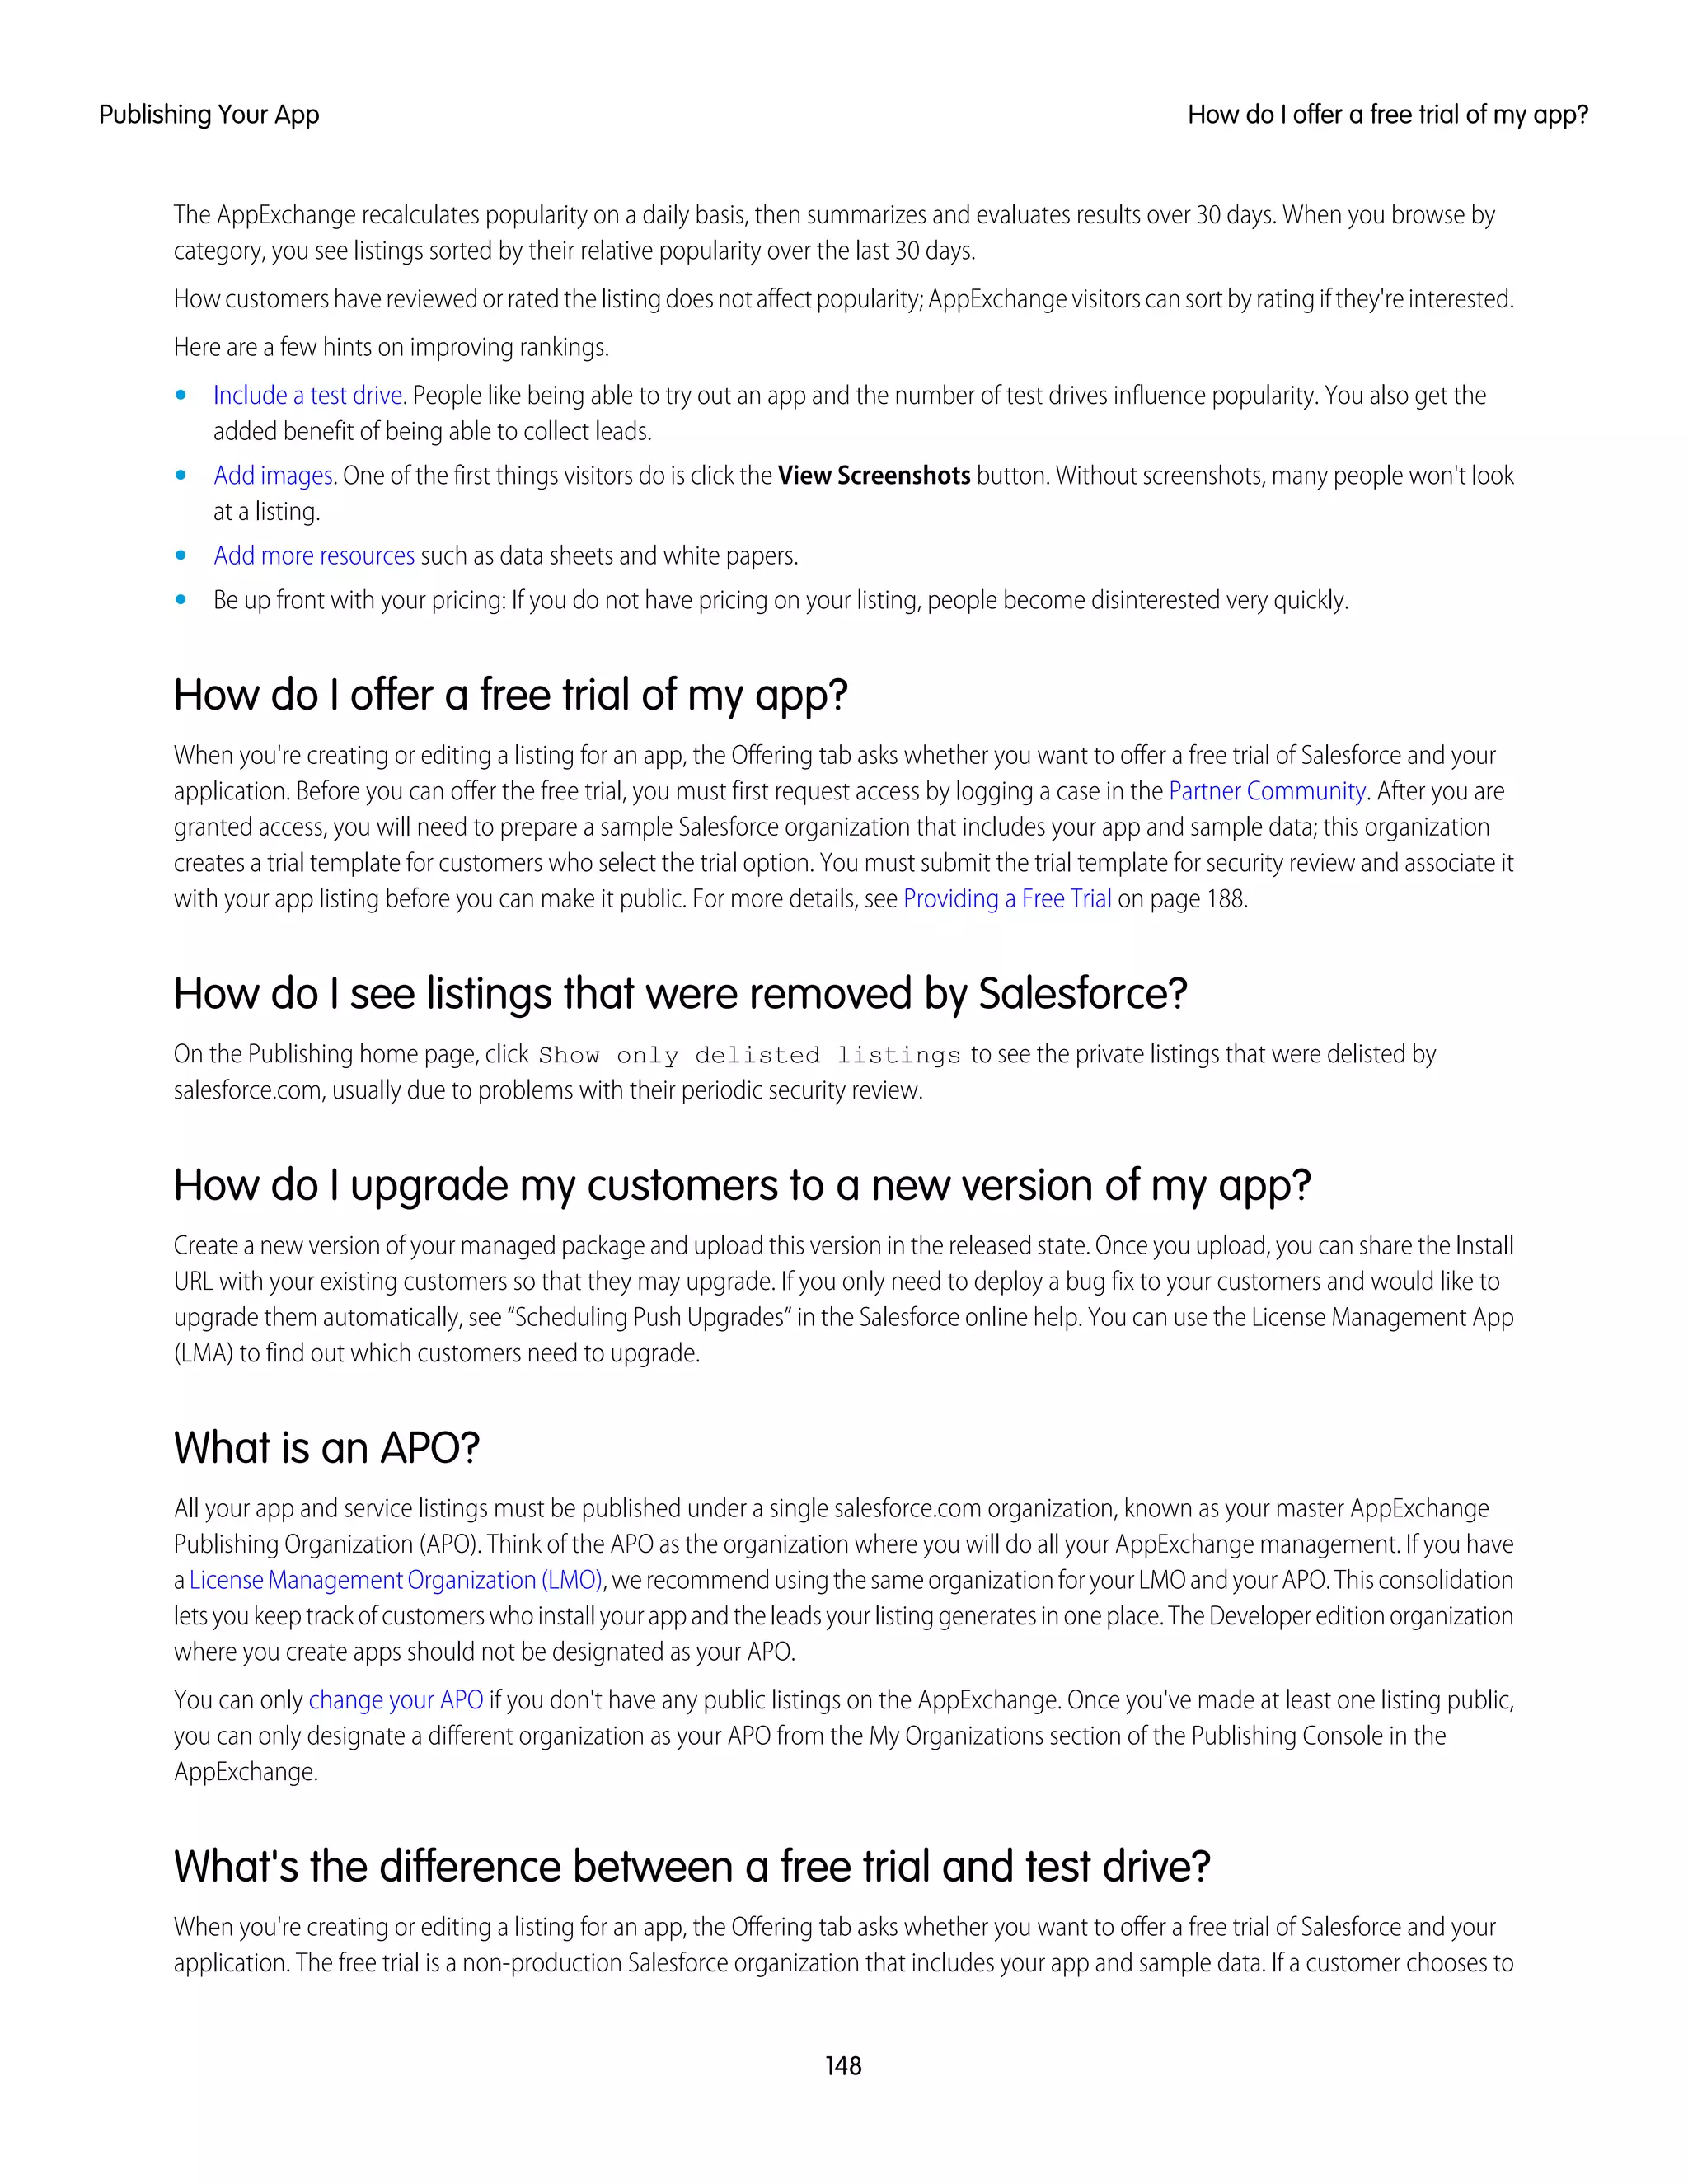
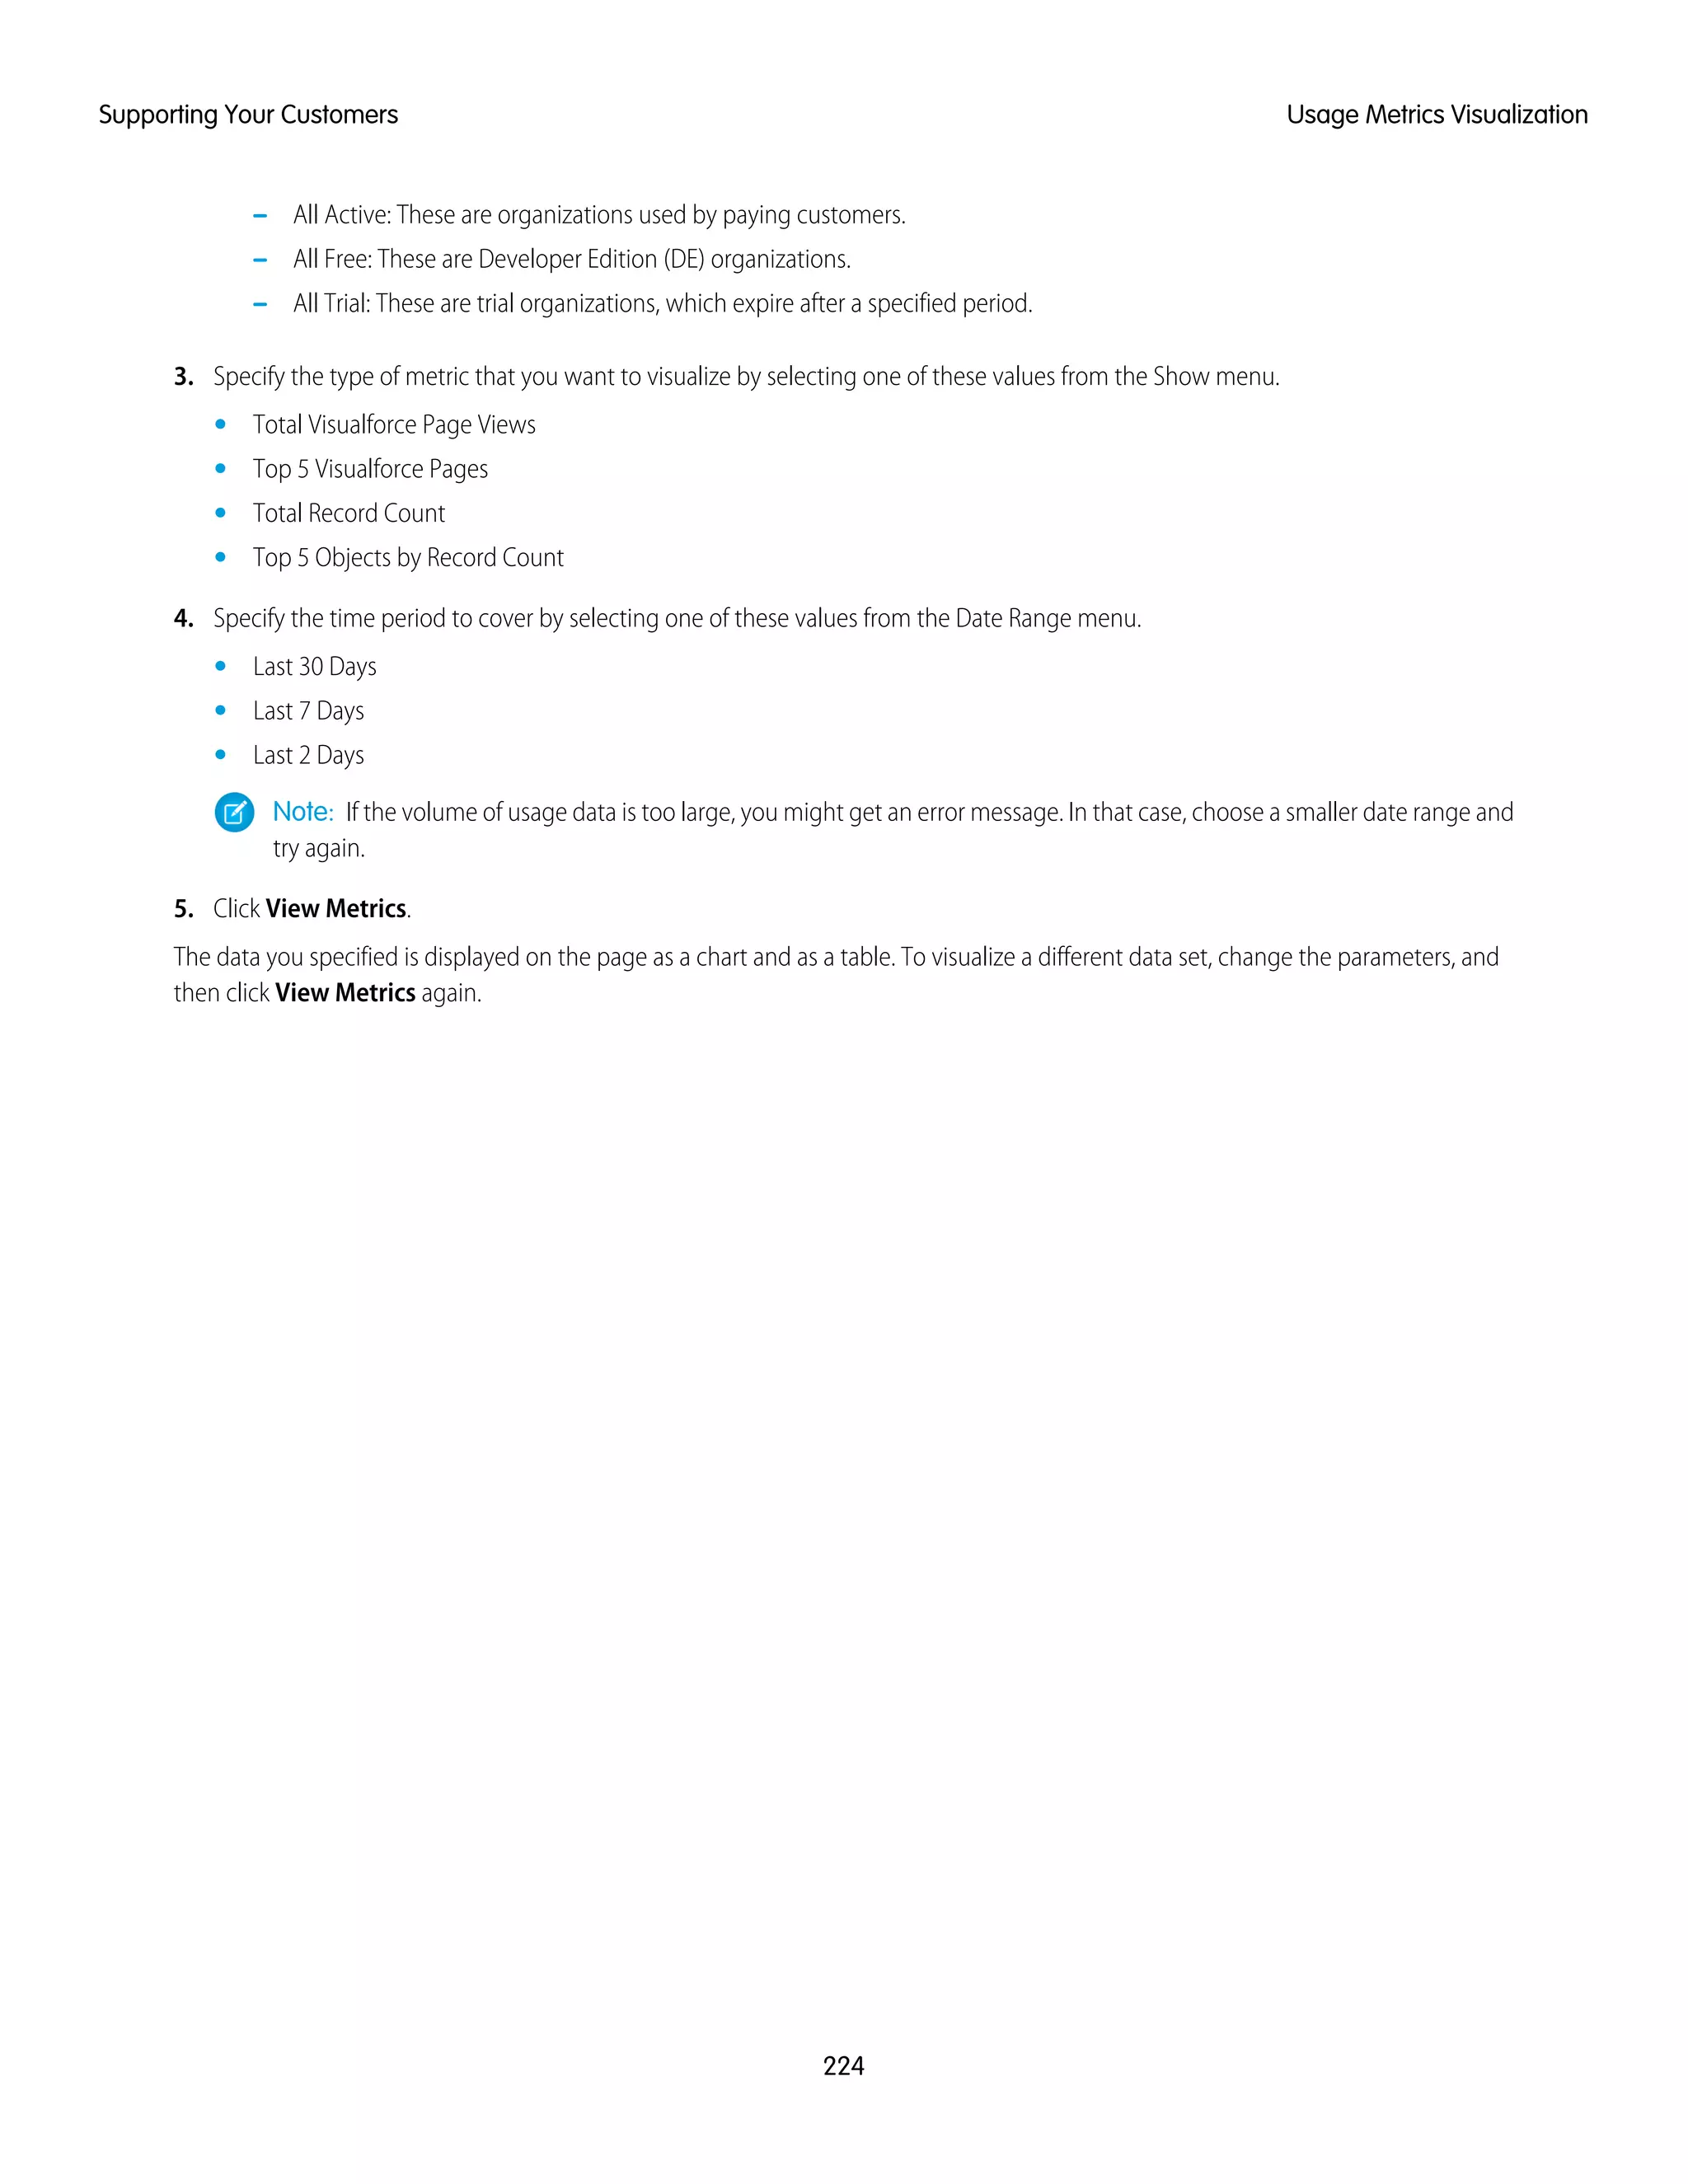
Note: If the Chatter required checkbox can't be deselected, then some component in the package has a special requirement
for Chatter. This can happen, for example, if you package a custom report type that relies on Chatter. If the Chatter-required
checkbox can't be disabled, then the package can only be installed in organizations that have Chatter enabled.
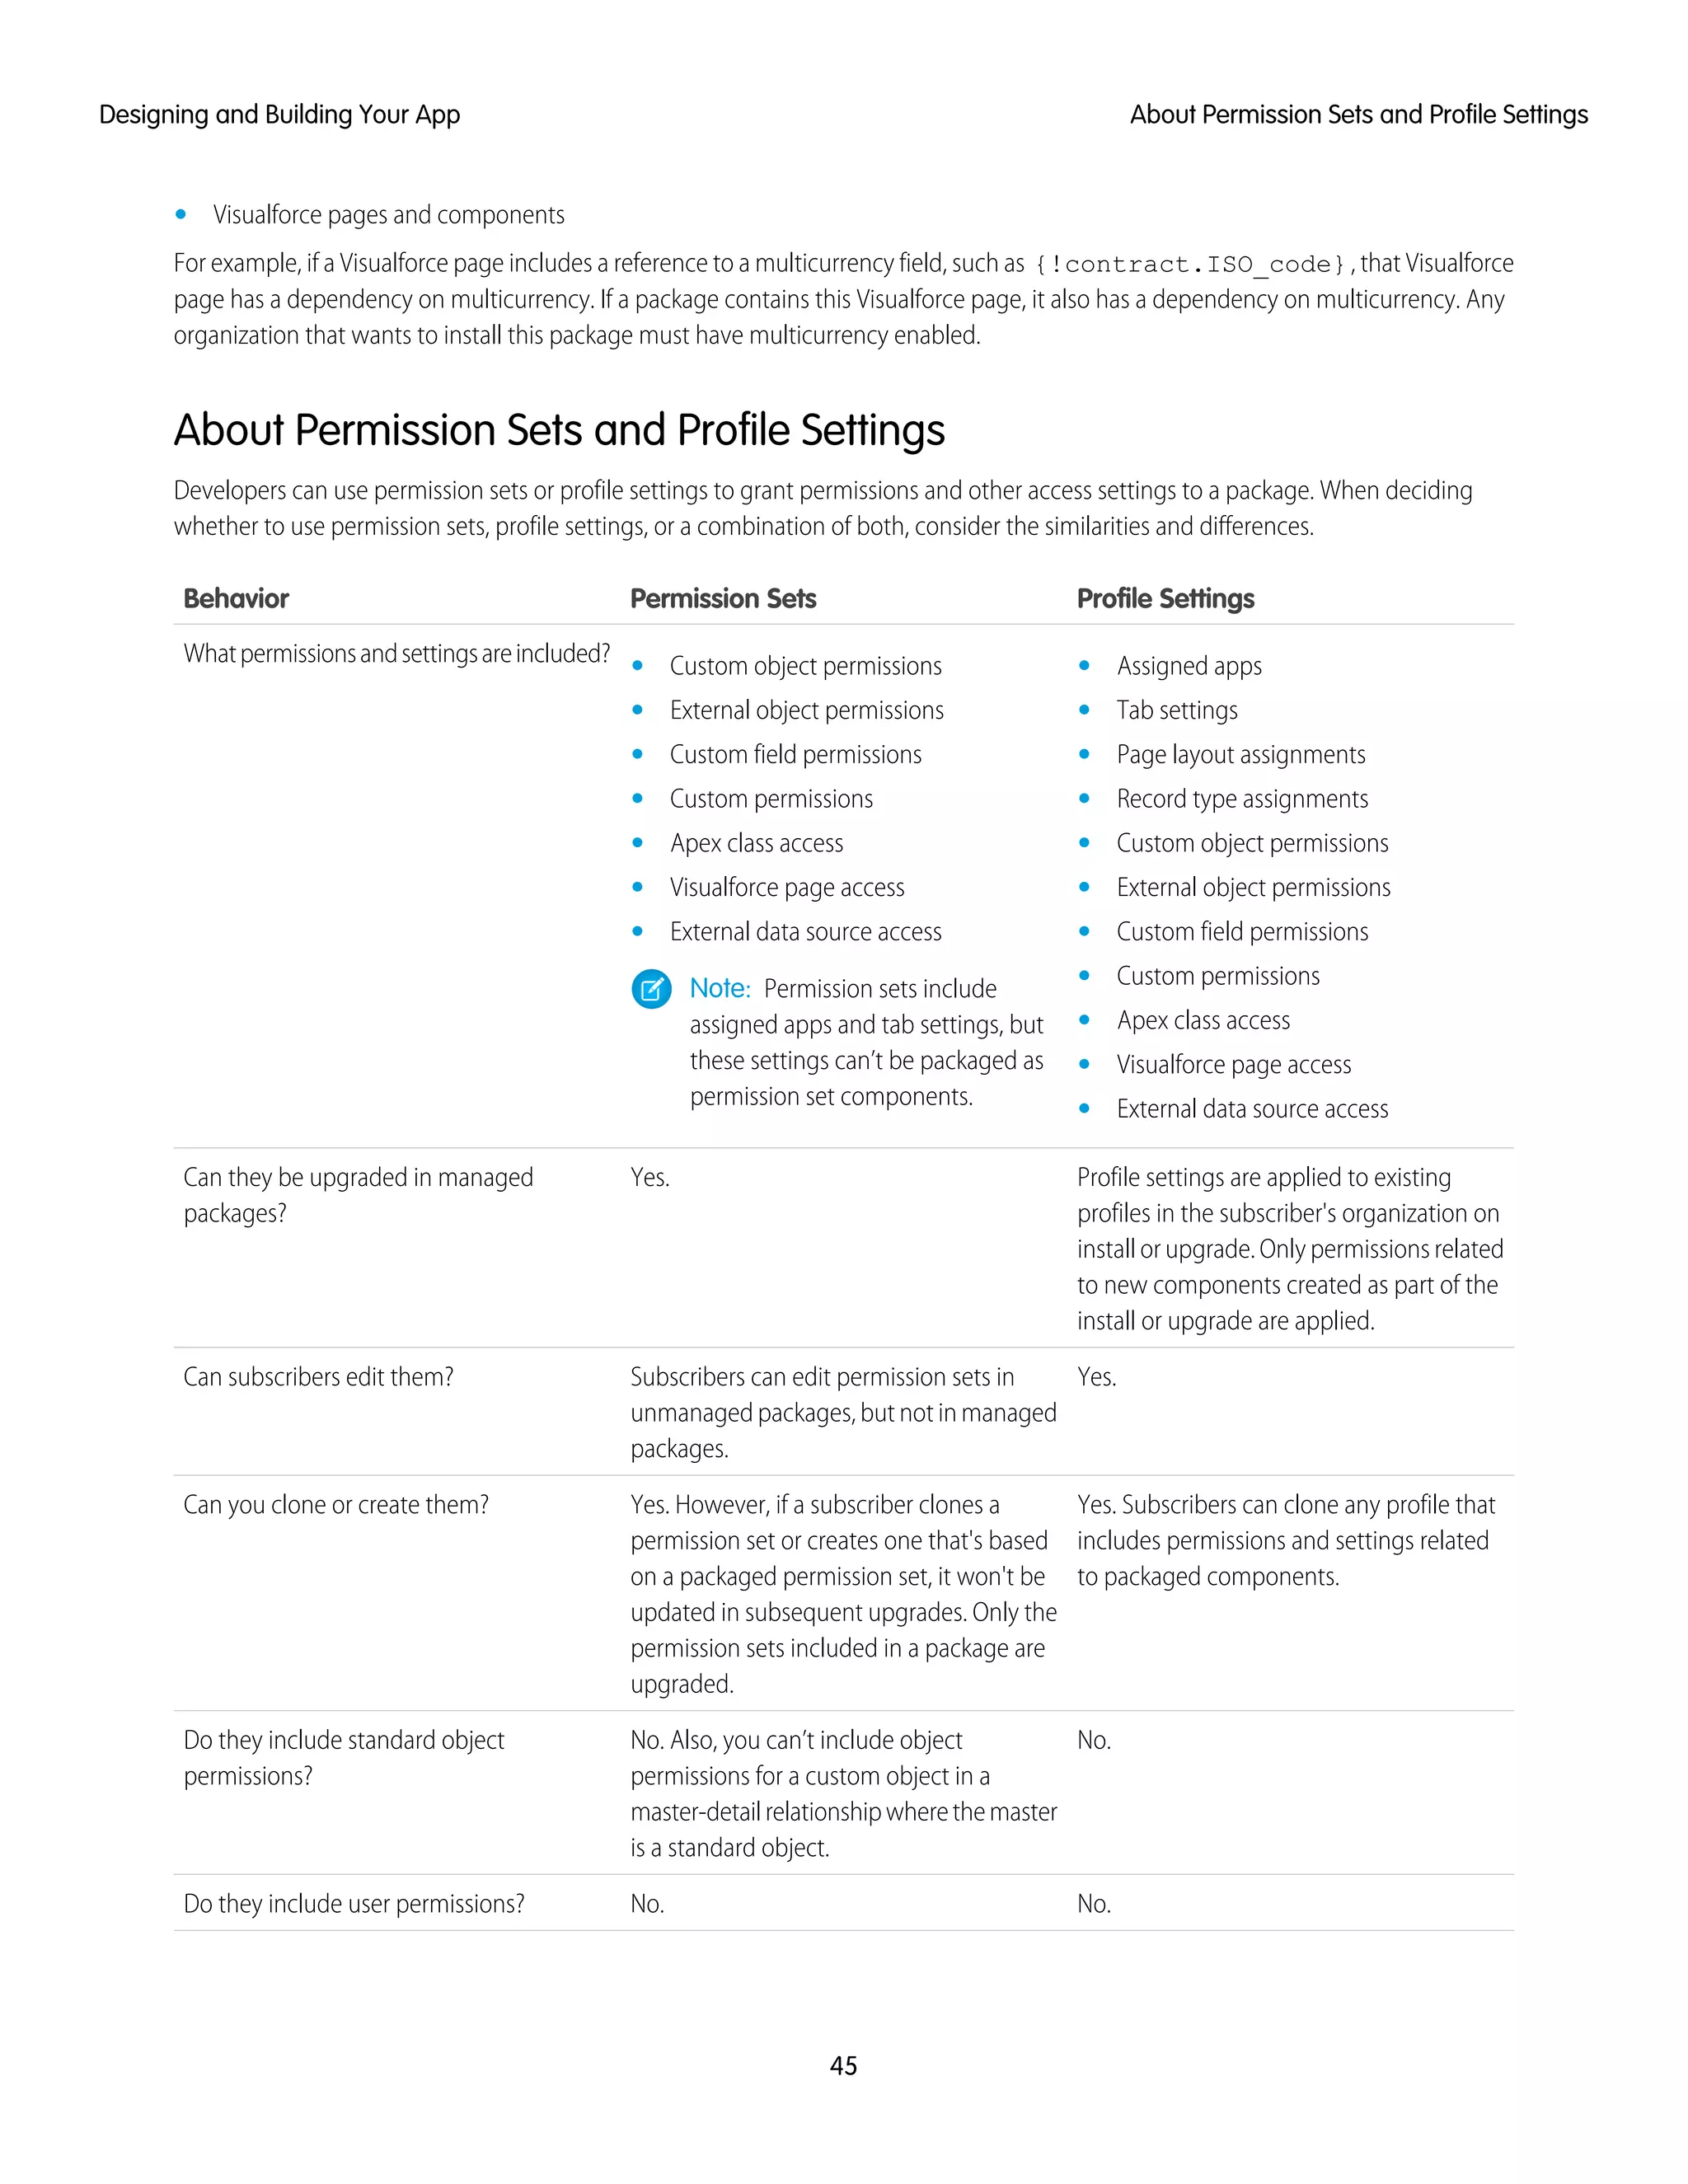
The following example tries to post to feeds and get a user's feed. If Chatter is not enabled in the organization, the code catches the
REQUIRED_FEATURE_MISSING exception. Note that this is an incomplete code example and does not run.
public void addFeedItem(String post, Id objId) {
FeedItem fpost = new FeedItem();
// Get the parent ID of the feed
fpost.ParentId = objId;
fpost.Body = post;
try{
insert fpost;
} catch (System.DmlException e) {
for (Integer i = 0; i < e.getNumDml(); i++) {
// Chatter not endabled, do not insert record
System.assertEquals(StatusCode.REQUIRED_FEATURE_MISSING, e.getDmlType(i));
System.Debug('Chatter not enabled in this organization:' + e.getDMLMessage());
}
}
}
public List<NewsFeed> getMyFeed() {
List<NewsFeed> myfeed;
try{
myfeed = [SELECT Id, Type, CreatedById, CreatedBy.FirstName,CreatedBy.LastName,
CreatedDate, ParentId, Parent.Name,FeedItemId, Body,
Title, CreatedById, LinkUrl,
(SELECT Id, FieldName, OldValue, NewValue
FROM FeedTrackedChanges ORDER BY Id DESC),
(SELECT Id, CommentBody, CreatedDate, CreatedById,
CreatedBy.FirstName, CreatedBy.LastName
FROM FeedComments ORDER BY CreatedDate DESC, ID DESC LIMIT 10)
FROM NewsFeed
ORDER BY CreatedDate DESC, ID DESC LIMIT 20];
} catch(System.RequiredFeatureMissingException e){
// The above has returned an empty NewsFeed
// Chatter is not enabled in this organization
myfeed = new List<NewsFeed>{};
System.Debug('Chatter not enabled in organization:' + e.getMessage());
}
return myfeed;
}
Matching the Salesforce Look and Feel
Apps that resemble the Salesforce user interface look and feel are instantly more familiar to users and easy to use. The easiest way to
model the design of your app after the Salesforce user interface look and feel is to use Visualforce. When you use a standard controller
48
Matching the Salesforce Look and FeelDesigning and Building Your App](https://image.slidesharecdn.com/e93eef4b-15f3-44fa-9a70-da9d0db11c4b-150210030551-conversion-gate01/75/ISVForce-Guide-NEW-56-2048.jpg)


![Setting up Environment Hub
EDITIONS
Available in:
• Enterprise
• Performance
• Unlimited
USER PERMISSIONS
To set up and configure the
Environment Hub:
• “Manage Environment
Hub”
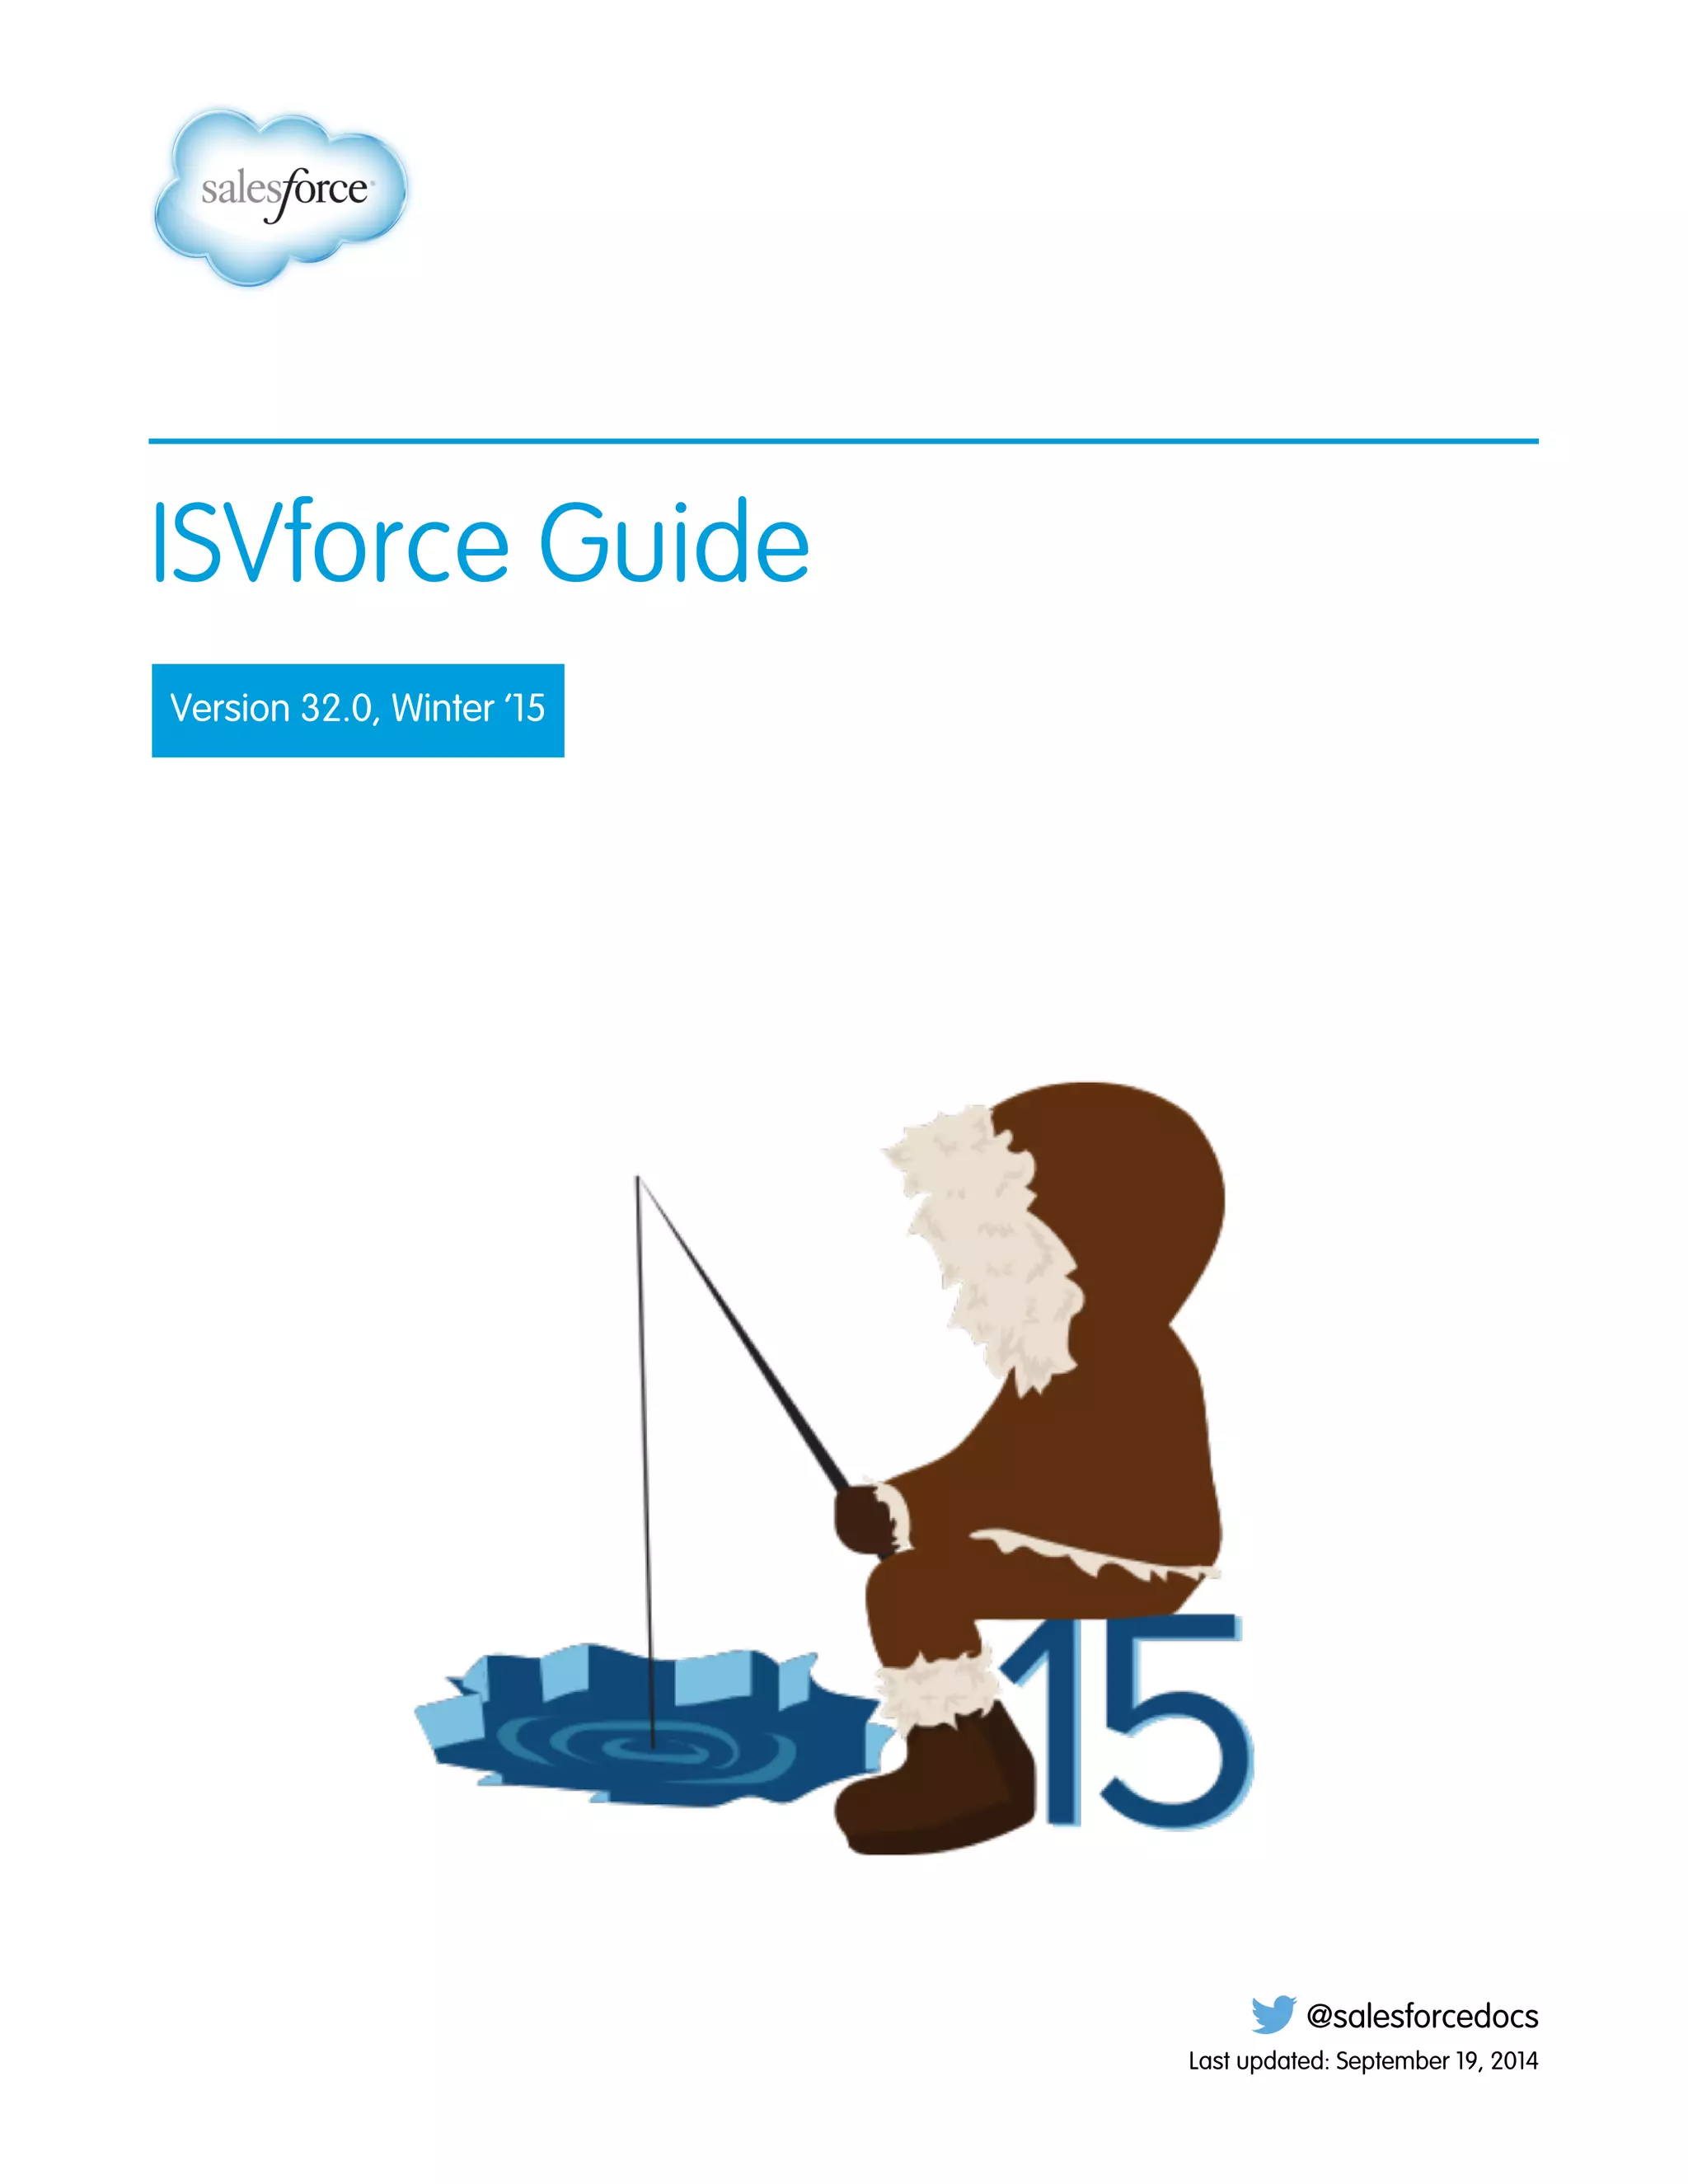
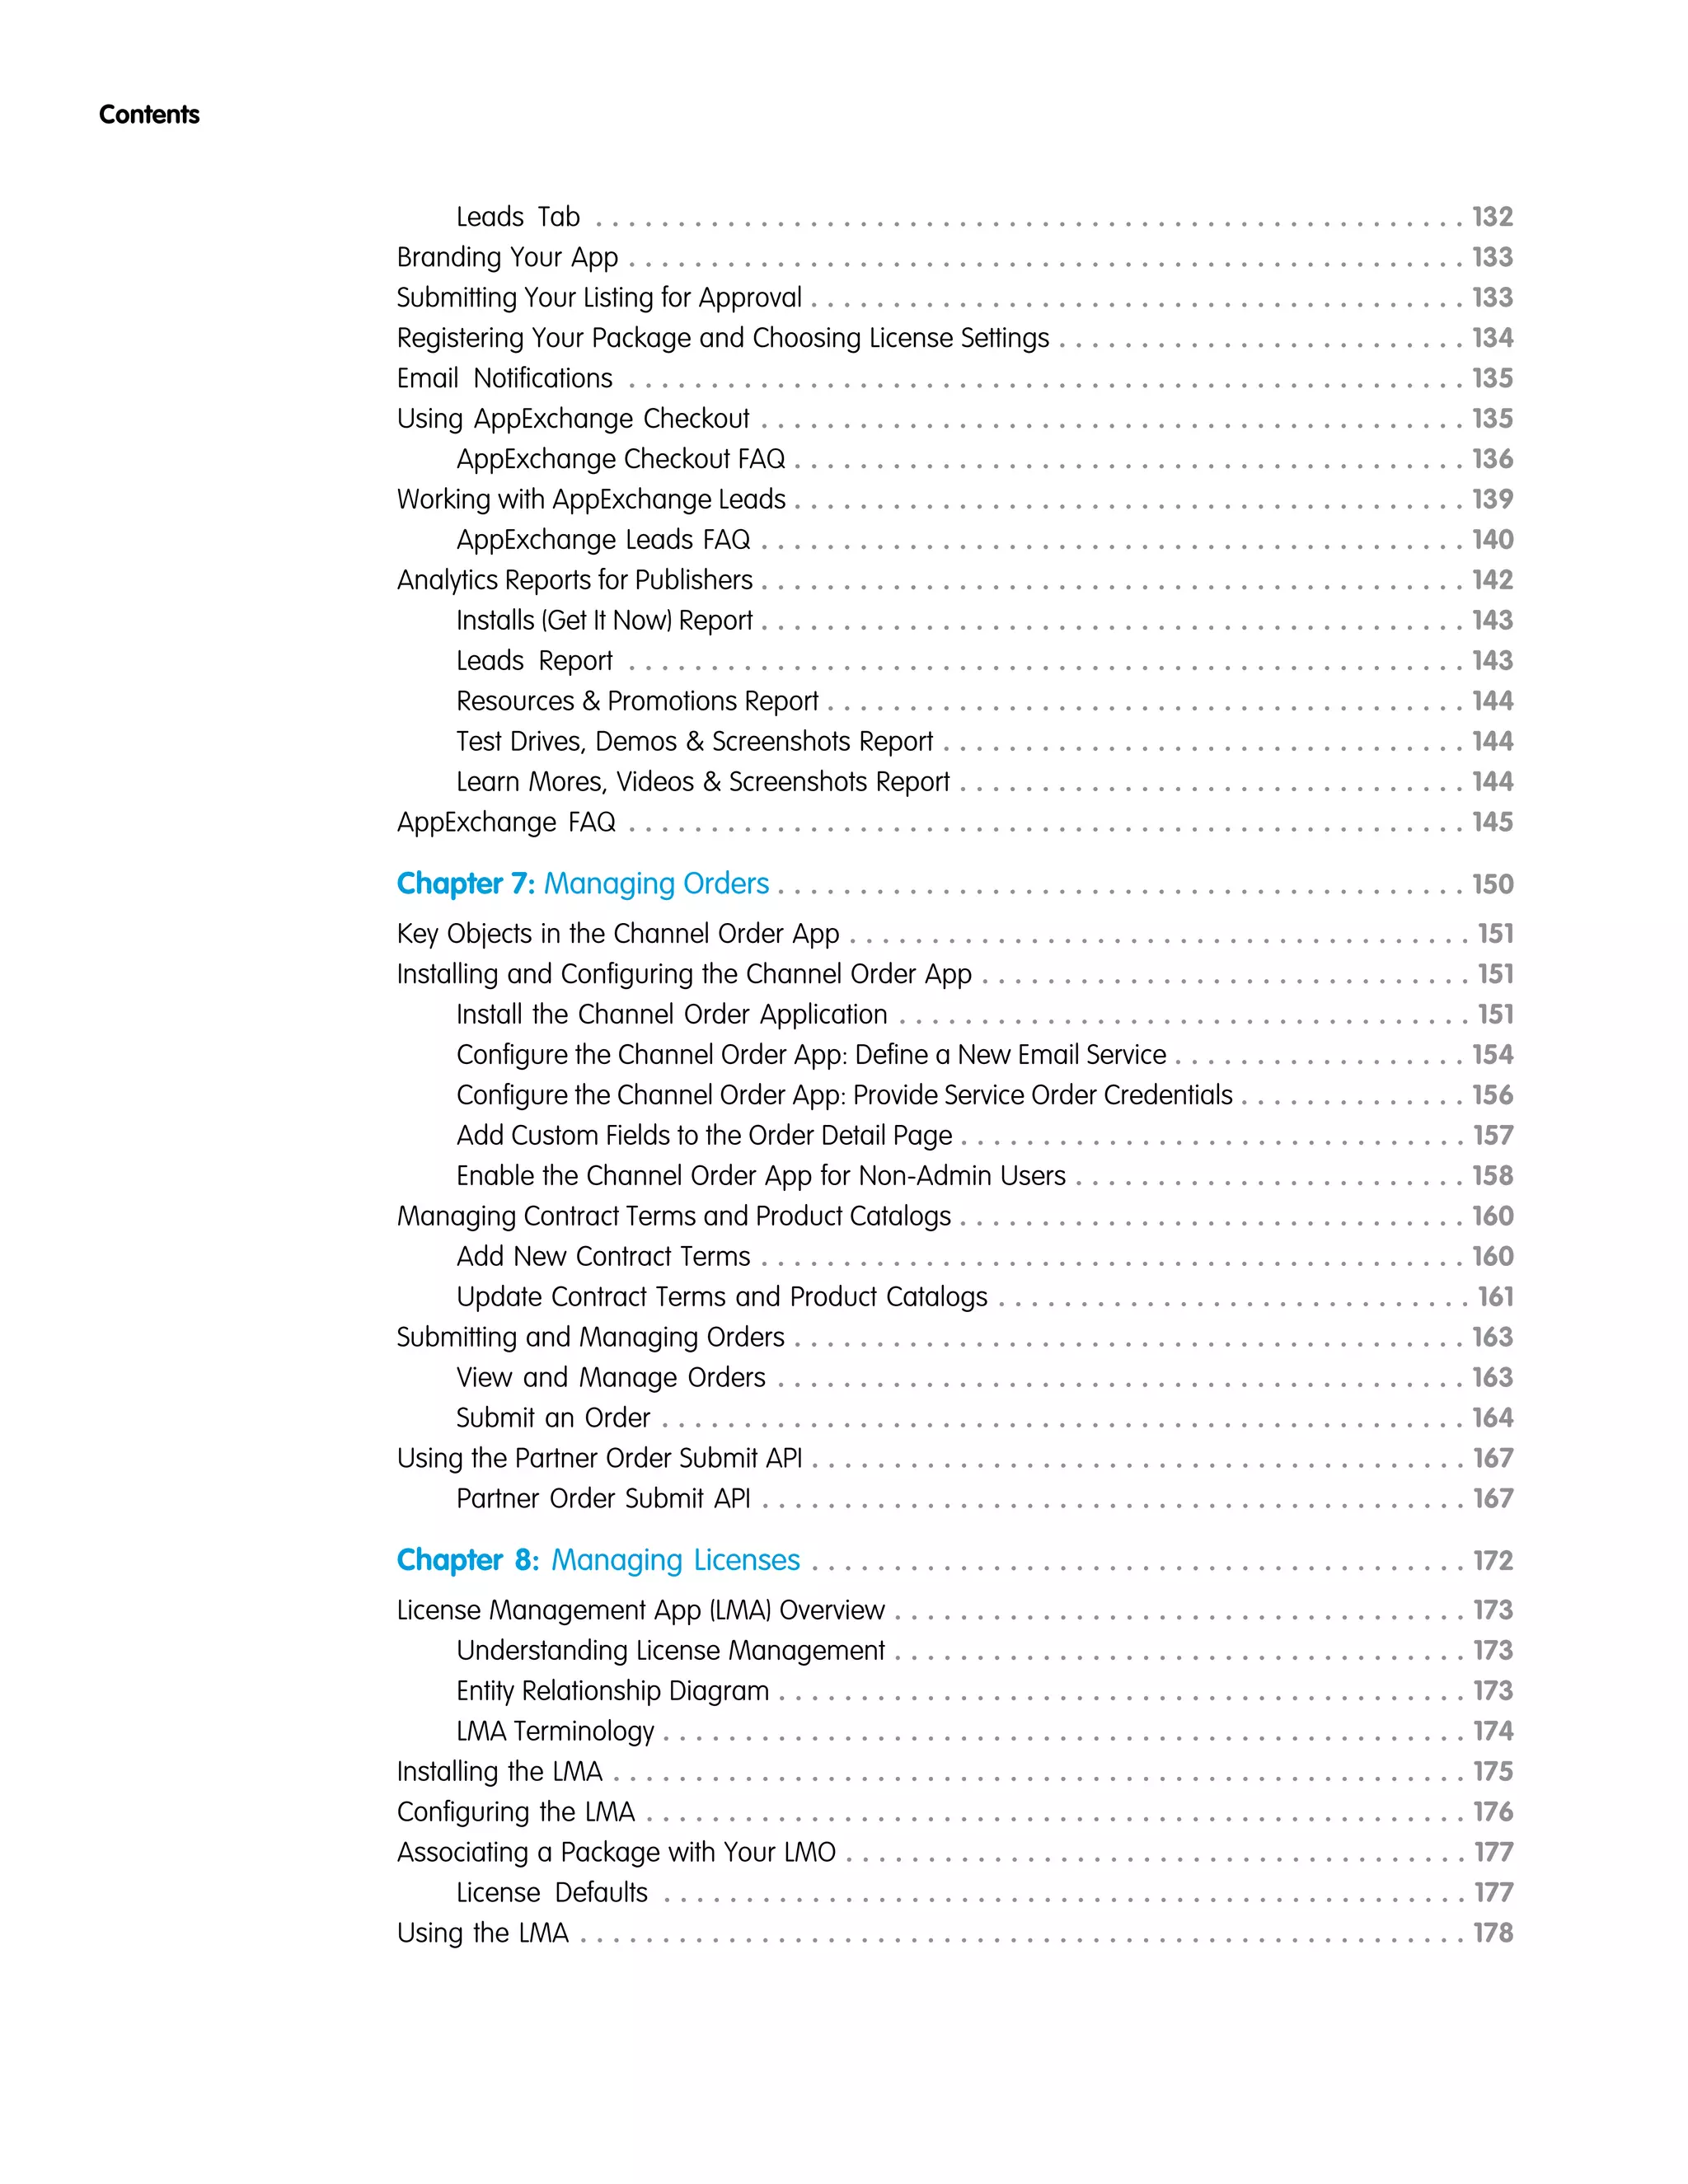
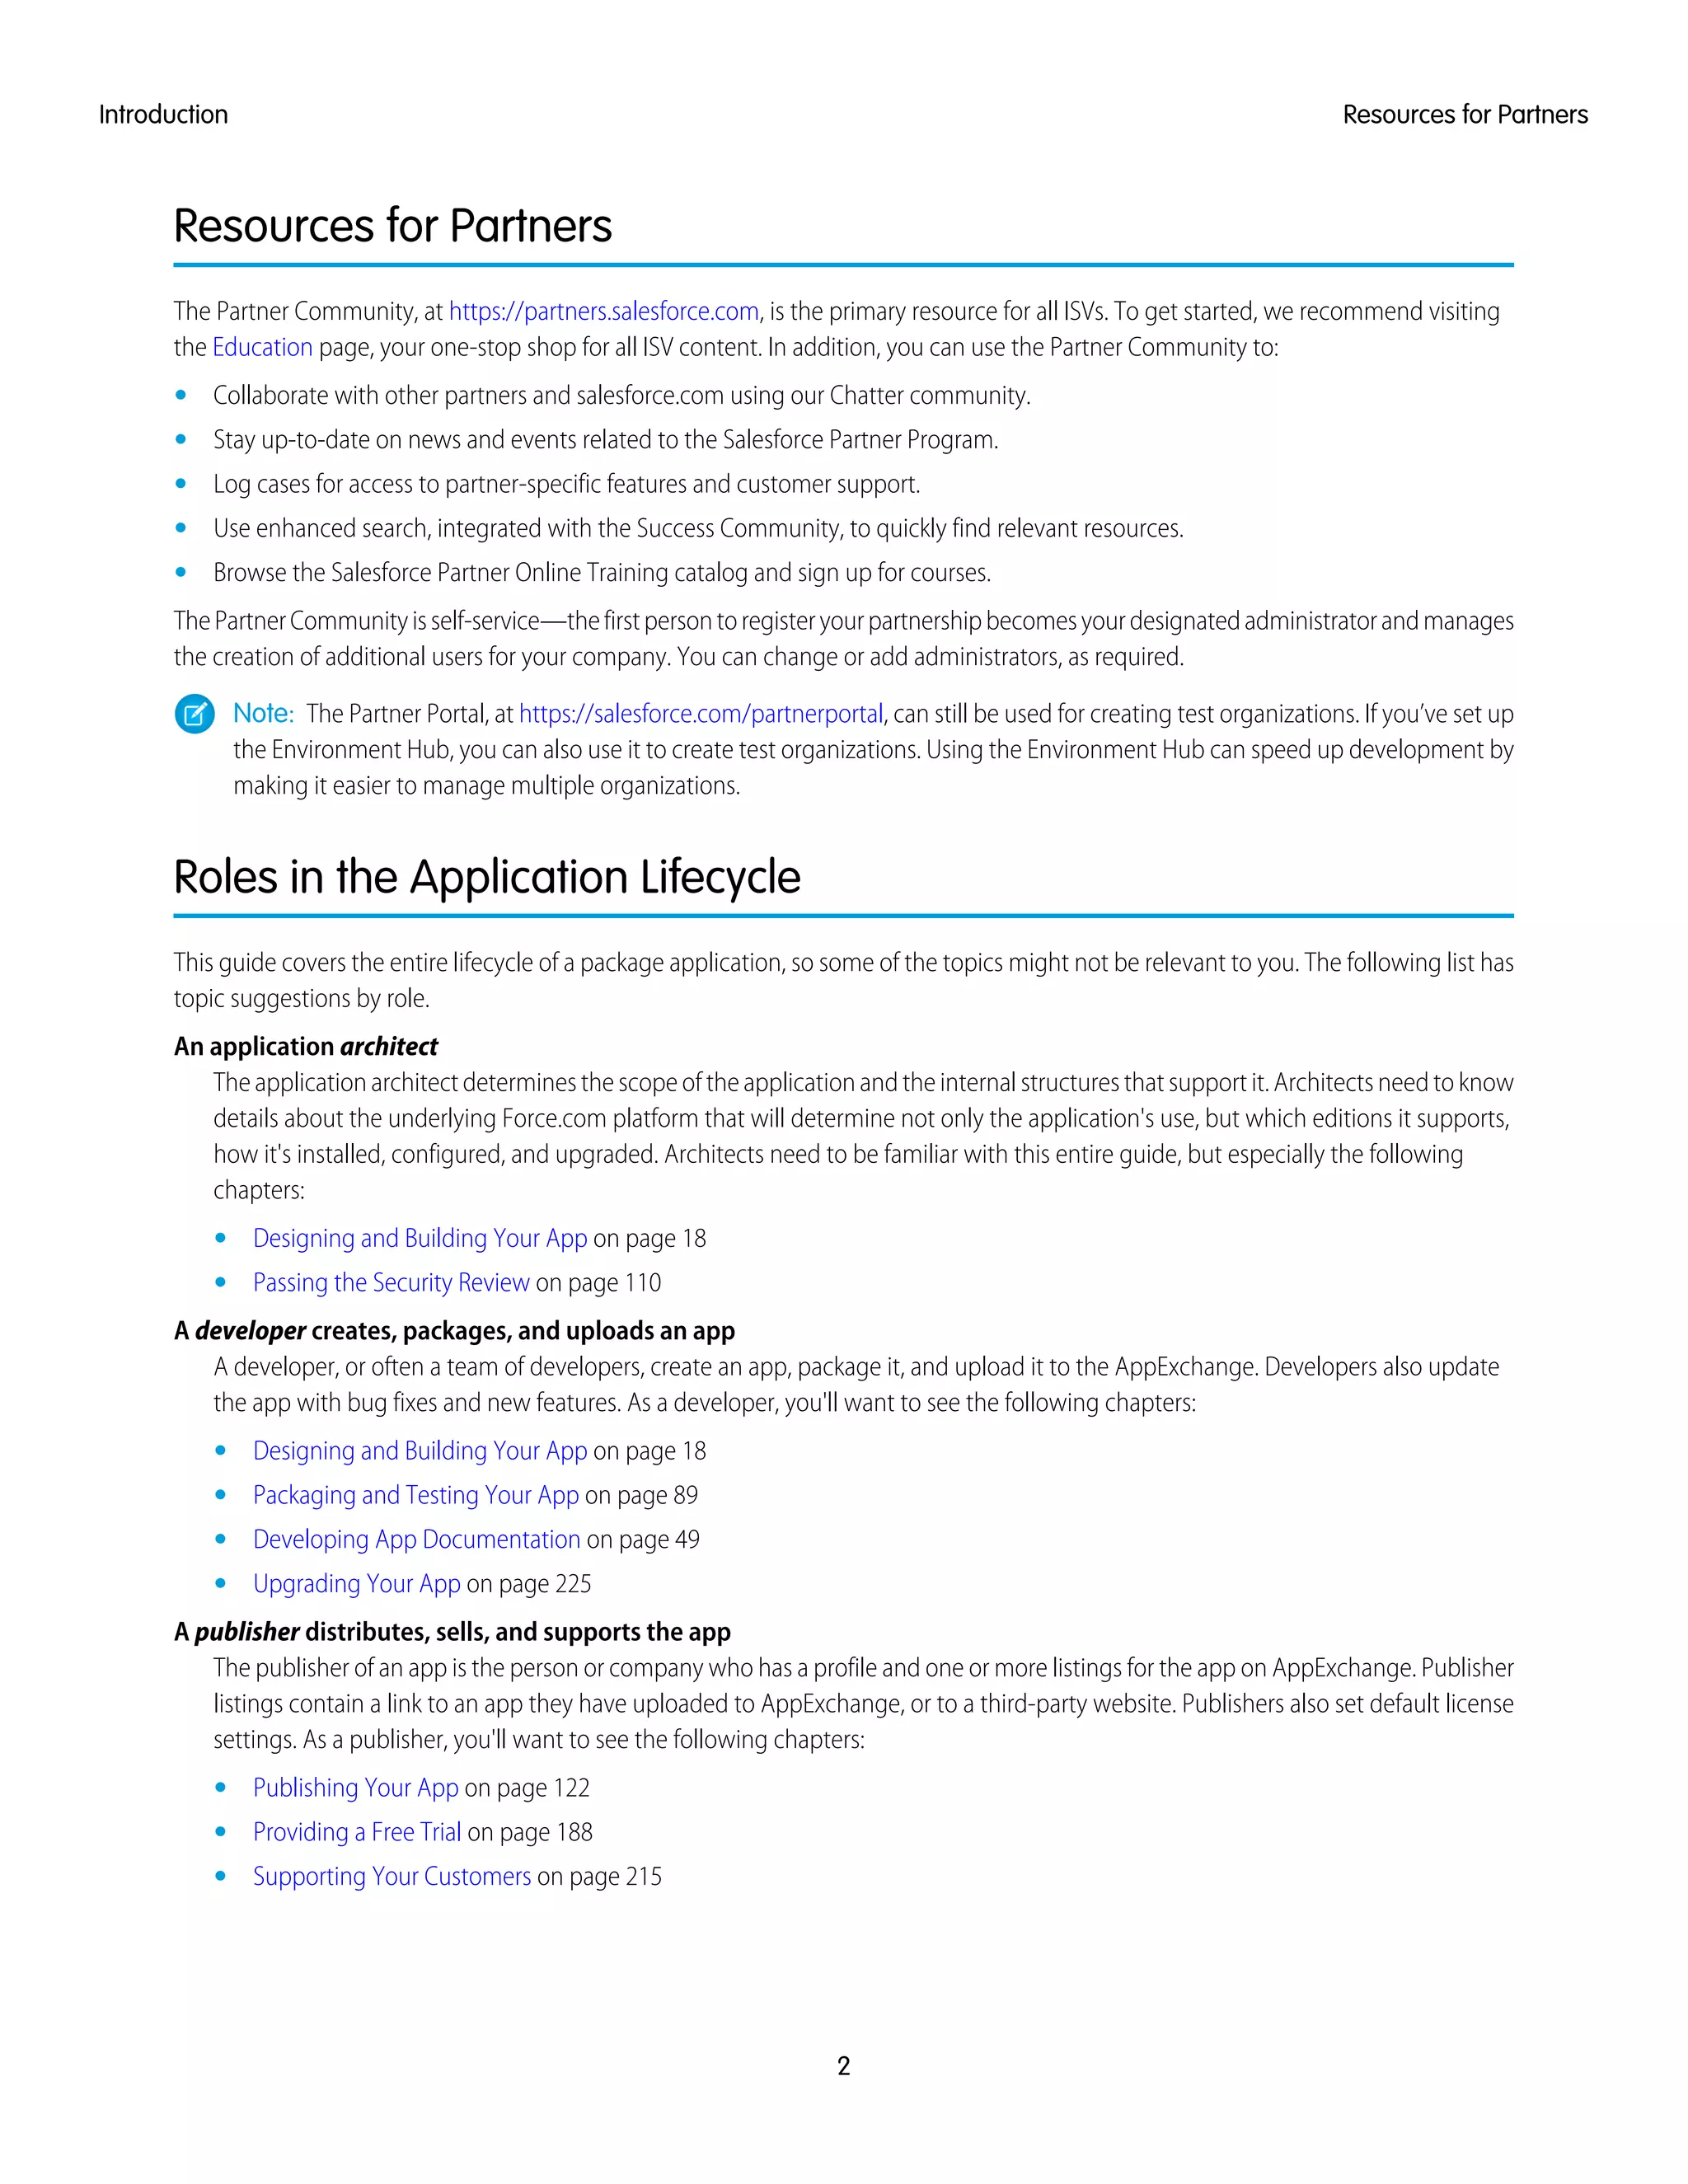
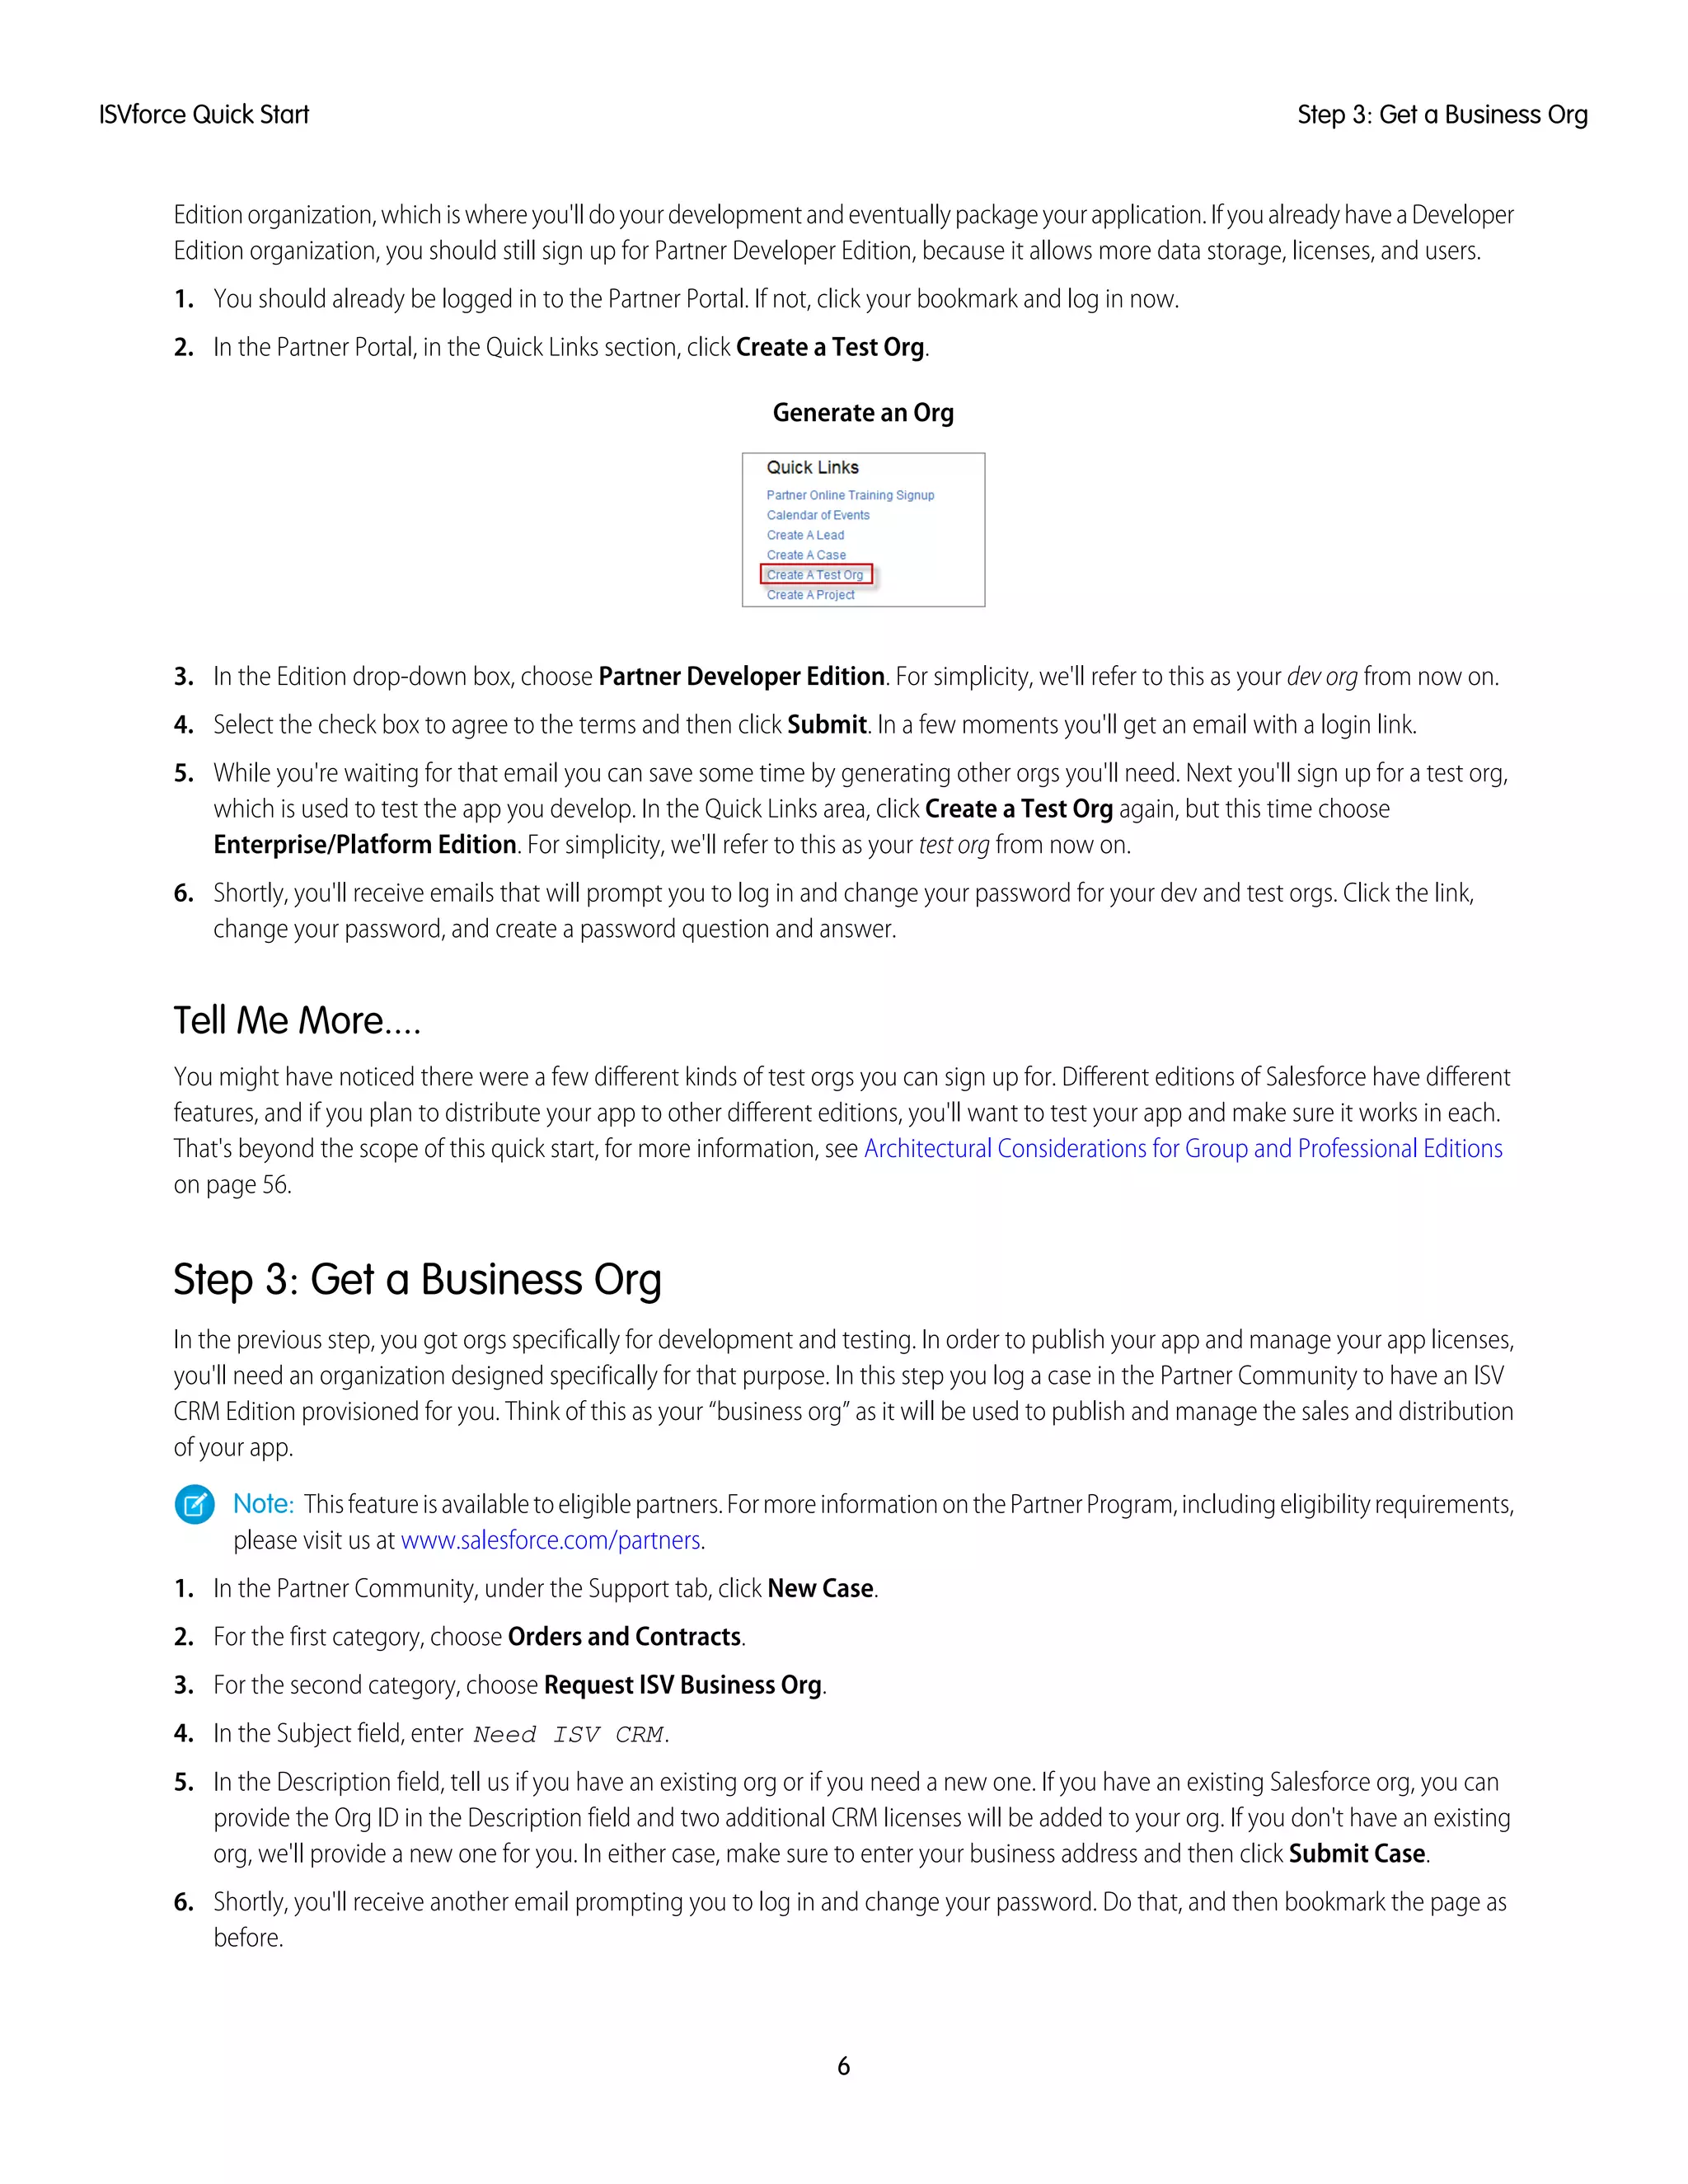
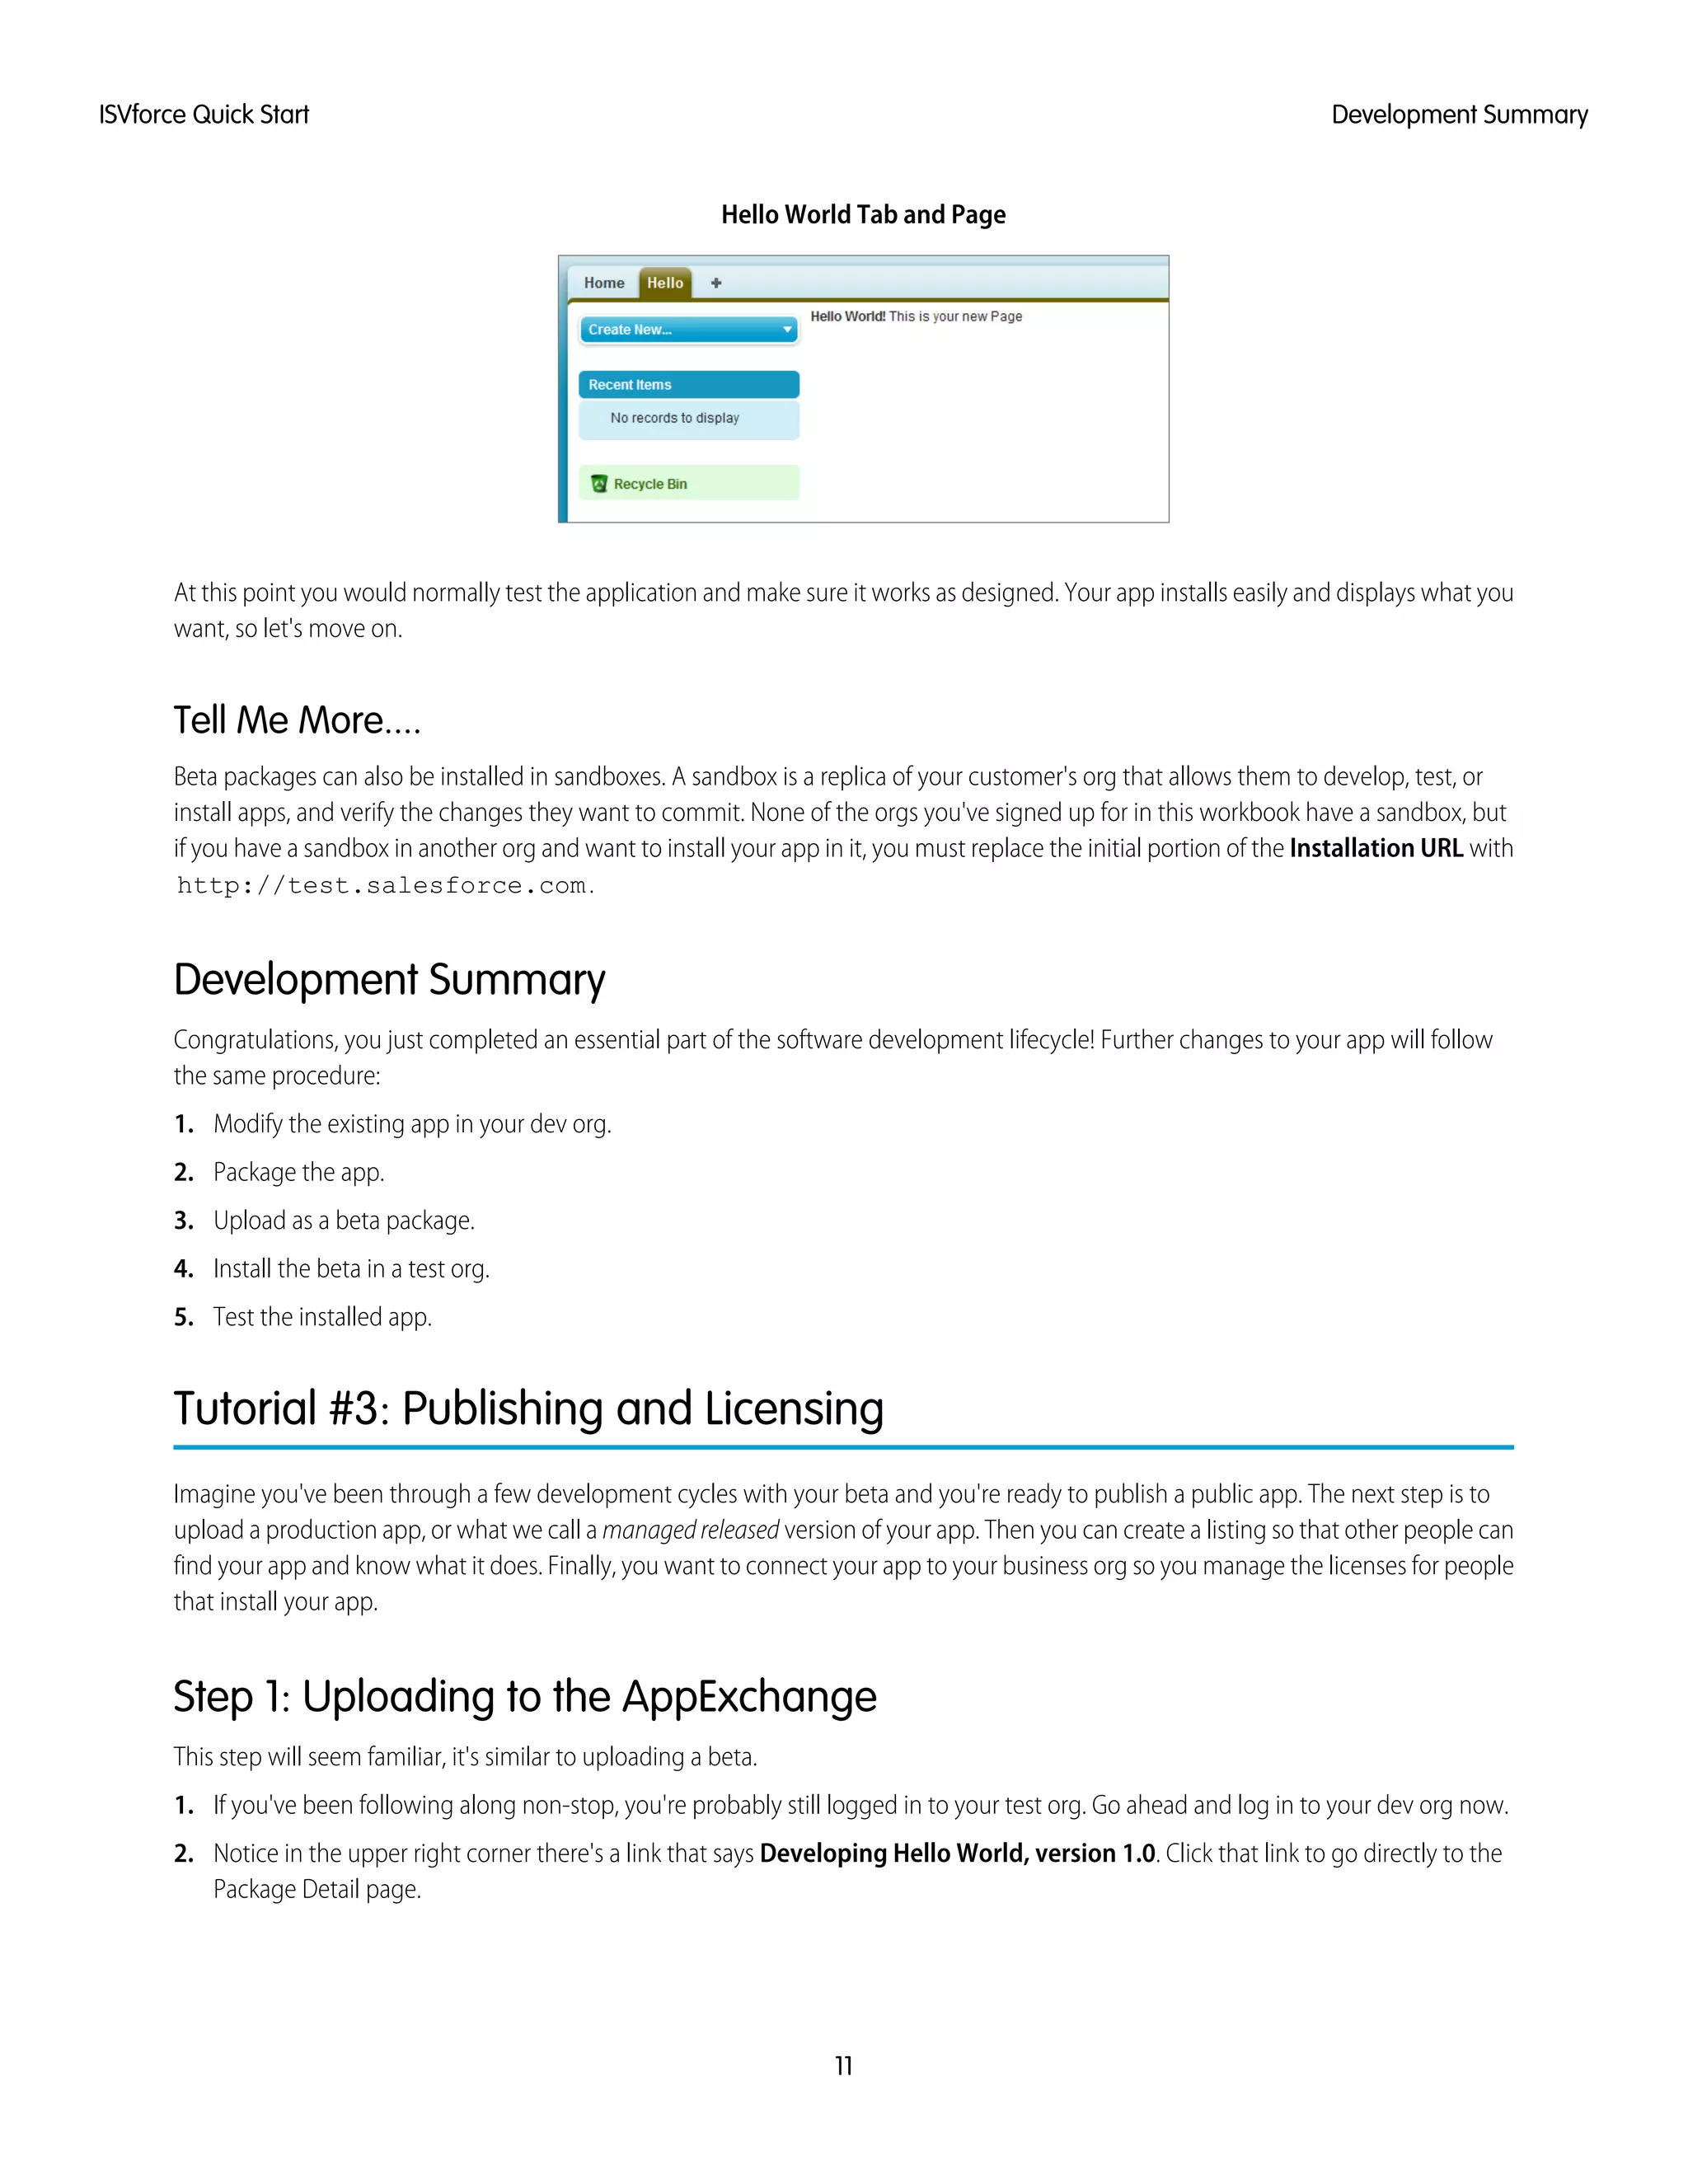
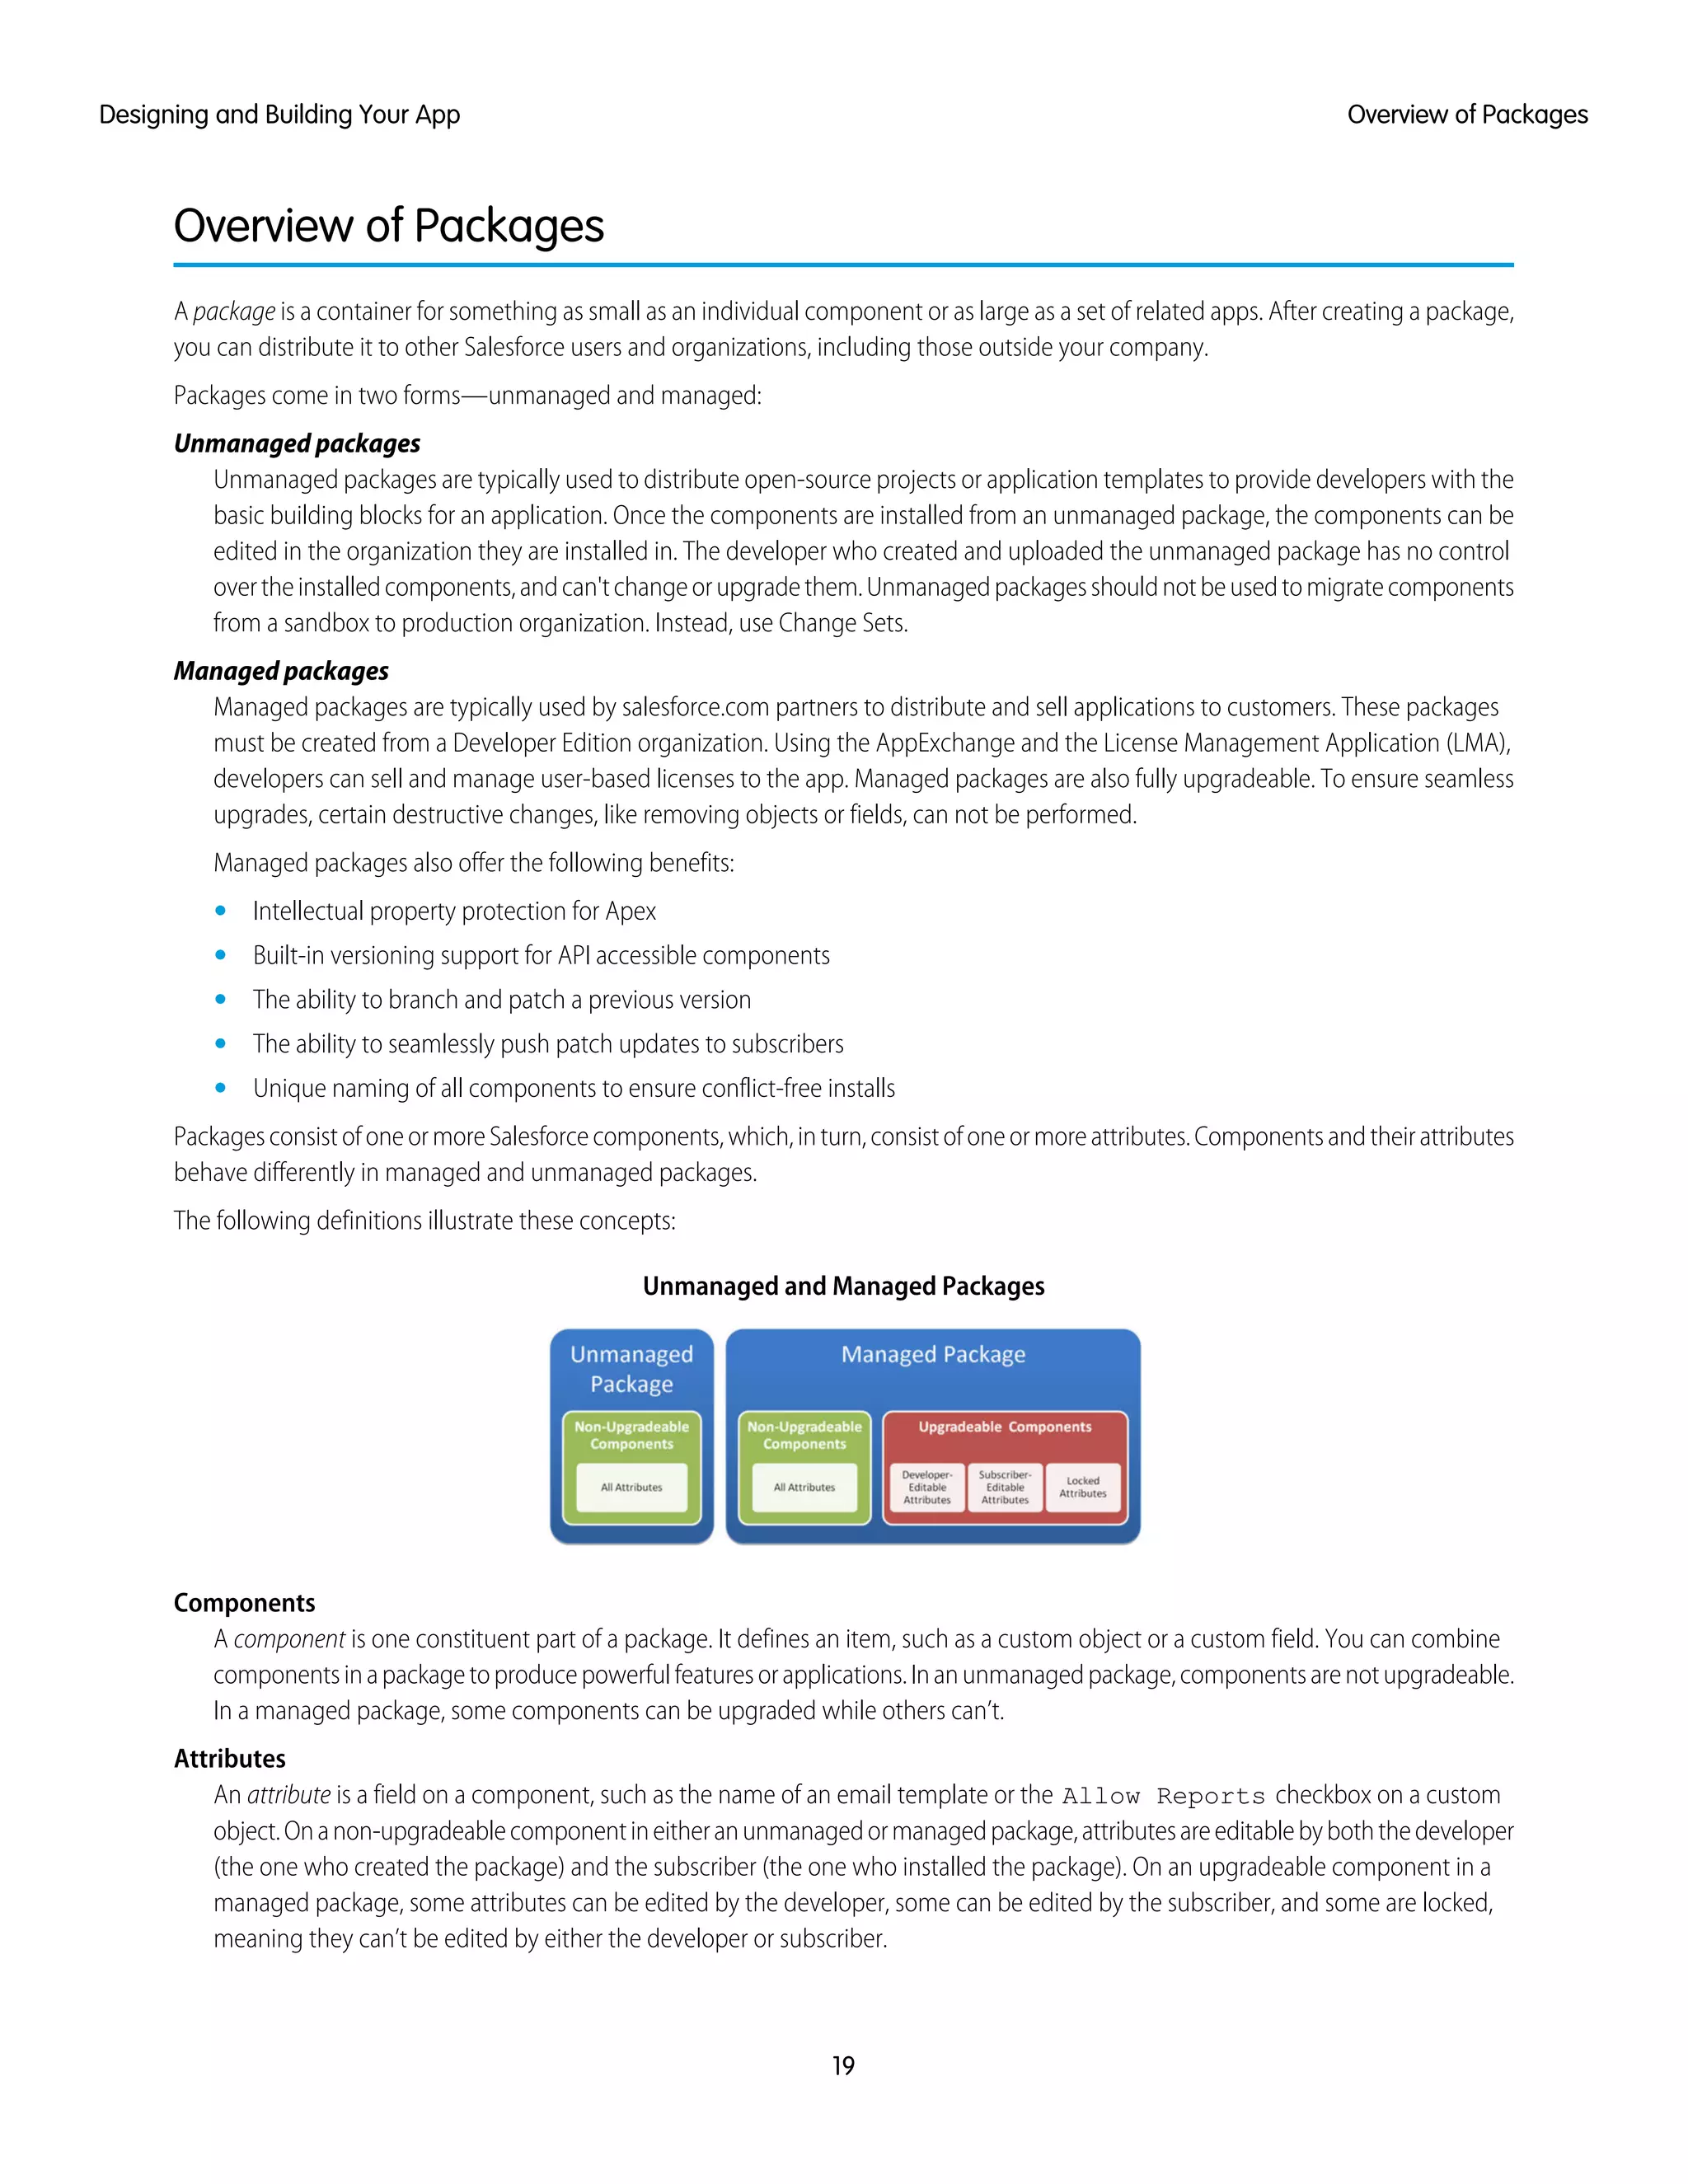
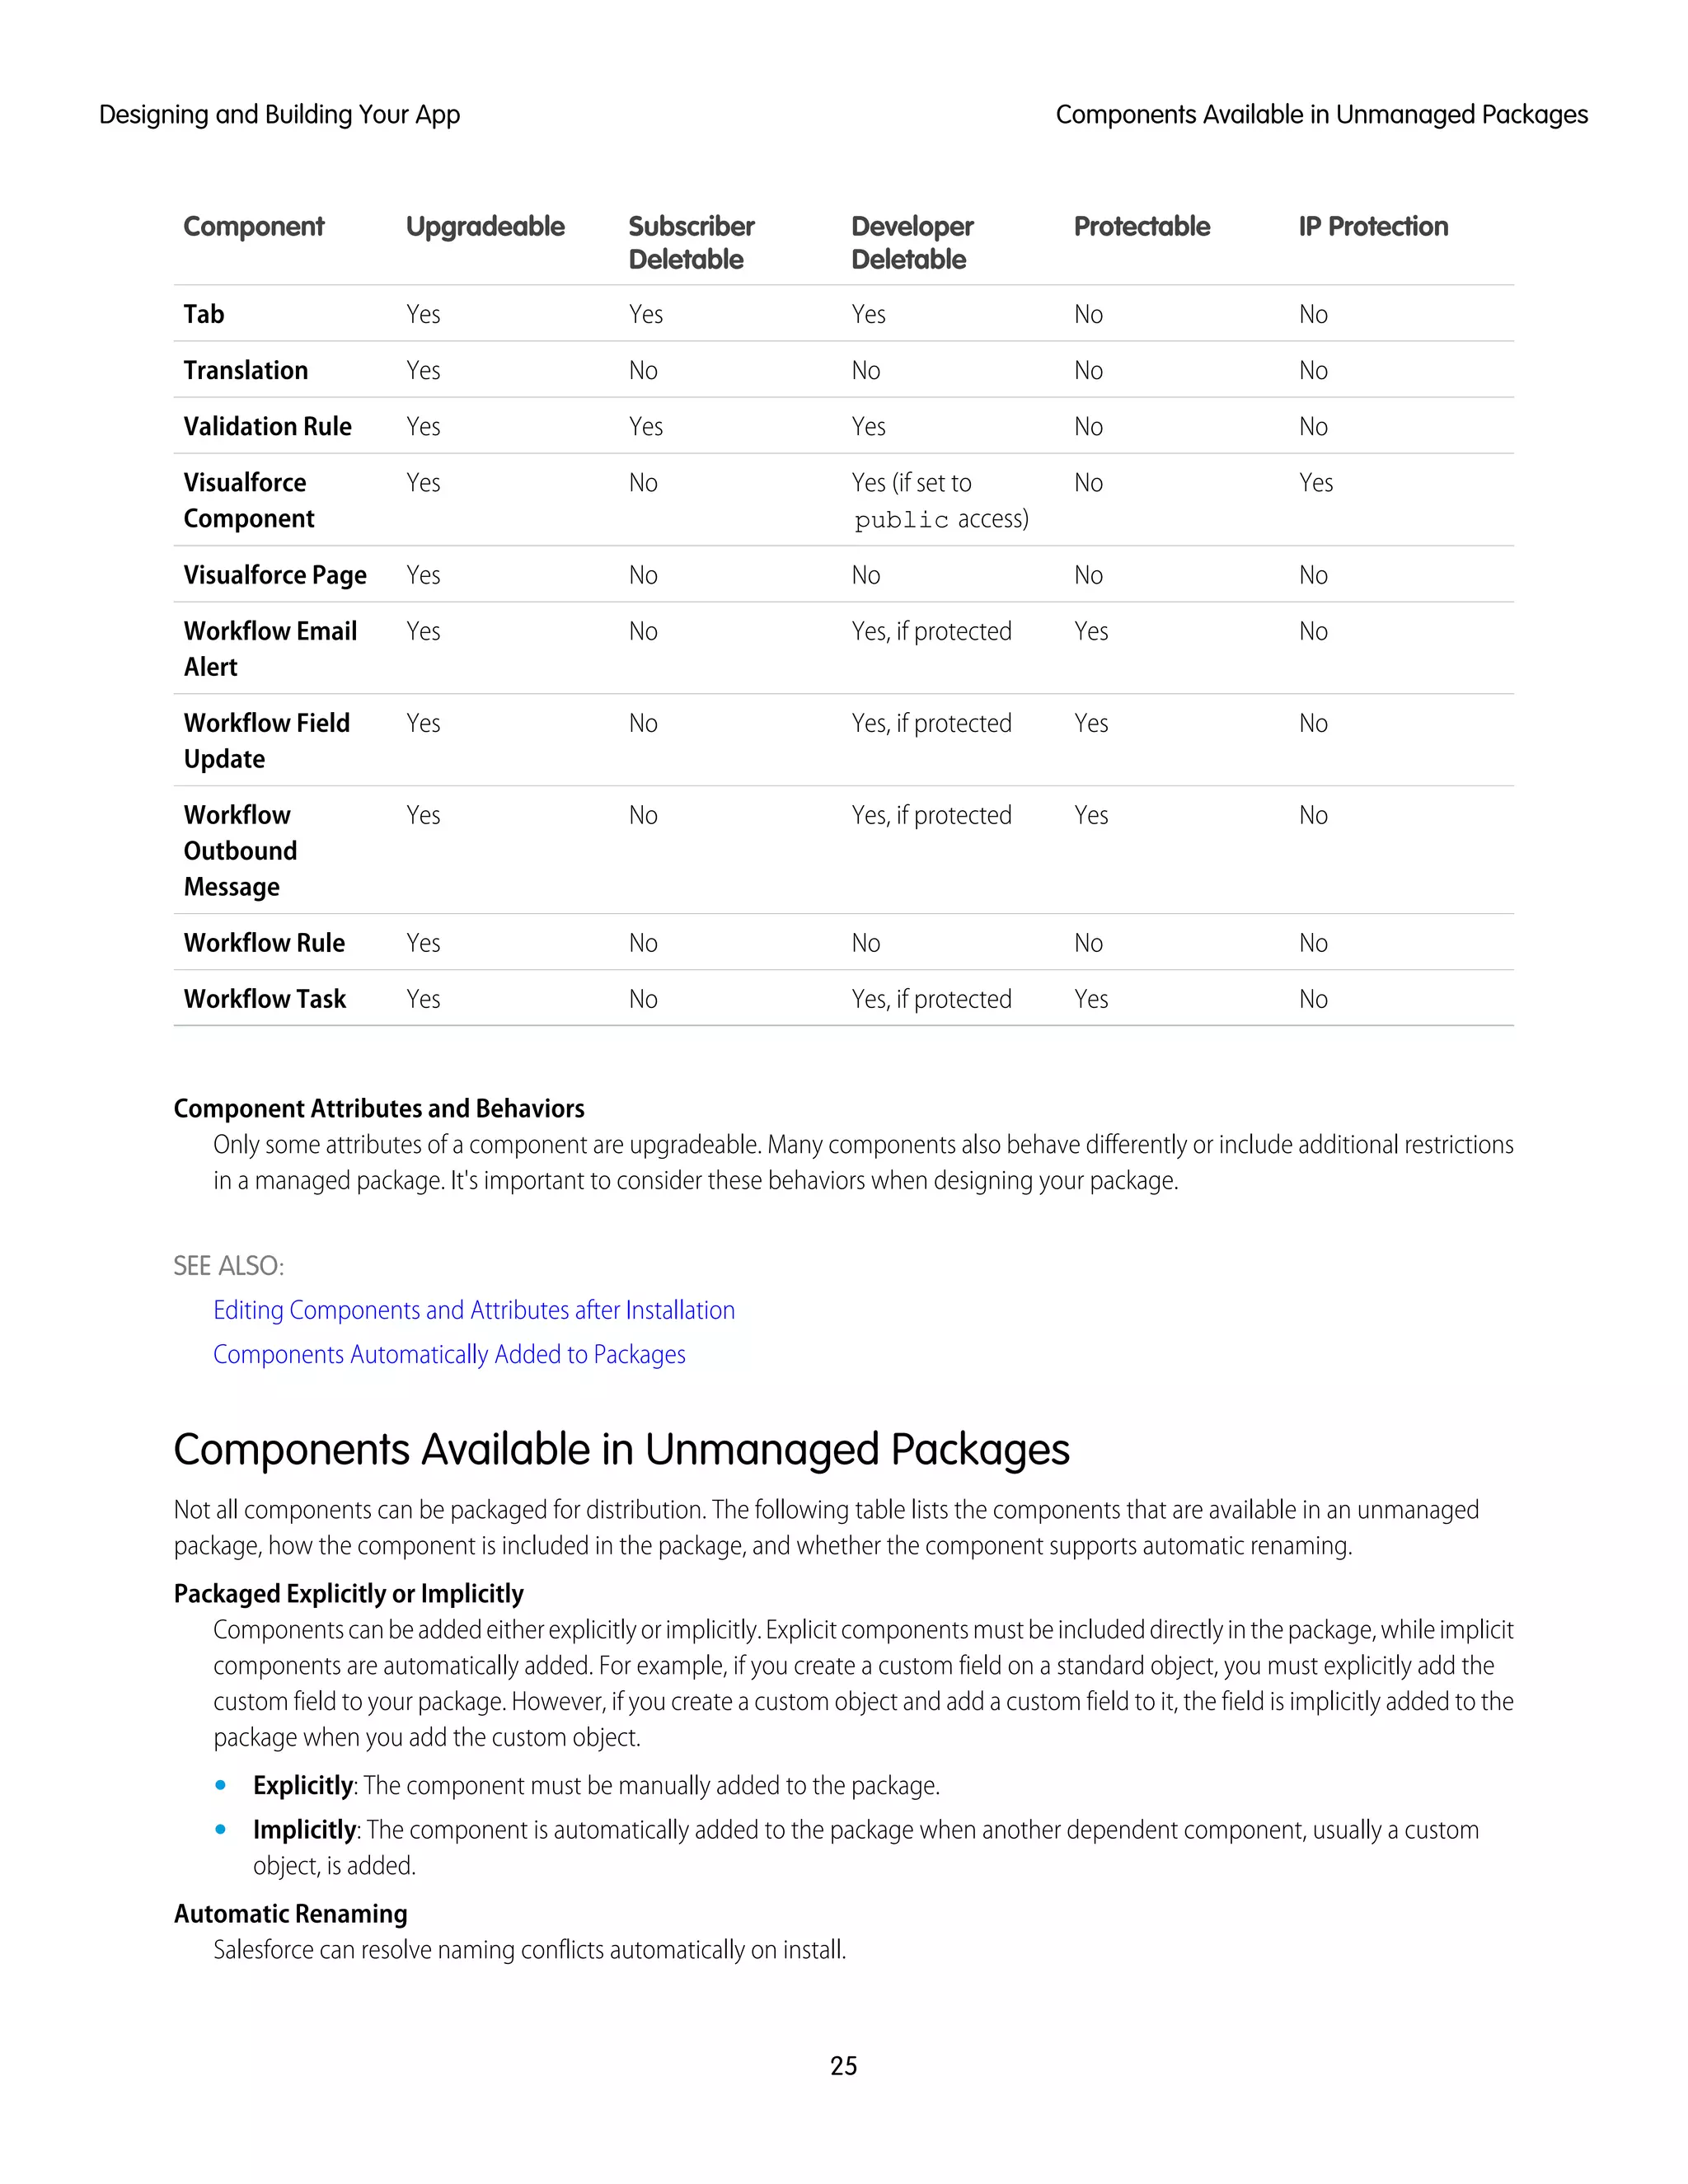
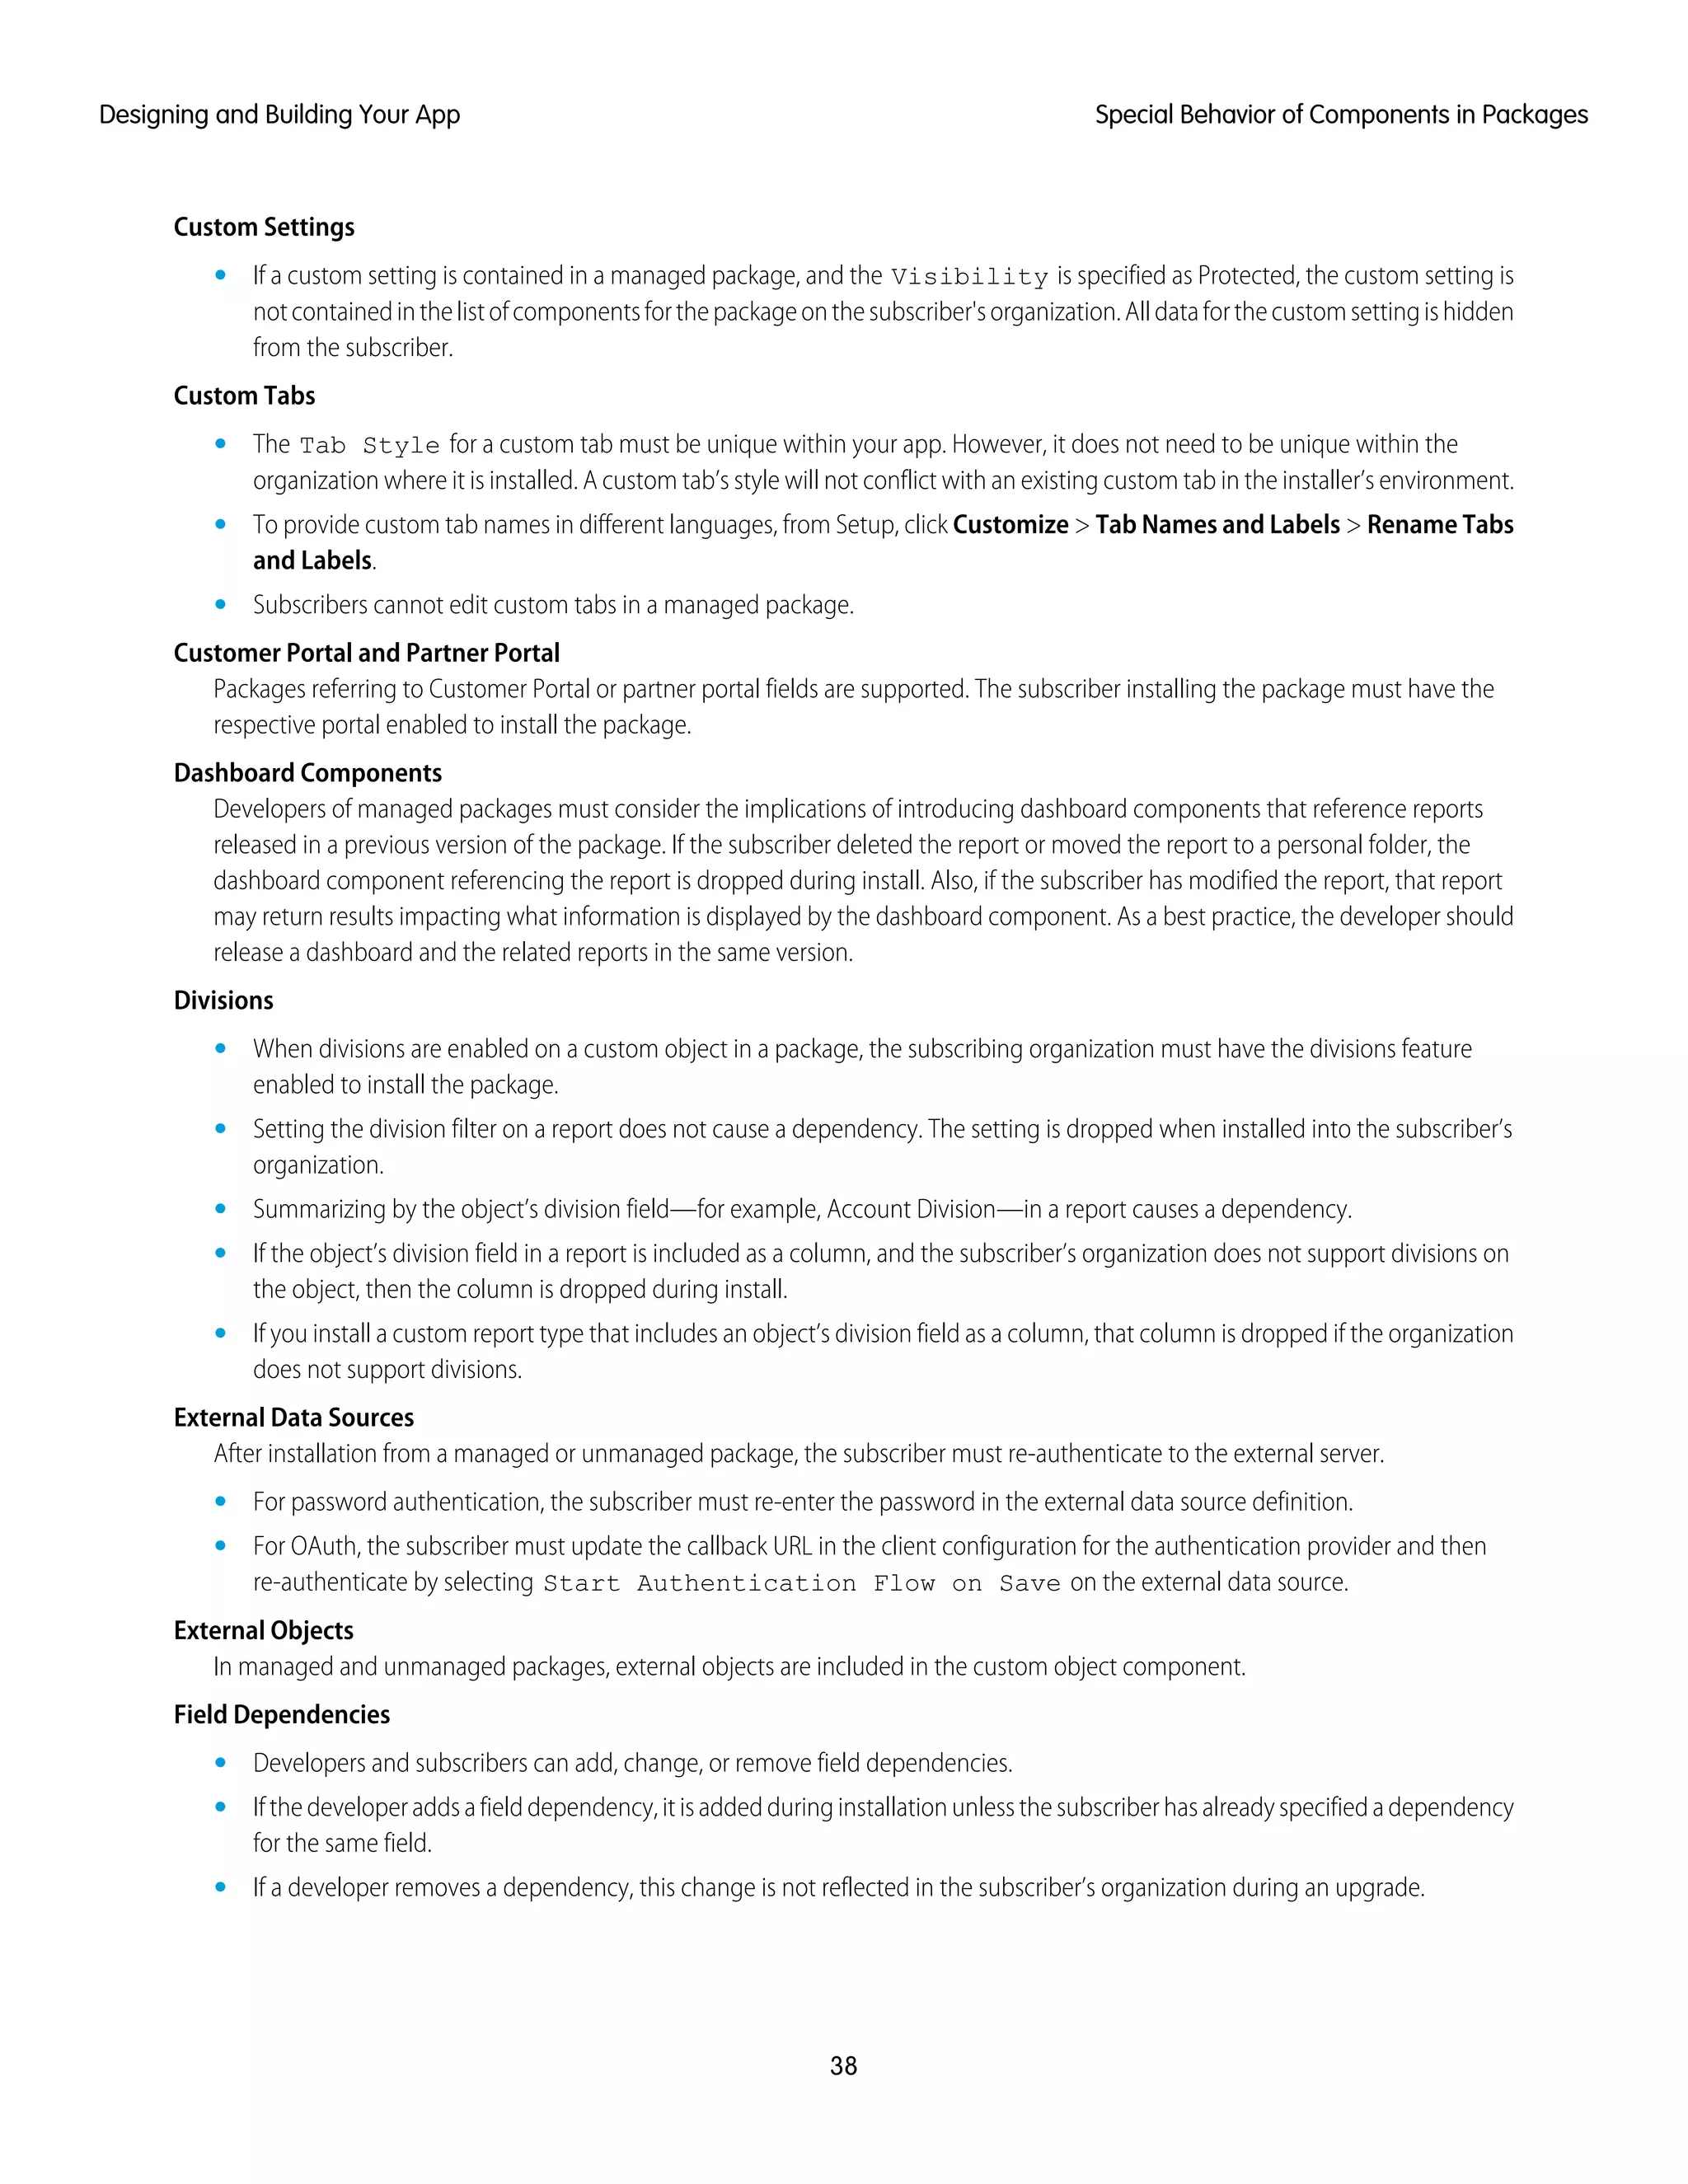
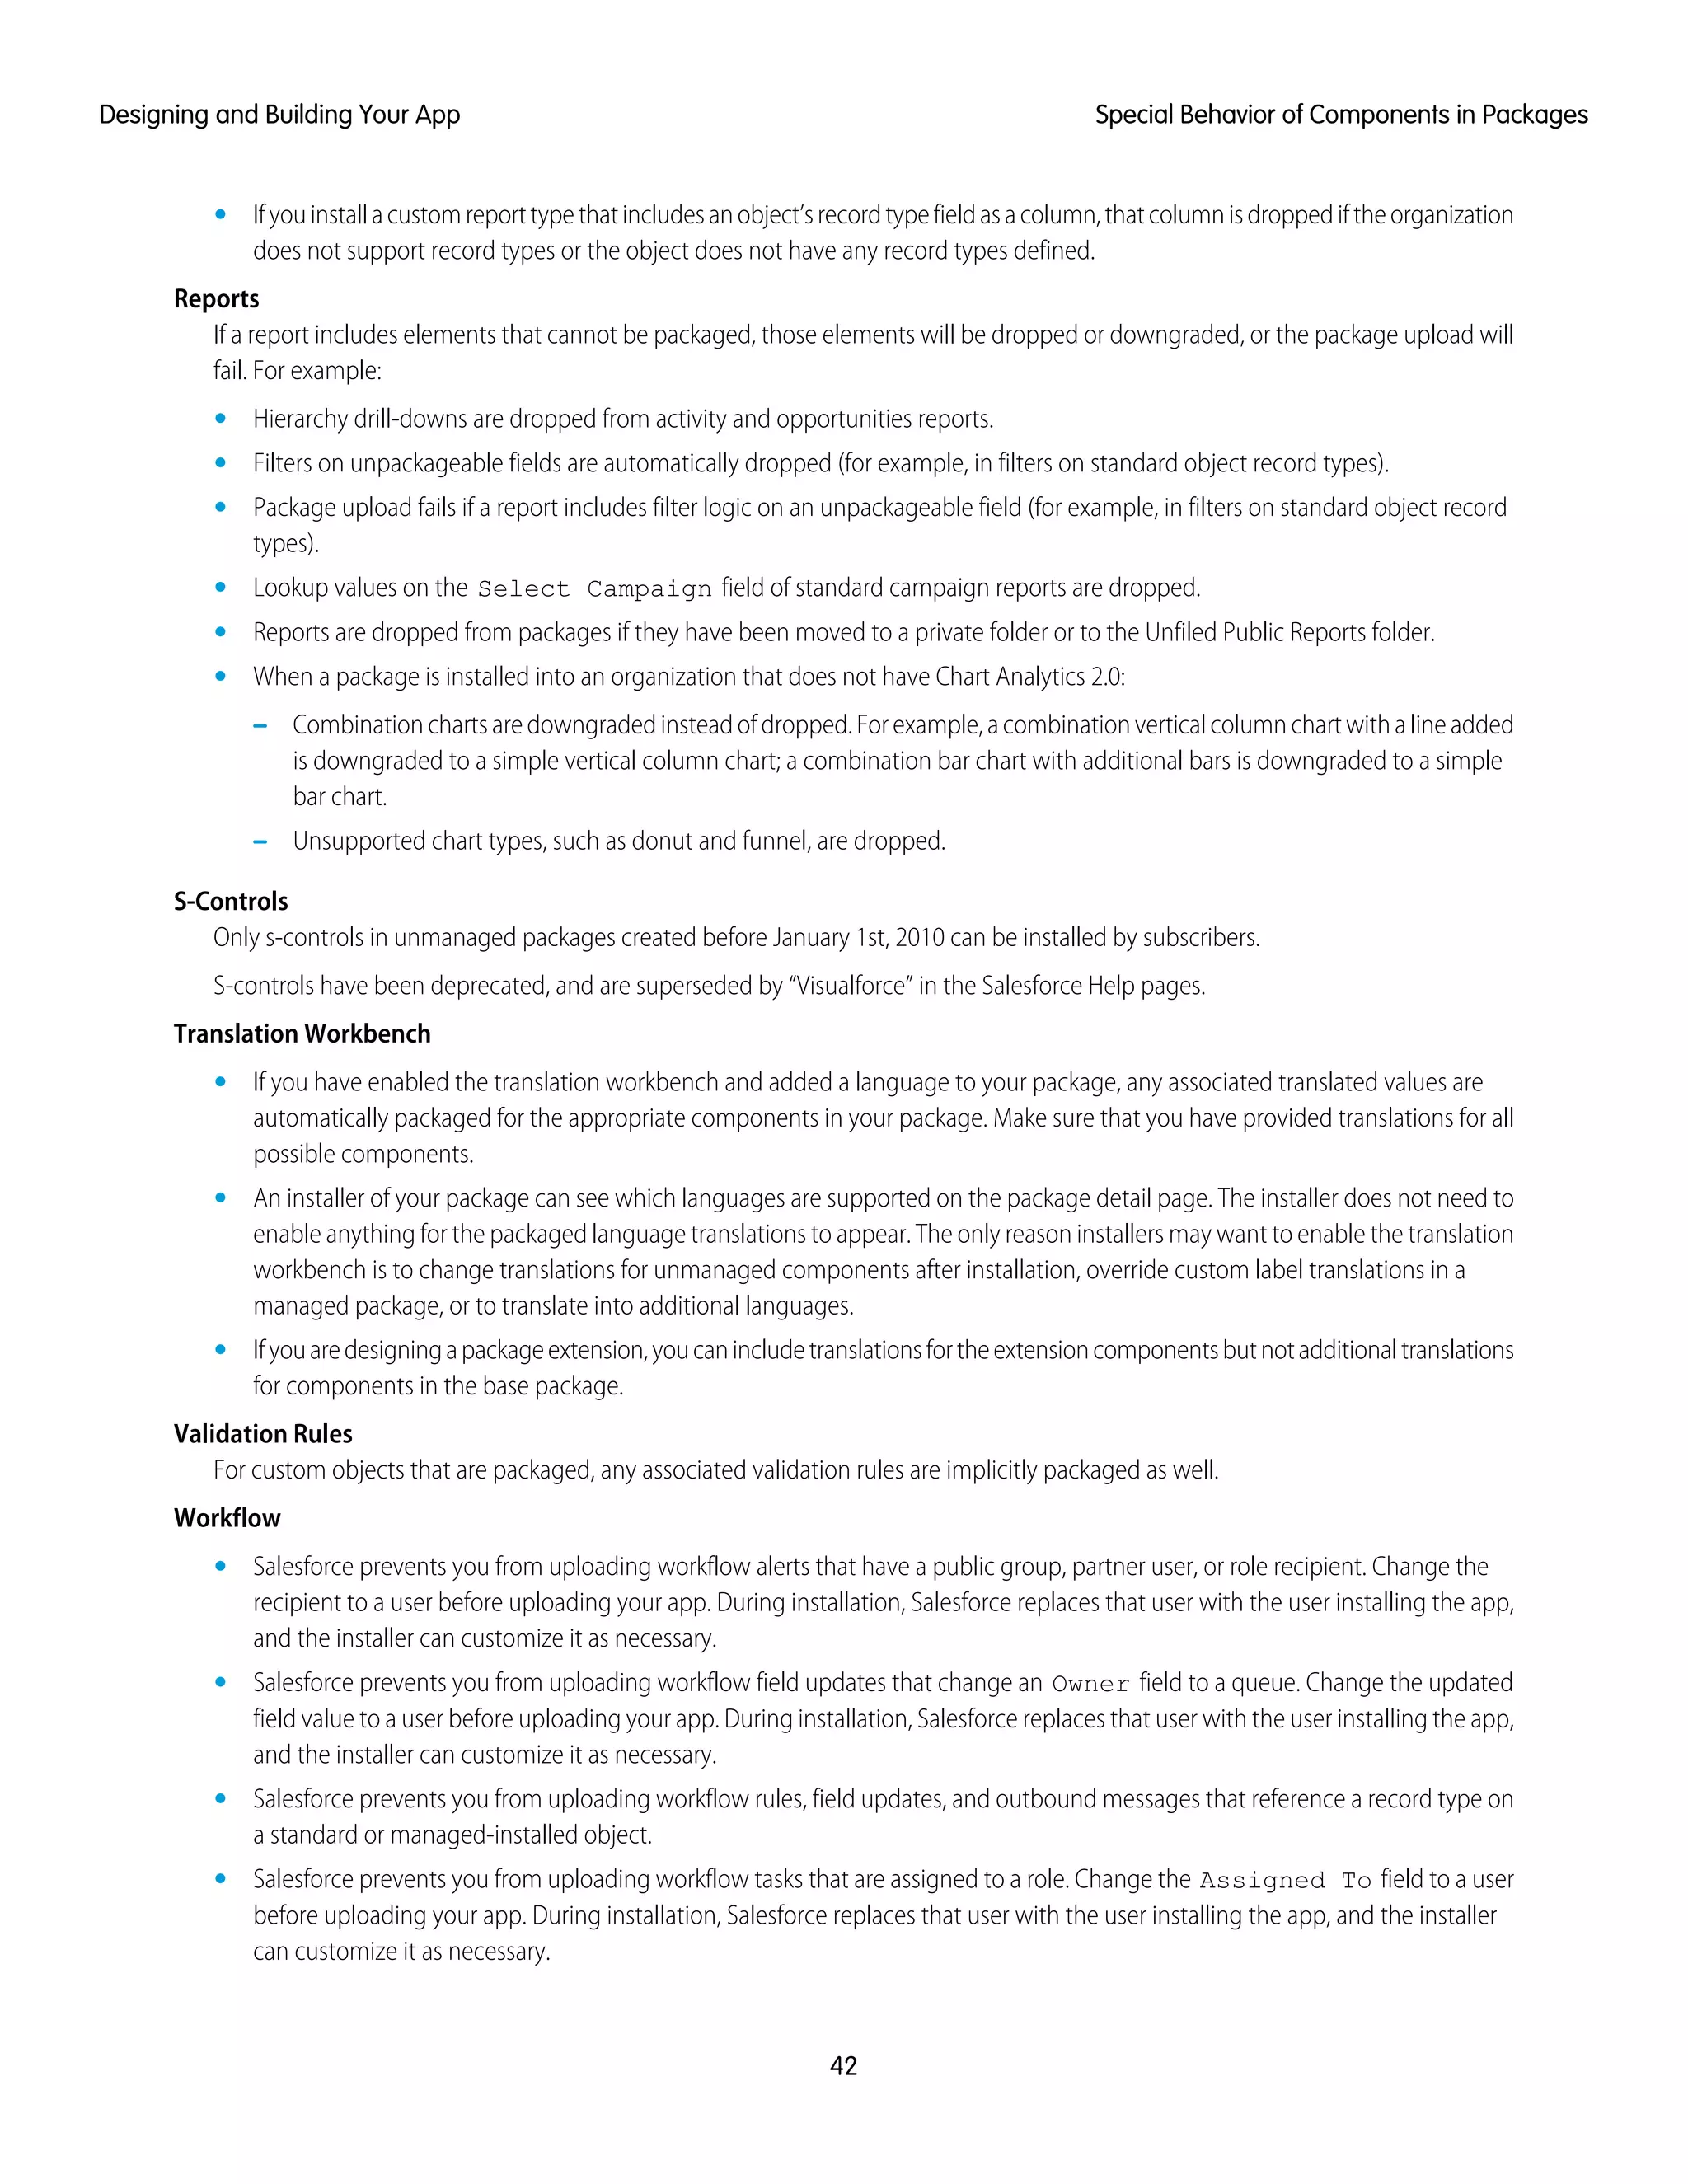
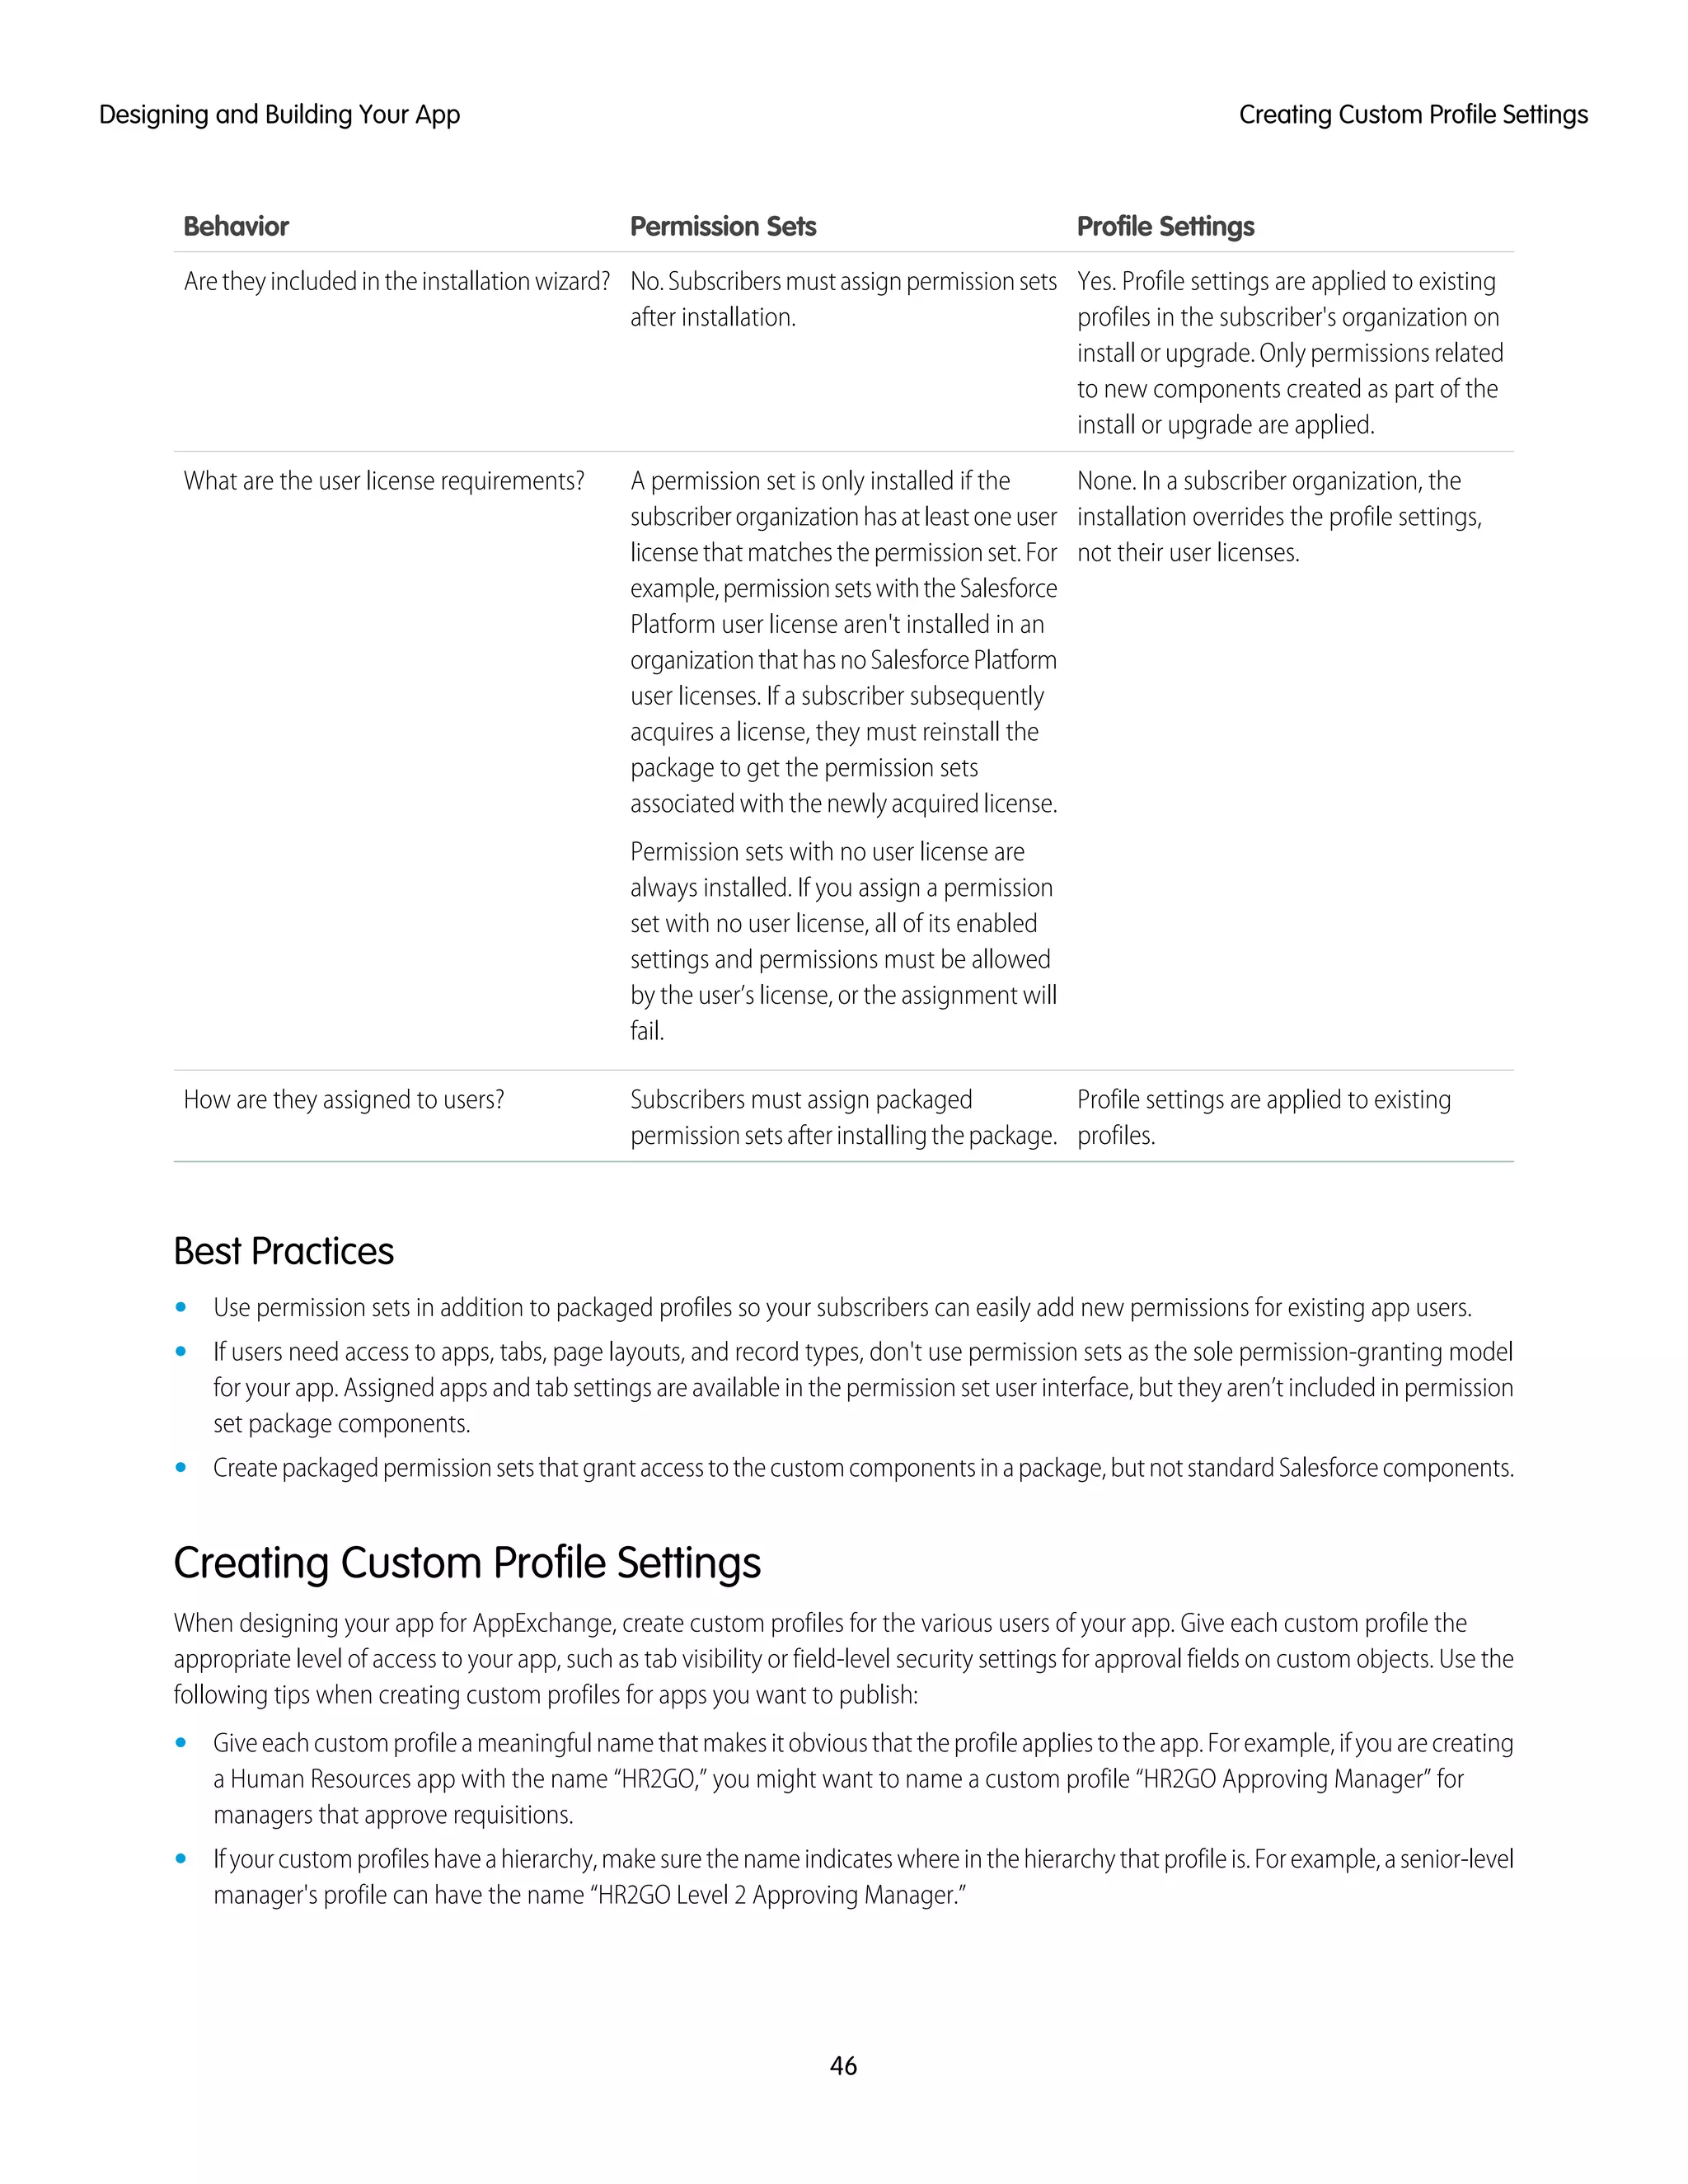
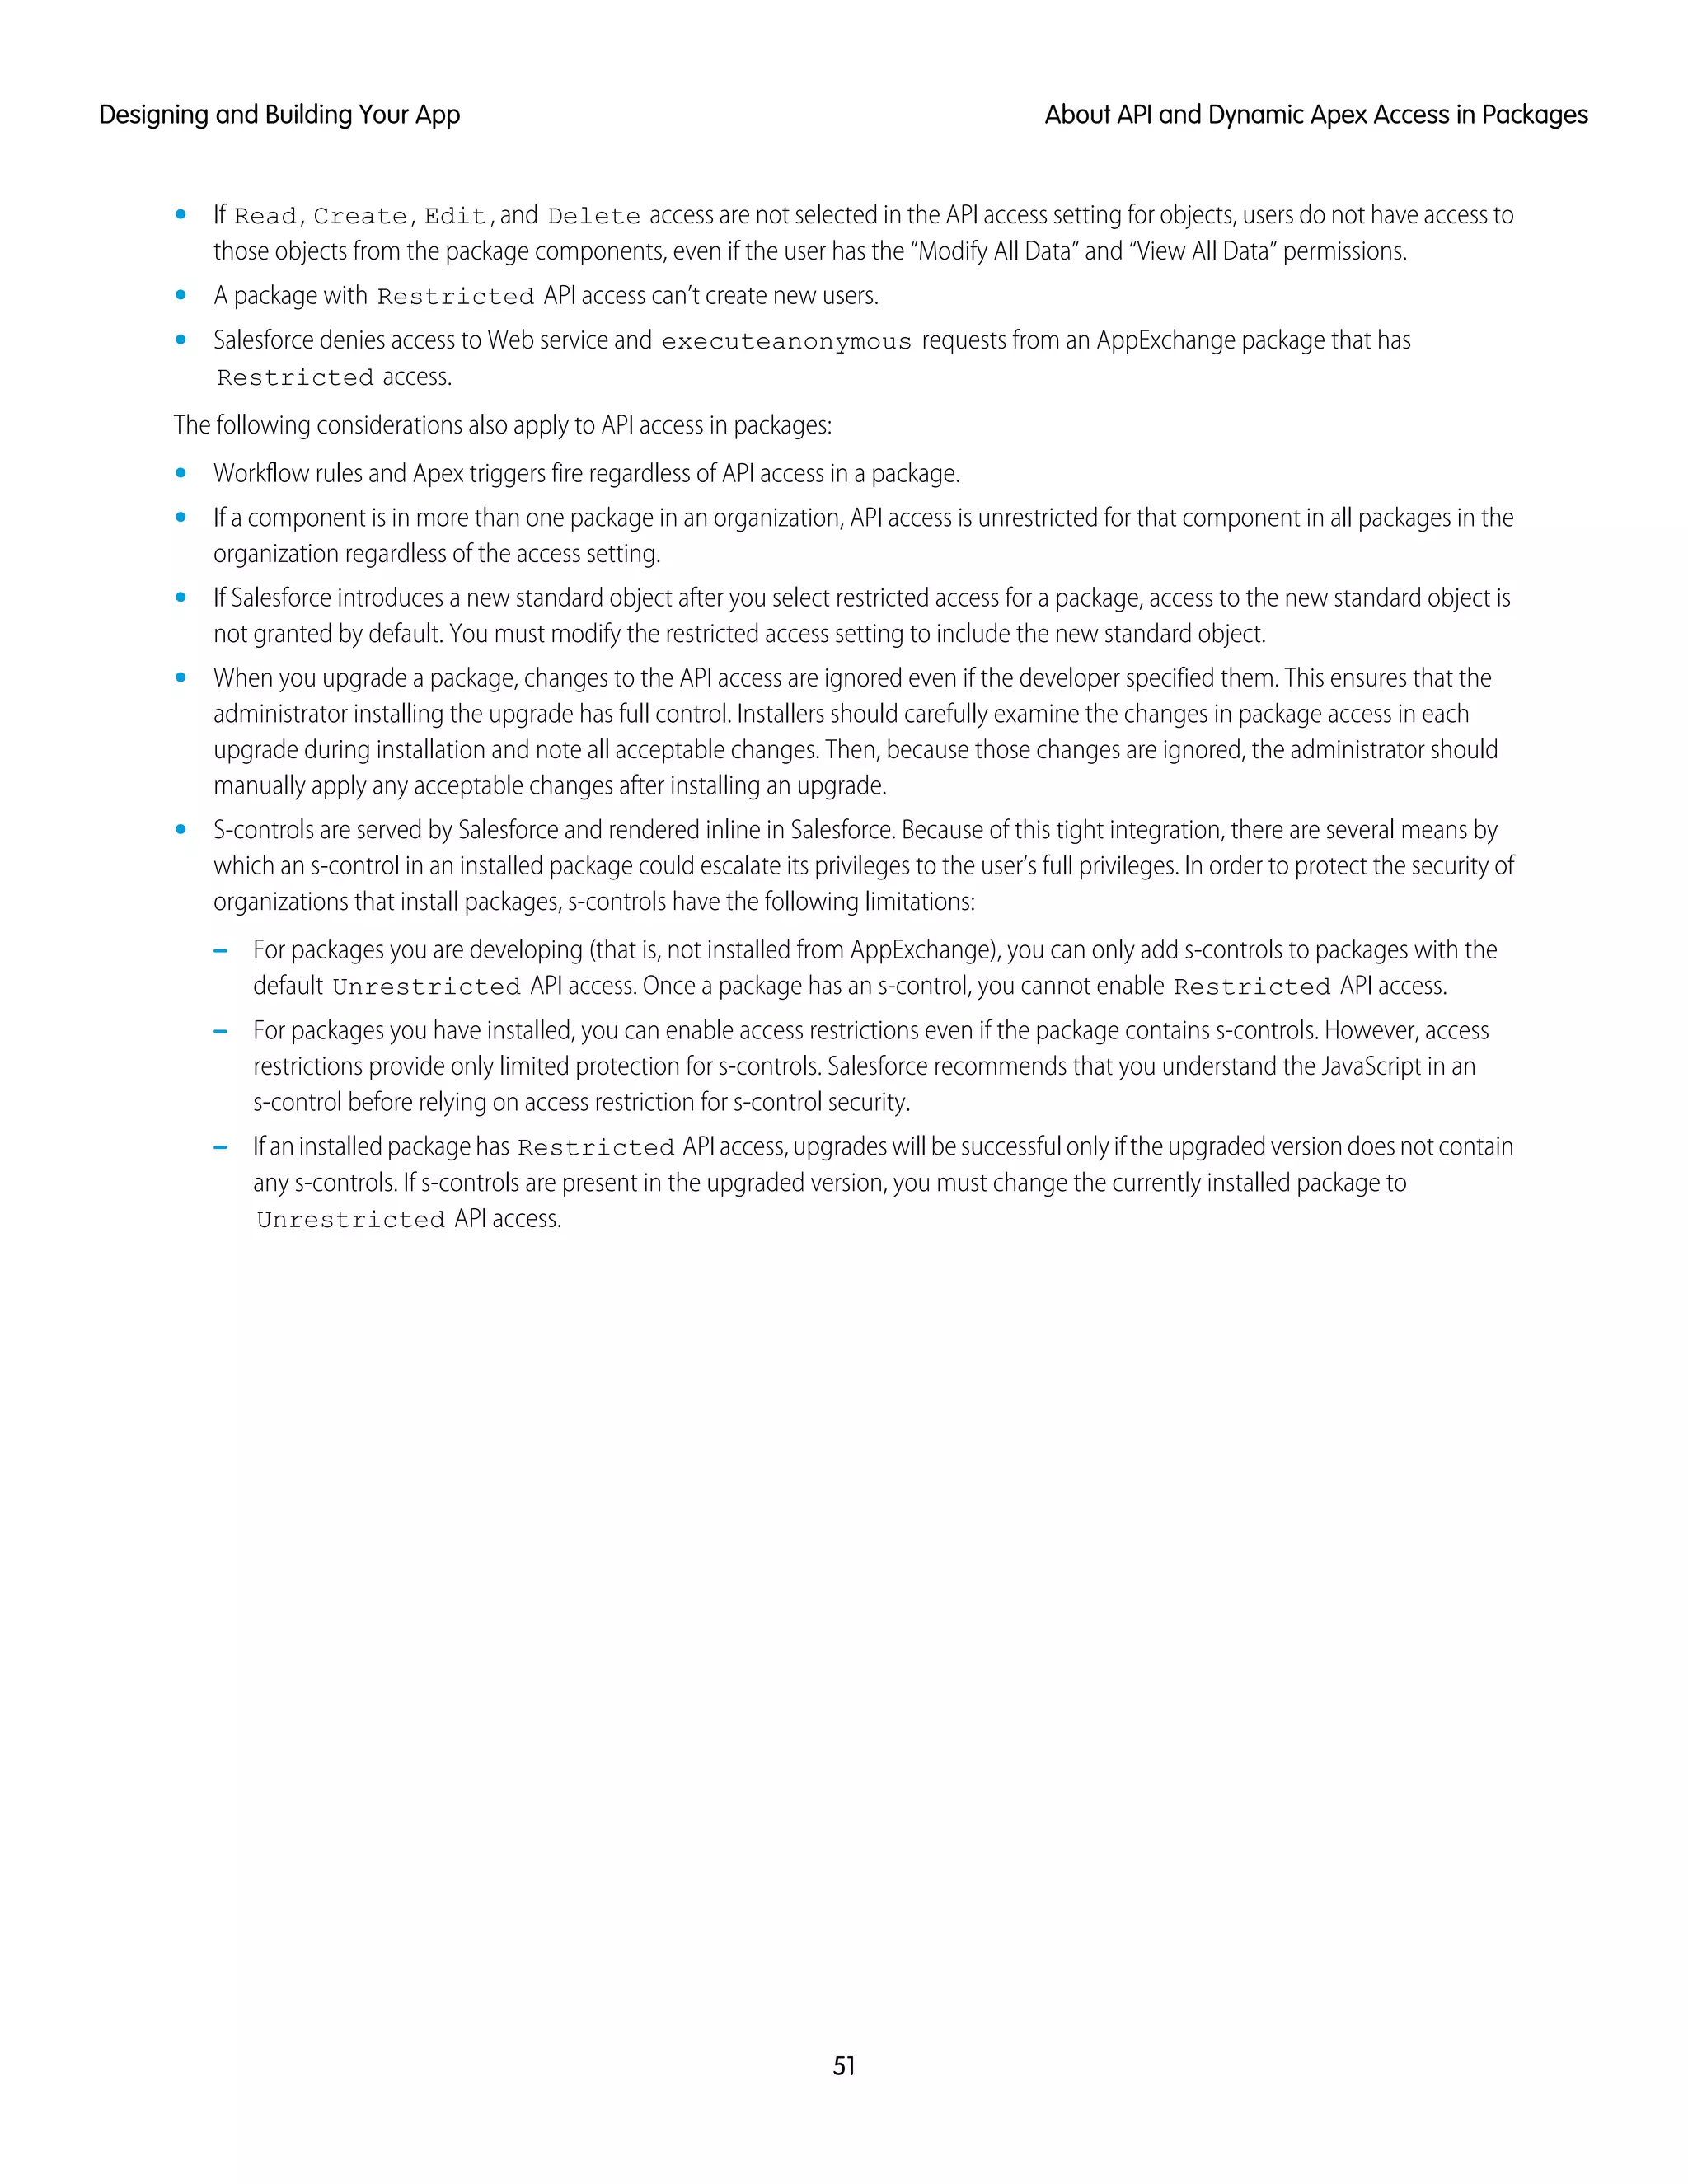
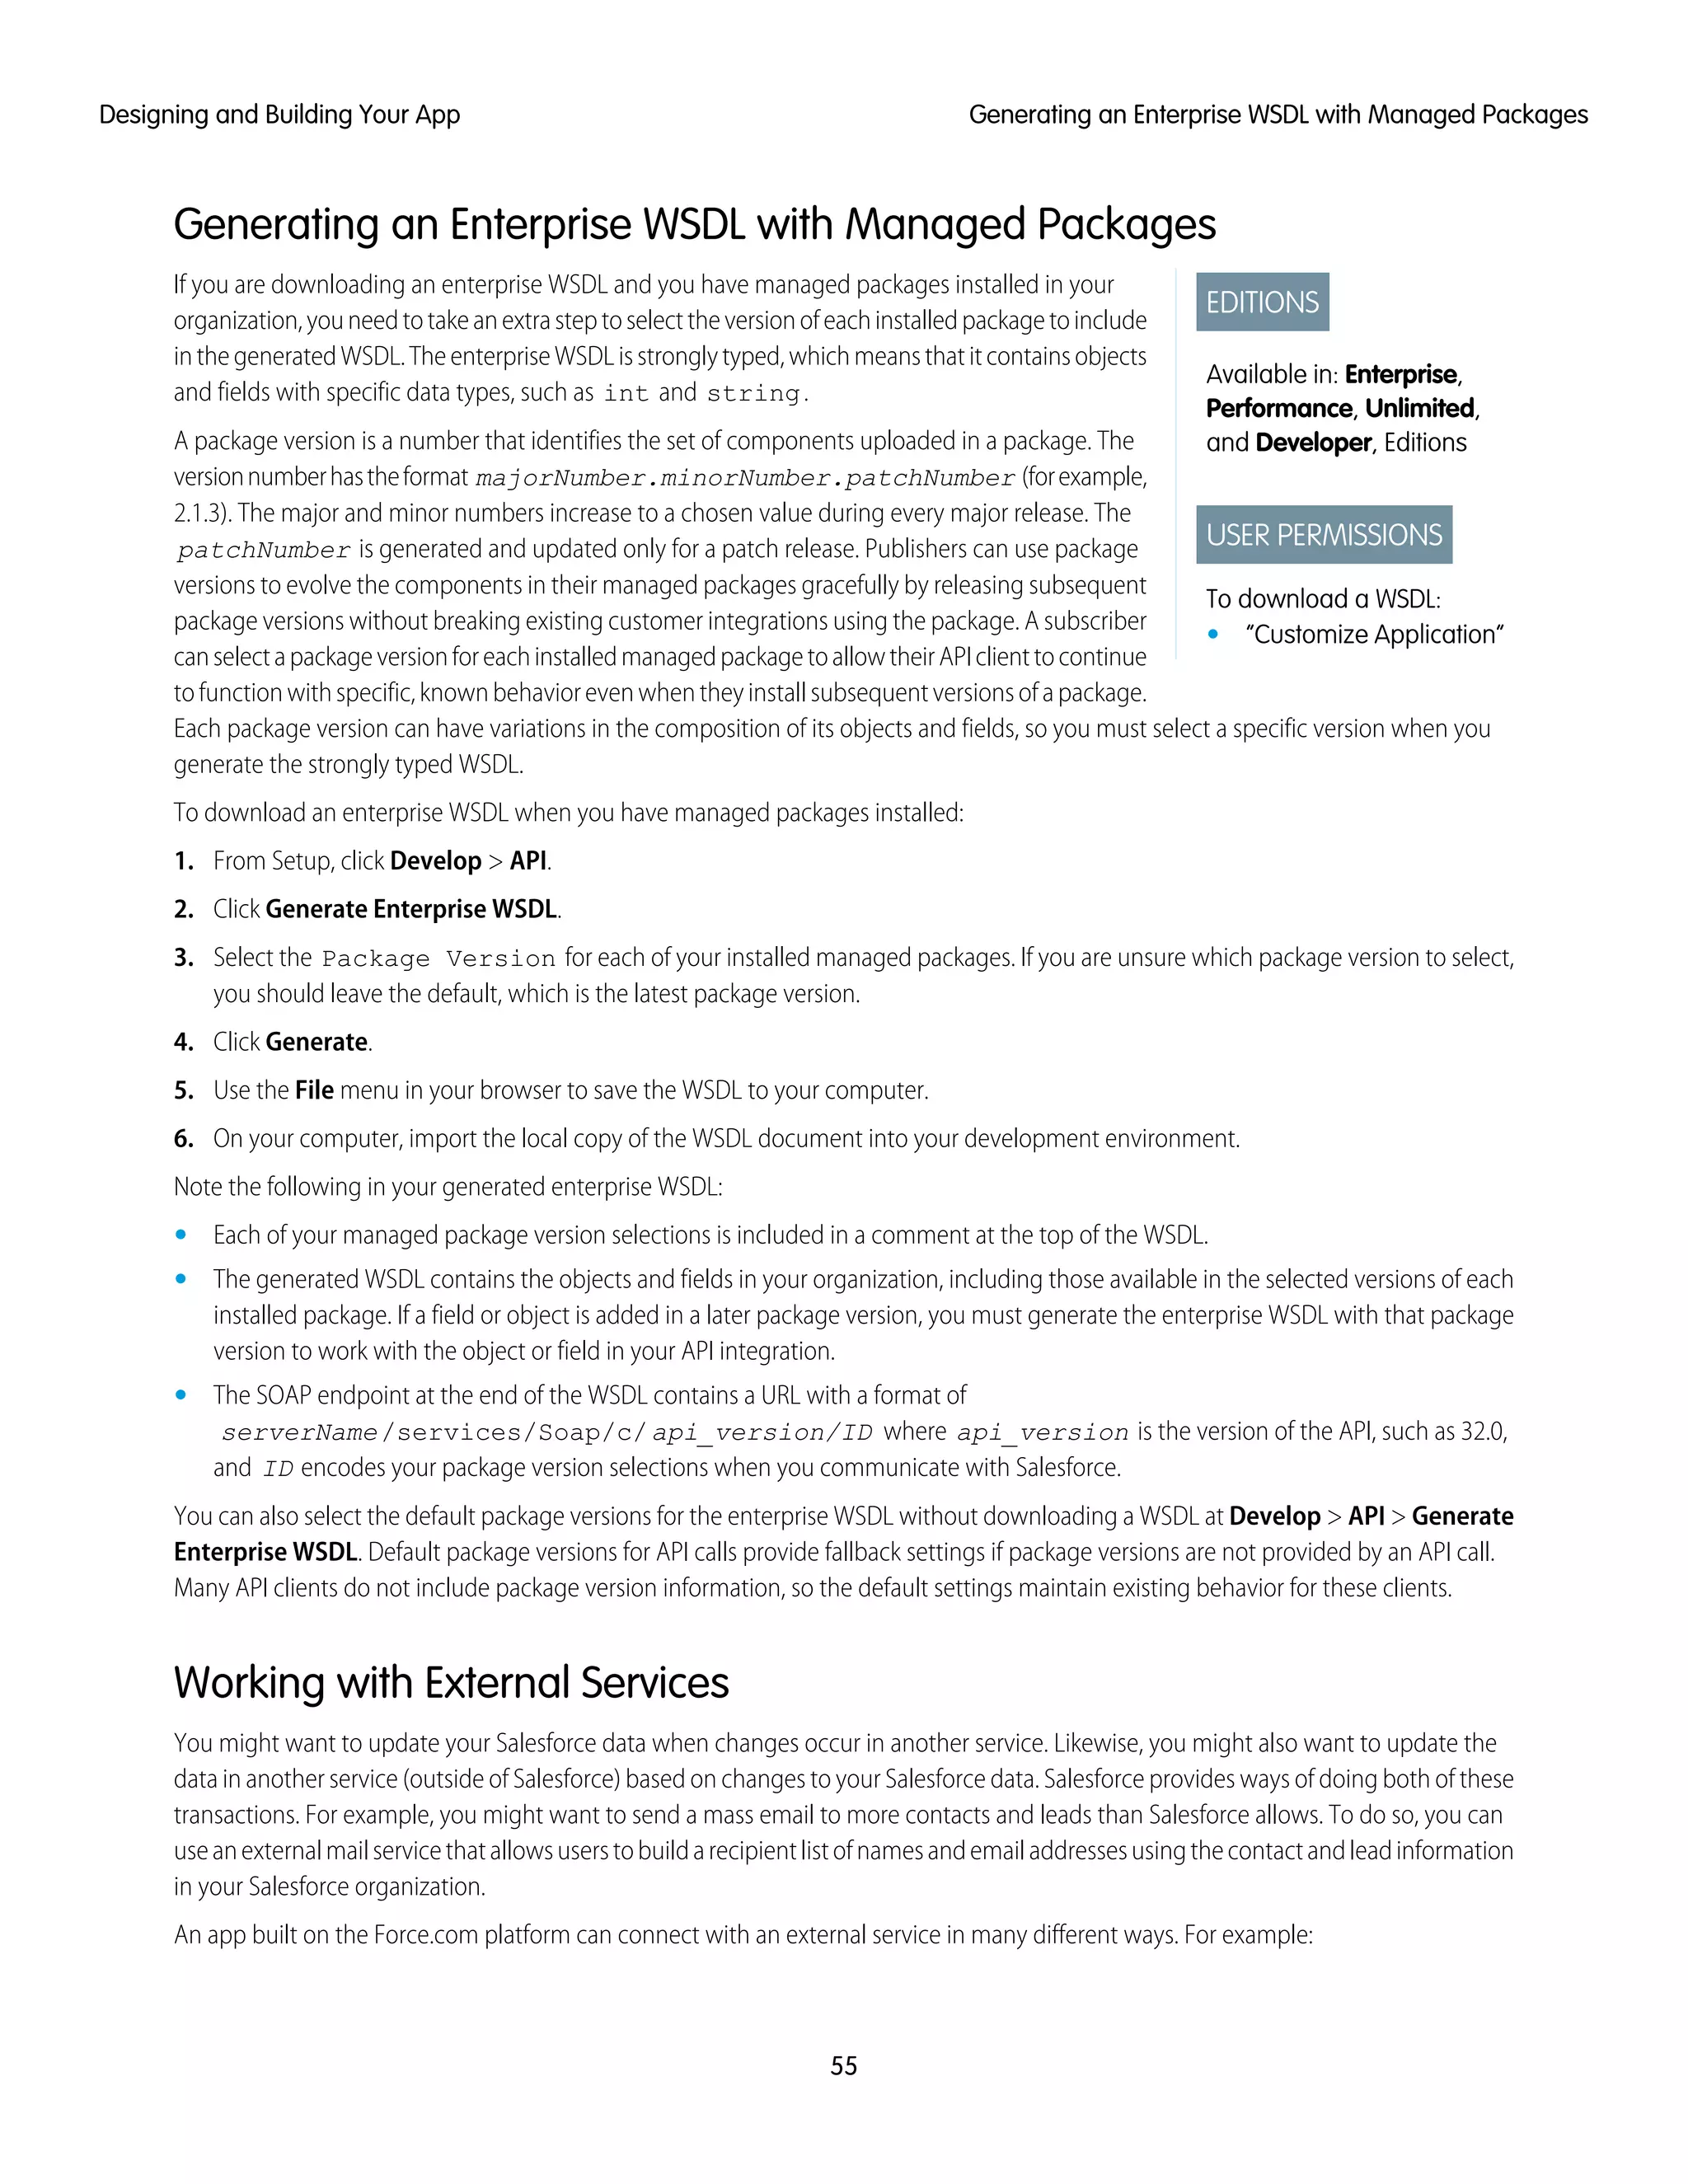
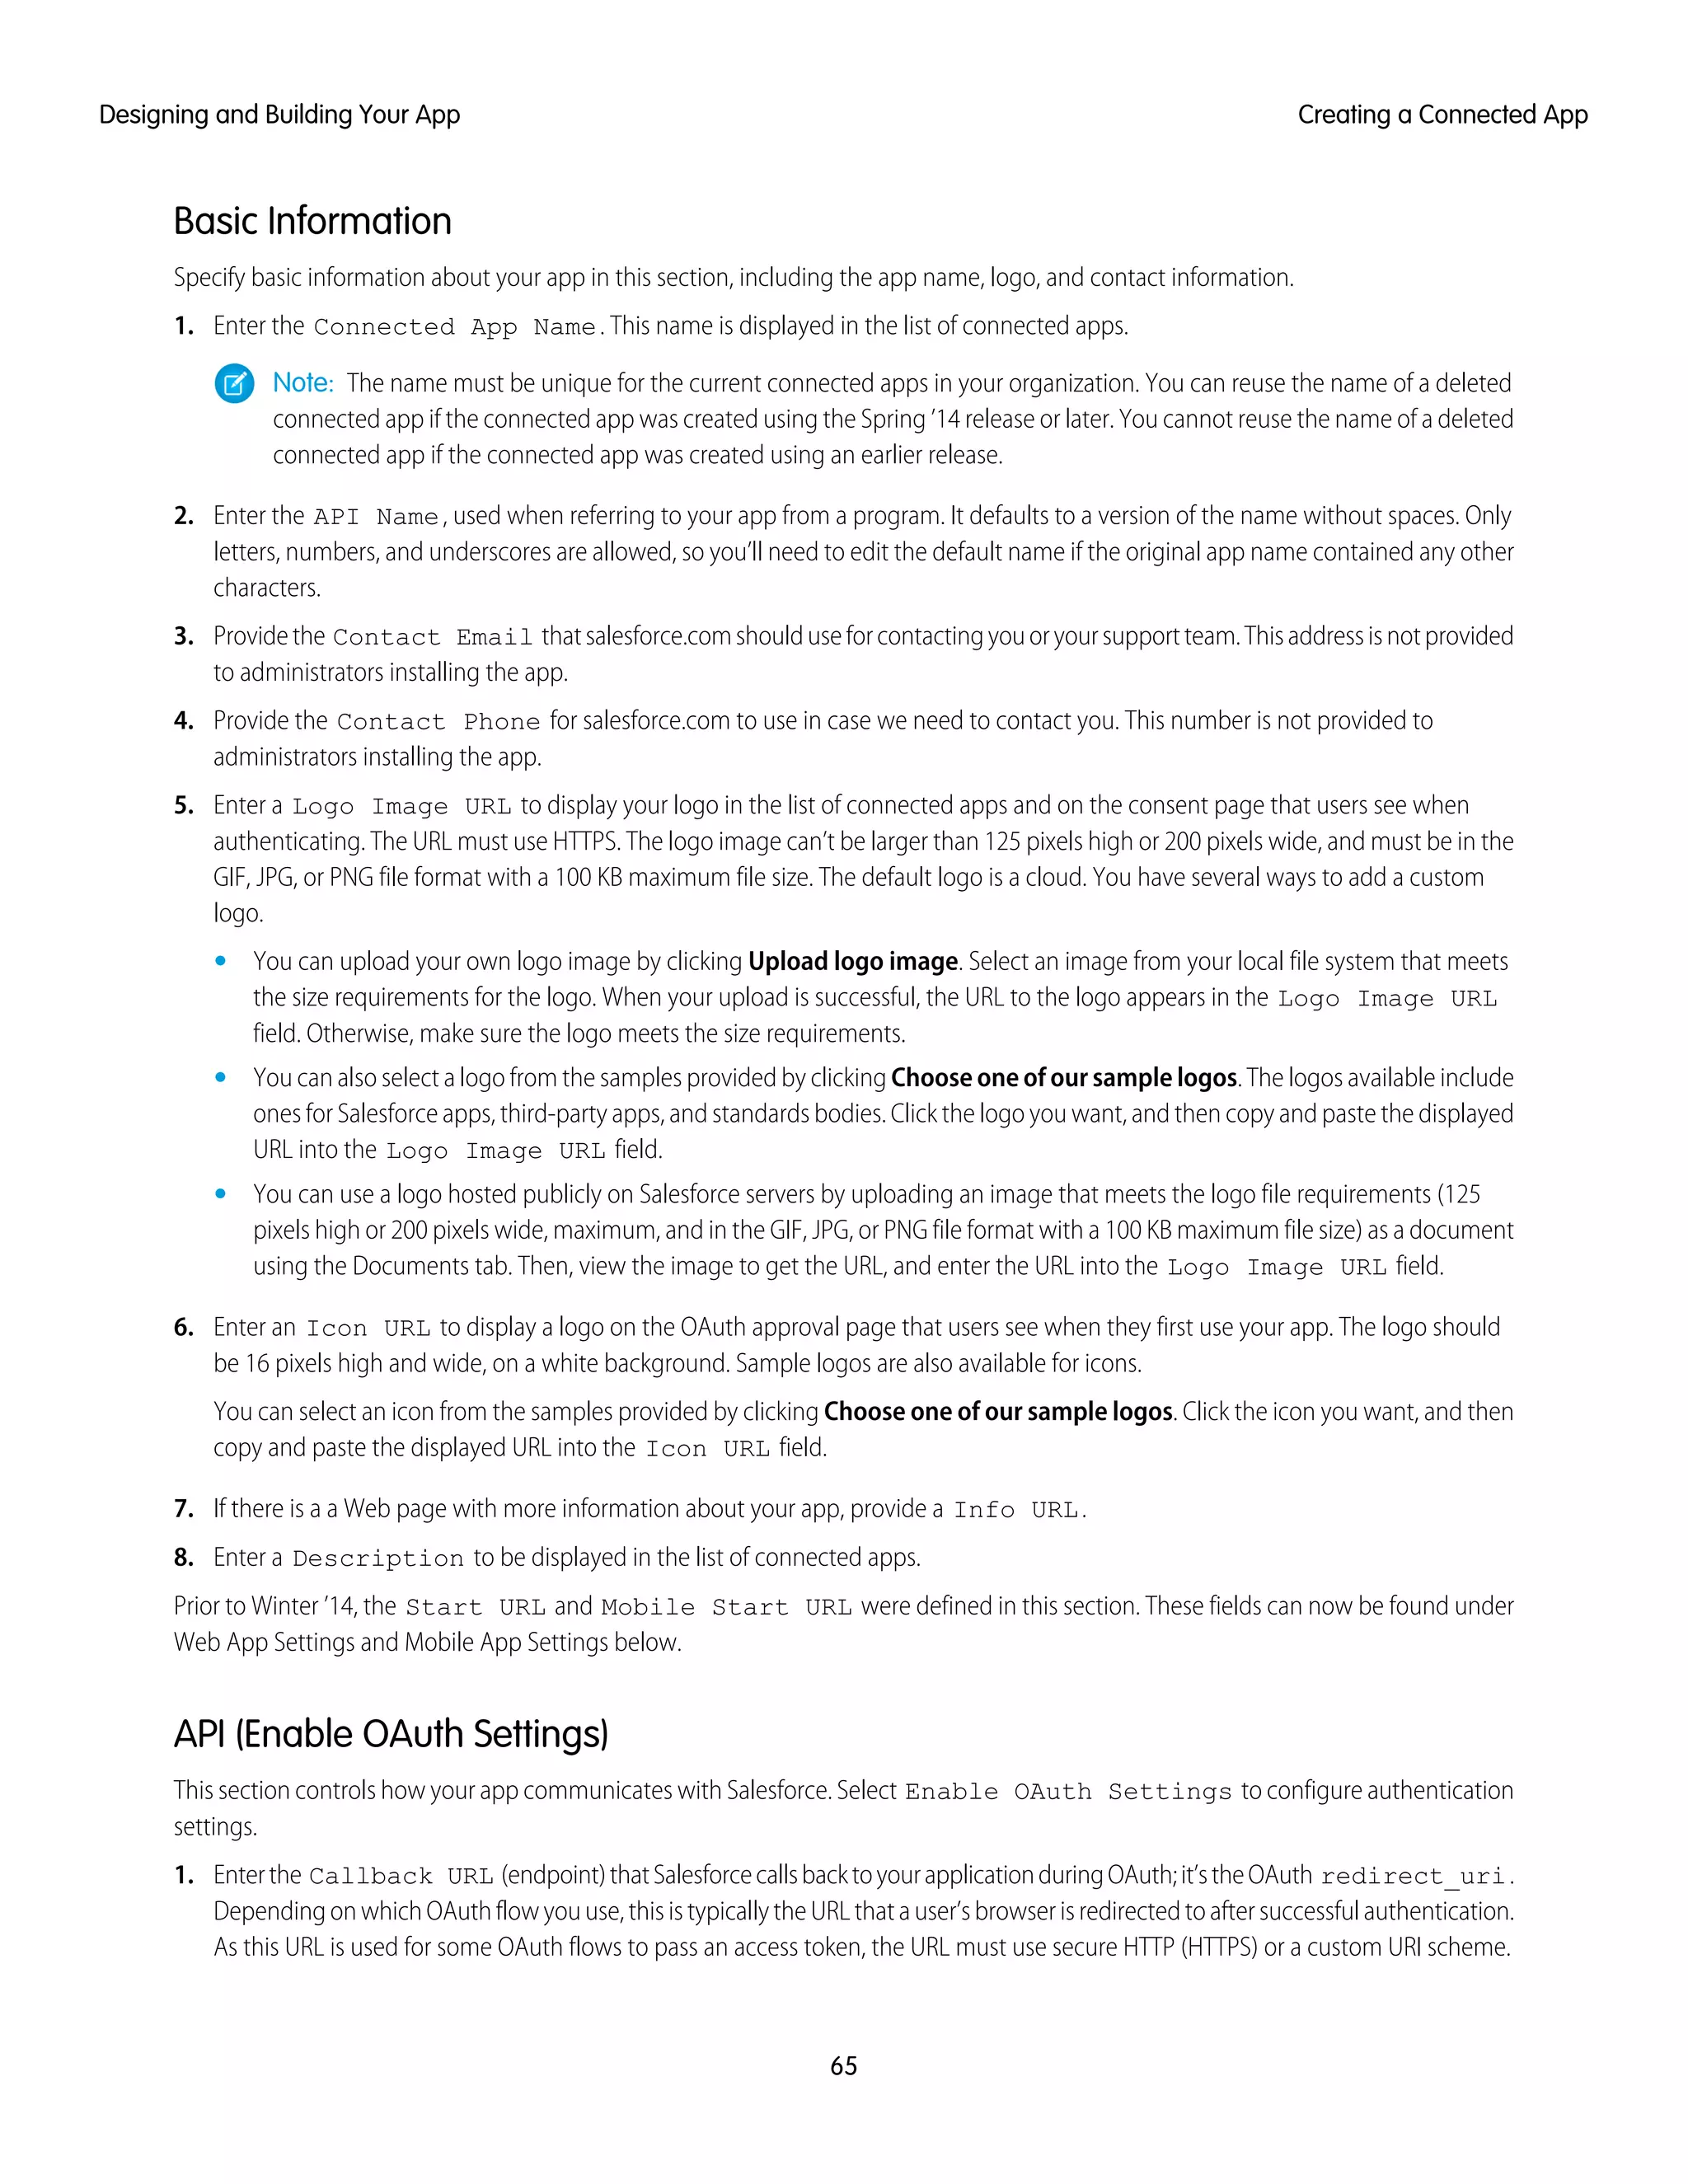
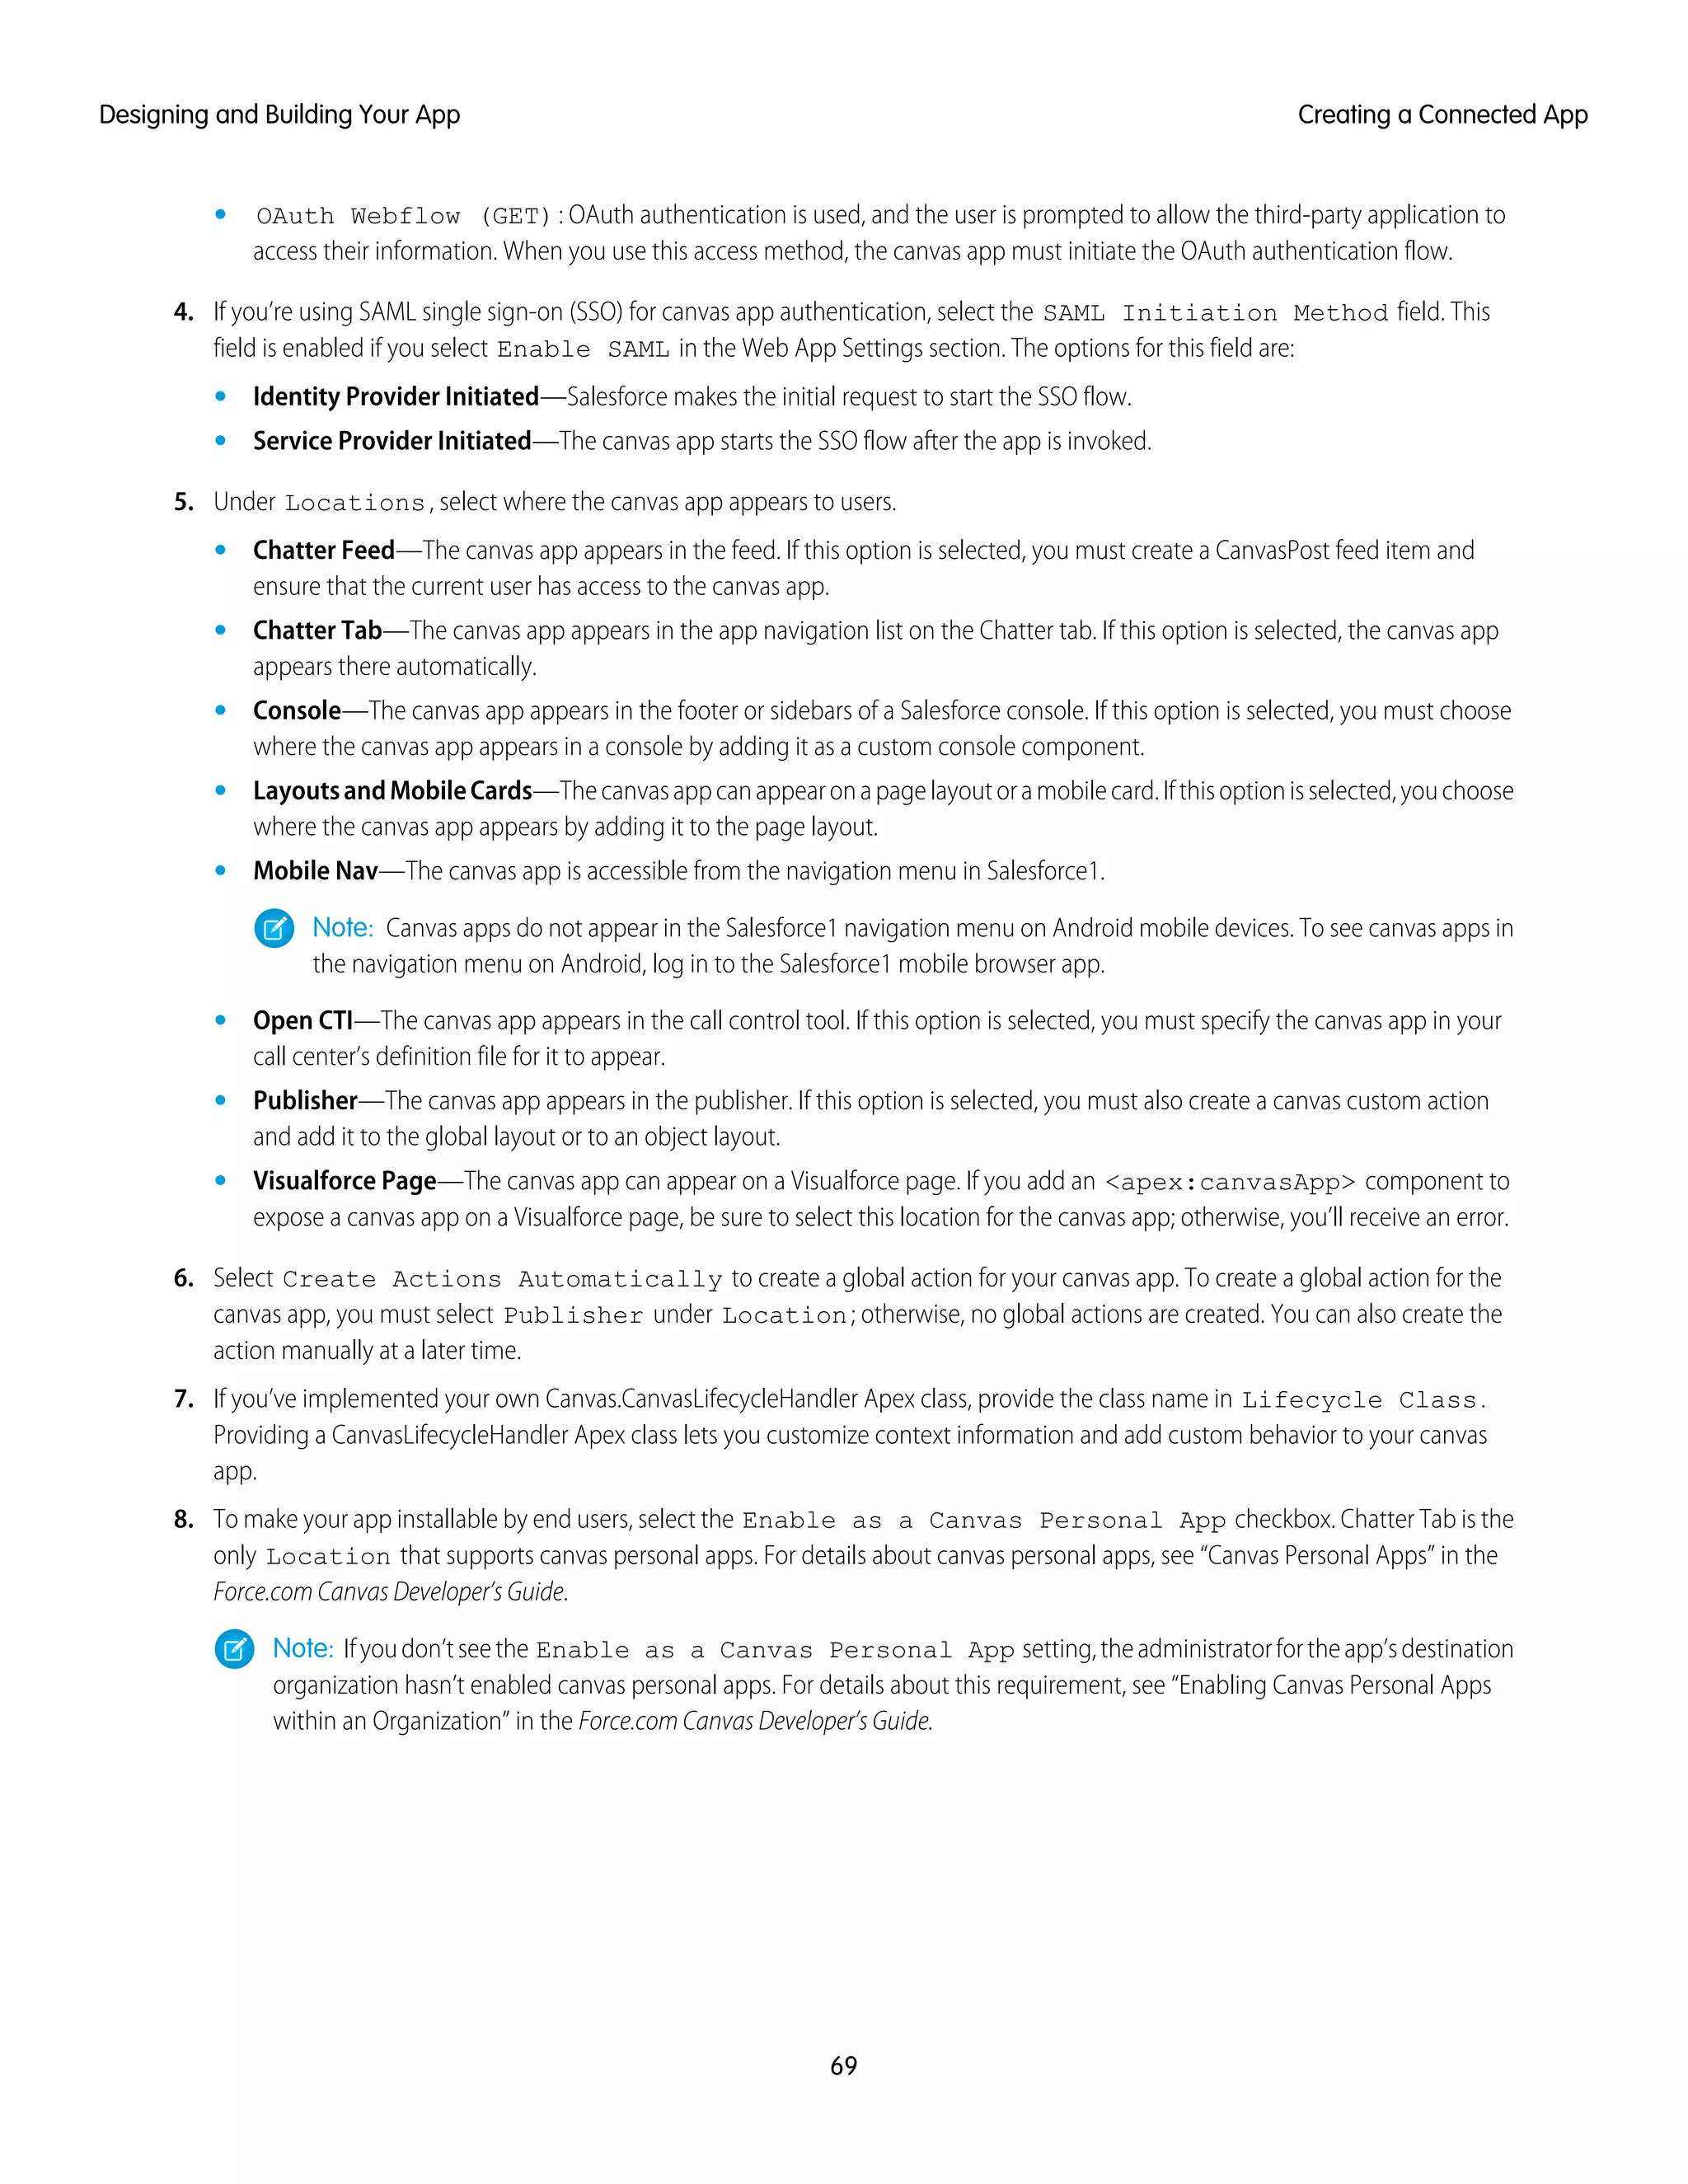
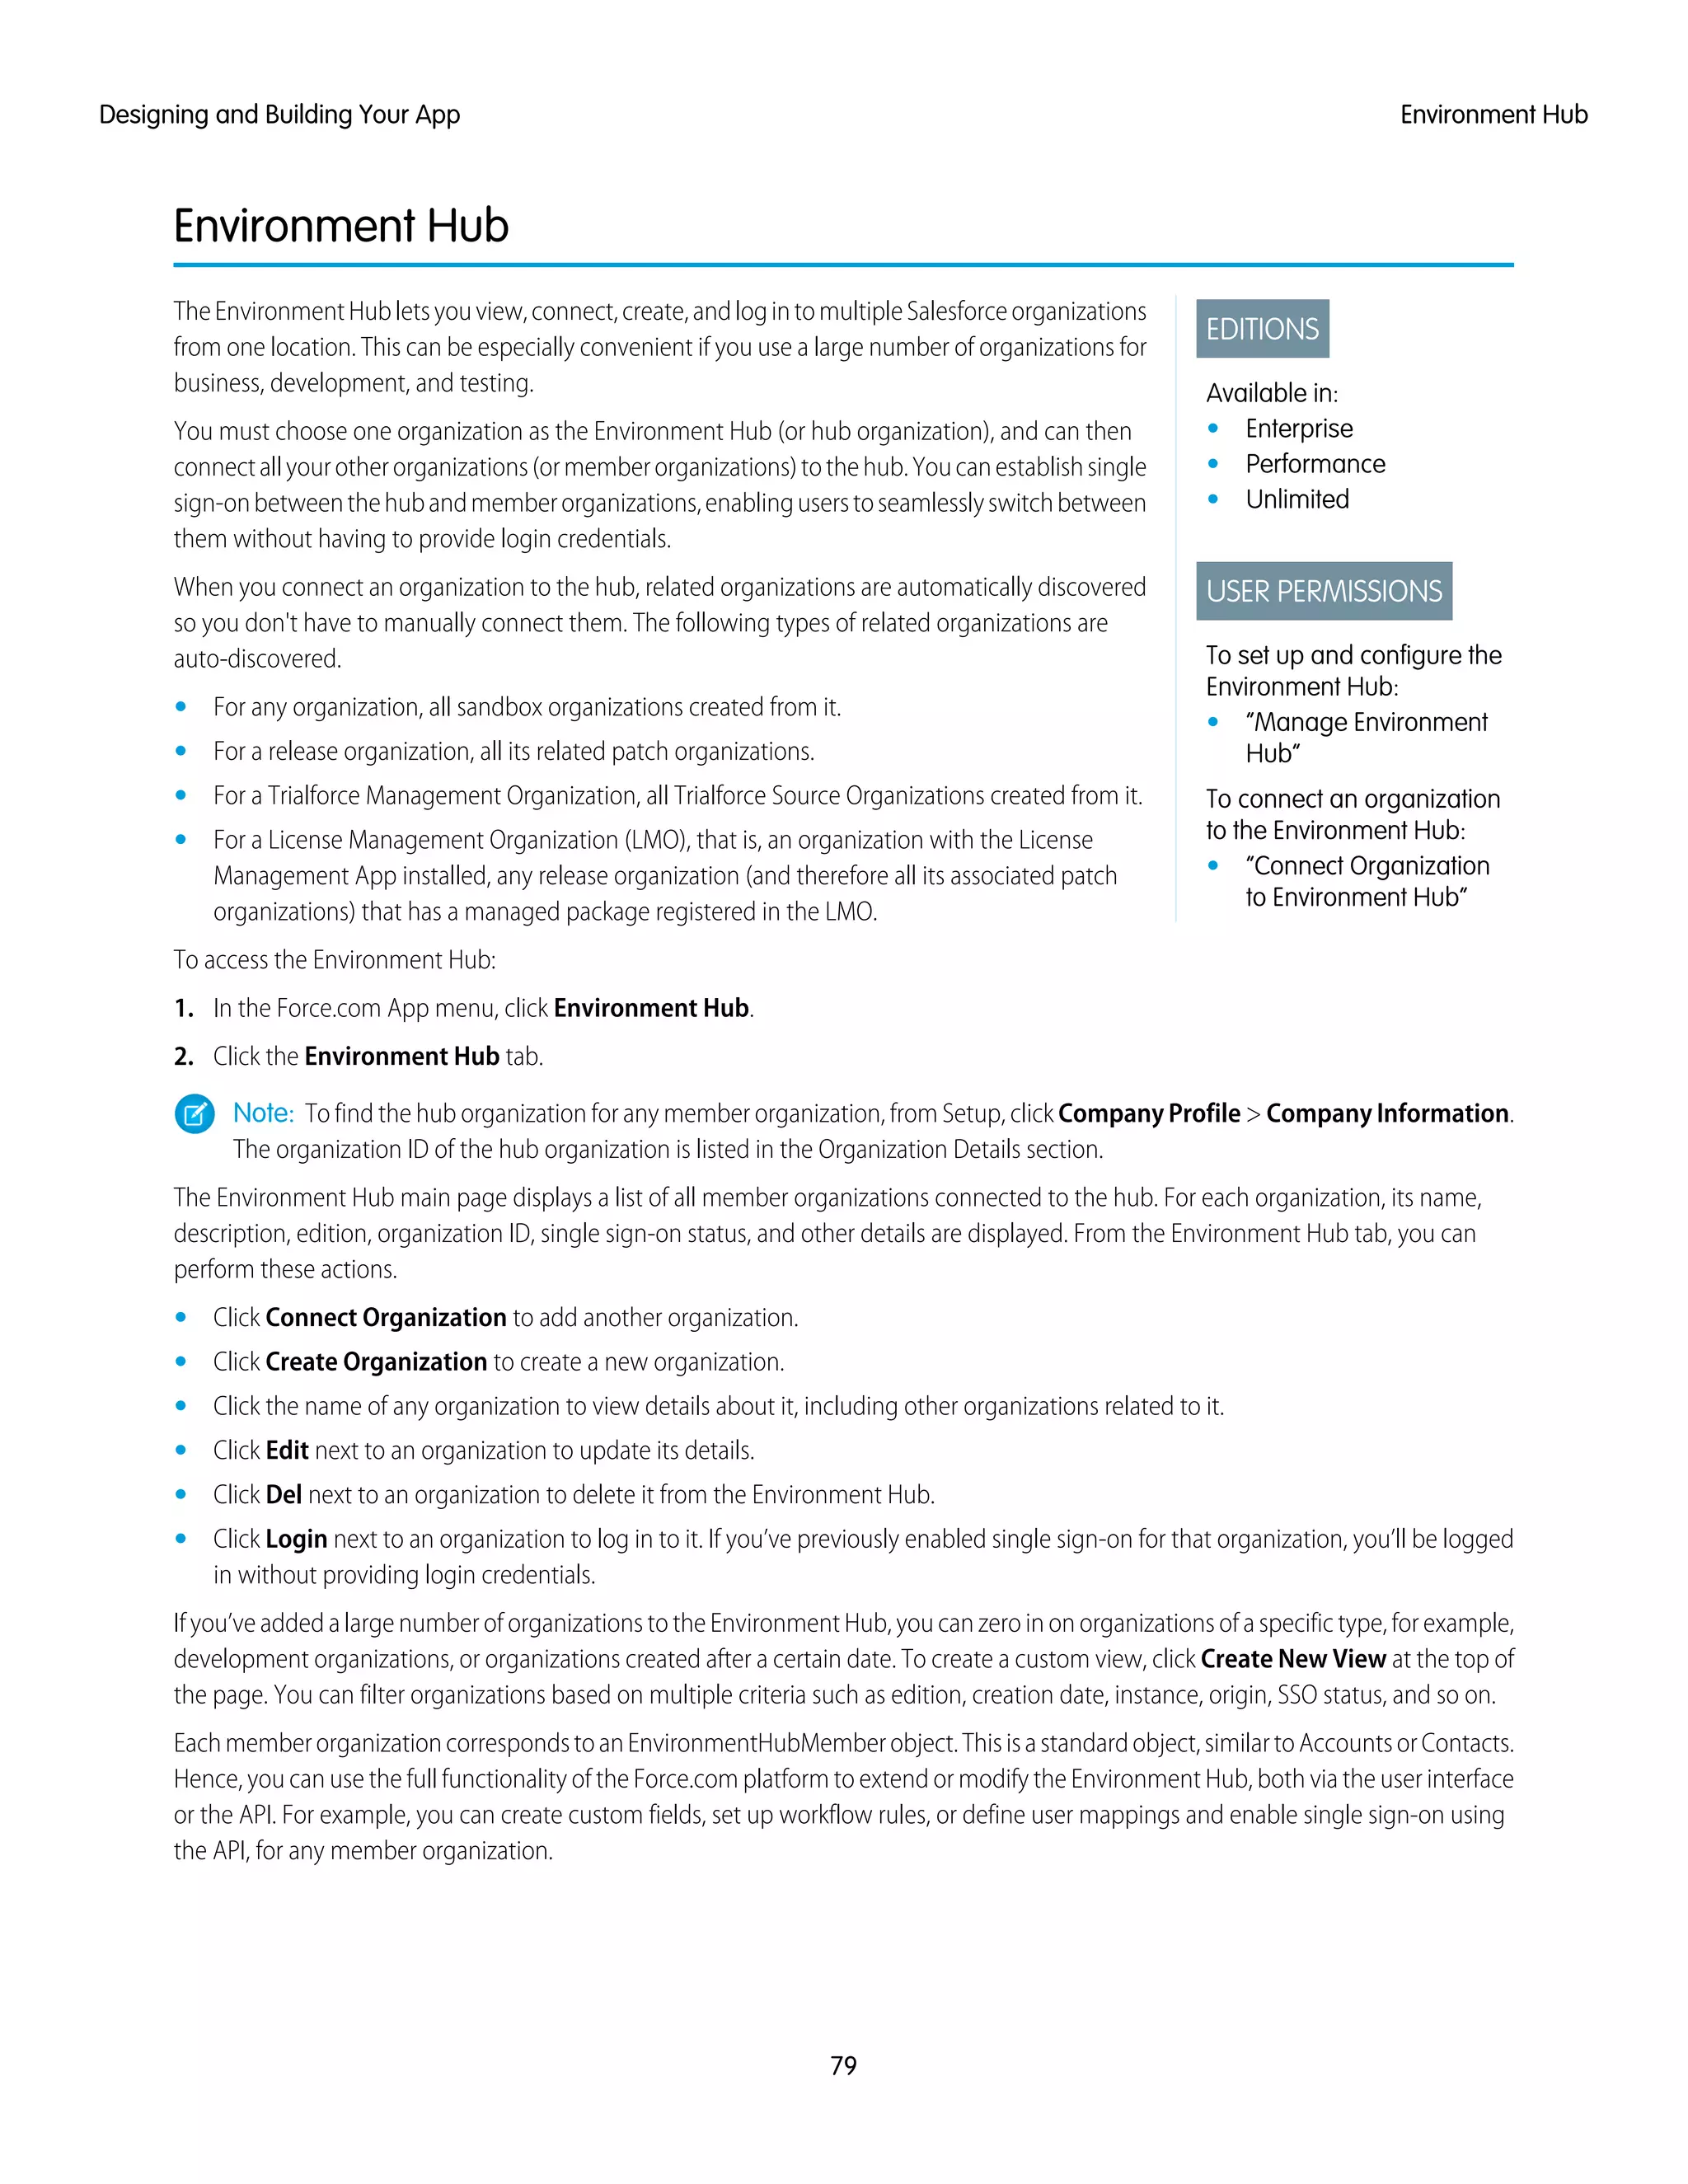
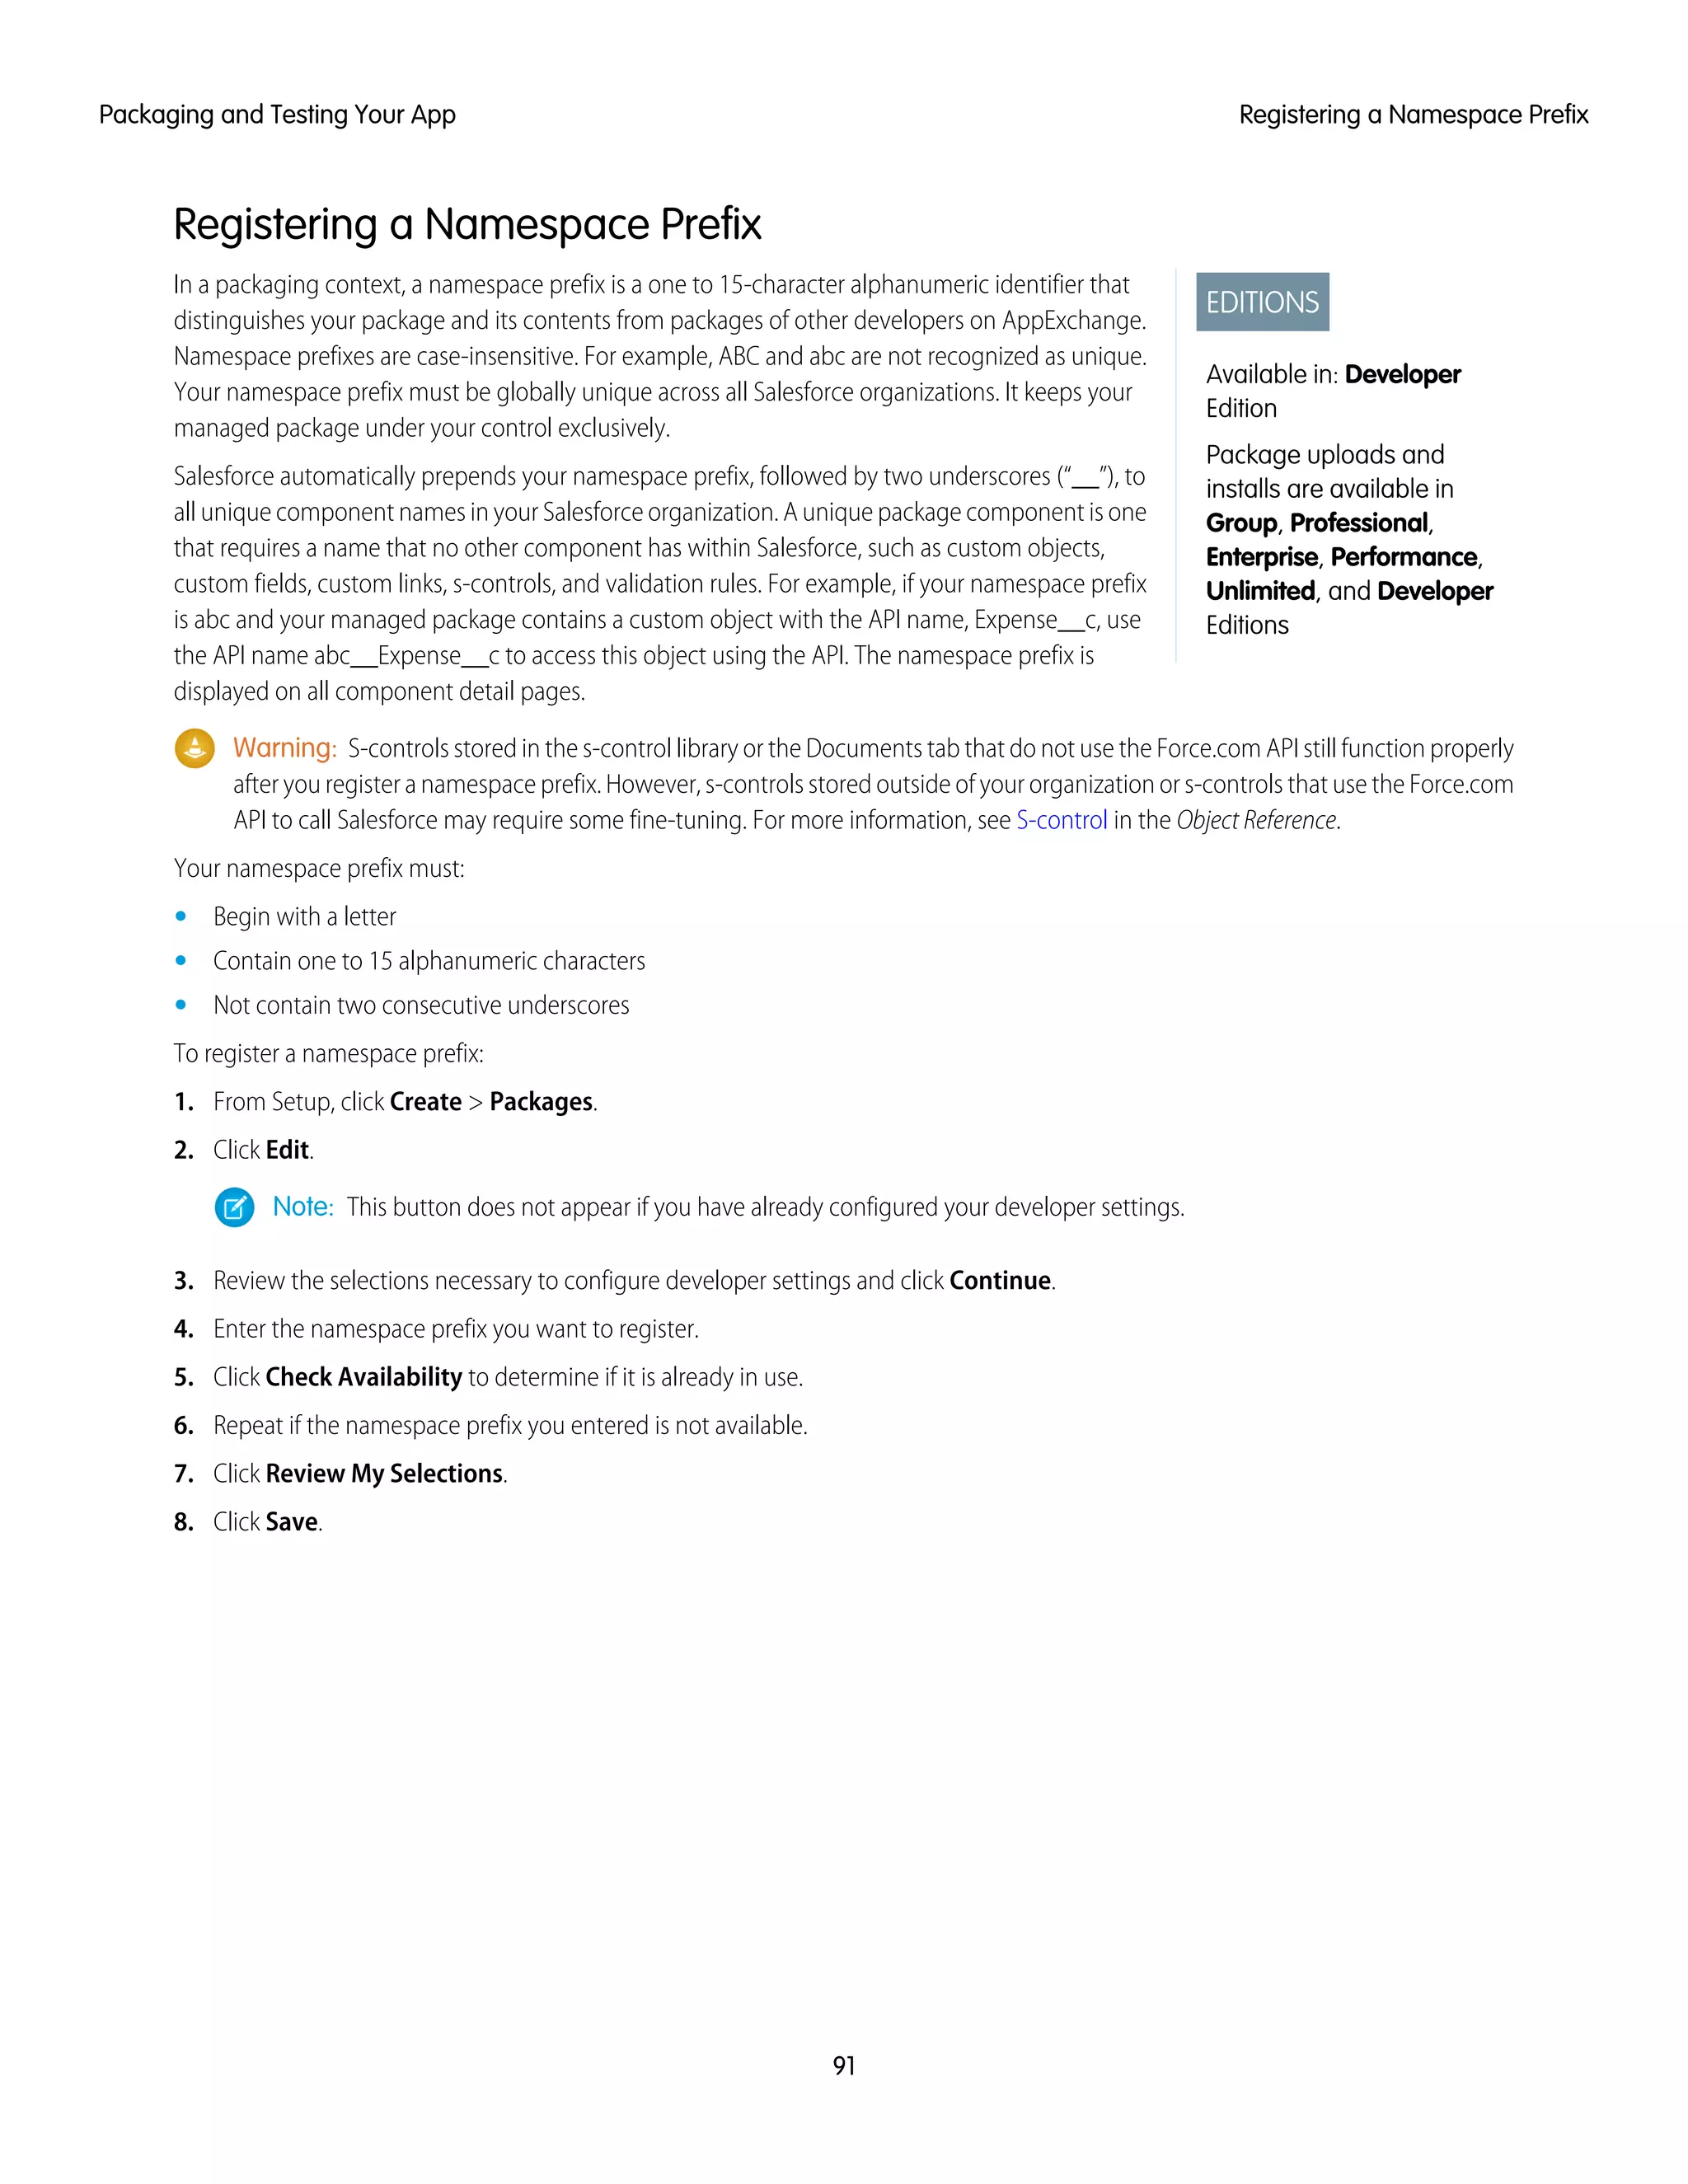
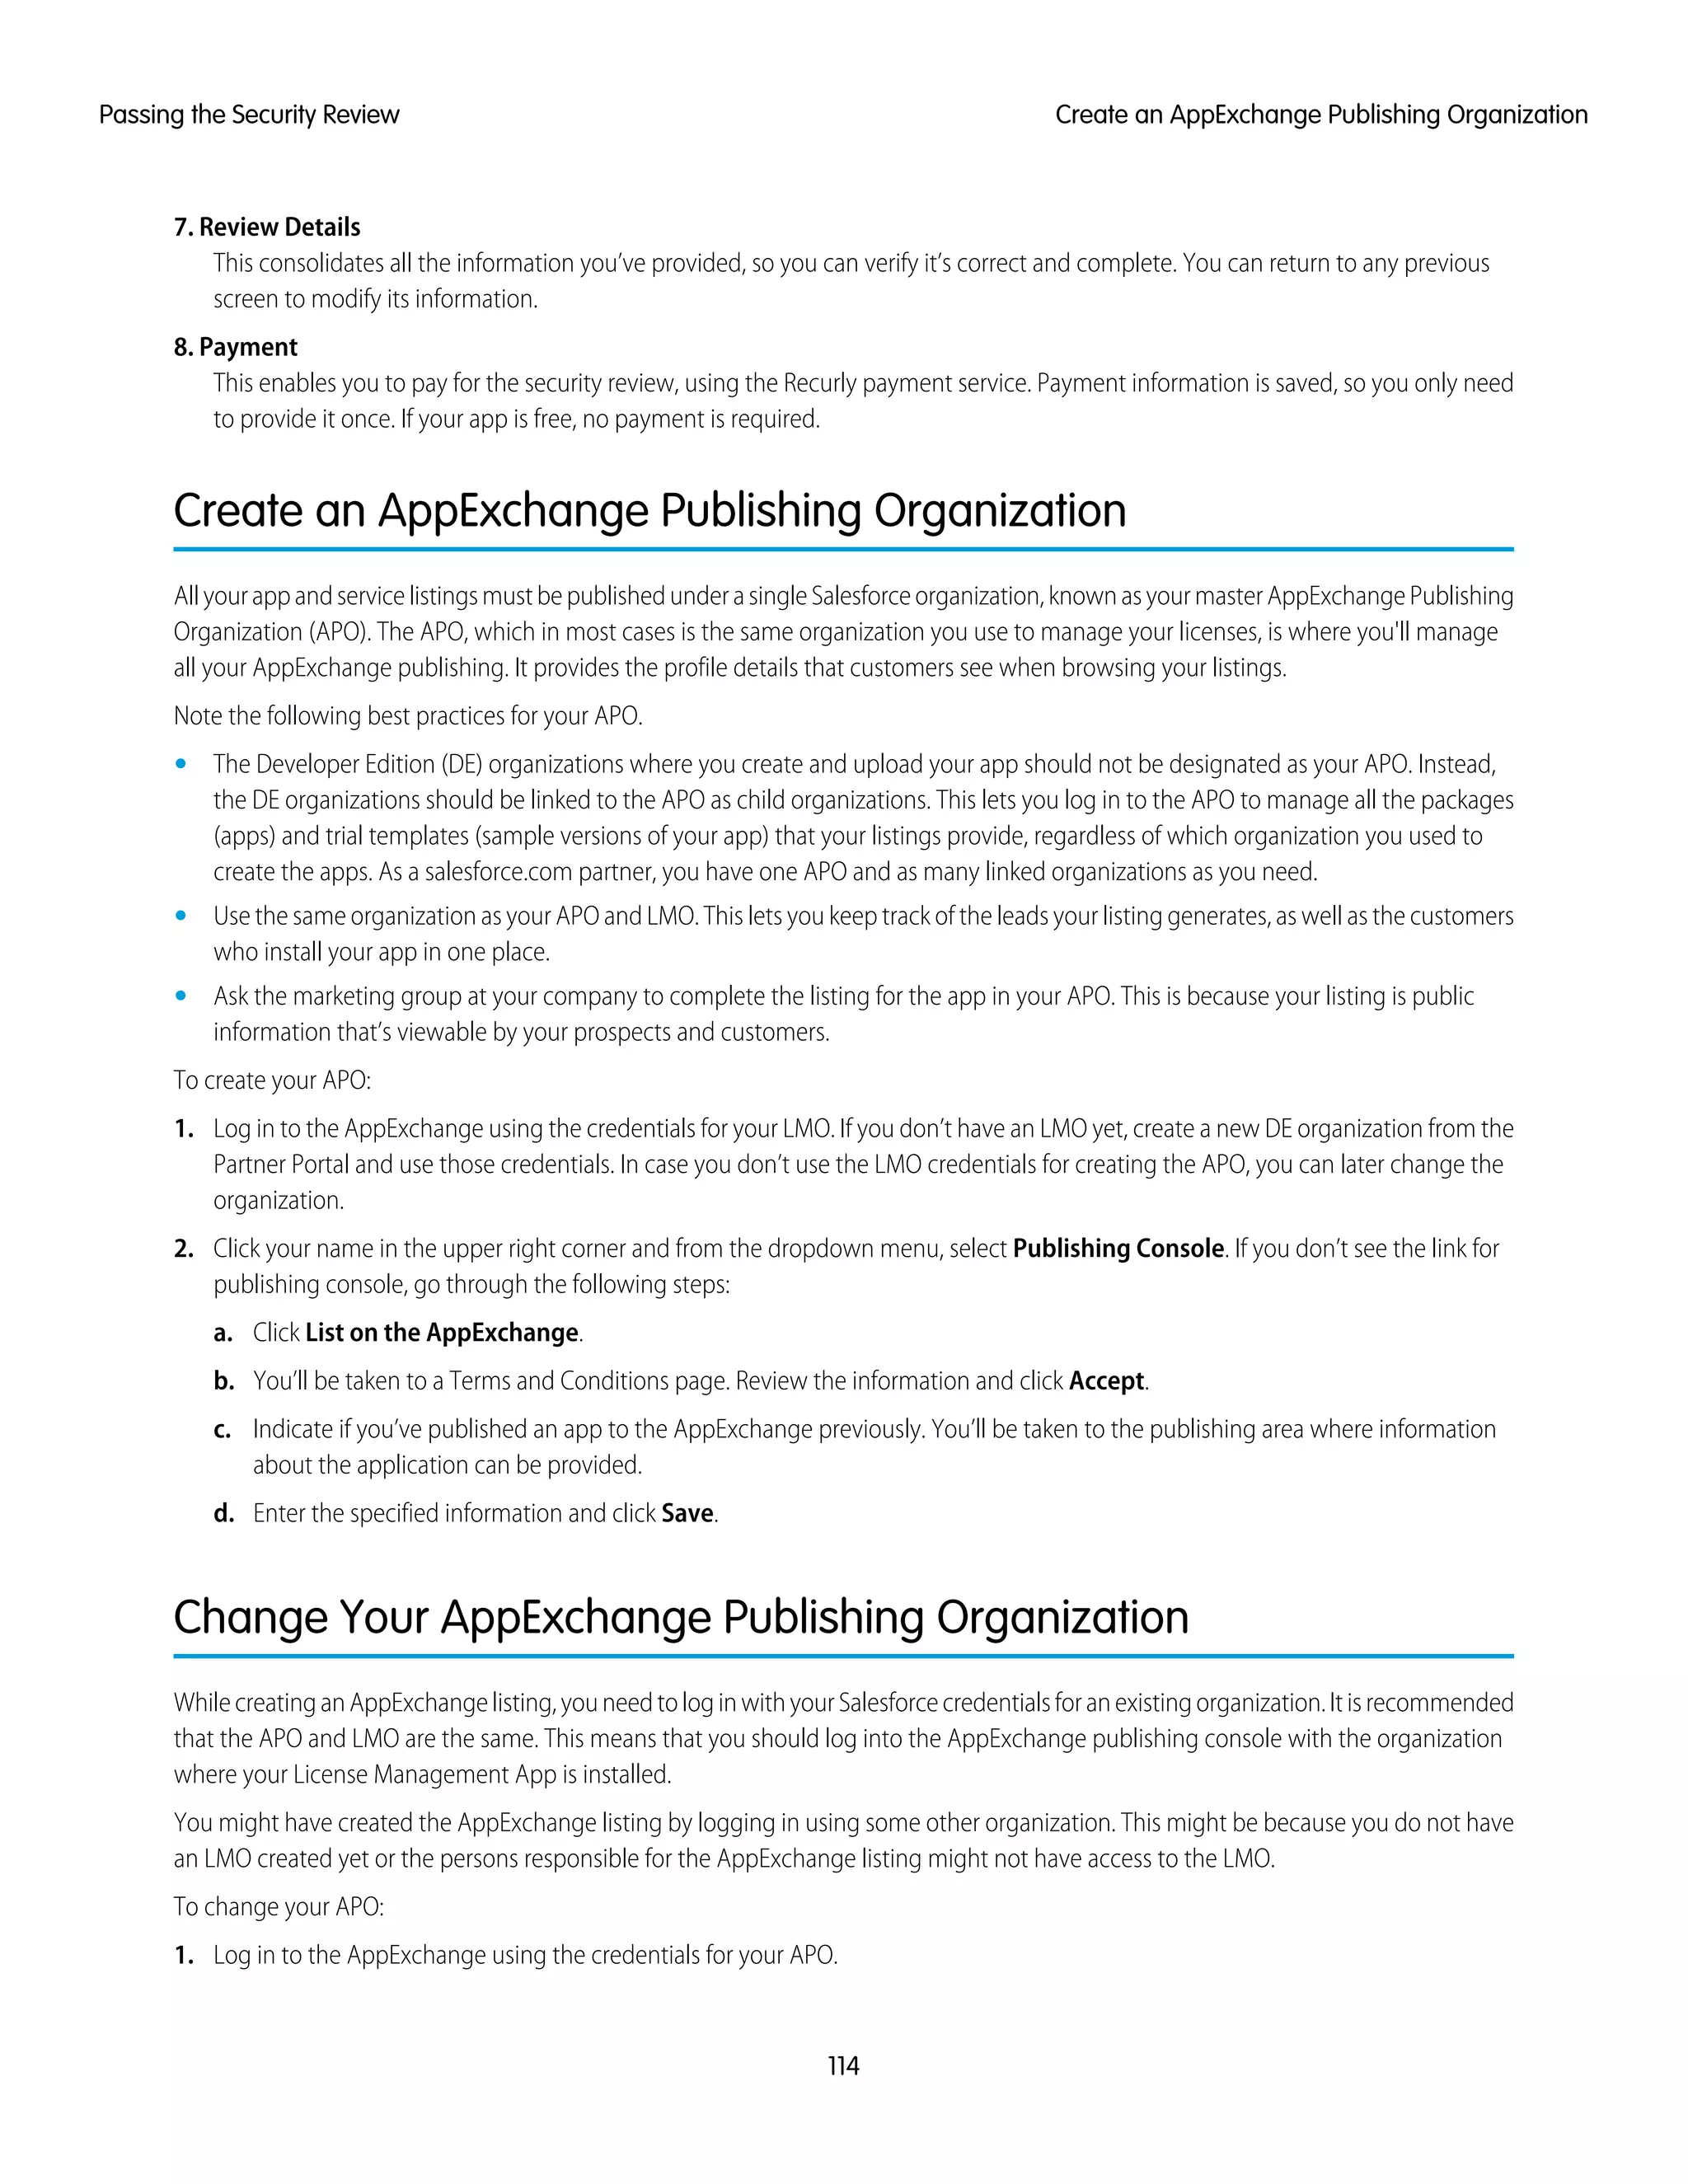
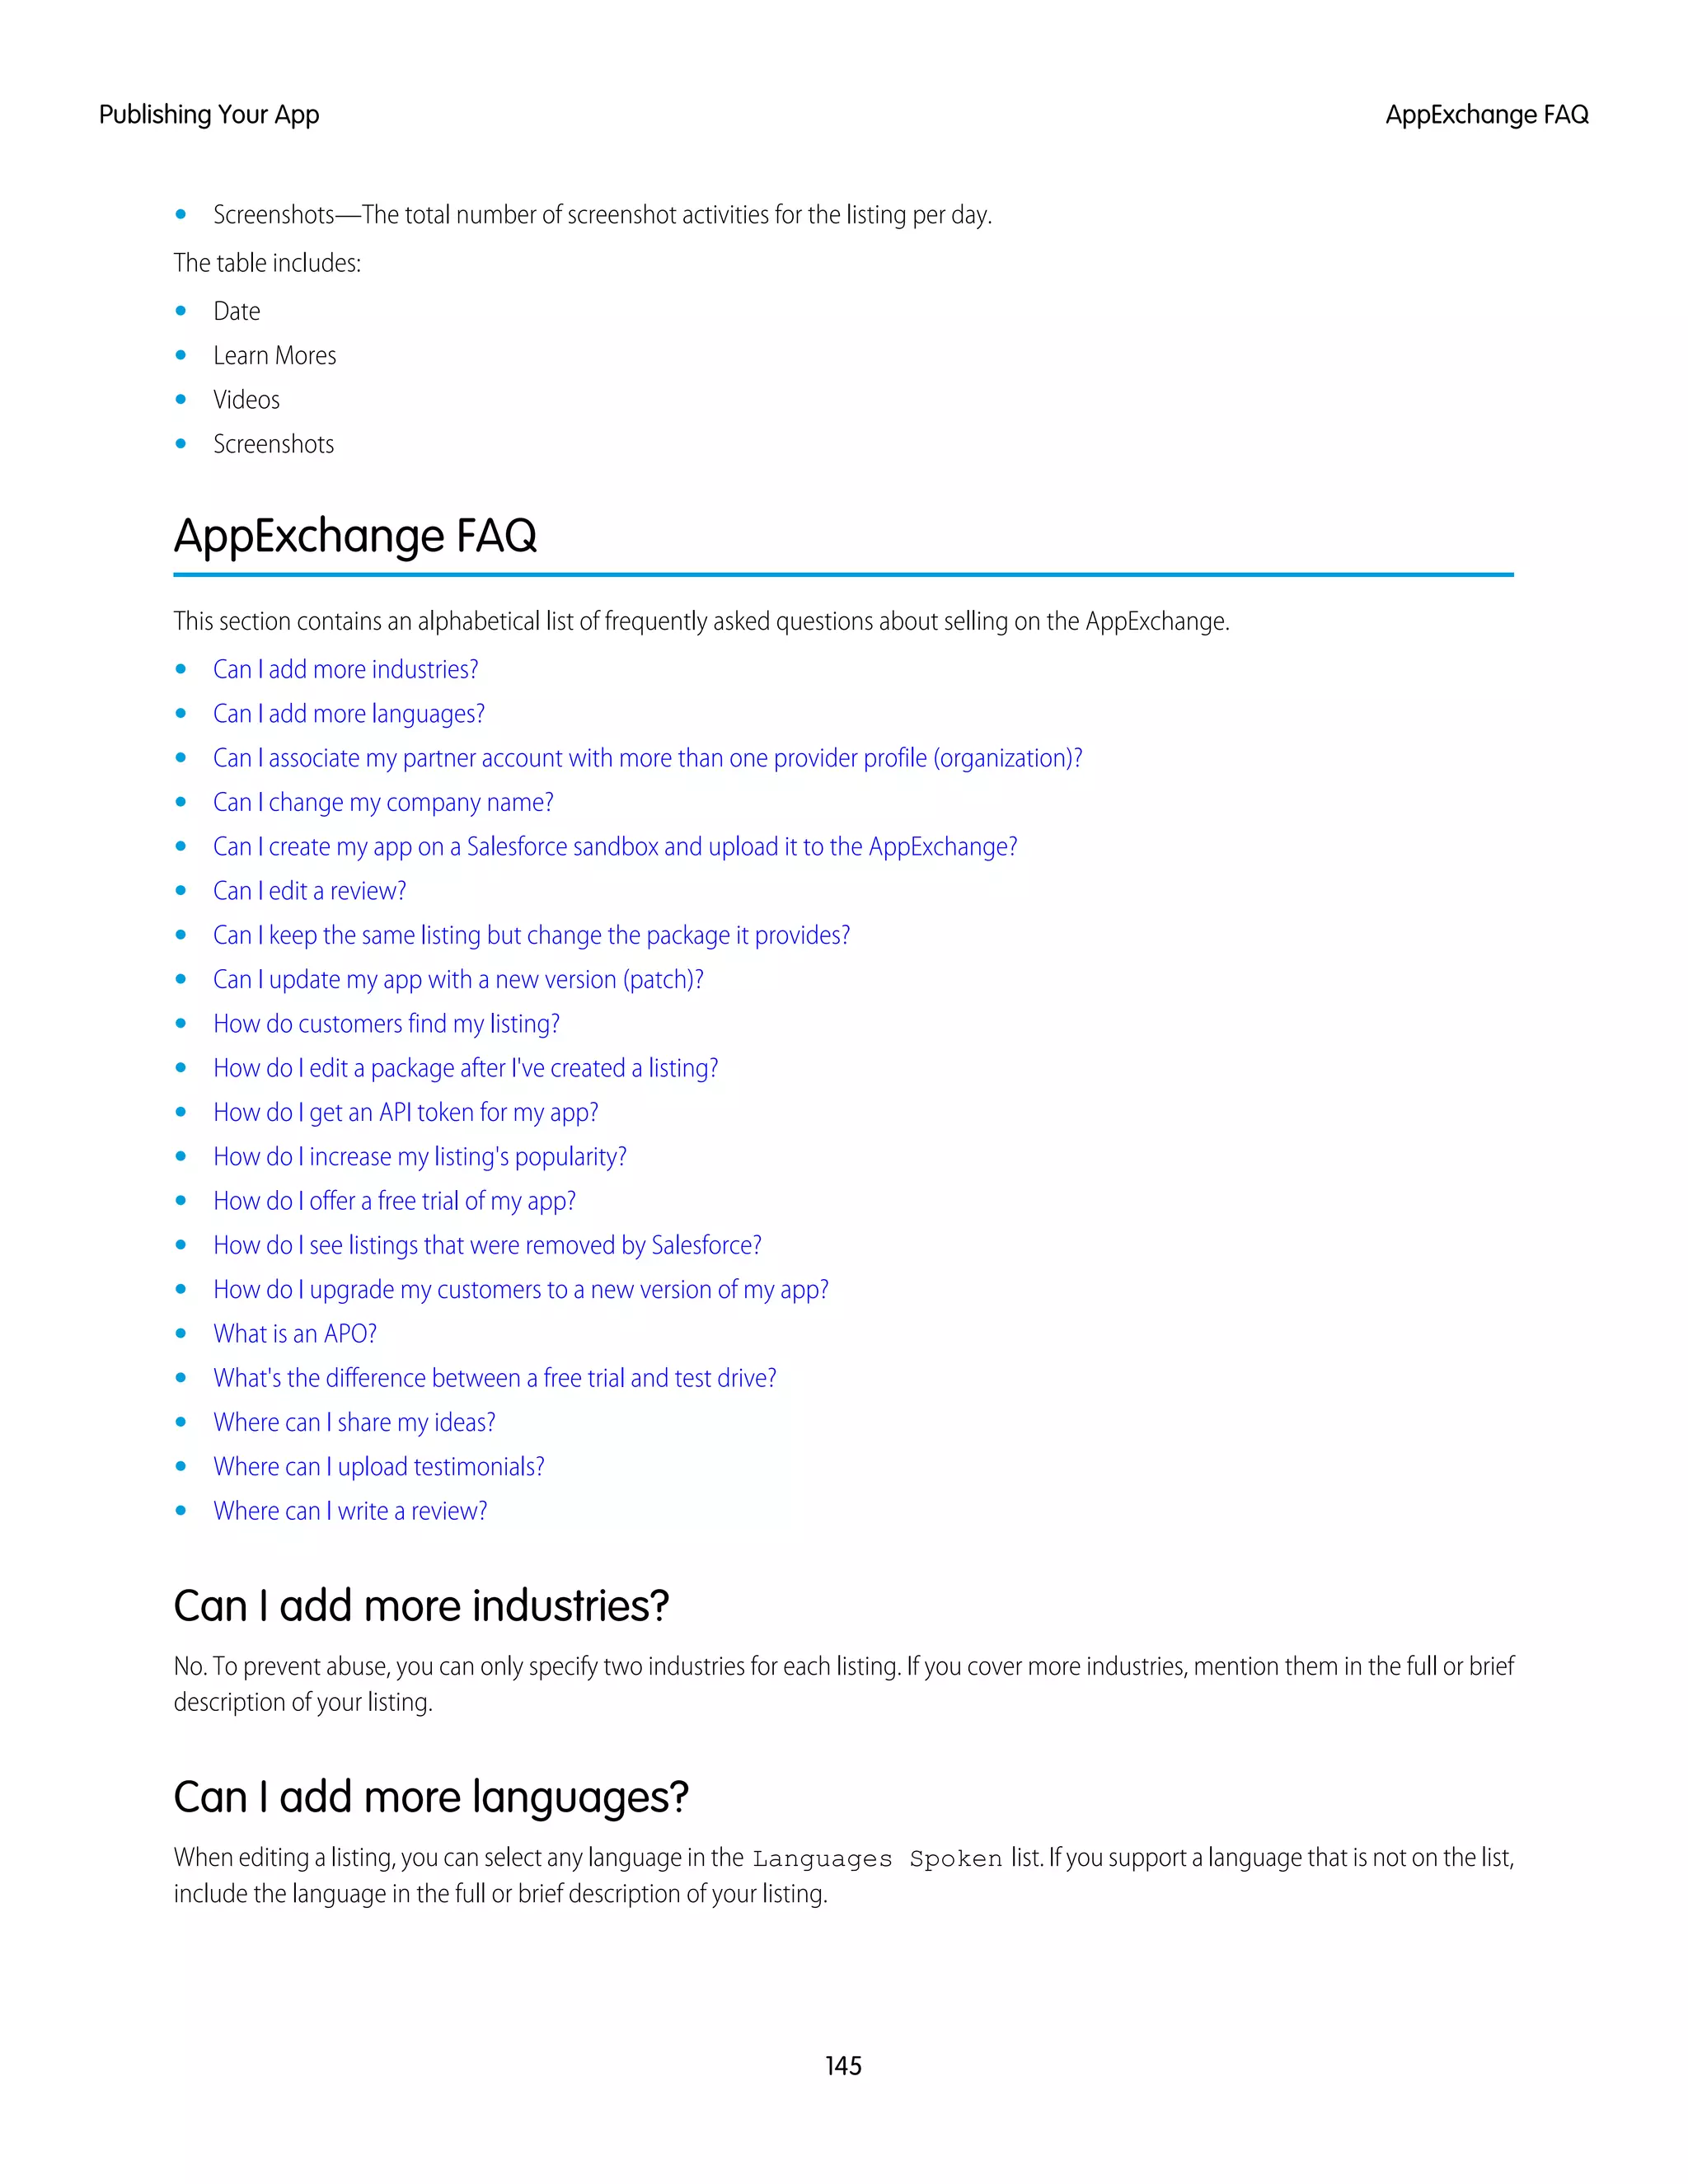
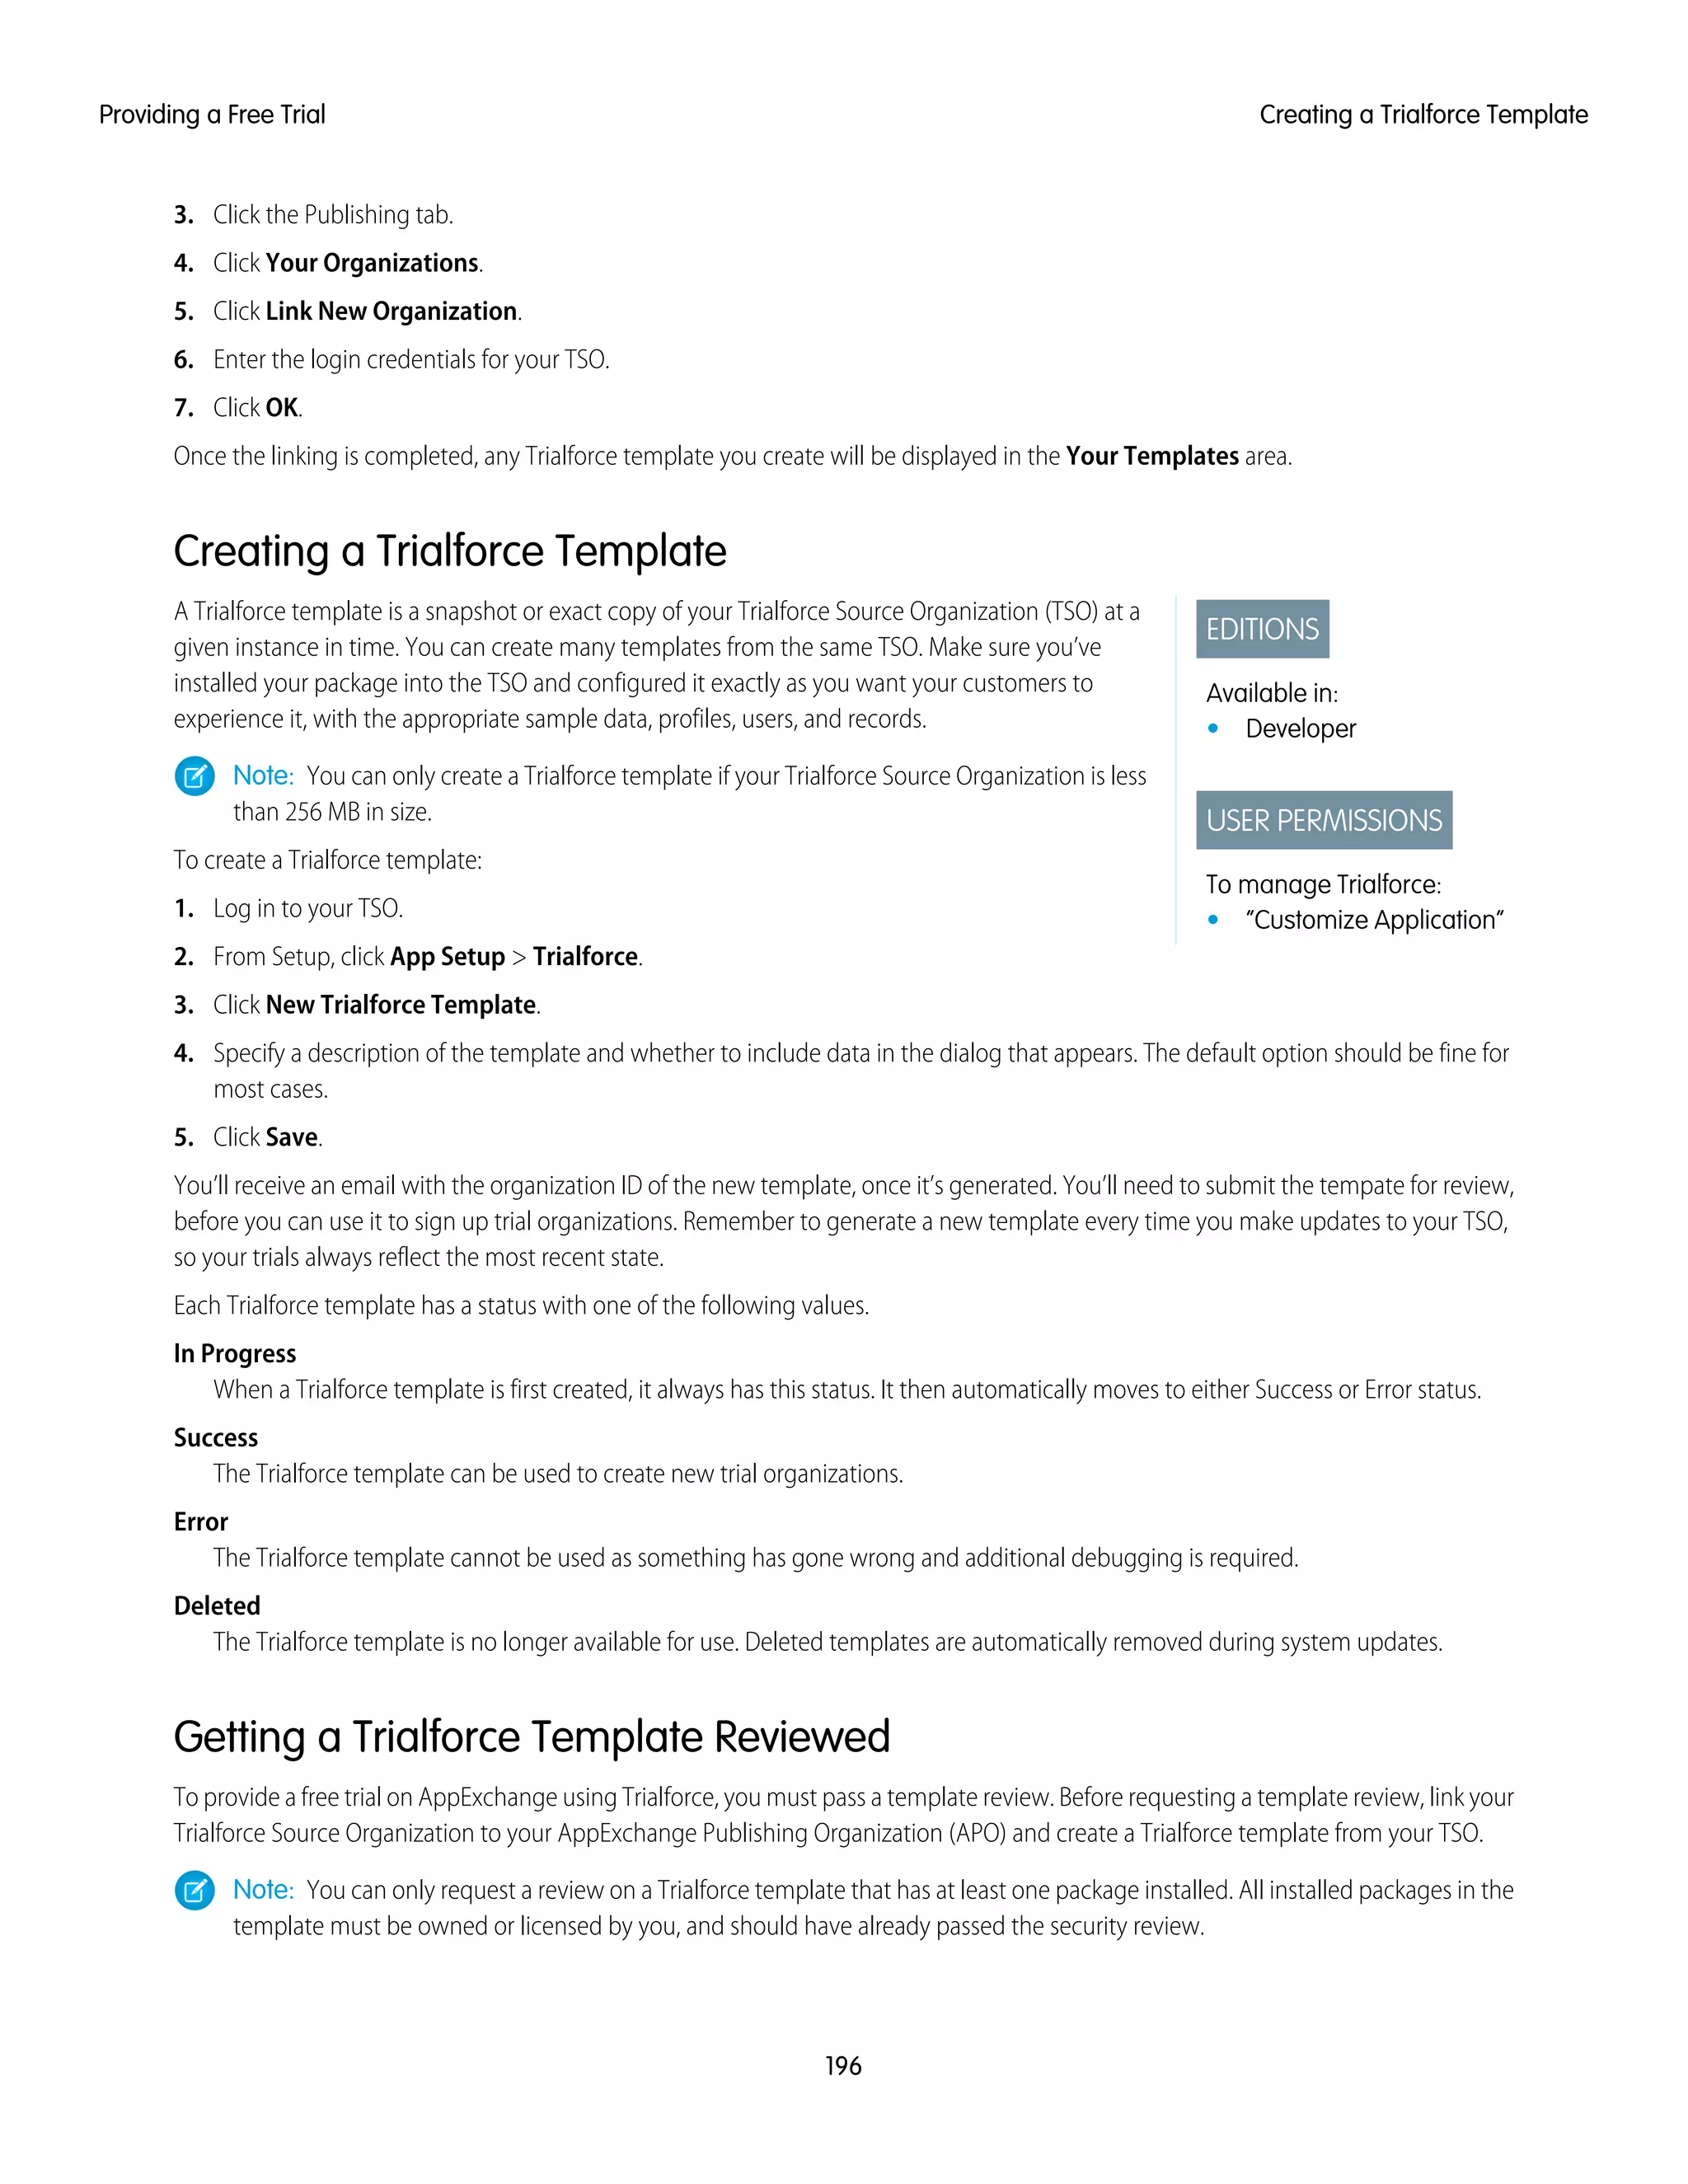
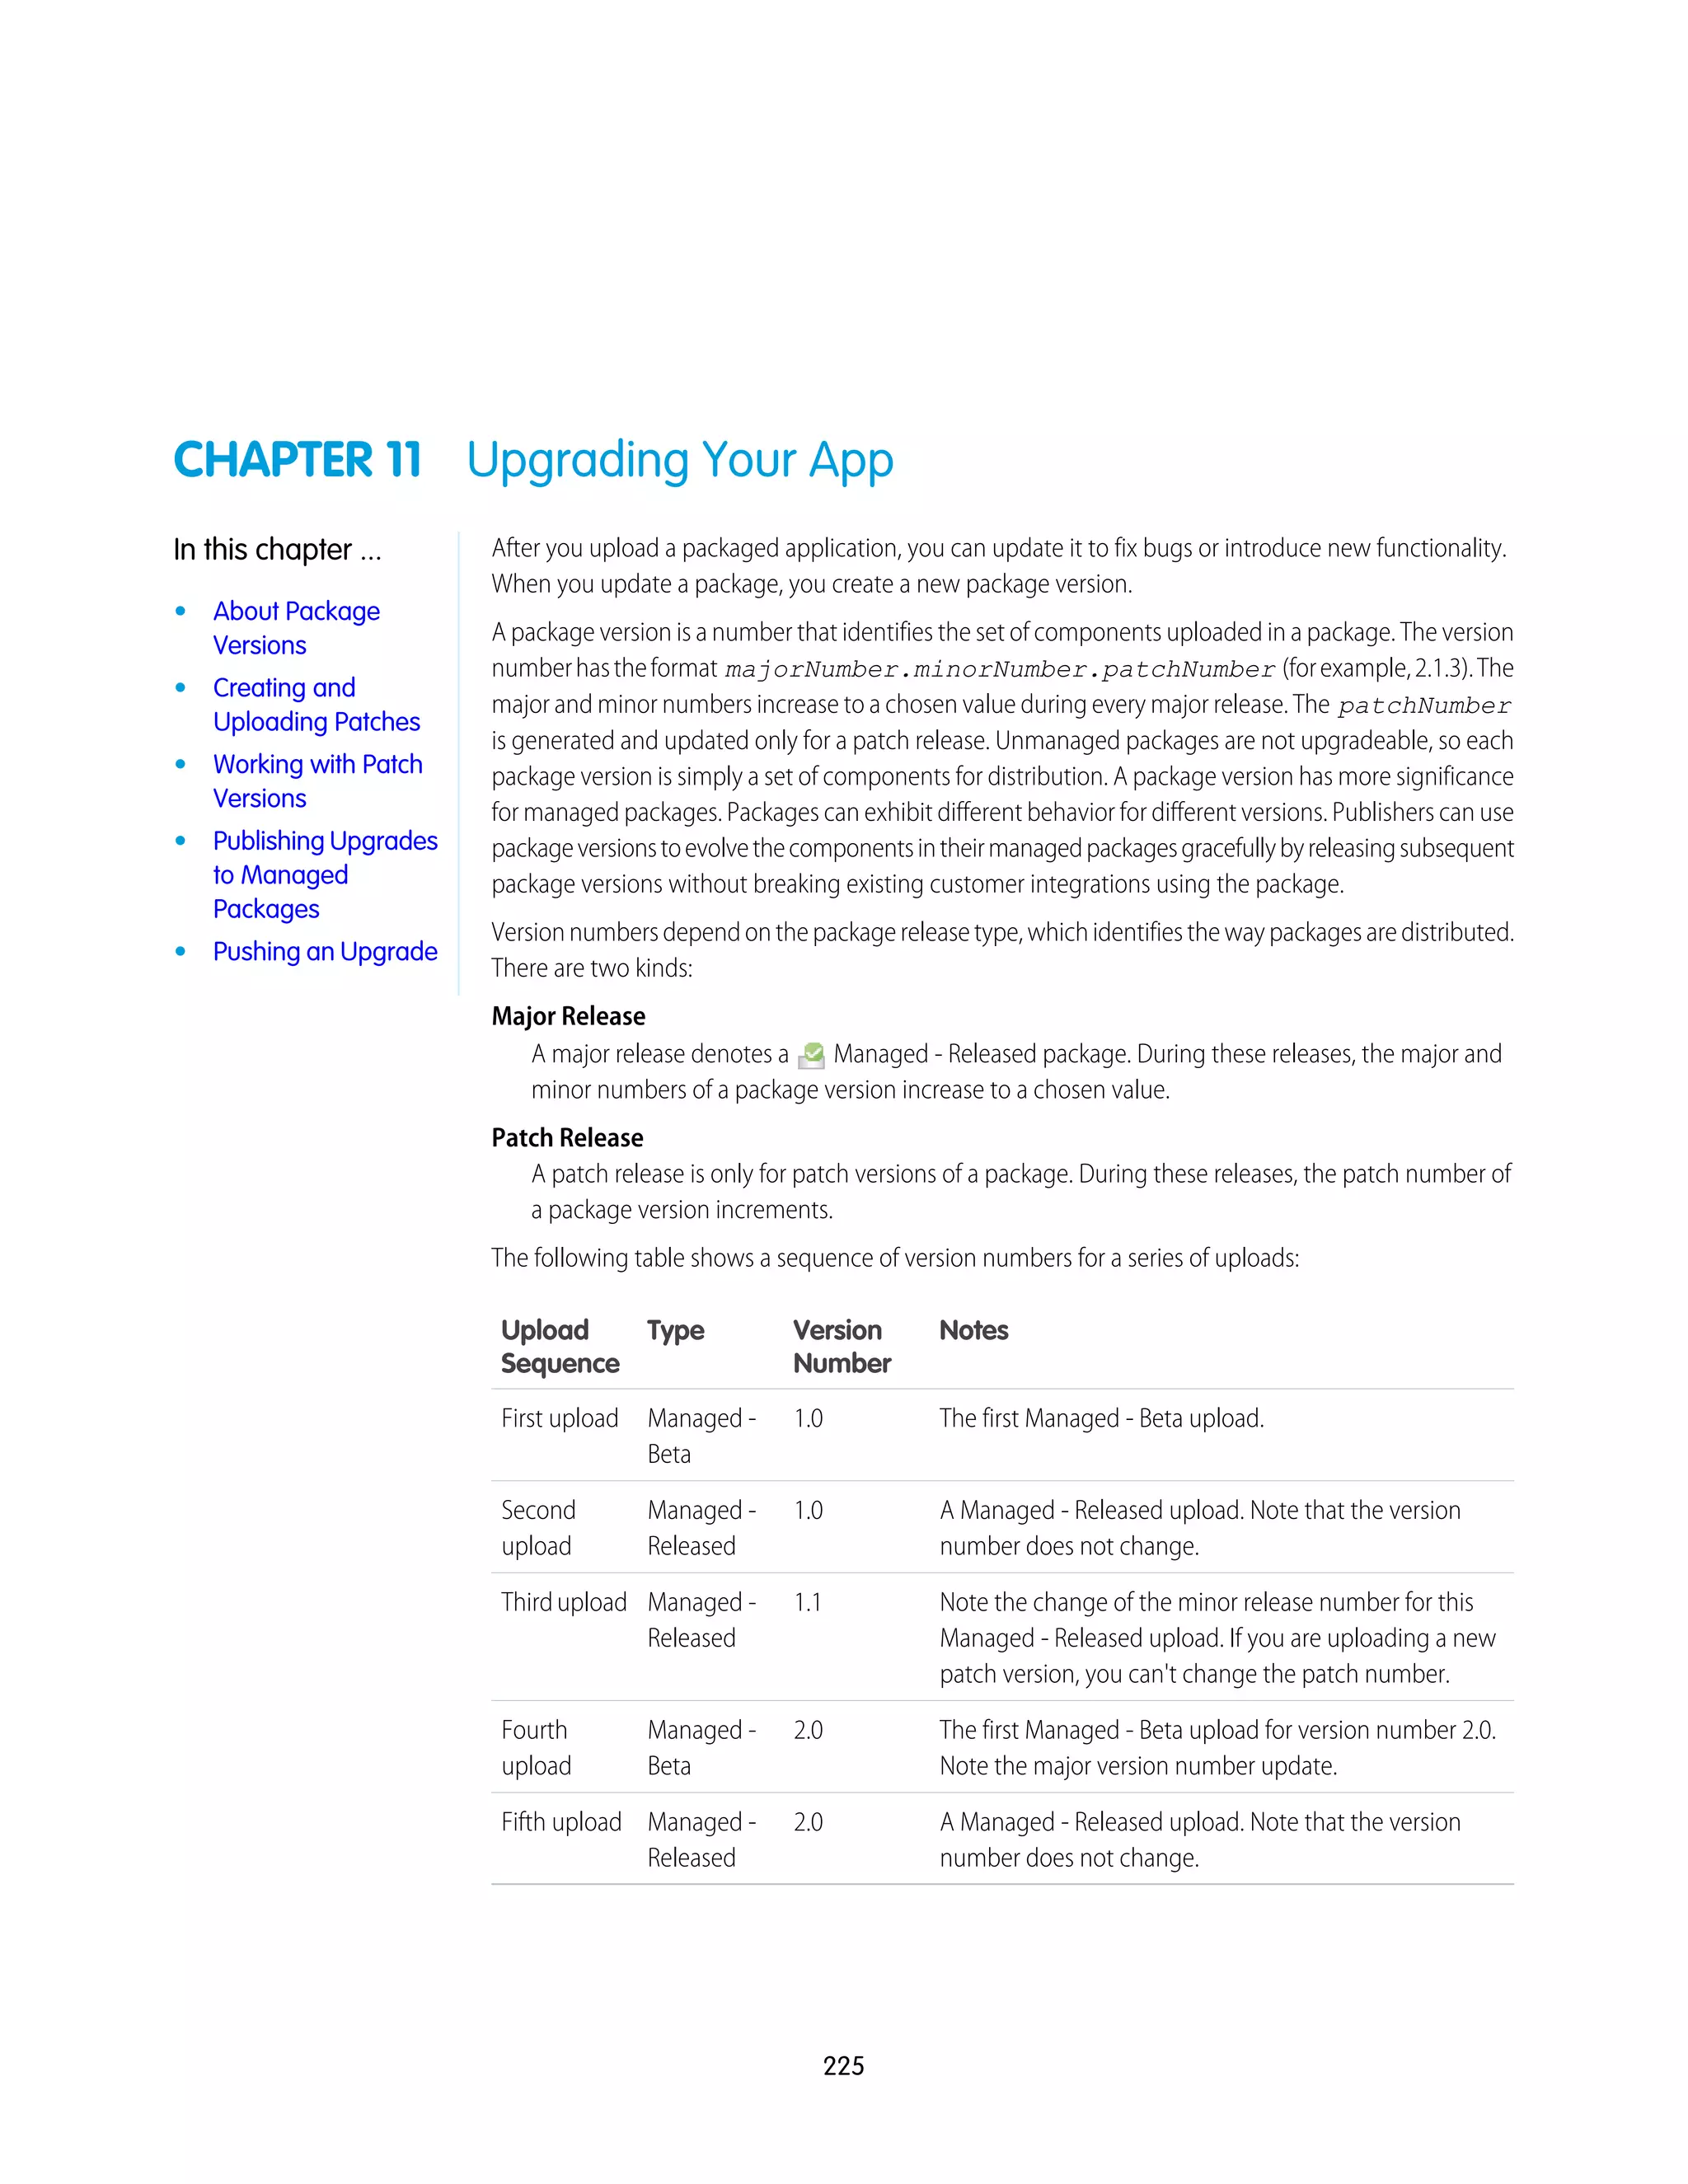
Follow these steps to set up Environment Hub for the first time.
1. Choose which organization you want to use as your hub organization. This should be the
organization most employees log in to regularly.
2. Optionally, set up and deploy My Domain for your hub organization.
Note: You can enable Environment Hub and use it to create new organizations, without
usingMyDomain.However,MyDomaindeploymentisrequiredtoenableSingleSign-On
or connect existing organizations to the hub.
3. Contact salesforce.com support to get Environment Hub enabled for your hub organization.
4. Once the feature is enabled, log in to your hub organization via the new My Domain URL.
5. Edit profiles or permission sets to assign users access to specific features of Environment Hub..
a. From Setup, click Manage Users > Profiles.
b. Click Edit next to the appropriate profile.
c. Select the settings you want to enable, on the profile editing page.
d. Click Save.
This table summarizes the settings for Environment Hub in the profile editing page.
Settings for Environment HubSection of Profile
EnabletheEnvironmentHubcustomapp,soit’savailableintheForce.comAppmenu.Custom App Settings
The Environment Hub connected app is for internal use only, and doesn’t need to be
enabled for any profiles.
Connected App Access
A new entry appears here automatically here whenever single sign-on is enabled in a
member organization. Enabling access to a service provider allows single sign-on login
Service Provider Access
access to the corresponding member organization. The service provider is named
"[OrganizationID] Service Provider" where [OrganizationID] is the
organizationIDofthememberorganization.Userswhodon’thaveaccesstotheservice
provider may see this message when attempting to log in via single sign-on: "User
[UserID] does not have access to sp [ServiceProviderID]."
The"ManageEnvironmentHub"permissioncontrolswhichprofilescanenable,create,
and edit single sign-on configuration for member organizations. It also controls which
Administrative Permissions
profiles can create new organizations from the hub (via the Create Organization
button).
The "Connect Organization to Environment Hub" permission controls which profiles
can connect existing organizations to the Environment Hub.
General User Permissions
The "Hub Members" settings are used to control access to the Environment Hub
Member entities as follows:
Standard Object Permissions
• Read: The ability to view existing Hub Member records.
• Create: This setting has no impact on the ability to create Hub Member records.
That’s because record creation is handled either by connecting an existing
organization or creating a new organization from the Environment Hub.
80
Setting up Environment HubDesigning and Building Your App](https://image.slidesharecdn.com/e93eef4b-15f3-44fa-9a70-da9d0db11c4b-150210030551-conversion-gate01/75/ISVForce-Guide-NEW-88-2048.jpg)


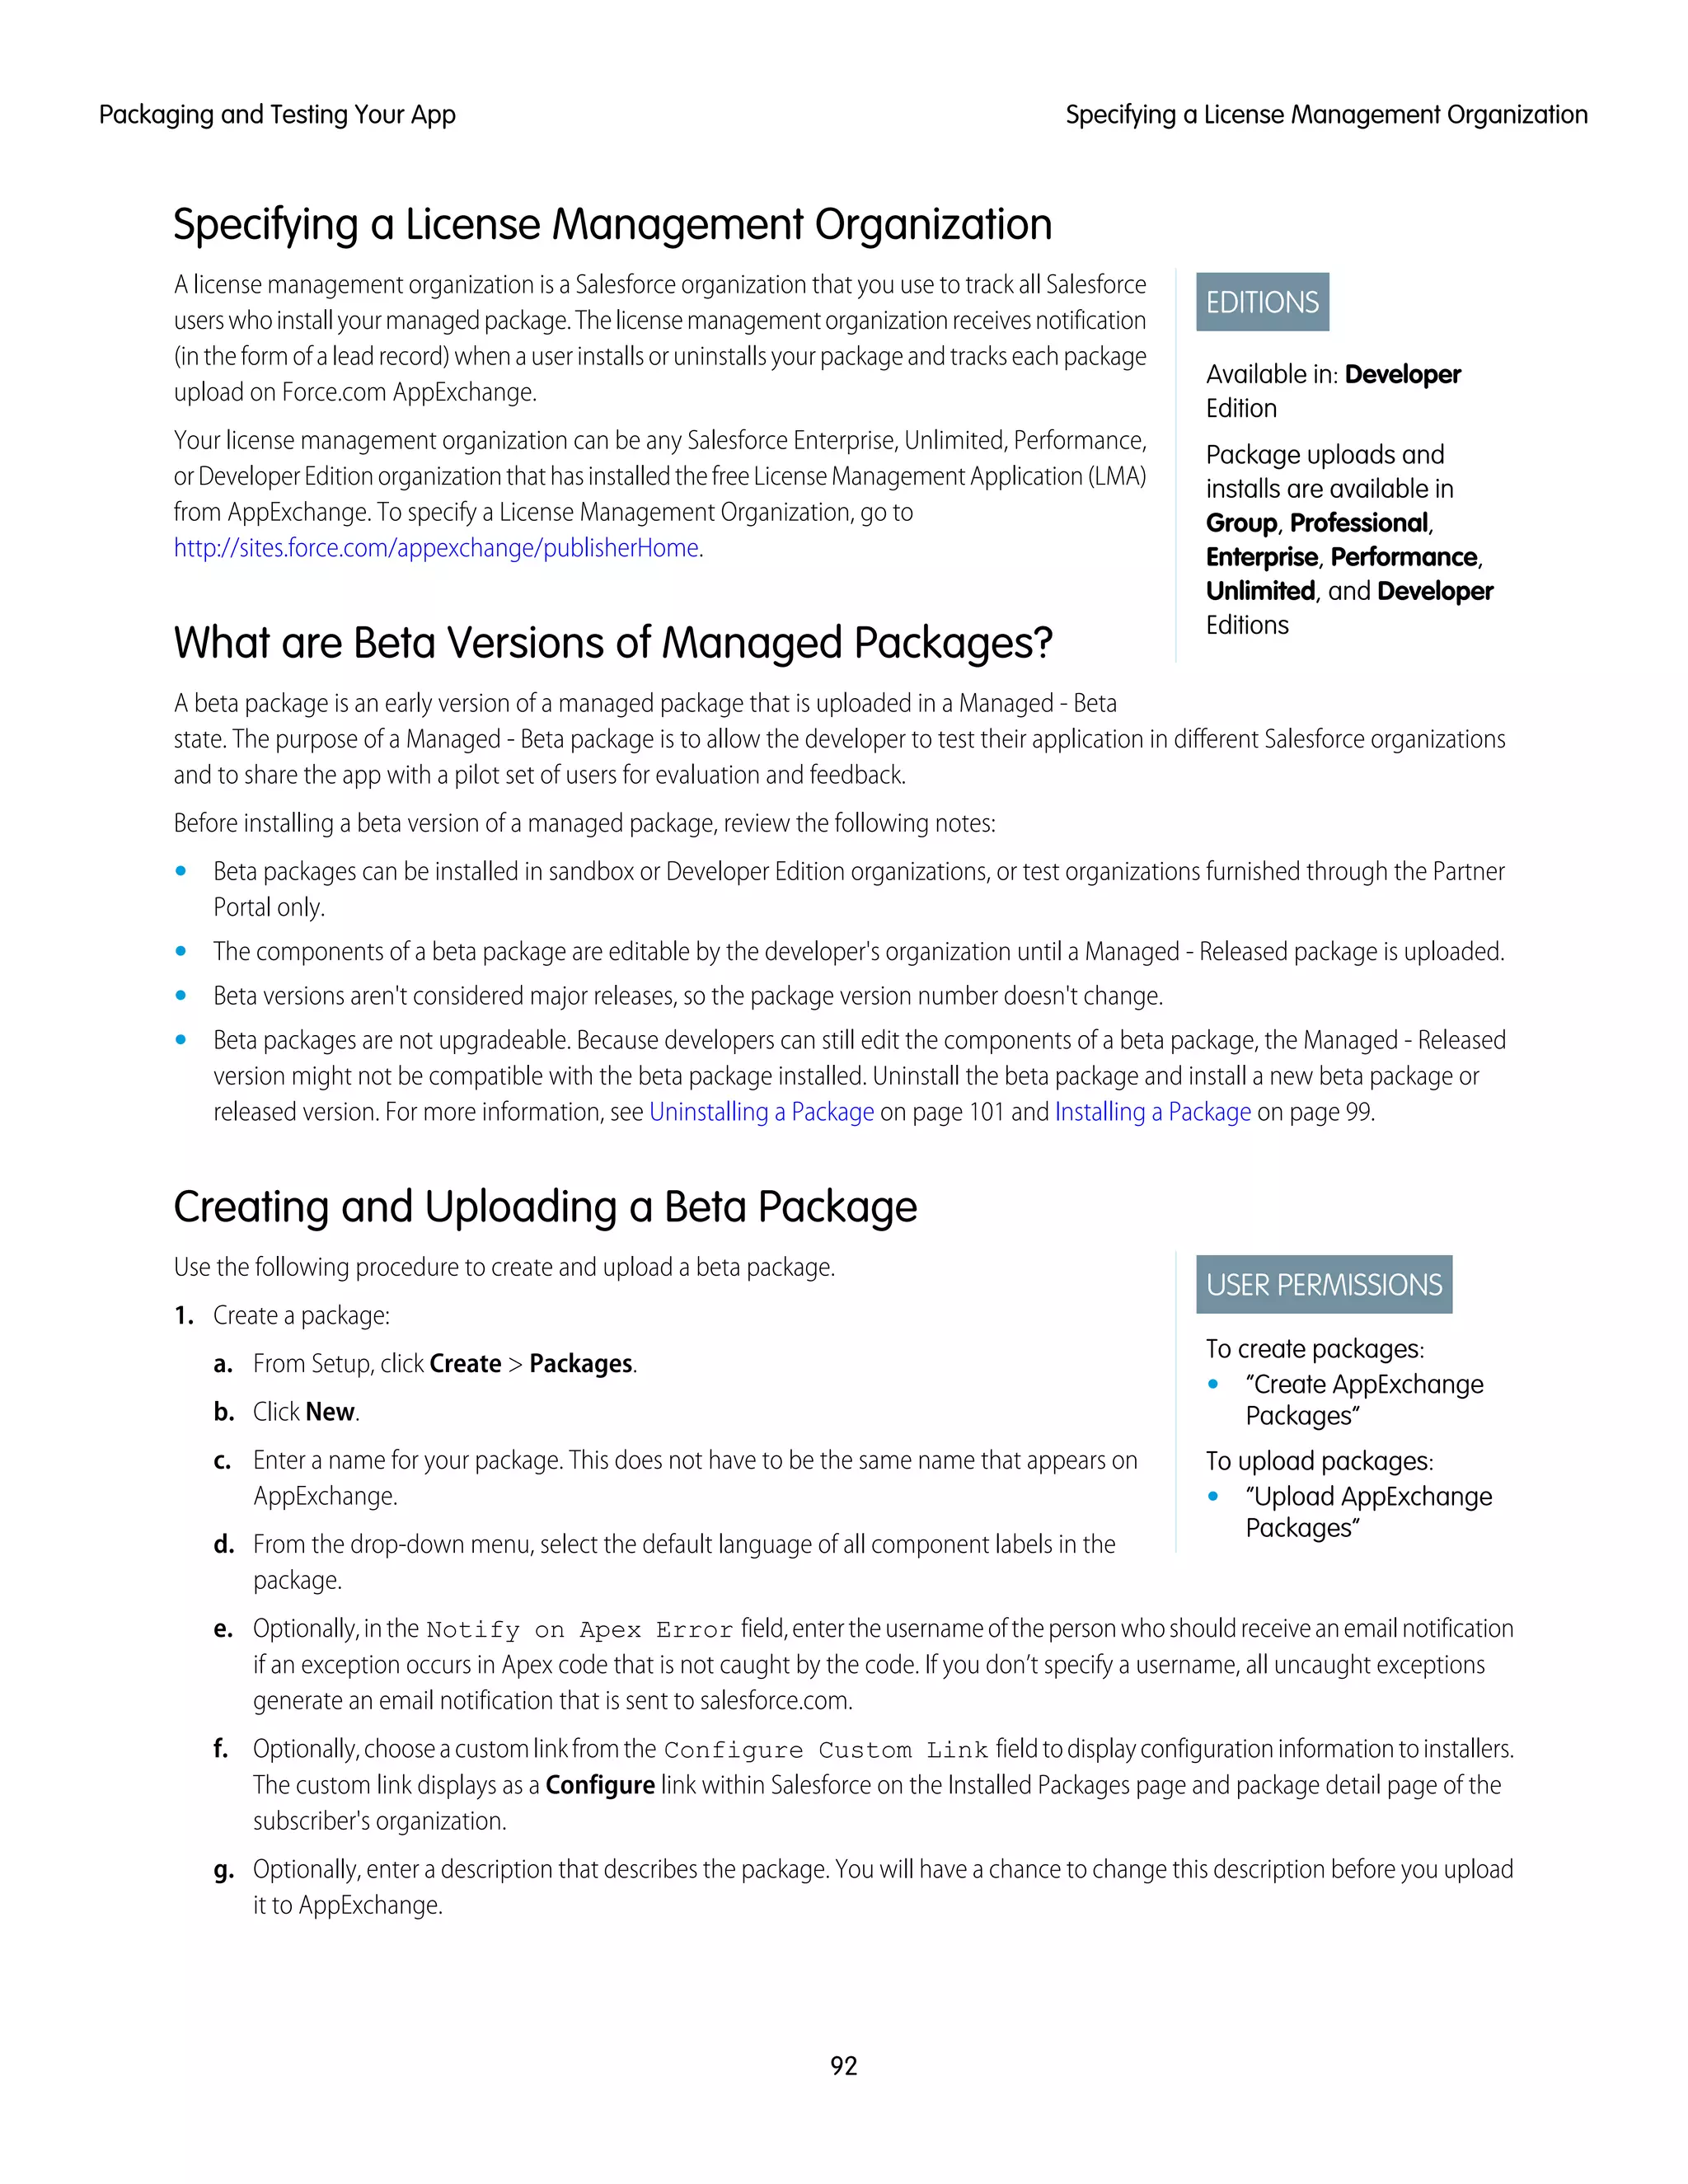

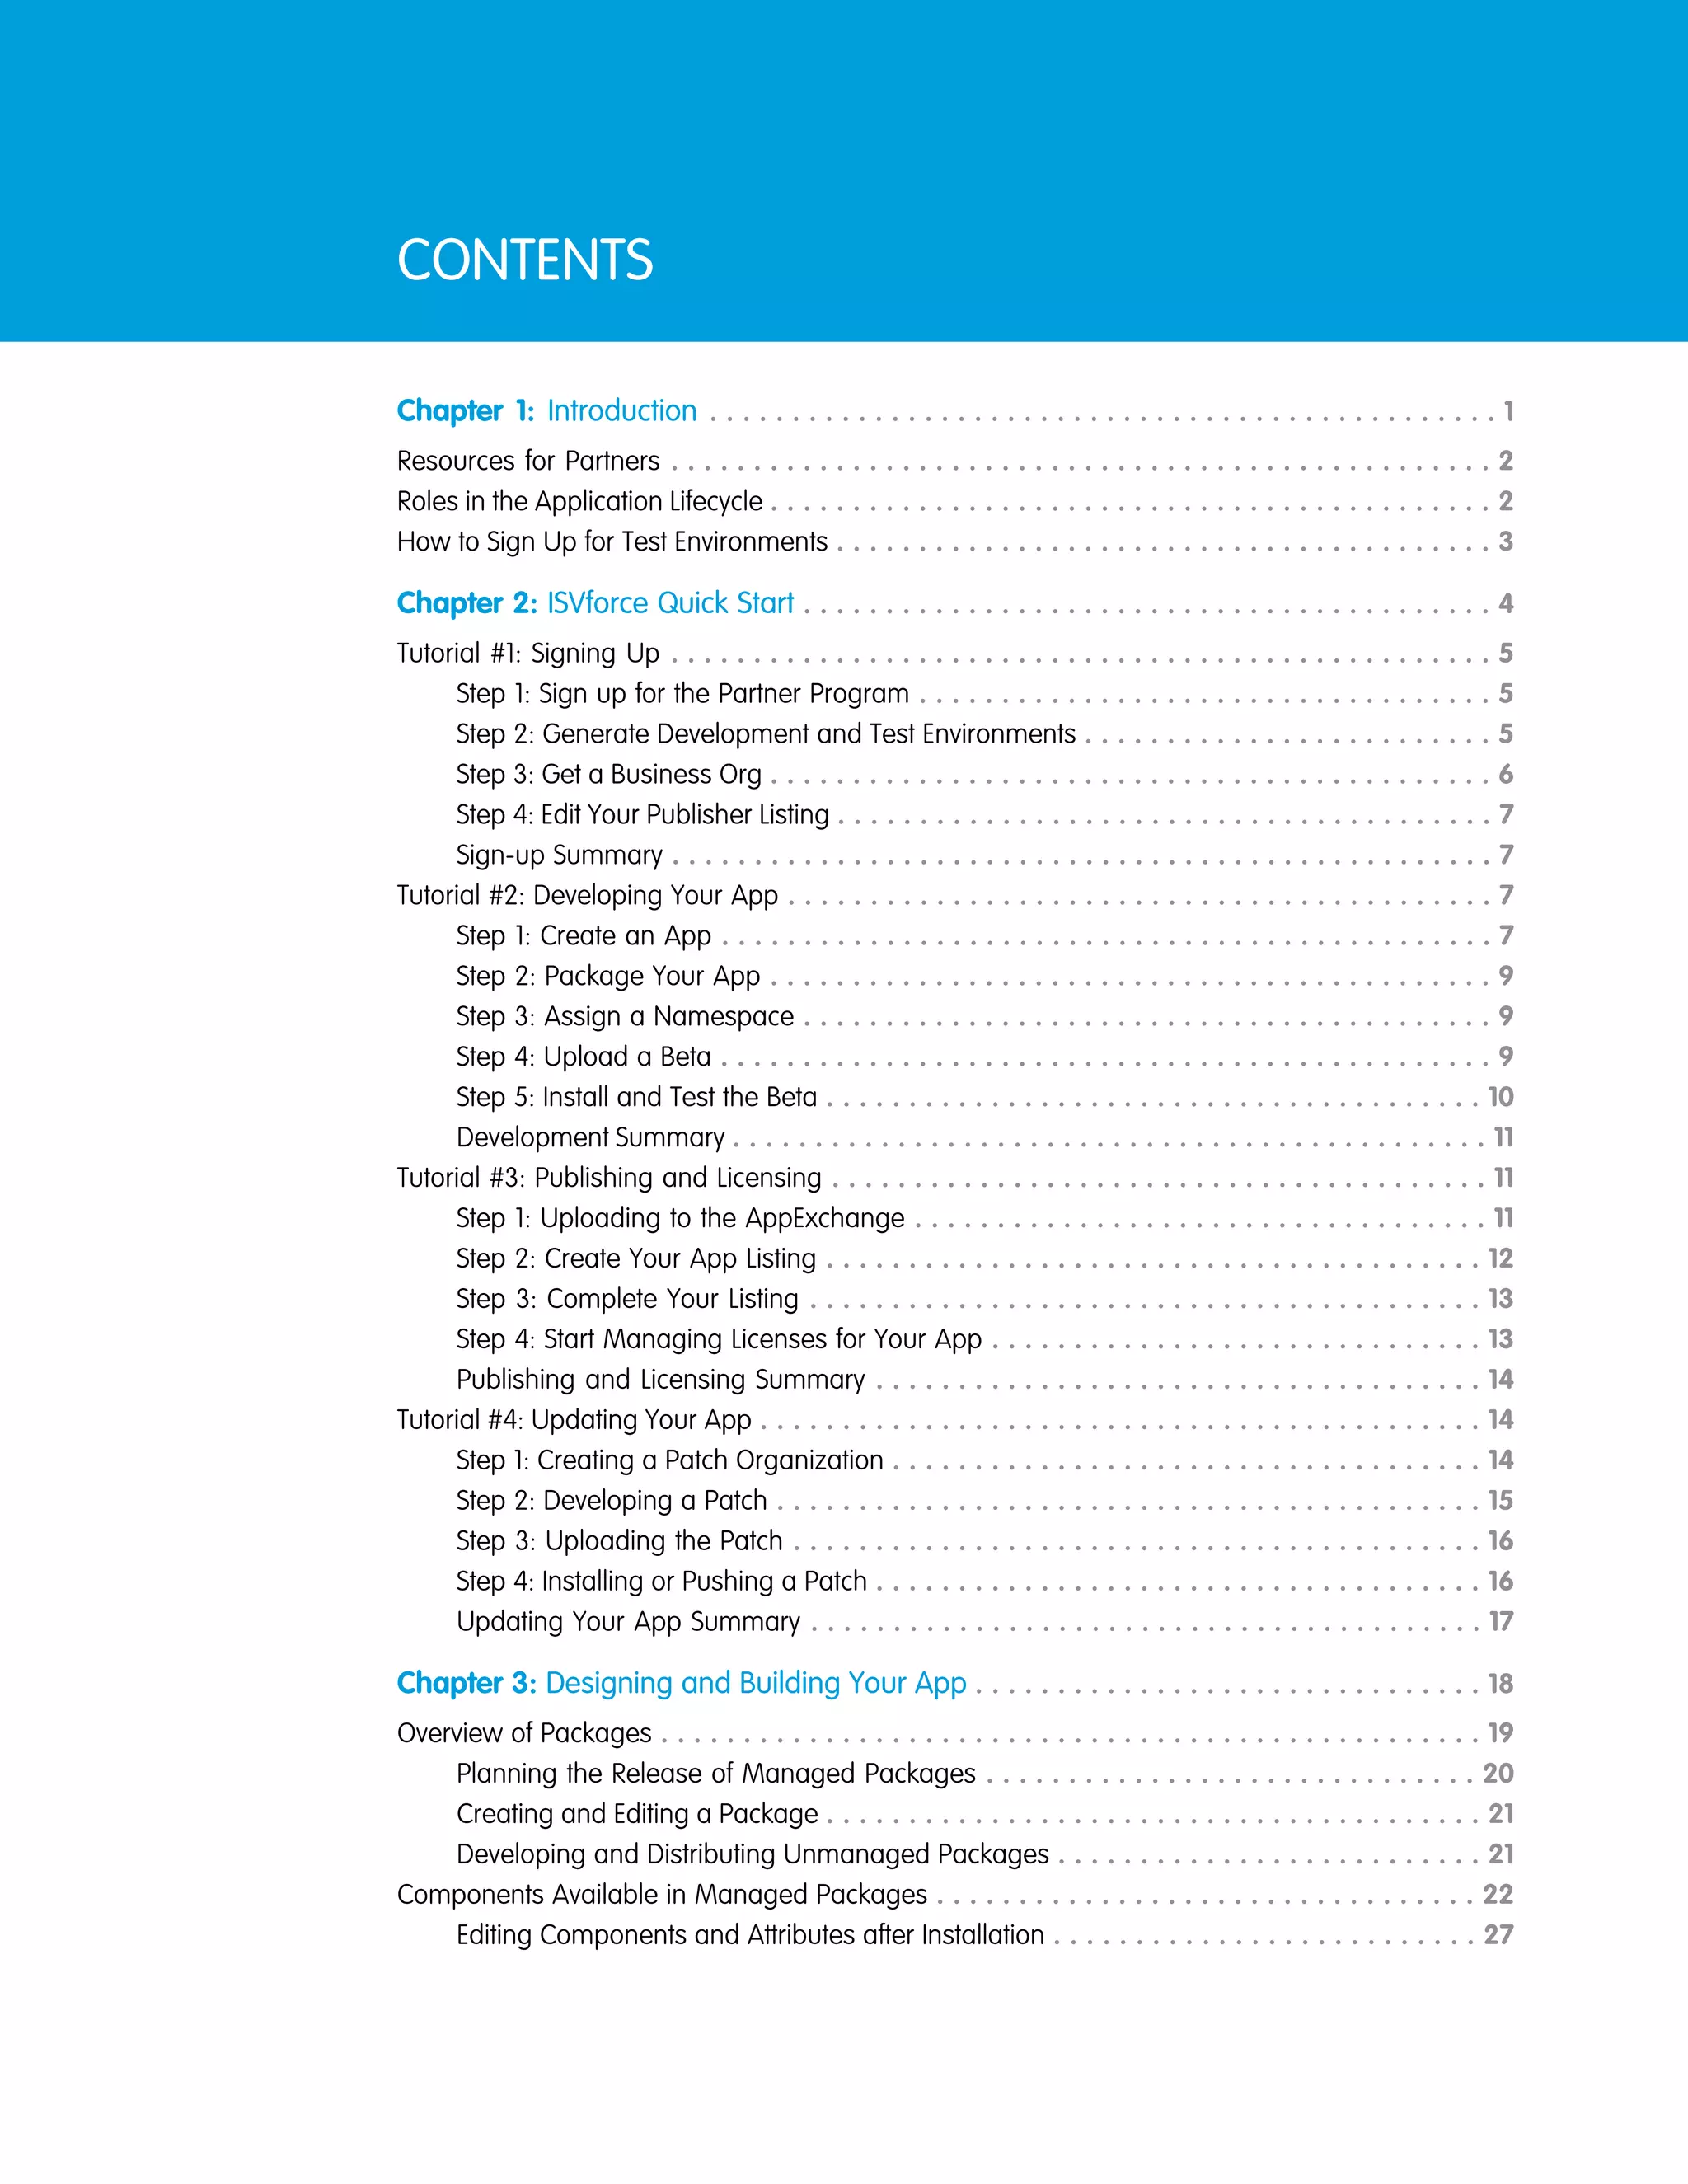
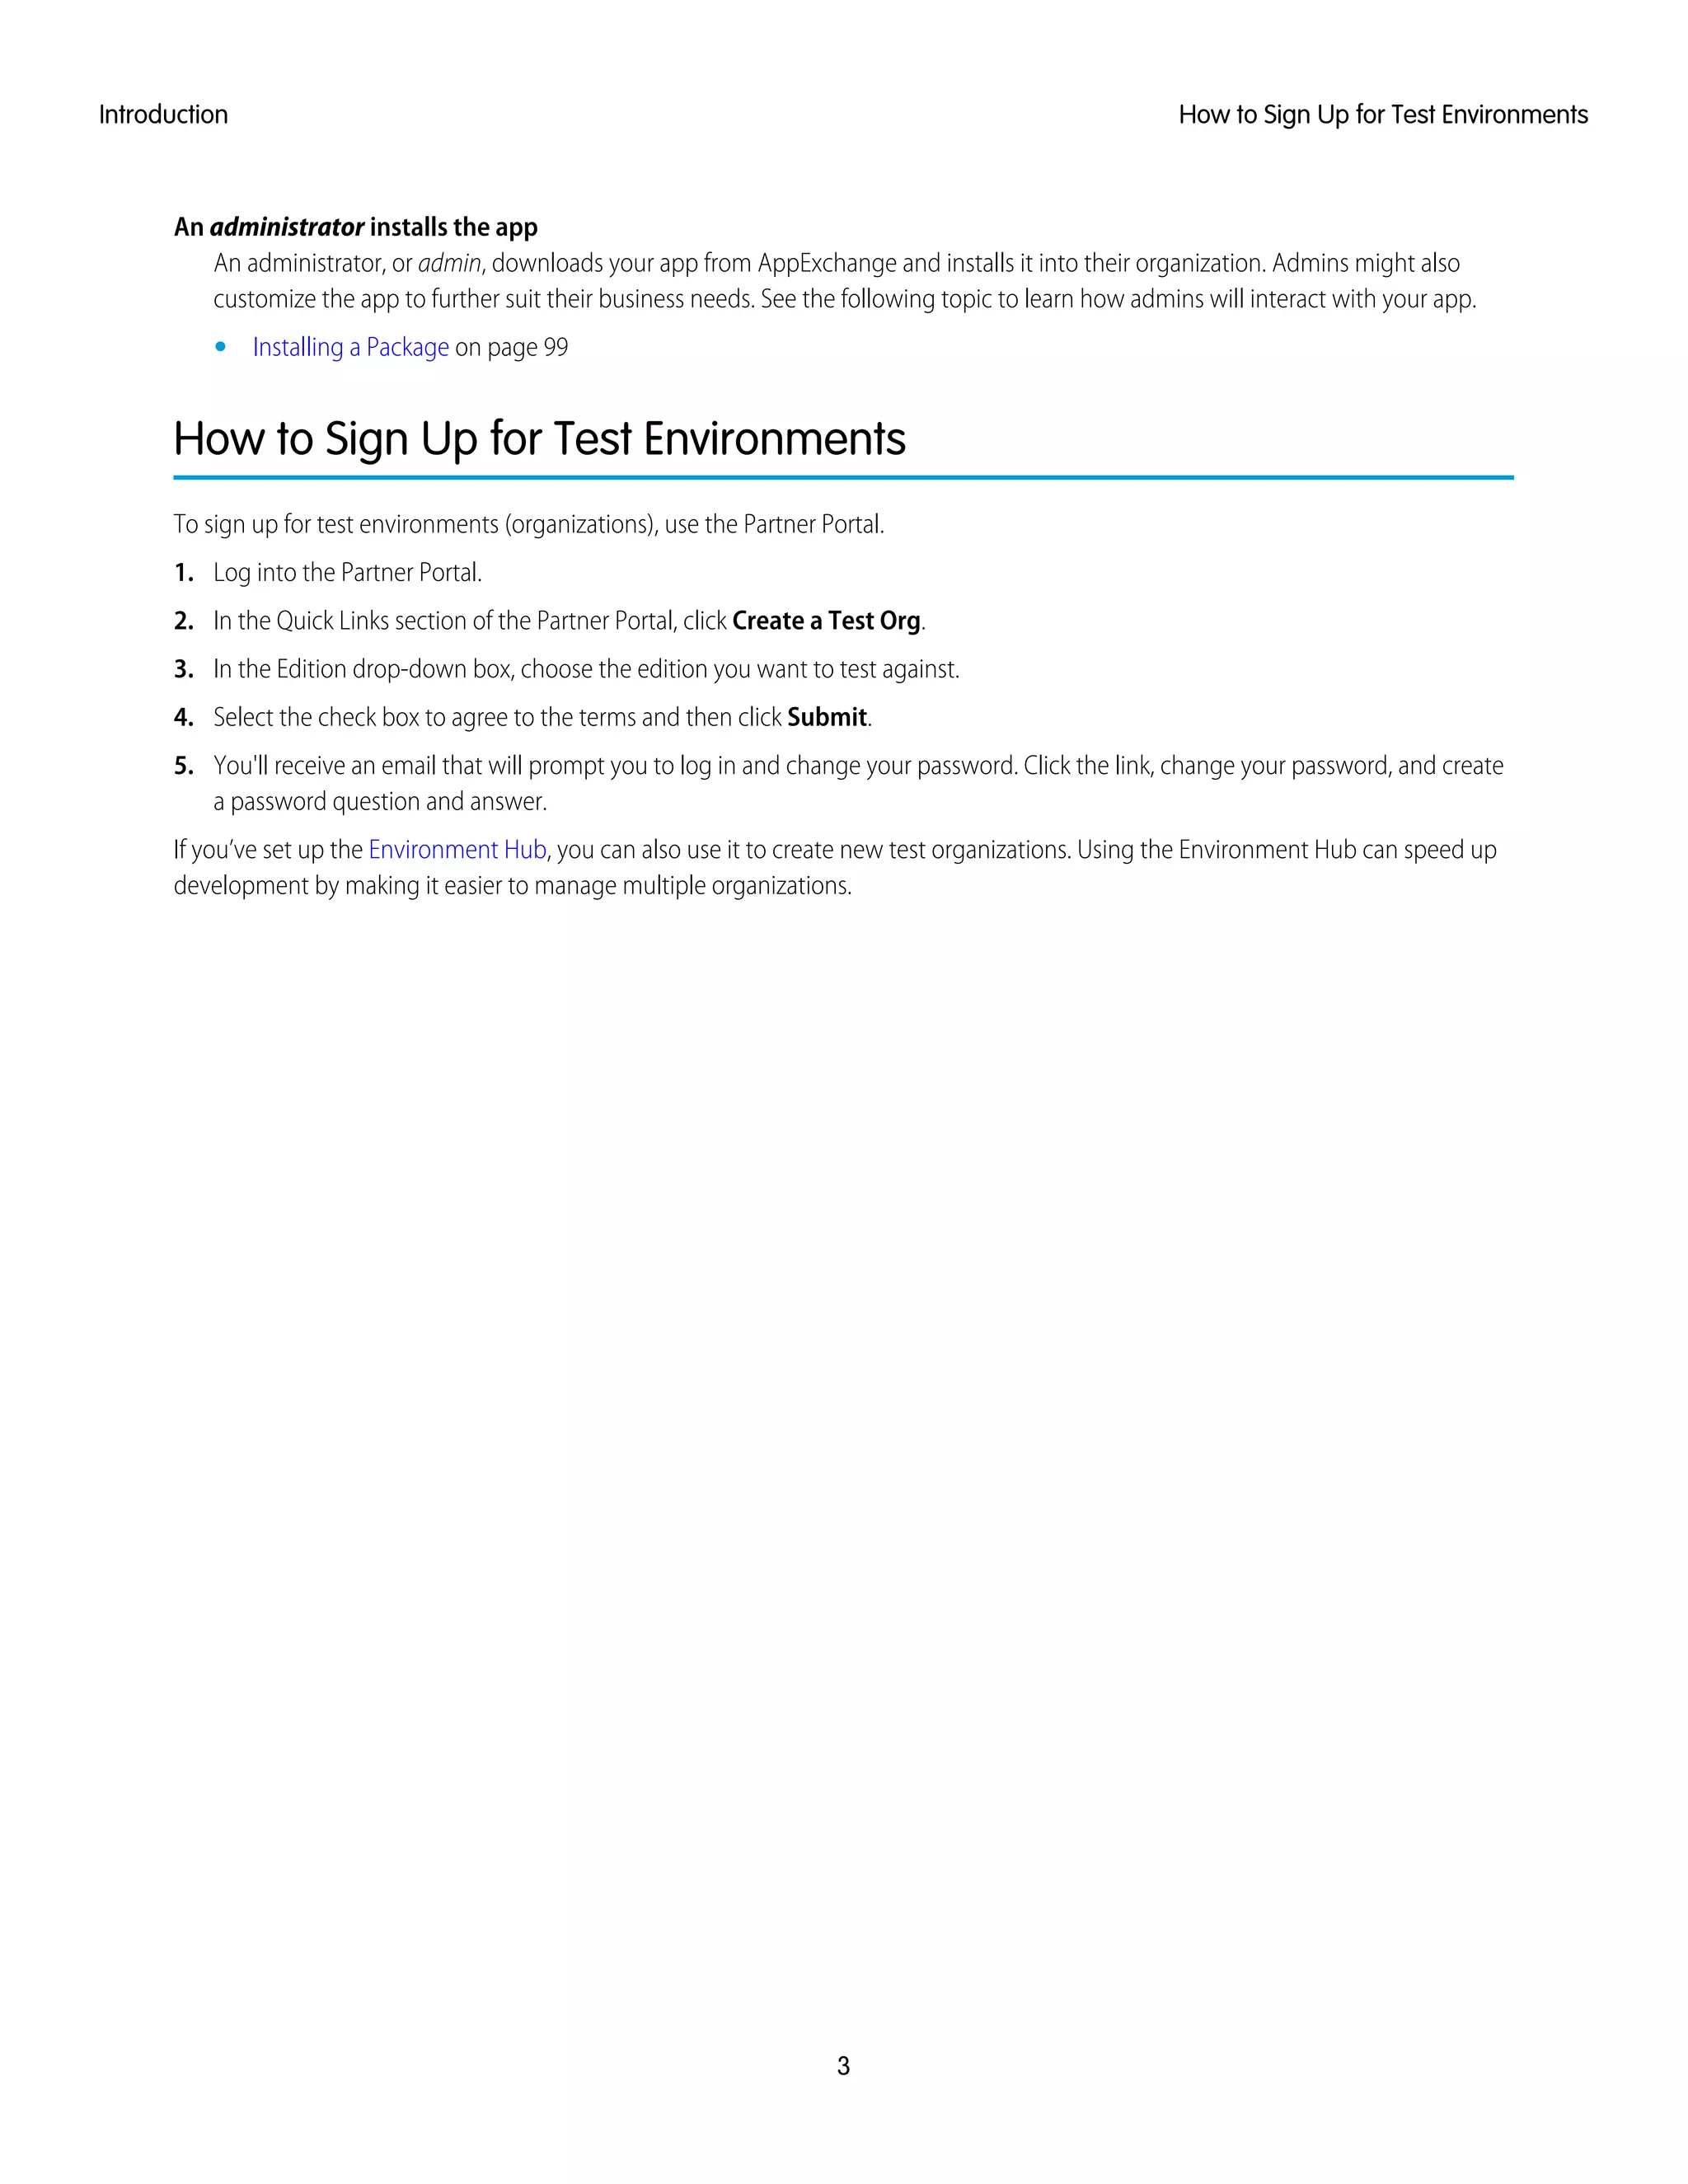
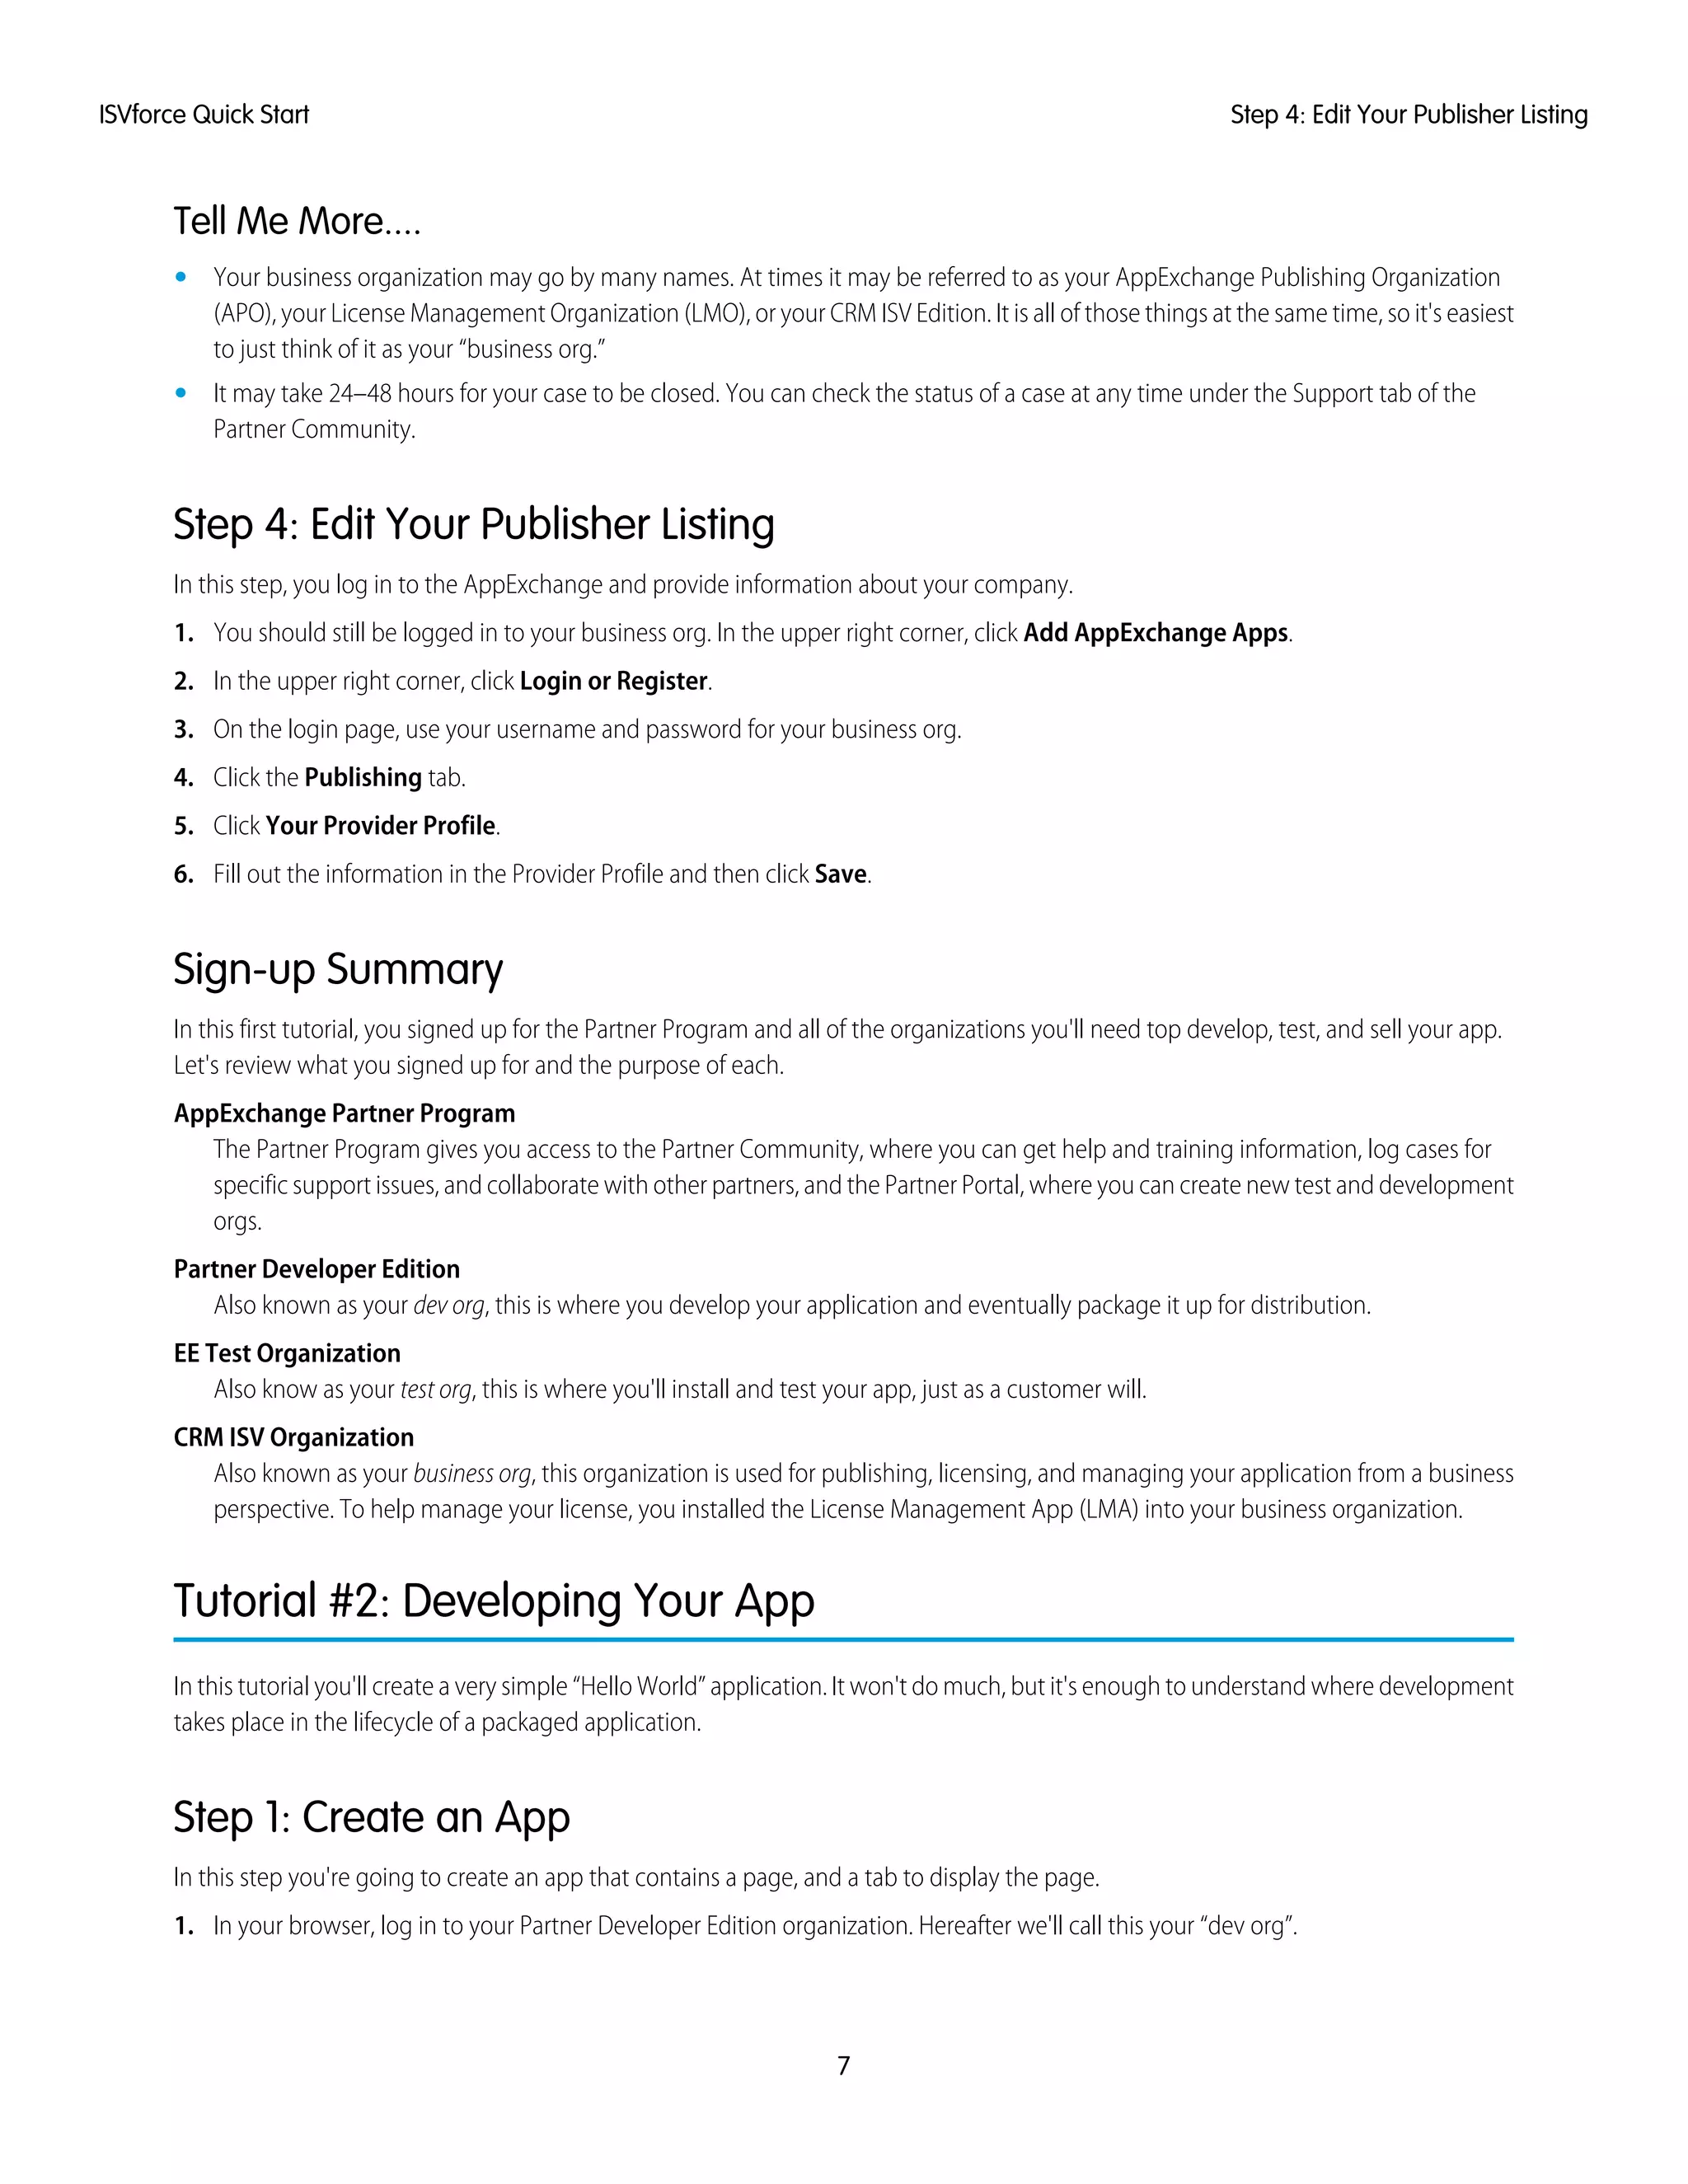
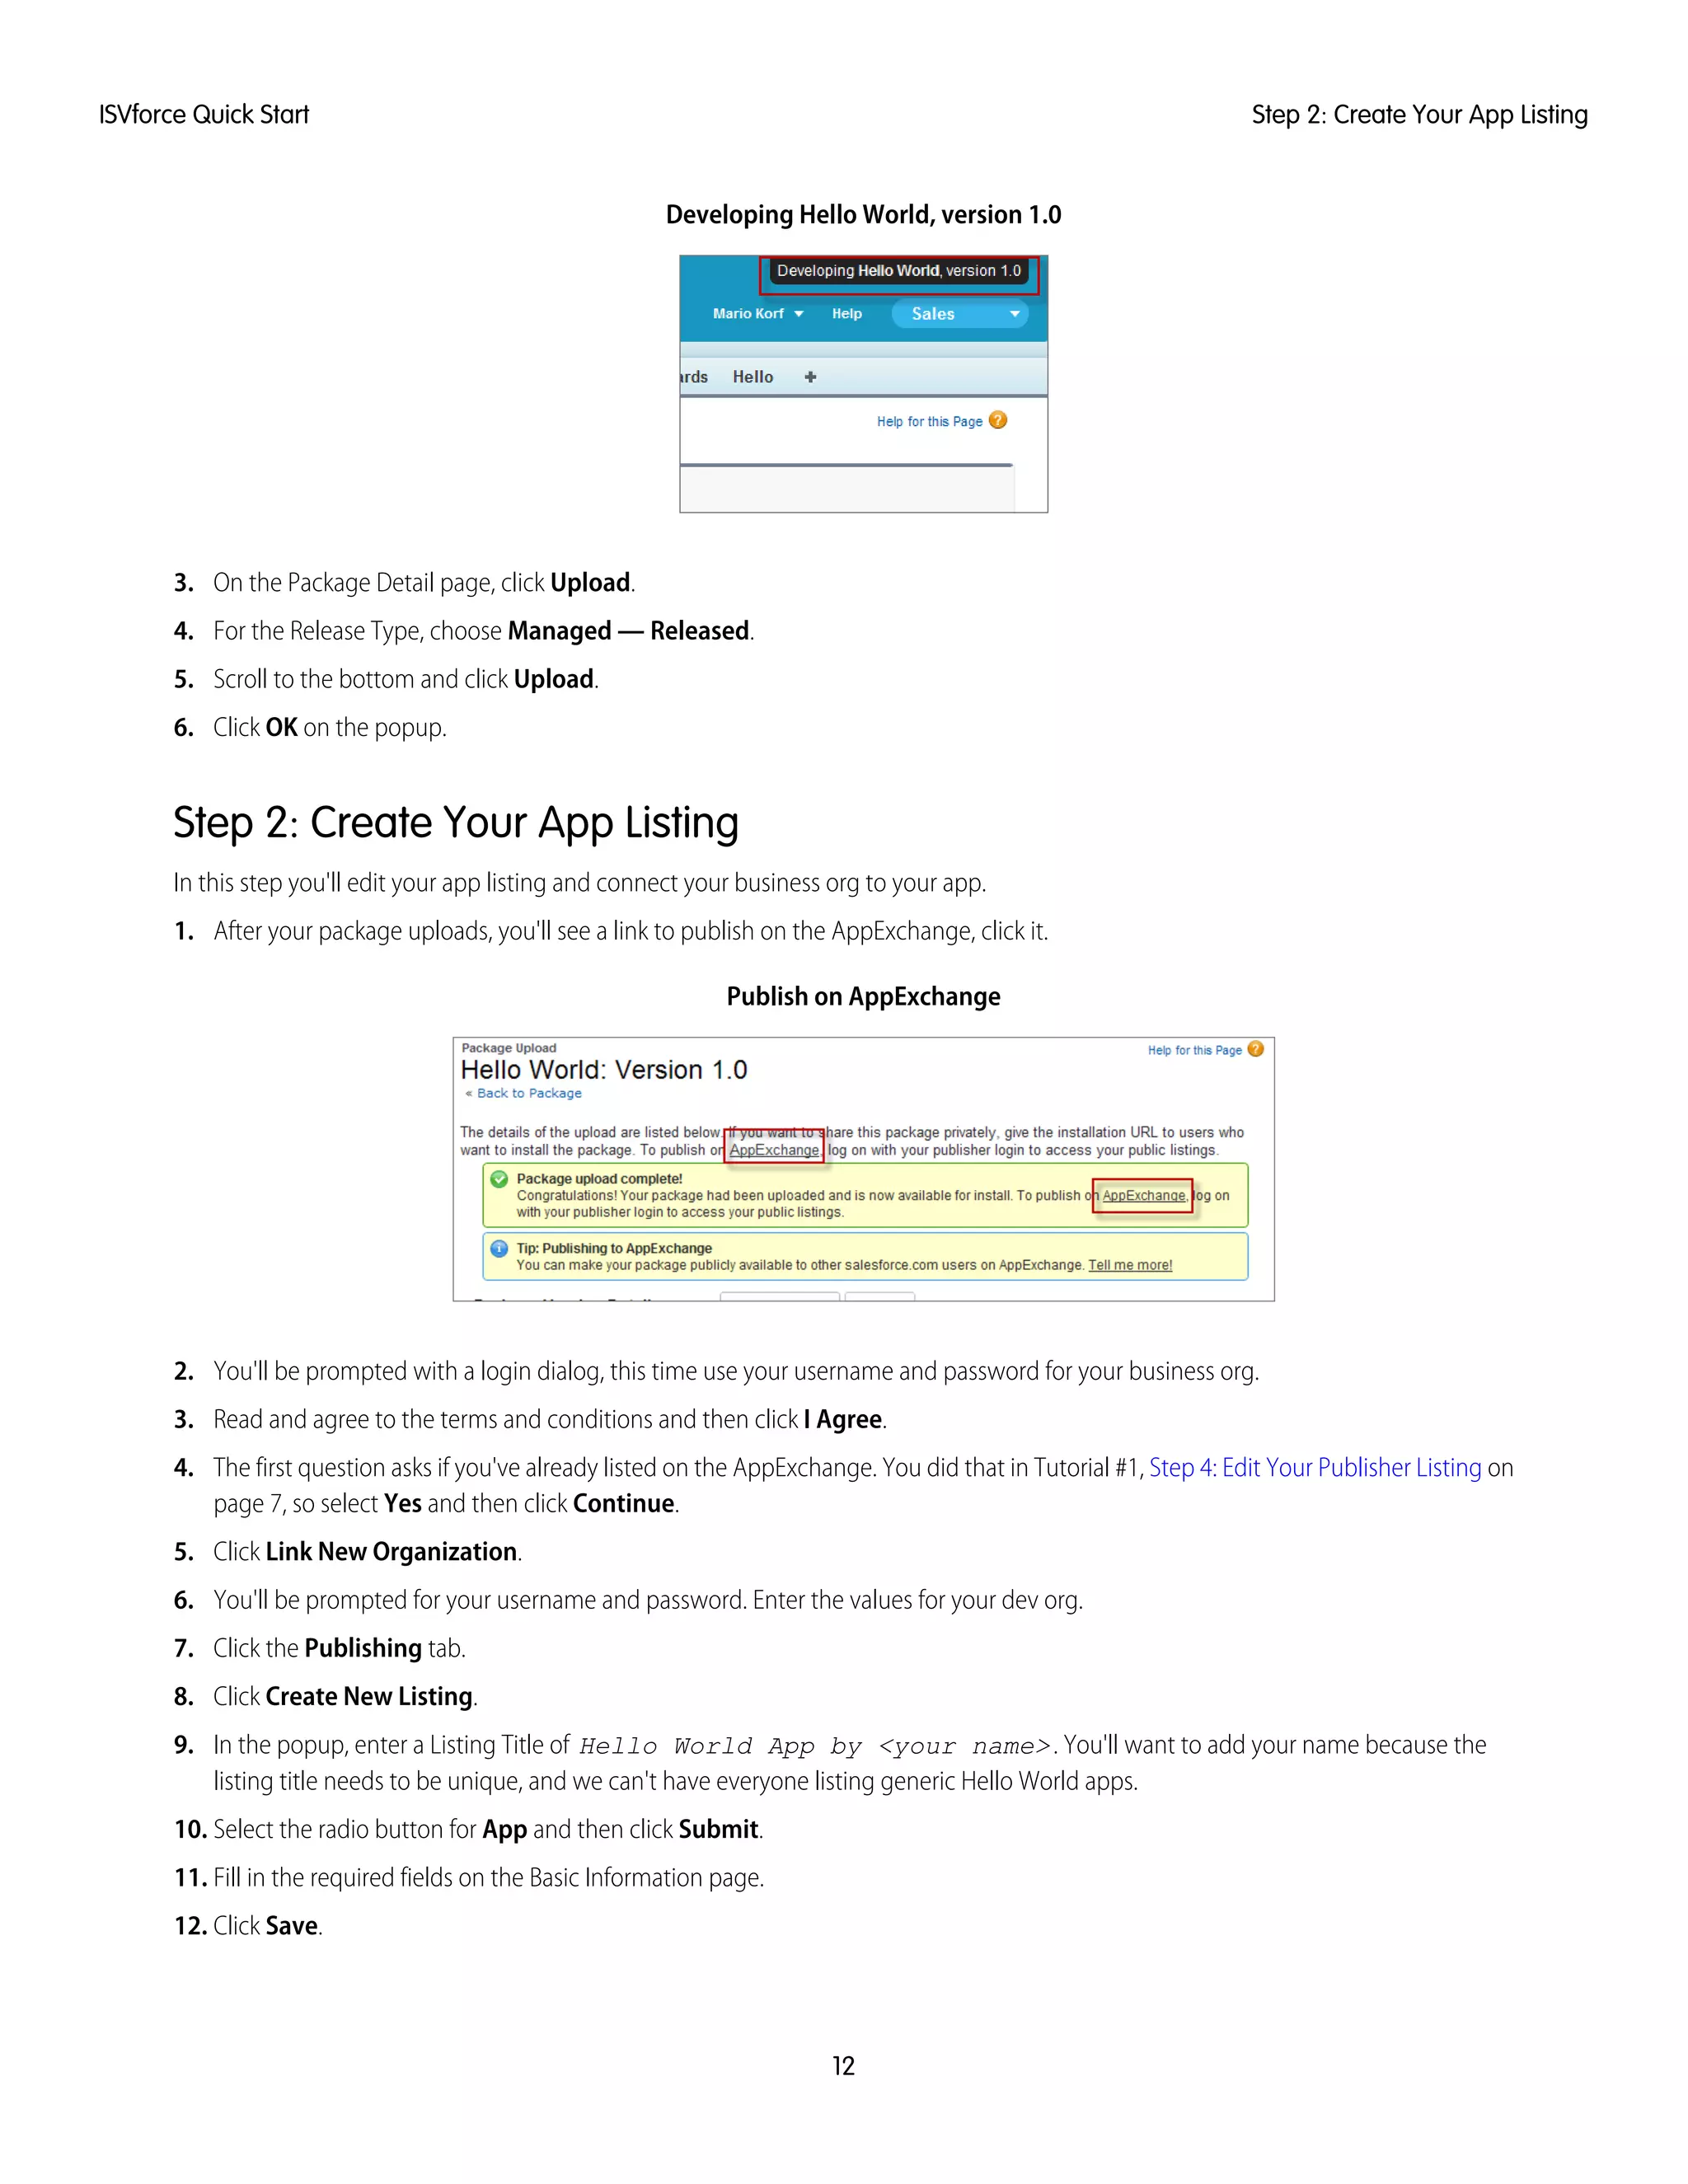
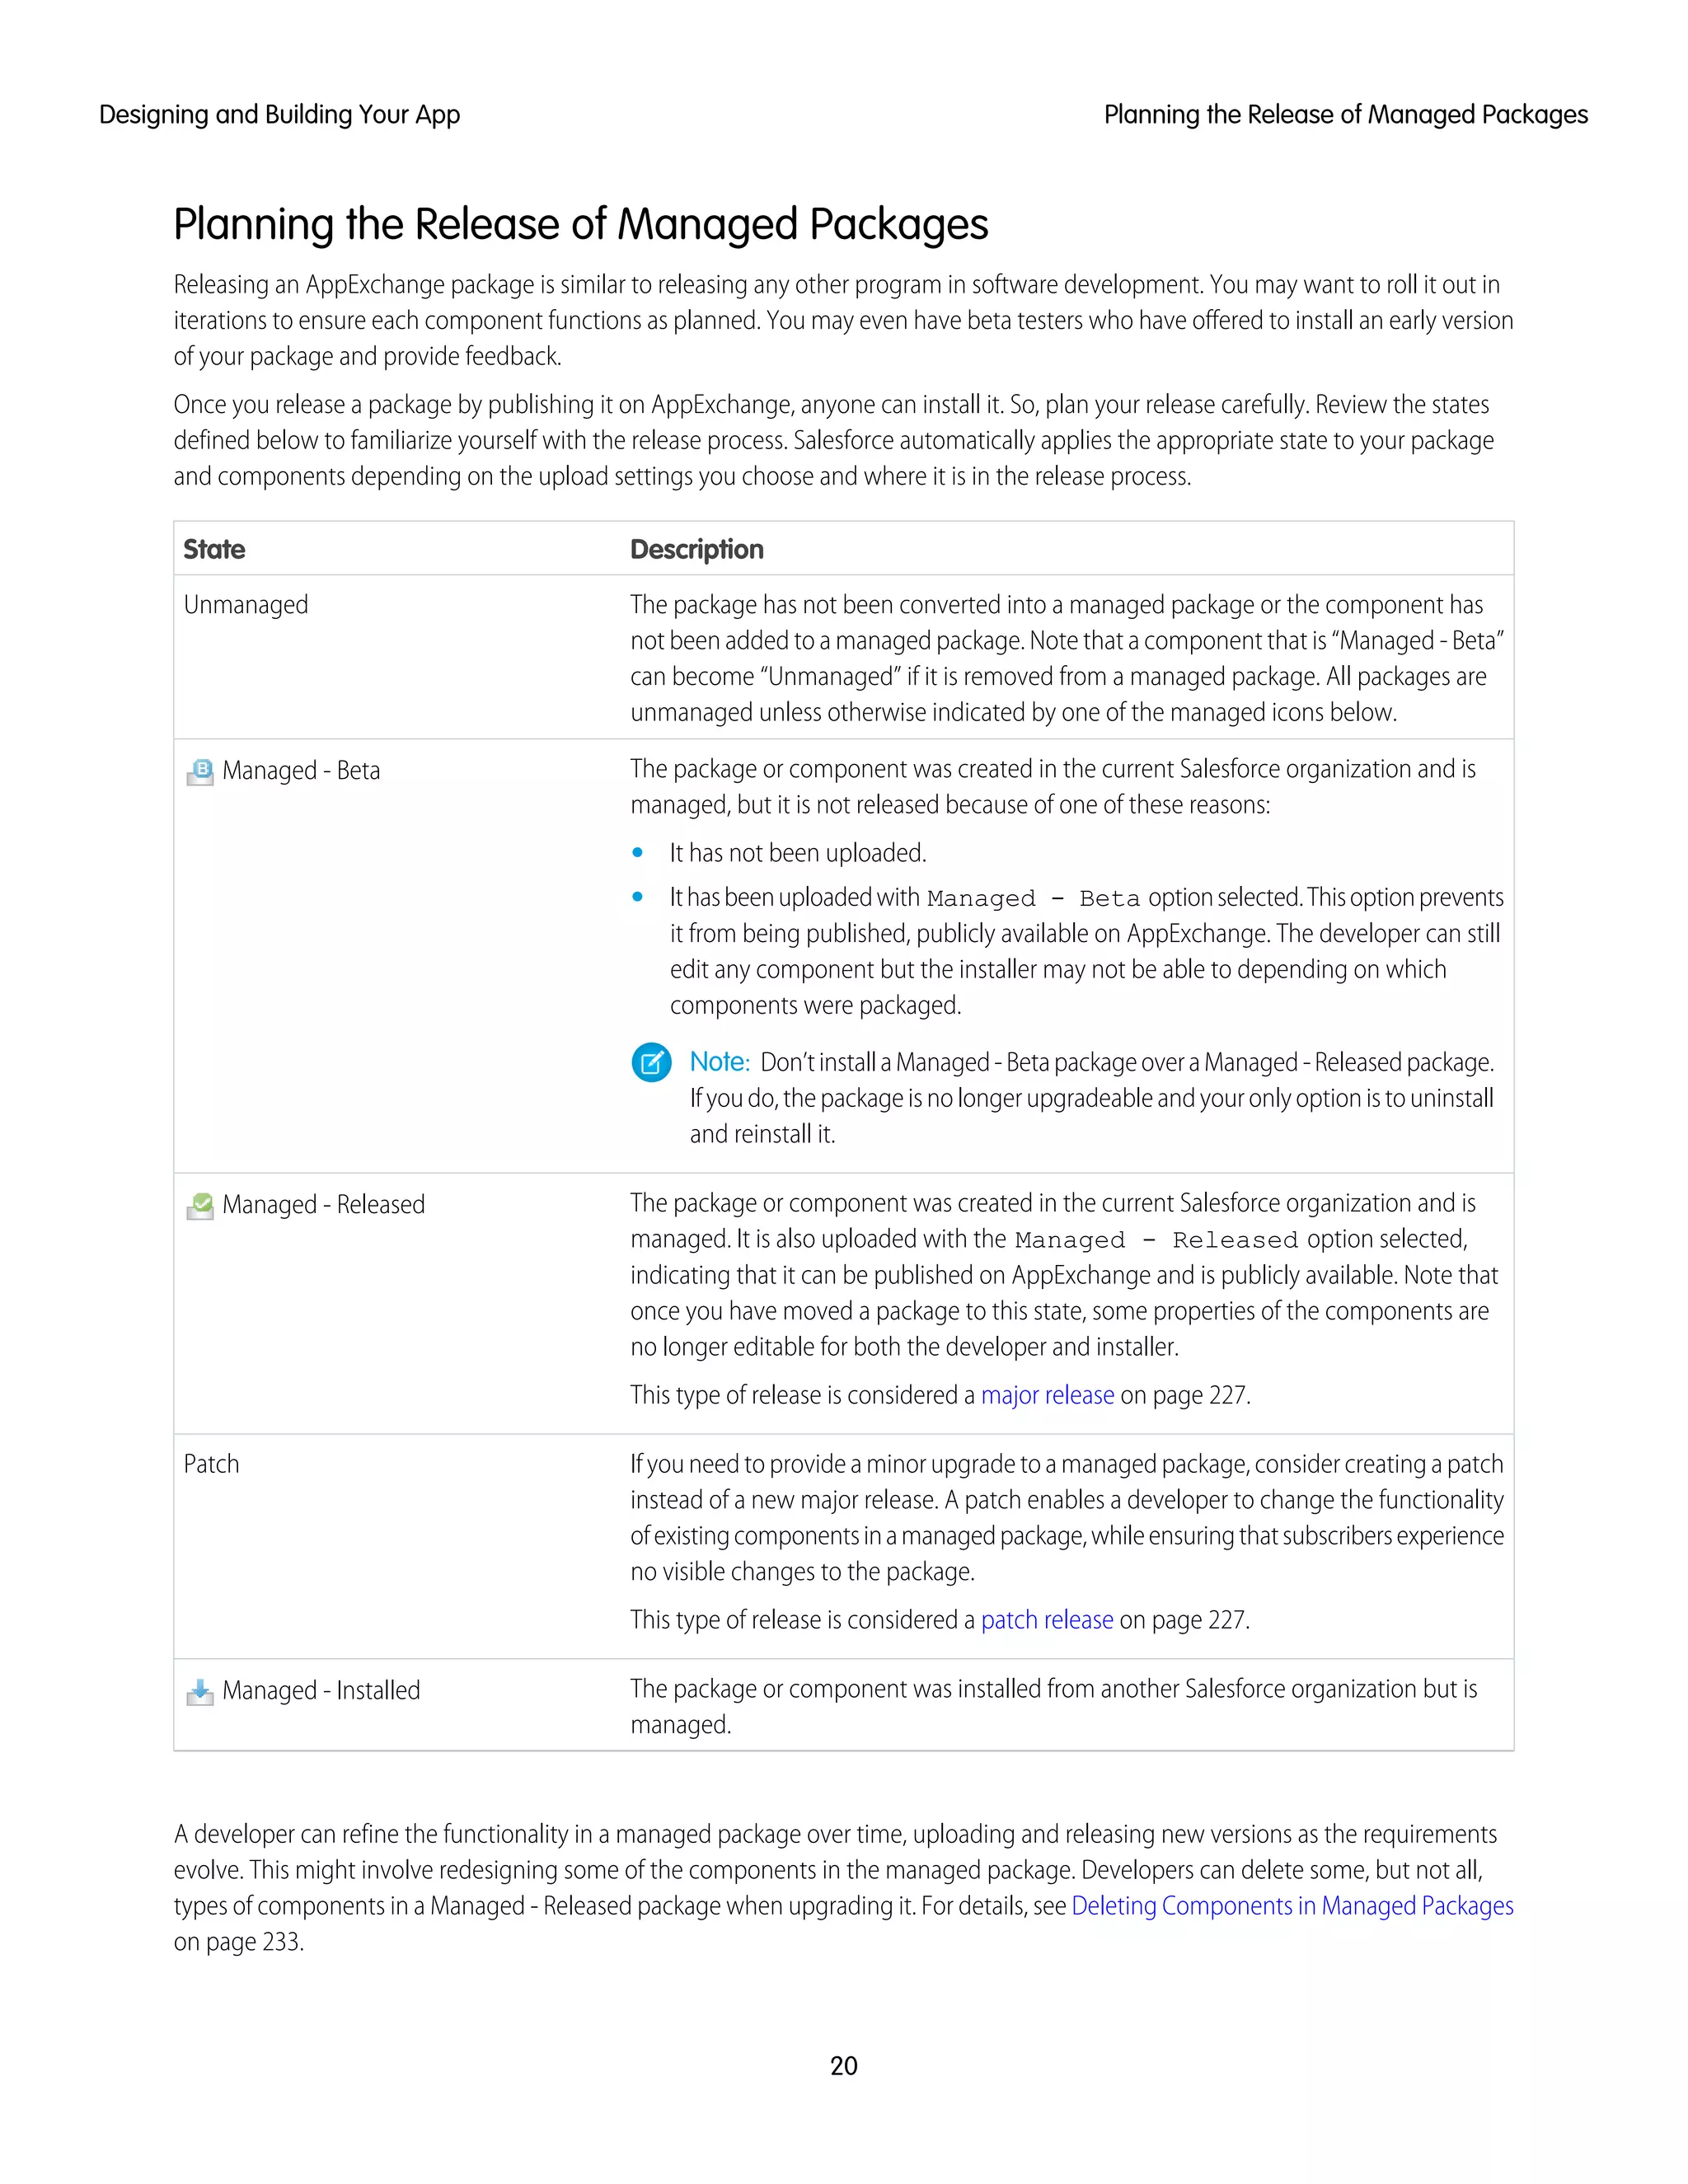
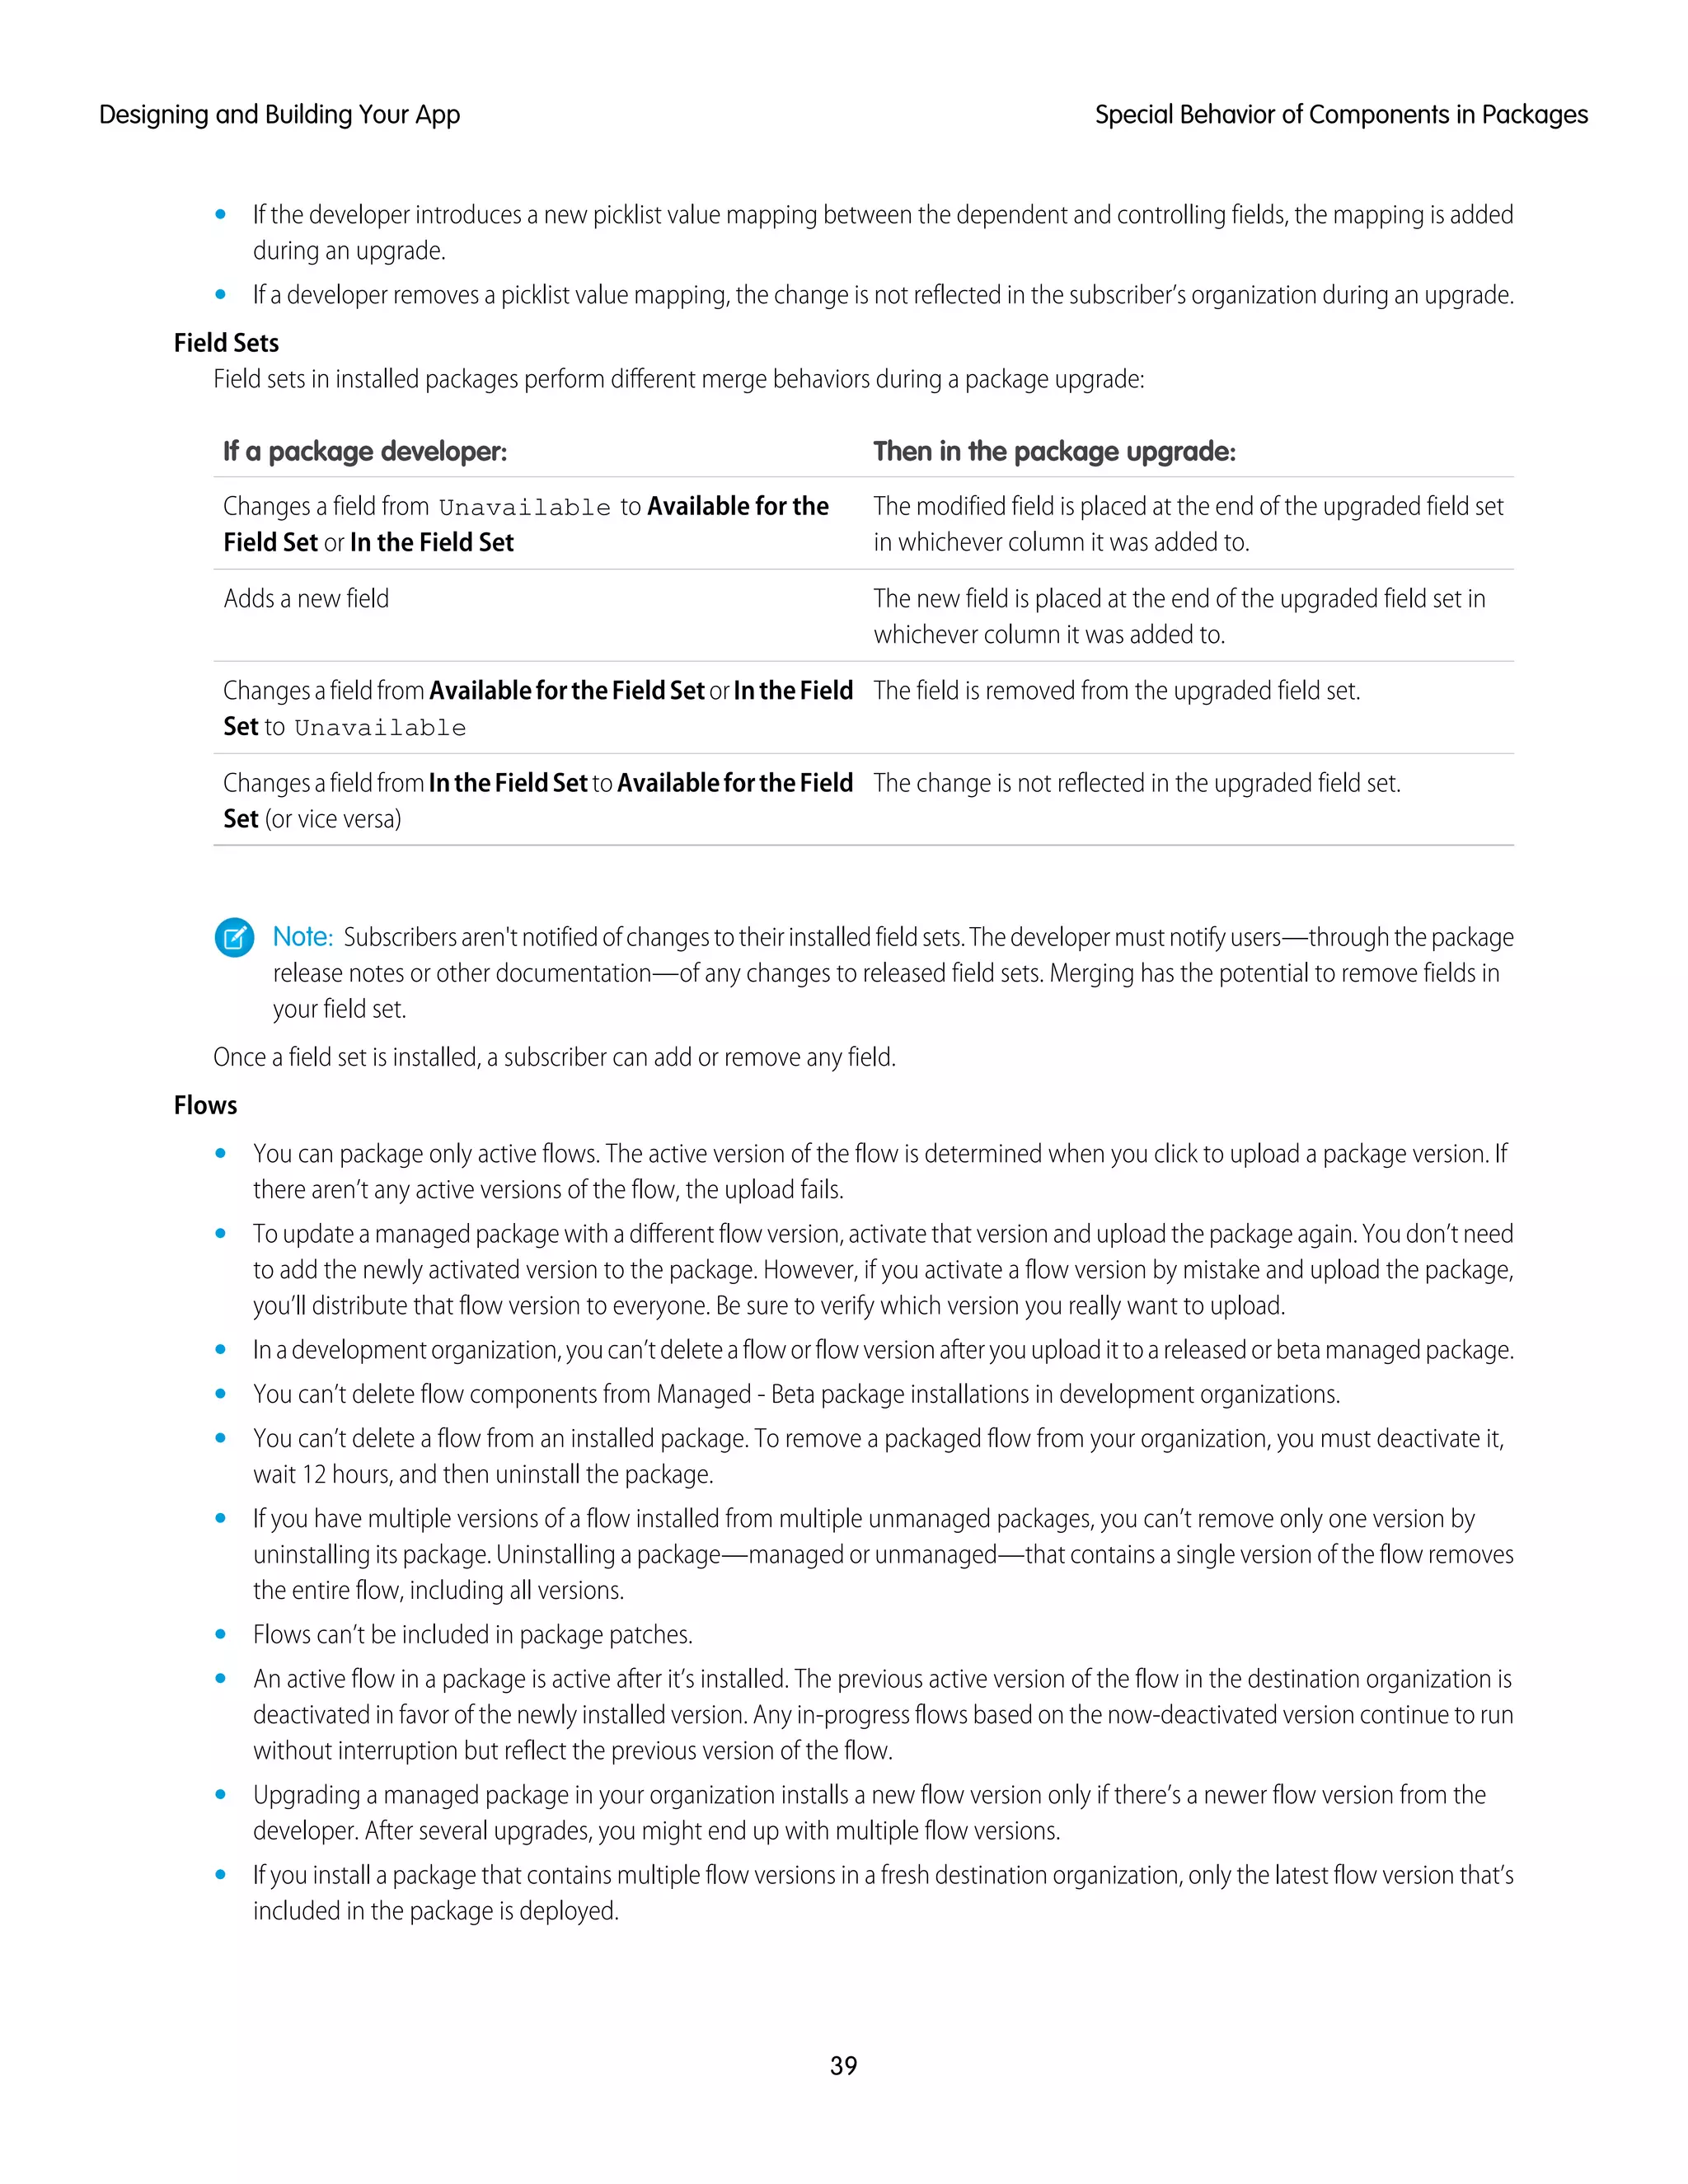
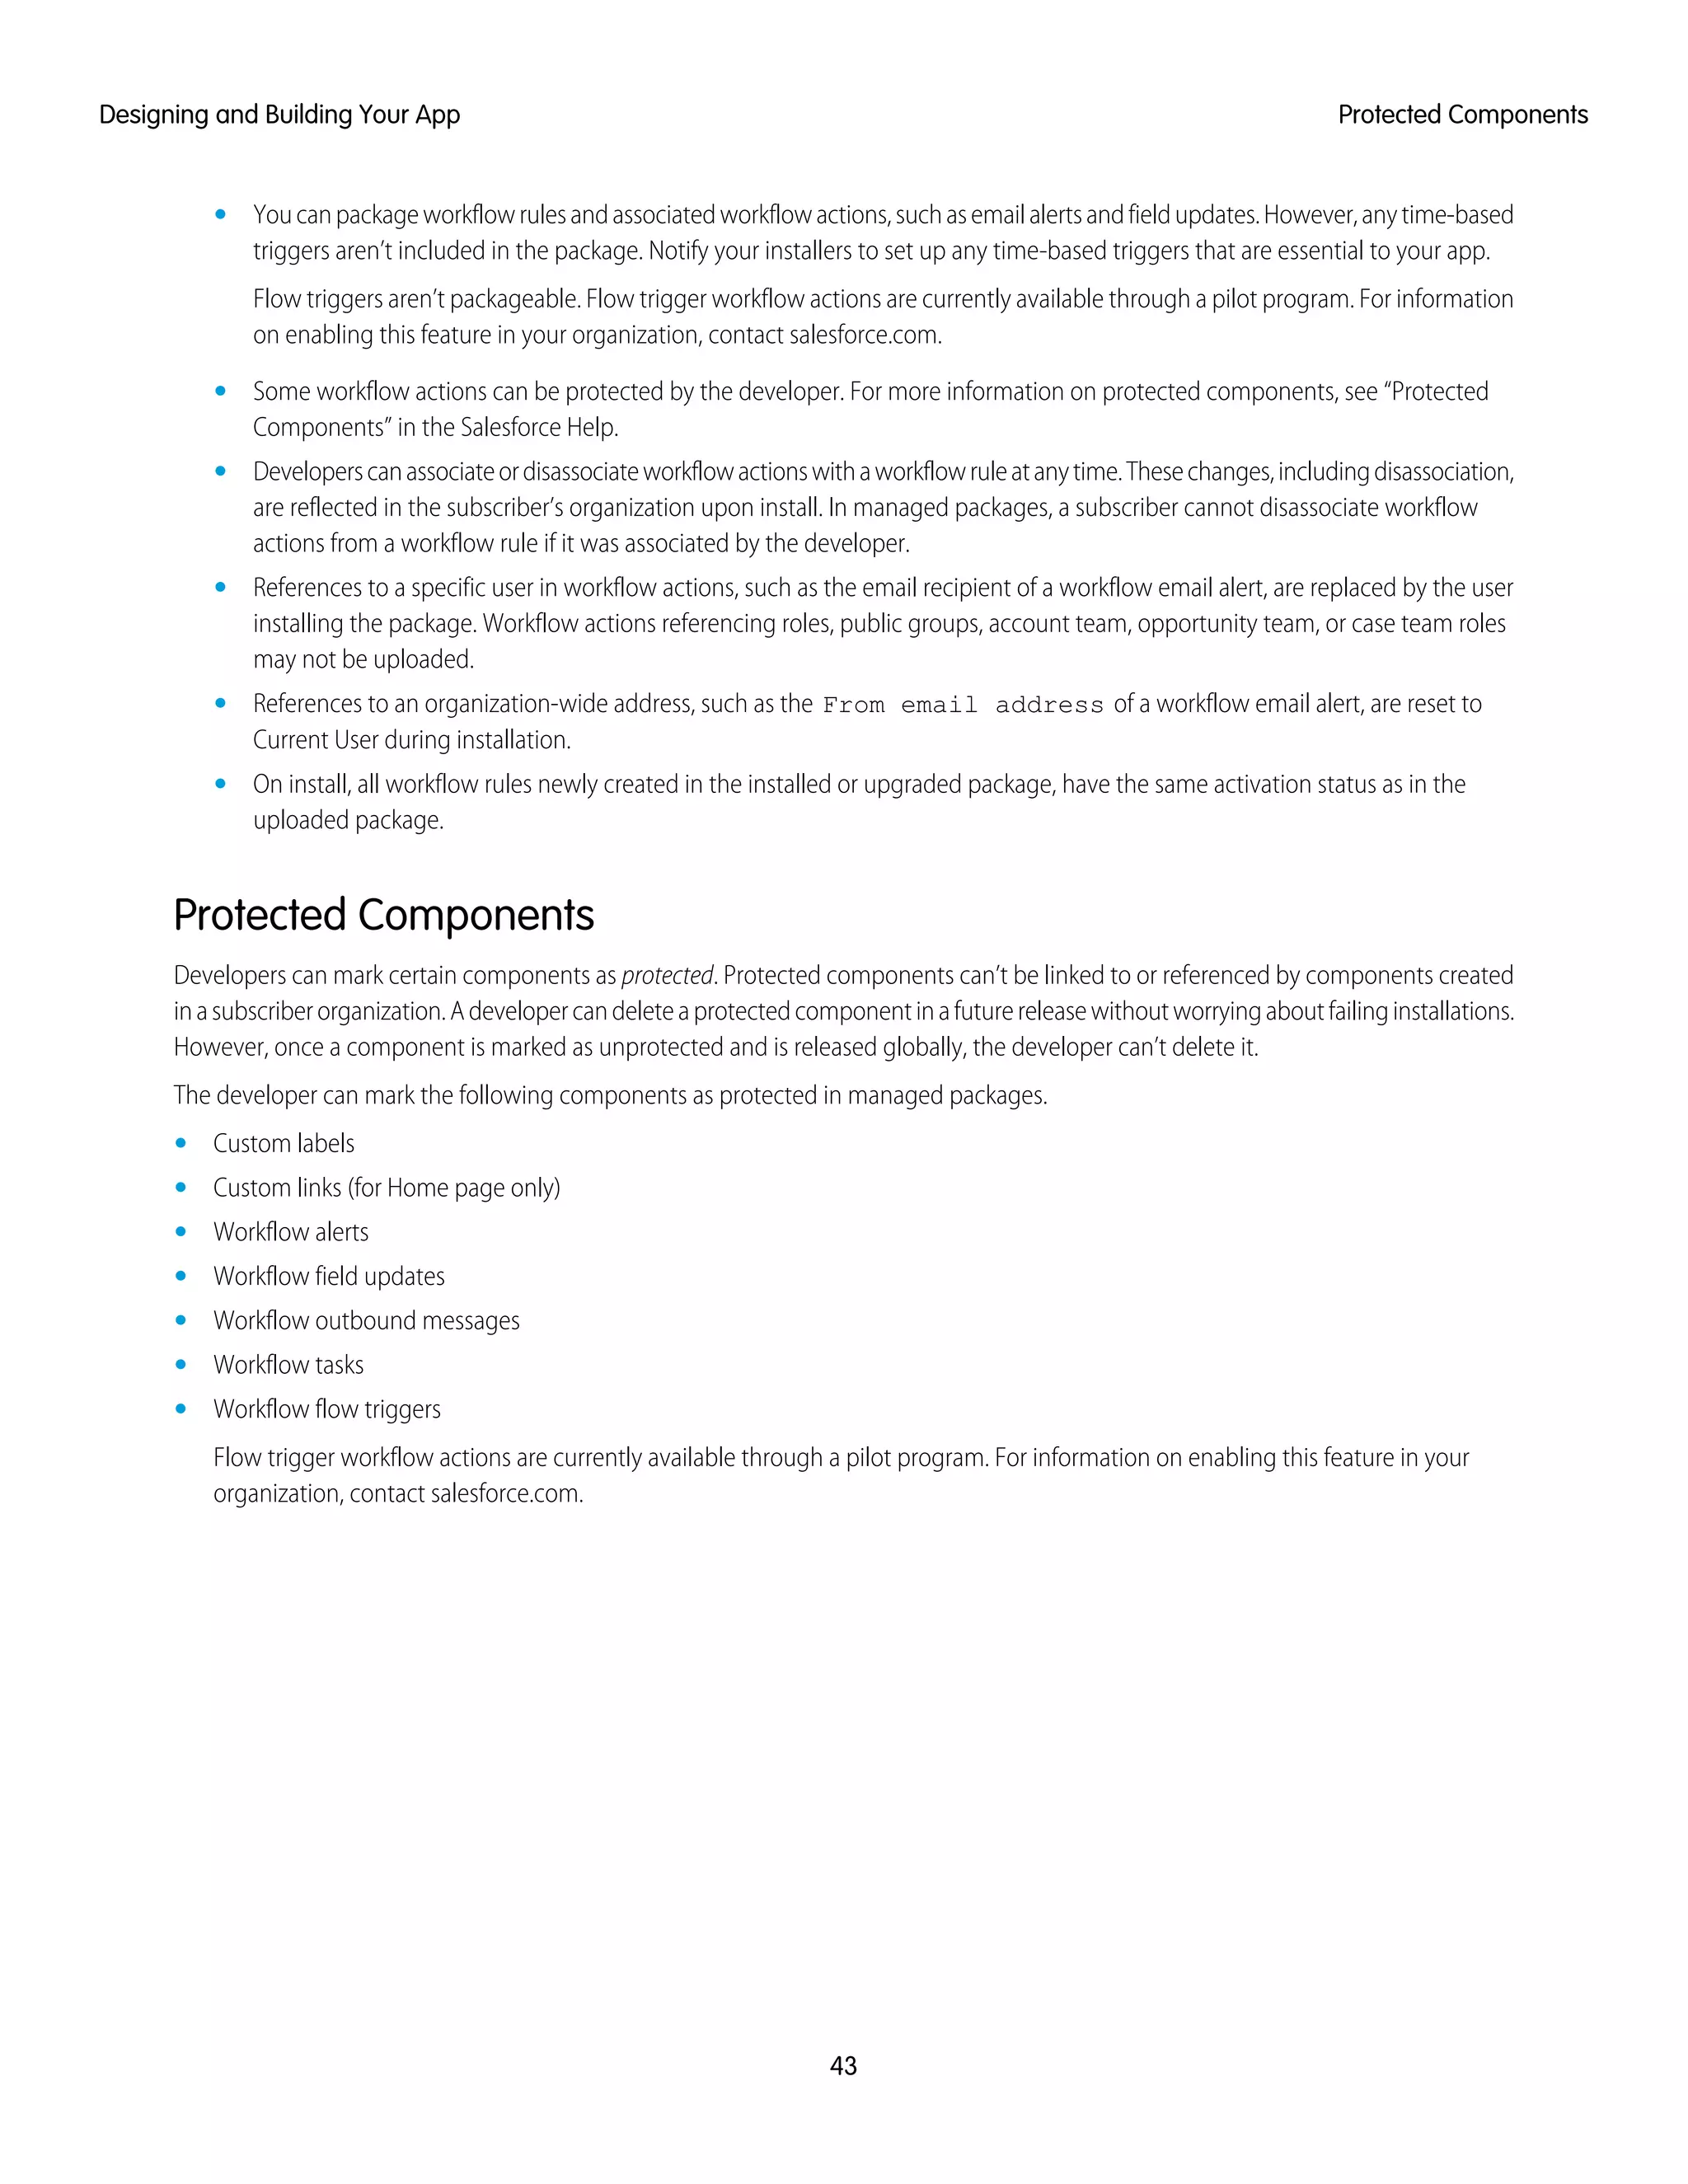
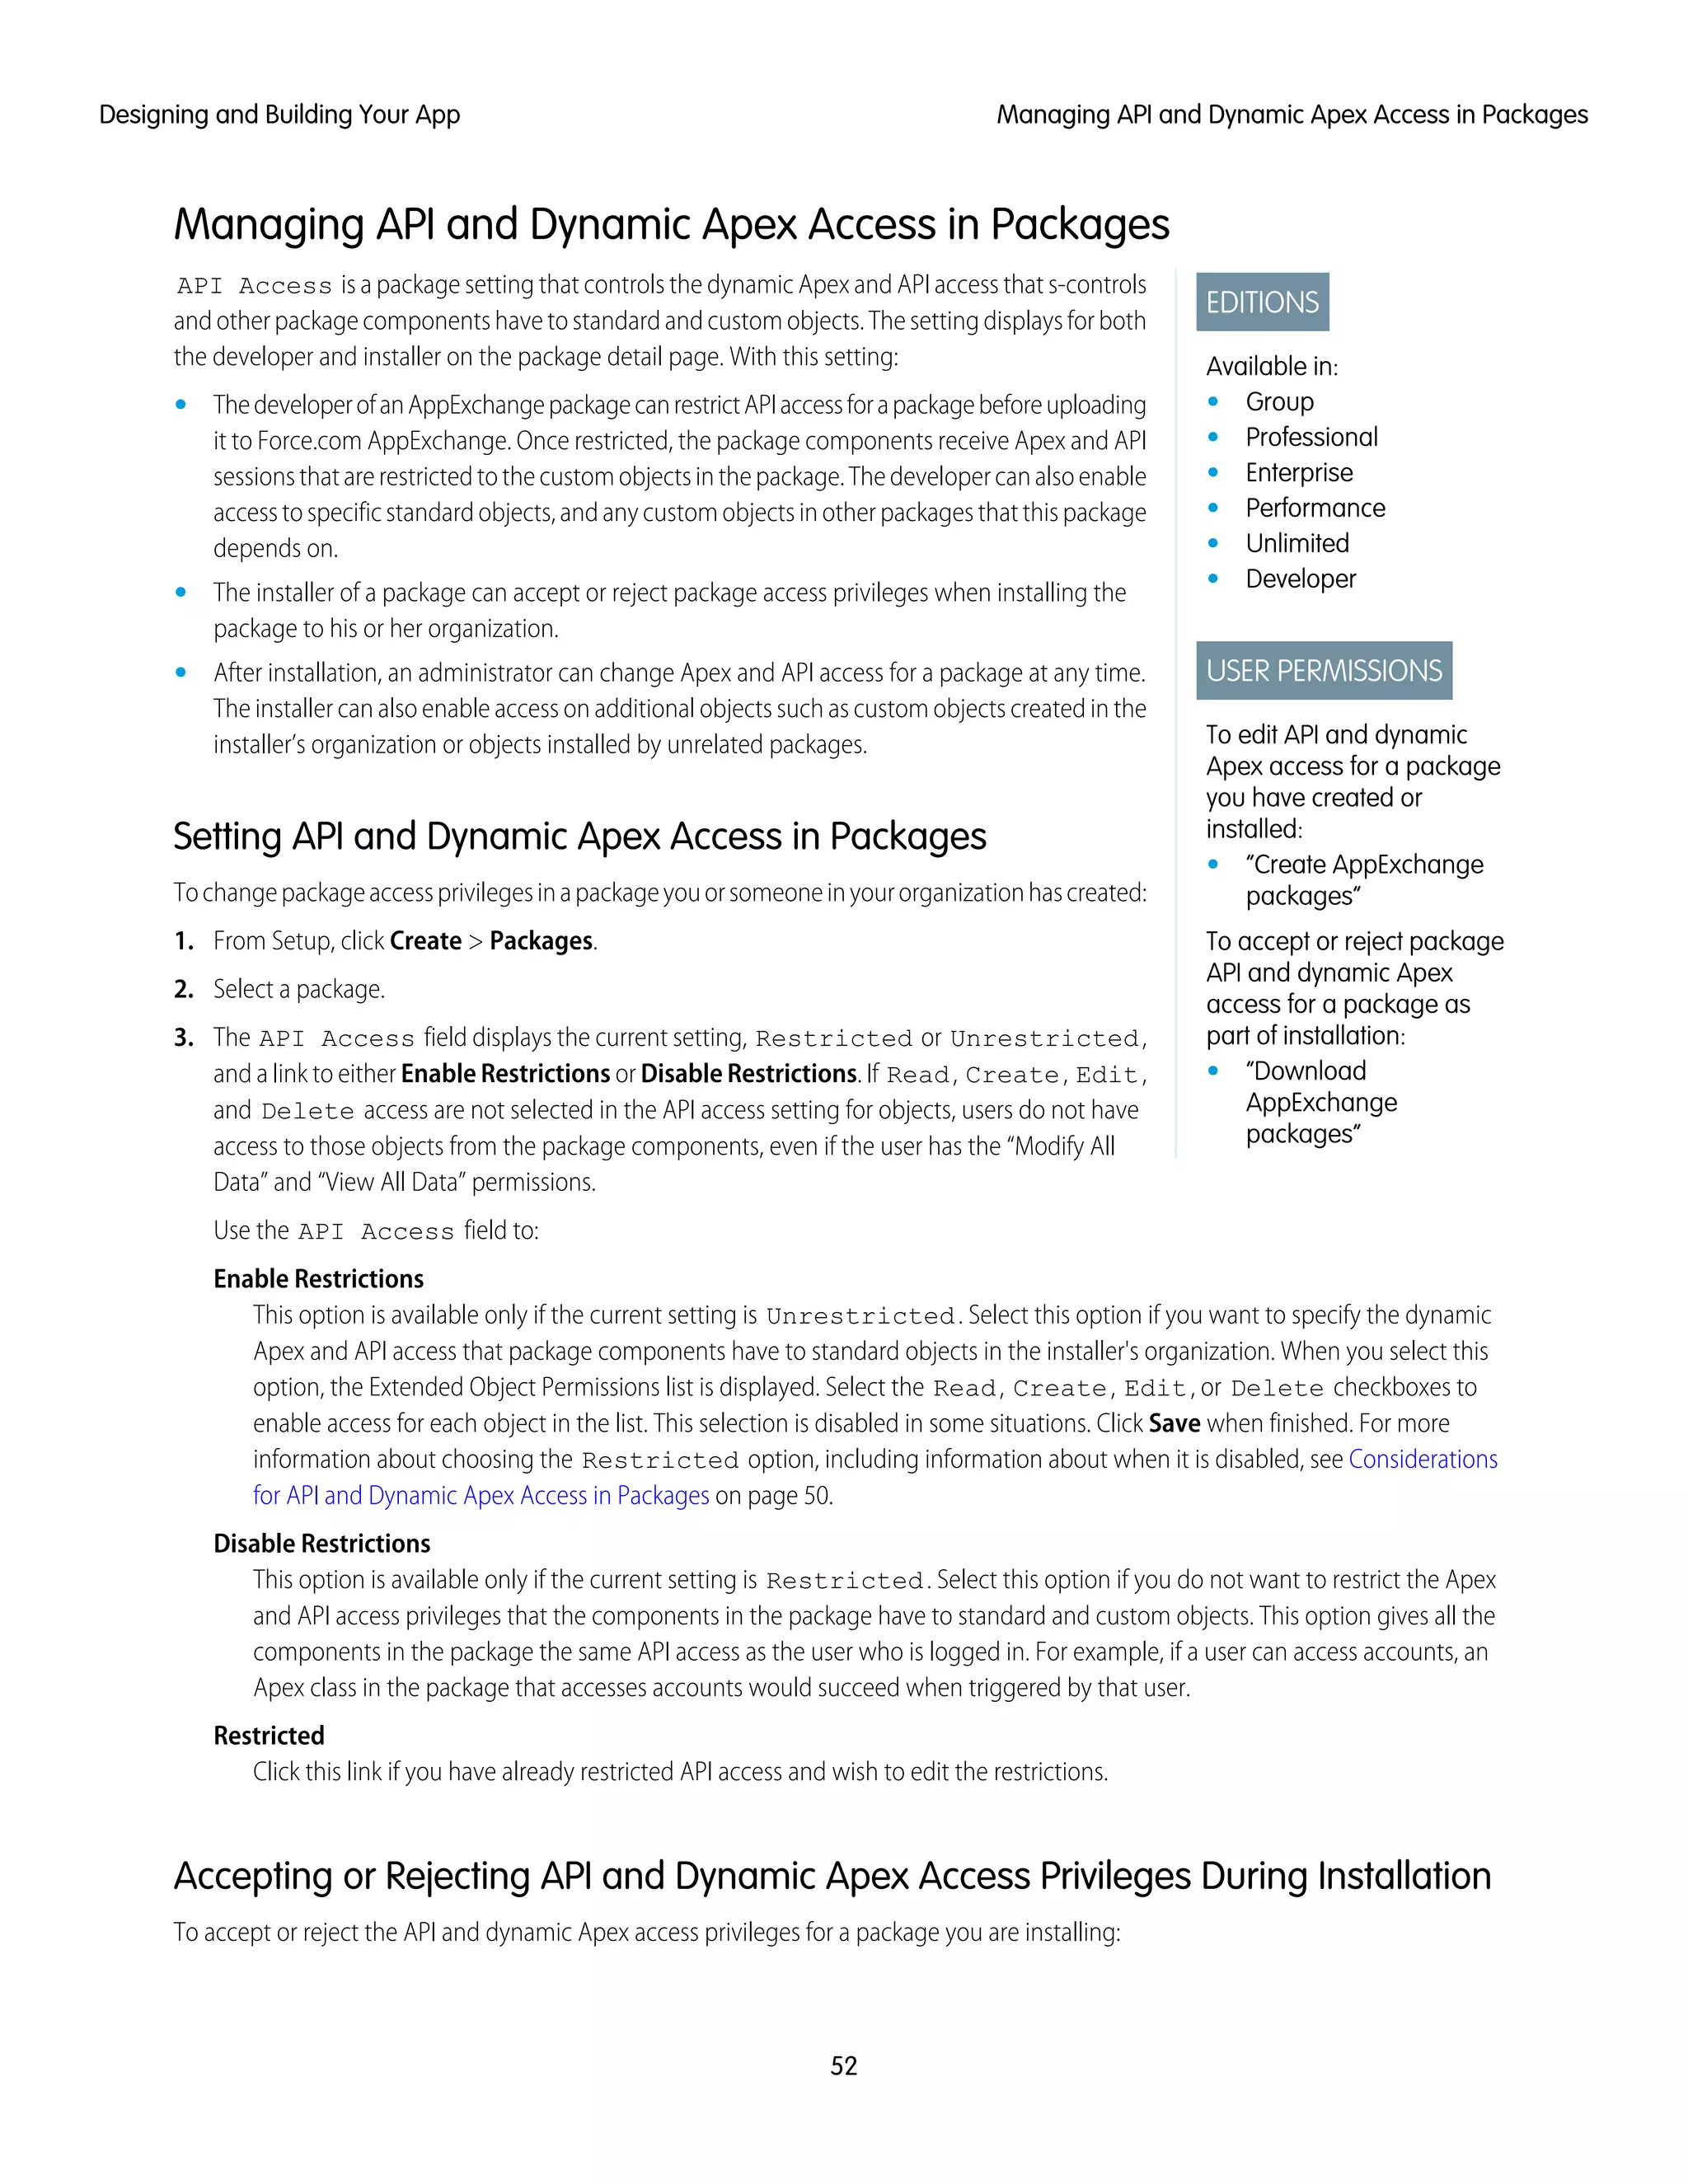
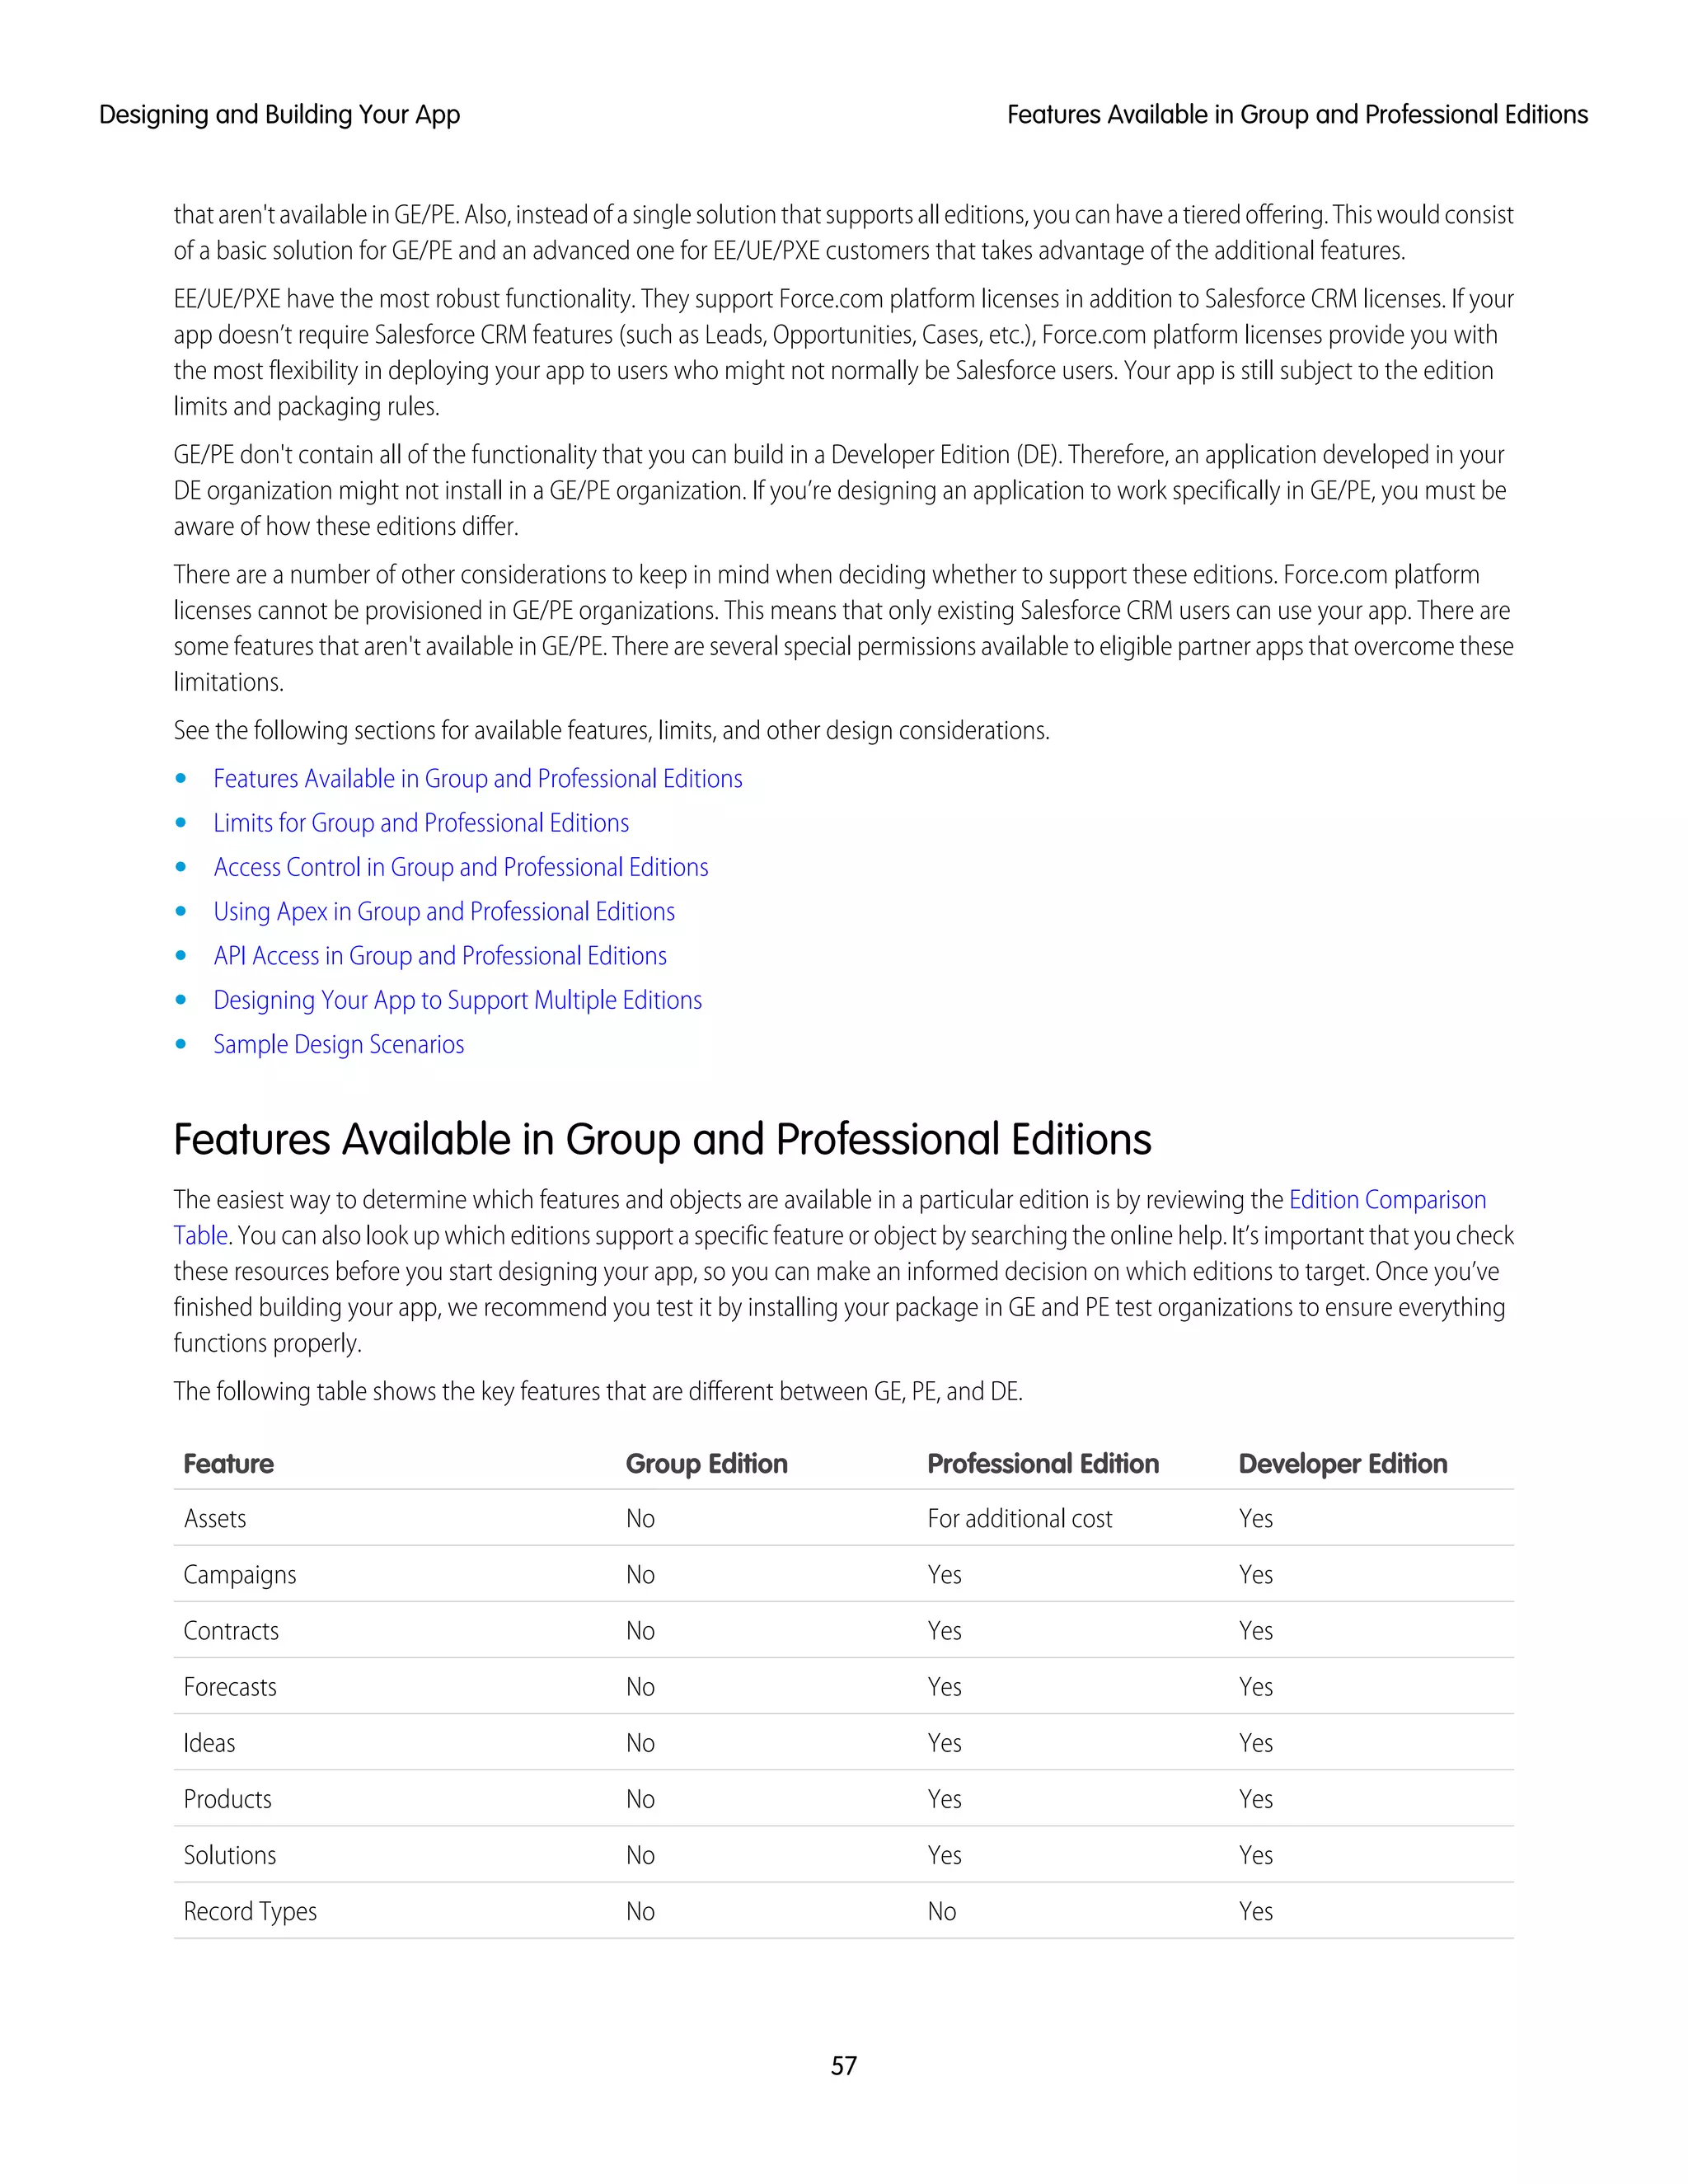
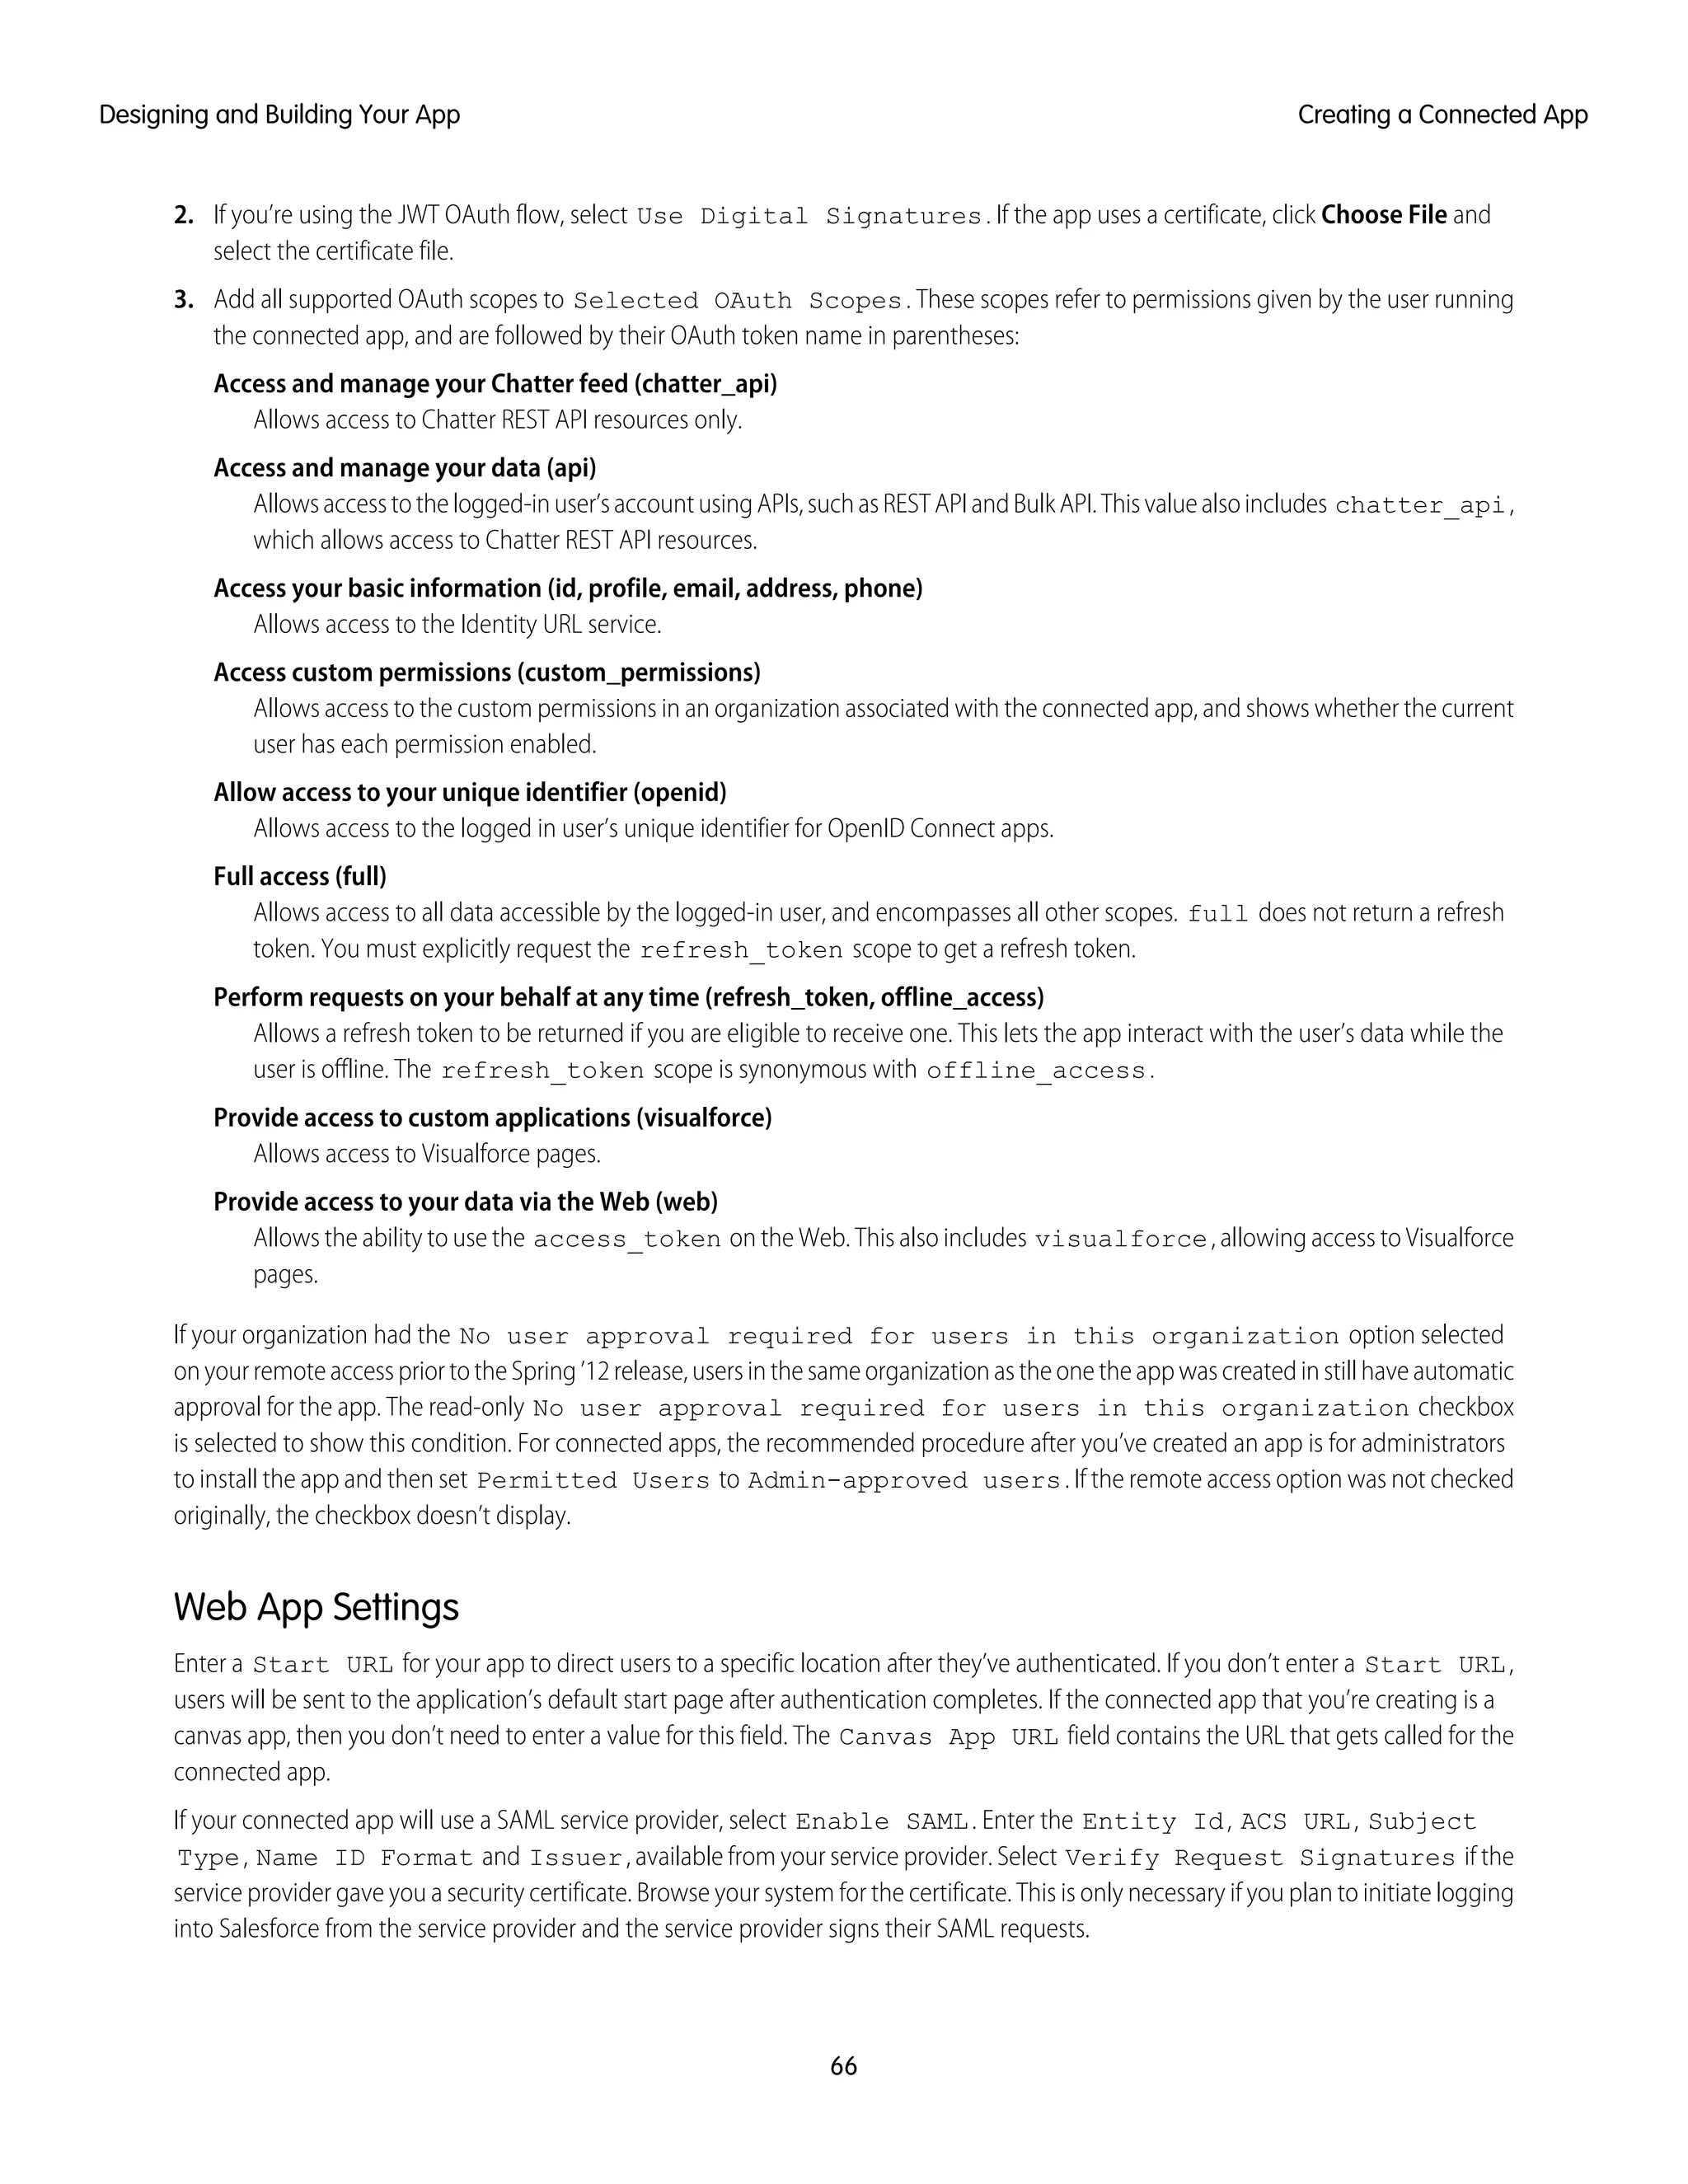
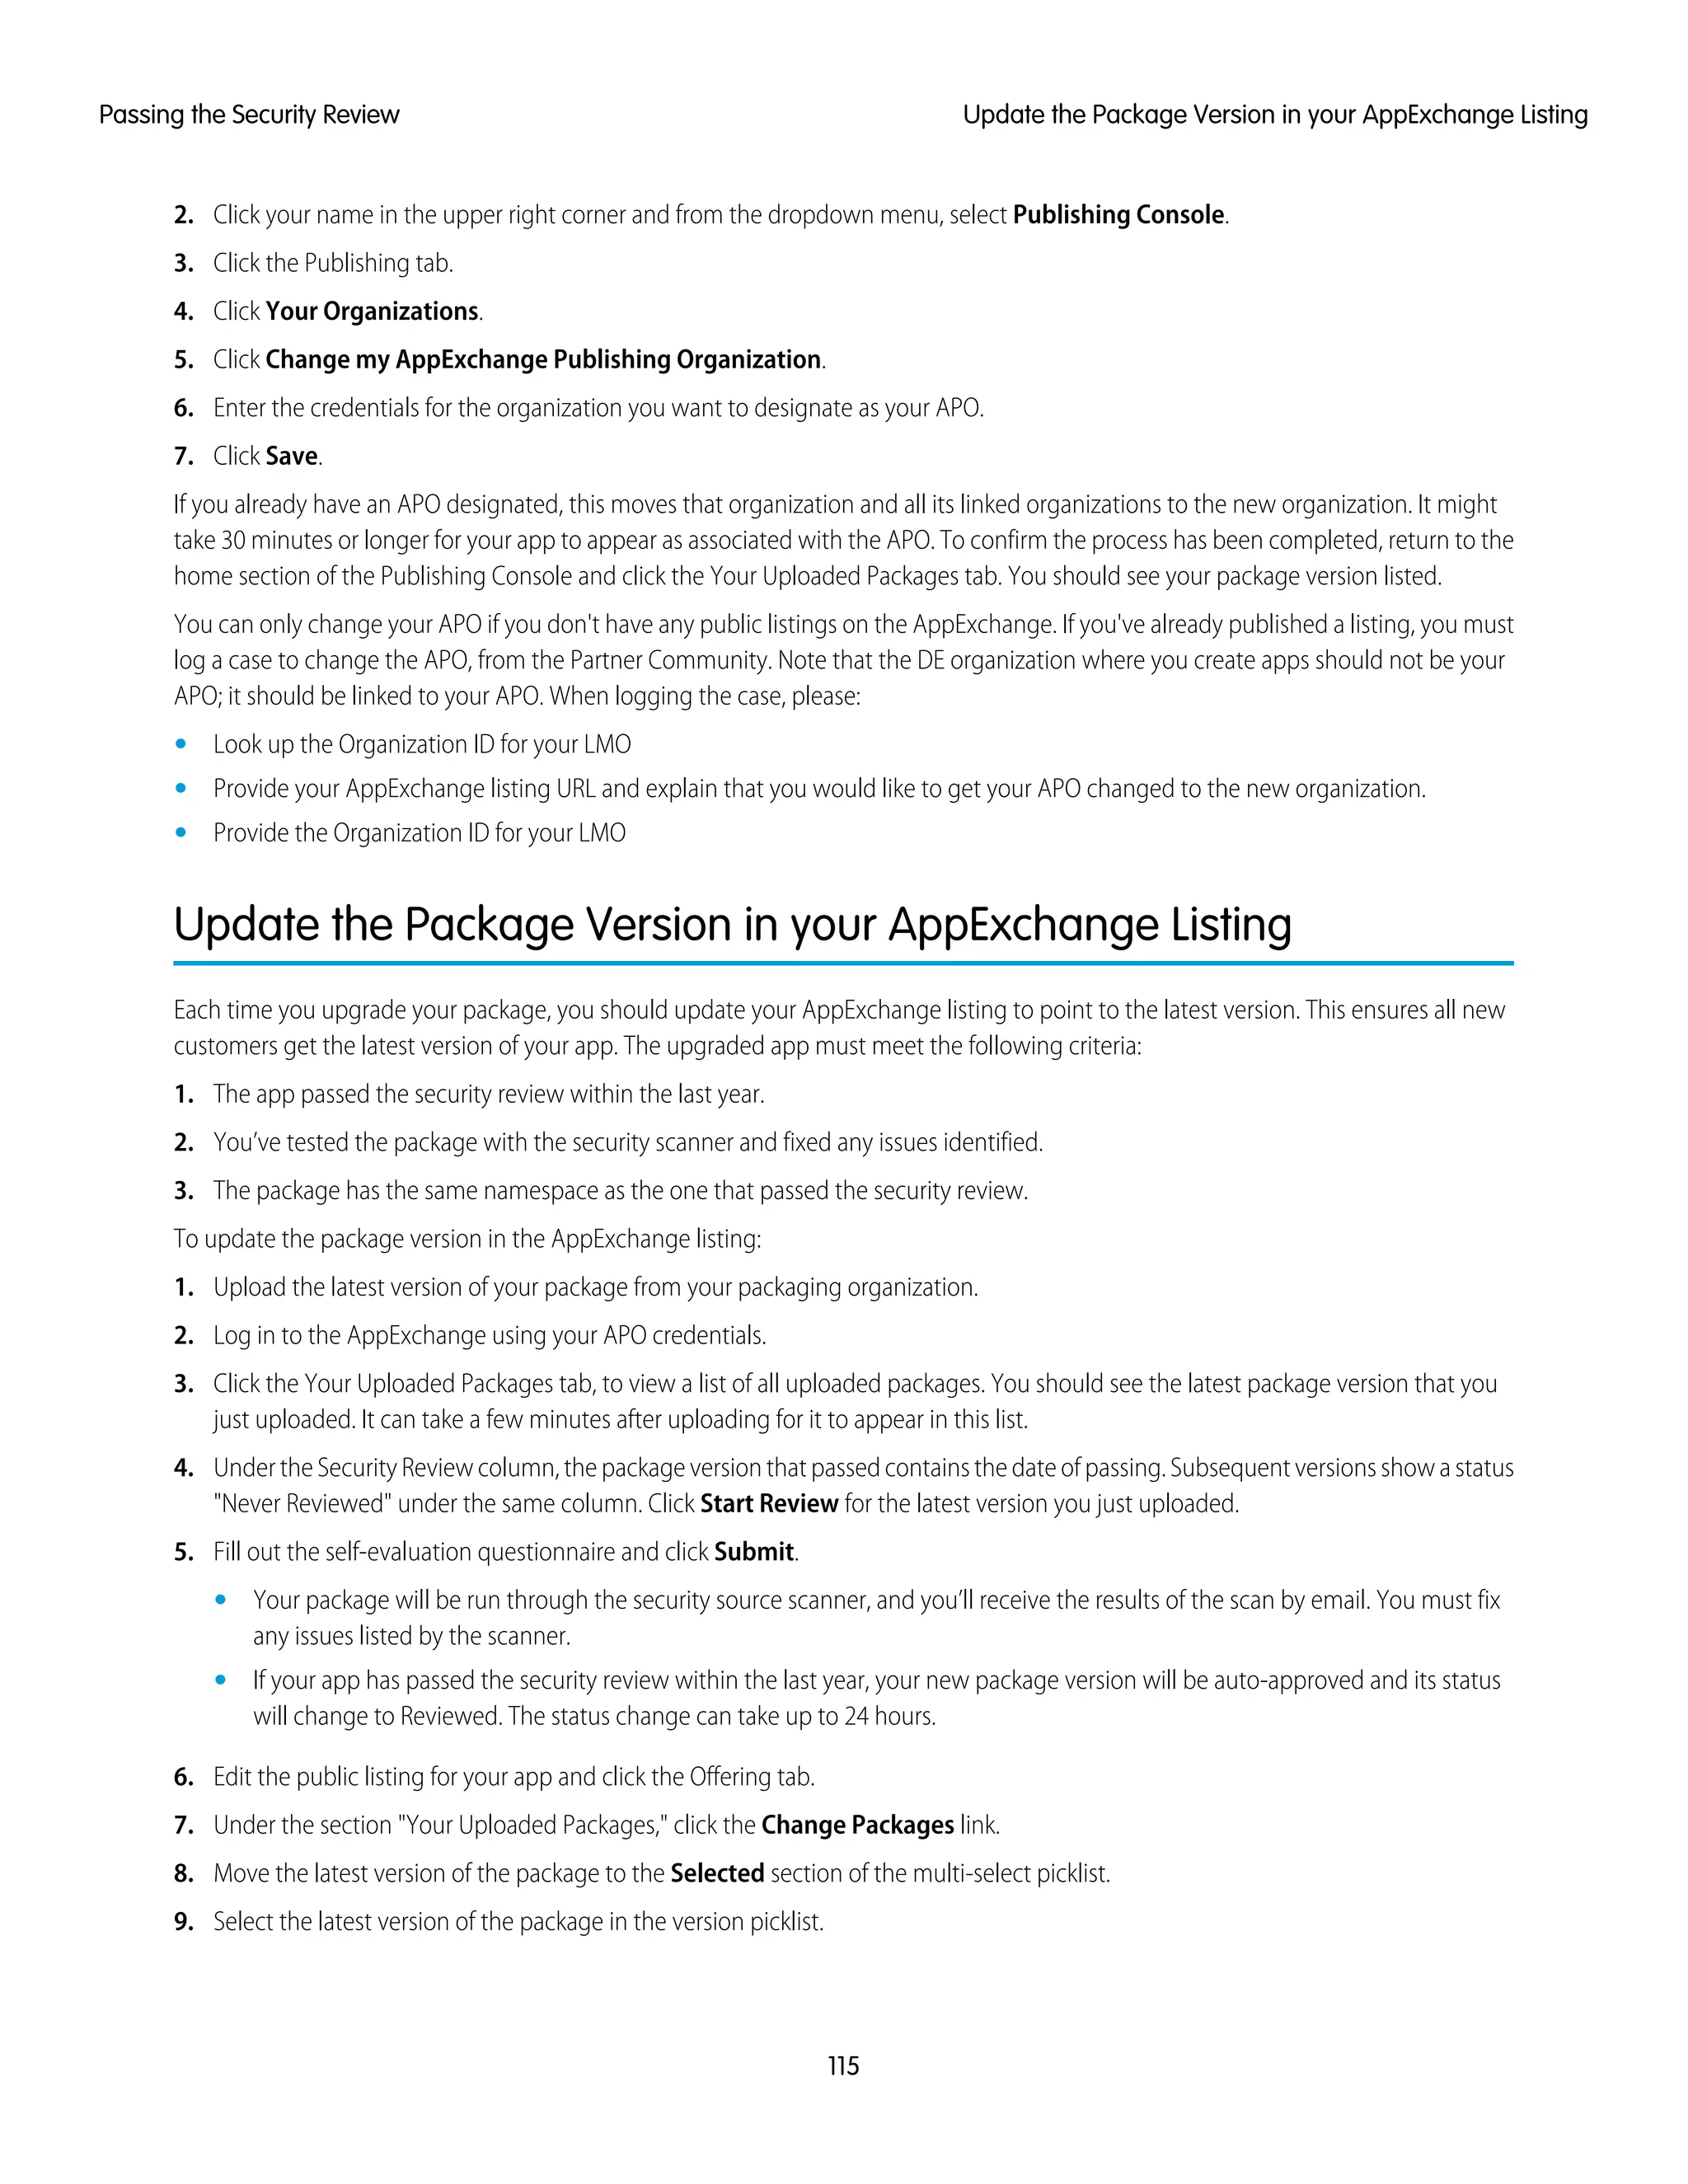
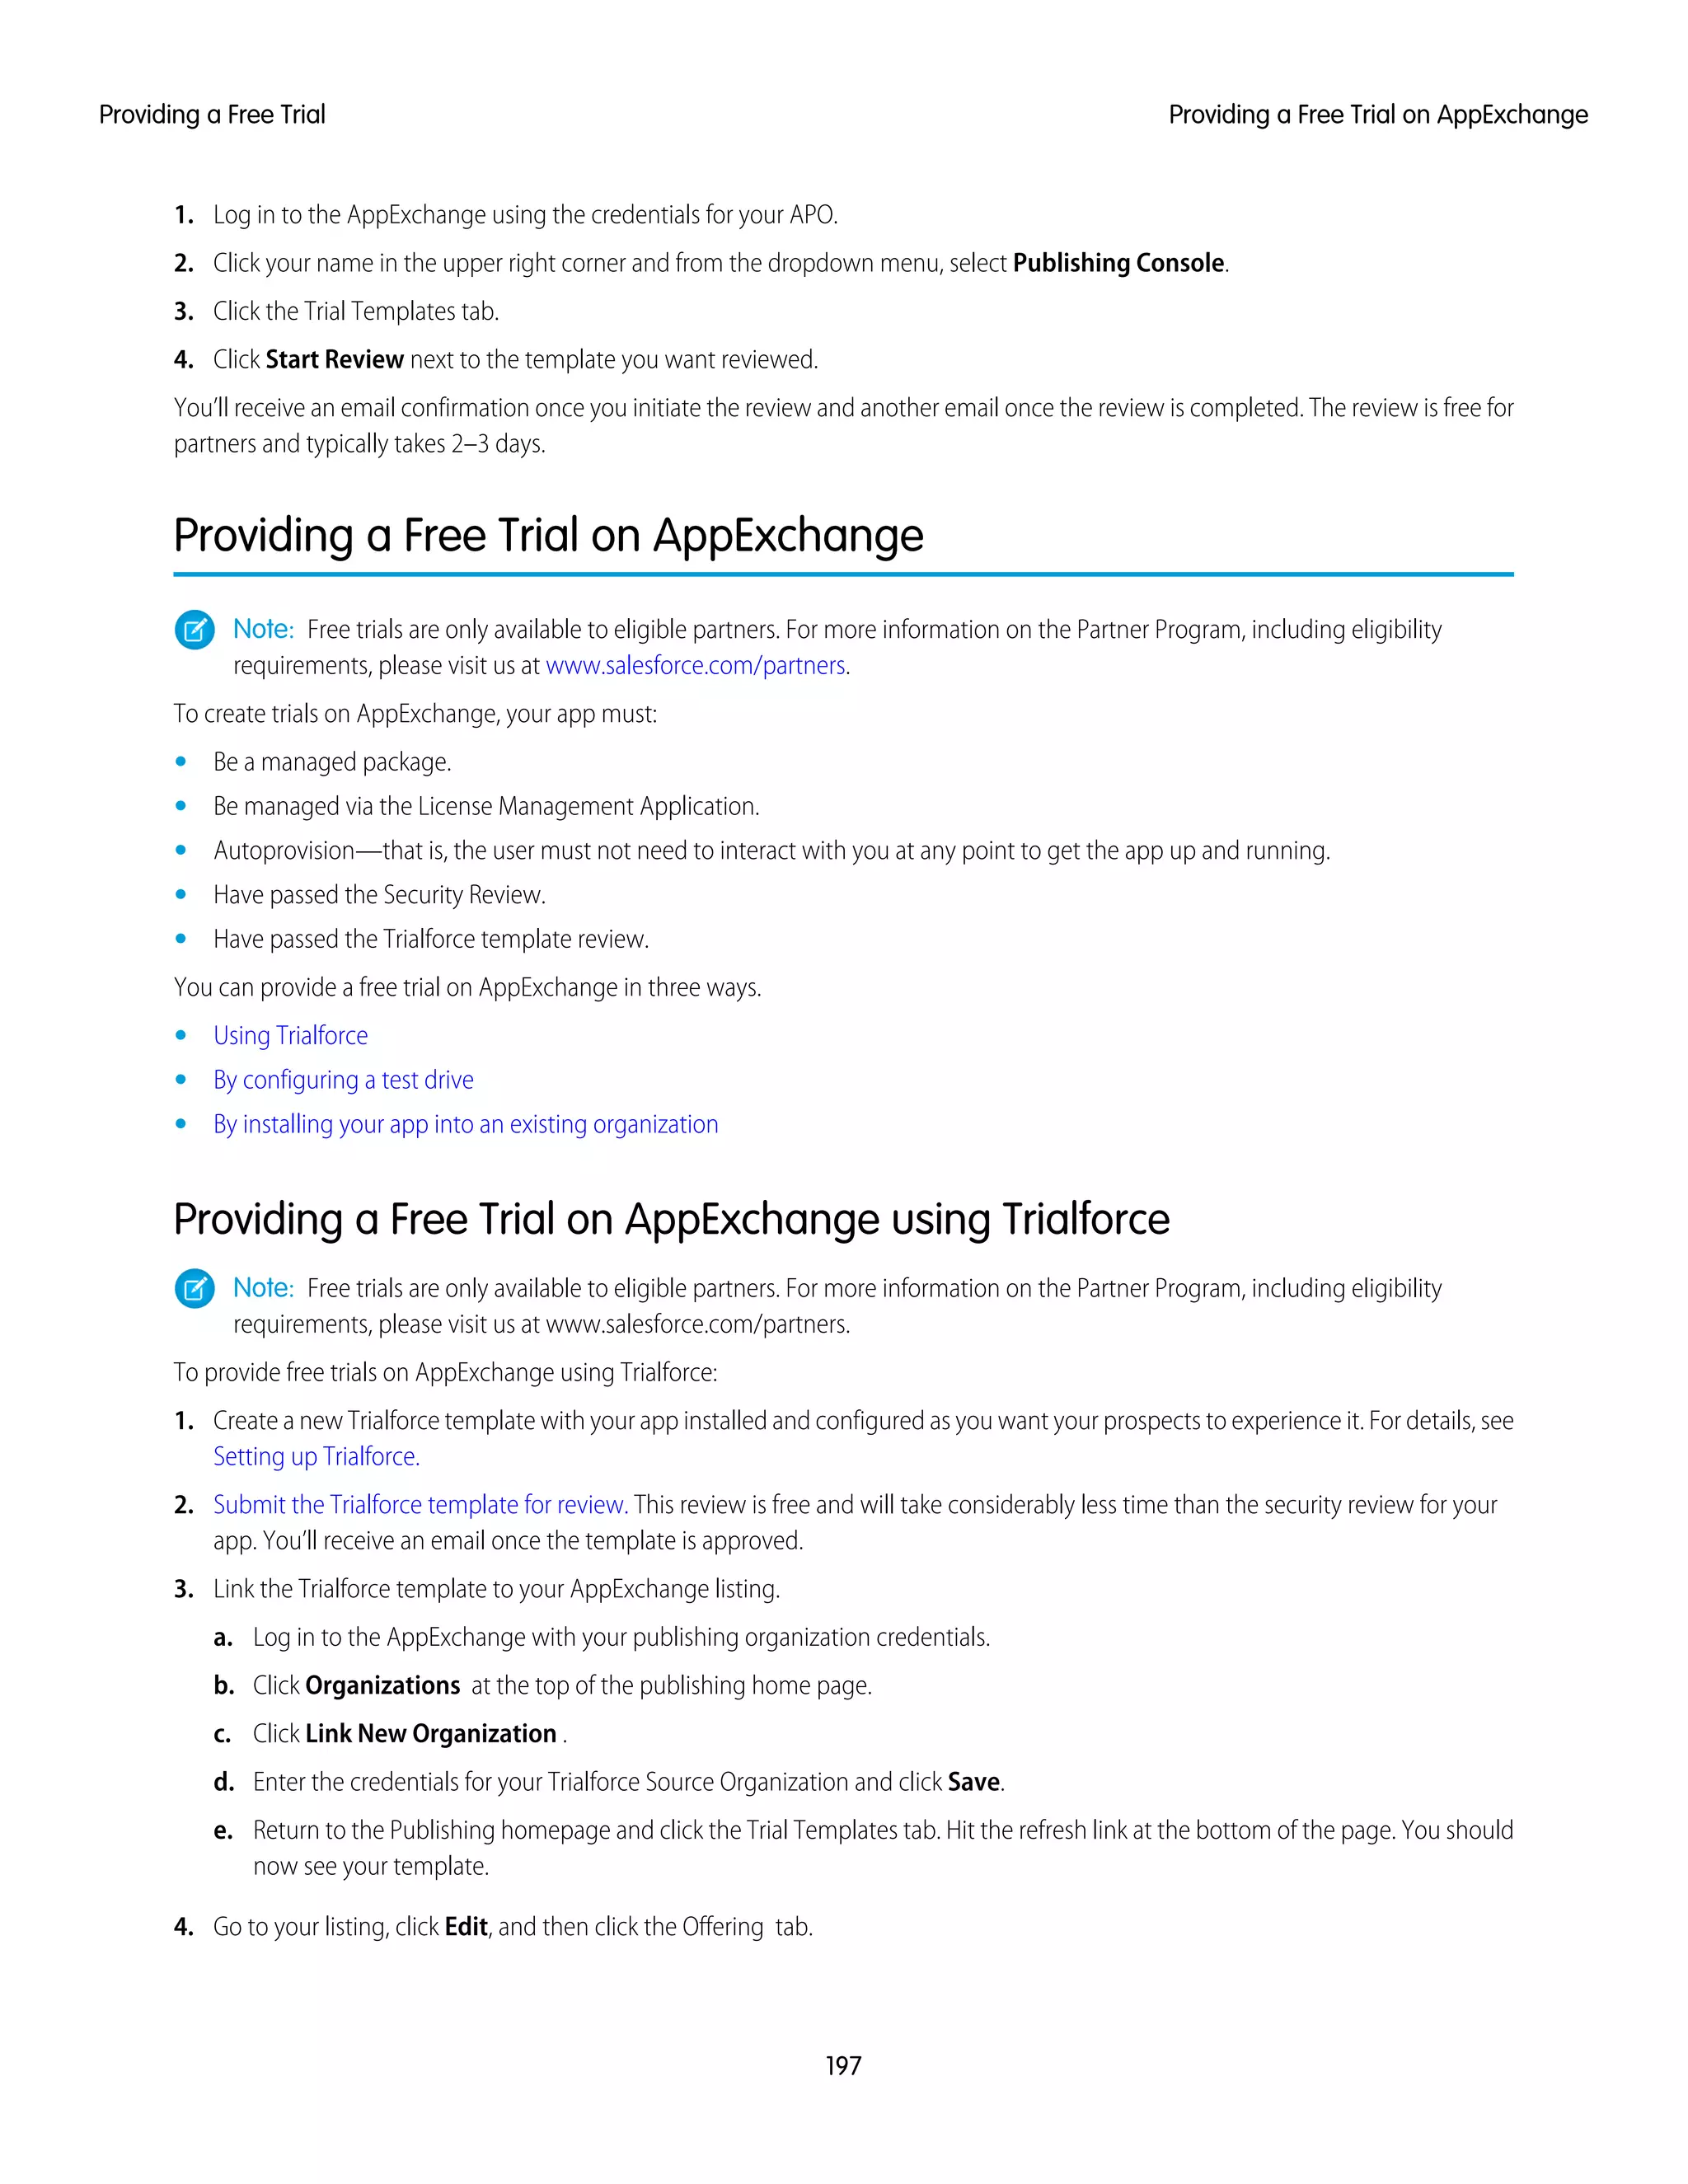
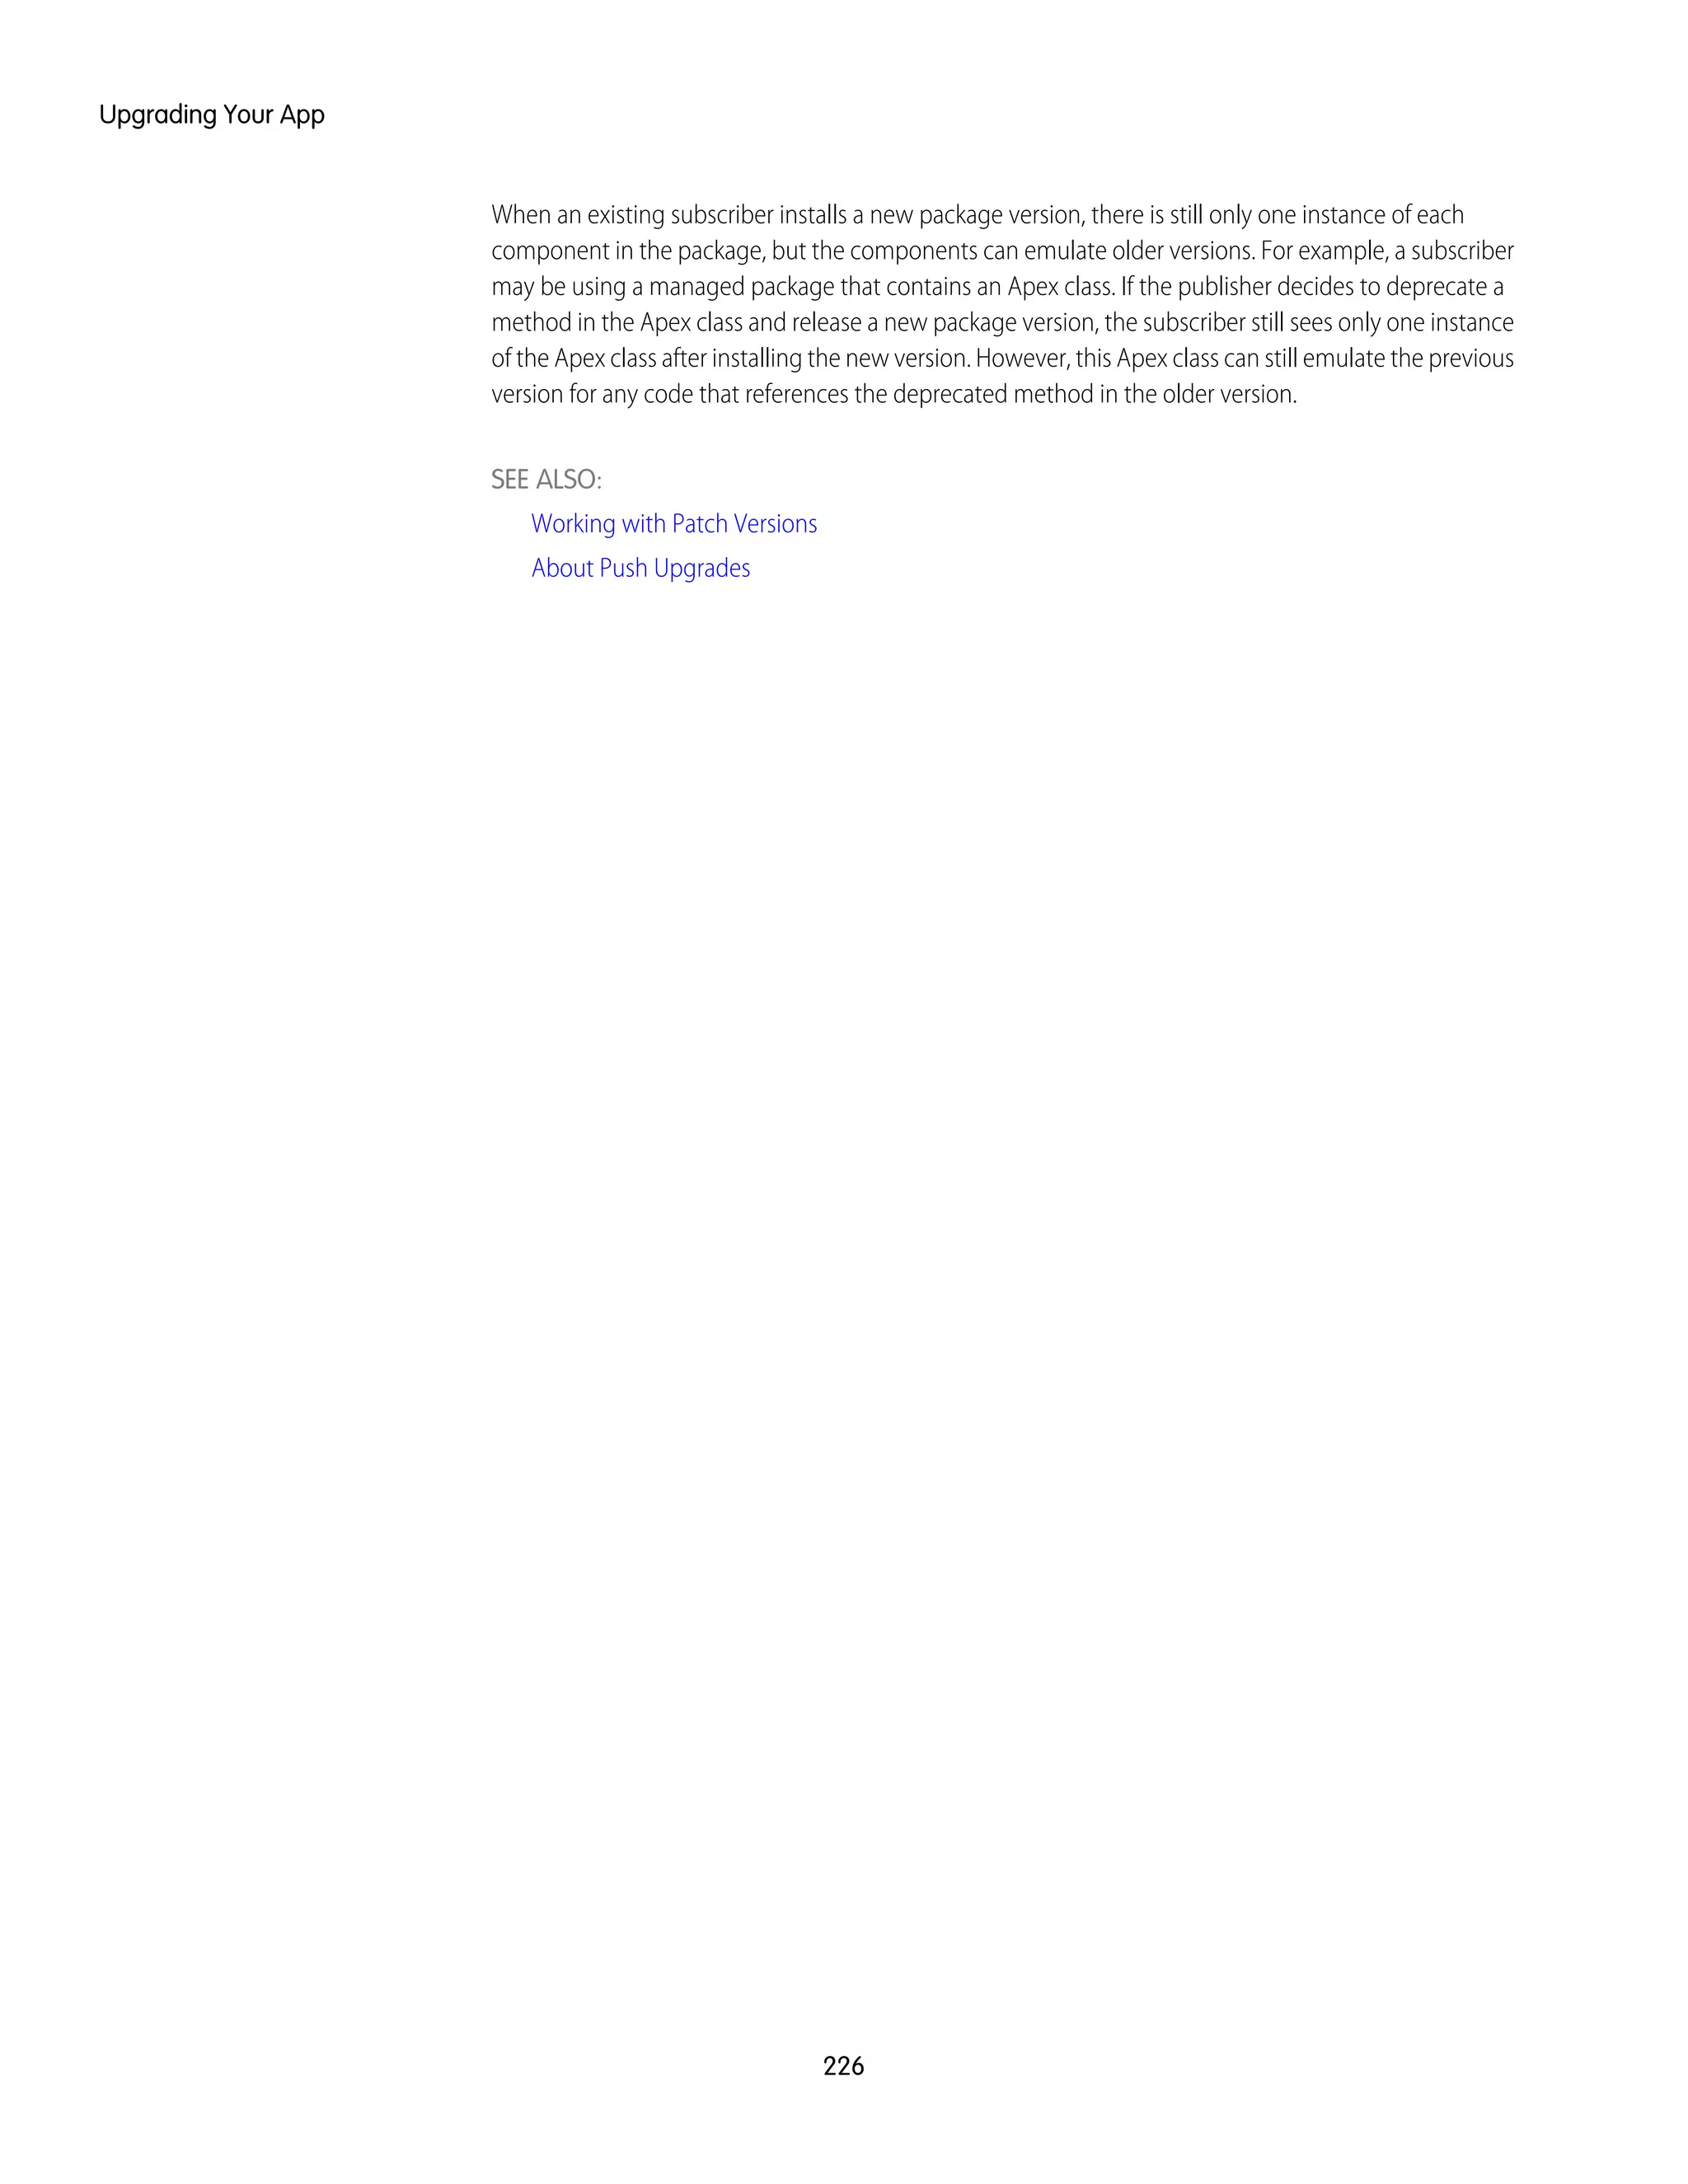
![• If the package is an upgrade, the script creates a new instance of Survey called “Sample Survey during Upgrade”.
• If the upgrade is being pushed, the script creates a new instance of Survey called “Sample Survey during Push”.
global class PostInstallClass implements InstallHandler {
global void onInstall(InstallContext context) {
if(context.previousVersion() == null) {
Account a = new Account(name='Newco');
insert(a);
Survey__c obj = new Survey__c(name='Client Satisfaction Survey');
insert obj;
User u = [Select Id, Email from User where Id =:context.installerID()];
String toAddress= u.Email;
String[] toAddresses = new String[]{toAddress};
Messaging.SingleEmailMessage mail =
new Messaging.SingleEmailMessage();
mail.setToAddresses(toAddresses);
mail.setReplyTo('support@package.dev');
mail.setSenderDisplayName('My Package Support');
mail.setSubject('Package install successful');
mail.setPlainTextBody('Thanks for installing the package.');
Messaging.sendEmail(new Messaging.Email[] { mail });
}
else
if(context.previousVersion().compareTo(new Version(1,0)) == 0) {
Survey__c obj = new Survey__c(name='Upgrading from Version 1.0');
insert(obj);
}
if(context.isUpgrade()) {
Survey__c obj = new Survey__c(name='Sample Survey during Upgrade');
insert obj;
}
if(context.isPush()) {
Survey__c obj = new Survey__c(name='Sample Survey during Push');
insert obj;
}
}
}
Youcantestapostinstallscriptusingthenew testInstall methodofthe Test class.Thismethodtakesthefollowingarguments.
• A class that implements the InstallHandler interface.
• A Version object that specifies the version number of the existing package.
• An optional Boolean value that is true if the installation is a push. The default is false.
This sample shows how to test a post install script implemented in the PostInstallClass Apex class.
@isTest
static void testInstallScript() {
PostInstallClass postinstall = new PostInstallClass();
Test.testInstall(postinstall, null);
Test.testInstall(postinstall, new Version(1,0), true);
List<Account> a = [Select id, name from Account where name ='Newco'];
106
Example of a Post Install ScriptPackaging and Testing Your App](https://image.slidesharecdn.com/e93eef4b-15f3-44fa-9a70-da9d0db11c4b-150210030551-conversion-gate01/75/ISVForce-Guide-NEW-114-2048.jpg)
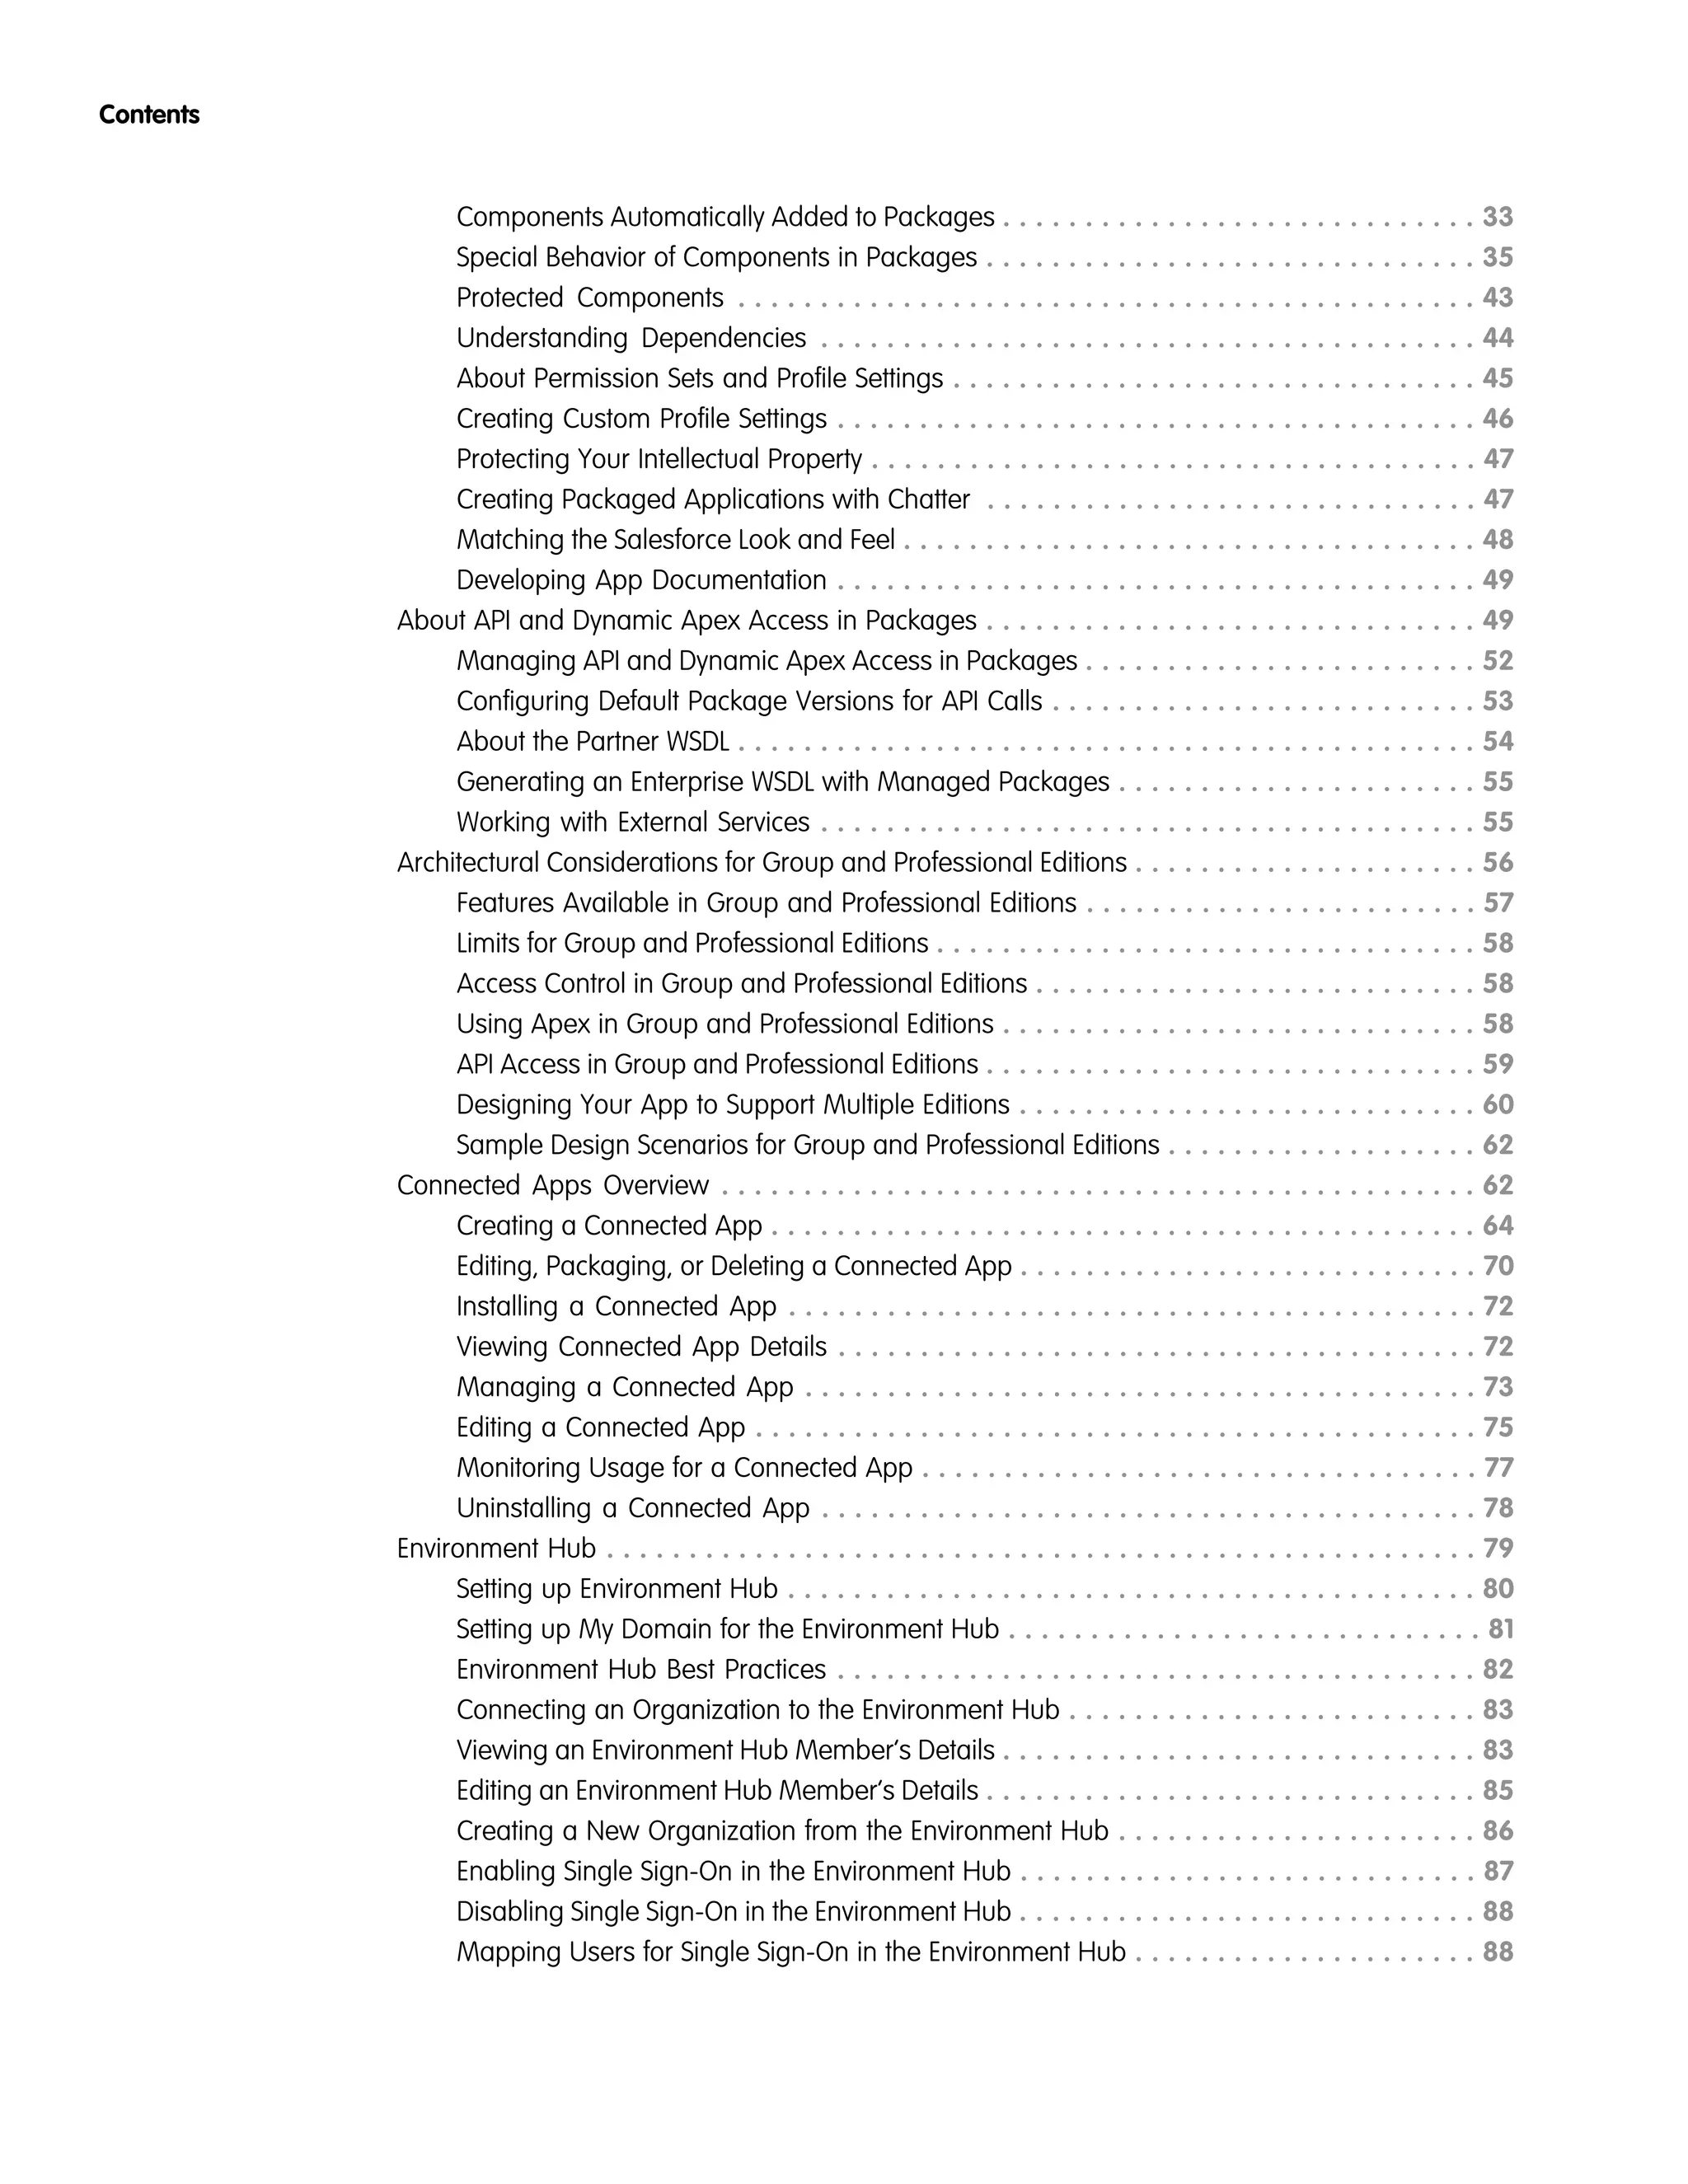
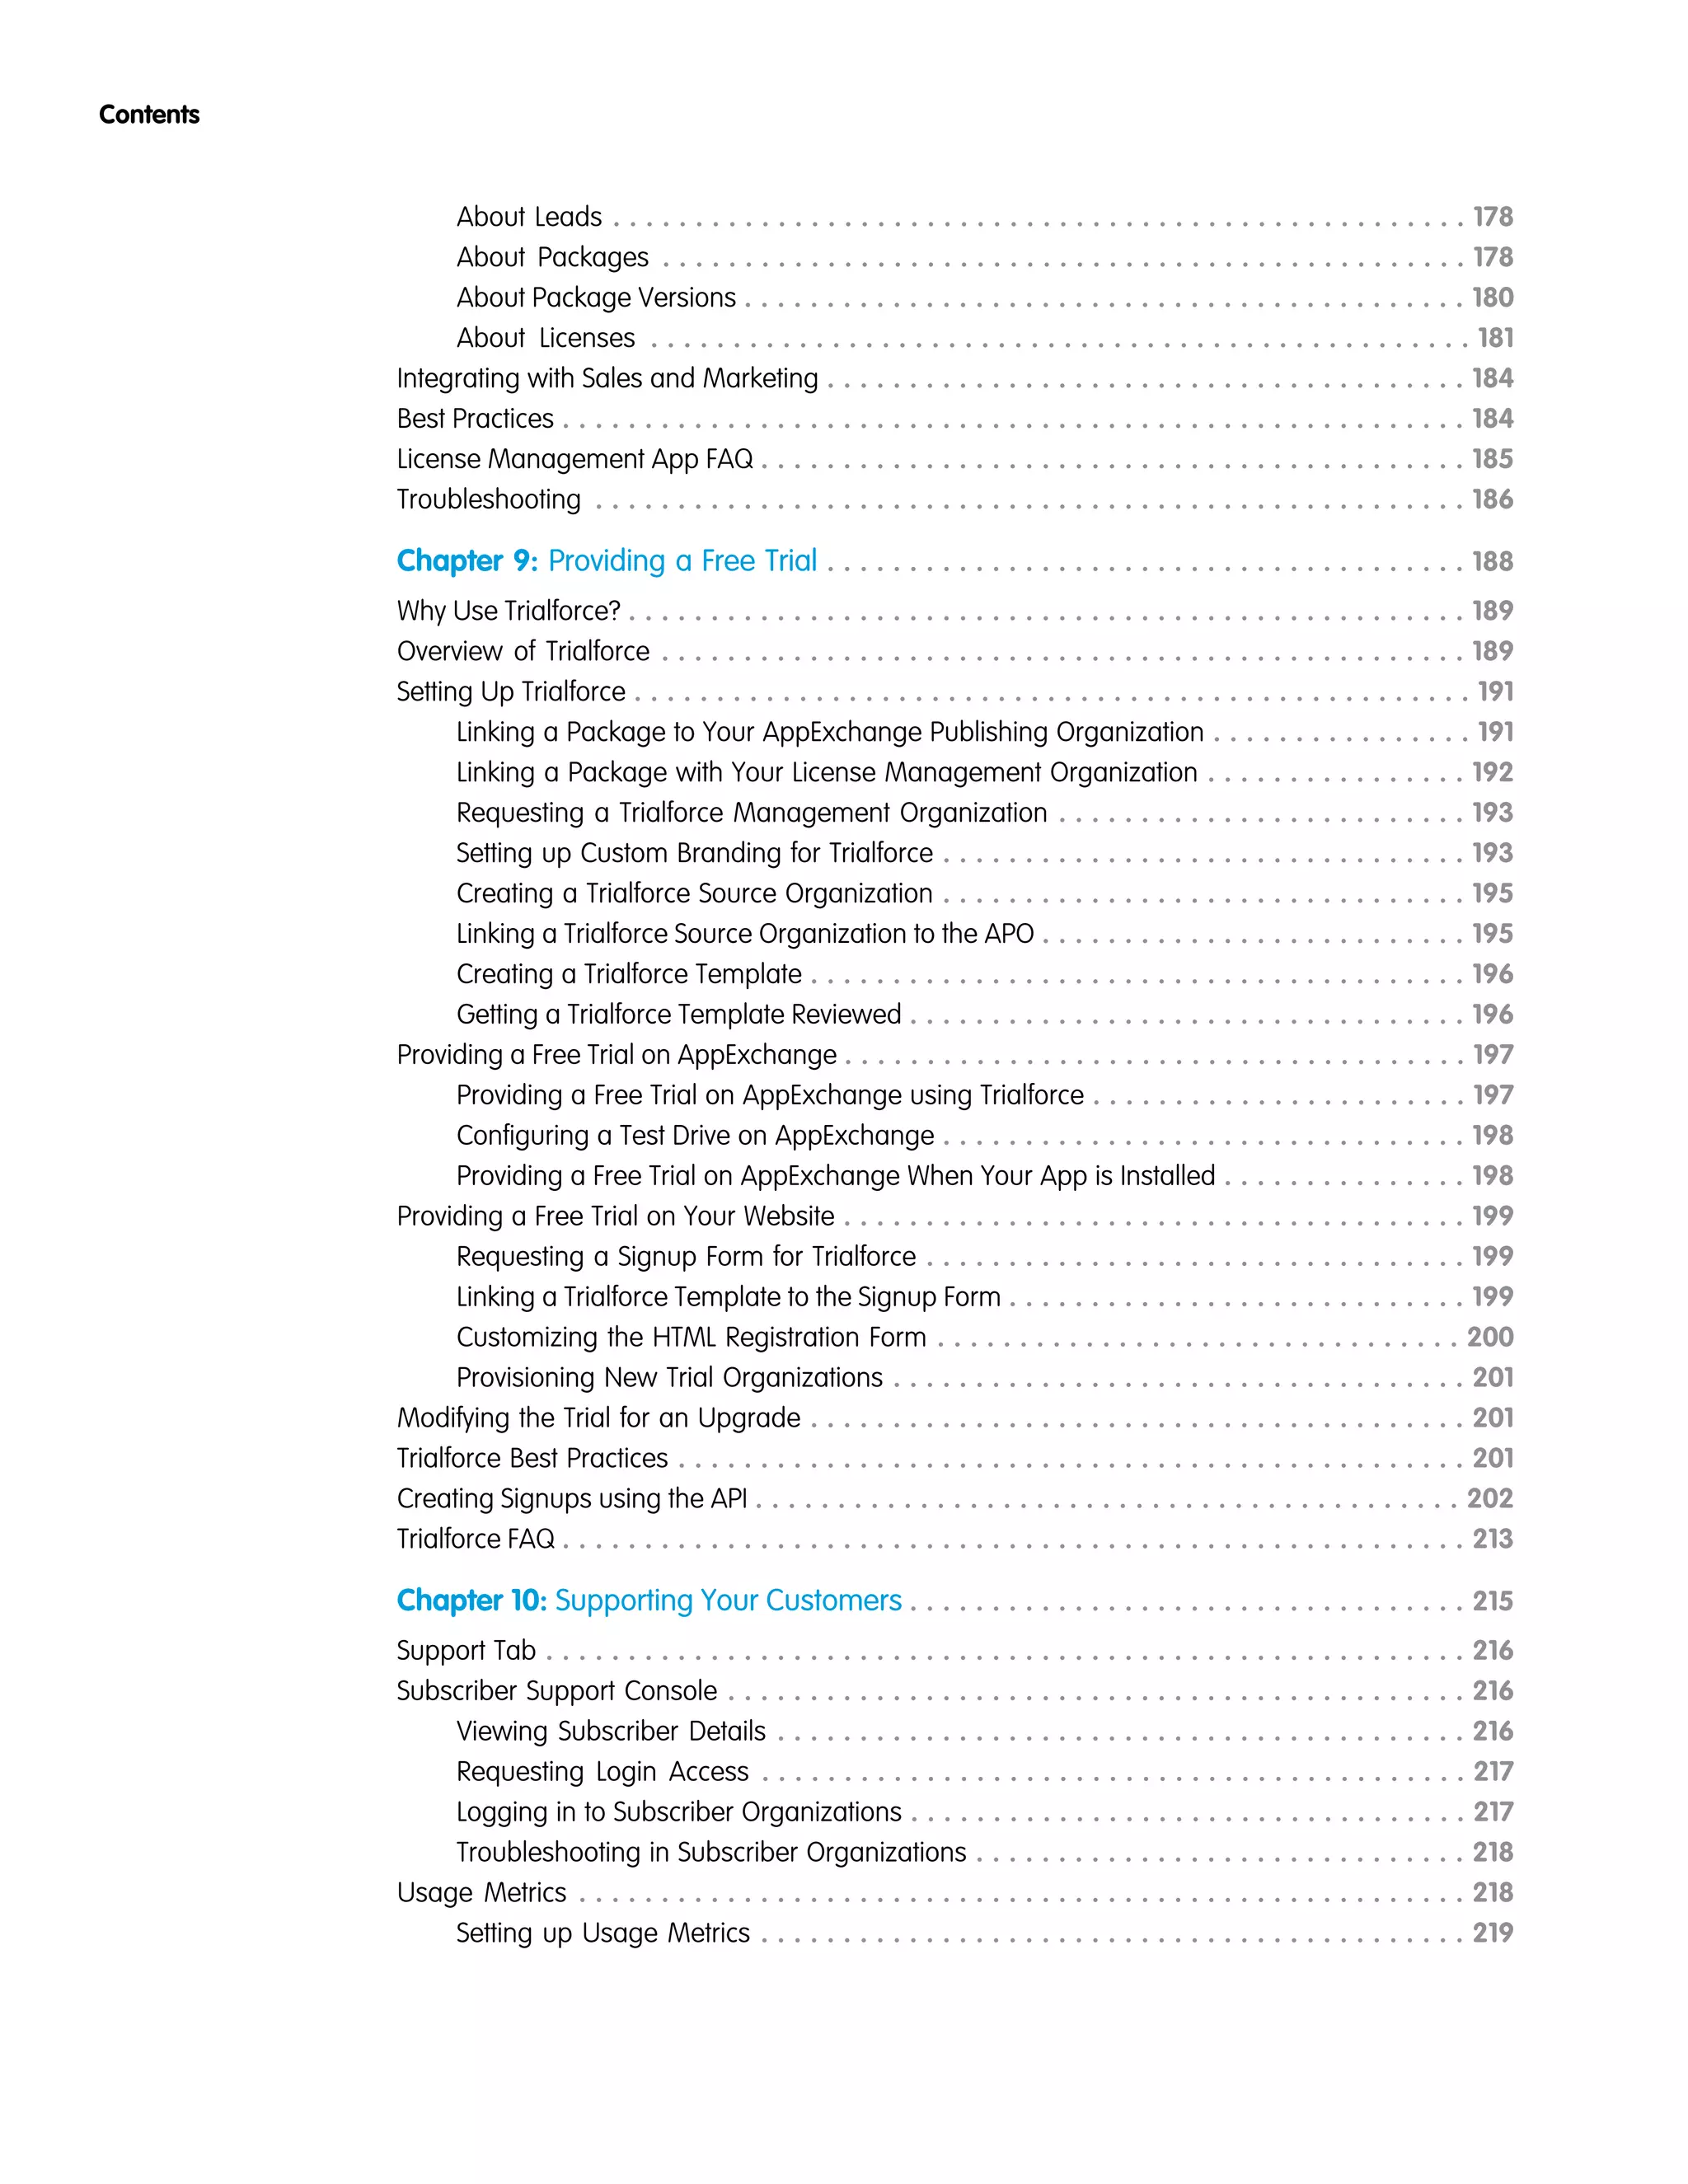
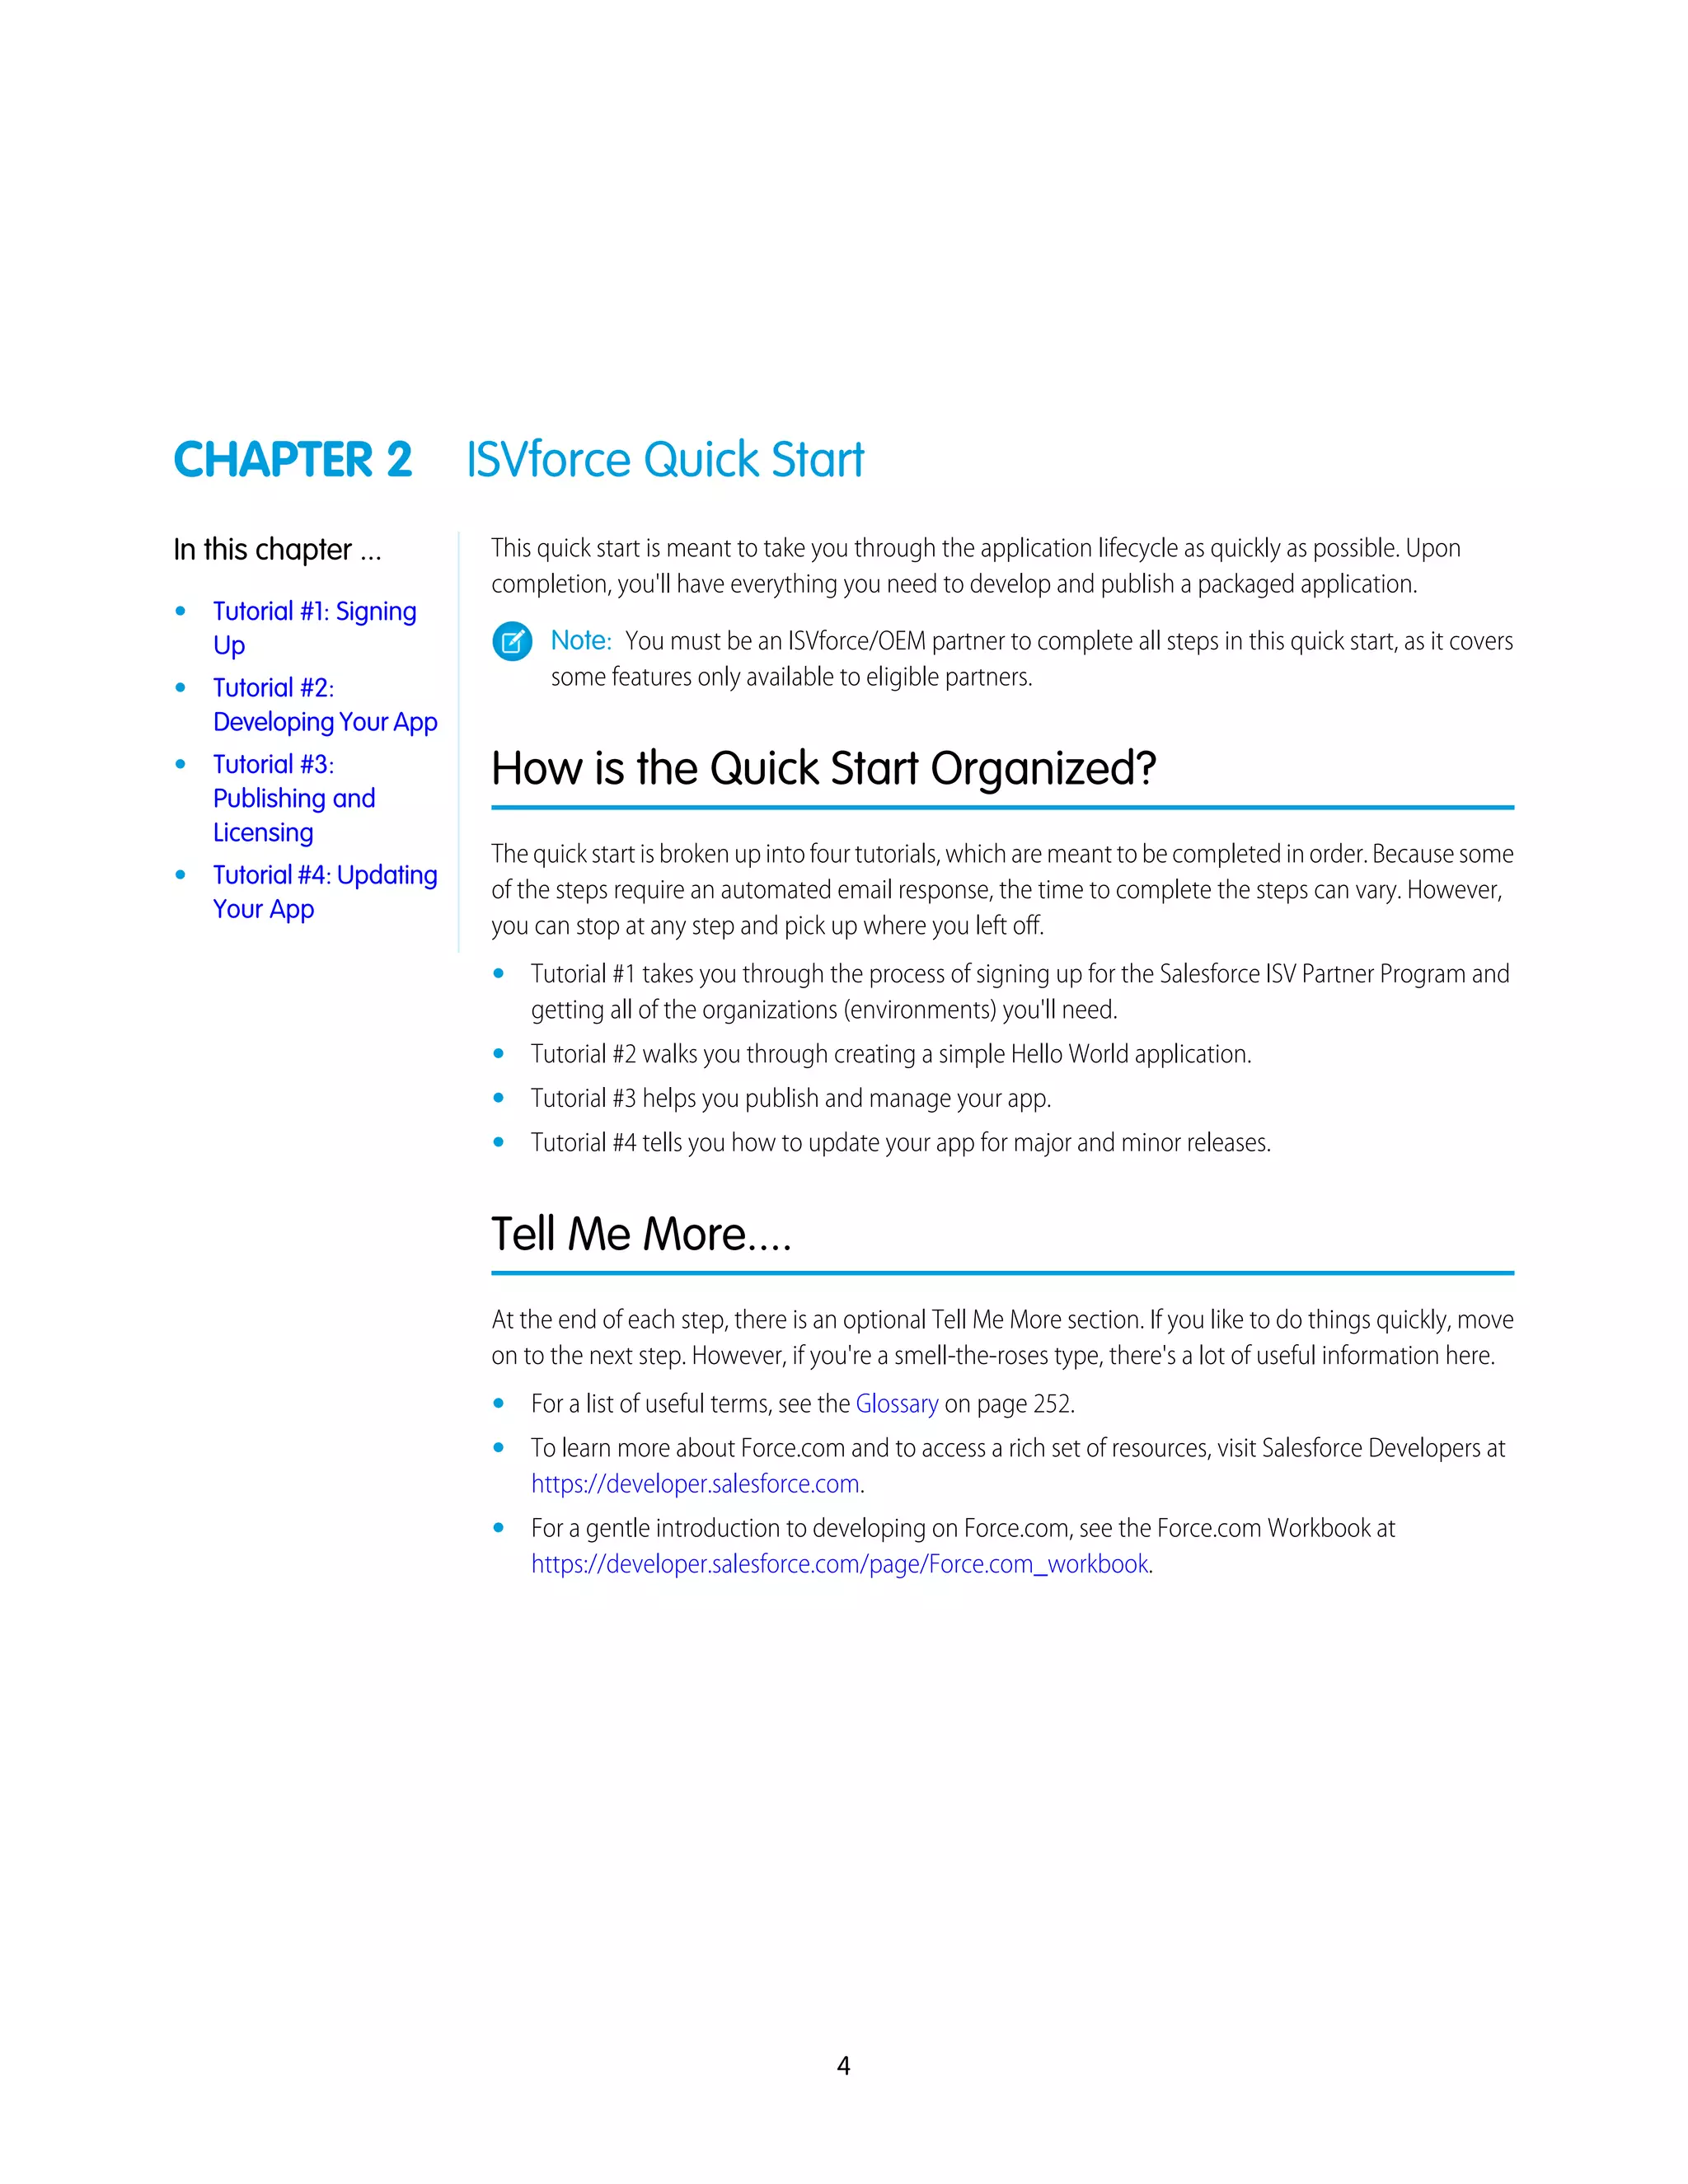
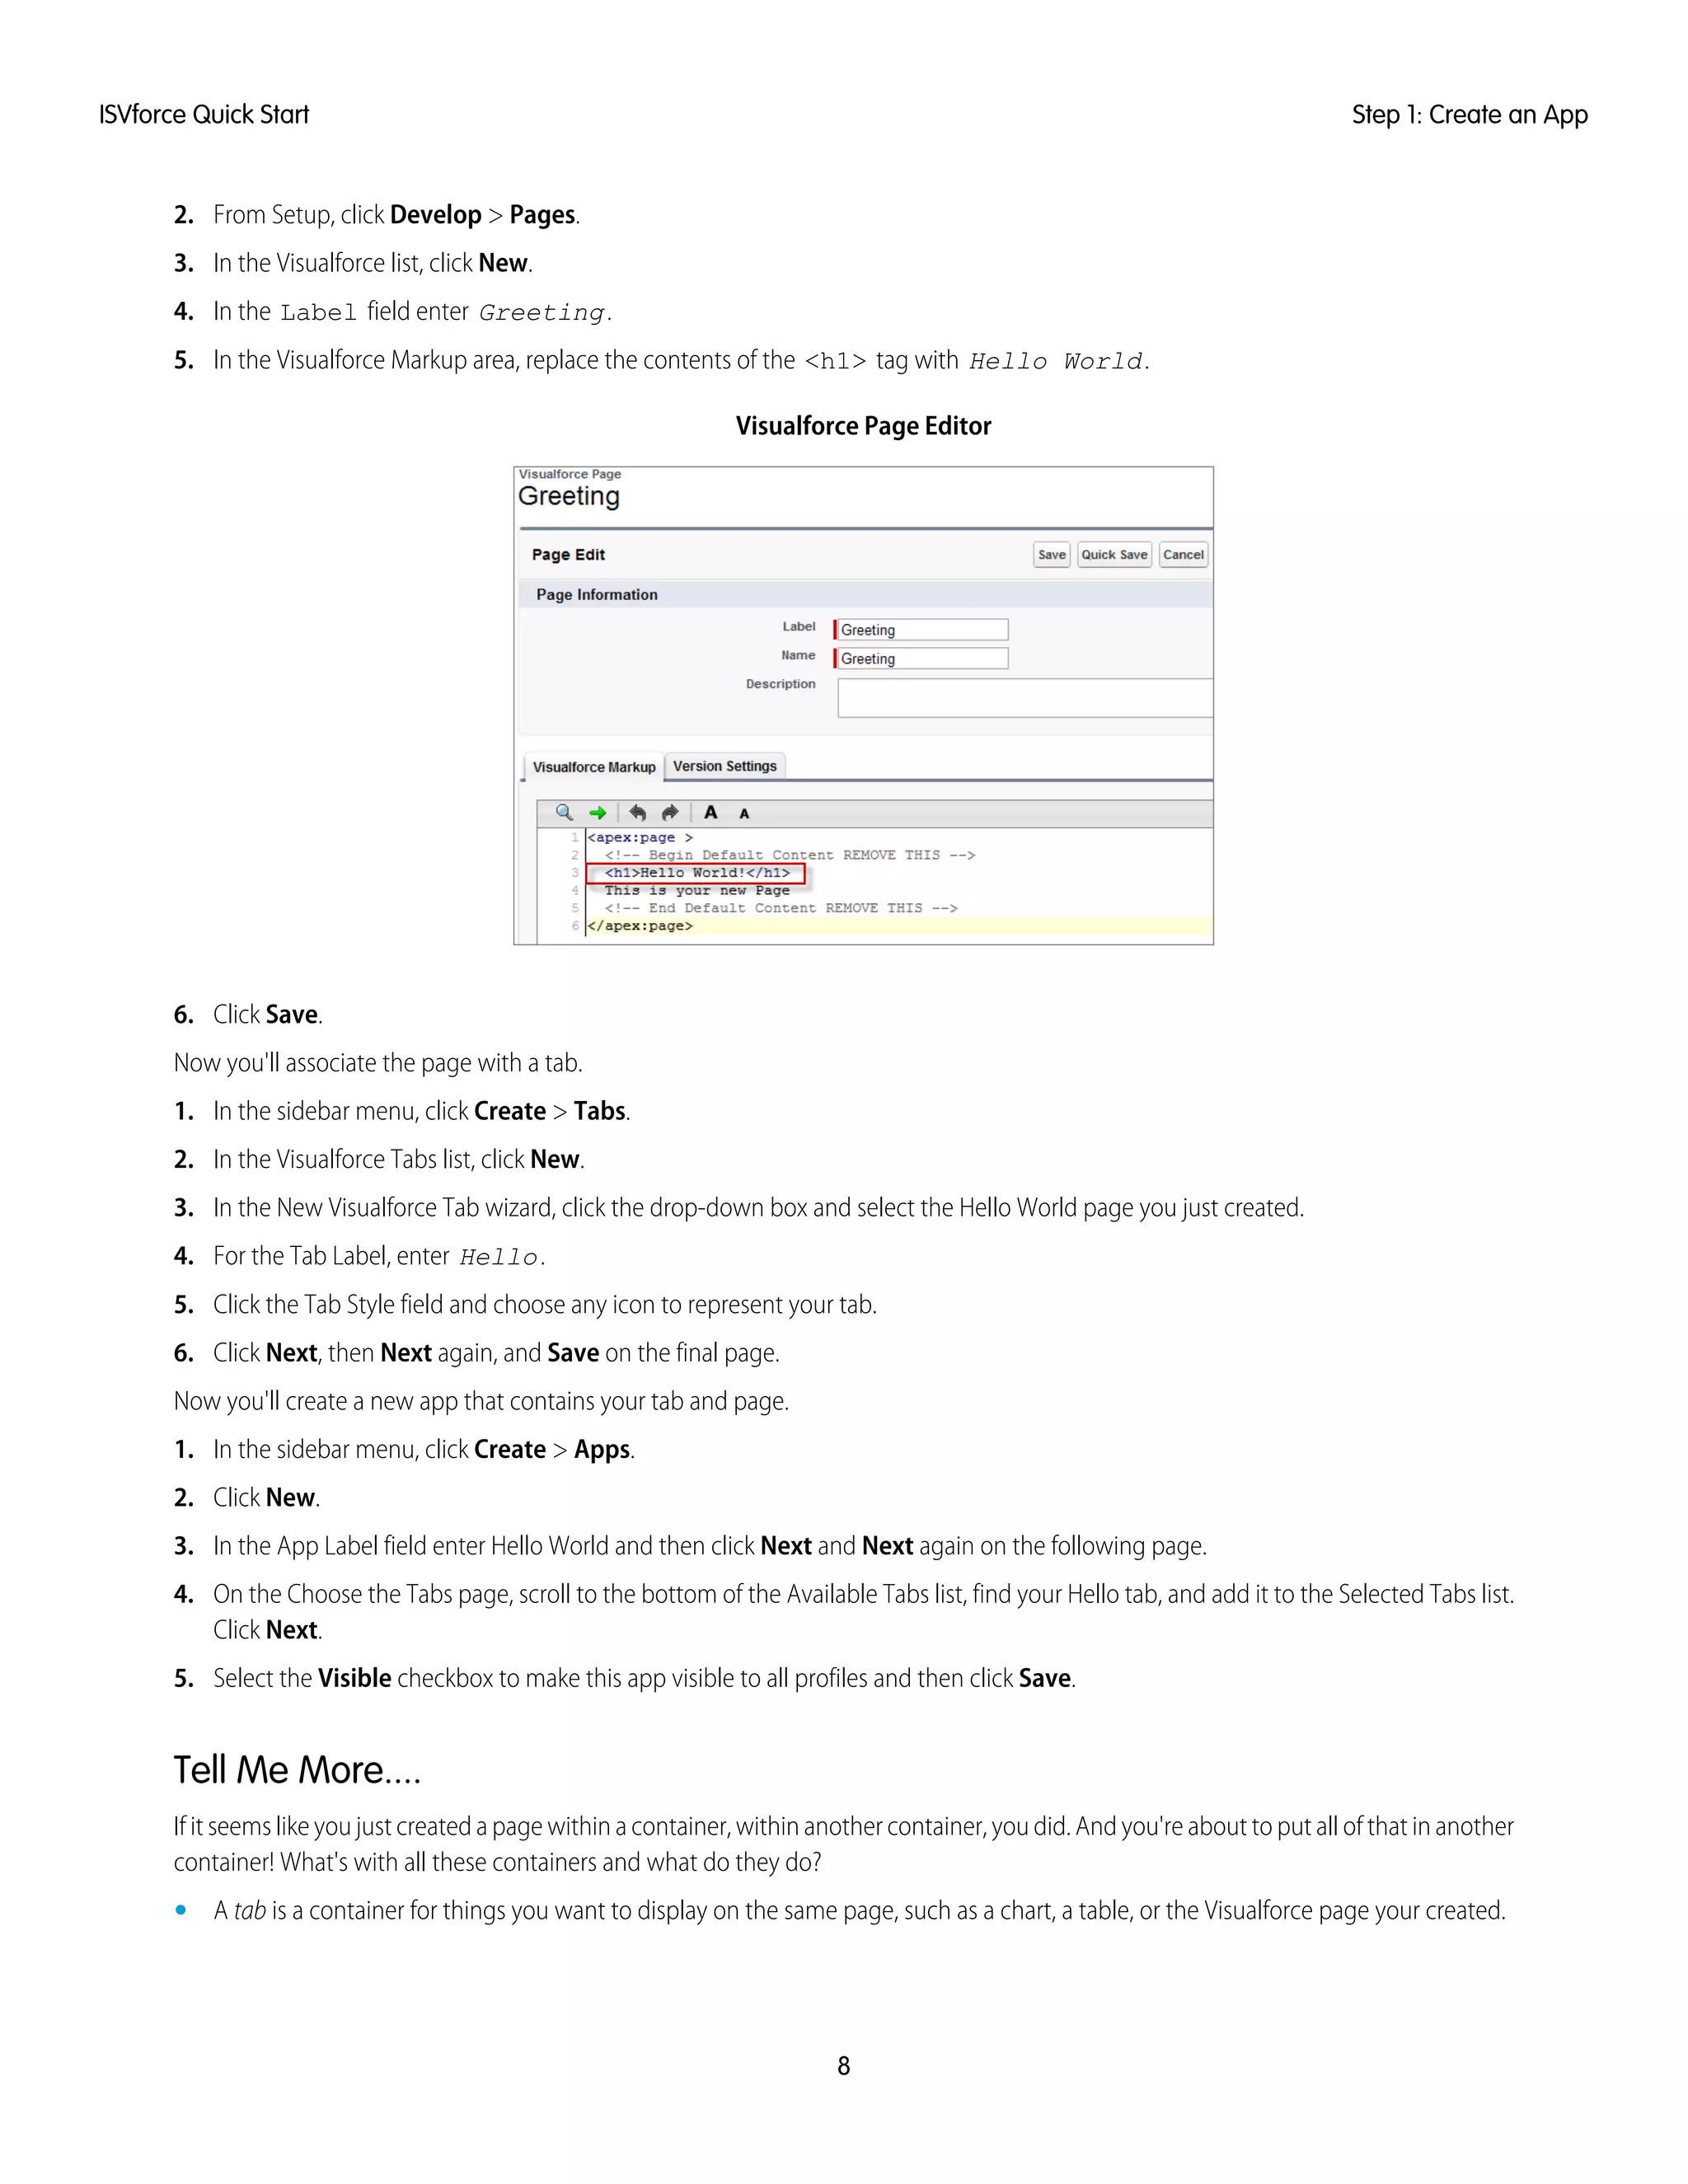
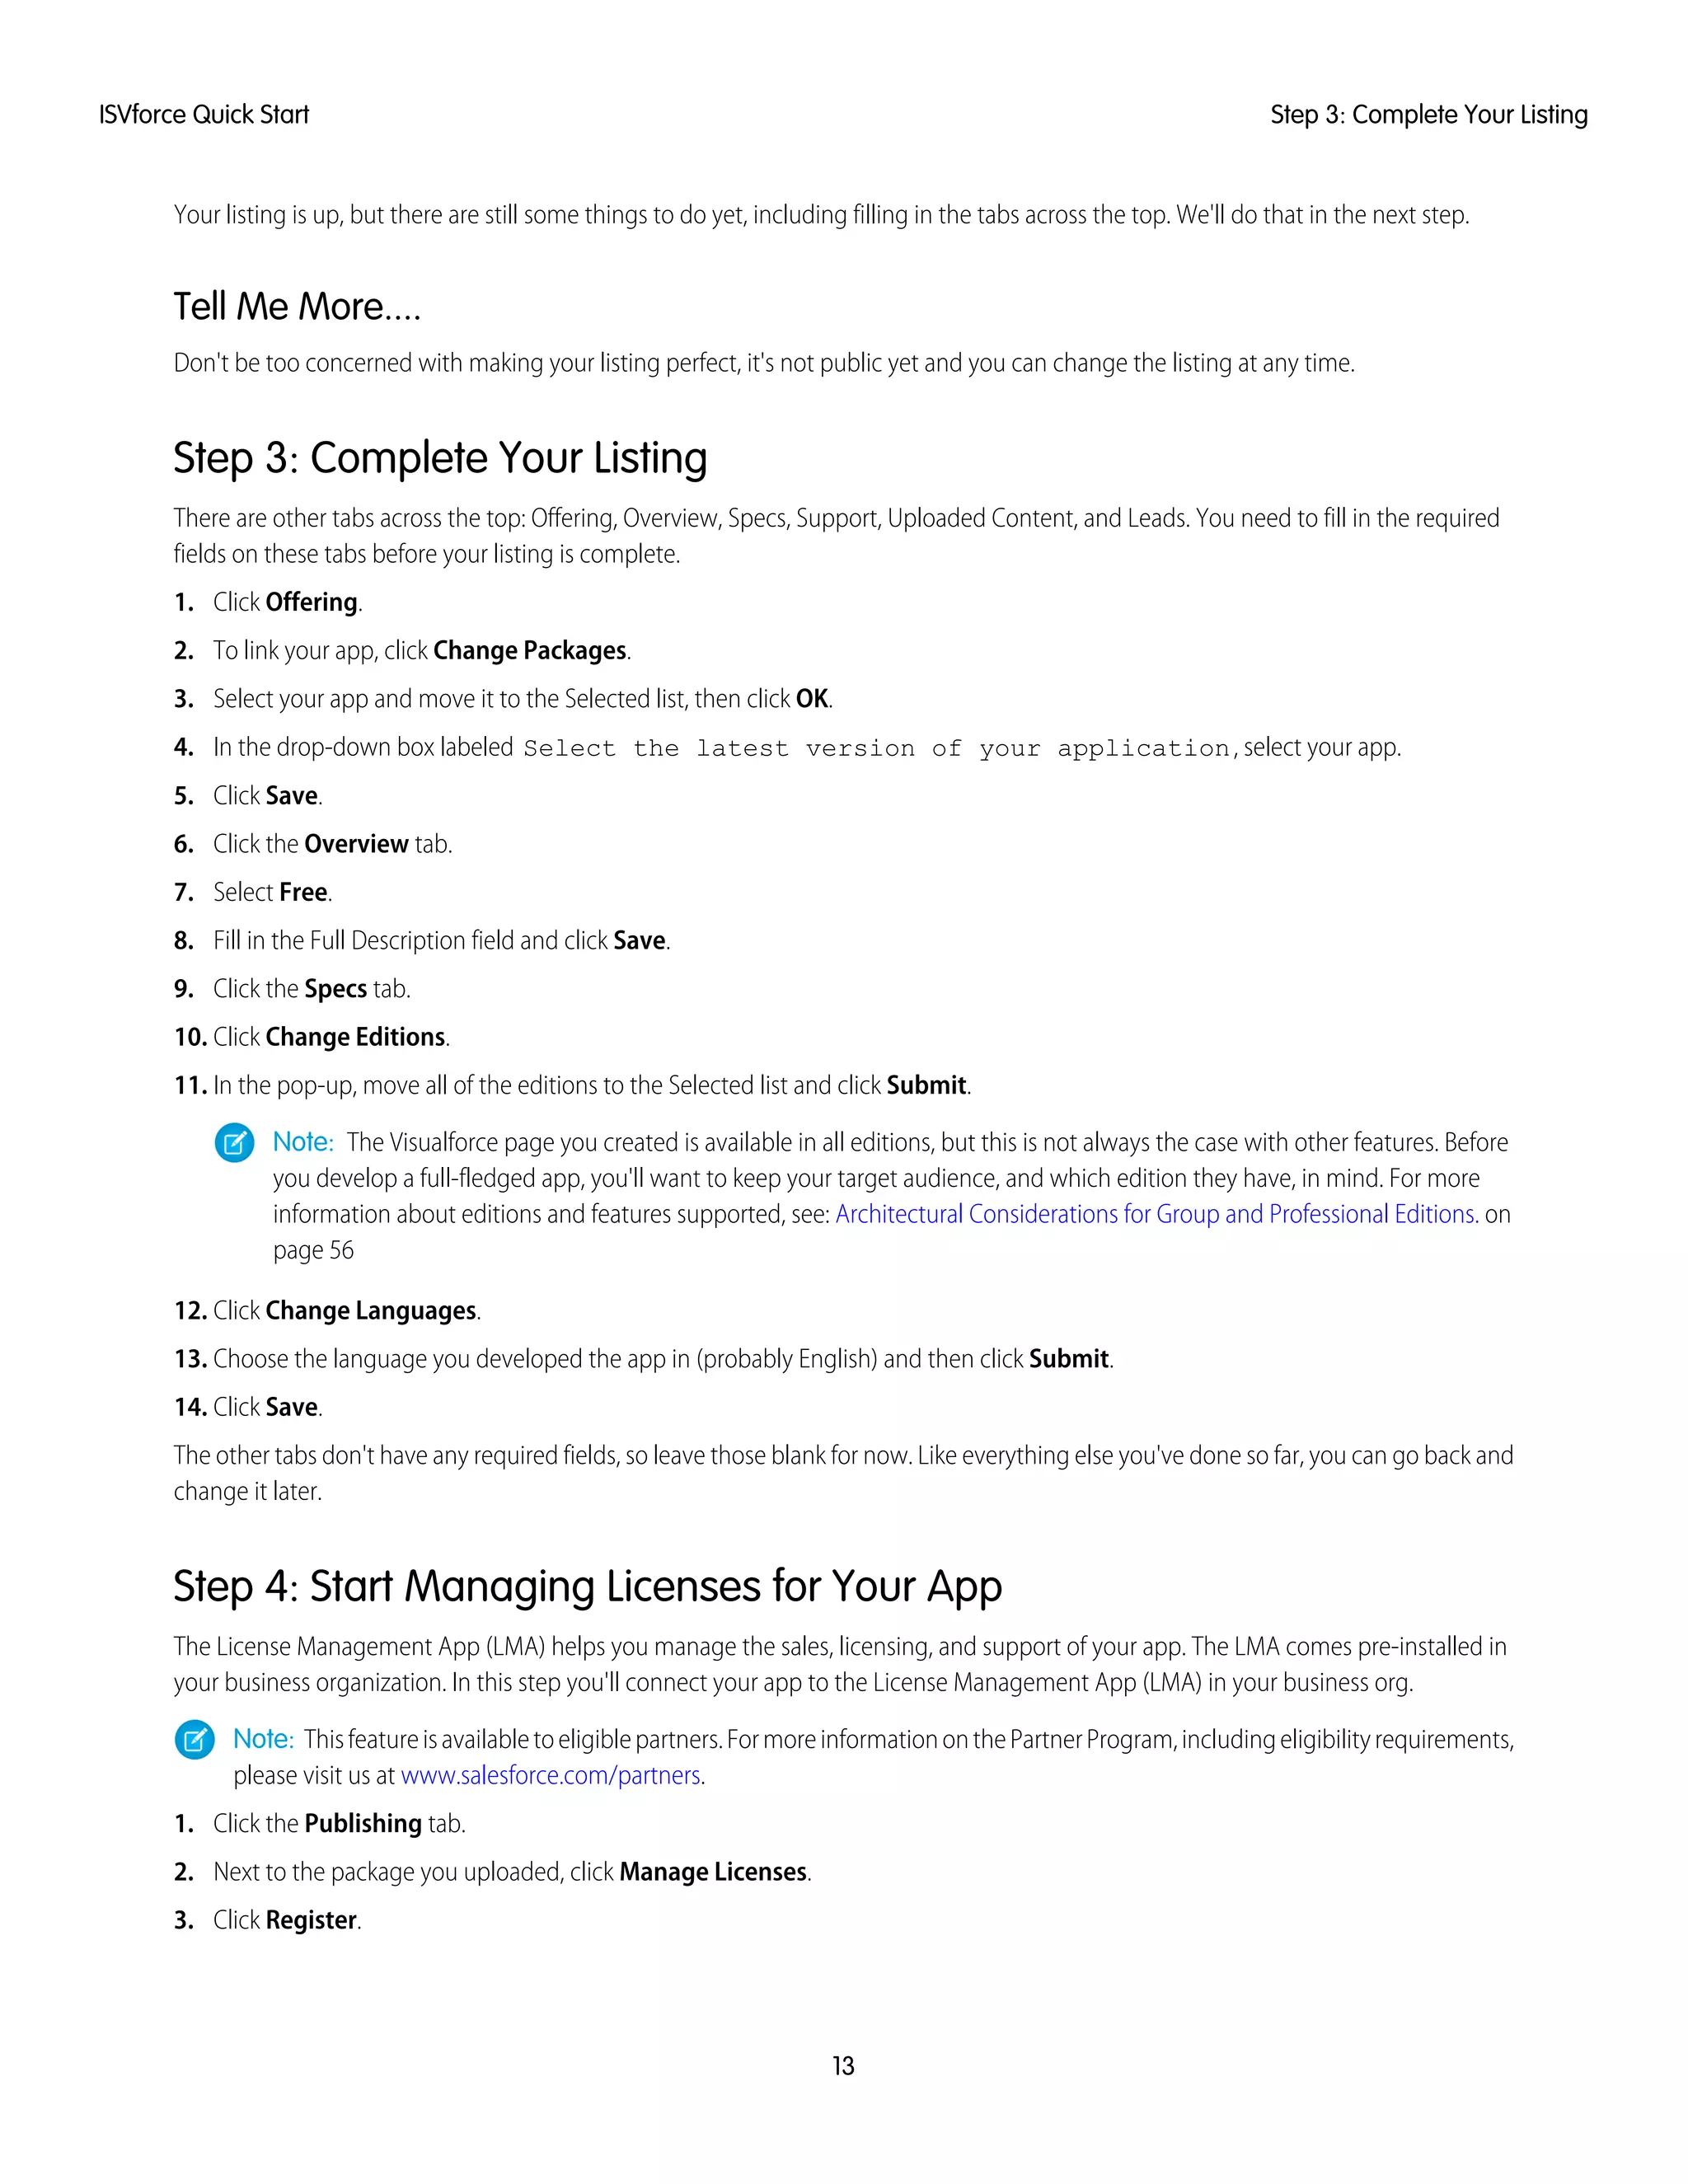
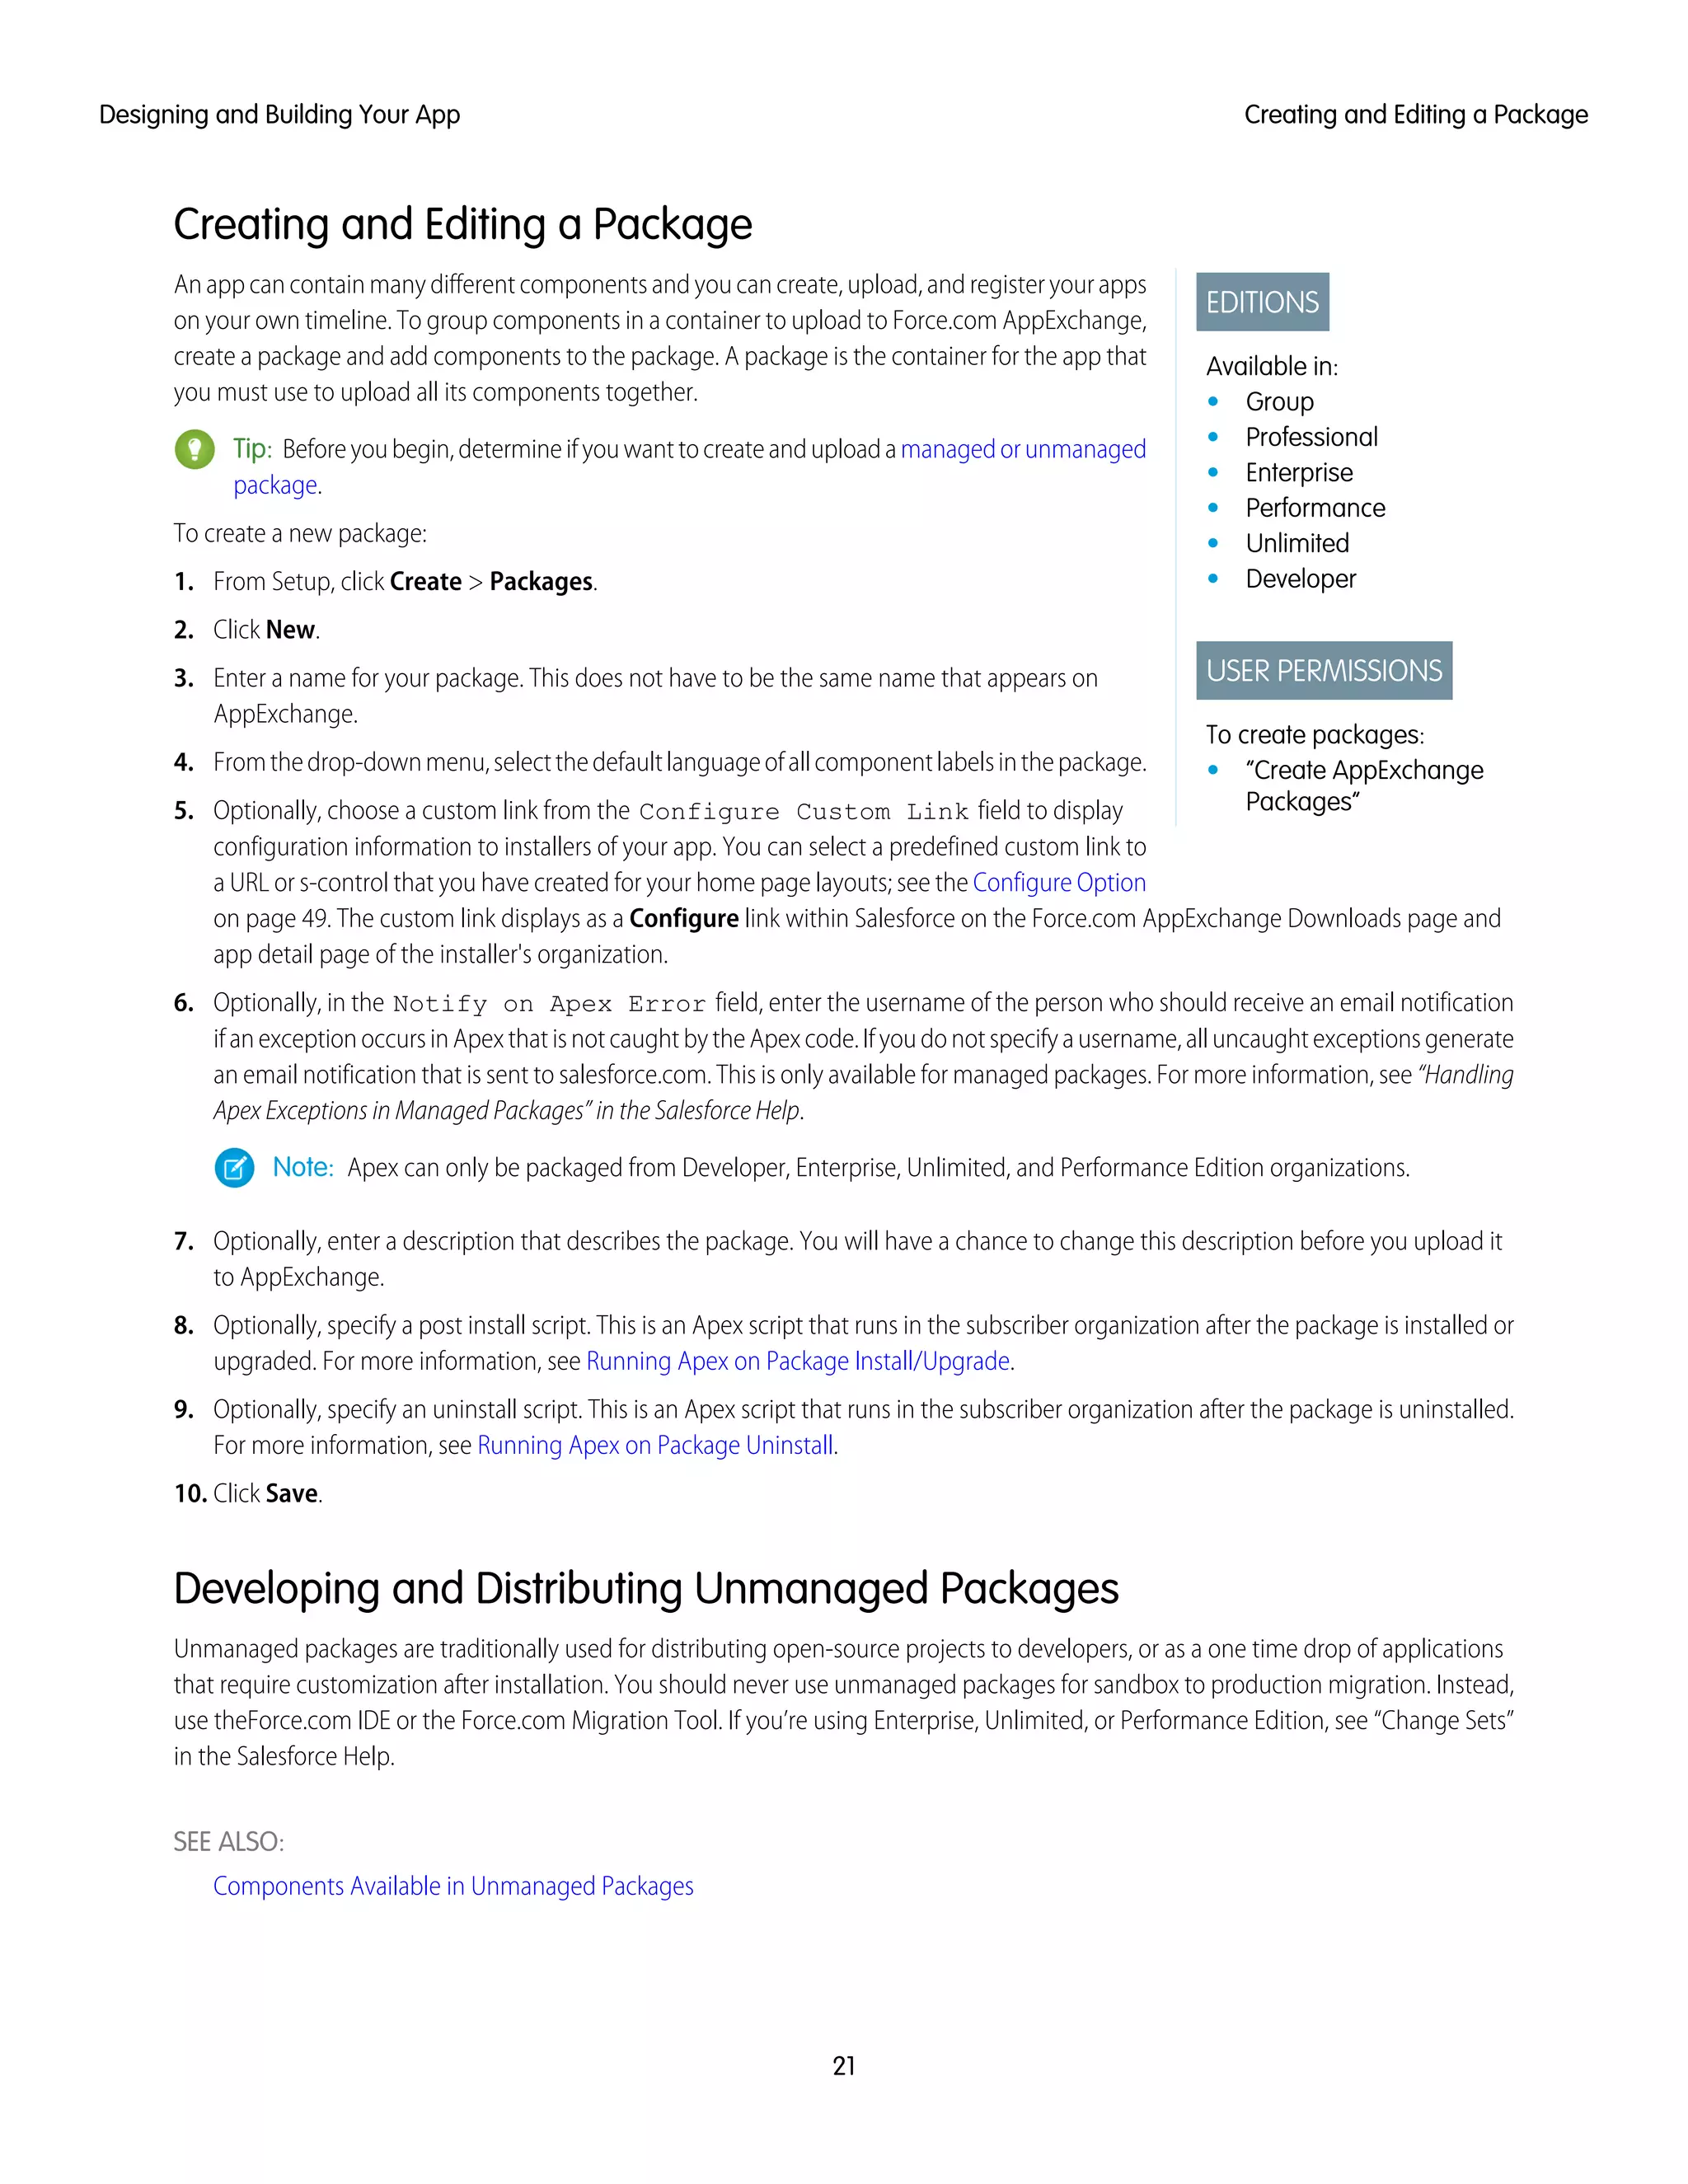
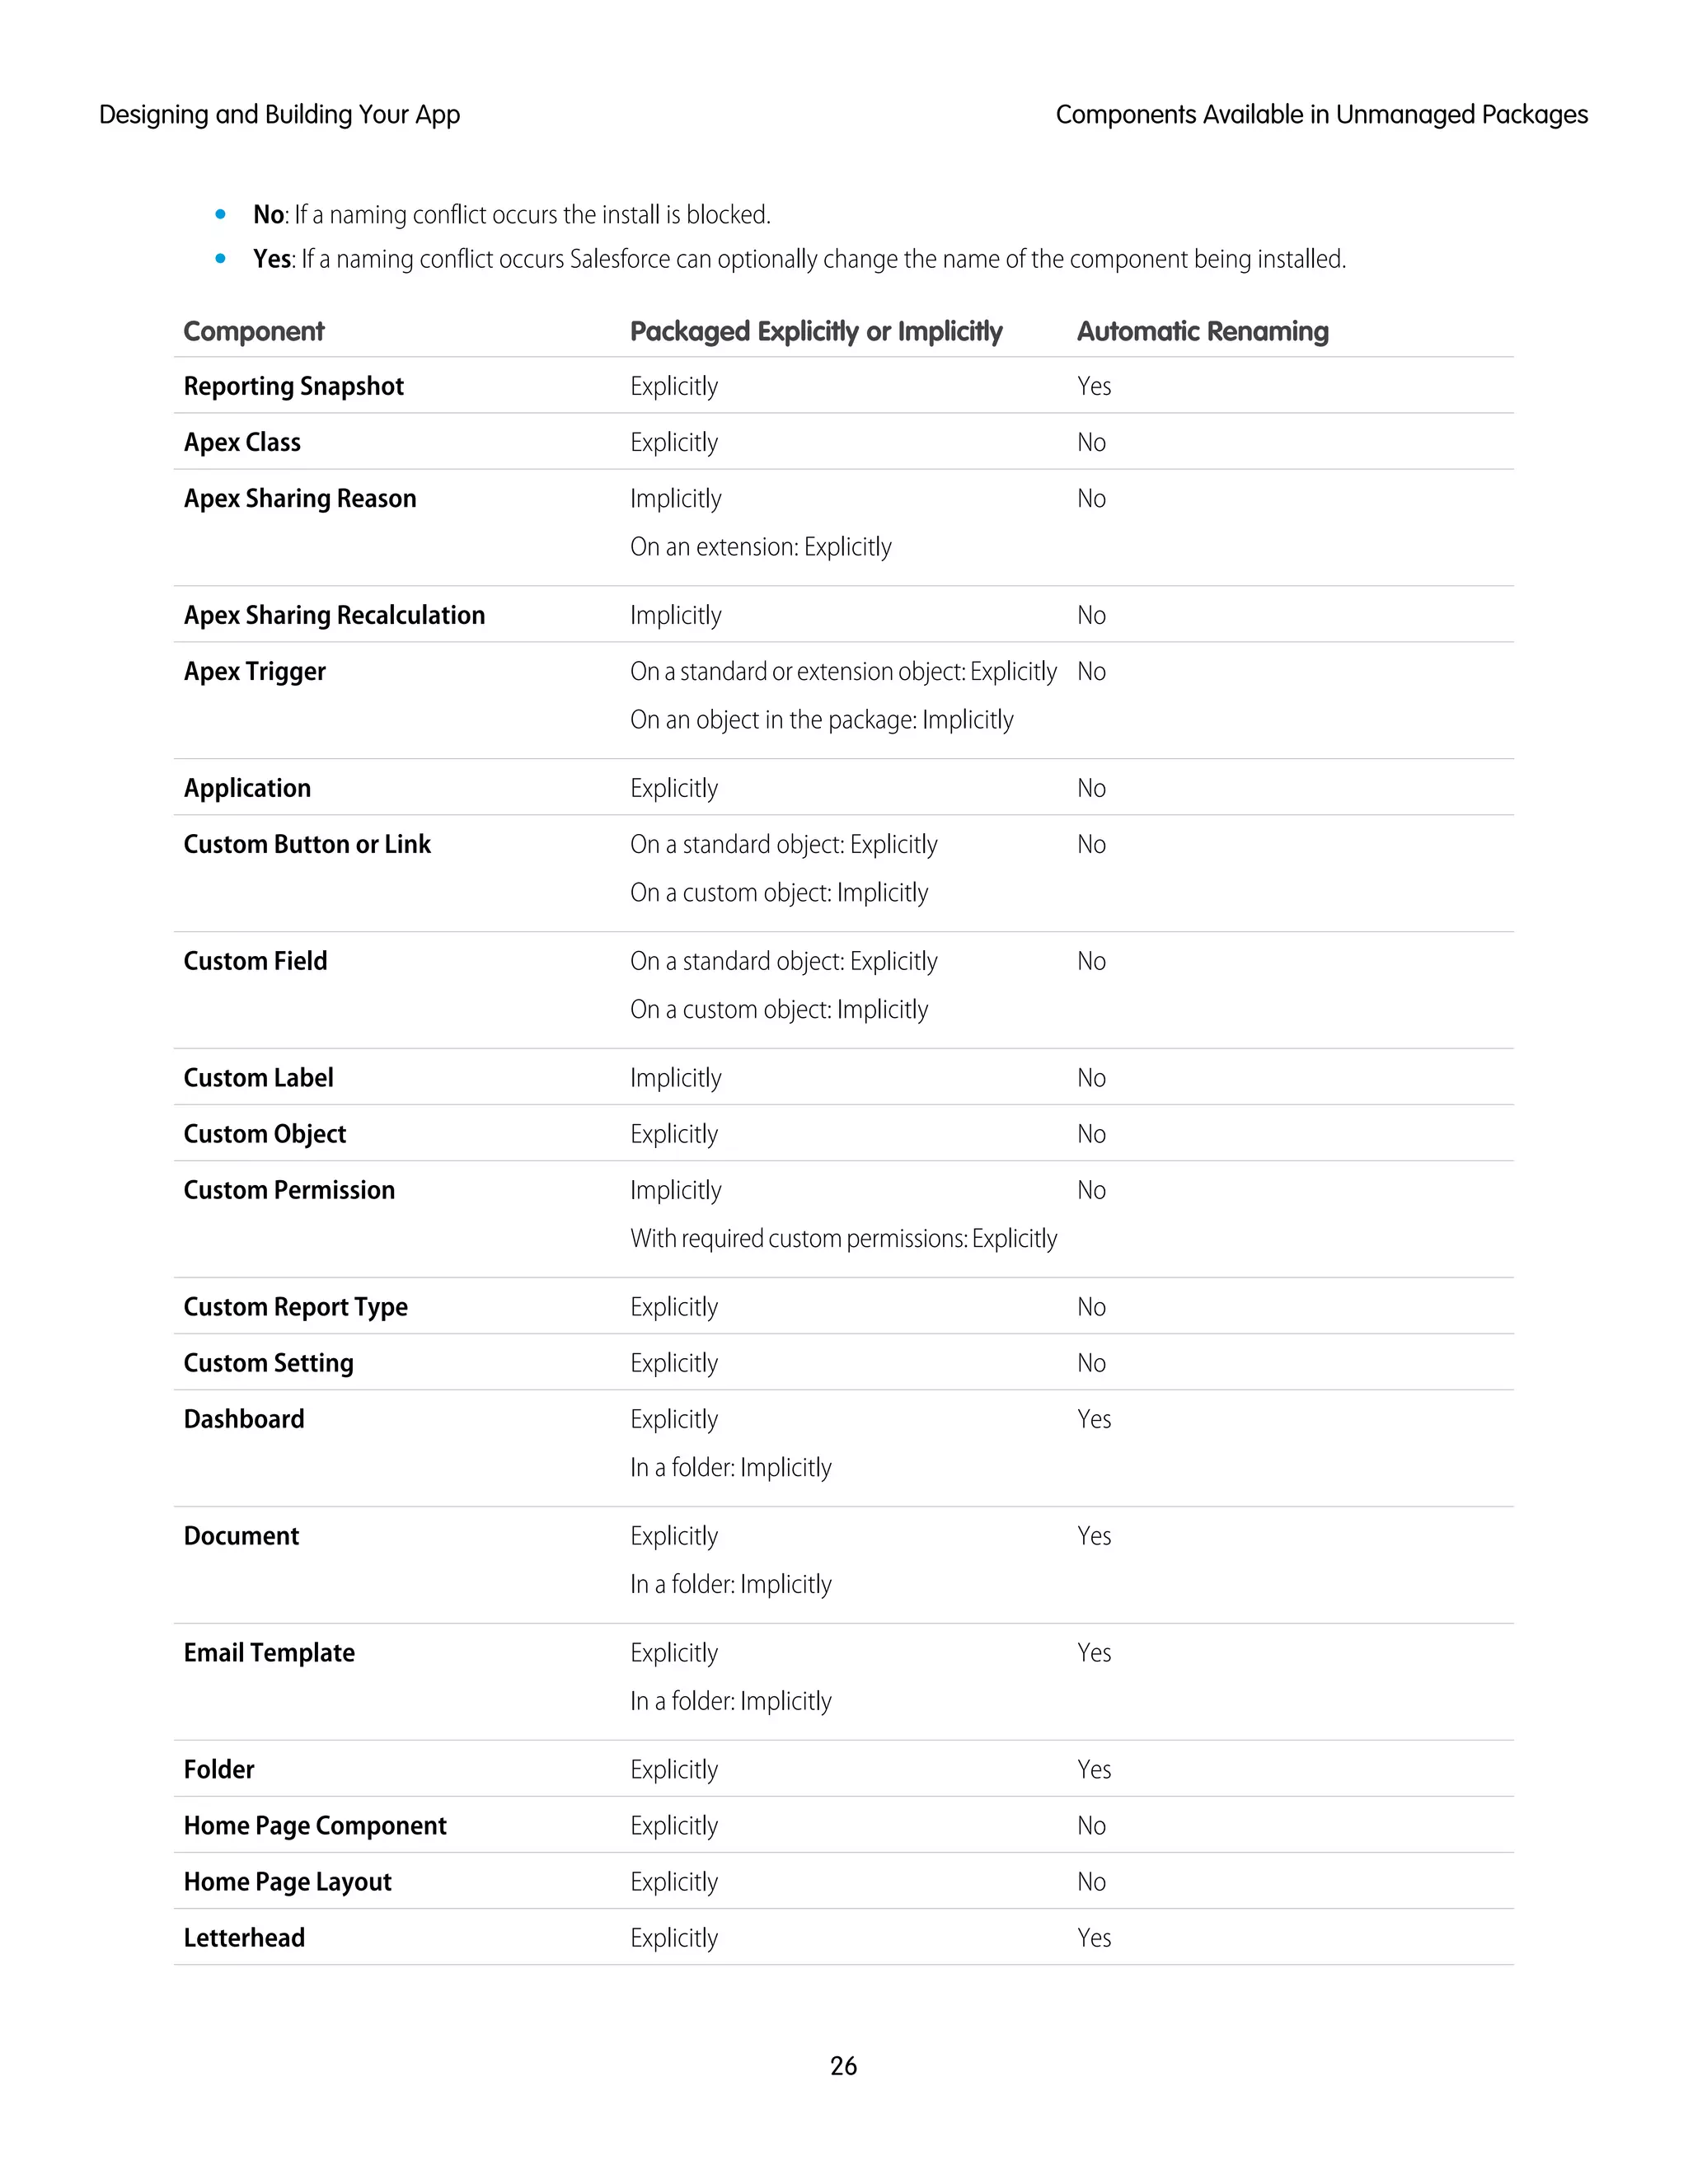
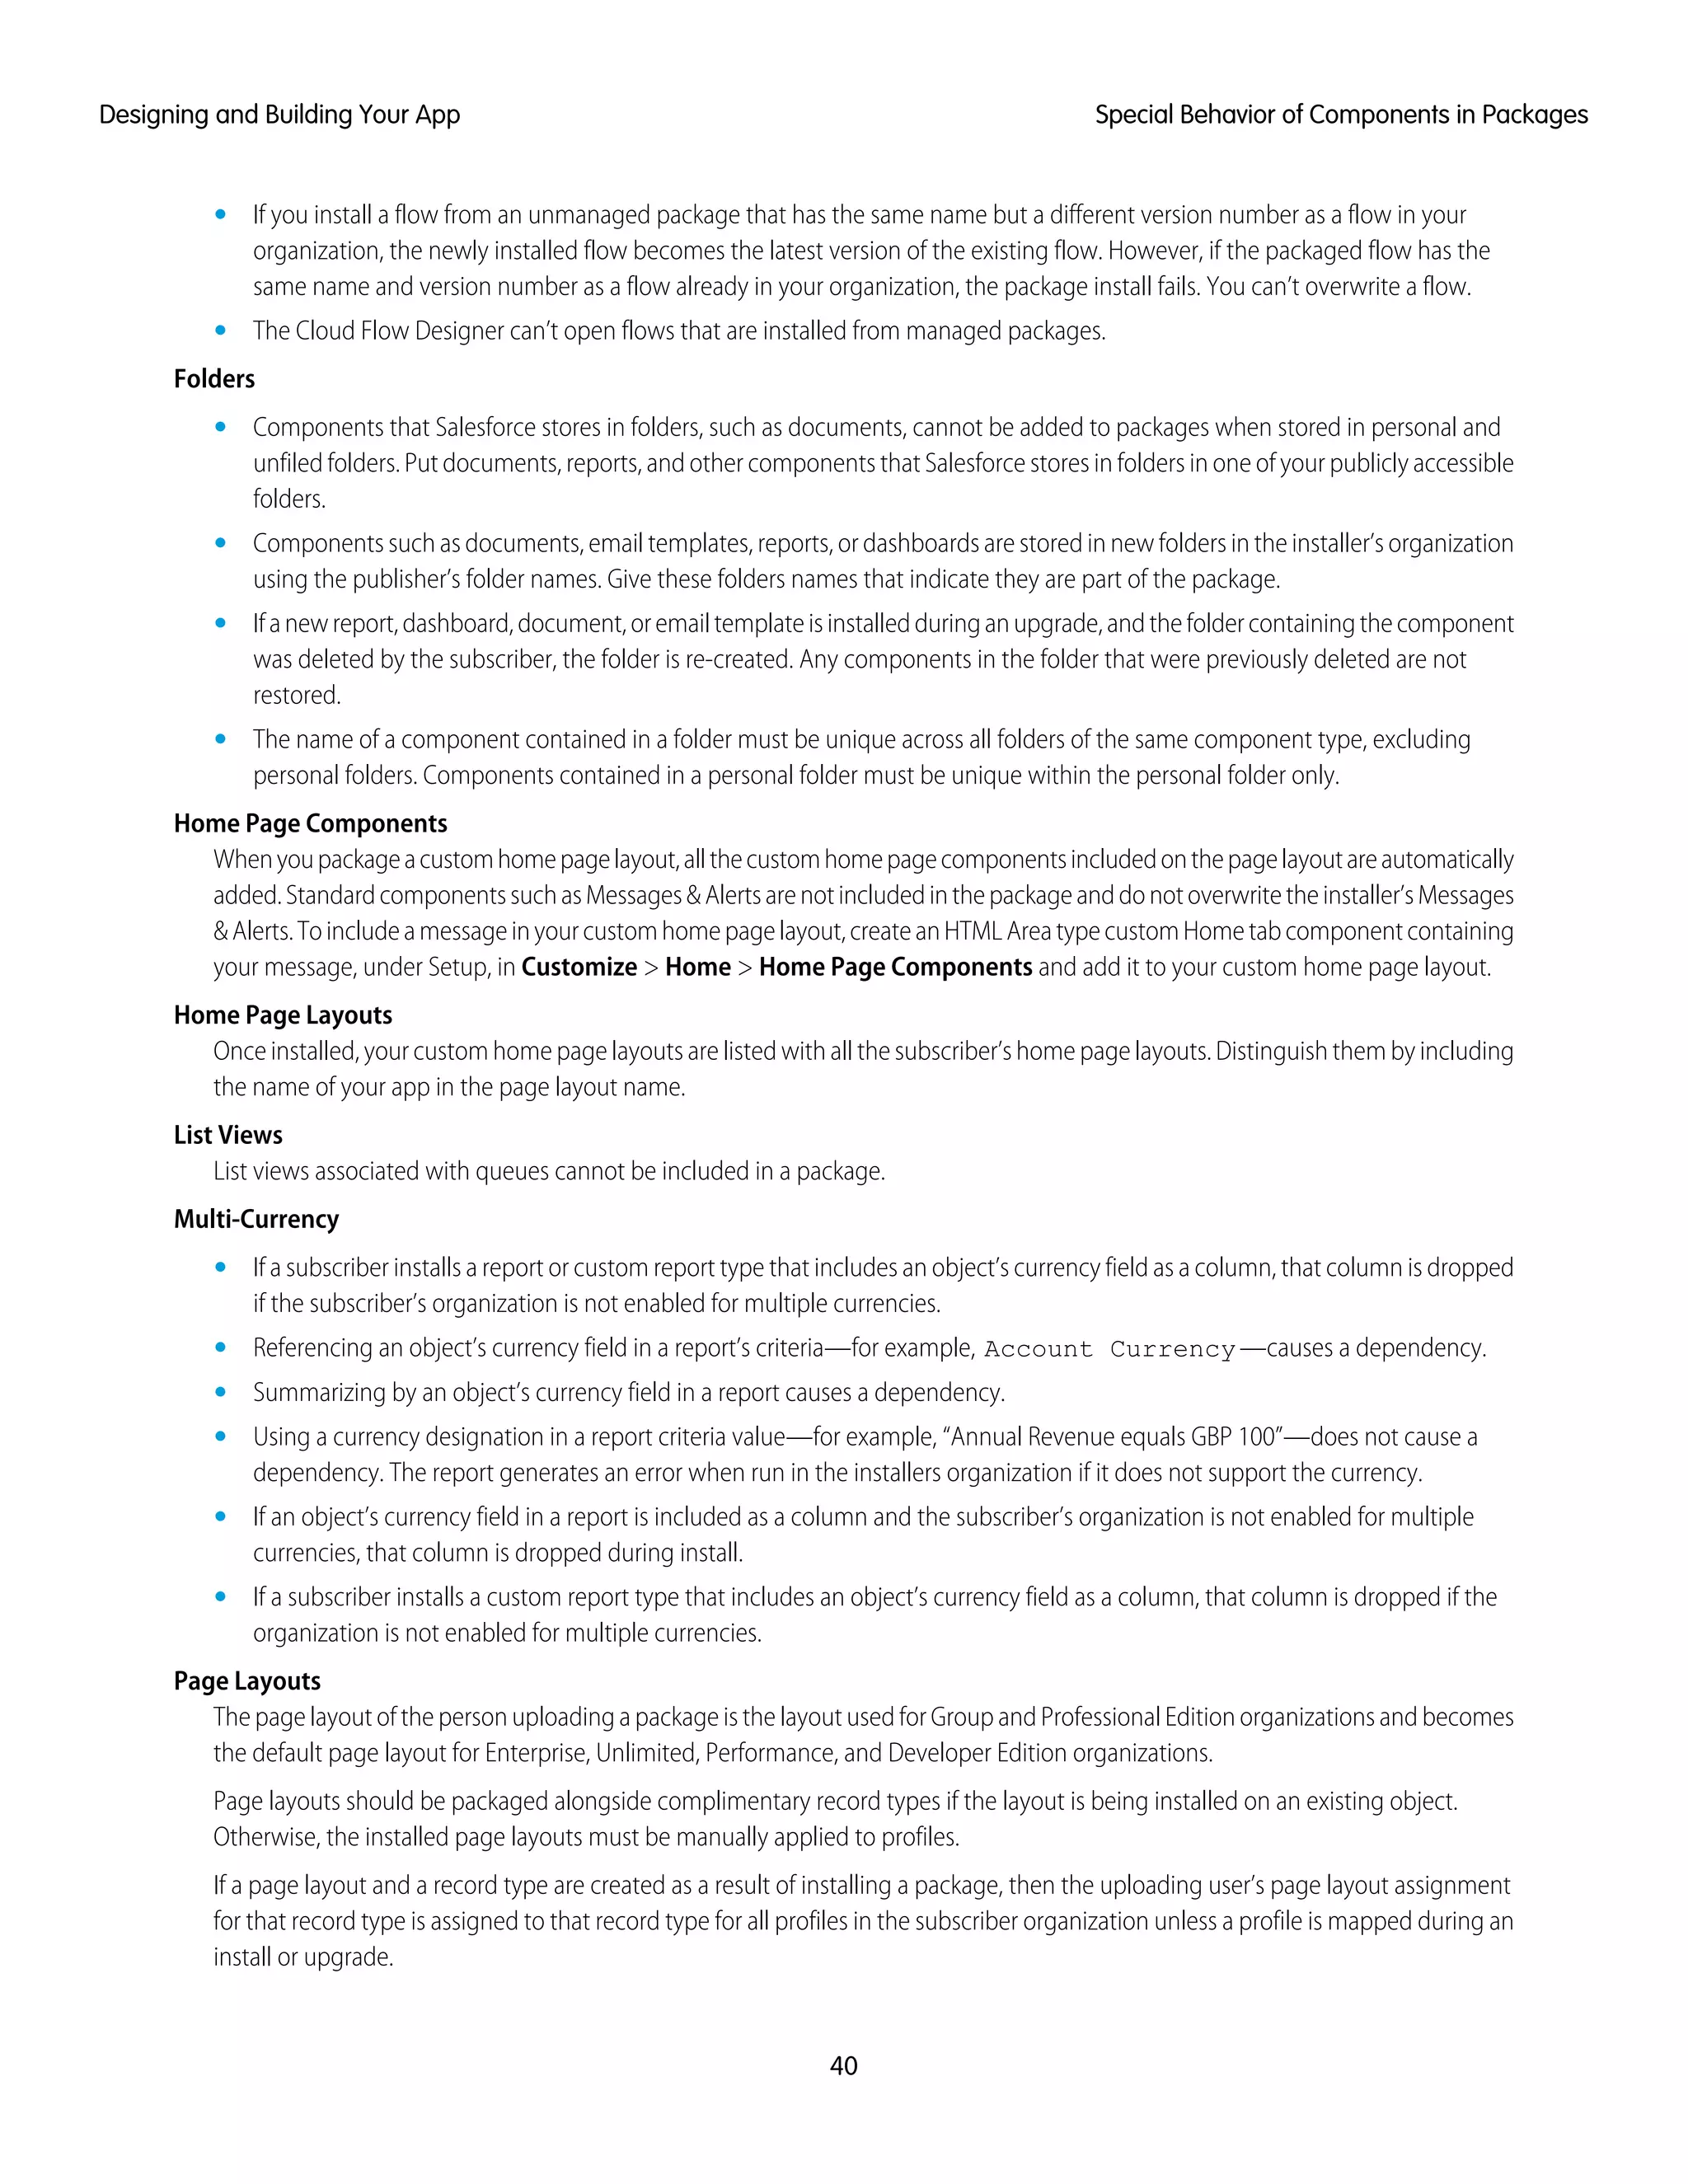
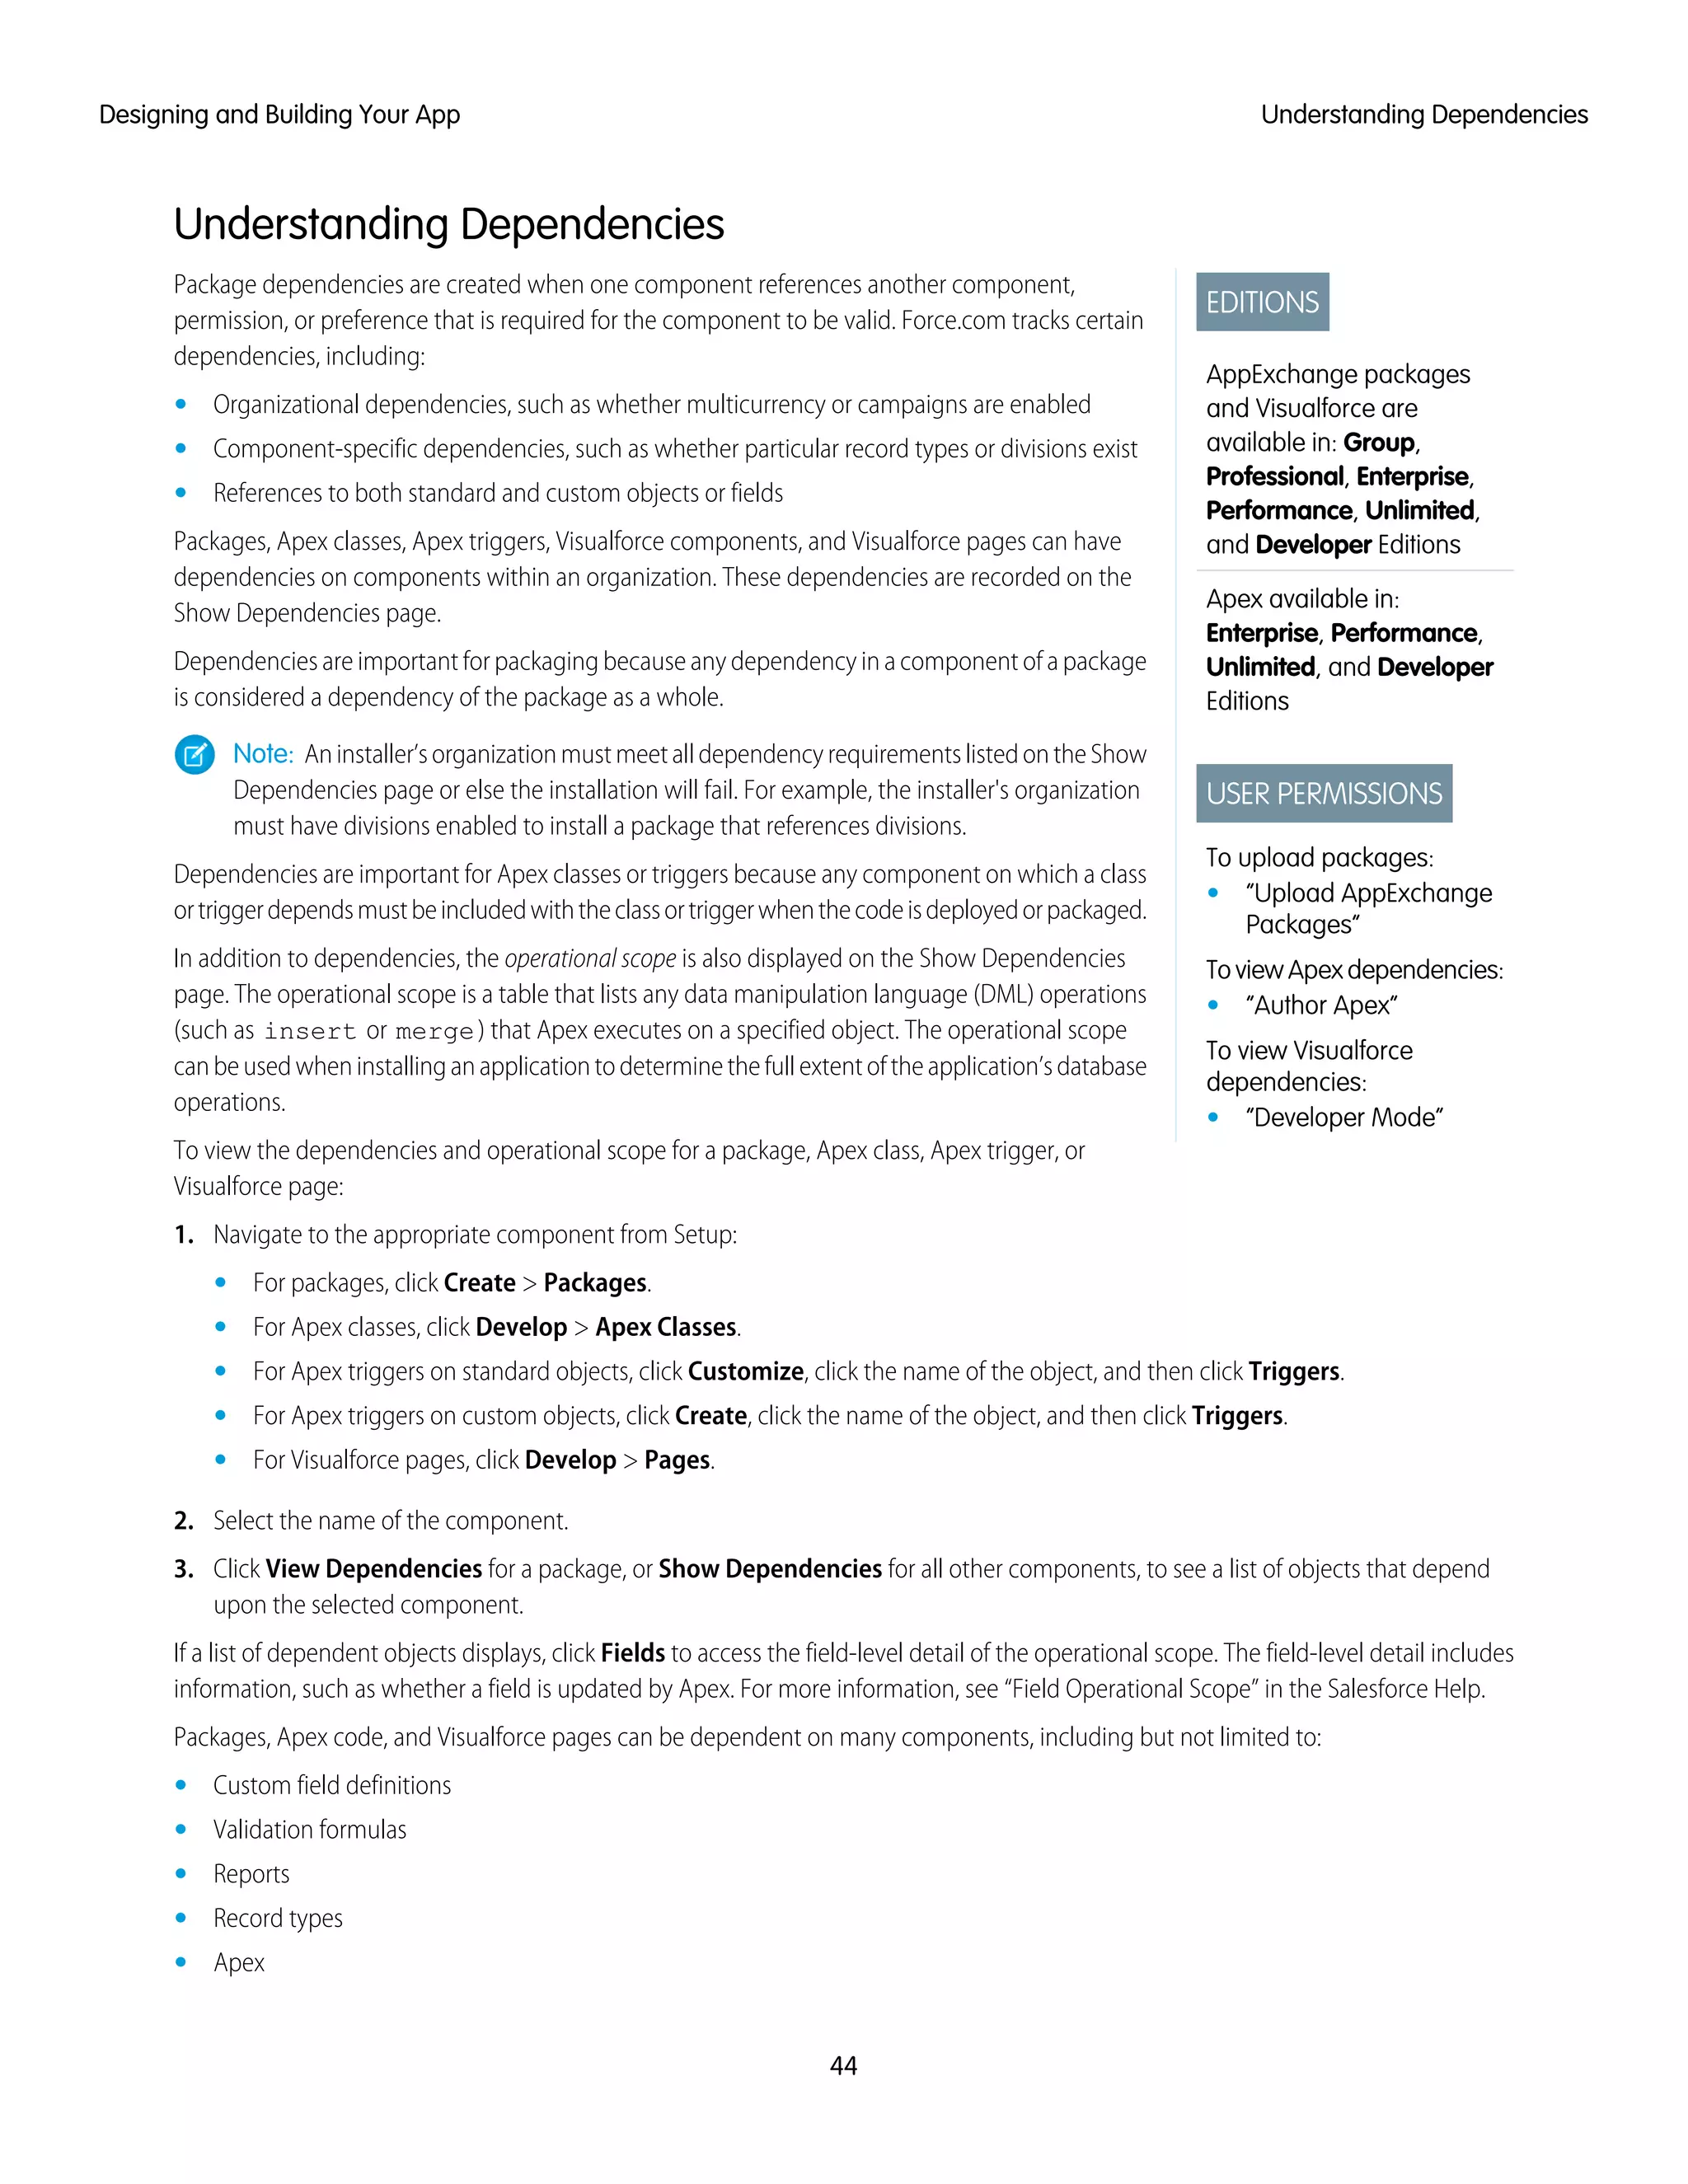
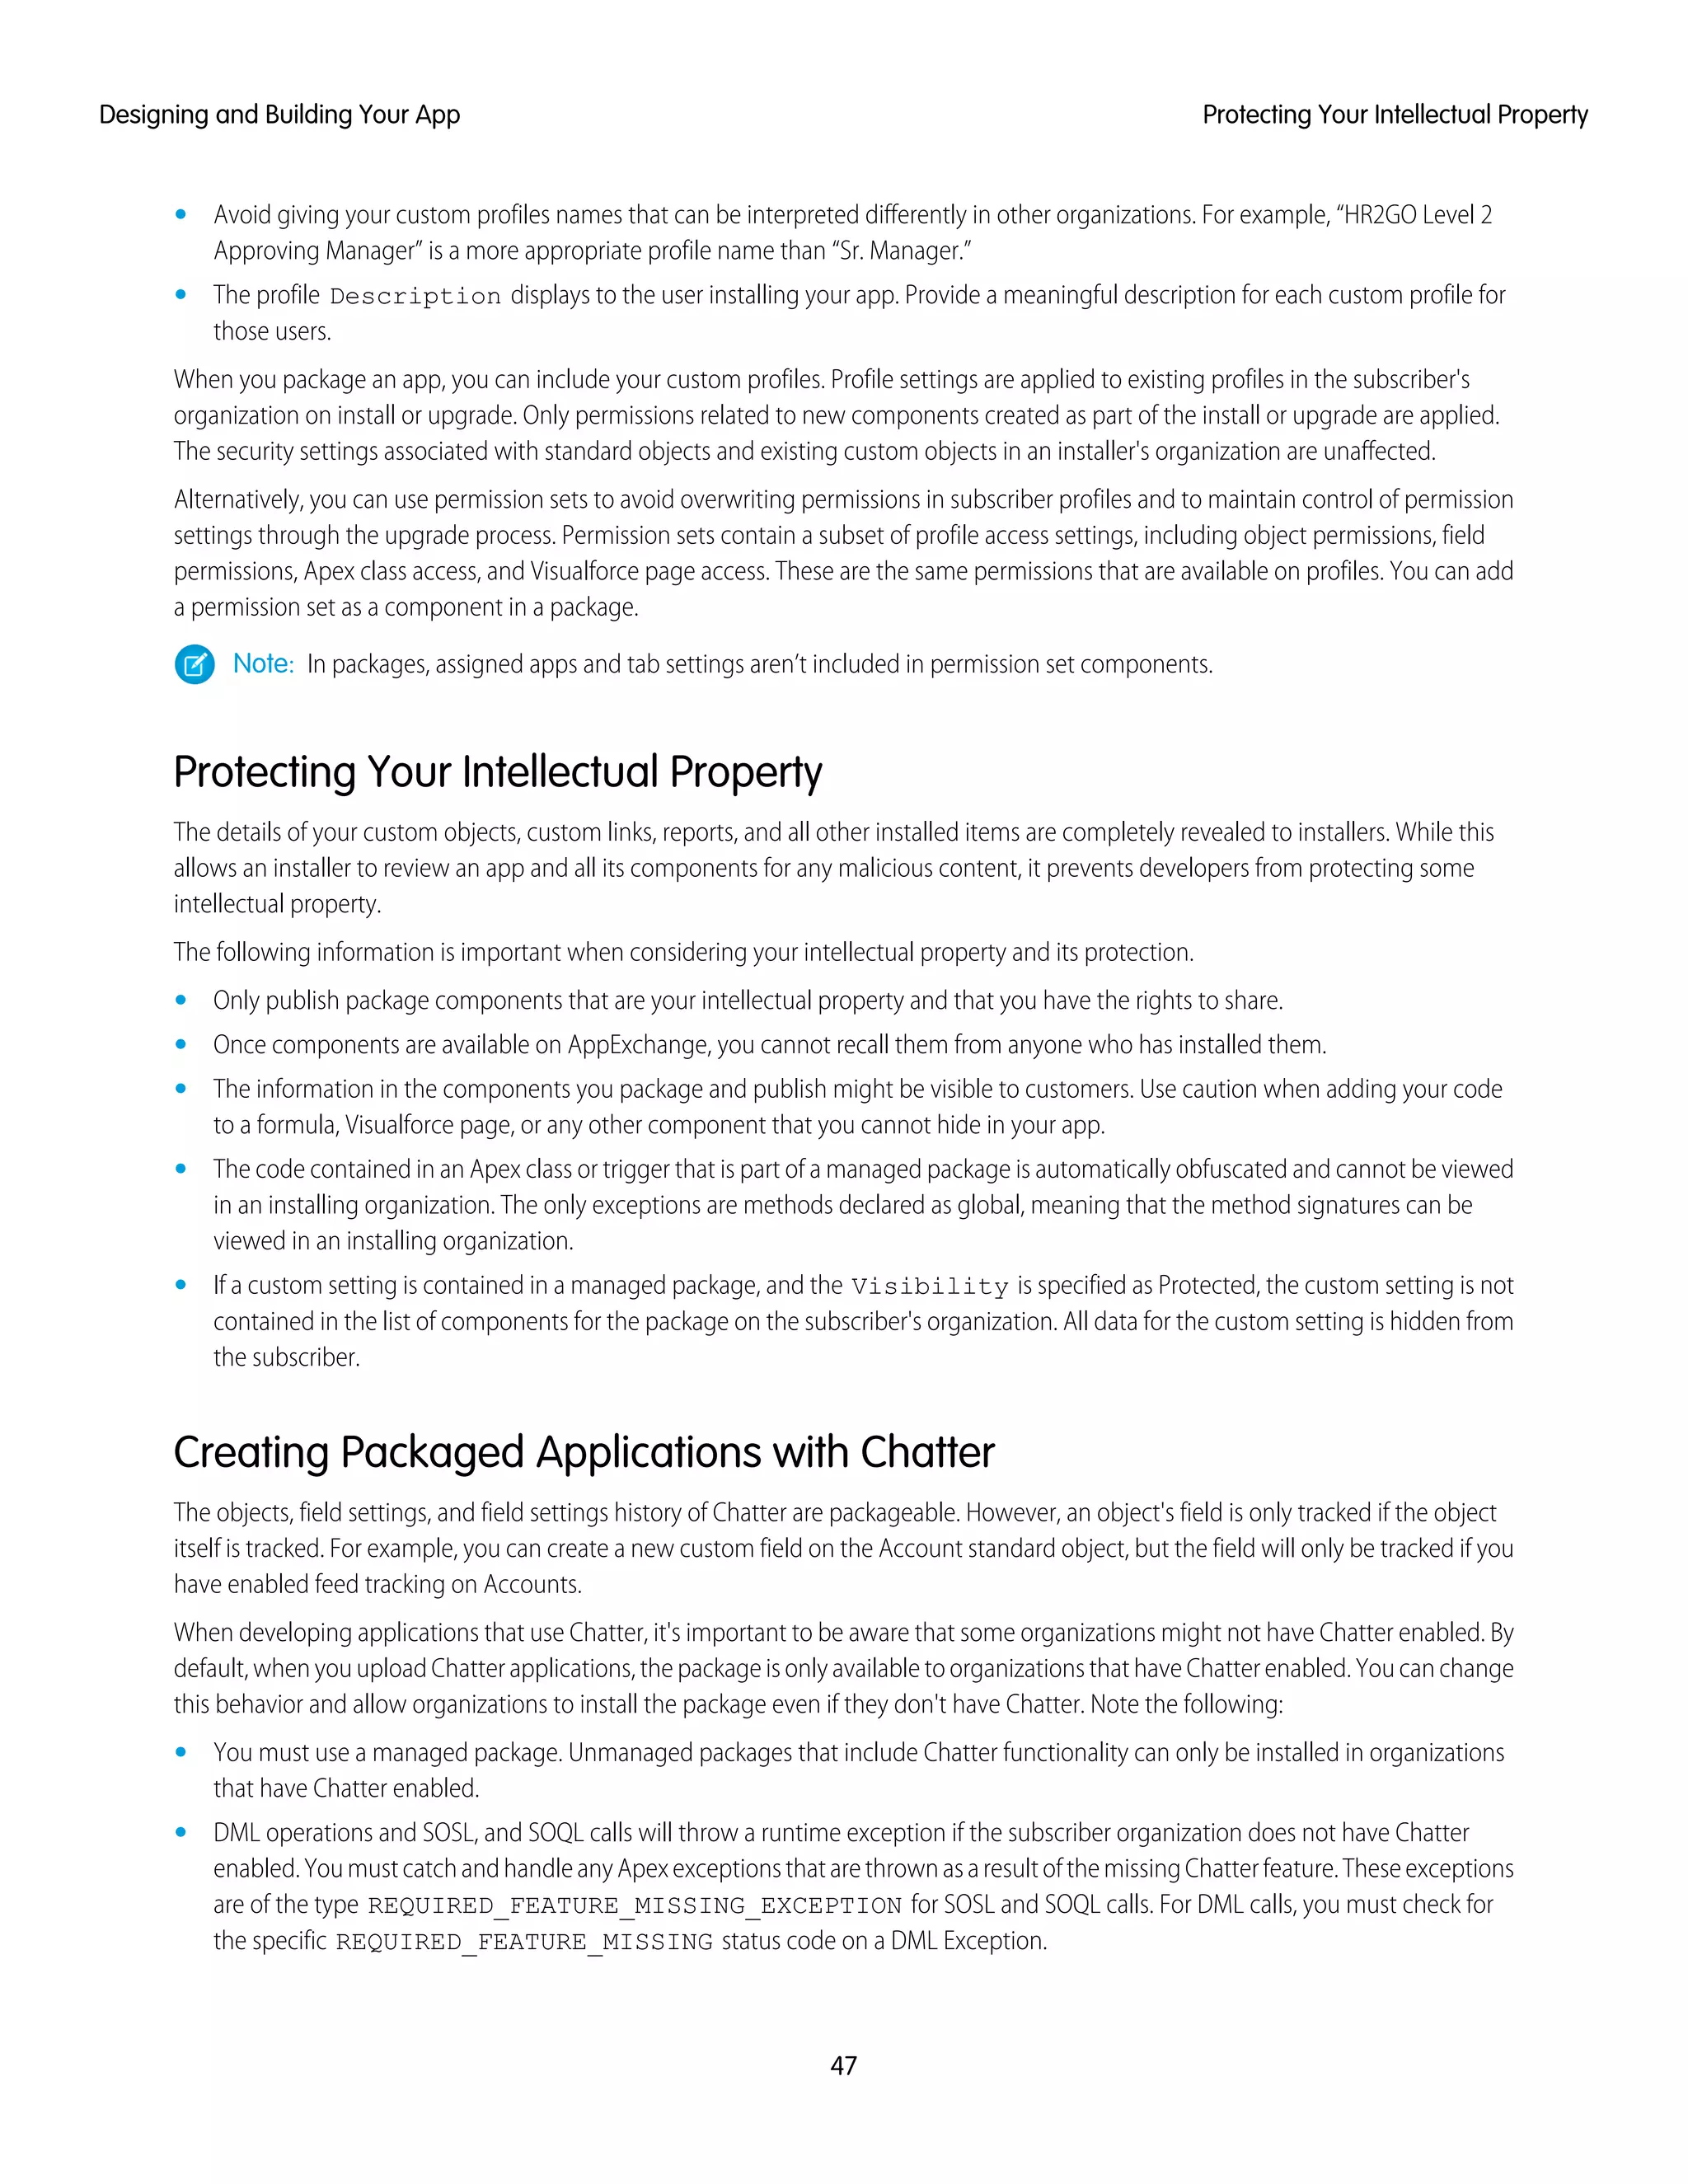
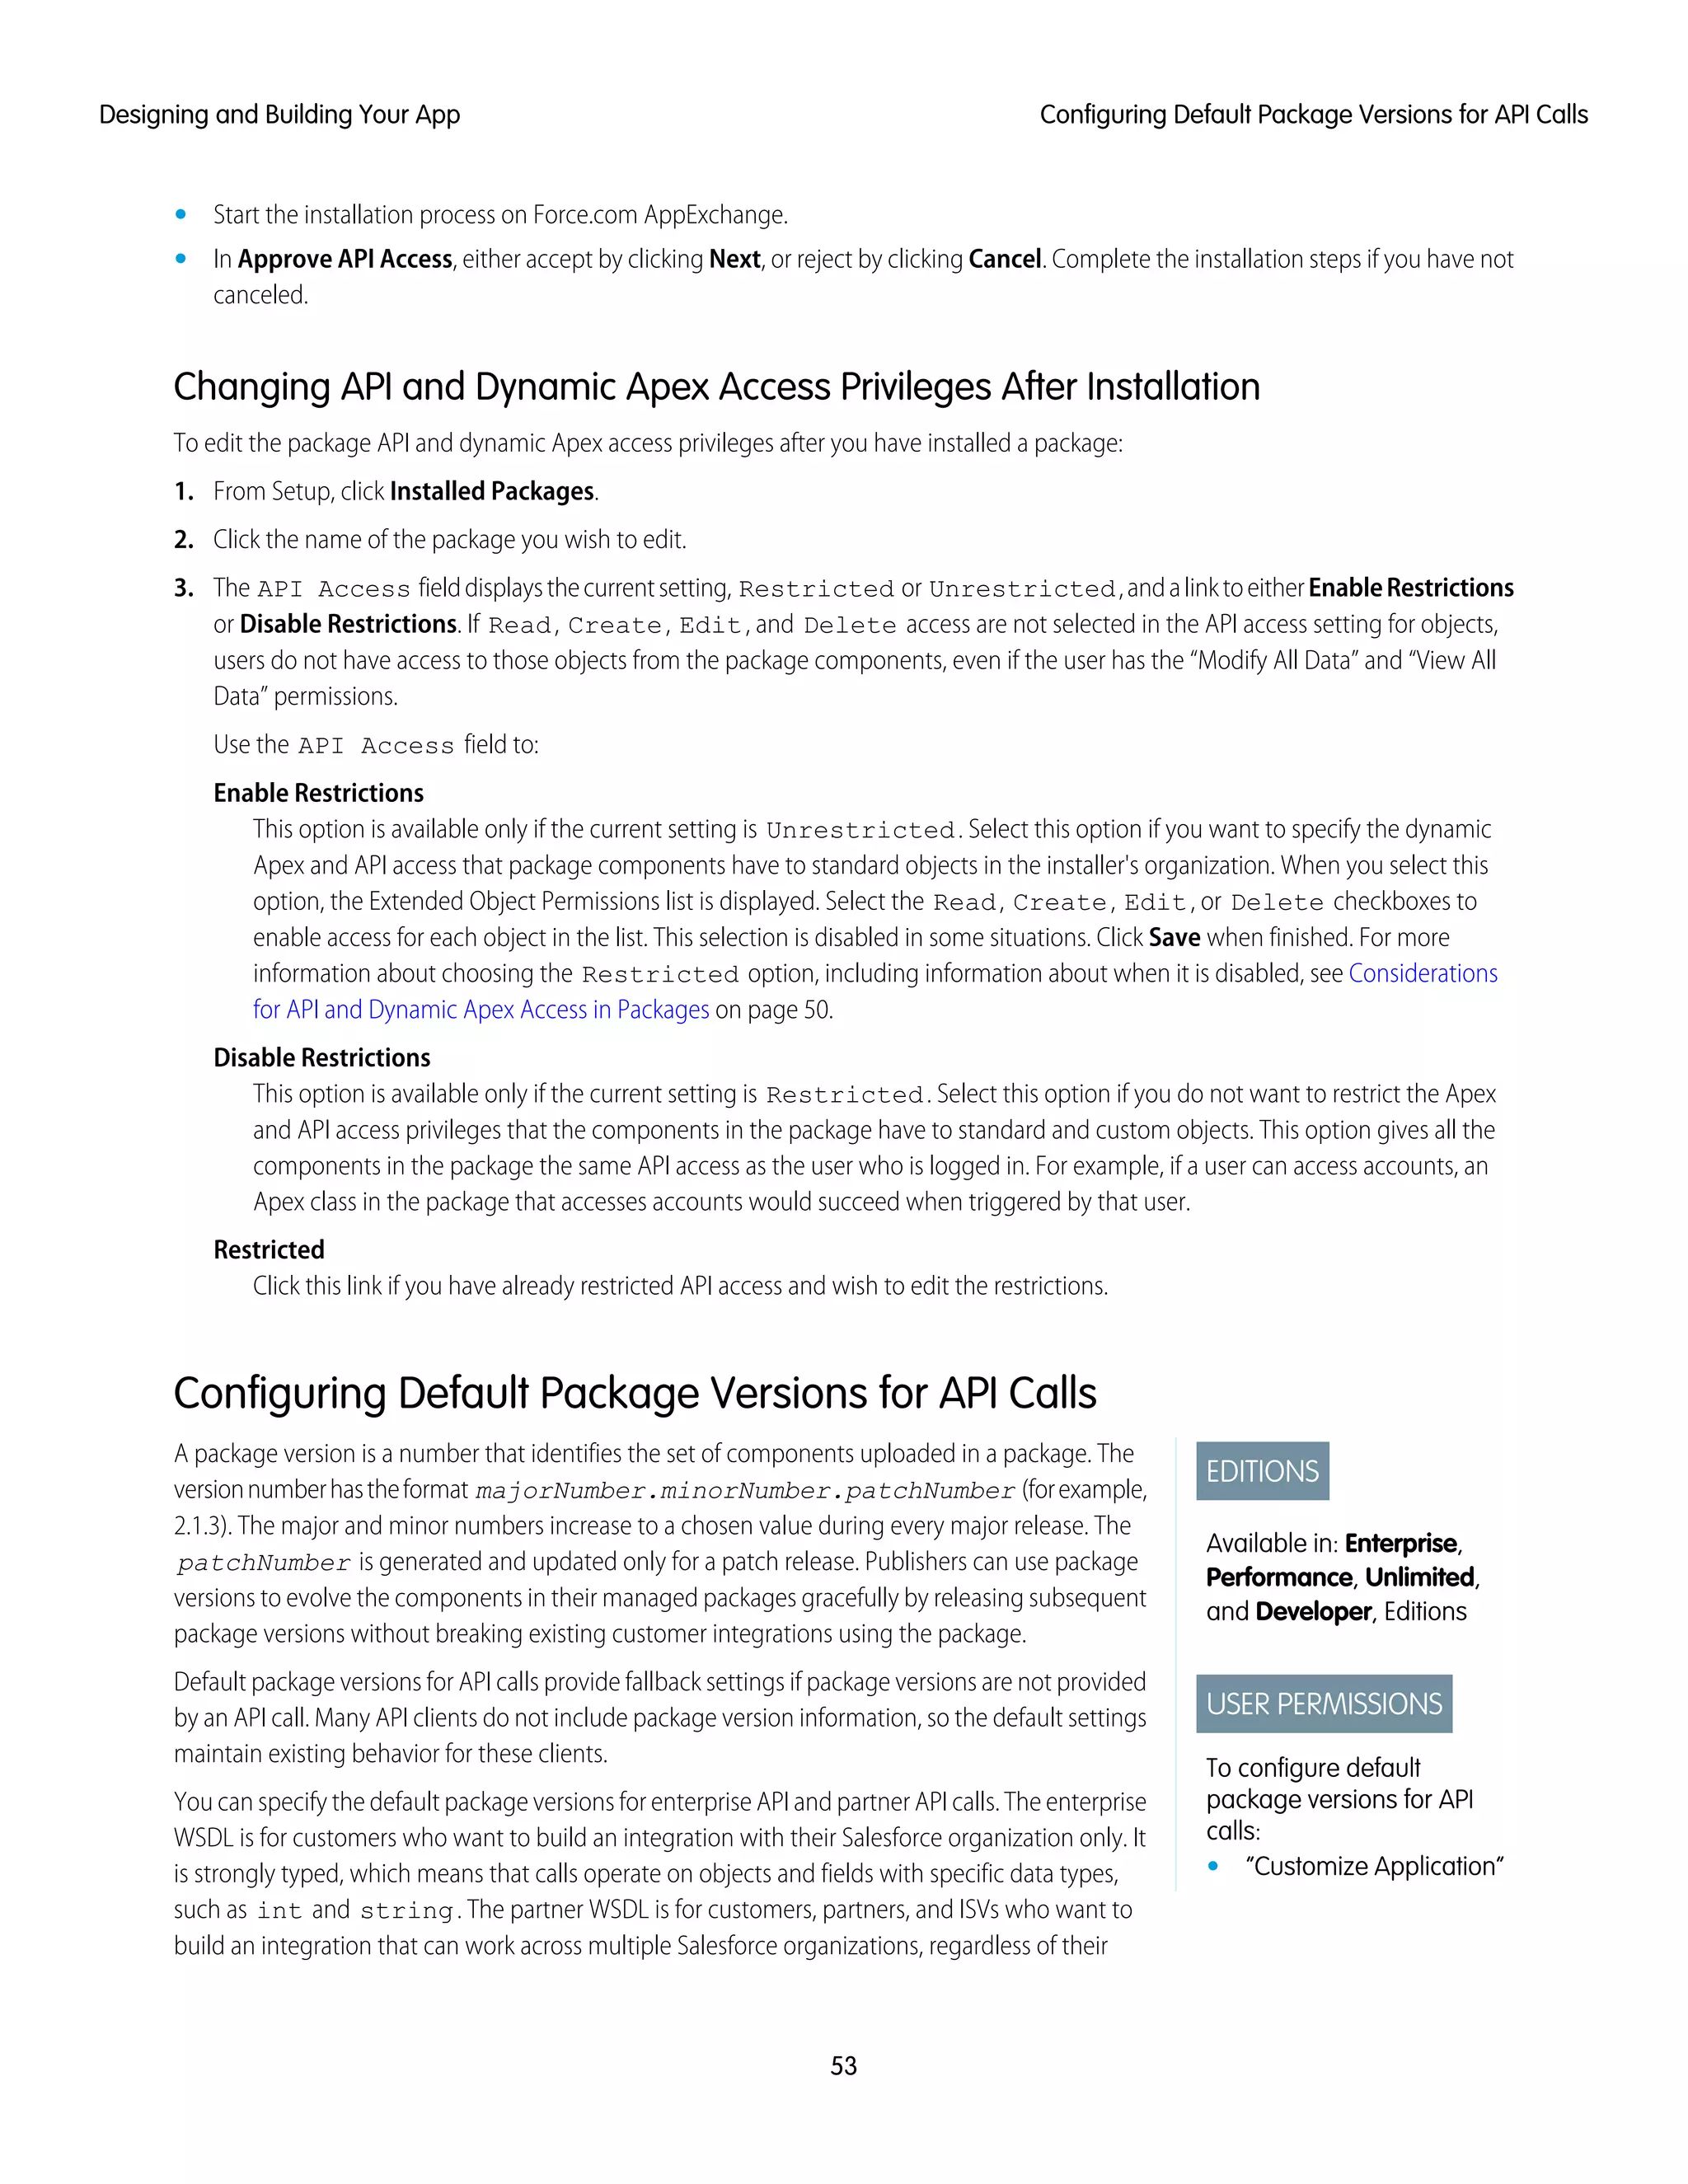
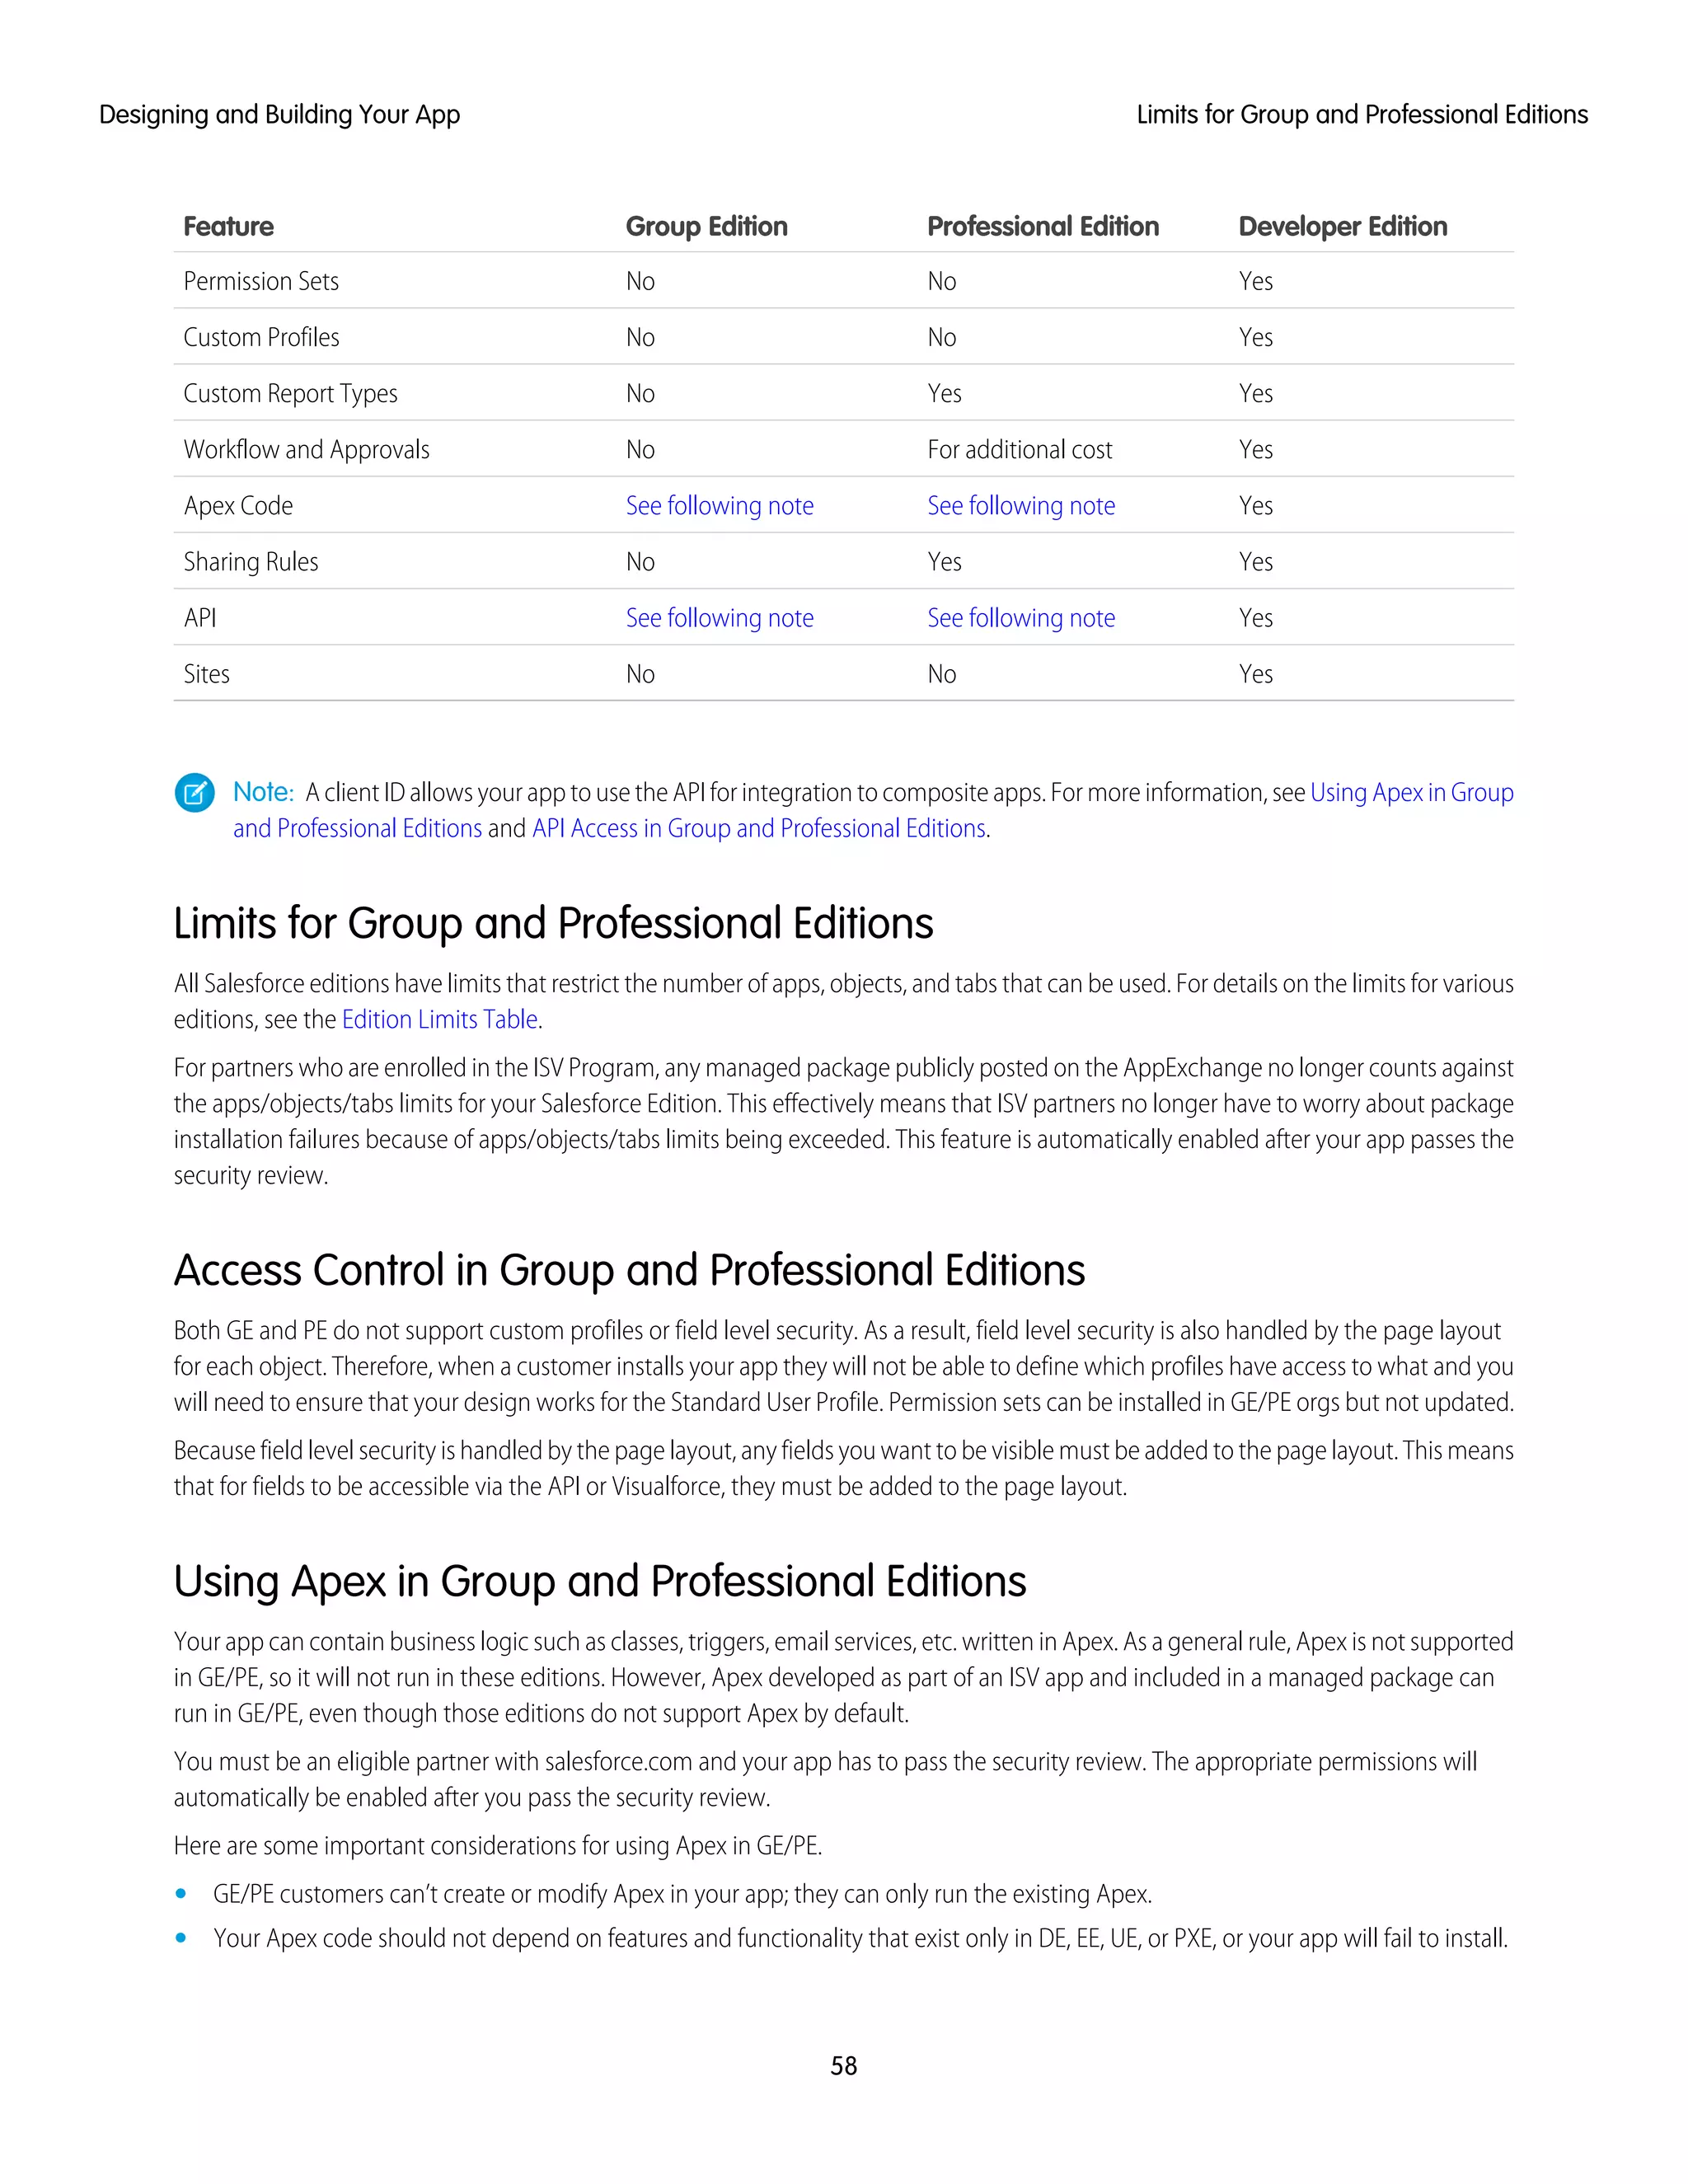
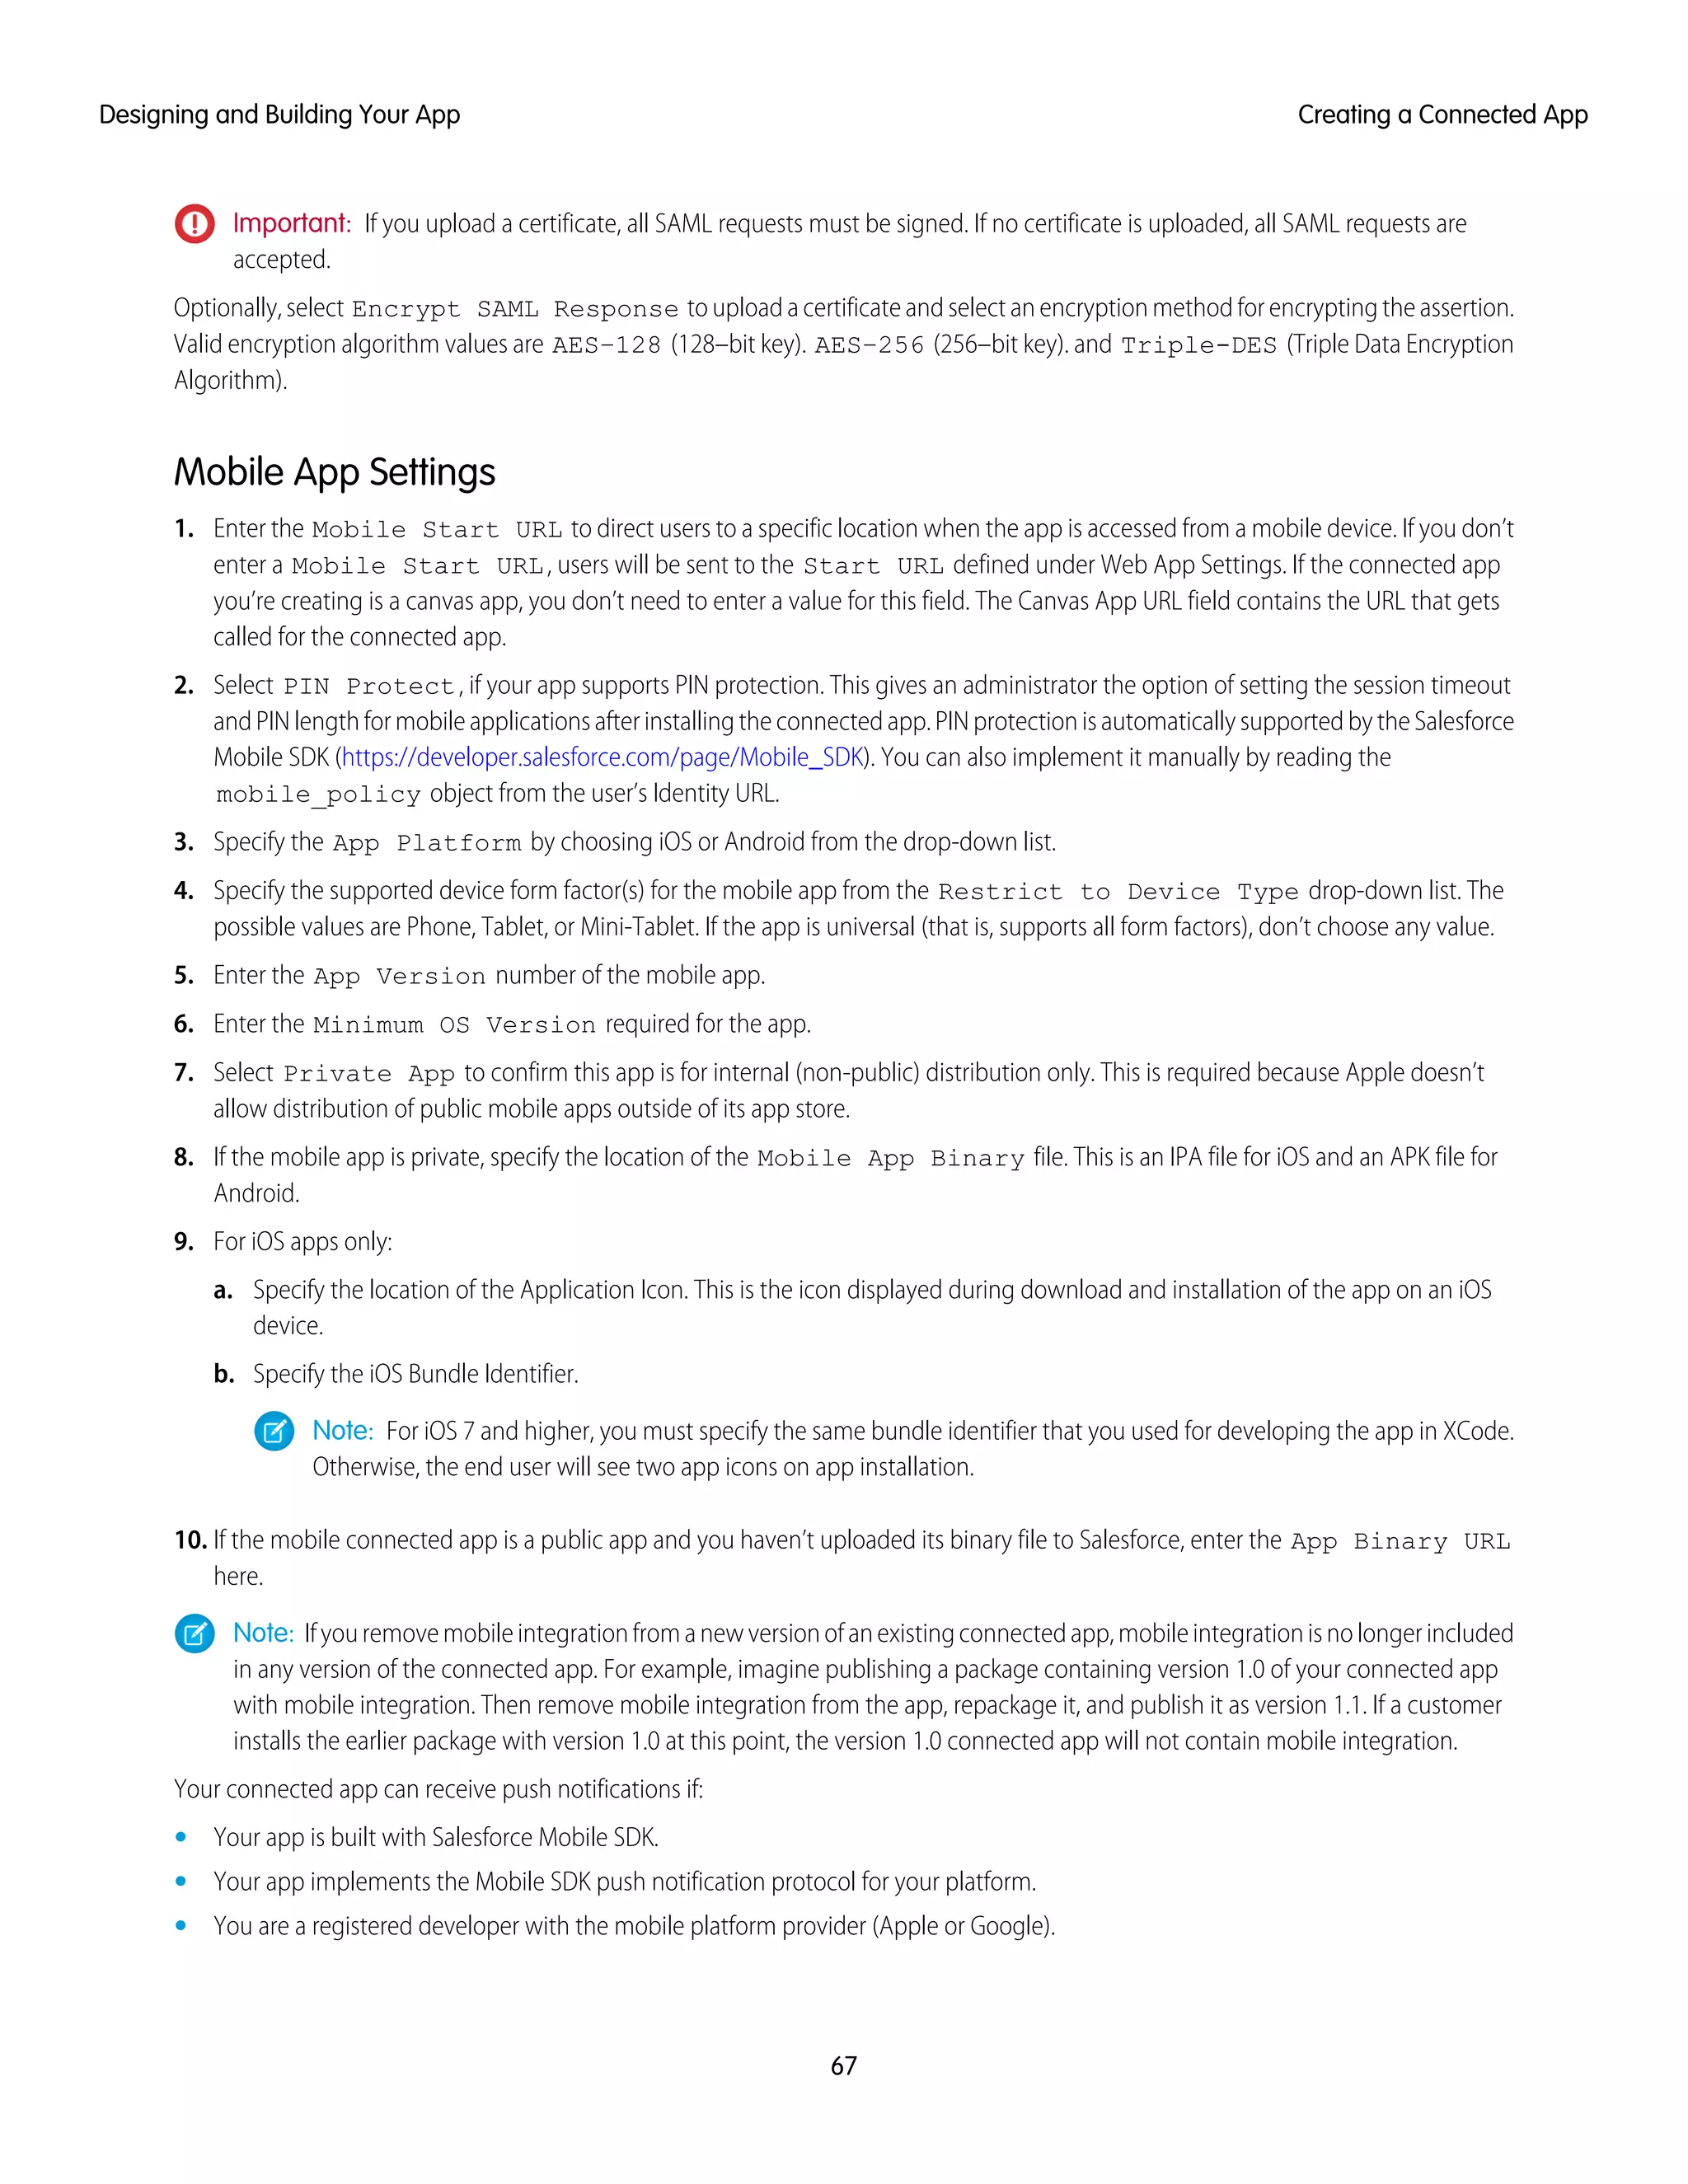
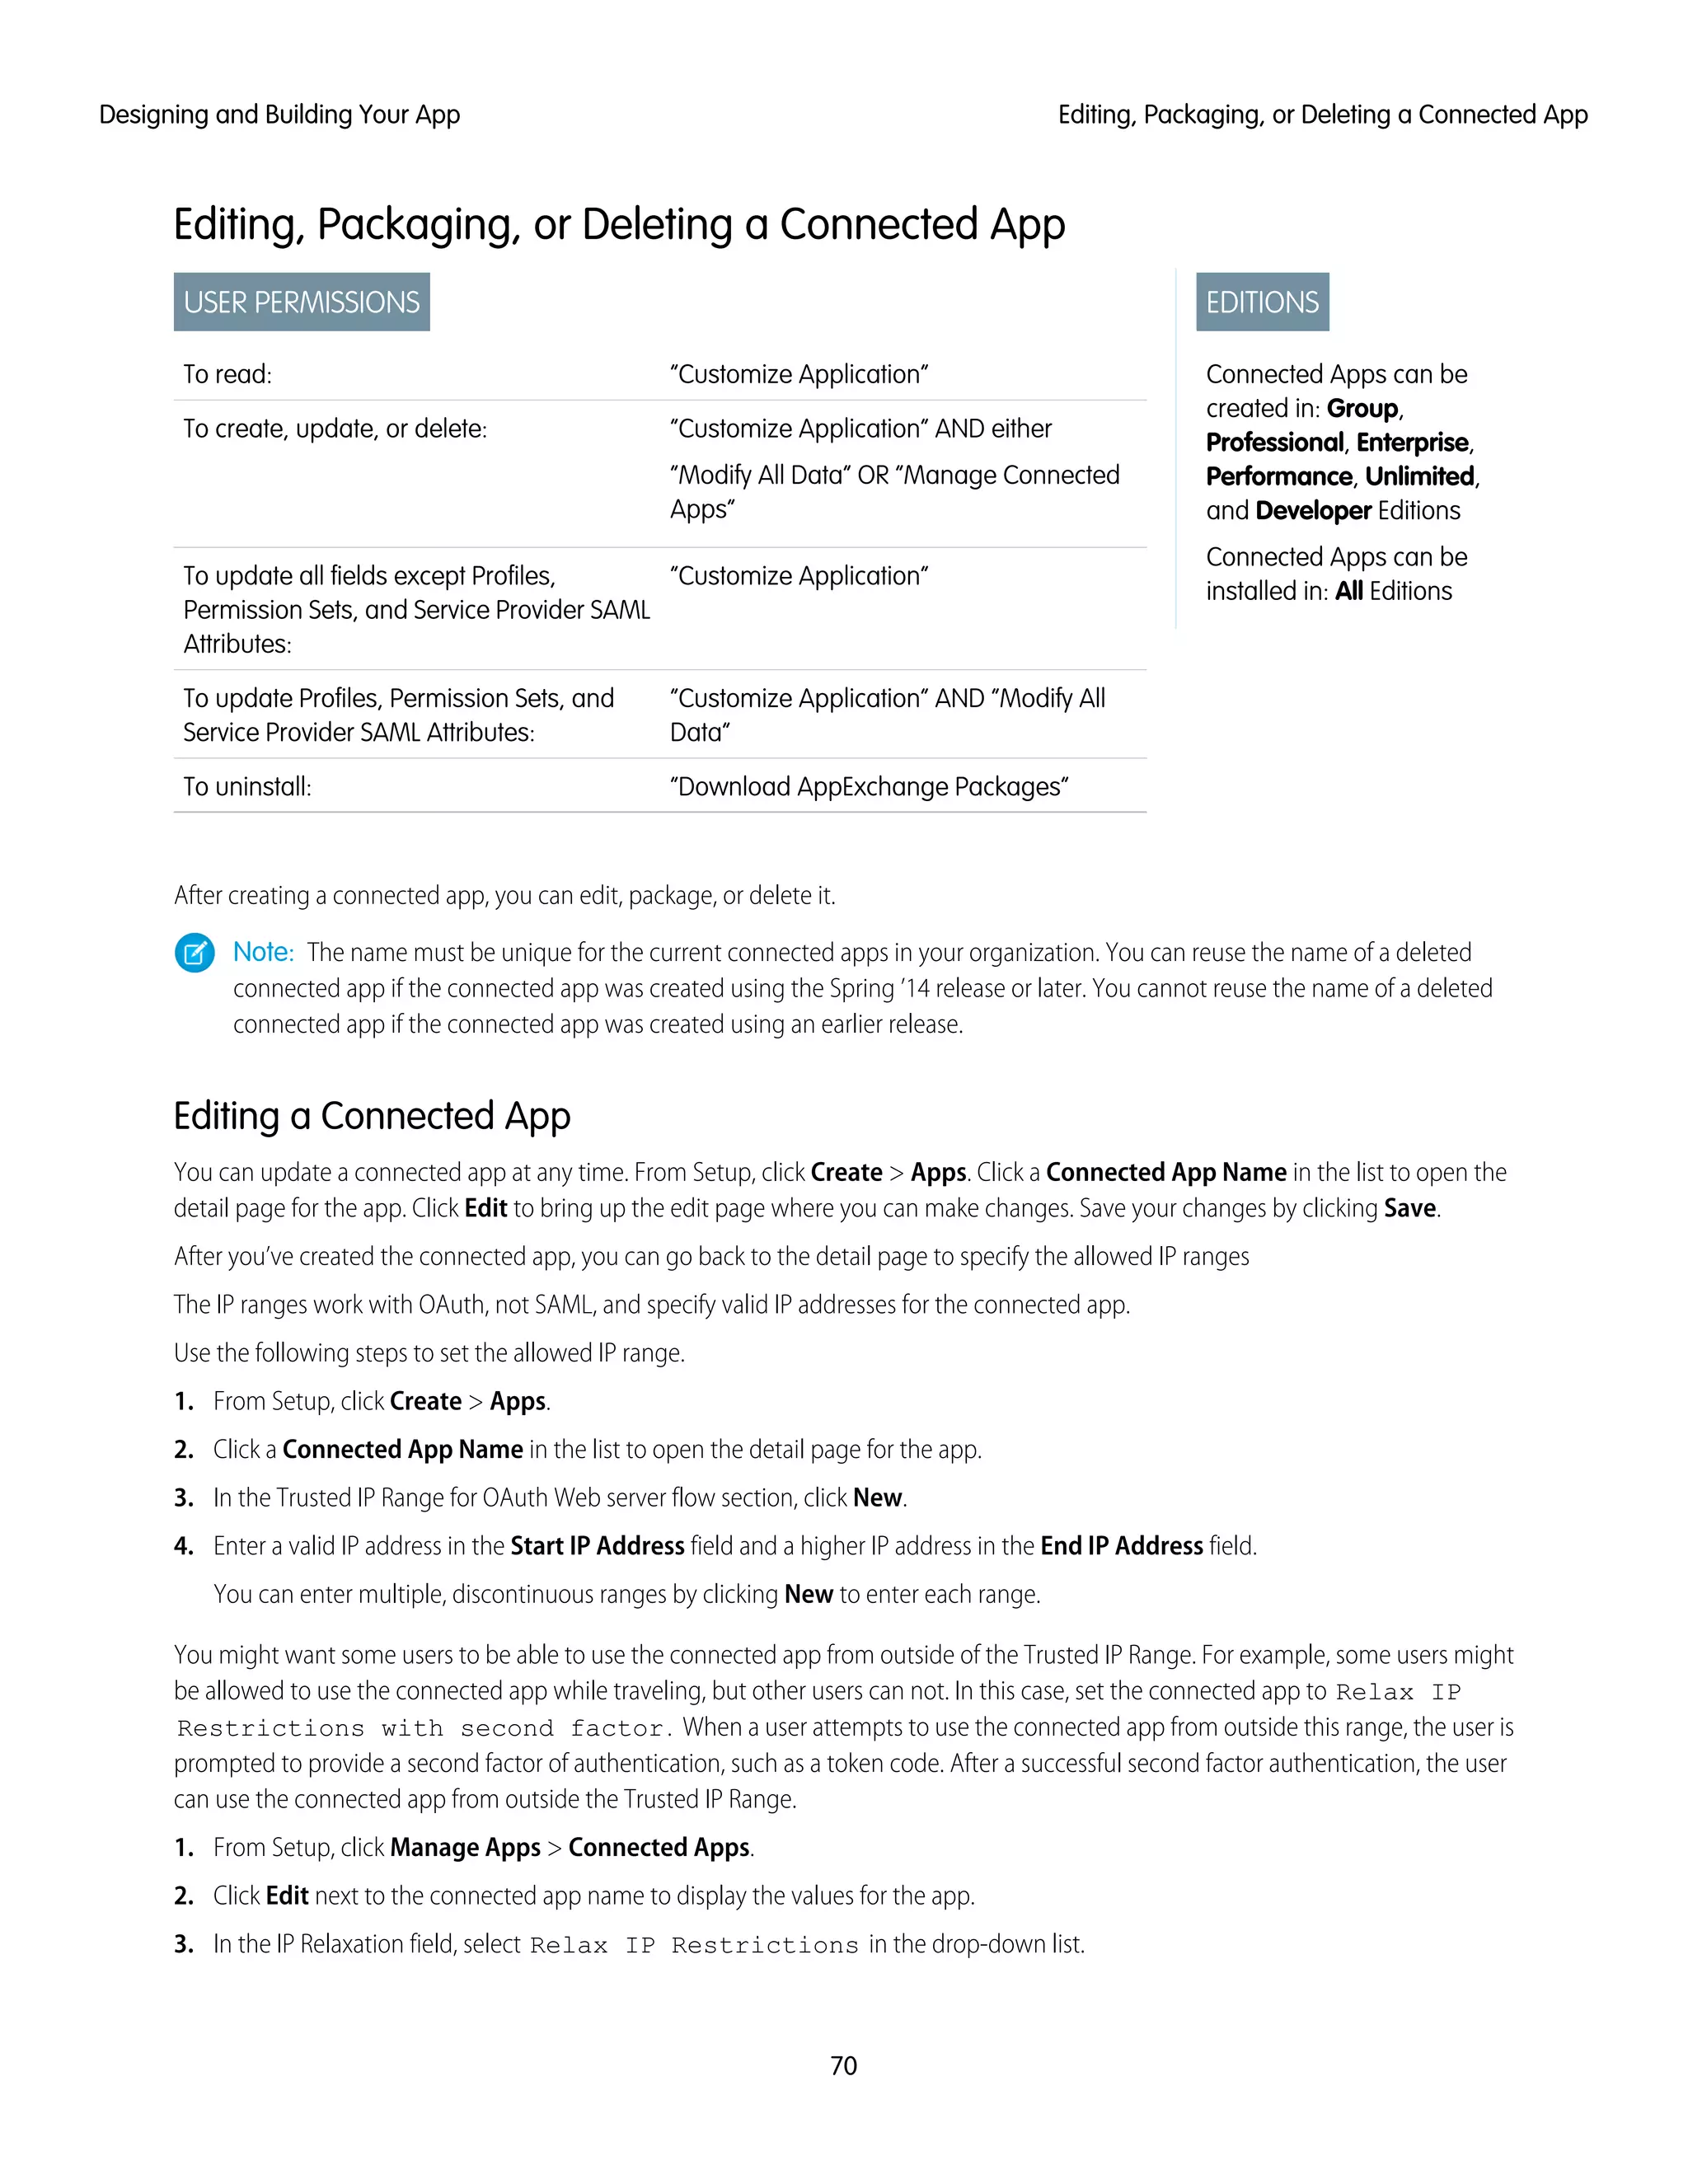
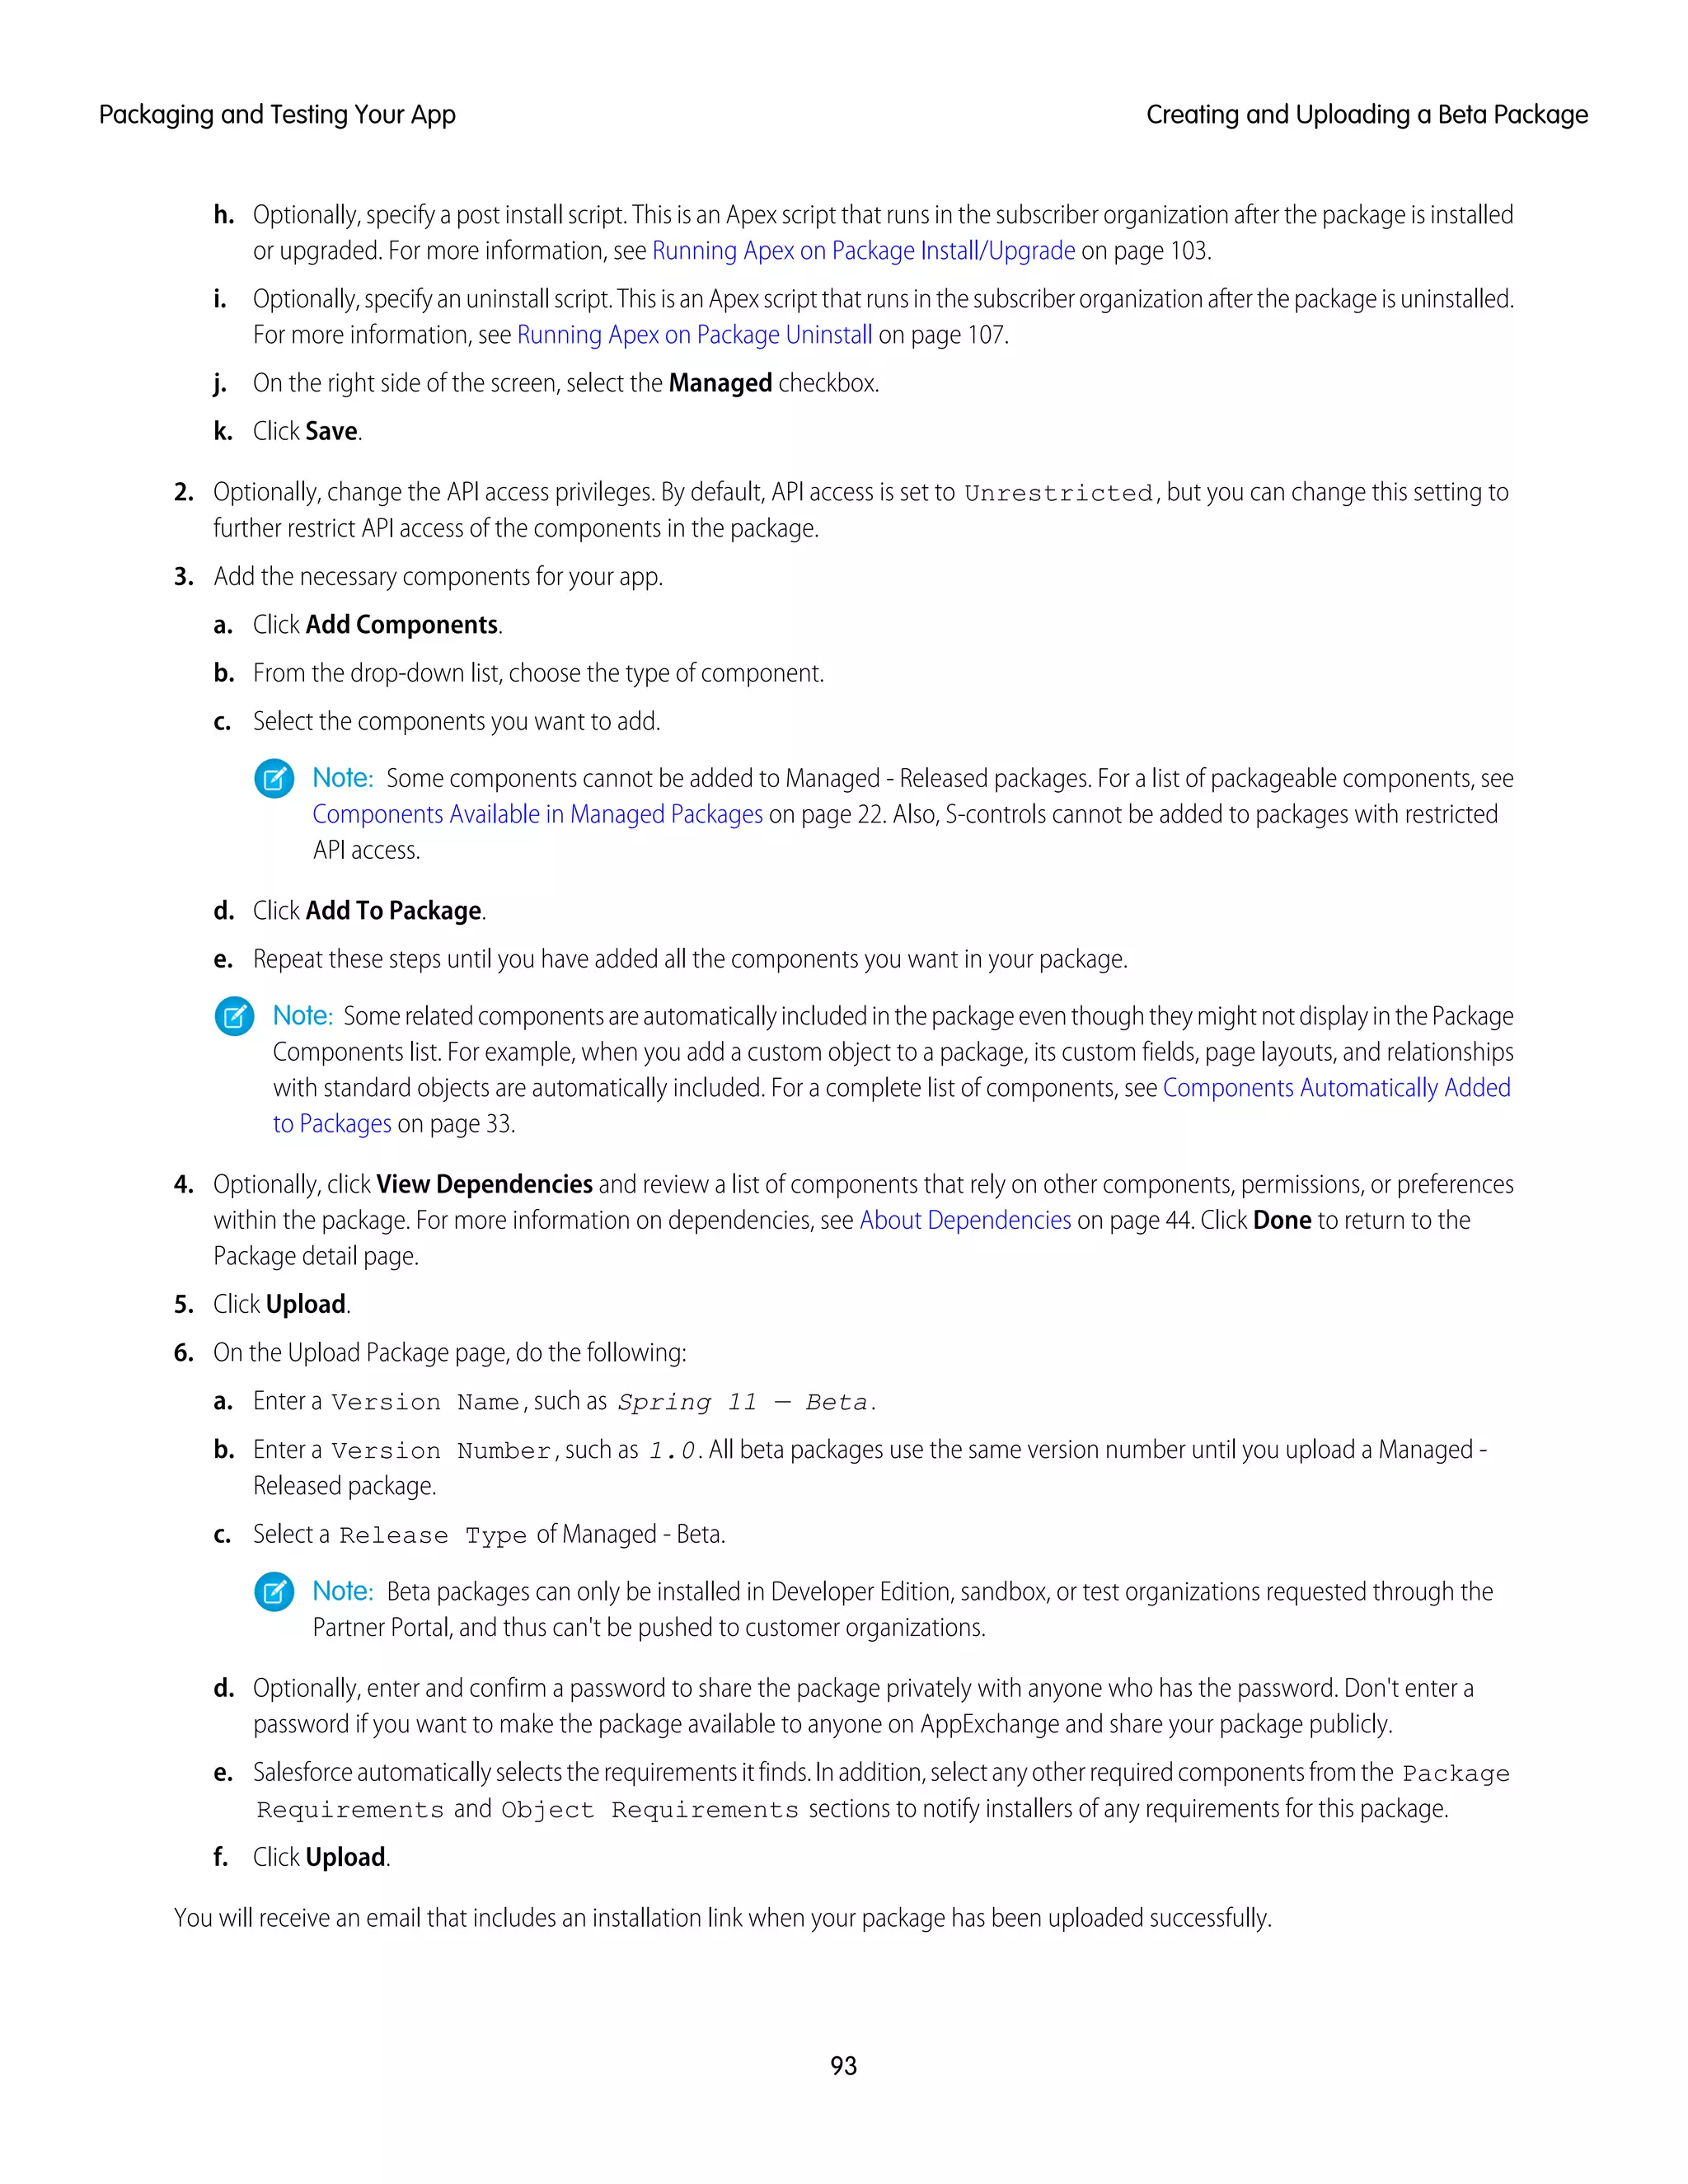
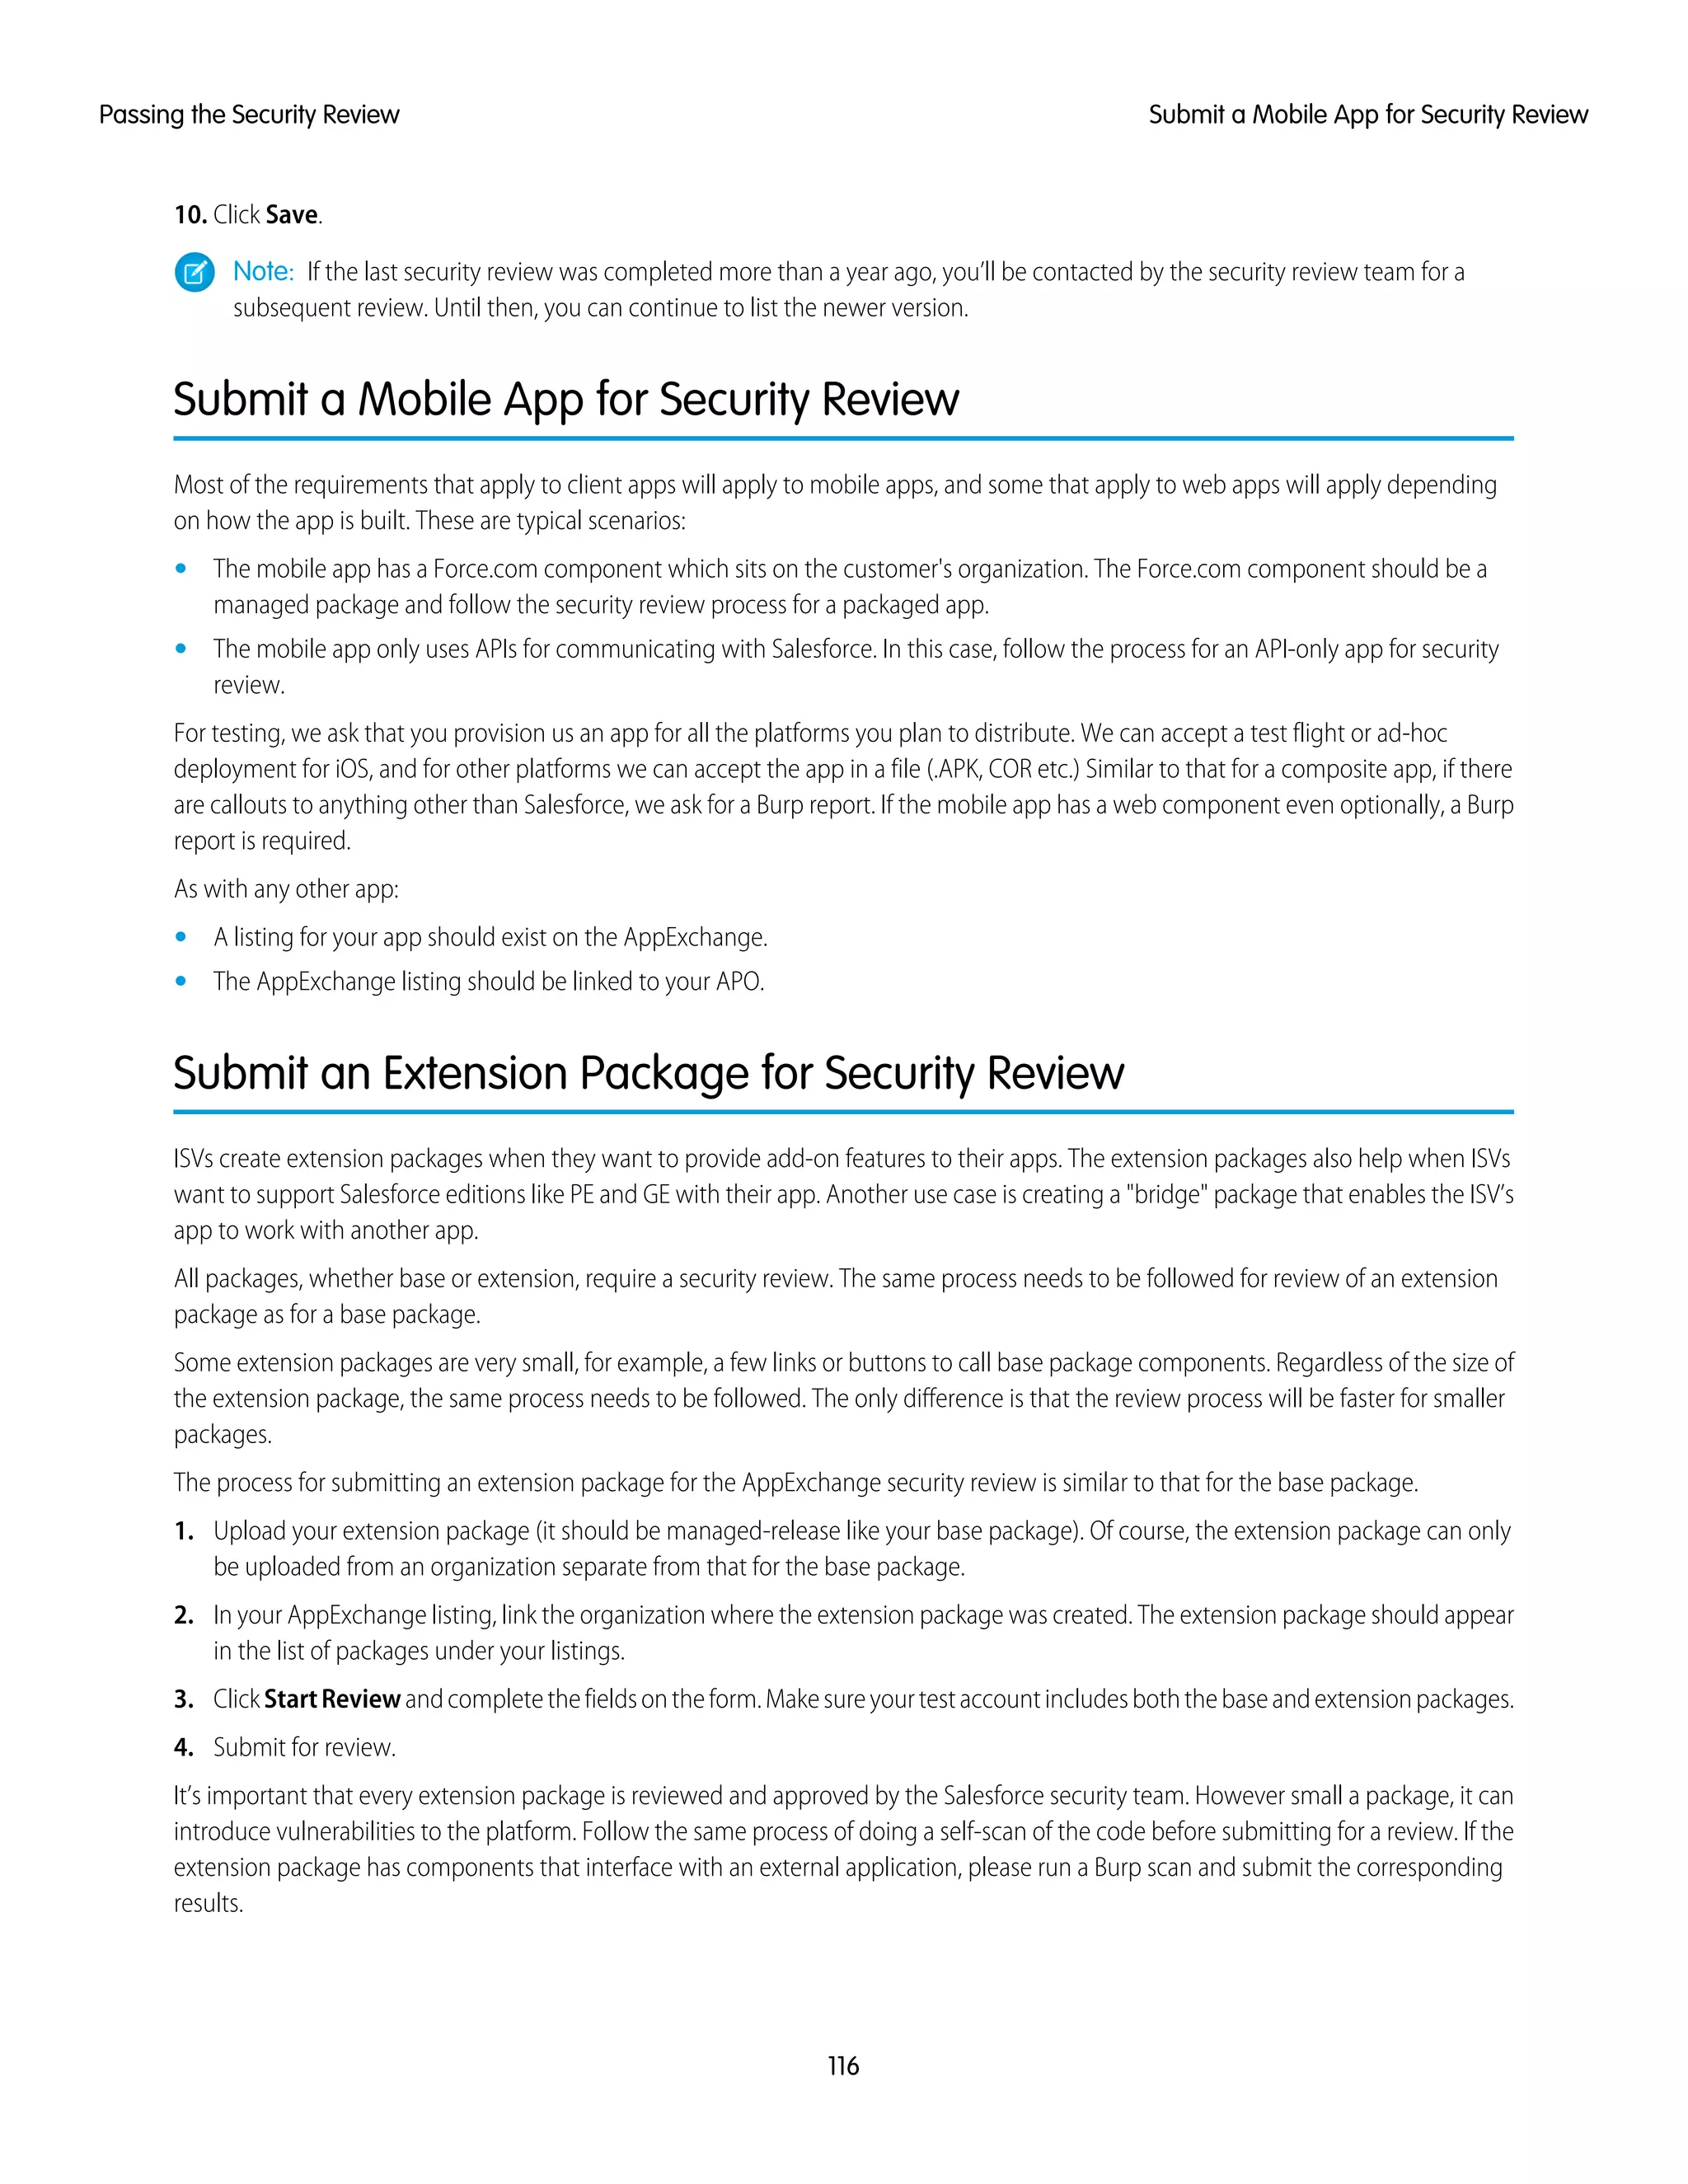
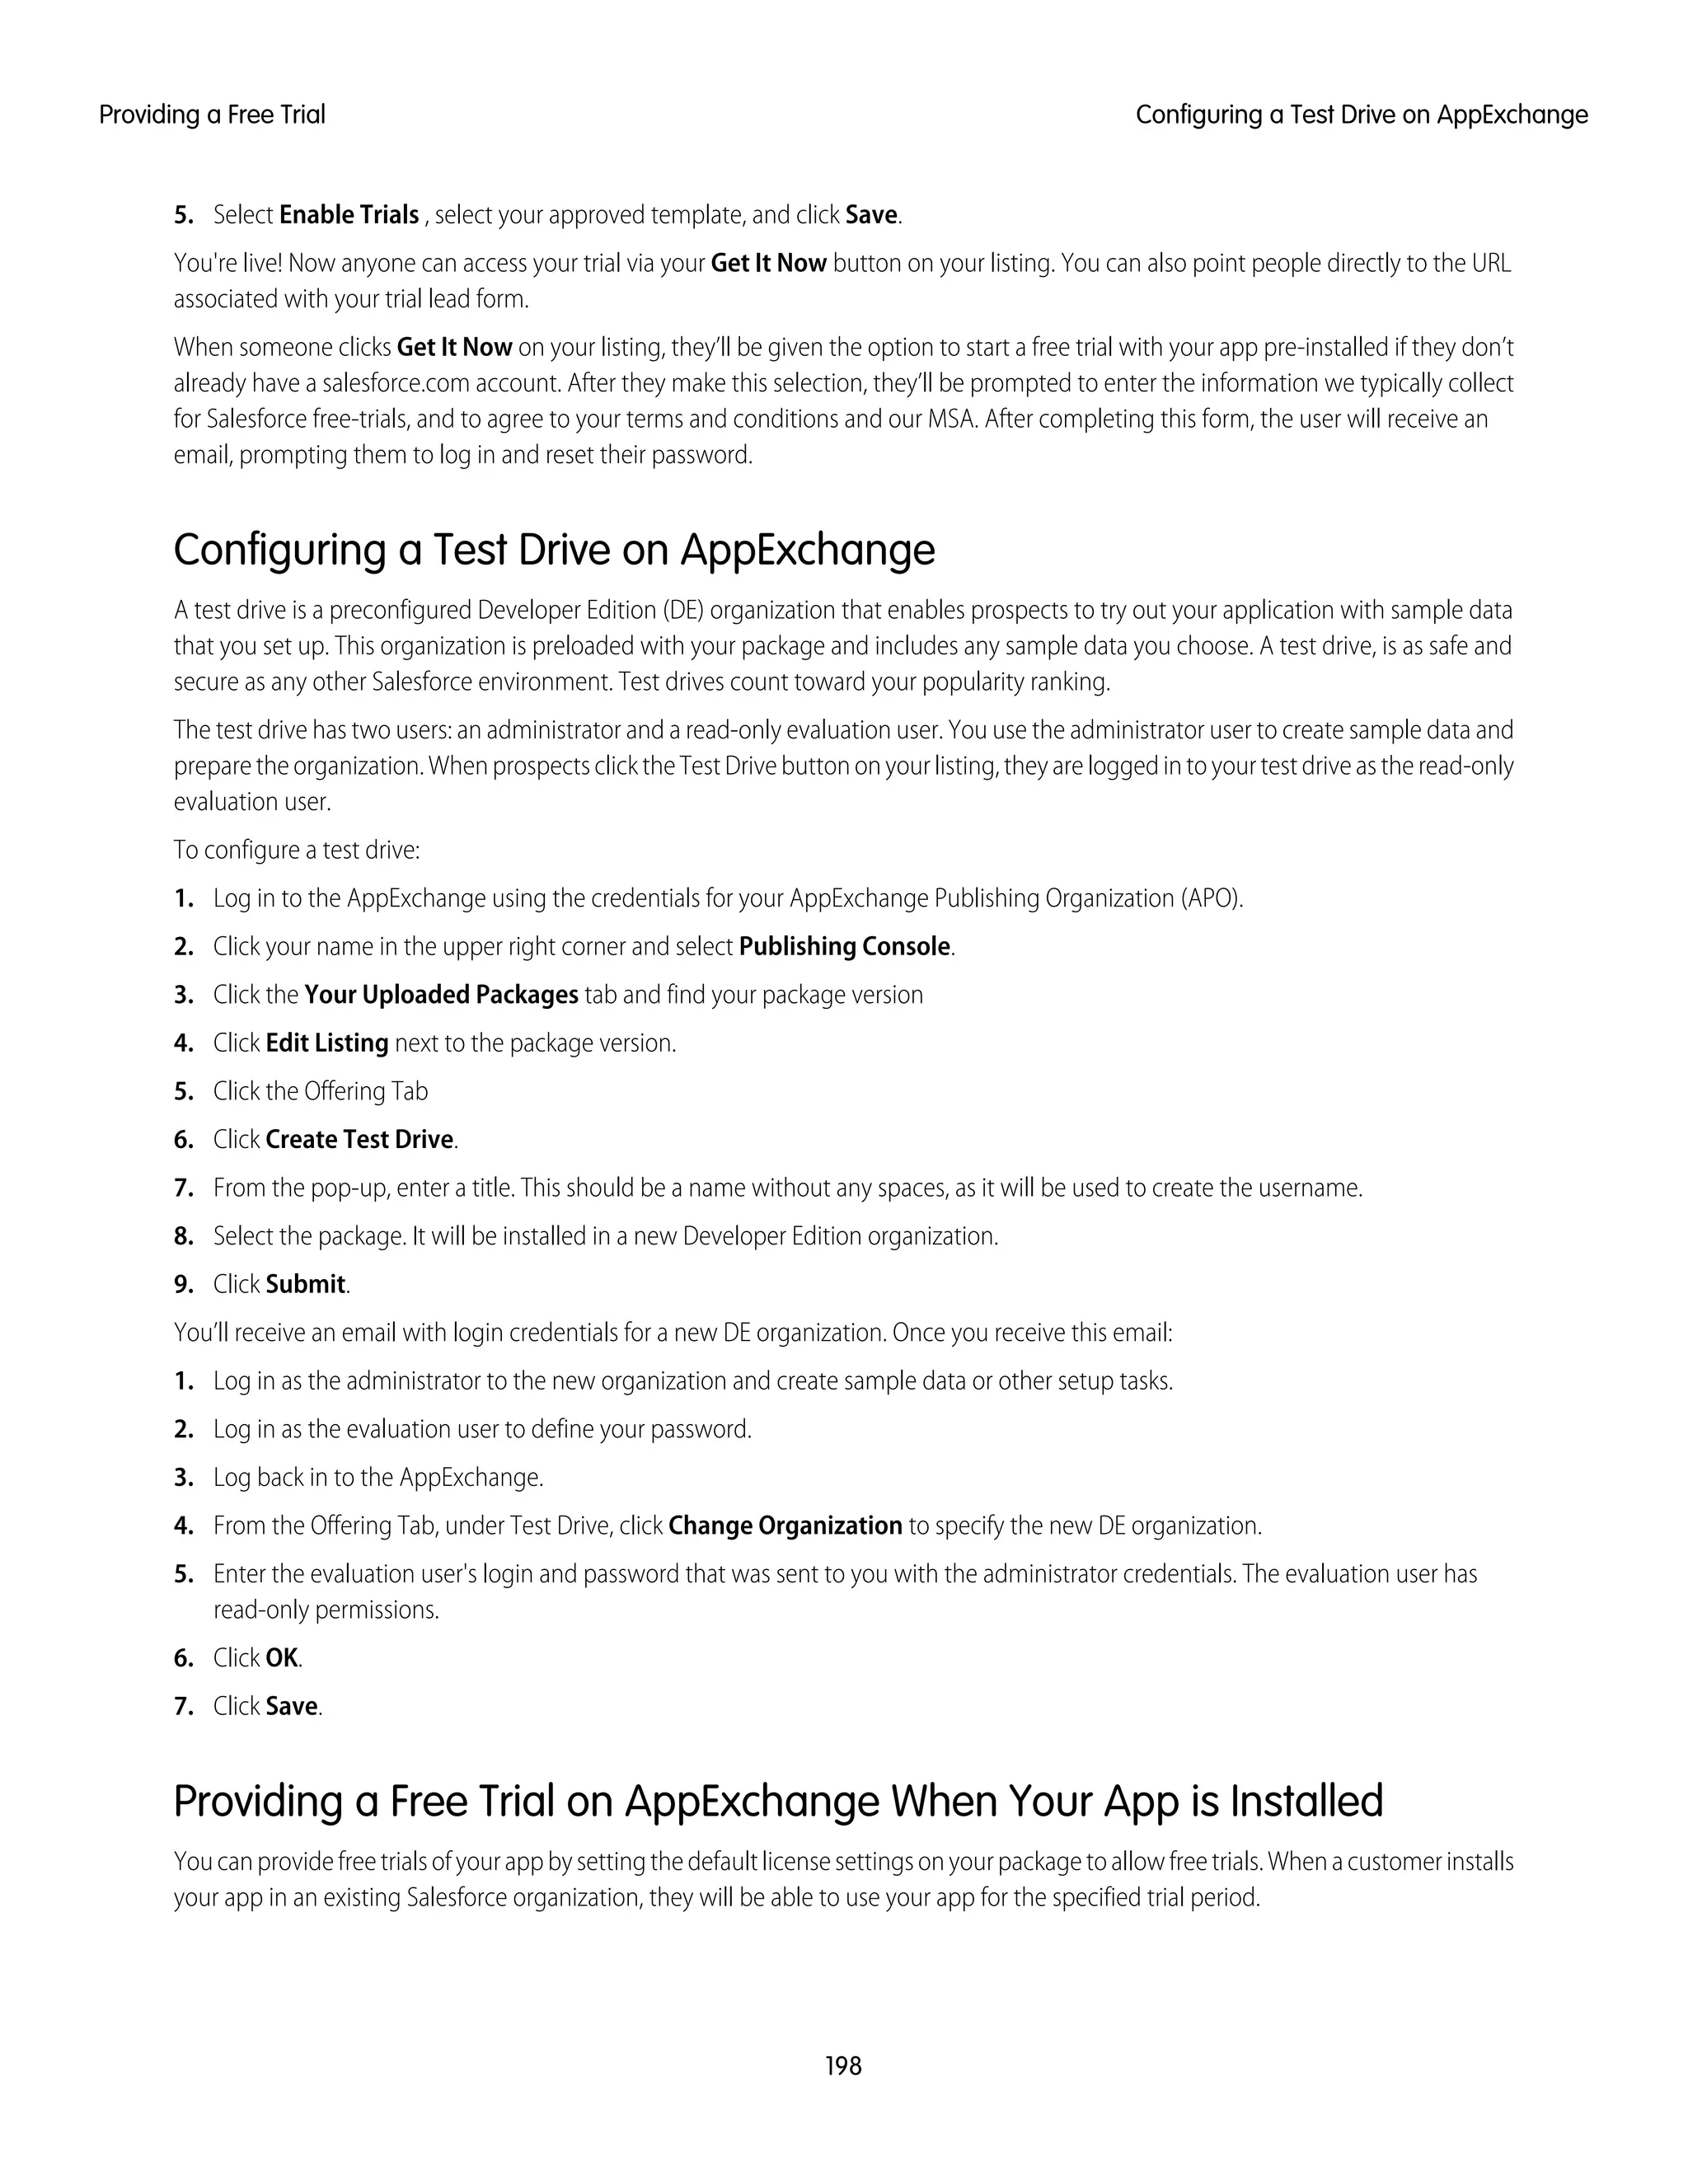
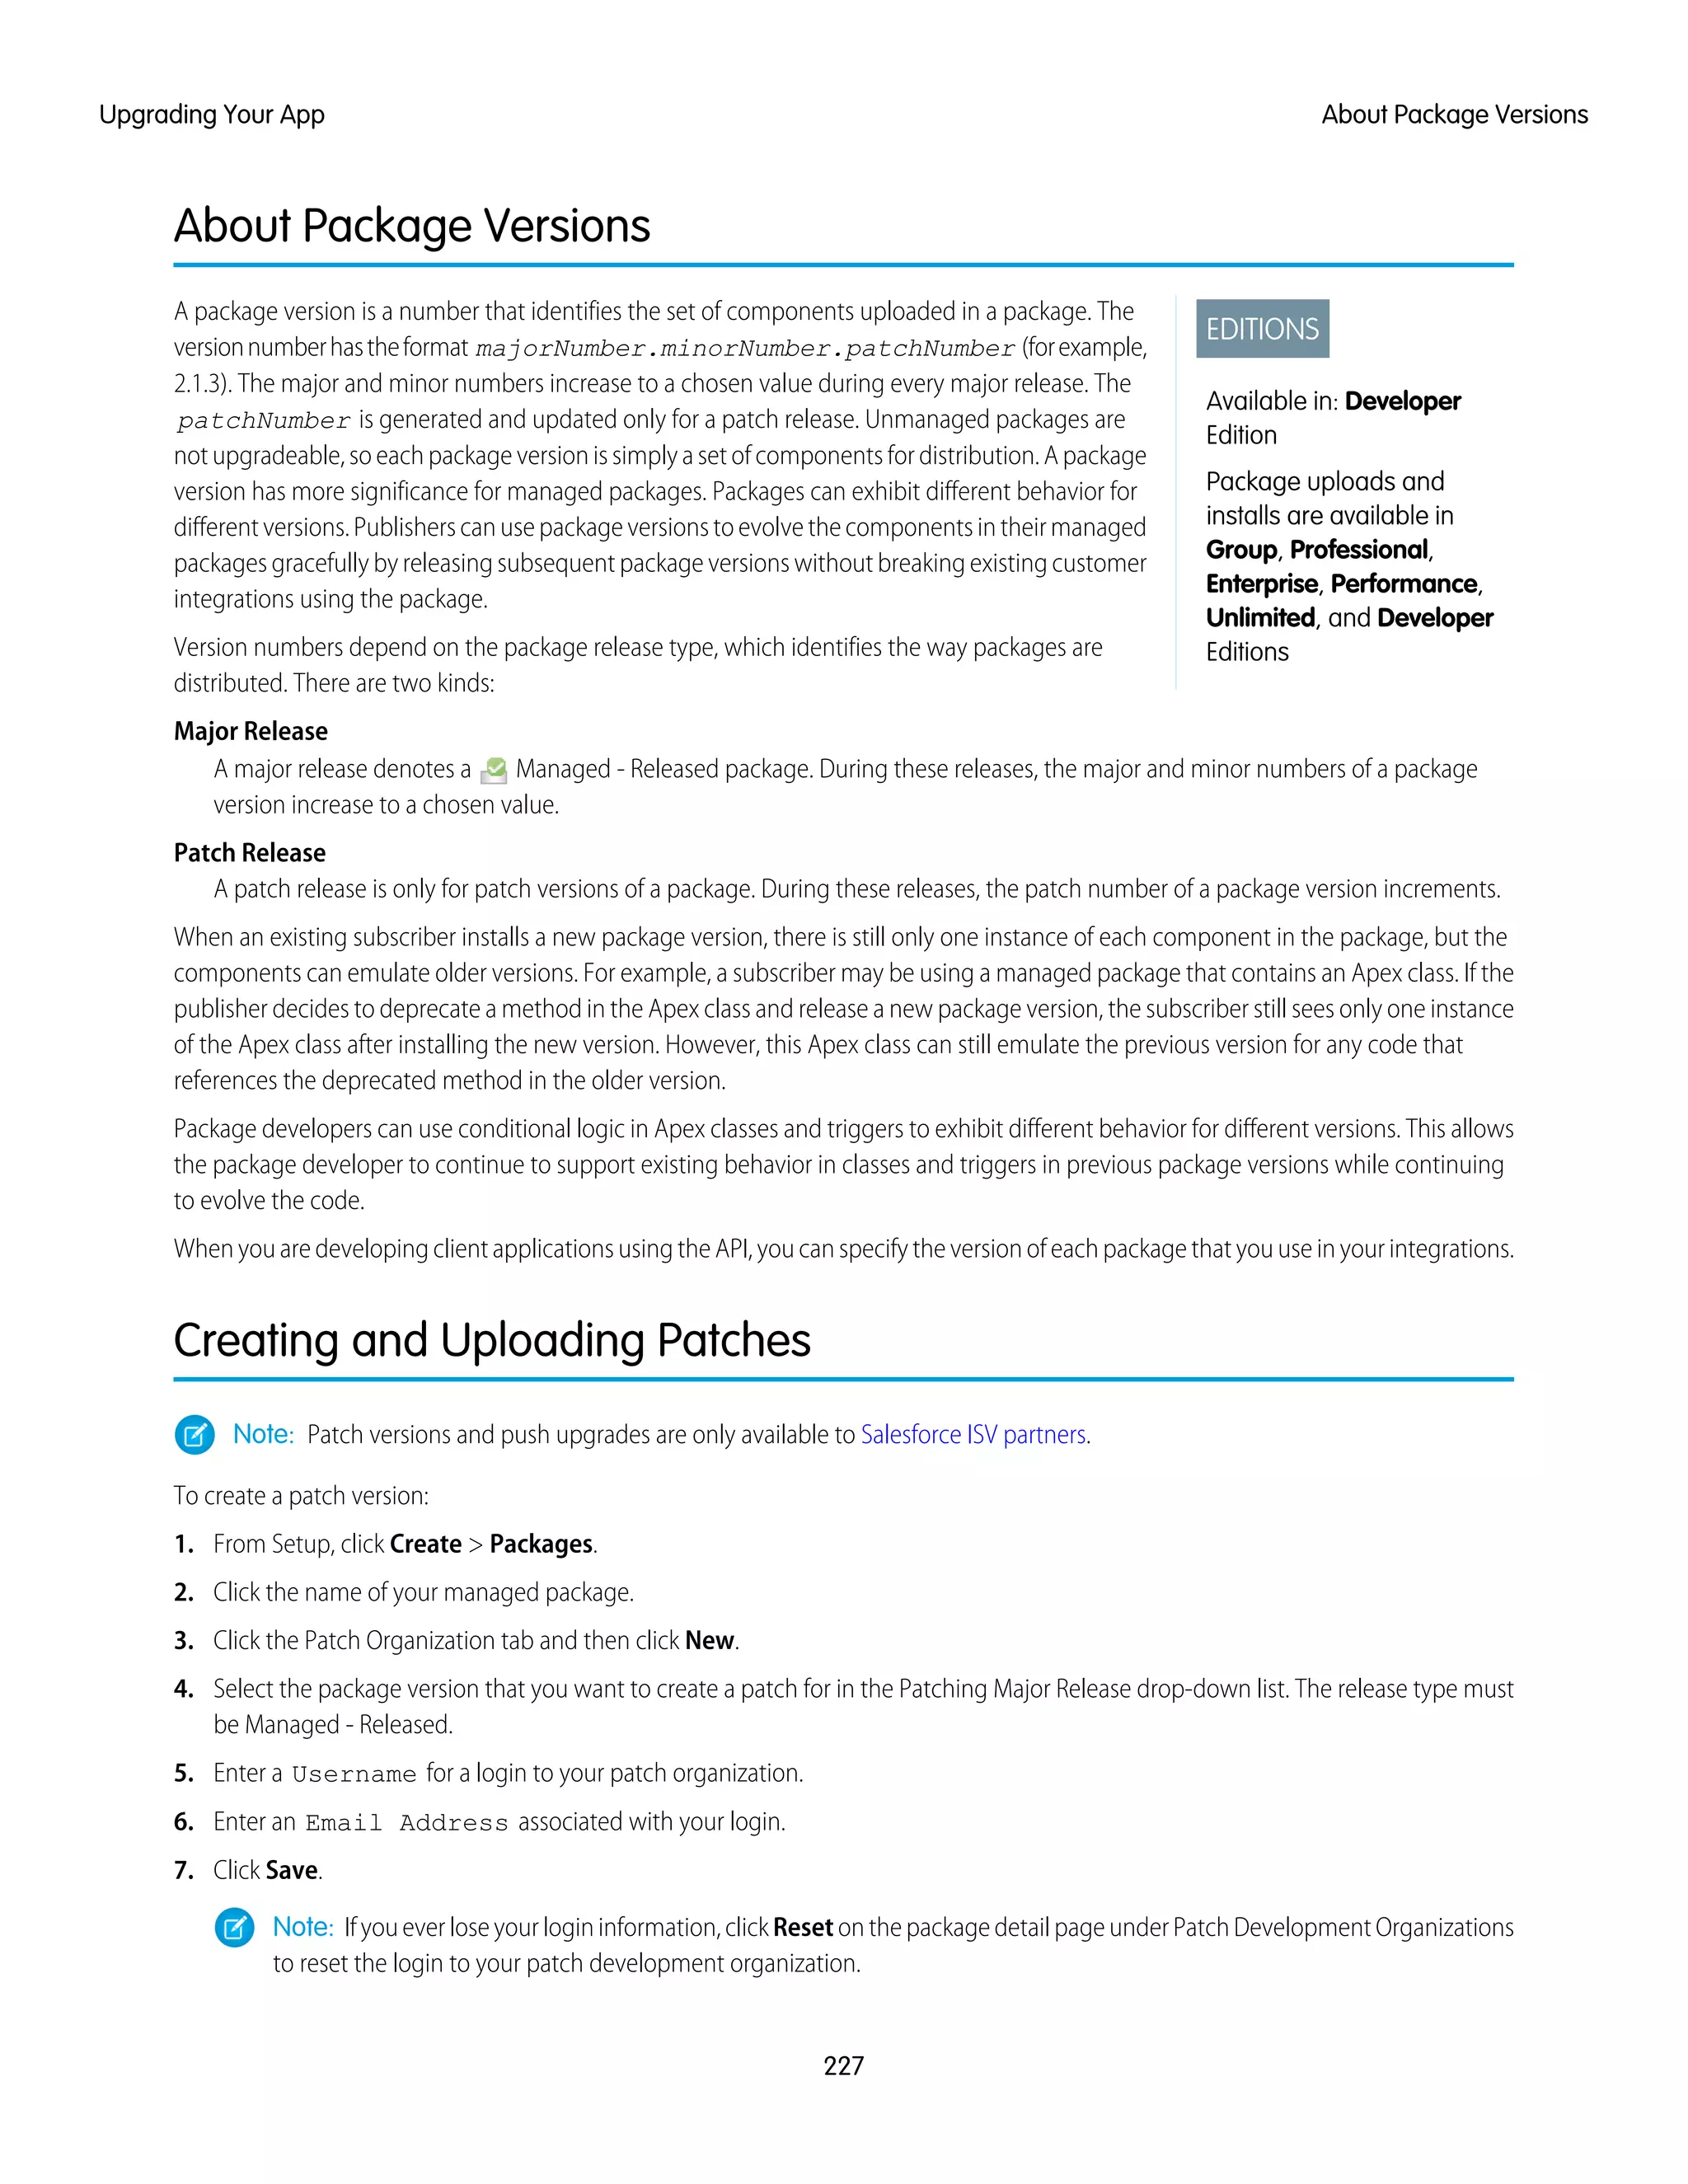
![Example of an Uninstall Script
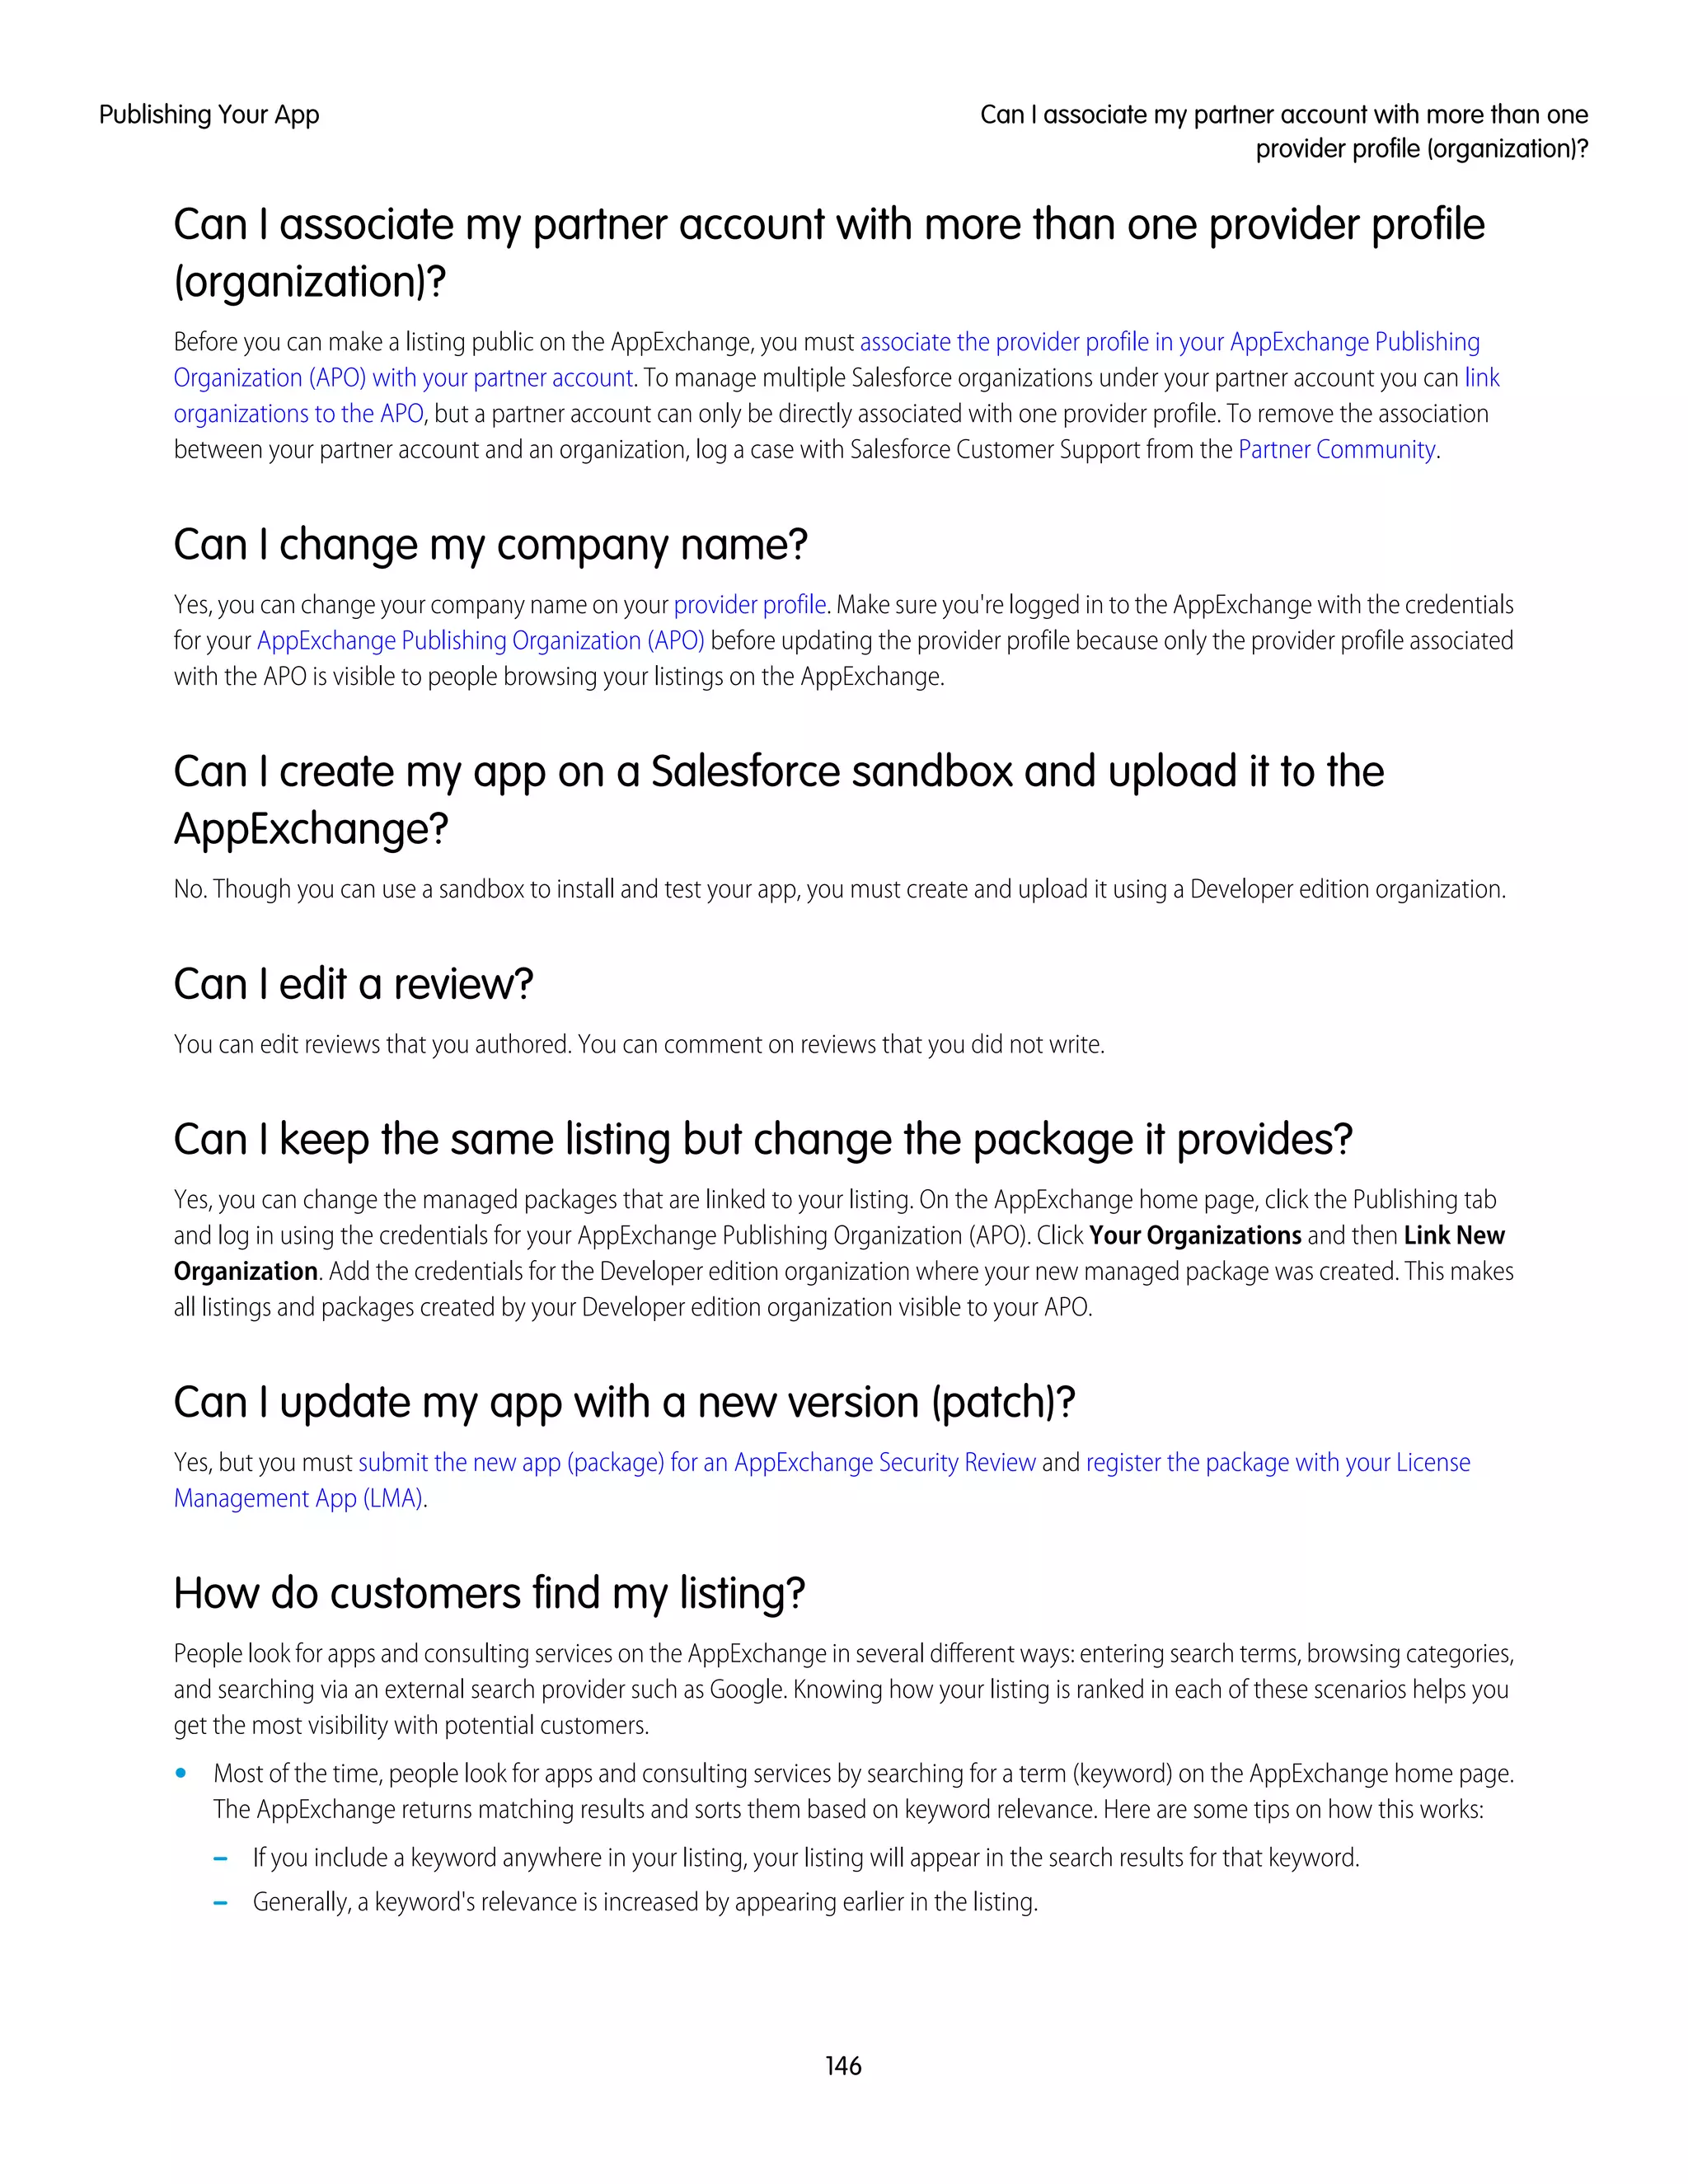
The sample uninstall script below performs the following actions on package uninstall.
• Inserts an entry in the feed describing which user did the uninstall and in which organization
• Creates and sends an email message confirming the uninstall to that user
global class UninstallClass implements UninstallHandler {
global void onUninstall(UninstallContext ctx) {
FeedItem feedPost = new FeedItem();
feedPost.parentId = ctx.uninstallerID();
feedPost.body = 'Thank you for using our application!';
insert feedPost;
User u = [Select Id, Email from User where Id =:ctx.uninstallerID()];
String toAddress= u.Email;
String[] toAddresses = new String[] {toAddress};
Messaging.SingleEmailMessage mail = new Messaging.SingleEmailMessage();
mail.setToAddresses(toAddresses);
mail.setReplyTo('support@package.dev');
mail.setSenderDisplayName('My Package Support');
mail.setSubject('Package uninstall successful');
mail.setPlainTextBody('Thanks for uninstalling the package.');
Messaging.sendEmail(new Messaging.Email[] { mail });
}
}
You can test an uninstall script using the testUninstall method of the Test class. This method takes as its argument a class
that implements the UninstallHandler interface.
This sample shows how to test an uninstall script implemented in the UninstallClass Apex class.
@isTest
static void testUninstallScript() {
Id UninstallerId = UserInfo.getUserId();
List<FeedItem> feedPostsBefore =
[SELECT Id FROM FeedItem WHERE parentId=:UninstallerId AND CreatedDate=TODAY];
Test.testUninstall(new UninstallClass());
List<FeedItem> feedPostsAfter =
[SELECT Id FROM FeedItem WHERE parentId=:UninstallerId AND CreatedDate=TODAY];
System.assertEquals(feedPostsBefore.size() + 1, feedPostsAfter.size(),
'Post to uninstaller failed.');
}
Specifying an Uninstall Script
Once you have created and tested the uninstall script and included it as a member of your package, you can specify it in the Uninstall
Script lookup field on the Package Detail page. In subsequent patch releases, you can change the contents of the script but not the
Apex class.
The class selection is also available via the Metadata API as Package.uninstallClass. This is represented in package.xml as an
<uninstallClass>foo</uninstallClass> element.
108
Example of an Uninstall ScriptPackaging and Testing Your App](https://image.slidesharecdn.com/e93eef4b-15f3-44fa-9a70-da9d0db11c4b-150210030551-conversion-gate01/75/ISVForce-Guide-NEW-116-2048.jpg)


![Running Reports on Signup Requests
USER PERMISSIONS
To create or view signup
requests:
• “Signup Request API”
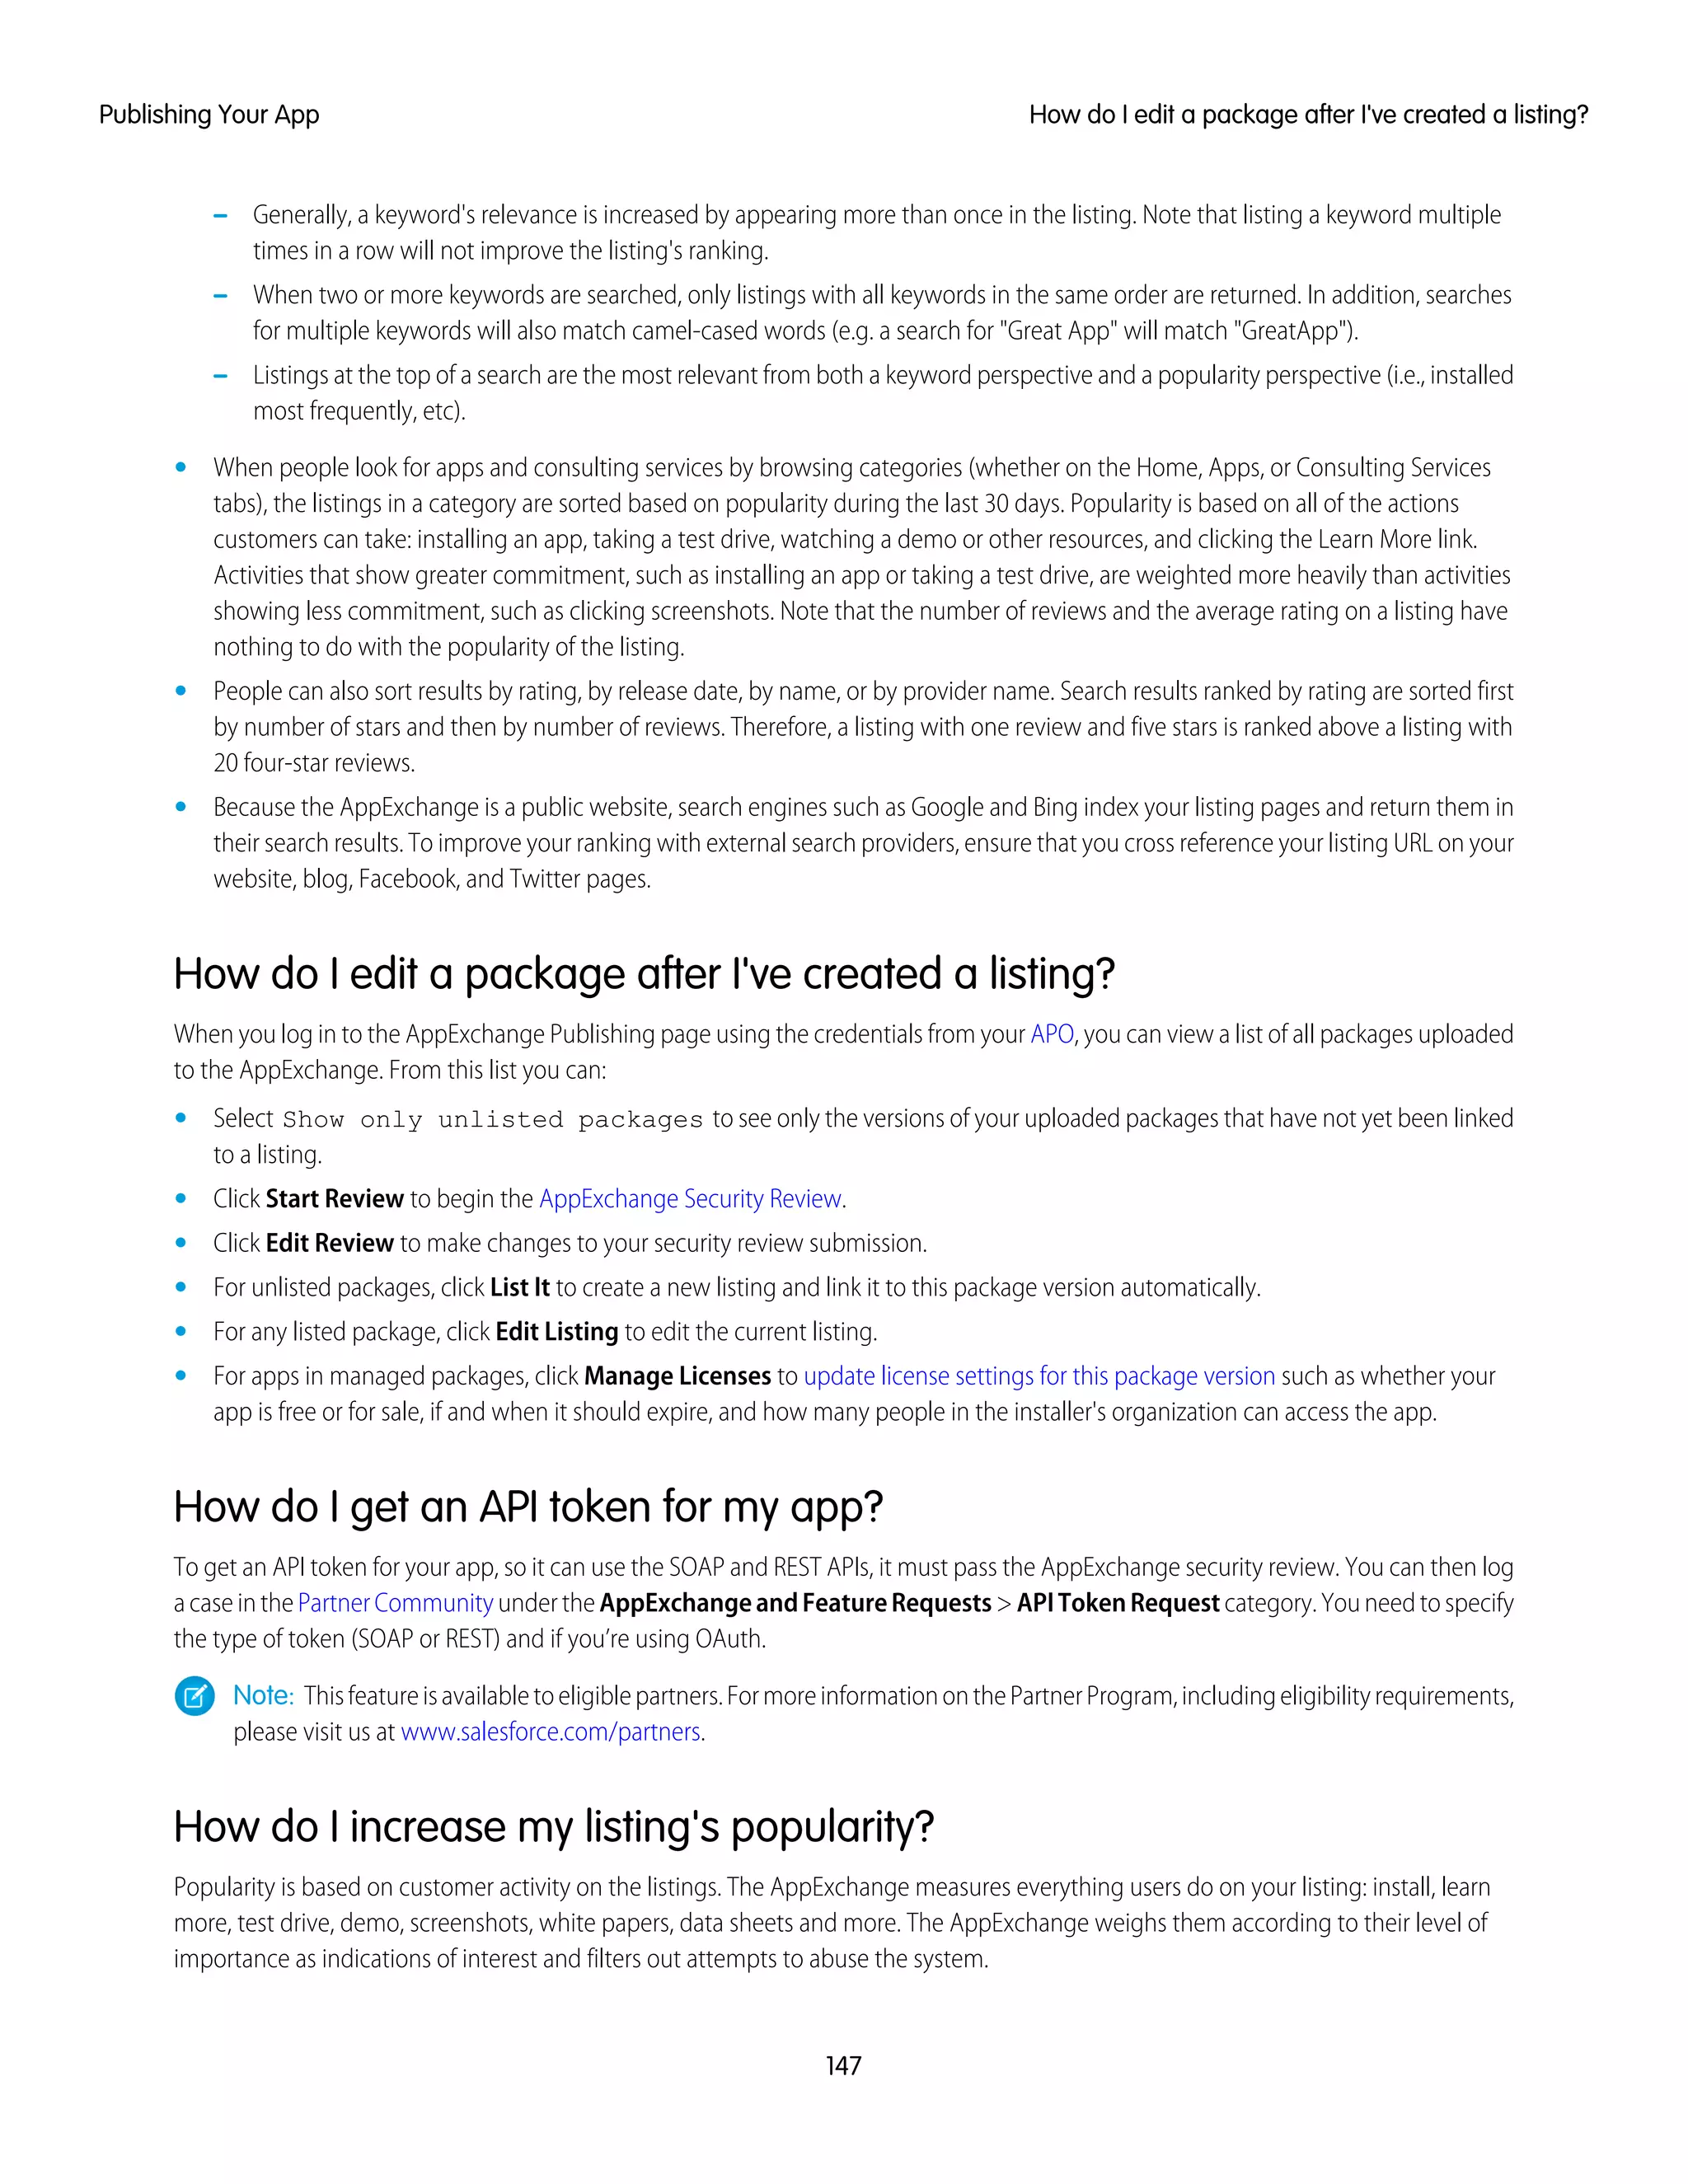
Once a few SignupRequest records have been created, you can run custom reports on them.
1. In your Trialforce Management Organization, from Setup, click Create > Report Types and
click Custom Report Types.
2. Select Signup Requests as the Primary Object.
3. Enter a label, name, description, and store in a category such as Administrative Reports.
4. Finish the wizard, and save the Report Type.
5. Configure the report with the fields you're interested in and click Save.
6. Select the Reports tab and click New Report to create a Report from your new Report Type.
7. Select your report type name and click Create.
Once you’ve created the report, you can run it periodically to see trends in the data.
Using Triggers with Signup Requests
USER PERMISSIONS
To create or view signup
requests:
• “Signup Request API”
You can set up triggers to initiate specific actions, each time a signup request is submitted.
1. InyourTrialforceManagementOrganization,fromSetup,clickCustomize>SignupRequests>
Triggers.
2. Click New.
3. Add the code for the trigger, and click Save.
For example, this trigger inserts a new lead based on information in the signup request.
trigger SignupRequestTrigger on SignupRequest (after insert) {
private SignupRequest[] sr = Trigger.new;
Lead l = new Lead(
LastName = sr[0].LastName,
FirstName = sr[0].FirstName,
Company = sr[0].Company,
Email = sr[0].SignupEmail,
LeadSource = 'Trial Signup'
);
insert l;}
You can verify that a Lead record is created, each time you create a SignupRequest. To easily find a specific lead, you can sort leads by
email.
Creating Proxy Signups for OAuth and API Access
USER PERMISSIONS
To create or view signup
requests:
• “Signup Request API”
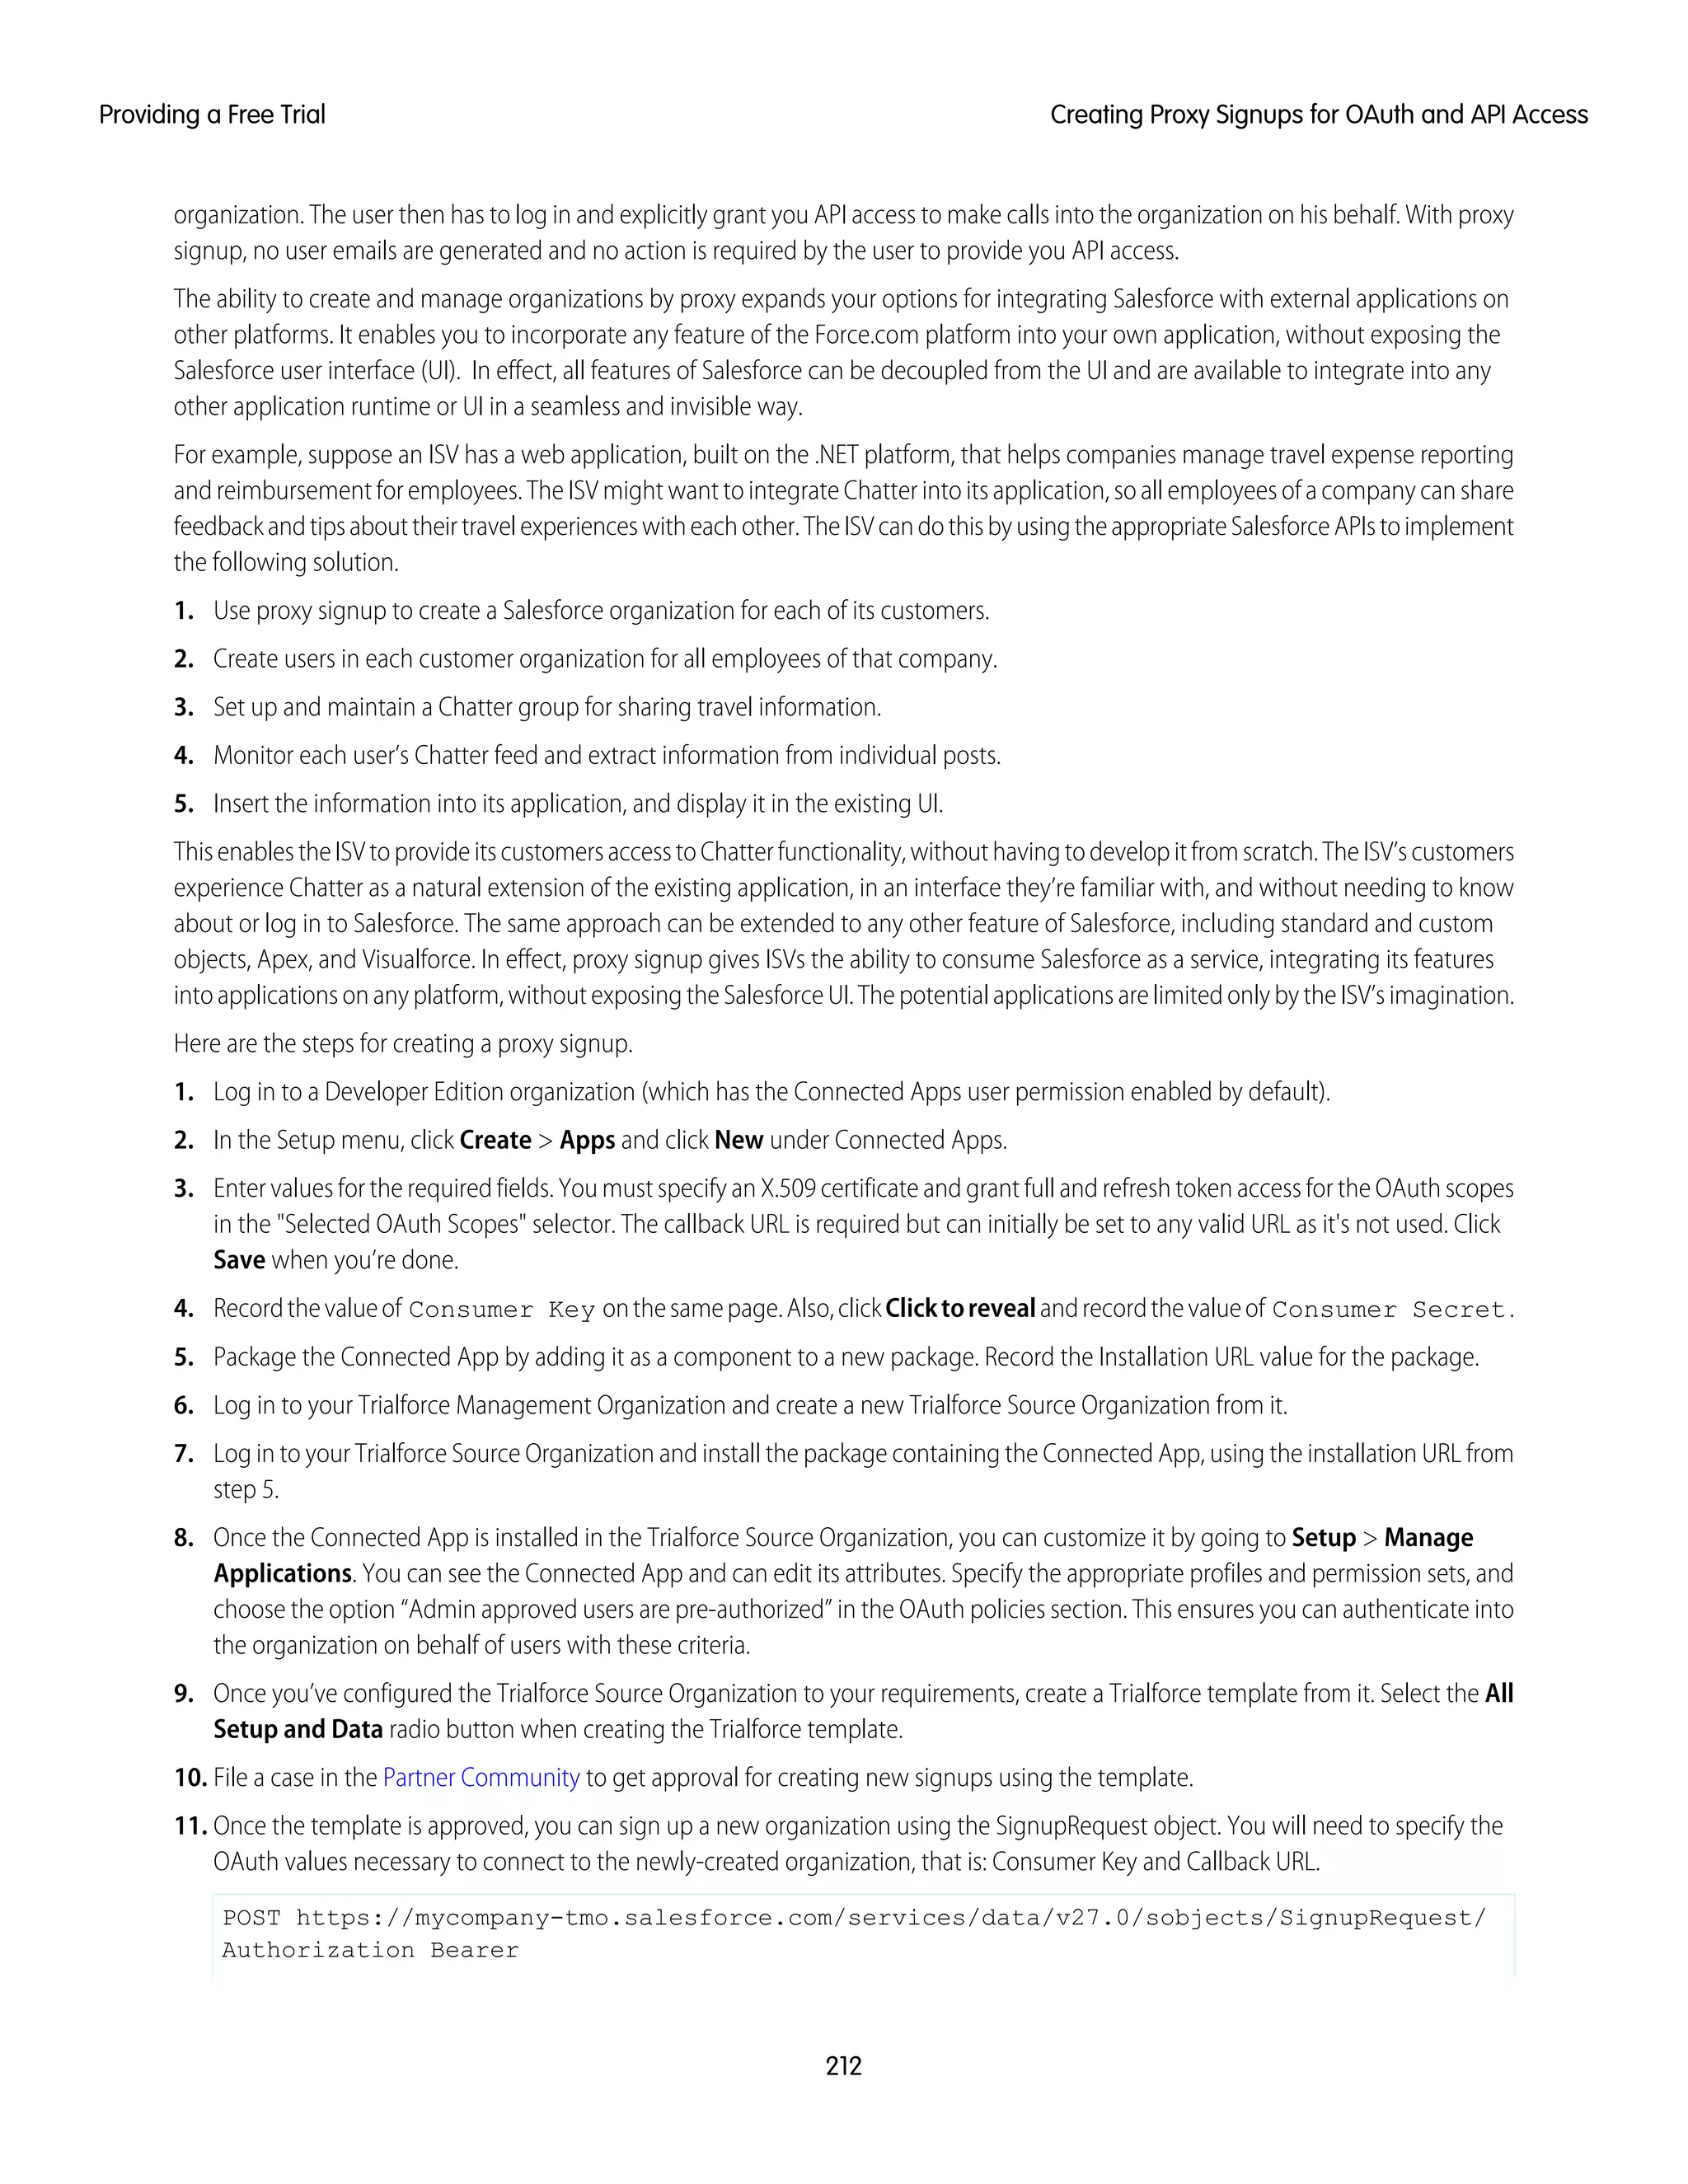
Using the SignupRequest object, you can programmatically create a new organization without any
system-generated emails being sent to the user. You can then obtain an OAuth access token to
log in to the organization and make API requests from it, without any action by the user. This is
called proxy signup because it enables you to create and operate the organization on the user’s
behalf, without their knowledge that you’re using Salesforce behind the scenes..
In the traditional signup process, when you create a new organization, the user receives a
system-generated email containing the login URL and initial password for logging in to the
211
Running Reports on Signup RequestsProviding a Free Trial](https://image.slidesharecdn.com/e93eef4b-15f3-44fa-9a70-da9d0db11c4b-150210030551-conversion-gate01/75/ISVForce-Guide-NEW-219-2048.jpg)

![added or prevent older features from working properly. By default, any new components in your package are assigned only to
administrators. You have two options for ensuring that all users of the package have access to the new components and fields.
Notify administrators to assign the appropriate permissions to all users of the package
We recommend this for any new features you’re introducing. This ensures administrators have the option of deciding if and when
to make the new features available.
Assign the new components to existing users automatically, using a post install Apex script
Werecommendthisforenhancementstoexistingfeatures.Thisensuresallcurrentusersofthepackagecancontinueusingitwithout
explicit action by administrators.
To assign access to new components automatically, you can use the following strategy.
1. Create new permission sets that define the default access settings for all new components and fields.
2. Include the new permission sets in the new package version.
3. Write a post install Apex script to run automatically in the subscriber organization after the package is upgraded. The script must
perform these tasks.
a. For each new permission set, choose an existing component whose user assignment needs to be copied.
b. Find all profiles that can access that component.
c. Assign the new permission sets to every user with those profiles.
Note: The default permission sets for all standard profiles aren’t editable. Hence, the post install script will trigger an exception
if it tries to update one of these permission sets. It’s important that you create a new permission set to assign access to the new
components in your package.
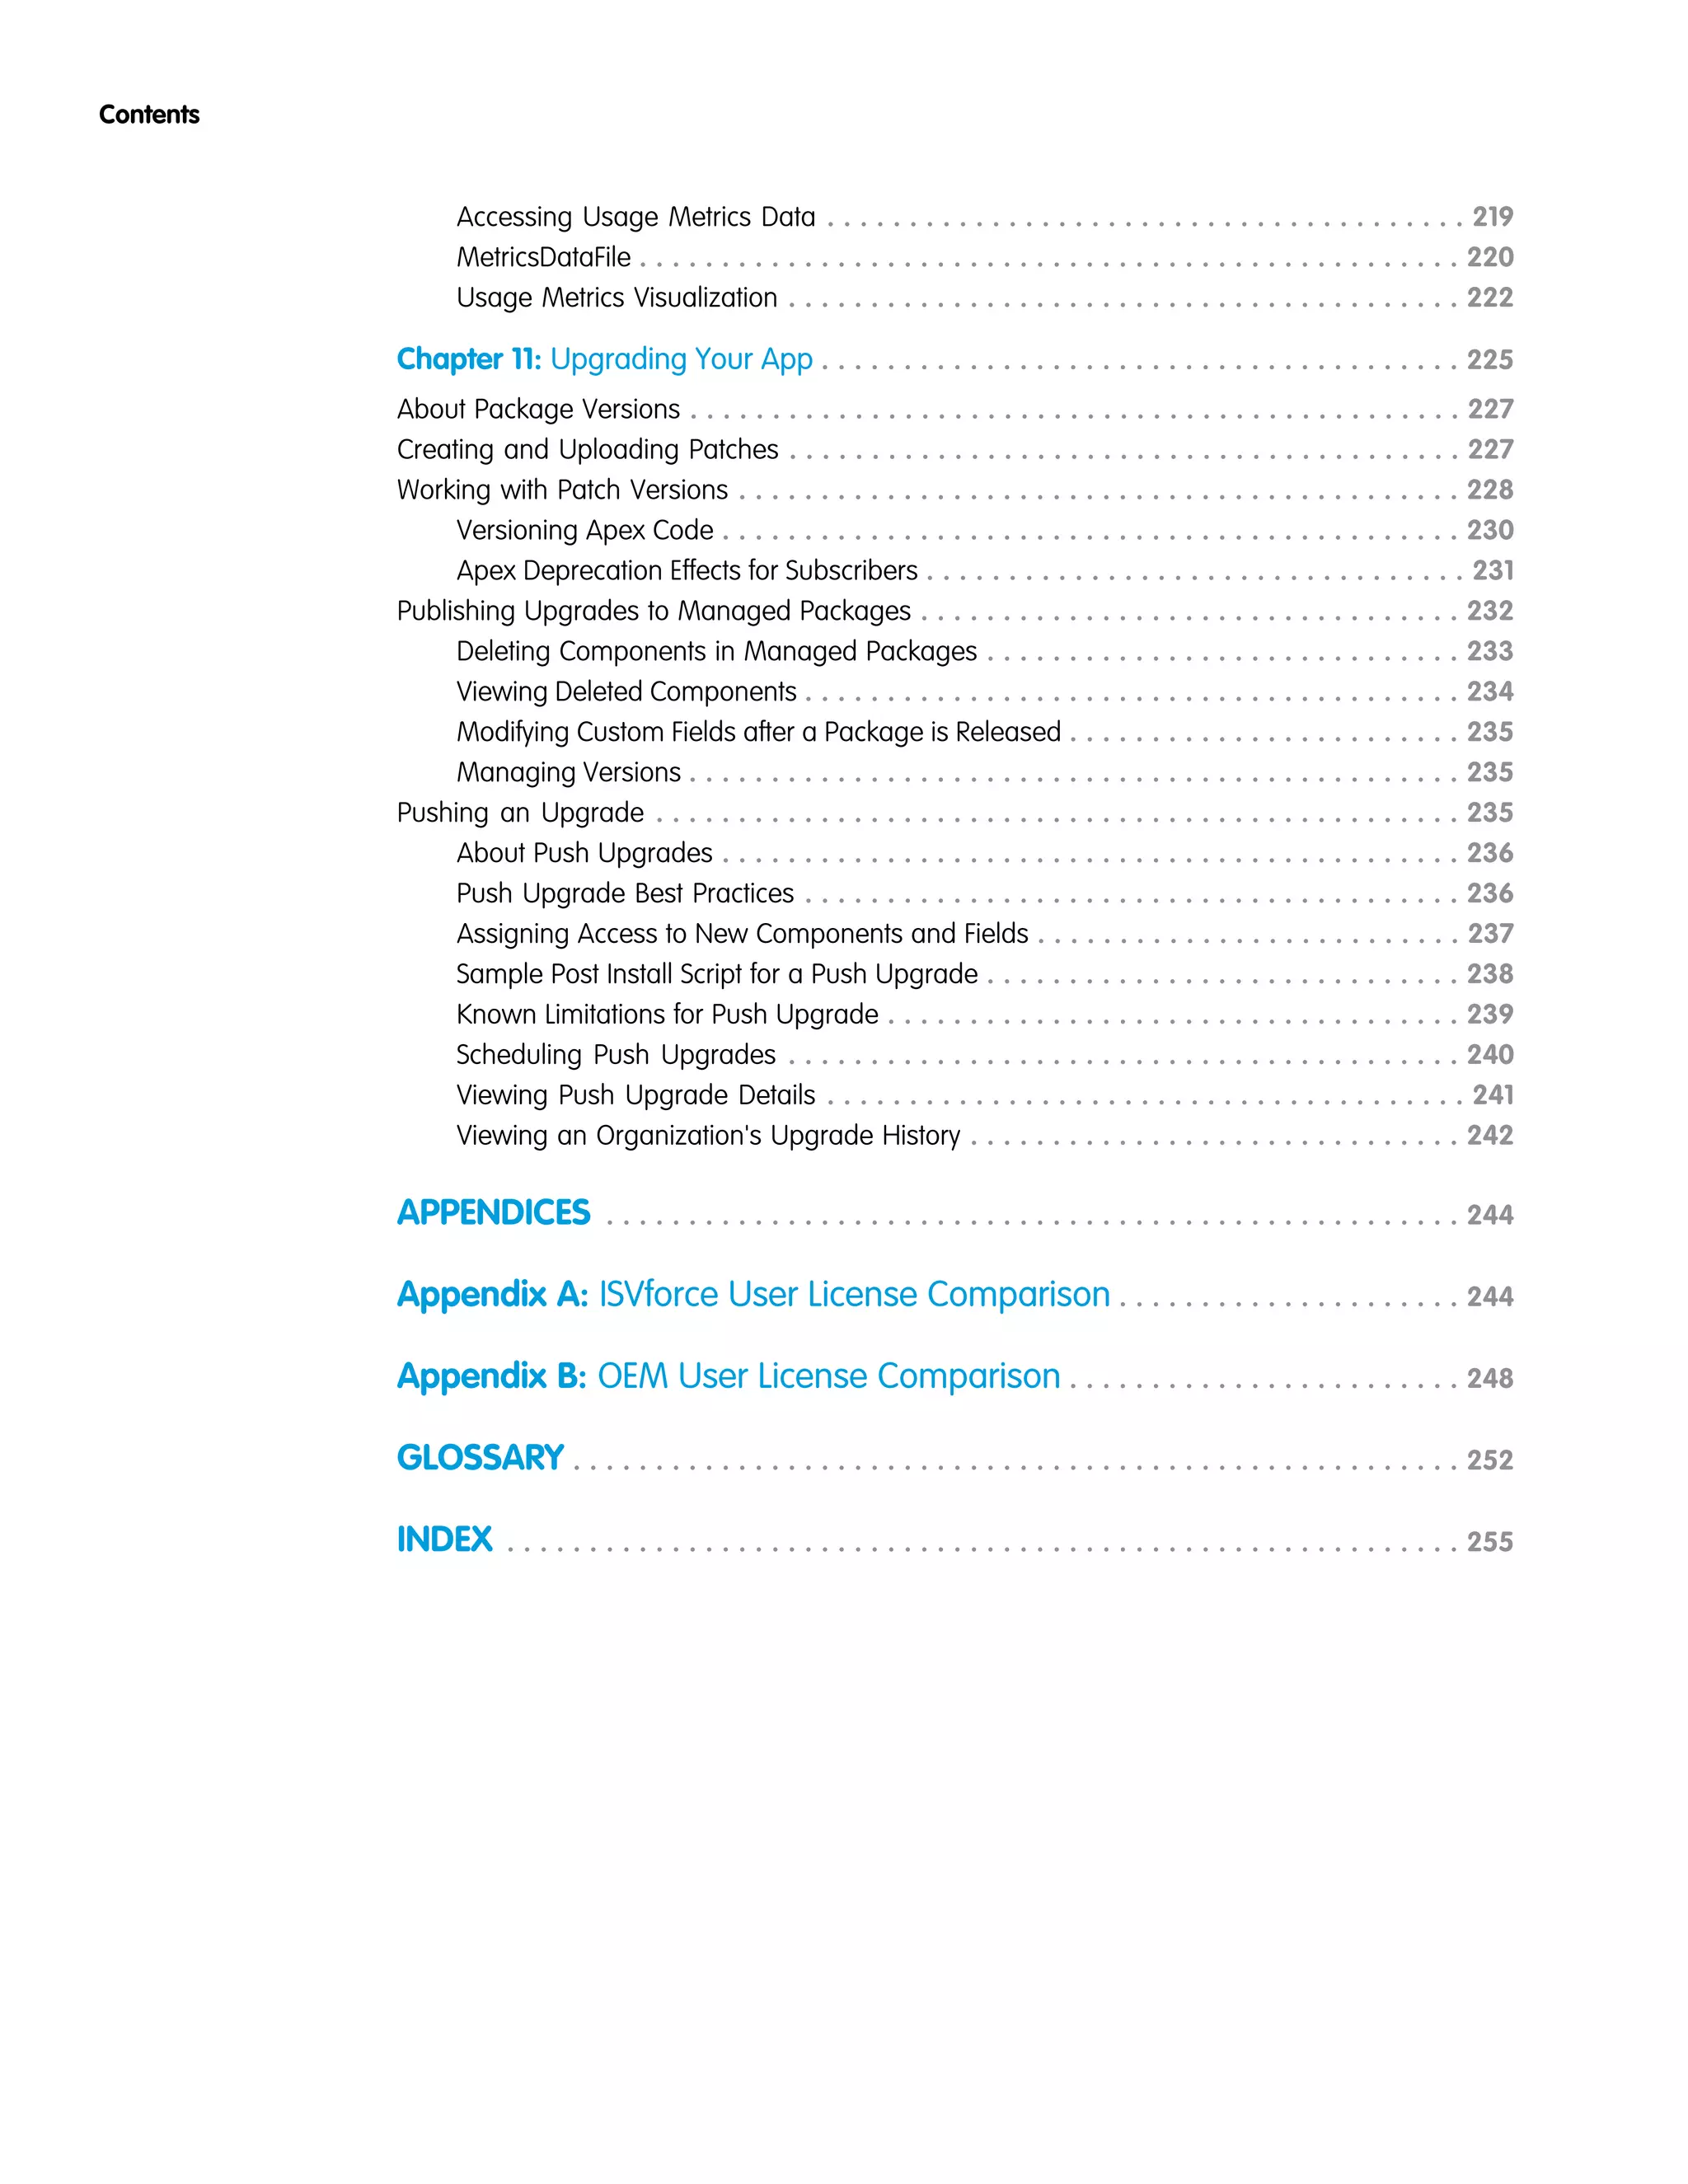
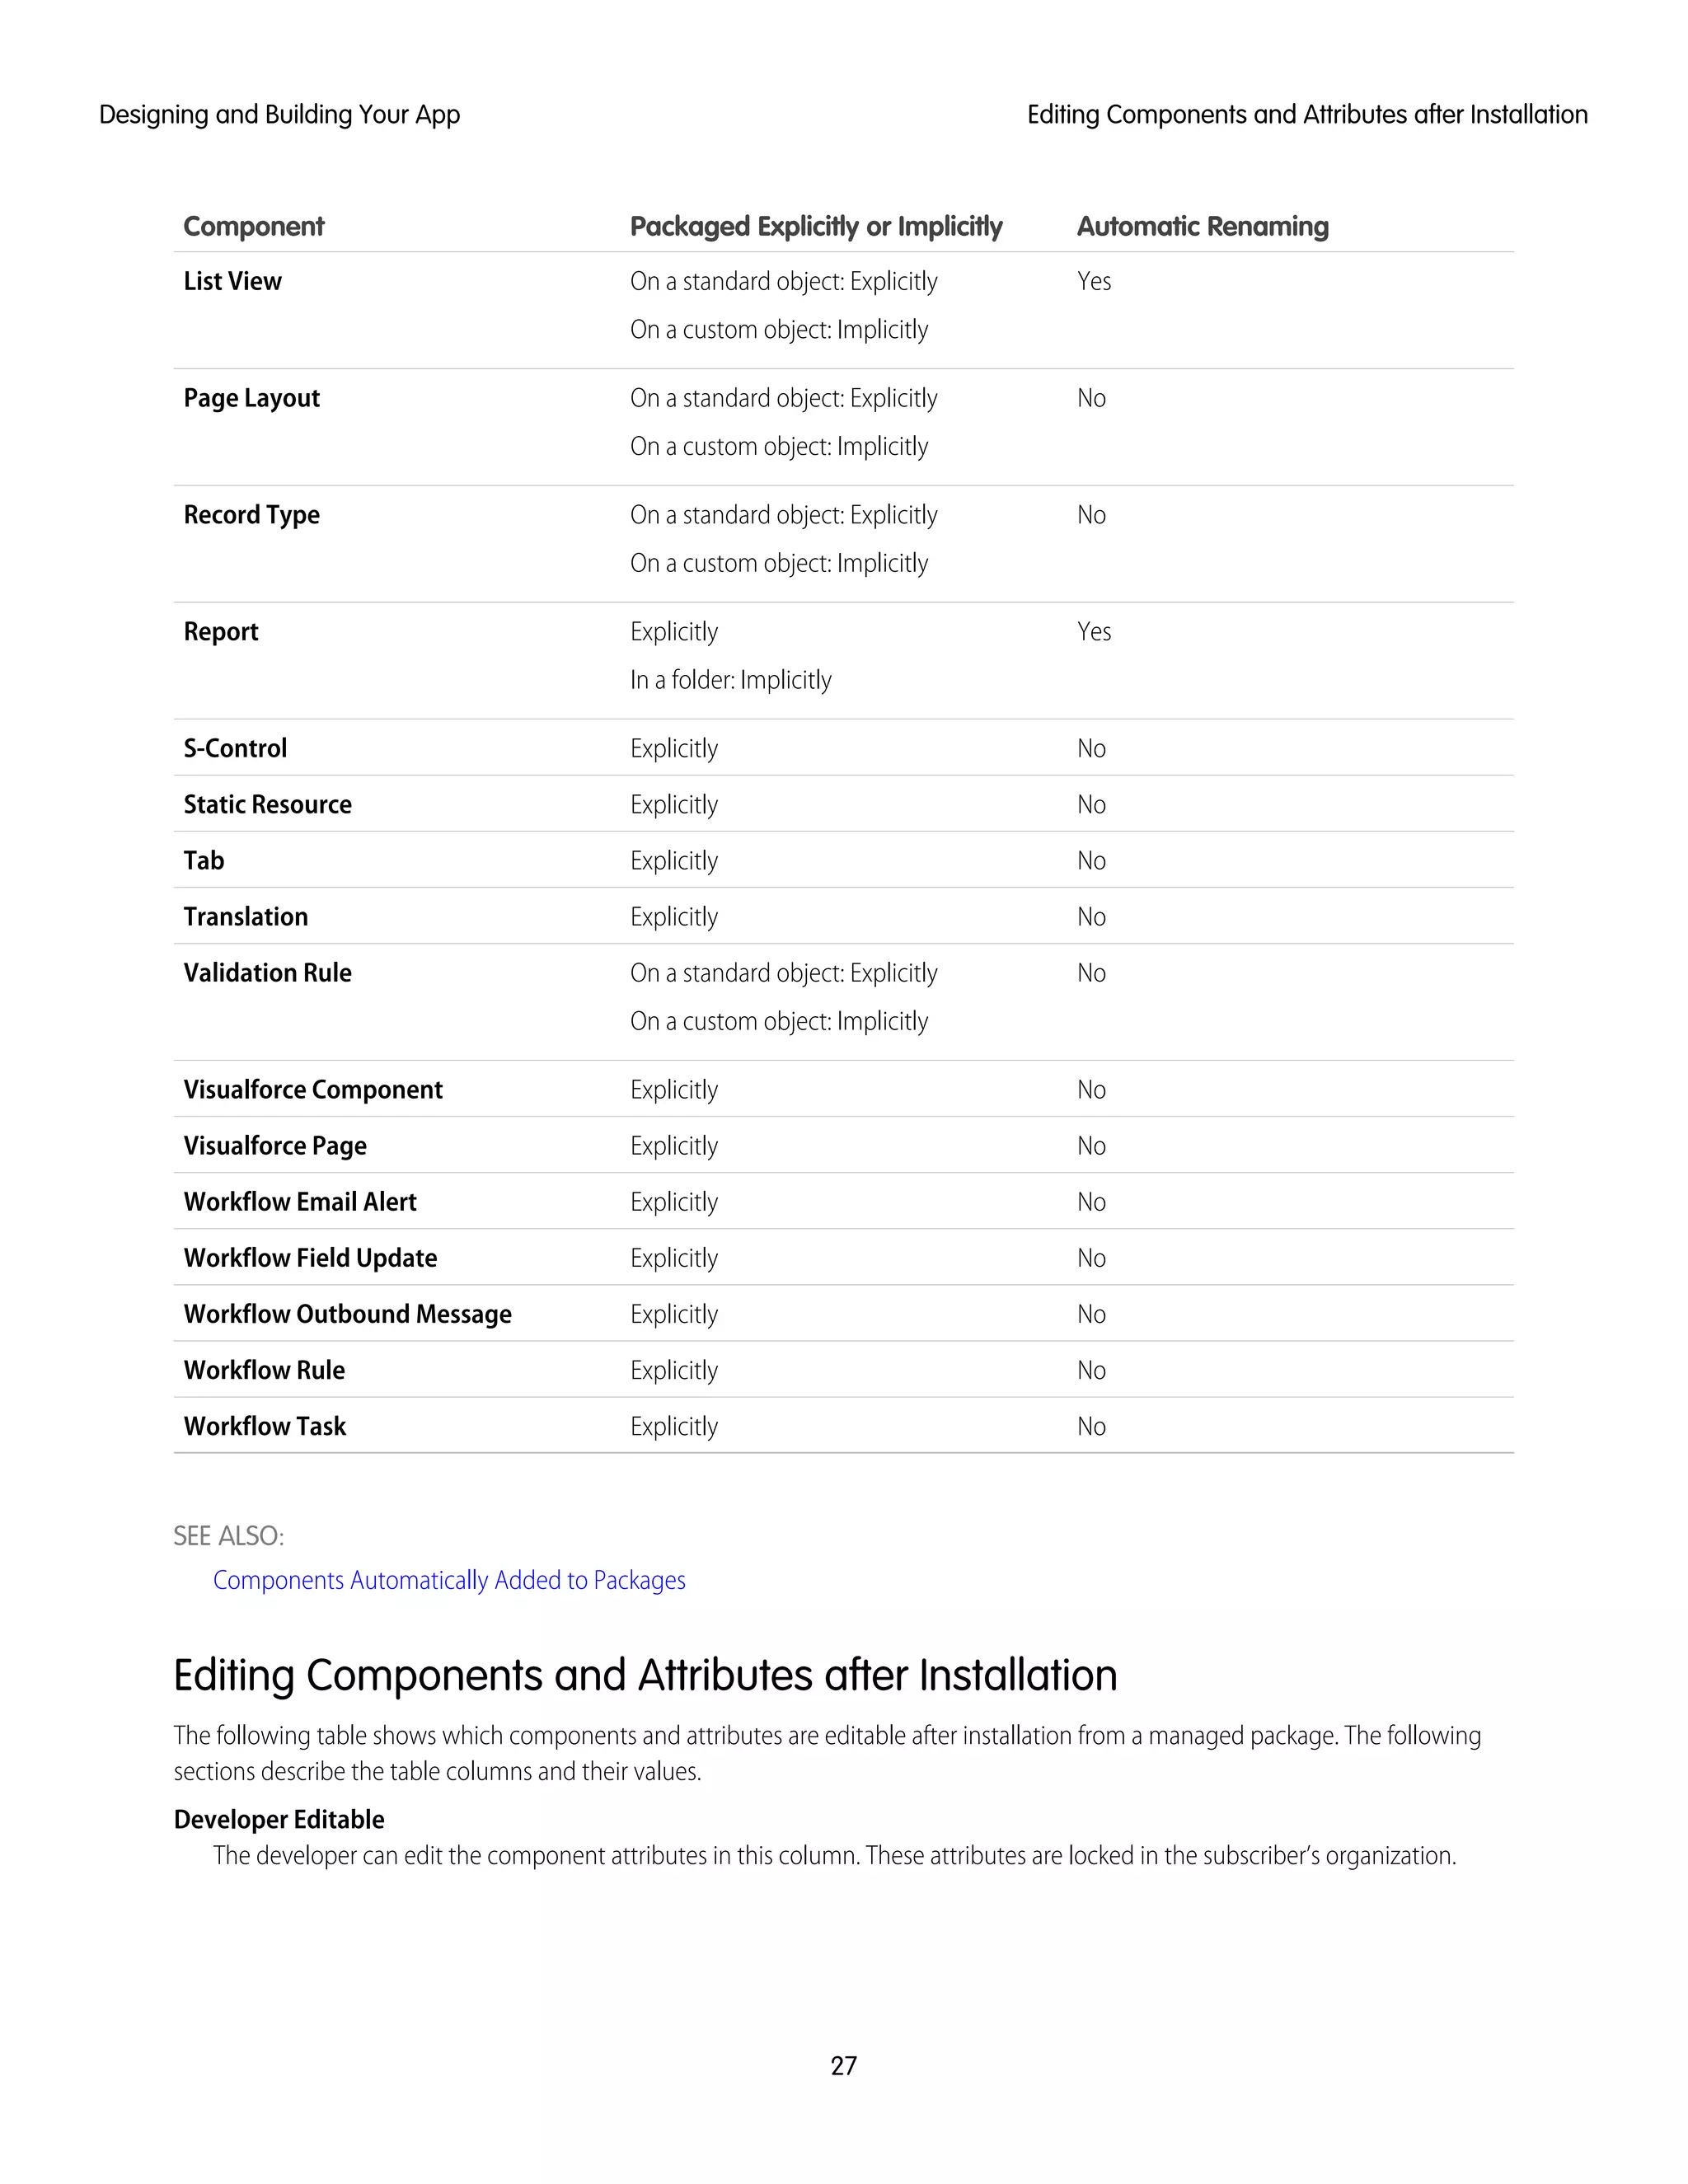
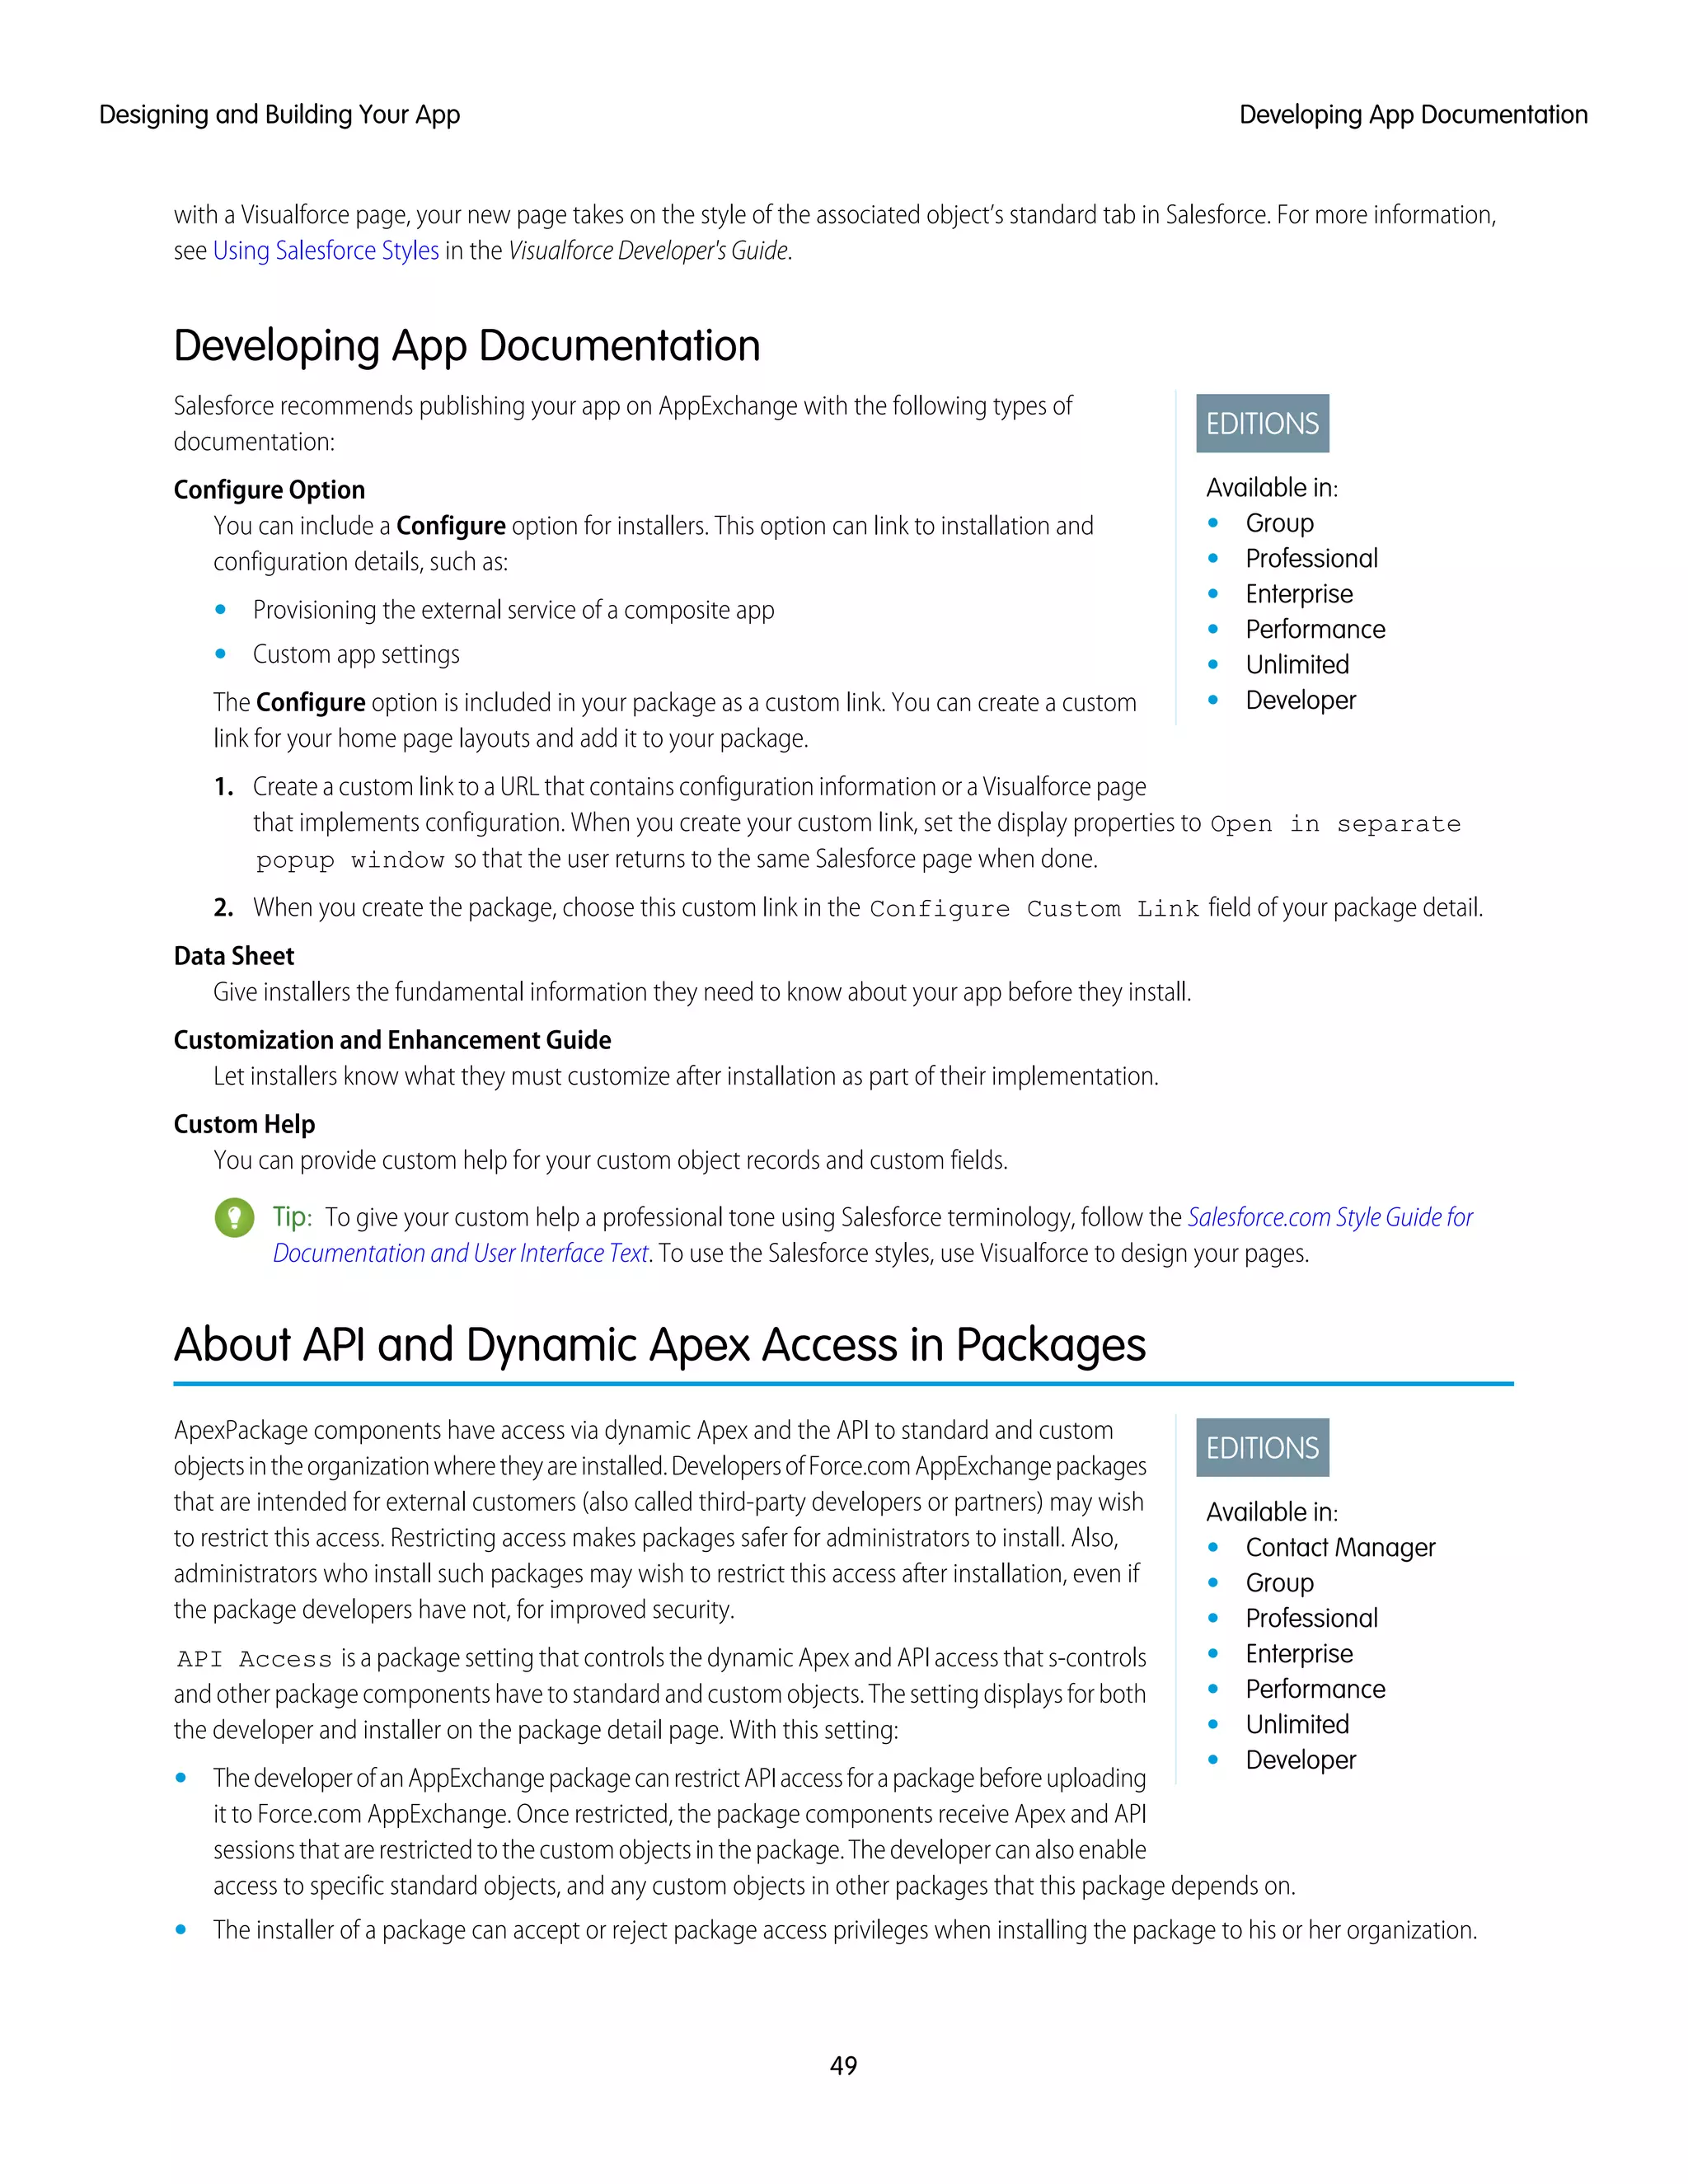
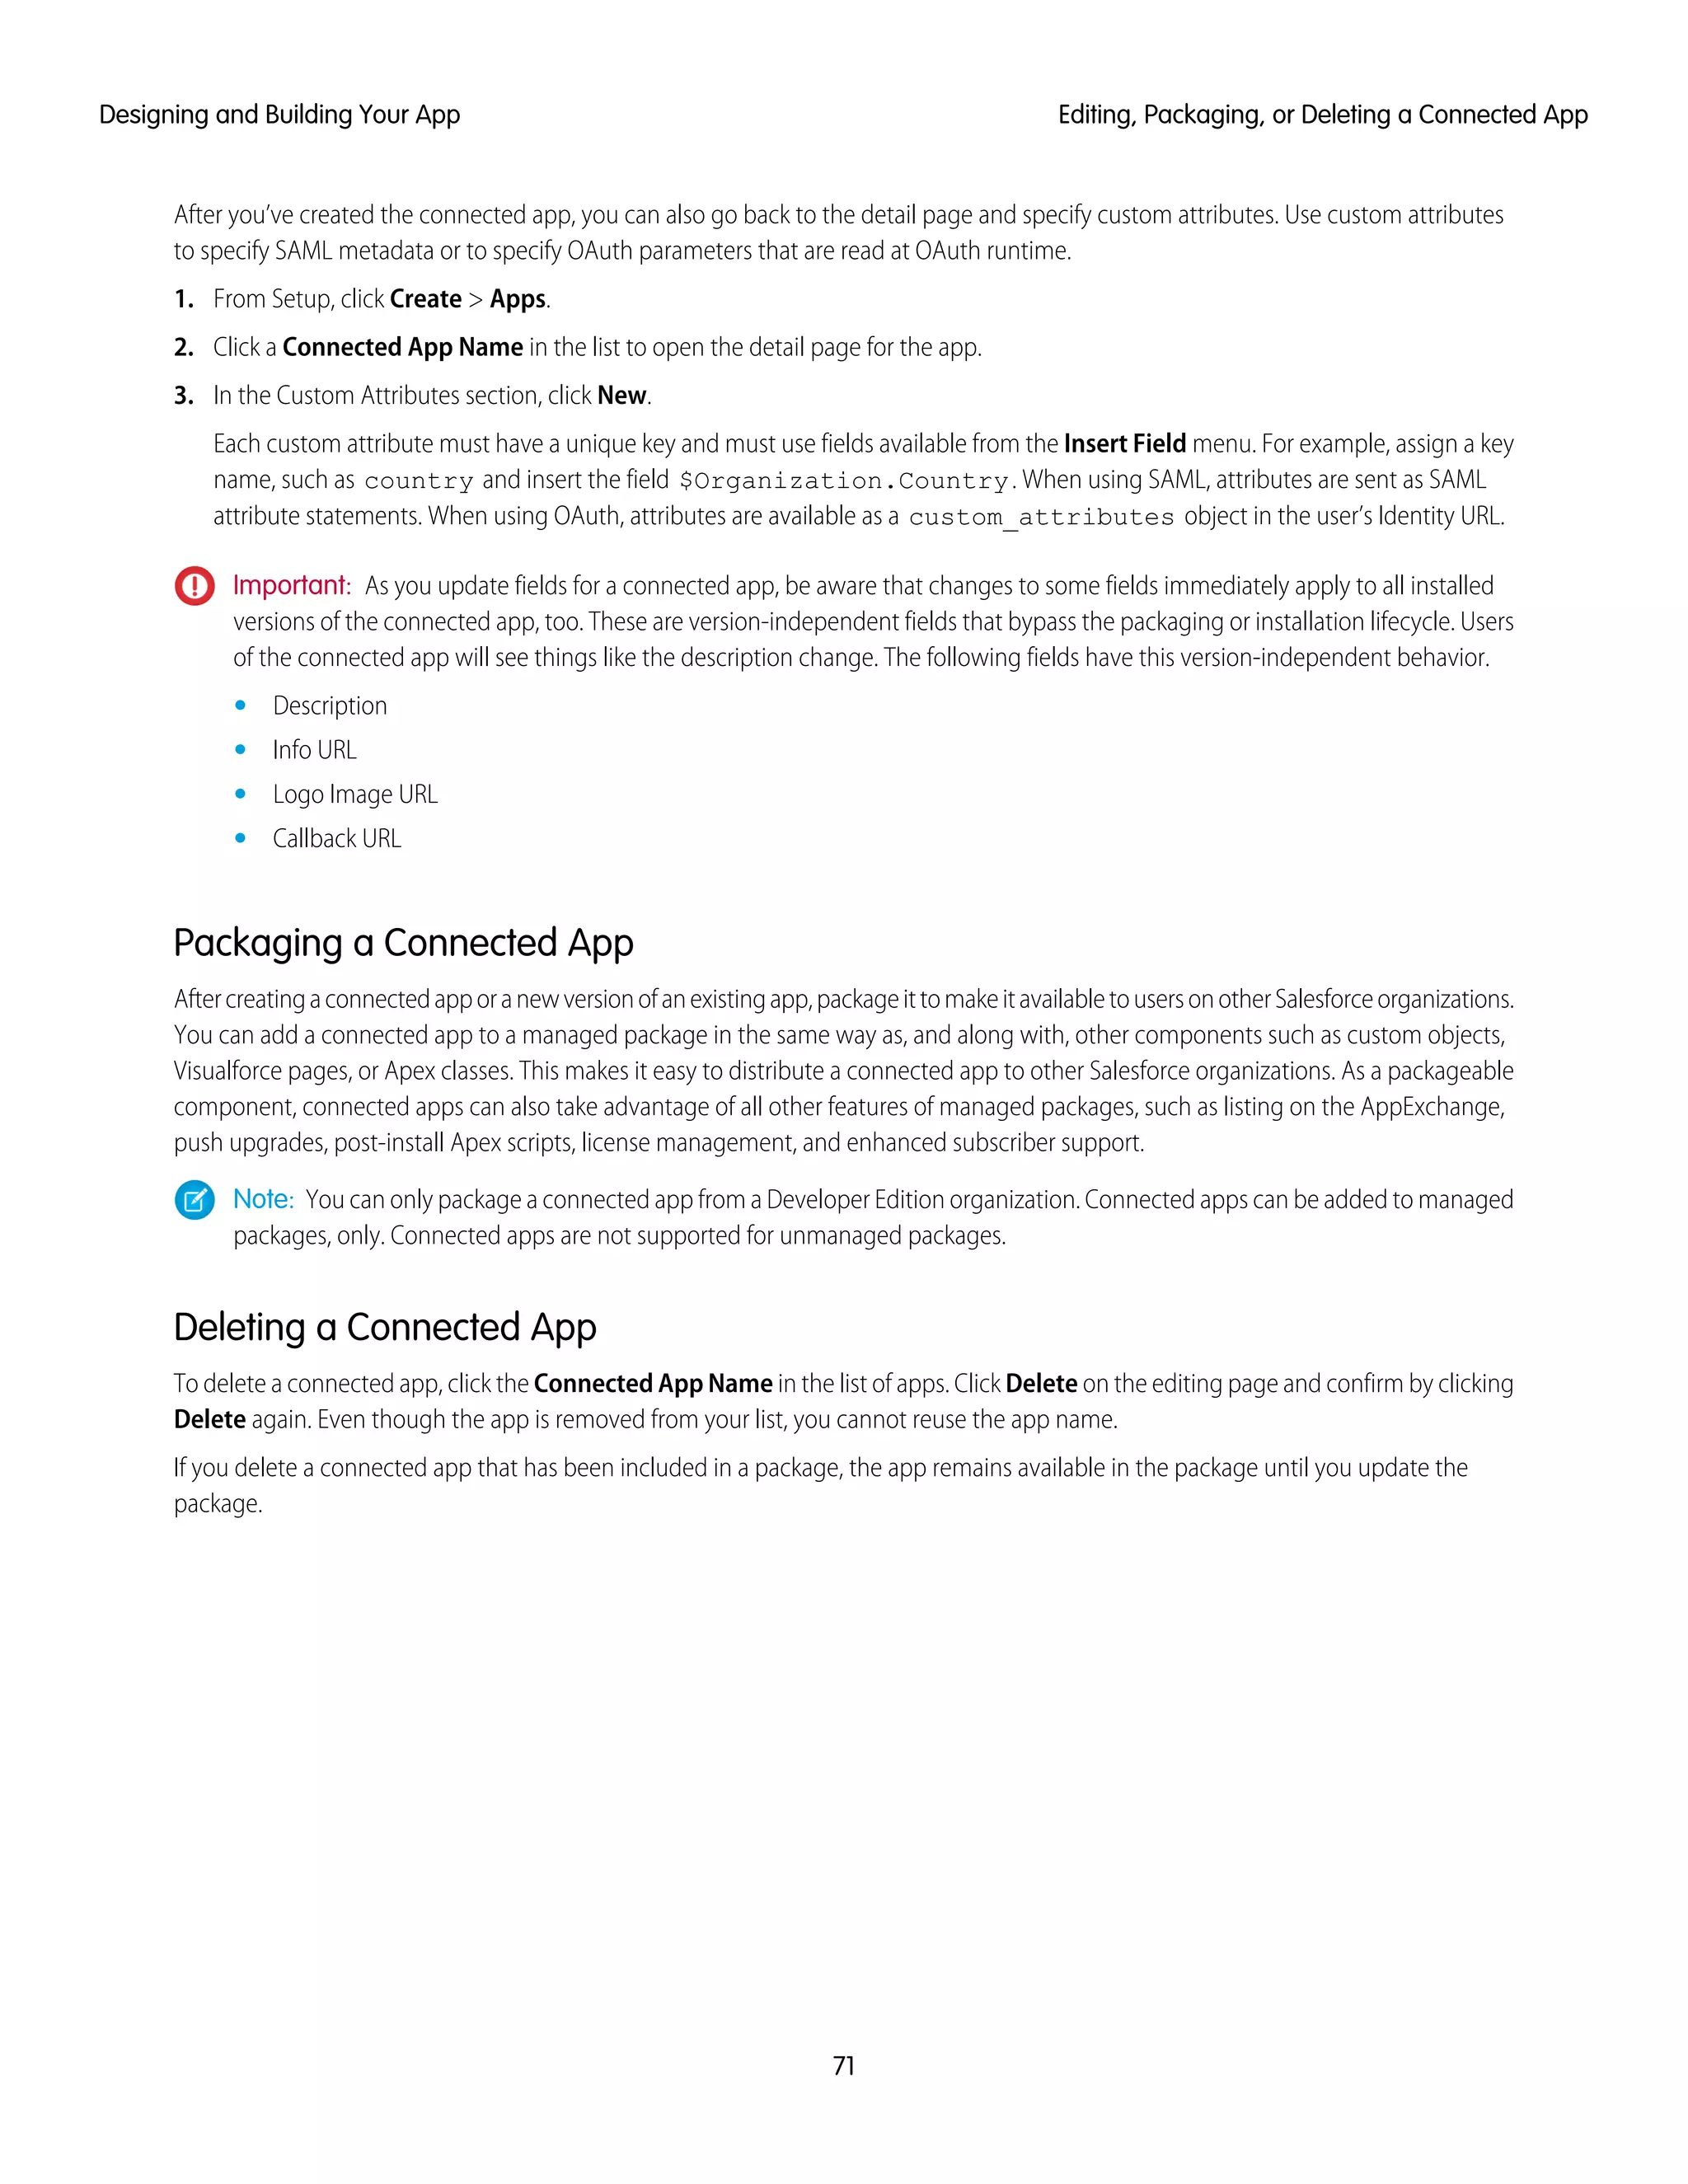
Sample Post Install Script for a Push Upgrade
This section shows a sample post install script that automates the assignment of new components to existing users of a package. For
more information on writing a post install Apex script, see Running Apex on Package Install/Upgrade on page 103.
The sample script covers a scenario in which an ISV is upgrading subscribers to a new package version that contains new Visualforce
pages and a new permission set that grants access to those pages. After upgrading, existing users of the package will not have access
to the new pages by default. The post install script resolves this problem by identifying which users have access to the Visualforce pages
in the old version of the package and granting them access to the new pages. The script performs the following actions.
• Get the Id of the Visualforce pages in the old version of the package
• Get the permission sets that have access to those pages
• Get the list of profiles associated with those permission sets
• Get the list of users who have those profiles assigned
• Assign the permission set in the new package to those users
global class PostInstallClass implements InstallHandler {
global void onInstall(InstallContext context) {
//Get the Id of the Visualforce pages
List<ApexPage> pagesList =[SELECT Id FROM ApexPage WHERE NamespacePrefix =
'TestPackage' AND Name = 'vfpage1'];
//Get the permission sets that have access to those pages
List<SetupEntityAccess> setupEntityAccessList = [SELECT Id,
ParentId, SetupEntityId, SetupEntityType FROM SetupEntityAccess
where SetupEntityId IN:pagesList];
238
Sample Post Install Script for a Push UpgradeUpgrading Your App](https://image.slidesharecdn.com/e93eef4b-15f3-44fa-9a70-da9d0db11c4b-150210030551-conversion-gate01/75/ISVForce-Guide-NEW-246-2048.jpg)
![Set<ID > PermissionSetList = new Set<ID> ();
for(SetupEntityAccess sea : setupEntityAccessList){
PermissionSetList.add(sea.ParentId)};
List<PermissionSet> PermissionSetWithProfileIdList =
[SELECT id,Name,IsOwnedByProfile,Profile.Name,
ProfileId FROM PermissionSet where IsOwnedByProfile = true
AND Id IN :PermissionSetList ];
//Get the list of profiles associated with those permission sets
Set<ID> ProfileList = new Set<ID> ();
for(PermissionSet per : PermissionSetWithProfileIdList){
ProfileList.add(per.ProfileId);
}
//Get the list of users who have those profiles assigned
List<User> UserList =[SELECT id FROM User where ProfileId IN :ProfileList ];
//Assign the permission set in the new package to those users
List<PermissionSet> PermissionSetToAssignList = [SELECT id,Name
FROM PermissionSet where Name='TestPermSet' AND
NamespacePrefix = 'TestPackage'];
PermissionSet PermissionSetToAssign = PermissionSetToAssignList[0];
Set<ID> UsersSet = new Set<ID> ();
for(User us : UserList){
PermissionSetAssignment psa= new PermissionSetAssignment();
psa.PermissionSetId = PermissionSetToAssign.id;
psa.AssigneeId = us.id;
UsersSet.add(us.id);
}
}
}
// Test for the post install class
@isTest
private class PostInstallClassTest {
@isTest
public static void test() {
PostInstallClass myClass = new PostInstallClass();
Test.testInstall(myClass, null);
}
}
Known Limitations for Push Upgrade
The following are known limitations when pushing an upgrade.
• Settings for tab visibility are not carried over by permission sets. Hence, if your upgrade requires changes to tab settings, you can’t
implement the changes automatically using a post install script. Instead, you’ll need to notify administrators to make the change
manually.
239
Known Limitations for Push UpgradeUpgrading Your App](https://image.slidesharecdn.com/e93eef4b-15f3-44fa-9a70-da9d0db11c4b-150210030551-conversion-gate01/75/ISVForce-Guide-NEW-247-2048.jpg)

This document provides guidance for independent software vendors (ISVs) on developing applications for the Salesforce platform. It covers the application lifecycle from signing up as an ISV partner through developing, packaging, testing, publishing, updating and managing applications. The document includes tutorials on signing up, developing an application, publishing on the AppExchange, updating applications, and best practices for packaging components, supporting multiple editions and using connected apps.