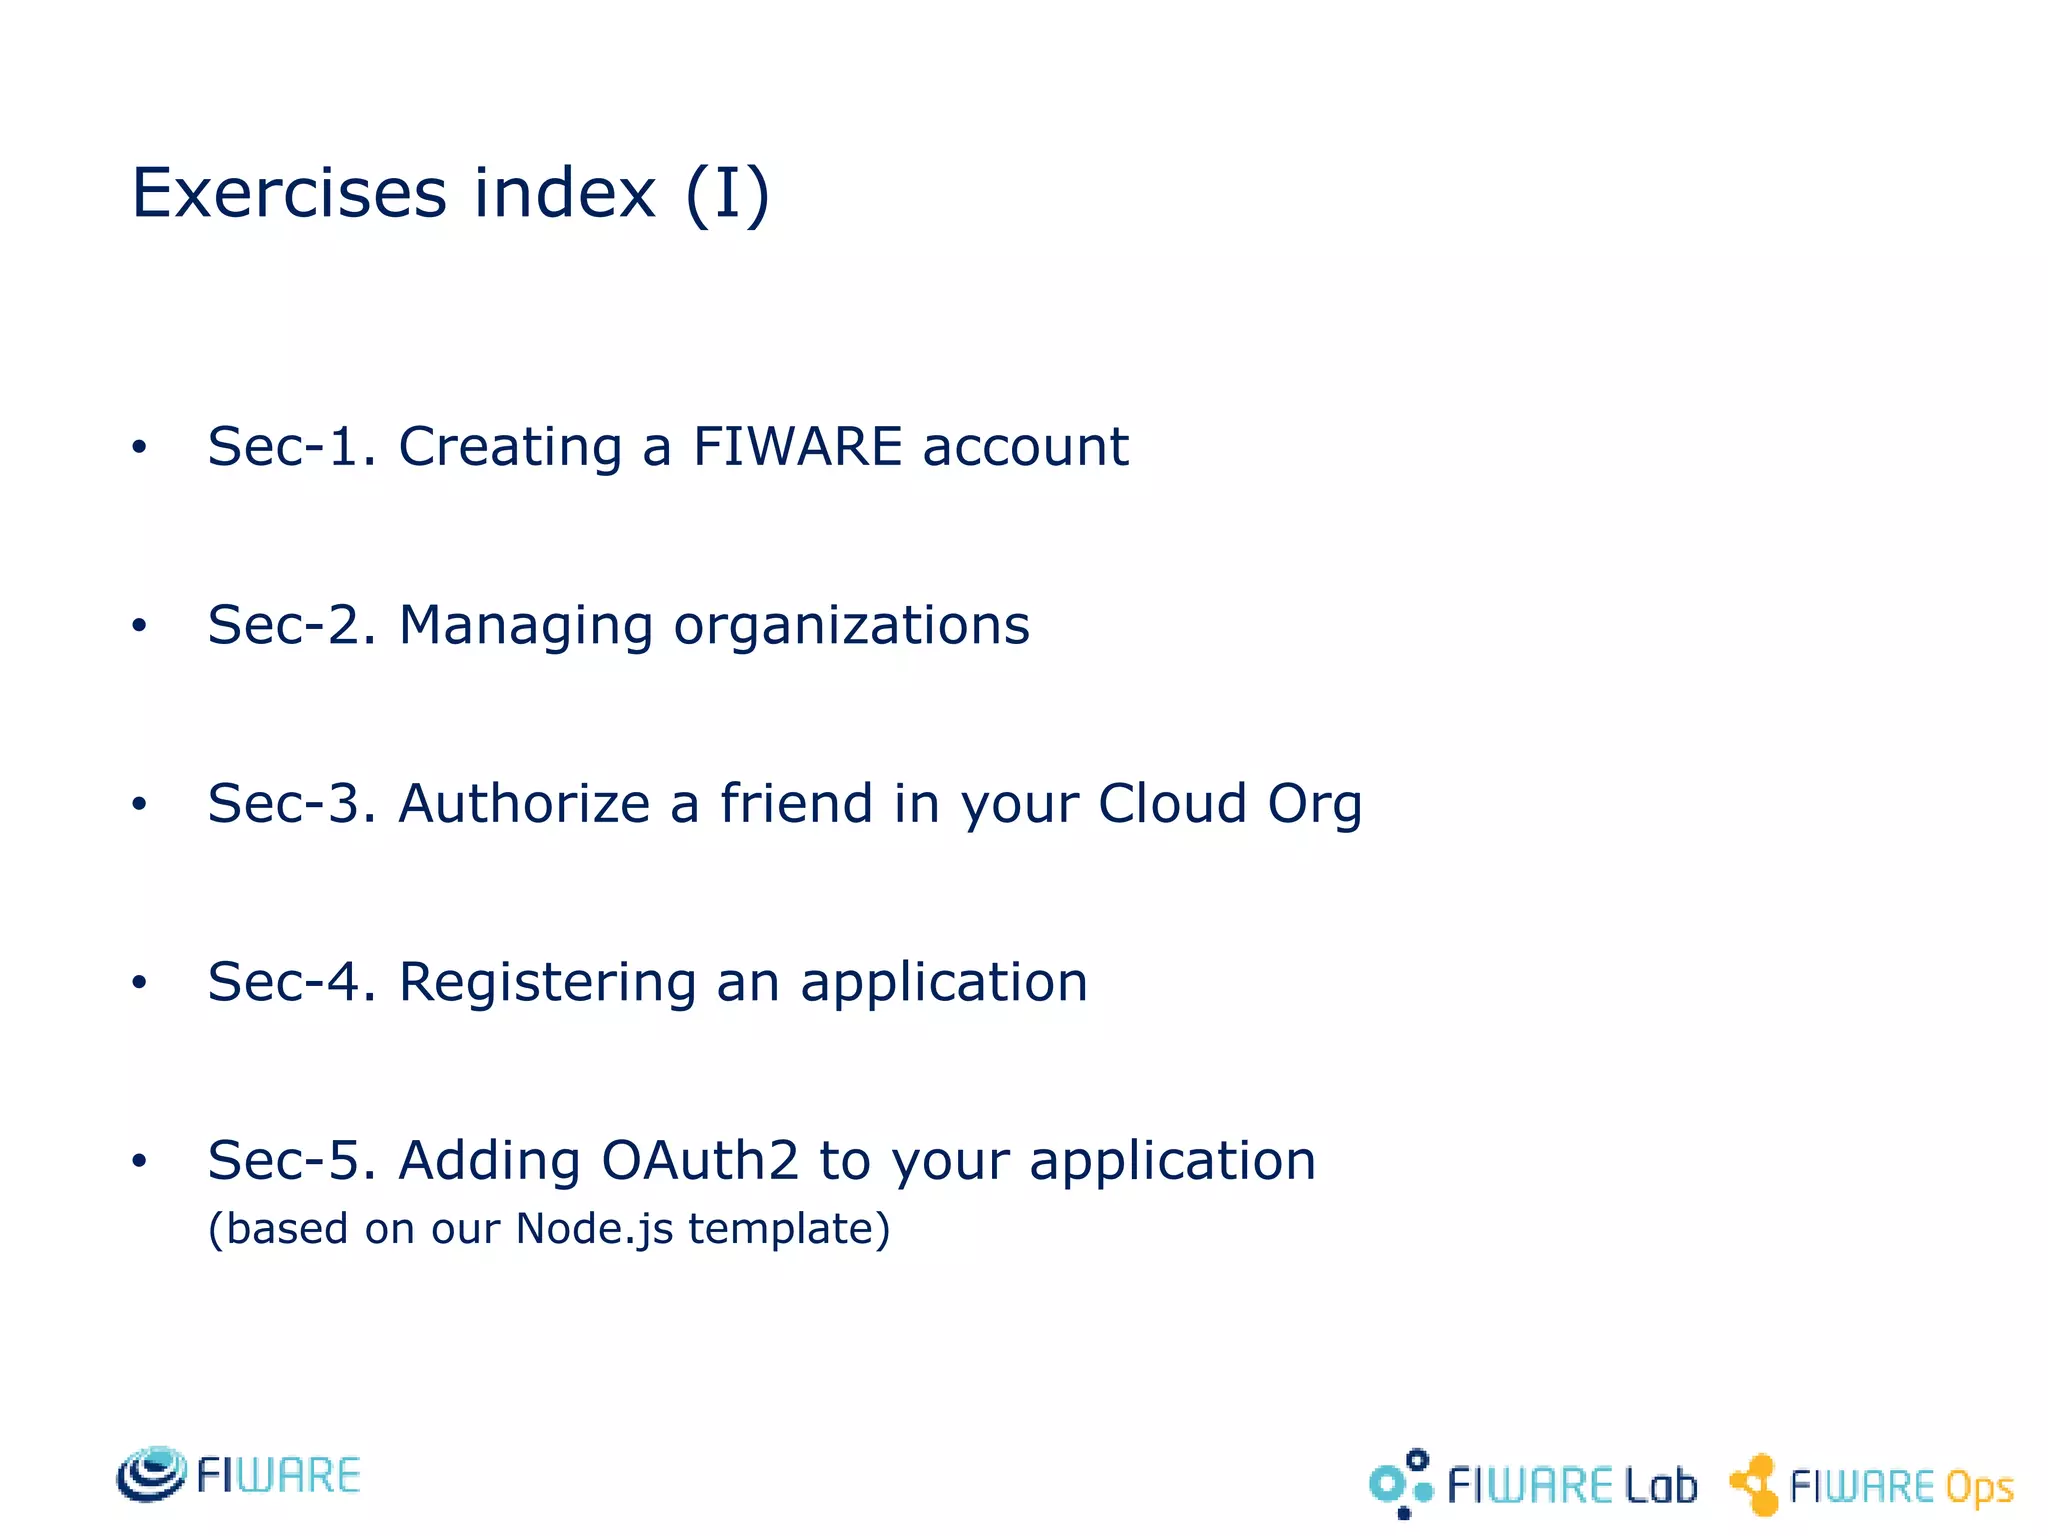
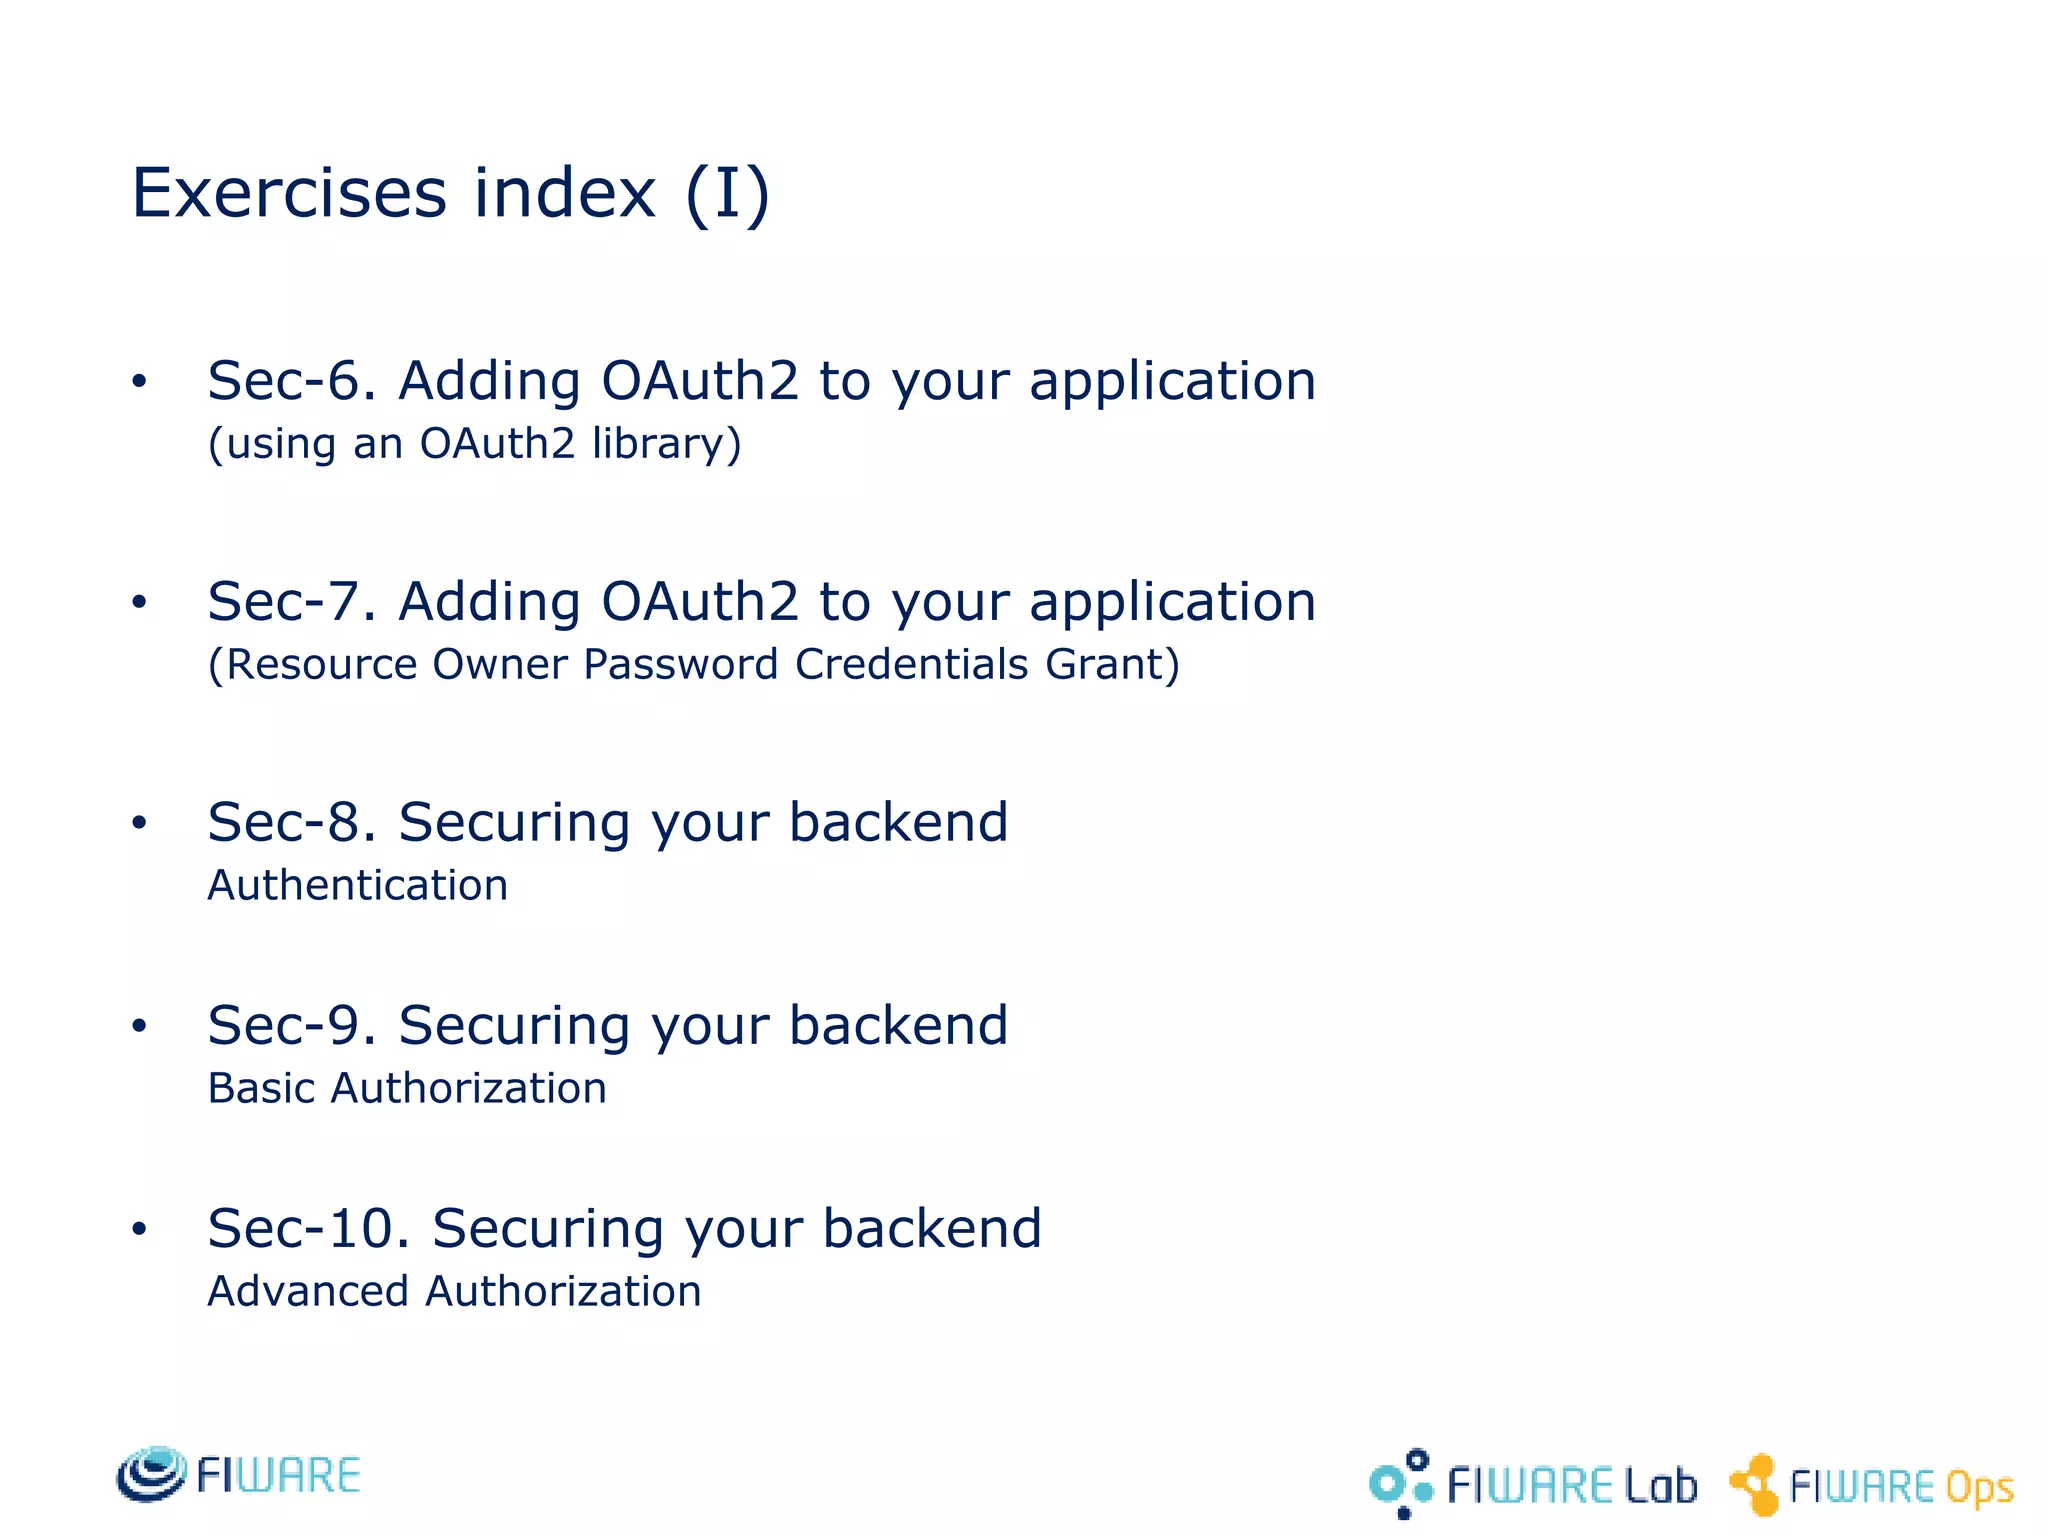
Adding Identity Management and Access Control to your Application - Exercises
Álvaro Alonso
UPM – DIT
Security Chapter. FIWARE
aalonsog@dit.upm.es, @larsonalonso
Exercises index (I)
• Sec-1. Creating a FIWARE account
• Sec-2. Managing organizations
• Sec-3. Authorize a friend in your Cloud Org
• Sec-4. Registering an application
• Sec-5. Adding OAuth2 to your application
(based on our Node.js template)
Exercises index (I)
• Sec-6. Adding OAuth2 to your application
(using an OAuth2 library)
• Sec-7. Adding OAuth2 to your application
(Resource Owner Password Credentials Grant)
• Sec-8. Securing your backend
Authentication
• Sec-9. Securing your backend
Basic Authorization
• Sec-10. Securing your backend
Advanced Authorization
Sec-1. Creating a FIWARE account
• Prerequisite
– To have an Internet connection 
• Steps
– Go to https://account.lab.fiware.org
– Click in “Sign Up”
– Fill your data
– Confirm your account from the email confirmation
• Hints
– If you don’t receive the email confirmation… check your
spam
Easy
Sec-2. Managing organizations
• Prerequisite
– To have a FIWARE account
• Steps
– Go to https://account.lab.fiware.org
– Sign In
– Create an Organization
– Add members to it
• Hints
– To manage an organization you have to switch to it using
the dropdown in the upper right corner.
Easy
Sec-3. Authorize a friend in your Cloud Org
• Prerequisite
– To have a FIWARE account (Trial or Community)
• Steps
– Go to https://account.lab.fiware.org
– Sign In
– Follow the instructions explained in the workshop
• Hints
– To manage an organization you have to switch to it using
the dropdown in the upper right corner.
Easy
Sec-4. Registering an application
• Prerequisite
– To have a FIWARE account
• Steps
– Go to https://account.lab.fiware.org
– Sign In
– Register an application
• Hints
– You have to set:
• URL: the url where your app will run
• Callback URL: the url where Account Portal will redirect your users once
authenticated
Easy
Sec-5 (1). Adding OAuth2 to your application
(based on our Node.js template)
• Prerequisites
– To have an application registered in the Account Portal
– To learn how OAuth2 works
• Steps
– Clone our demo example:
• https://github.com/ging/oauth2-example-client
– Follow the instructions in the README
• You will find client_secret and client_id in the application detail:
Easy
Sec-5 (2). Adding OAuth2 to your application
(based on our Node.js template)
• Hints
– Learn about OAuth2:
• http://oauth.net/2/
– FIWARE Account flows:
• http://es.slideshare.net/alvaroalonsogonzalez/id-m-andac
– FIWARE Account OAuth2 docs
• https://github.com/ging/fi-ware-idm/wiki/Using-the-FI-LAB-instance
– Advanced courses:
• http://edu.fi-ware.org/course/view.php?id=79
• http://edu.fi-ware.org/course/view.php?id=63
Easy
Sec-6. Adding OAuth2 to your application
(using an OAuth2 library)
• Prerequisite
– To have an application registered in the Account Portal
– To have your own application
• Steps
– Include an OAuth2 library in your app
– Configure it using the OAuth credentials generated in the
Account Portal
– Follow the library instructions to use it
• Hints
– OAuth2 libraries
• http://oauth.net/2/
Medium
Sec-7. Adding OAuth2 to your application
(Resource Owner Password Credentials Grant)
• Prerequisite
– To have an application registered in the Account Portal
• Steps
– Include an OAuth2 library in your app
– Configure it using the OAuth credentials generated in the
Account Portal
– Follow the library instructions to use it with this grant type
• Hints
– OAuth2 libraries
• http://oauth.net/2/
– FIWARE Account OAuth2 docs
• https://github.com/ging/fi-ware-idm/wiki/Using-the-FI-LAB-instance
Medium
Sec-8. Securing your backend
Authentication
• Prerequisite
– To have a frontend app using OAuth and FIWARE Account
– To have a REST-based backend service
• Steps
– Clone our PEP-Proxy Wilma
• https://github.com/ging/fi-ware-pep-proxy
– Configure it following the README
• app_host and app_port are the coordinates of your backend REST API
– Now your requests to your backend
• Has to be sent to the proxy
• Has to include “X-Auth-Token” header with the OAuth2 access token
• Hints
– Wilma docs
• http://catalogue.fiware.org/enablers/pep-proxy-wilma
Medium
Sec-9. Securing your backend
Basic Authorization
• Prerequisite
– To have a Wilma deployed on top of your backend
• Steps
– Enable the “check_permissions” option in Wilma’s config
– Edit your application in Account Portal
• Create a new role
• Create a new permission with
– HTTP action – GET, POST, PUT, DELETE
– REST resource – the url of your resource
• Assign the role to a user
• Check the request in your App
• Hints
– AuthZForce docs
• http://catalogue.fiware.org/enablers/authorization-pdp-authzforce
Hard
Sec-10. Securing your backend
Advanced Authorization
• Prerequisite
– To have a Wilma deployed on top of your backend
• Steps
– Modify Wilma in order to manage XACML Requests
• You can check request params such as body, headers…
– Edit your application in Account Portal
• Create a new role
• Create a new permission with an advanced rule (XACML)
• Assign the role to a user
• Check the request in your App
• Hints
– AuthZForce docs
• http://catalogue.fiware.org/enablers/authorization-pdp-authzforce
– XACML
• https://www.oasis-open.org/committees/xacml/
Hard
Adding Identity Management and Access Control to your Application - Exercises
Álvaro Alonso
UPM – DIT
Security Chapter. FIWARE
aalonsog@dit.upm.es, @larsonalonso

Adding Identity Management and Access Control to your Application - Exersices

  • 1.
    Adding Identity Managementand Access Control to your Application - Exercises Álvaro Alonso UPM – DIT Security Chapter. FIWARE aalonsog@dit.upm.es, @larsonalonso
  • 2.
    Exercises index (I) •Sec-1. Creating a FIWARE account • Sec-2. Managing organizations • Sec-3. Authorize a friend in your Cloud Org • Sec-4. Registering an application • Sec-5. Adding OAuth2 to your application (based on our Node.js template)
  • 3.
    Exercises index (I) •Sec-6. Adding OAuth2 to your application (using an OAuth2 library) • Sec-7. Adding OAuth2 to your application (Resource Owner Password Credentials Grant) • Sec-8. Securing your backend Authentication • Sec-9. Securing your backend Basic Authorization • Sec-10. Securing your backend Advanced Authorization
  • 4.
    Sec-1. Creating aFIWARE account • Prerequisite – To have an Internet connection  • Steps – Go to https://account.lab.fiware.org – Click in “Sign Up” – Fill your data – Confirm your account from the email confirmation • Hints – If you don’t receive the email confirmation… check your spam Easy
  • 5.
    Sec-2. Managing organizations •Prerequisite – To have a FIWARE account • Steps – Go to https://account.lab.fiware.org – Sign In – Create an Organization – Add members to it • Hints – To manage an organization you have to switch to it using the dropdown in the upper right corner. Easy
  • 6.
    Sec-3. Authorize afriend in your Cloud Org • Prerequisite – To have a FIWARE account (Trial or Community) • Steps – Go to https://account.lab.fiware.org – Sign In – Follow the instructions explained in the workshop • Hints – To manage an organization you have to switch to it using the dropdown in the upper right corner. Easy
  • 7.
    Sec-4. Registering anapplication • Prerequisite – To have a FIWARE account • Steps – Go to https://account.lab.fiware.org – Sign In – Register an application • Hints – You have to set: • URL: the url where your app will run • Callback URL: the url where Account Portal will redirect your users once authenticated Easy
  • 8.
    Sec-5 (1). AddingOAuth2 to your application (based on our Node.js template) • Prerequisites – To have an application registered in the Account Portal – To learn how OAuth2 works • Steps – Clone our demo example: • https://github.com/ging/oauth2-example-client – Follow the instructions in the README • You will find client_secret and client_id in the application detail: Easy
  • 9.
    Sec-5 (2). AddingOAuth2 to your application (based on our Node.js template) • Hints – Learn about OAuth2: • http://oauth.net/2/ – FIWARE Account flows: • http://es.slideshare.net/alvaroalonsogonzalez/id-m-andac – FIWARE Account OAuth2 docs • https://github.com/ging/fi-ware-idm/wiki/Using-the-FI-LAB-instance – Advanced courses: • http://edu.fi-ware.org/course/view.php?id=79 • http://edu.fi-ware.org/course/view.php?id=63 Easy
  • 10.
    Sec-6. Adding OAuth2to your application (using an OAuth2 library) • Prerequisite – To have an application registered in the Account Portal – To have your own application • Steps – Include an OAuth2 library in your app – Configure it using the OAuth credentials generated in the Account Portal – Follow the library instructions to use it • Hints – OAuth2 libraries • http://oauth.net/2/ Medium
  • 11.
    Sec-7. Adding OAuth2to your application (Resource Owner Password Credentials Grant) • Prerequisite – To have an application registered in the Account Portal • Steps – Include an OAuth2 library in your app – Configure it using the OAuth credentials generated in the Account Portal – Follow the library instructions to use it with this grant type • Hints – OAuth2 libraries • http://oauth.net/2/ – FIWARE Account OAuth2 docs • https://github.com/ging/fi-ware-idm/wiki/Using-the-FI-LAB-instance Medium
  • 12.
    Sec-8. Securing yourbackend Authentication • Prerequisite – To have a frontend app using OAuth and FIWARE Account – To have a REST-based backend service • Steps – Clone our PEP-Proxy Wilma • https://github.com/ging/fi-ware-pep-proxy – Configure it following the README • app_host and app_port are the coordinates of your backend REST API – Now your requests to your backend • Has to be sent to the proxy • Has to include “X-Auth-Token” header with the OAuth2 access token • Hints – Wilma docs • http://catalogue.fiware.org/enablers/pep-proxy-wilma Medium
  • 13.
    Sec-9. Securing yourbackend Basic Authorization • Prerequisite – To have a Wilma deployed on top of your backend • Steps – Enable the “check_permissions” option in Wilma’s config – Edit your application in Account Portal • Create a new role • Create a new permission with – HTTP action – GET, POST, PUT, DELETE – REST resource – the url of your resource • Assign the role to a user • Check the request in your App • Hints – AuthZForce docs • http://catalogue.fiware.org/enablers/authorization-pdp-authzforce Hard
  • 14.
    Sec-10. Securing yourbackend Advanced Authorization • Prerequisite – To have a Wilma deployed on top of your backend • Steps – Modify Wilma in order to manage XACML Requests • You can check request params such as body, headers… – Edit your application in Account Portal • Create a new role • Create a new permission with an advanced rule (XACML) • Assign the role to a user • Check the request in your App • Hints – AuthZForce docs • http://catalogue.fiware.org/enablers/authorization-pdp-authzforce – XACML • https://www.oasis-open.org/committees/xacml/ Hard
  • 15.
    Adding Identity Managementand Access Control to your Application - Exercises Álvaro Alonso UPM – DIT Security Chapter. FIWARE aalonsog@dit.upm.es, @larsonalonso