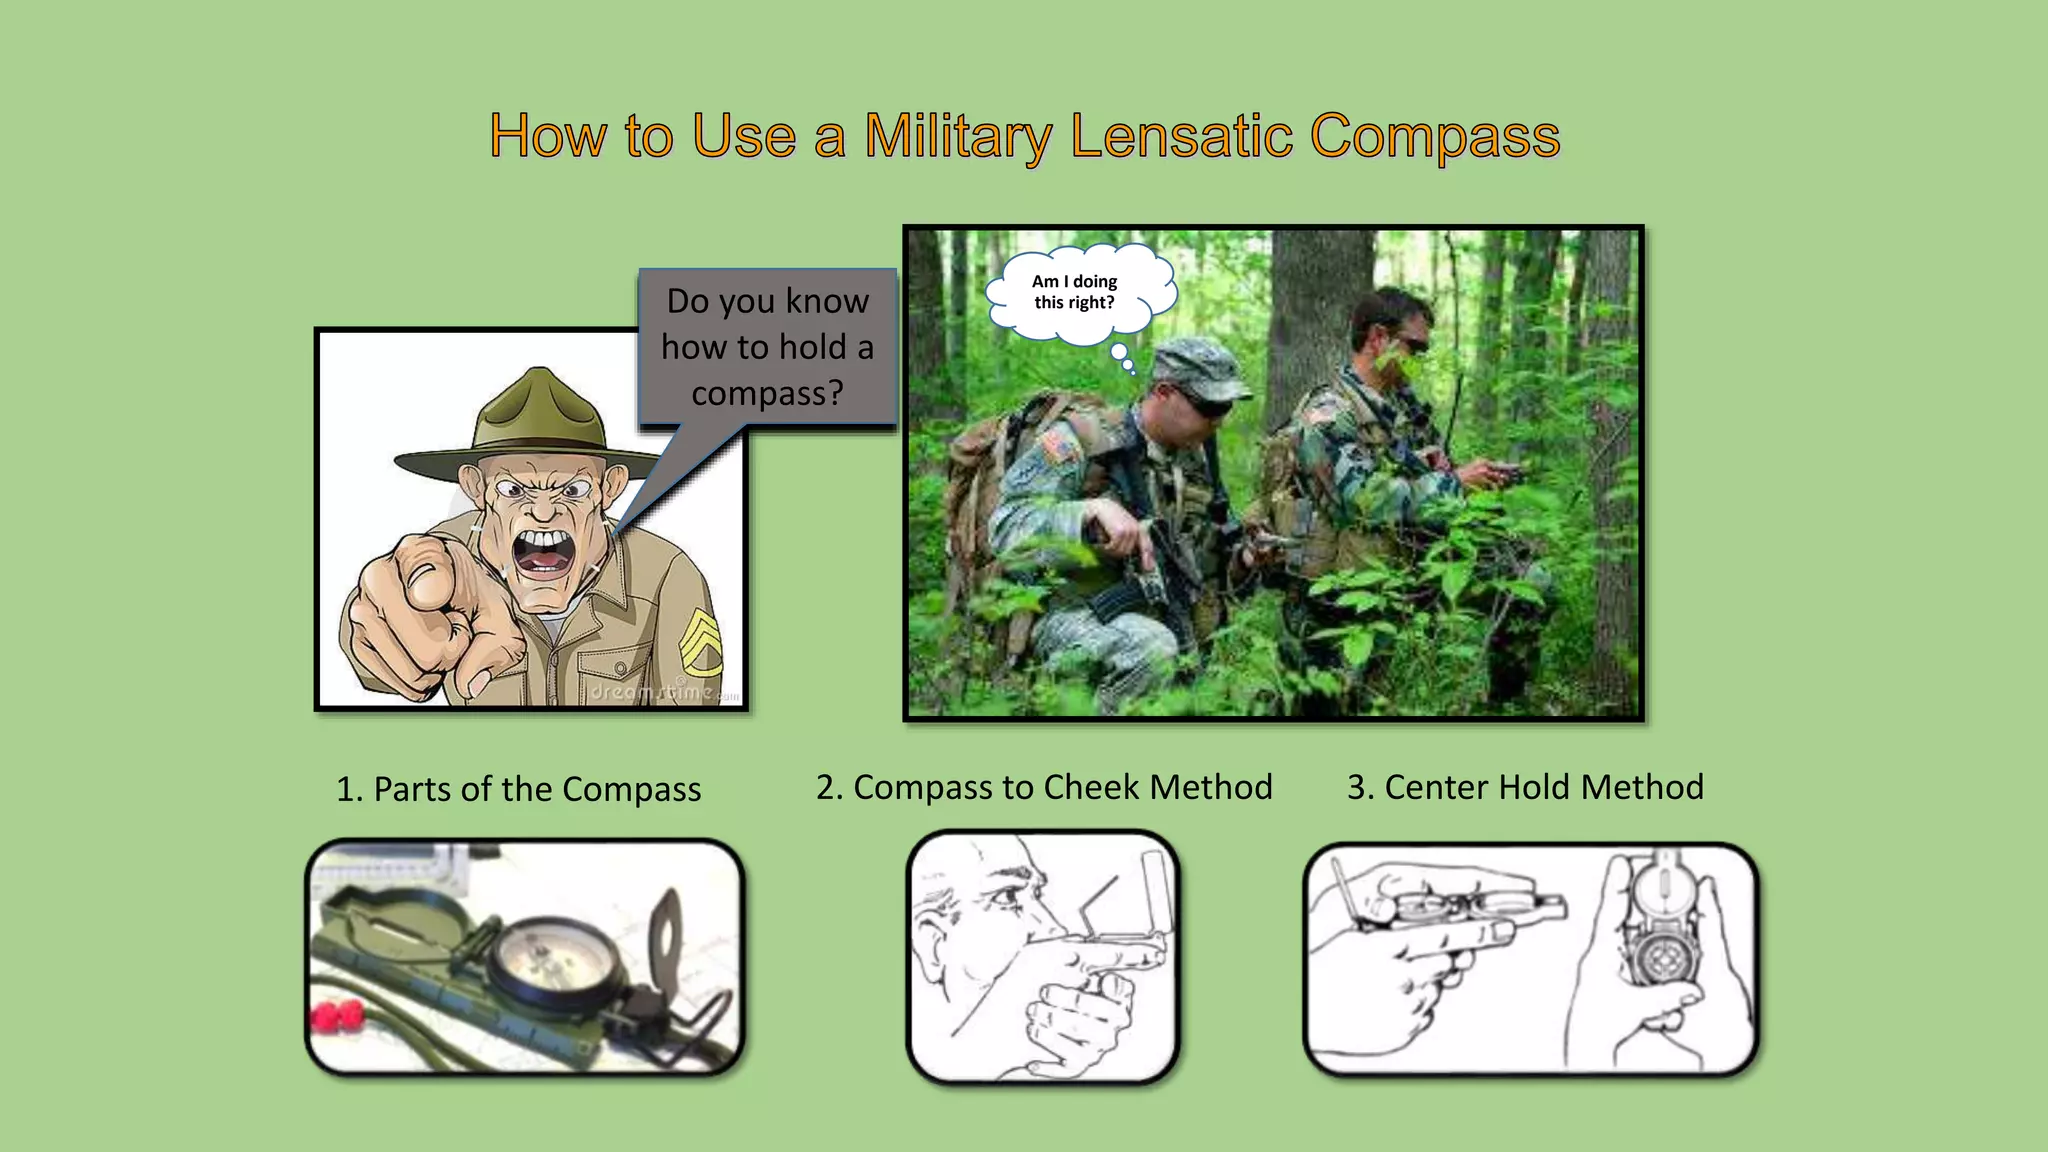
The document provides instructions for three different methods of using a lensatic compass:
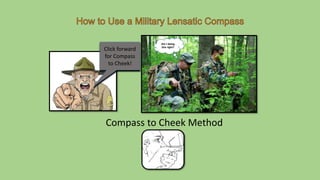
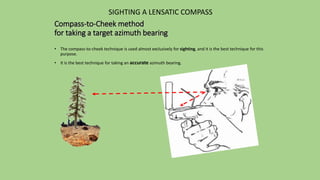
1. The compass-to-cheek method is the most accurate for taking azimuth bearings and involves holding the compass against your cheek to sight targets.
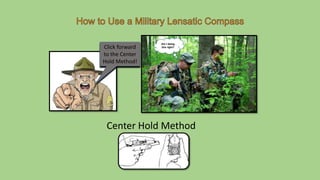
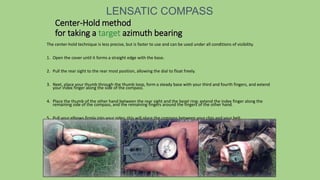
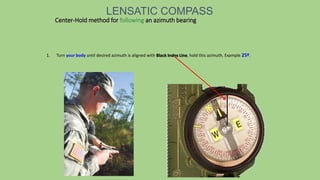
2. The center-hold method is less precise but faster, involving holding the compass in front of your body centered between your chin and belt to point and read azimuths.
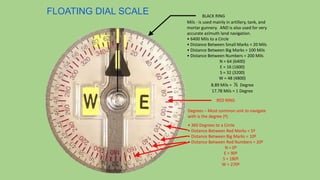
3. Degrees and mils are described as units of measurement on compass dials, with degrees being the most common unit for navigation and mils used for artillery and accurate land navigation.