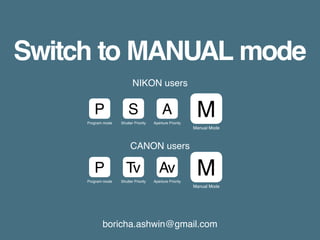
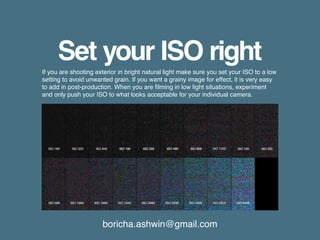
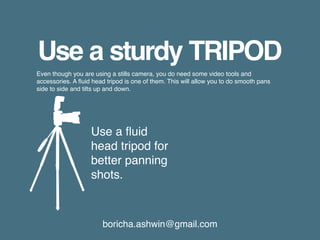
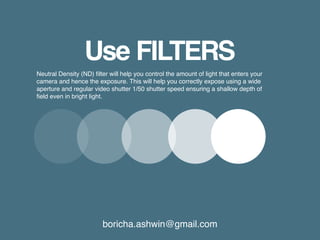
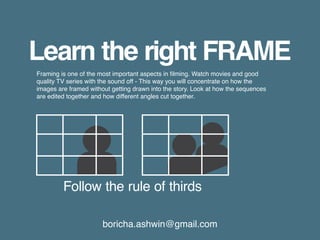
This document provides tips for shooting your first video with a DSLR camera. It recommends reading the camera manual, switching to manual mode, setting the ISO, white balance and shutter speed appropriately for the lighting conditions, using manual focus instead of autofocus, mounting the camera on a tripod, using filters like a neutral density filter, learning proper framing techniques, and practicing to improve your filming skills. The tips are meant to help new users get better quality video from their DSLR cameras.
3. boricha.ashwin@gmail.com
Switch to MANUAL mode
P
P
S
Tv
A
Av
M
M
NIKON users
CANON users
Program mode
Program mode
Shutter Priority
Shutter Priority
Aperture Priority
Aperture Priority
Manual Mode
Manual Mode
4. boricha.ashwin@gmail.com
Set your ISO right
If you are shooting exterior in bright natural light make sure you set your ISO to a low
setting to avoid unwanted grain. If you want a grainy image for effect, it is very easy
to add in post-production. When you are filming in low light situations, experiment
and only push your ISO to what looks acceptable for your individual camera.
5. boricha.ashwin@gmail.com
Colour Temperature (Approx. K)
Set your WHITE BALANCE
This is really important when moving from indoor to outdoor and between different
lighting environments. If you shoot in indoor mode (3200K) outdoors your image will
have a blue colour cast and your skin tones will look unnatural. This is down to colour
temperature. Our eyes are amazing at dealing with change in colour temp, however,
cameras need to be told this. Colour temp is measured in degrees Kelvin, any vague
memory of the Kelvin Scale from Science class..? Daylight is approx 5600K. If you
set the colour temp to the wrong one, unlike stills even with the most advanced
colour correcting tools, this is incredibly hard and time consuming to correct in video
and you will never be able to get it to look 100% natural.
AWB K
Auto White Balance
3000 - 7000
Daylight
5200
Shade
7000
Cloudy
6000
Tungsten
3200
Fluorescent
4000
Custom
2000-10000
Flash
6000
Kelvin
User
6. boricha.ashwin@gmail.com
Set your SHUTTER SPEED
If you are shooting at 25fps (European standard) set your shutter to 1/50 of a second.
Increasing the shutter speed is good for shooting high-speed action i.e. a moving car.
Regular action shot with a high shutter will have a staccato effect and look unnatural.
Horror movies often use this as an effect.
24 FPS
30 FPS
1/50
1/60
Frames per second th of a second
7. boricha.ashwin@gmail.com
Set your APERTURE
Learn about Manual Exposure. It is 100% better to manually set the
aperture (F Stop). This way you expose for what is important in the
frame and the exposure won’t change when you pan from something
light to dark. Exposure has a direct effect on depth of field. Read up
on this and how you can select what is and isn’t in focus. A shallow
depth of field will give your image a much more 3D quality.
f/22f/16f/11f/8f/5.6
Depth of field
f/4f/2.8f/2f/1.4
Shallow depth of field Greater depth of field
8. boricha.ashwin@gmail.com
Use MANUAL FOCUS
Auto focus, can be great on stills, but for the moving image it will continuously ‘hunt’
for focus. This is because the camera will be looking for what to focus on. This is
especially true in low light situations when you have a much shallower depth of
field. Practice following movement, the more you practice the better you will get at
manually focusing.
AFAFS M More controlOut of control
9. boricha.ashwin@gmail.com
Use a sturdy TRIPOD
Even though you are using a stills camera, you do need some video tools and
accessories. A fluid head tripod is one of them. This will allow you to do smooth pans
side to side and tilts up and down.
Use a fluid
head tripod for
better panning
shots.
10. boricha.ashwin@gmail.com
Use FILTERS
Neutral Density (ND) filter will help you control the amount of light that enters your
camera and hence the exposure. This will help you correctly expose using a wide
aperture and regular video shutter 1/50 shutter speed ensuring a shallow depth of
field even in bright light.
11. boricha.ashwin@gmail.com
Learn the right FRAME
Follow the rule of thirds
Framing is one of the most important aspects in filming. Watch movies and good
quality TV series with the sound off - This way you will concentrate on how the
images are framed without getting drawn into the story. Look at how the sequences
are edited together and how different angles cut together.
12. boricha.ashwin@gmail.com
Few TIPS
1) Talk to who you are filming, build a relationship with them
2) Get them to feel comfortable with you and being filmed
3) Enjoy and experiment: Try shooting hand held. Learn how to be comfortable with
the camera.
4) The more you feel comfortable and in-control behind the camera the more your
filming skills will improve.
5) Get hold of some basic accessories to make your life easier