Download to read offline

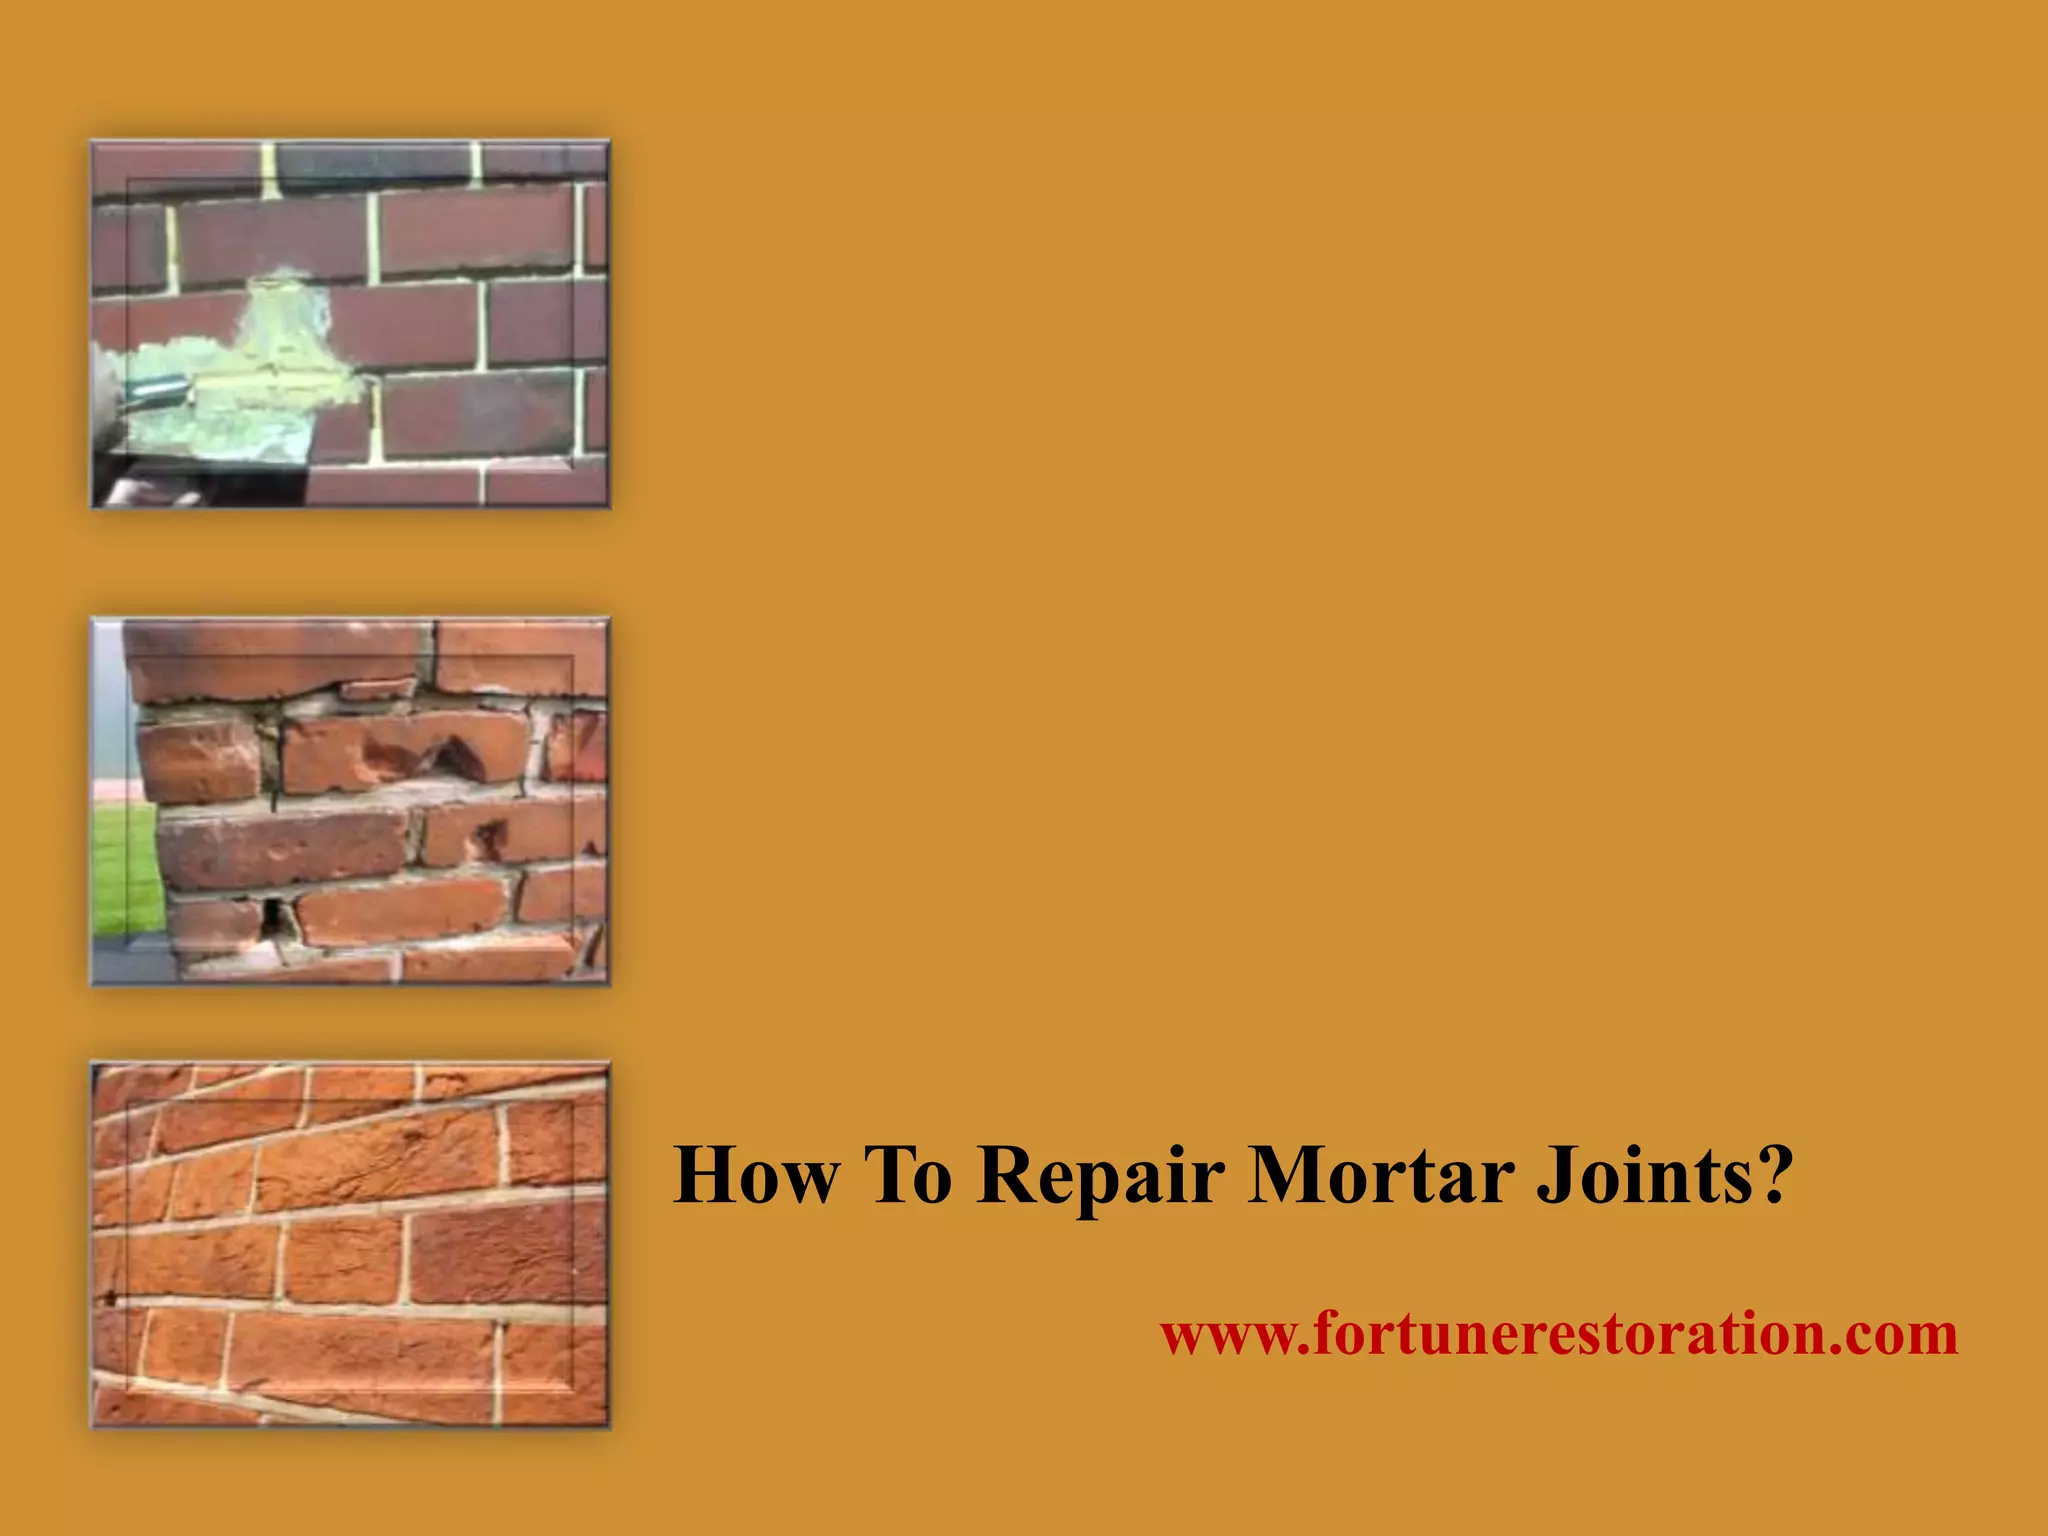


The document provides a detailed guide on how to repair mortar joints in brick exteriors, a process known as pointing, repointing, or tuckpointing. It outlines the necessary tools and materials, the steps to break out old mortar, mix new mortar correctly, fill the joints, and match new mortar joints with the old. Proper technique is emphasized, including the importance of preventing water intrusion to maintain the durability of the brickwork.


