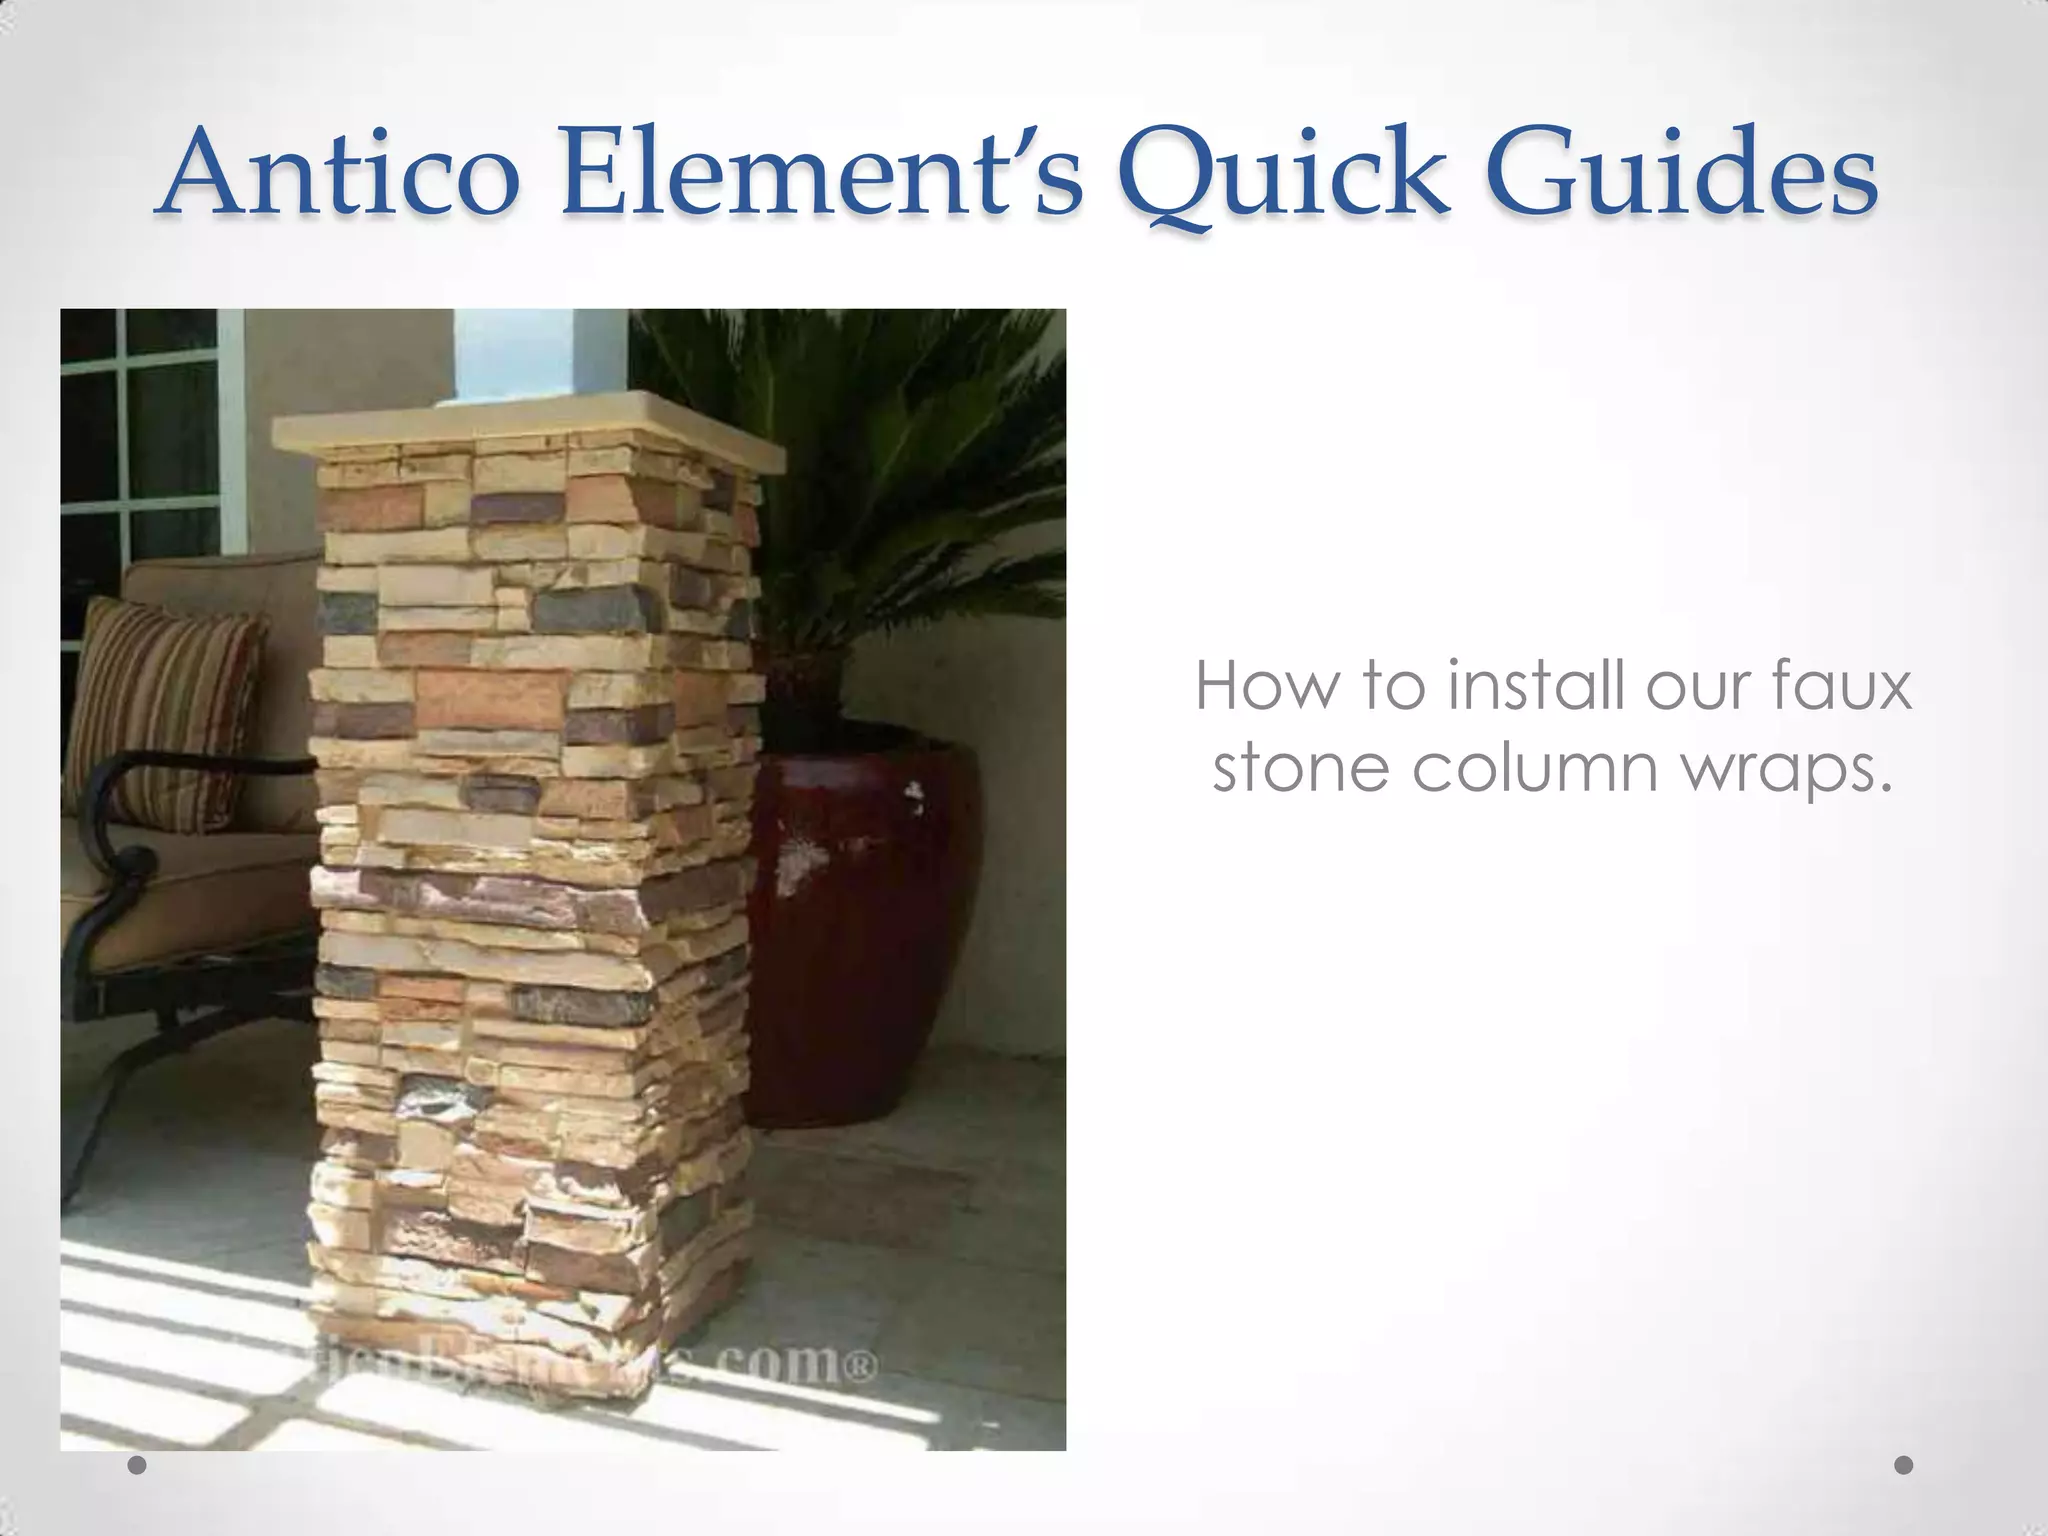
2. All the parts necessary to install a faux stone column wrap.
3. Tools Needed
Our post wraps are very easy to install. You only need
basic carpenter’s tools
4. Create A Frame
The project should start with creating a frame of 11-7/8” x 11-7/8” around your existing post. It
can be done with simple wood blocks or with L shaped brackets.
They can both be made out of pressure-treated wood or any other material available.
5. Bottom Frame
The bottom brackets should be installed off the ground to keep them away from wet grass or
rain. Something line 2-4 inches should be sufficient.
6. Installing The First Two Panels
We suggest gluing and stapling two panels at a time. You
may put together two panels before attaching them to the
brackets to help you line up the “fingers”. Once they are
nicely put together you may attach them to the brackets on
the existing post.
7. Installing The Last Two Panels
Once the first two panels are secured in place you may glue
and screw the other two panels together and attach them to
the post. Ideally the frame will be a bit less than 12 x12 “ so
that you have a bit of wiggle room when interlocking the
panels at the corners.
8. Stacking Posts Upwards
We offer two heights for our posts, 73 and 36 inches. At
times you may need to use a combination of the two to
reach a certain height. Our posts can be easily stacked
on top of each other. The instructions are very similar to
the single post. You should use a block at the joint
between the two posts to achieve a sturdy installation.
9. Installing The Caps
Our Caps come in 2 interlocking pieces OR in one solid cap.
The middle opening, for the open caps, was created for a
6"x6" post so it might need to be cut larger to fit your post
size. The closed caps can be also cut to accommodate for
smaller posts. You can easily do that with a jig saw. Glue and
staples can be used to secure them
10. Completing The Installation
We strongly advise to caulk at least the gaps between the Cap
and the wood post to prevent water from going inside the post
and possibly rot your mounting brackets if they are made out of
non water resistant material.
For better results you can caulk the areas where the panels
snap together at the "fingers". Our Touch Up Kits can be used to
paint the caulk to match the colors of the stones.
11. Thank You!
If you have any question before and during the installation
please don’t hesitate to call us at 877-3-ANTICO.
You may also visit our website at www.AnticoElements.com