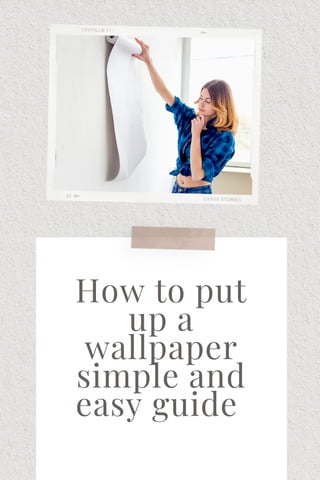
How to put up a wallpaper simple and easy guide Mohit Bansal Chandigarh.pdf
•
0 likes•69 views

When you are decorating your house there might be few things which you feel the urge to do it yourself. One of those would be painting the house or putting up a wallpaper. Because we have seen tons of people on instagram and youtube doing it and having fun.

Recommended
More Related Content
Similar to How to put up a wallpaper simple and easy guide Mohit Bansal Chandigarh.pdf
Similar to How to put up a wallpaper simple and easy guide Mohit Bansal Chandigarh.pdf (20)
More from Mohit Bansal Chandigarh
More from Mohit Bansal Chandigarh (20)
Recently uploaded
Recently uploaded (20)
How to put up a wallpaper simple and easy guide Mohit Bansal Chandigarh.pdf
- 1. How to put up a wallpaper simple and easy guide
- 2. When you are decorating your house there might be few things which you feel the urge to do it yourself. One of those would be painting the house or putting up a wallpaper. Because we have seen tons of people on instagram and youtube doing it and having fun. Also if you are renovating your house and you don’t have quiet the budget to hire a labor for this stuff you might decide to put up a wallpaper yourself. And to be honest their is zero fuss in putting up a wallpaper. It is cakewalk if you just follow all the instructions listed below - Here we have given a guide to to put up a wallpaper for the peel and stick kind -
- 3. Peel and stick Equipments needed Mid cleaner Sponge or cloth Measuring tape Pencil Peel and stick wallpaper Smoothing tool Utility knife Straightedge
- 4. Step 1 - Prime your walls with water Using a moist sponge or towel and a mild, non-abrasive cleaning, wipe off the wall's surface. Allow at least 24 hours for the surface to thoroughly dry.
- 5. Step 2 - Measurement Take a pencil and measure the width of the peel-and- stick wallpaper, then transfer the measurement to your wall. Draw a line from the ceiling to the baseboard (or the area you're covering) in line with your marks using a straightedge and level.
- 6. Step 3 - Apply the wallpaper Starting at the highest spot you'll be wallpapering, peel off roughly 12 inches of the adhesive backing and line the wallpaper up with your markings. Press and smooth the wallpaper against the wall from top to bottom while peeling off the remaining backing. To eliminate air bubbles, run a plastic smoothing tool along the wall with downward strokes. After the entire piece has been glued to the wall, gently cut along the baseboard with your straight edge and a tiny utility knife to eliminate any extra. You have to do the same with all the parts of the wallpaper, just remember the pieces and how they are supposed to go.
- 7. Step 4 - Keep in mind the patterns To provide a smooth effect, line up the pattern of the wallpaper while adding consecutive pieces. Overlap the second piece slightly with the first and smooth the seam as flat as possible using the smoothing tool. Trim as necessary at the bottom, then repeat to cover the whole surface.
- 8. Step 5 - Cover all the parts Allow the wallpaper to overflow a window, door frame, or outlet when you reach it. Trim and remove the excess using a straightedge and utility knife after the piece is in place. Smooth the paper against the wall surrounding the outlet or window on all sides. Make sure all electrical outlets and switch plates are switched off, then gently cut away the paper covering the aperture with a utility knife. Don't worry if the hole has rough edges; the outlet cover or switch plate will disguise most flaws. You may also use paper to create a seamless effect on flat plates.
- 9. Step 6 - No air bubbles If any air bubbles remain, poke a tiny hole in the centre of the bubble with the point of your utility knife or a pin. Then press down on the wallpaper to remove any trapped air and smooth it out.