Download to read offline
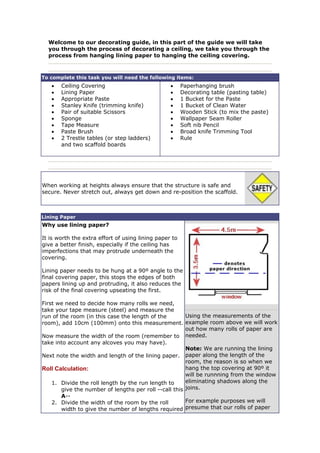
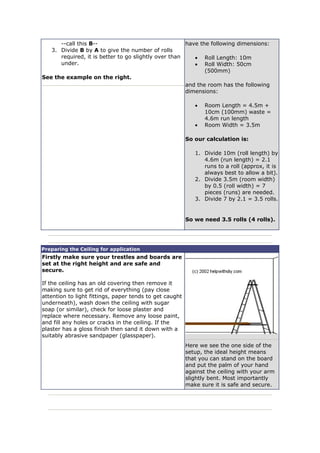
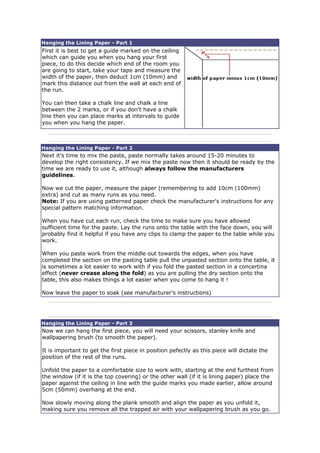


This document provides instructions for decorating a ceiling by hanging lining paper and a ceiling covering. It lists the necessary tools and materials and guides the reader through each step of the process, from preparing the ceiling surface to measuring and cutting the lining paper to hanging it in sections and smoothing the joints. Key steps include marking guide lines on the ceiling, mixing paste, hanging the first piece of lining paper perfectly straight, butting subsequent pieces up to the previous one, and using a seam roller or paint roller to smooth the edges once dry. Following these instructions ensures the ceiling is properly prepared and lined to allow for neatly hanging the final covering.