Download to read offline


![Create a new file paytmButton.js inside
/paytm-button folder. This file will contain
the main logic and functionality for the
Paytm payment integration using ReactJS.
The user interface would have a “Pay Now”
button that will trigger the Paytm checkout
modal.
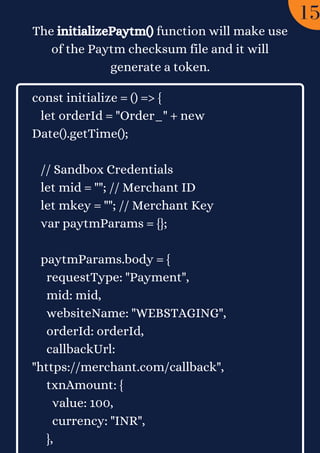
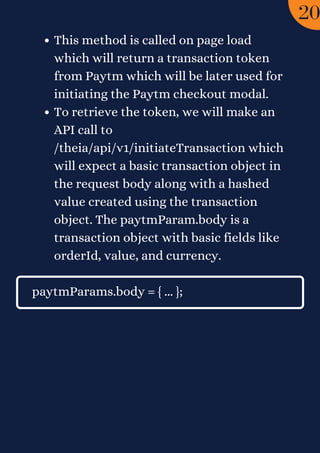
Create a new function initializePaytm() that
will contain all the initialization
configurations and token generation steps
that will be triggered on page load using
useEffect.
useEffect(() => {
initialize();
}, []);
14](https://image.slidesharecdn.com/howtointegratepaytmpaymentgatewayusingreactjsinseveneasysteps-220124052430/85/How-to-integrate-paytm-payment-gateway-using-react-js-in-seven-easy-steps-15-320.jpg)

!["card": {
"padding": "",
"backgroundColor": ""
}
},
"data": {
"orderId": paymentData.order,
"token": paymentData.token,
"tokenType": "TXN_TOKEN",
"amount": paymentData.amount /*
update amount */
},
"payMode": {
"labels": {},
"filter": {
"exclude": []
},
23](https://image.slidesharecdn.com/howtointegratepaytmpaymentgatewayusingreactjsinseveneasysteps-220124052430/85/How-to-integrate-paytm-payment-gateway-using-react-js-in-seven-easy-steps-24-320.jpg)
!["order": [
"CC",
"DC",
"NB",
"UPI",
"PPBL",
"PPI",
"BALANCE"
]
},
"website": "WEBSTAGING",
"flow": "DEFAULT",
"merchant": {
"mid": paymentData.mid,
"redirect": false
},
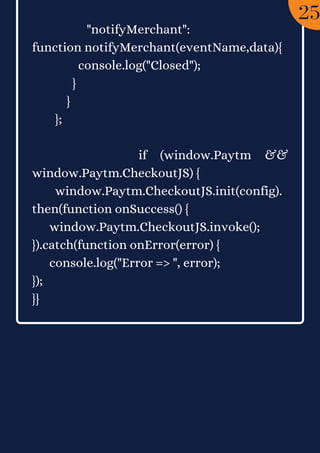
"handler": {
"transactionStatus":
function transactionStatus(paymentStatus){
console.log(paymentStatus);
},
24](https://image.slidesharecdn.com/howtointegratepaytmpaymentgatewayusingreactjsinseveneasysteps-220124052430/85/How-to-integrate-paytm-payment-gateway-using-react-js-in-seven-easy-steps-25-320.jpg)

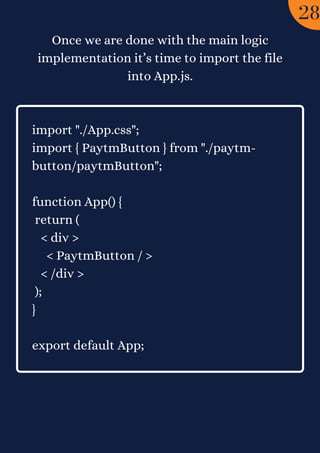


This document is a step-by-step tutorial on integrating the Paytm payment gateway using ReactJS. It outlines the process of creating a Paytm developer account, setting up a React application, and implementing the payment logic via JavaScript. The tutorial concludes with instructions to run the application and encourages users to explore further resources and provide feedback.