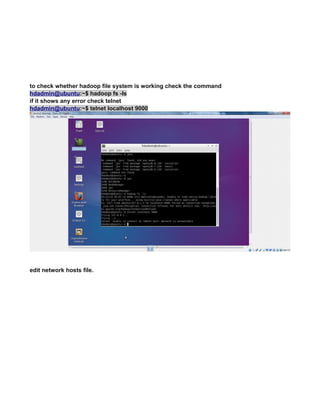
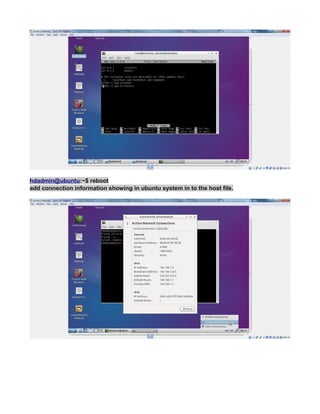
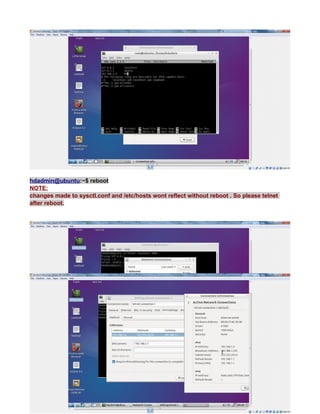
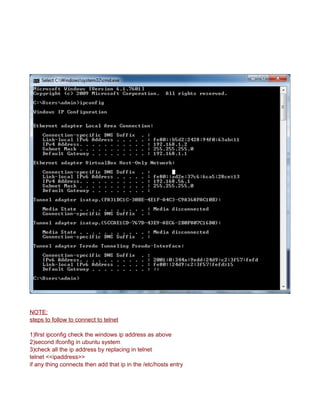
Download to read offline
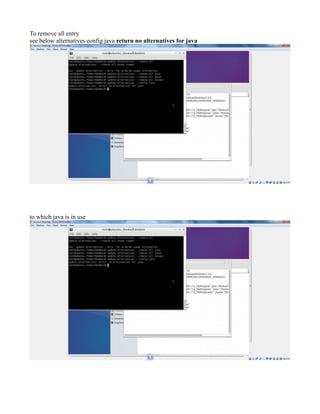
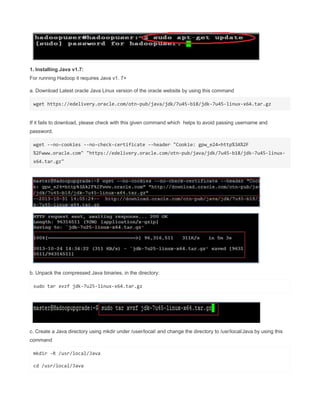

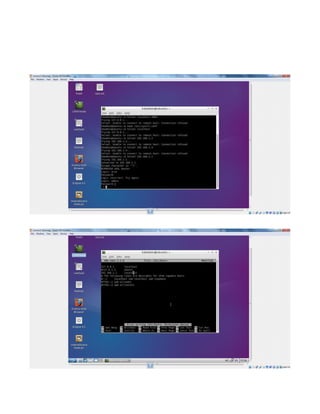
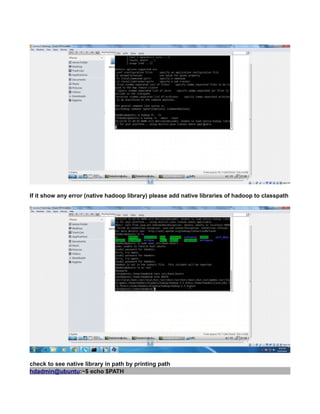
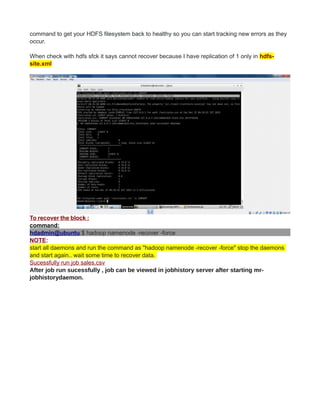
![NOTE:
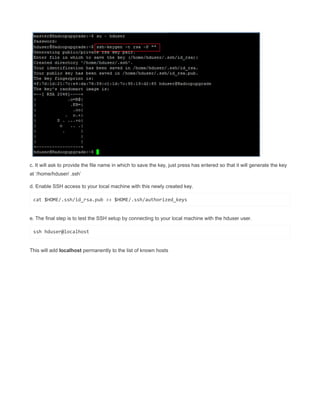
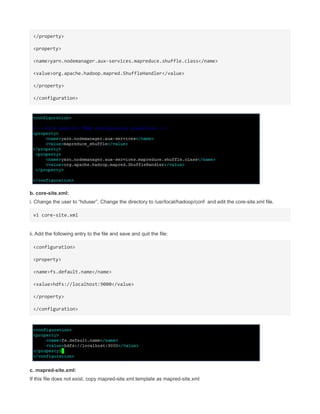
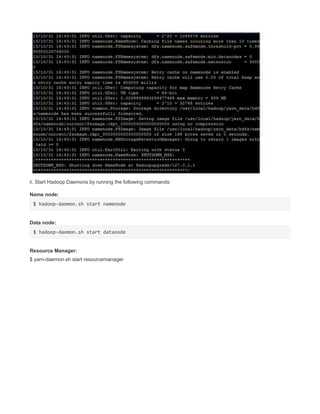
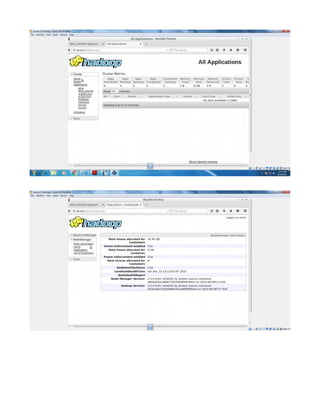
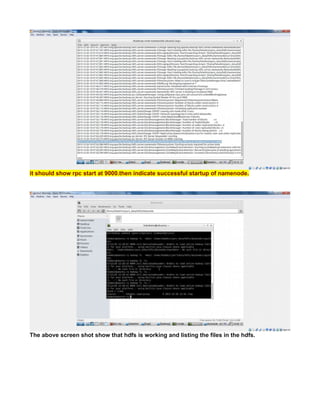
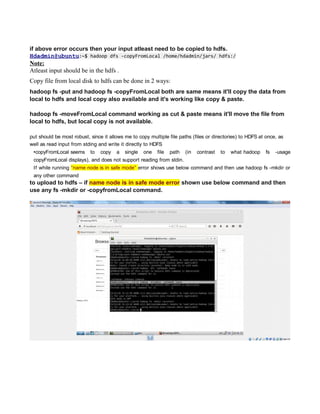
eclipse by default wont display eclipse icon in desktop to map it add eclipse.desktop file in
the desktop with the above entry.
Remember [Desktop Entry] is important . Create in hdadmin user then only when move to
/usr/share/applications it has owner as hadoop and hdadmin privilege so that you can run it.](https://image.slidesharecdn.com/hadoopcompletereference-160115031709/85/Hadoop-completereference-31-320.jpg)
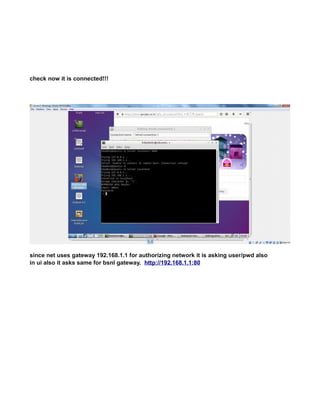
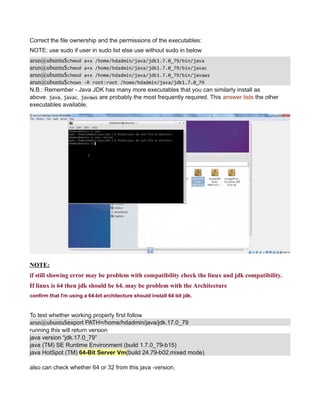
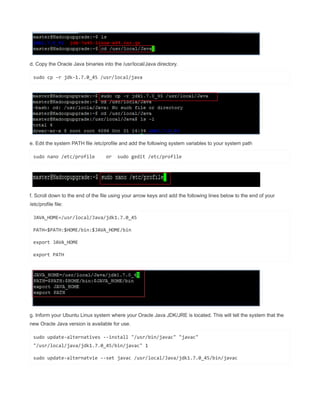
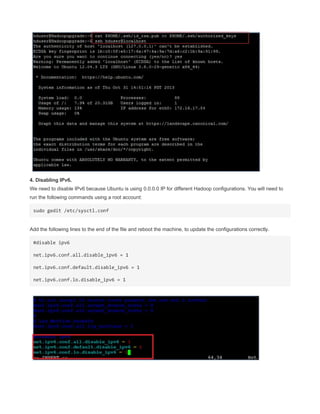
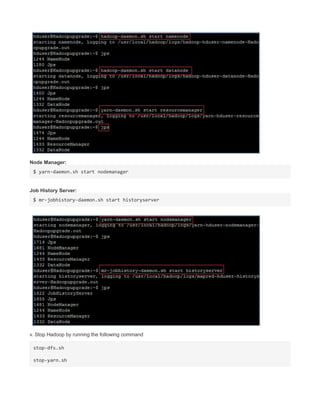
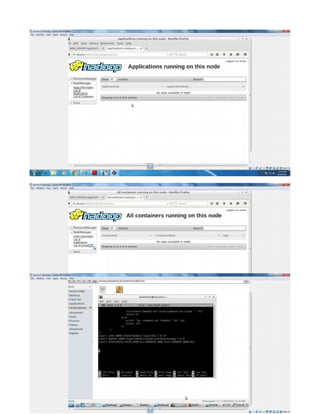
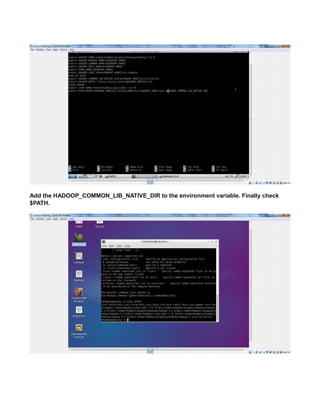
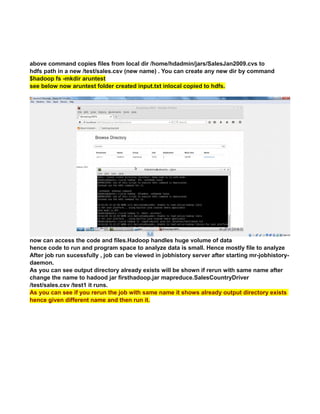
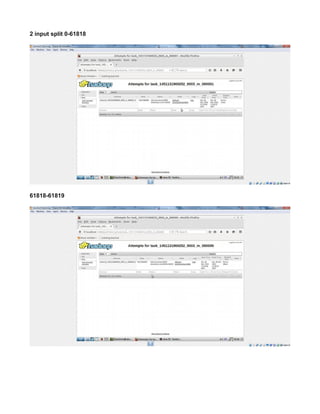
![see net now works in virtualbox.
NOTE:
every time you change the network ipaddress check/uncheck once the check box shown
below to get the latest changed ipaddress to connect to internet also confirm latest changes
in ip reflected by going to system tray icon -right-click>“connection information” popup.
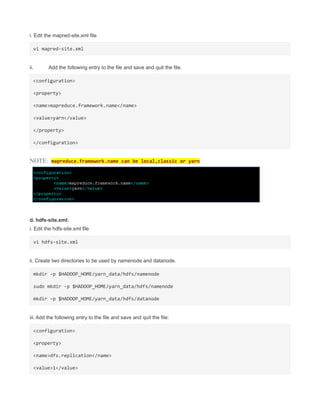
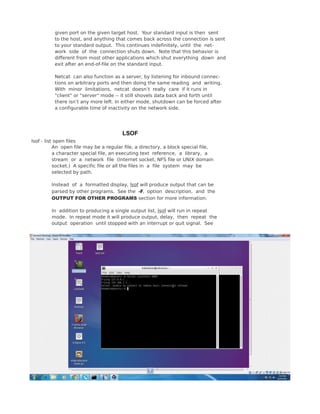
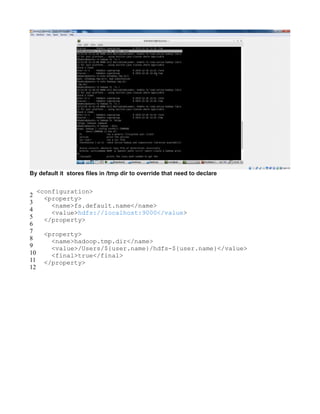
CREATE A TCP PORT 9000 MANUALLY TO LISTEN CONNECTIONS
Since HADOOP_HOME/etc/hadoop/core-site.xml uses port 9000
<value>hdfs://localhost:9000</value>
you can make 9000 to listen by
The reason for connection refused is simple - the port 9000 is NOT being used (not open).
Use the command => lsof -i :9000 to see what app is using the port. If the result is empty (return
value 1) then it is not open.
You can even test further with netcat.
List on port 9000 in terminal session 1
nc -l -p 9000 acts similar to server , create a port 9000 and acts a inboun and outbound channel
In another session, connect to it
$ lsof -i :9000
COMMAND PID USER FD TYPE DEVICE SIZE/OFF NODE NAME
nc 12679 terry 3u IPv4 7518676 0t0 TCP *:9000 (LISTEN)
$ nc -vz localhost 9000
Connection to localhost 9000 port [tcp/*] succeeded!
Netcat, or "nc" as the actual program is named, should
have been supplied long ago as another one of those cryptic but stan‐
dard Unix tools.
In the simplest usage, "nc host port" creates a TCP connection to the](https://image.slidesharecdn.com/hadoopcompletereference-160115031709/85/Hadoop-completereference-43-320.jpg)
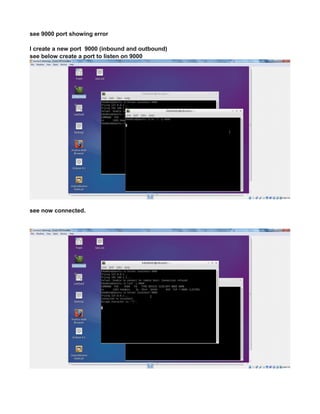
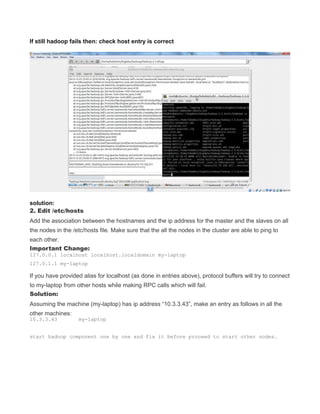
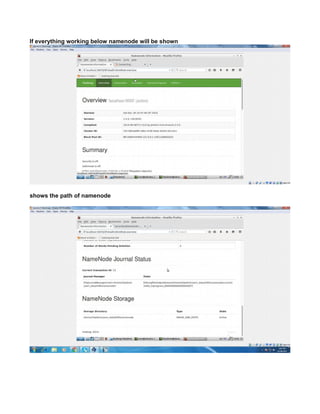
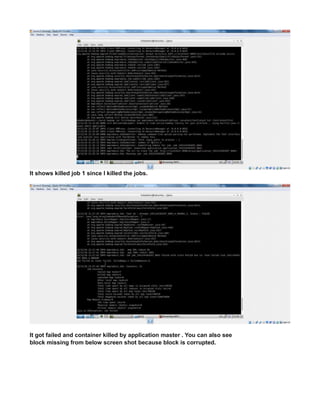


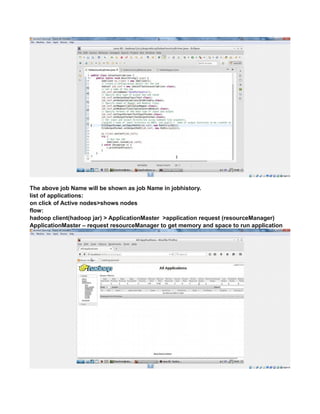

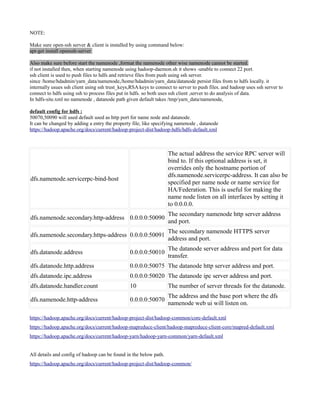

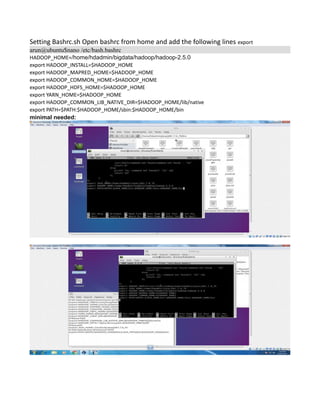
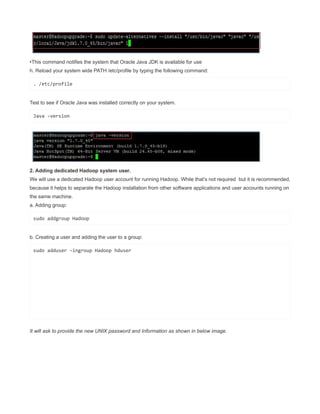
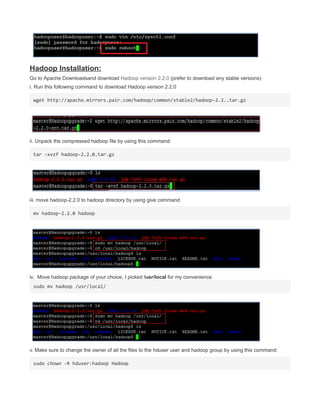
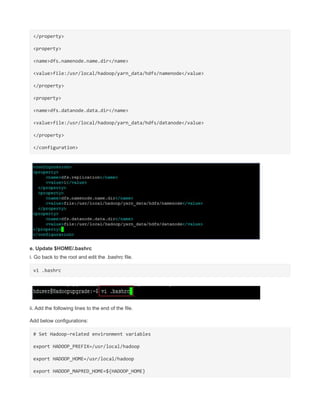
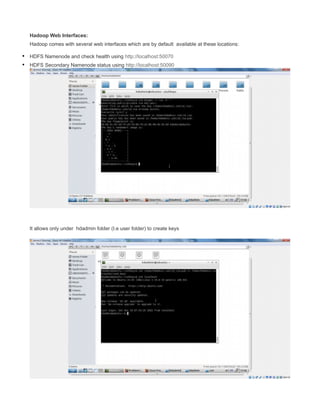
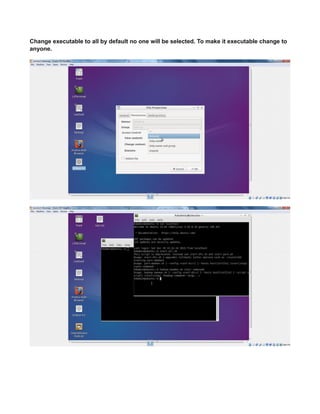
![hdadmin@ubuntu:$ hadoop fs -get [-crc] <src> <localDest>
Copies the file or directory in HDFS identified by src to the local file system path identified
by localDest.
hdadmin@ubuntu:$ hadoop getmerge <src> <localDest>
Retrieves all files that match the path src in HDFS, and copies them to a single, merged file
in the local file system identified by localDest.
hdadmin@ubuntu:$ hadoop fs -cat <filen-ame>
Displays the contents of filename on stdout.
hdadmin@ubuntu:$ hadoop fs -copyToLocal <src> <localDest>
Identical to -get
hdadmin@ubuntu:$ hadoop fs -moveToLocal <src> <localDest>
Works like -get, but deletes the HDFS copy on success.
hdadmin@ubuntu:$ hadoop fs -mkdir <path>
Creates a directory named path in HDFS.
Creates any parent directories in path that are missing e. g. , mkdir − pinLinux.
hdadmin@ubuntu:$ hadoop fs -setrep [-R] [-w] rep <path>
Sets the target replication factor for files identified by path to rep.
Theactualreplicationfactorwillmovetowardthetargetovertime
hdadmin@ubuntu:$ hadoop fs -touchz <path>
Creates a file at path containing the current time as a timestamp. Fails if a file already
exists at path, unless the file is already size 0.
hdadmin@ubuntu:$ hadoop fs -test -[ezd] <path>
Returns 1 if path exists; has zero length; or is a directory or 0 otherwise.
hdadmin@ubuntu:$ hadoop fs -stat [format] <path>
Prints information about path. Format is a string which accepts file size in blocks , filename
, block size , replication , and modification date .
hdadmin@ubuntu:$ hadoop fs -tail [-f] <file2name>
Shows the last 1KB of file on stdout.
hdadmin@ubuntu:$ hadoop fs -chmod [-R] mode,mode,... <path>...
Changes the file permissions associated with one or more objects identified by path....
Performs changes recursively with R. mode is a 3-digit octal mode, or {augo}+/-{rwxX}.
Assumes if no scope is specified and does not apply an umask.
hdadmin@ubuntu:$ hadoop fs -chown [-R] [owner][:[group]] <path>...
Sets the owning user and/or group for files or directories identified by path.... Sets owner
recursively if -R is specified.
hdadmin@ubuntu:$ hadoop fs -chgrp [-R] group <path>...
Sets the owning group for files or directories identified by path.... Sets group recursively if -
R is specified.](https://image.slidesharecdn.com/hadoopcompletereference-160115031709/85/Hadoop-completereference-69-320.jpg)


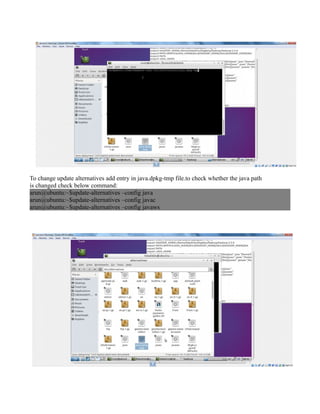
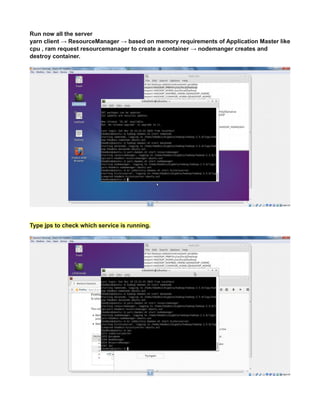
This document provides instructions for configuring Java, Hadoop, and related components on a single Ubuntu system. It includes steps to install Java 7, add a dedicated Hadoop user, configure SSH access, disable IPv6, install Hadoop, and configure core Hadoop files and directories. Prerequisites and configuration of files like yarn-site.xml, core-site.xml, mapred-site.xml, and hdfs-site.xml are described. The goal is to set up a single node Hadoop cluster for testing and development purposes.


![제 23회 보아즈(BOAZ) 빅데이터 컨퍼런스 - [MBOAX] : ABSA를 활용한 소비자 반응 분석 기반 운영 효율화 대시보드 설계](https://cdn.slidesharecdn.com/ss_thumbnails/3-1boaz23rdconferencemboax-260203102709-9d519923-thumbnail.jpg?width=640&height=640&fit=bounds)


