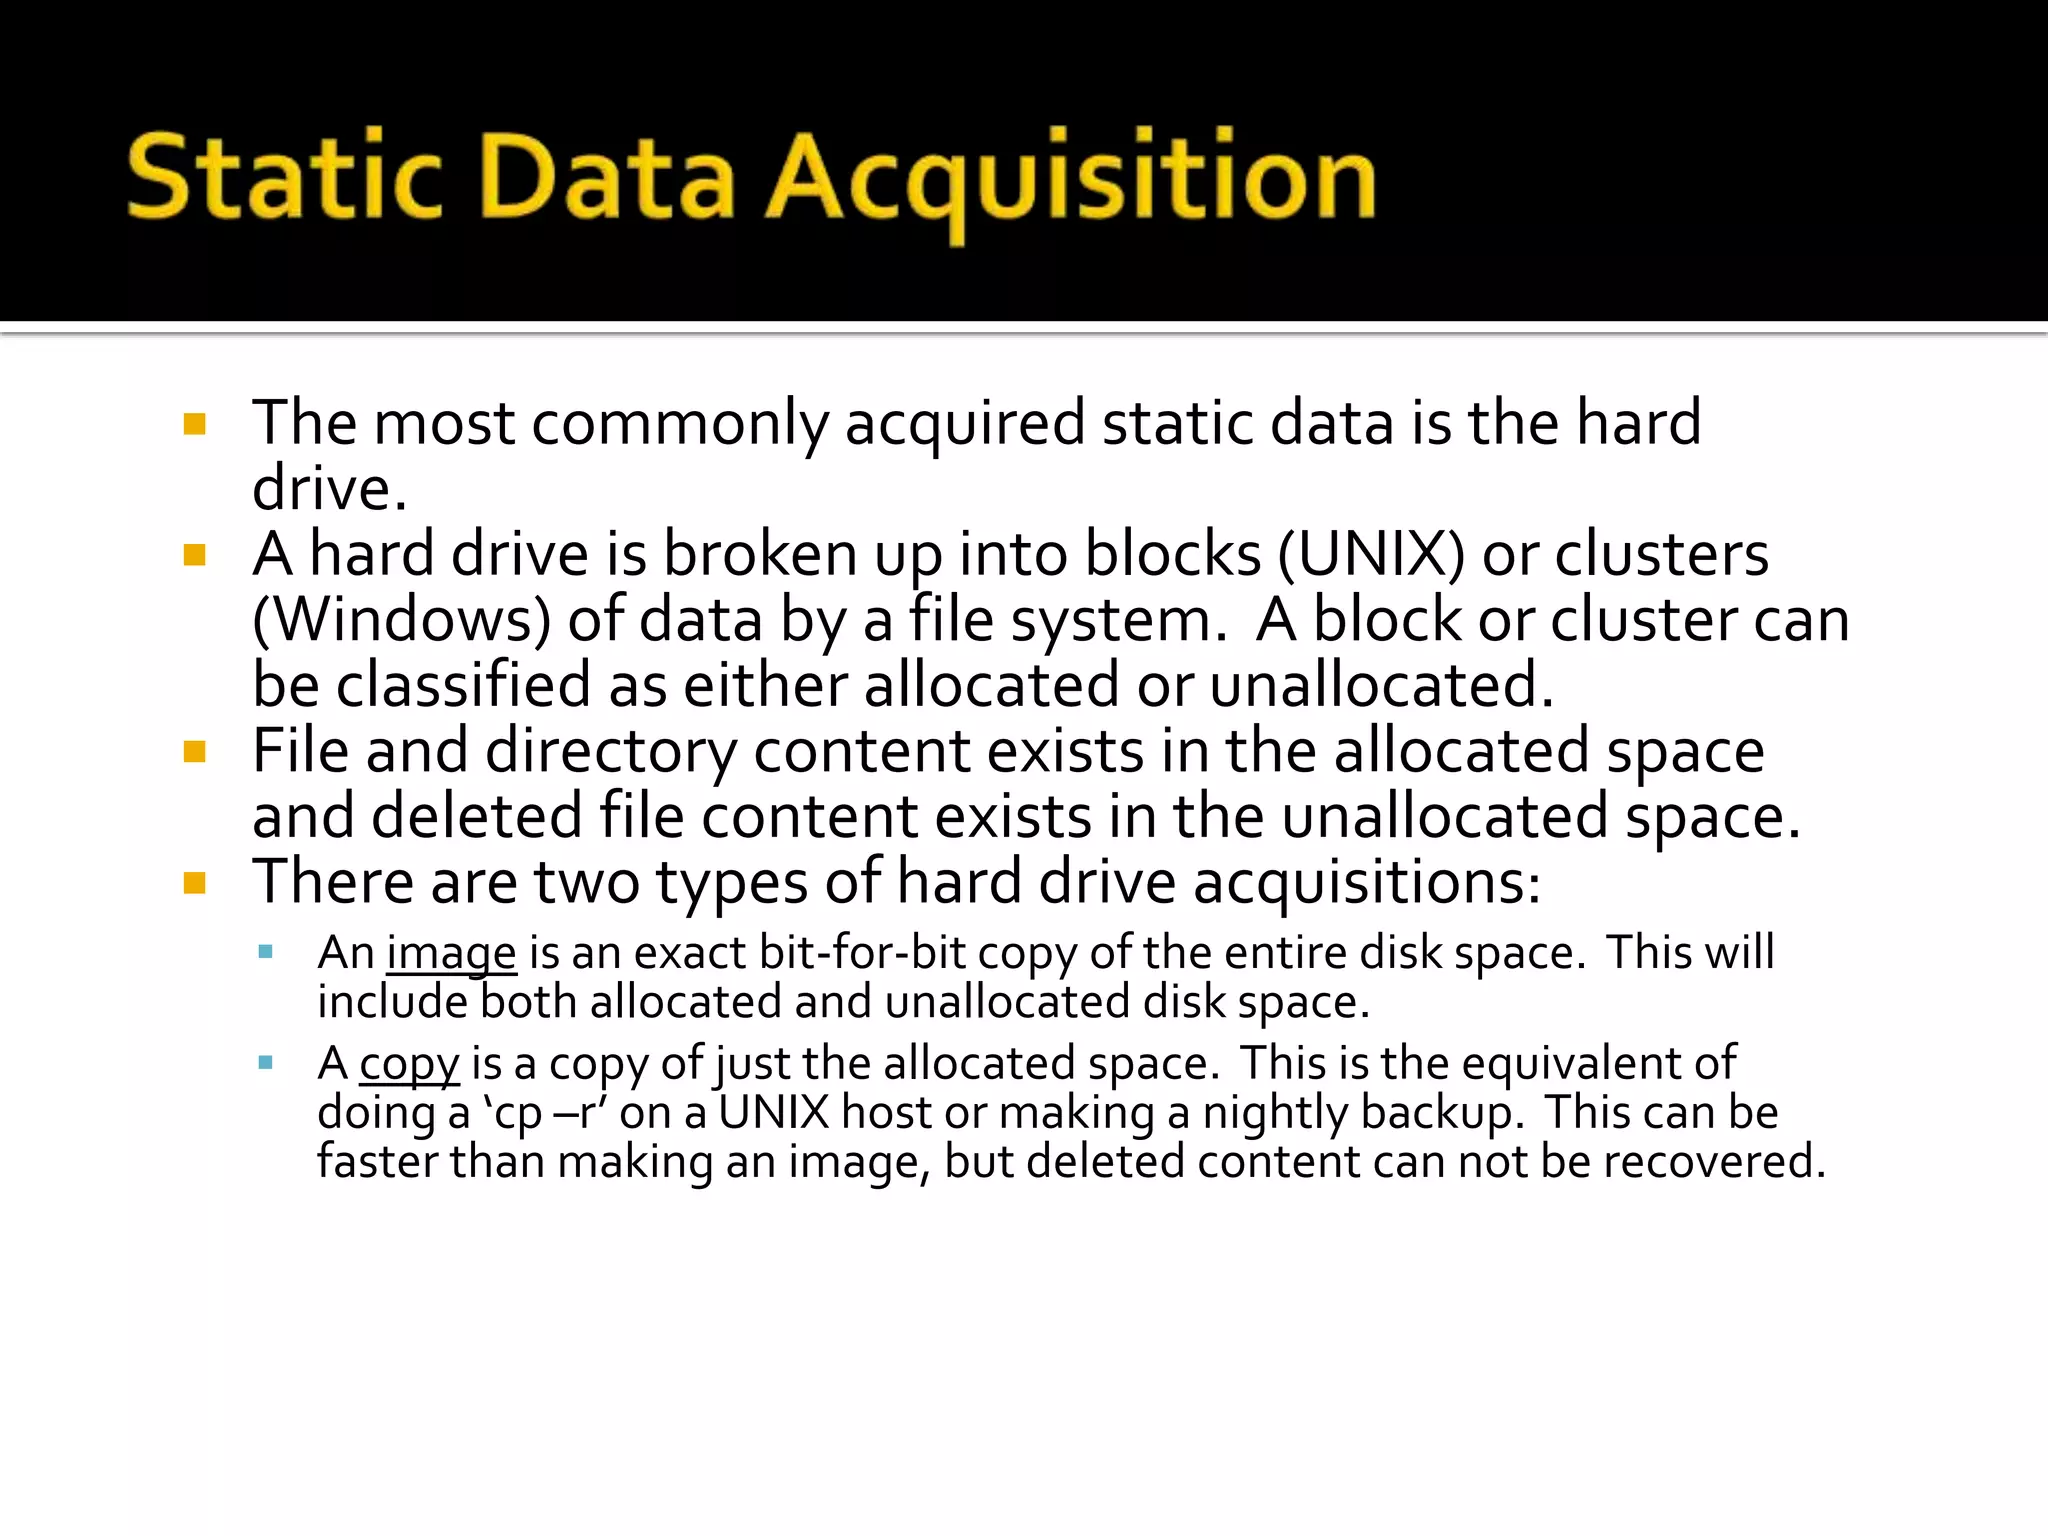
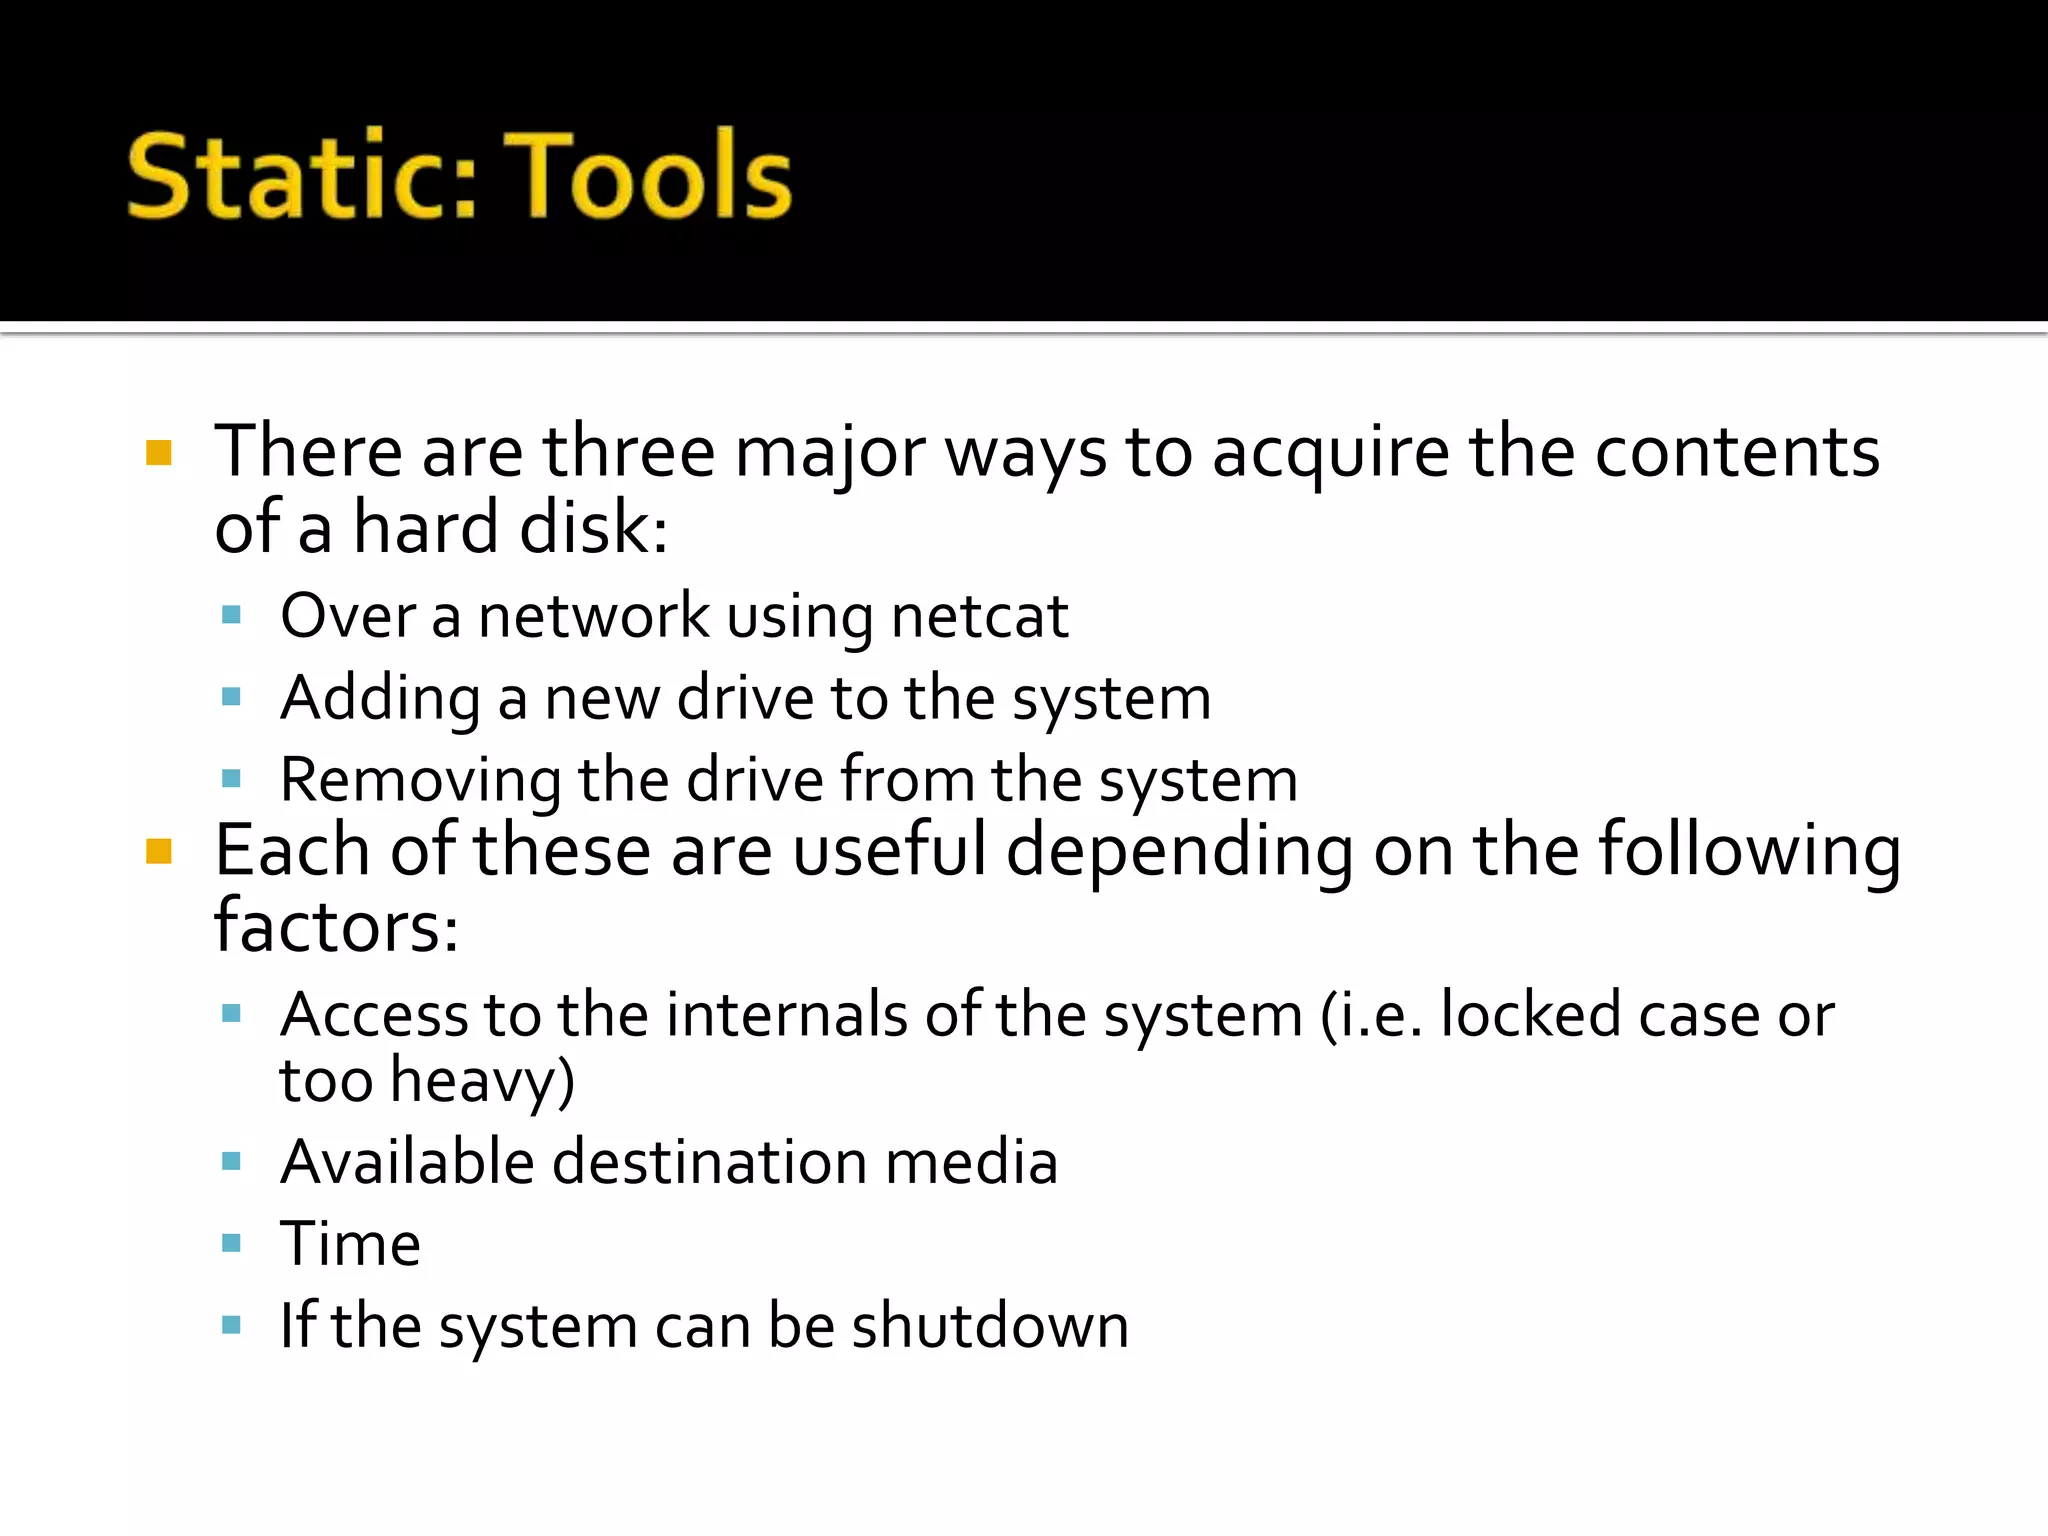
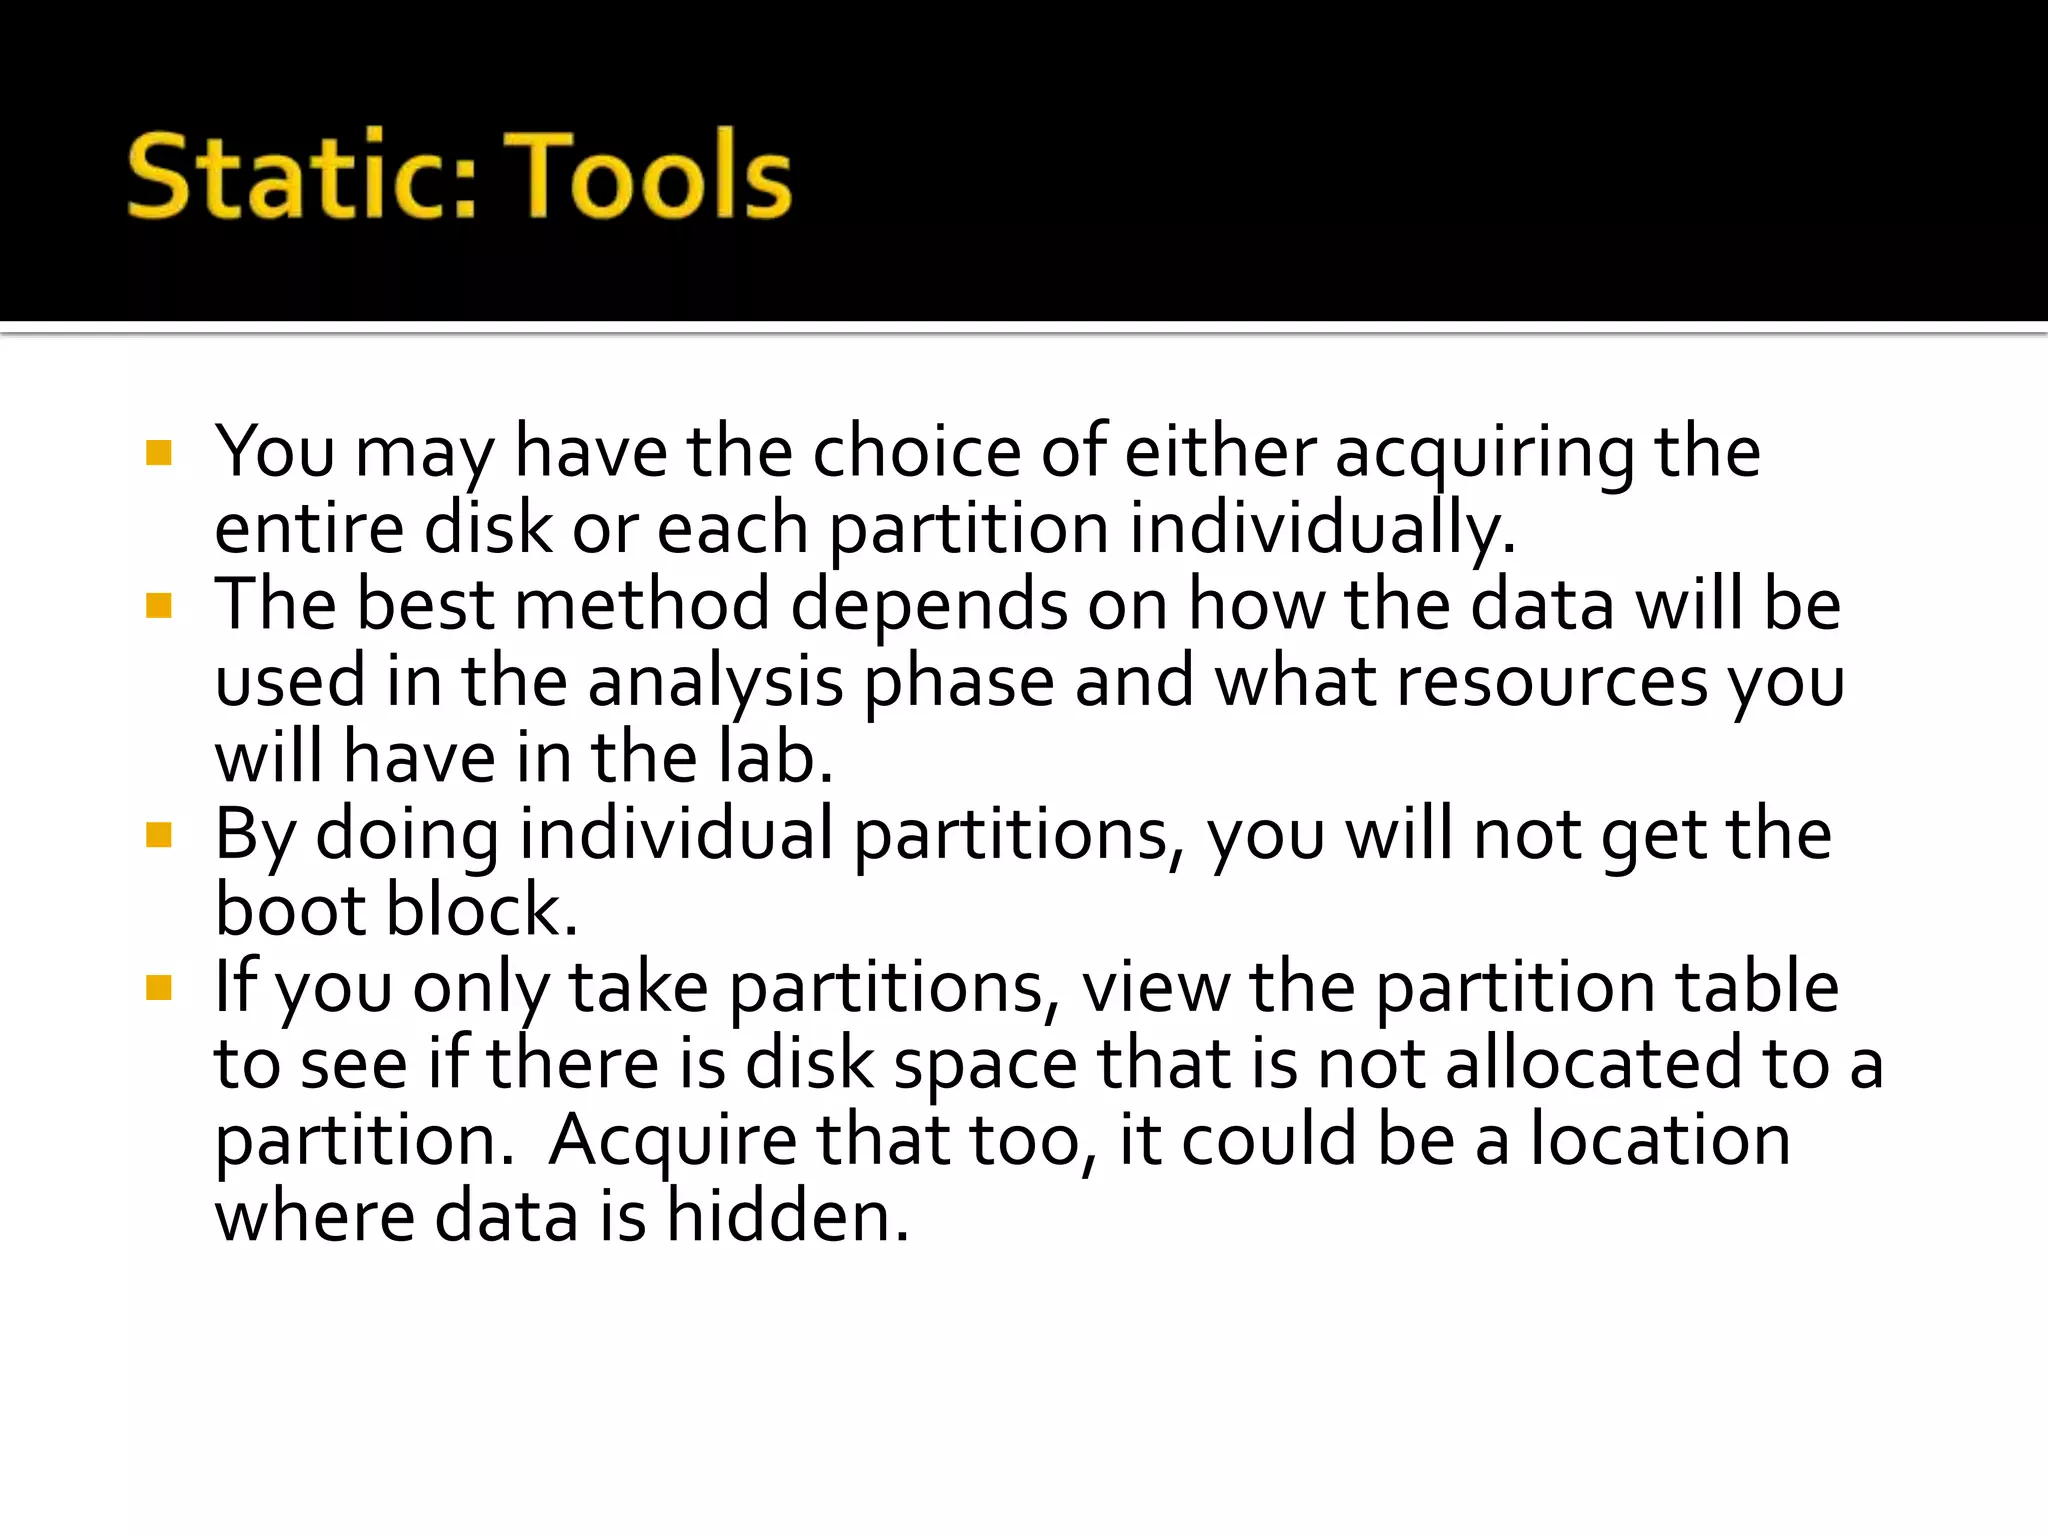
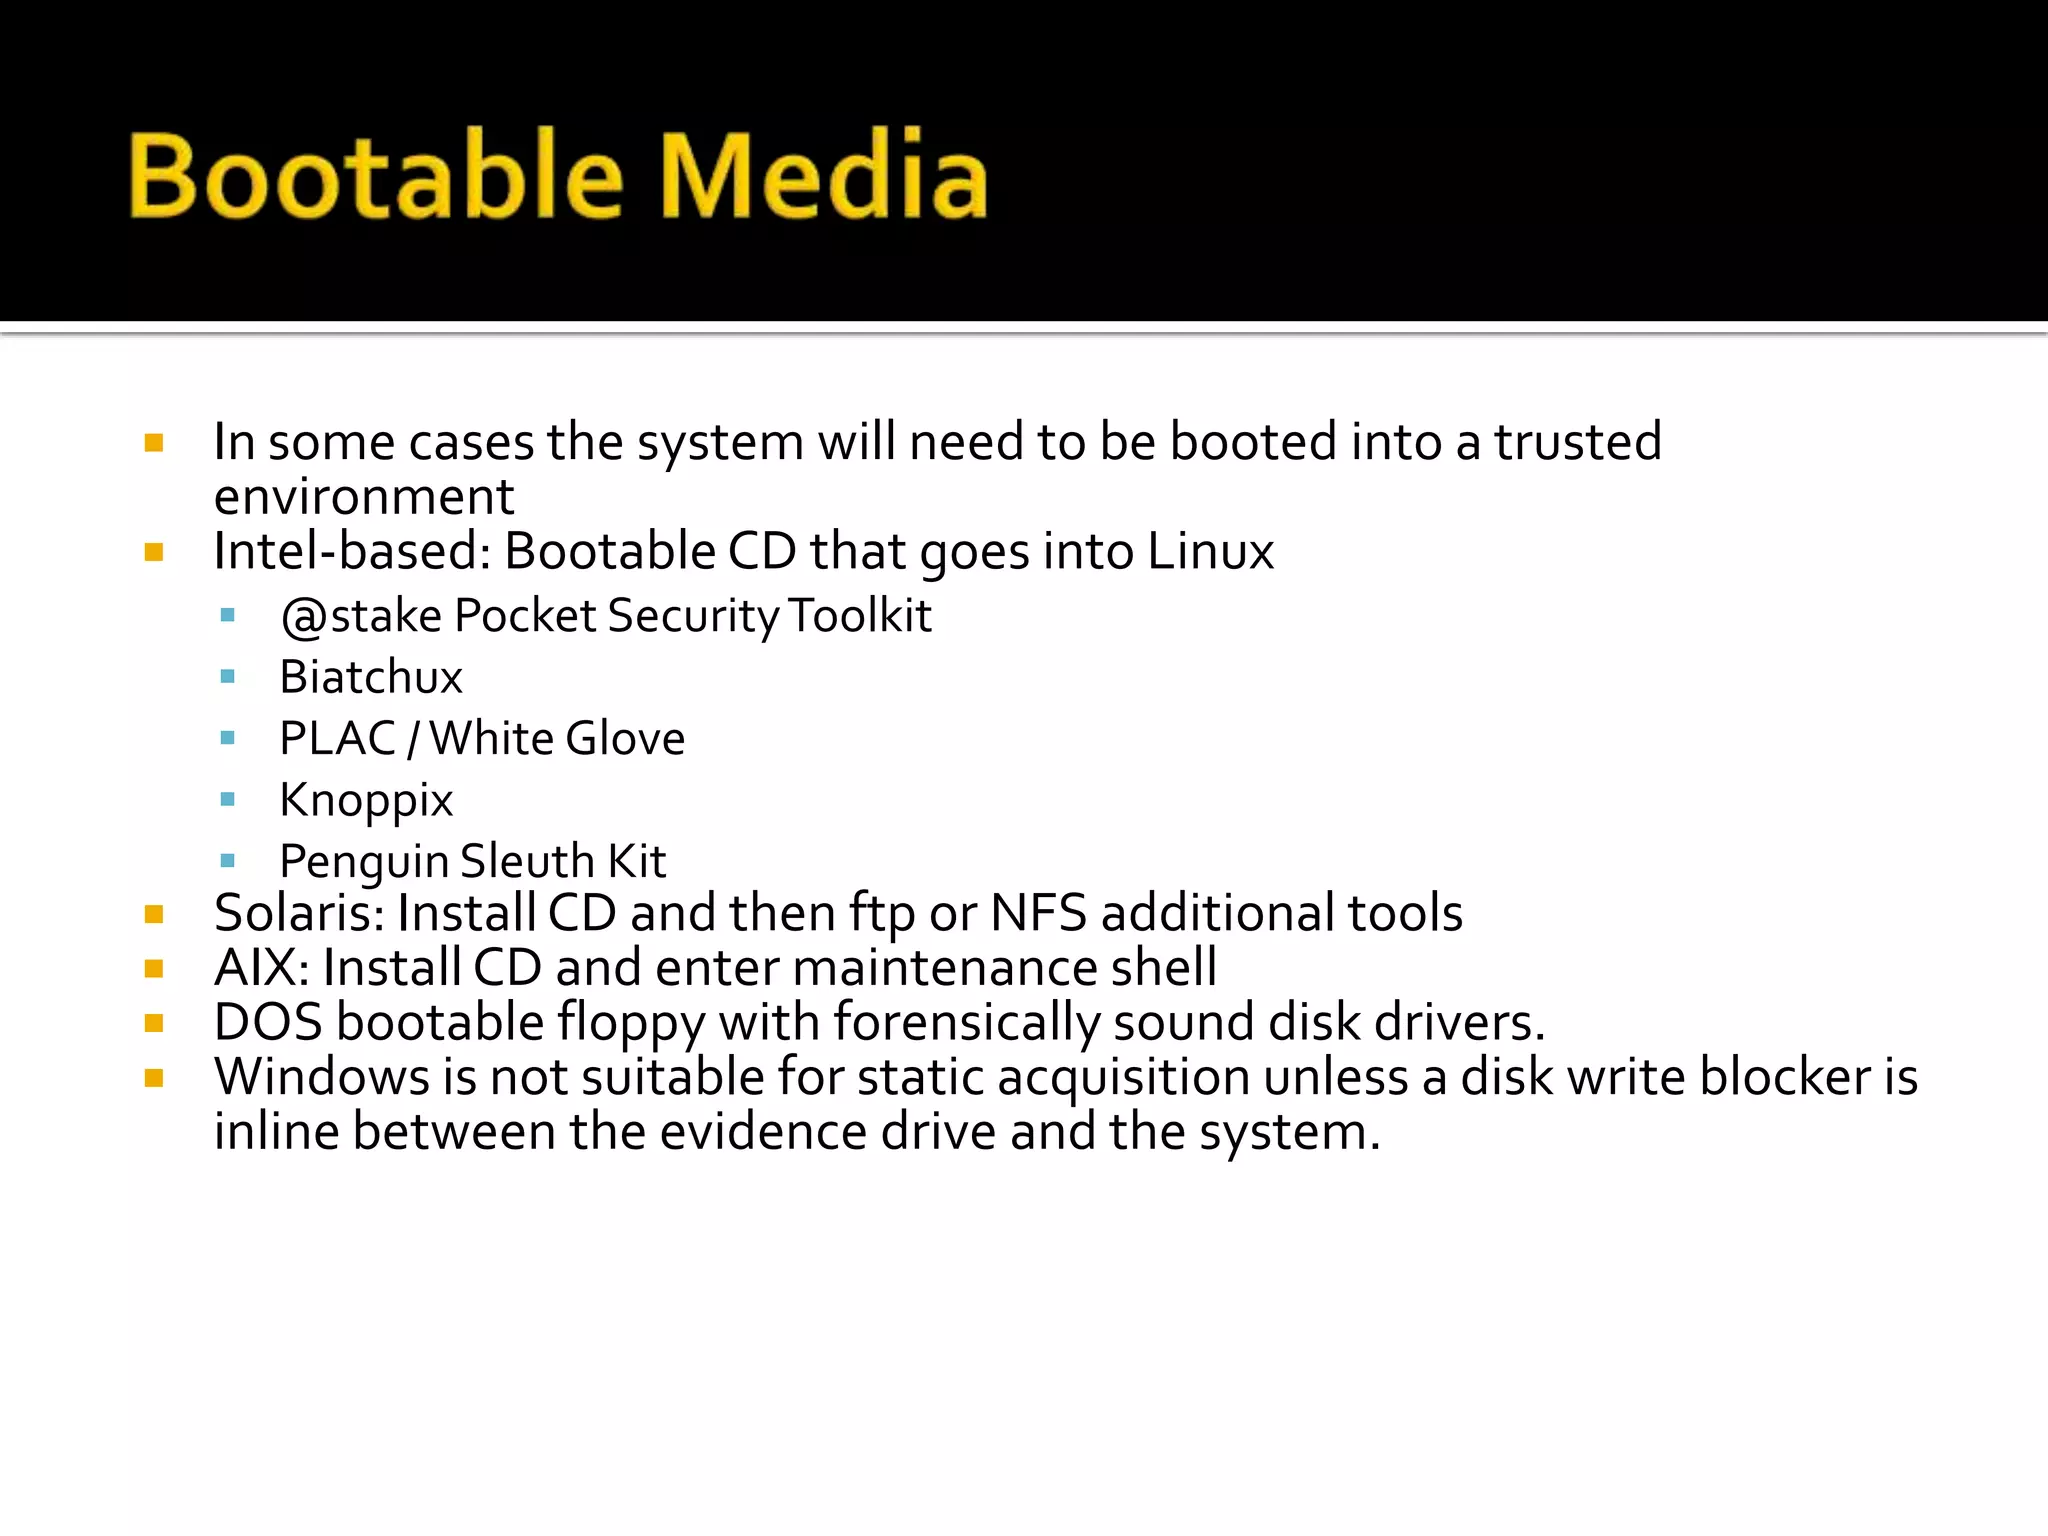
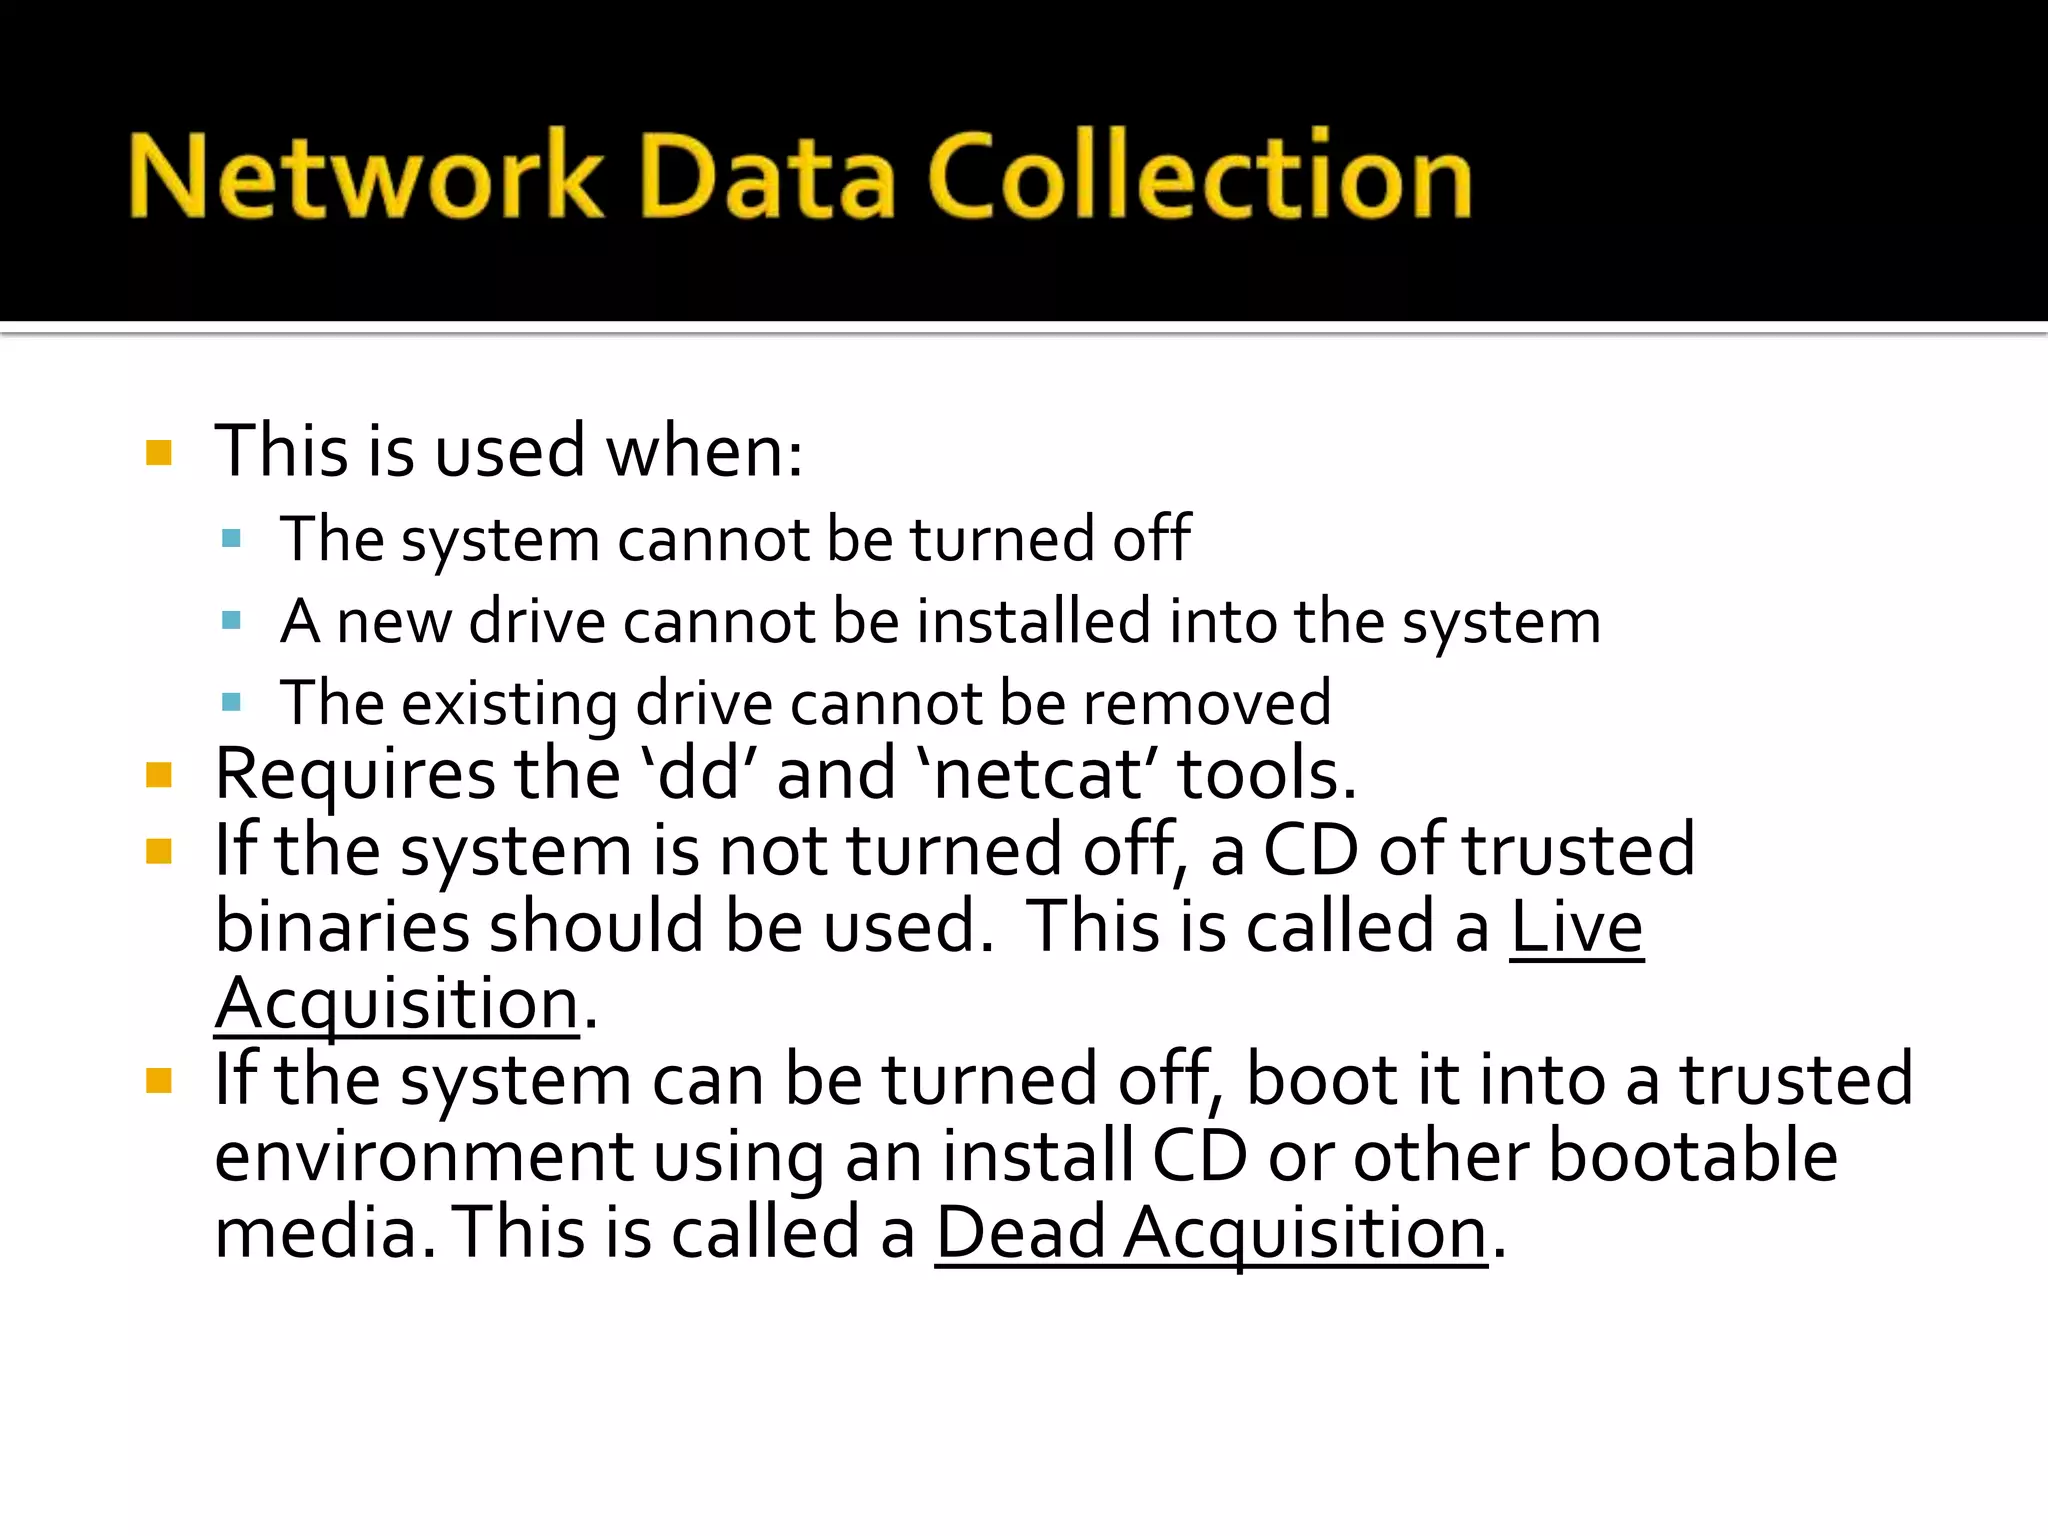
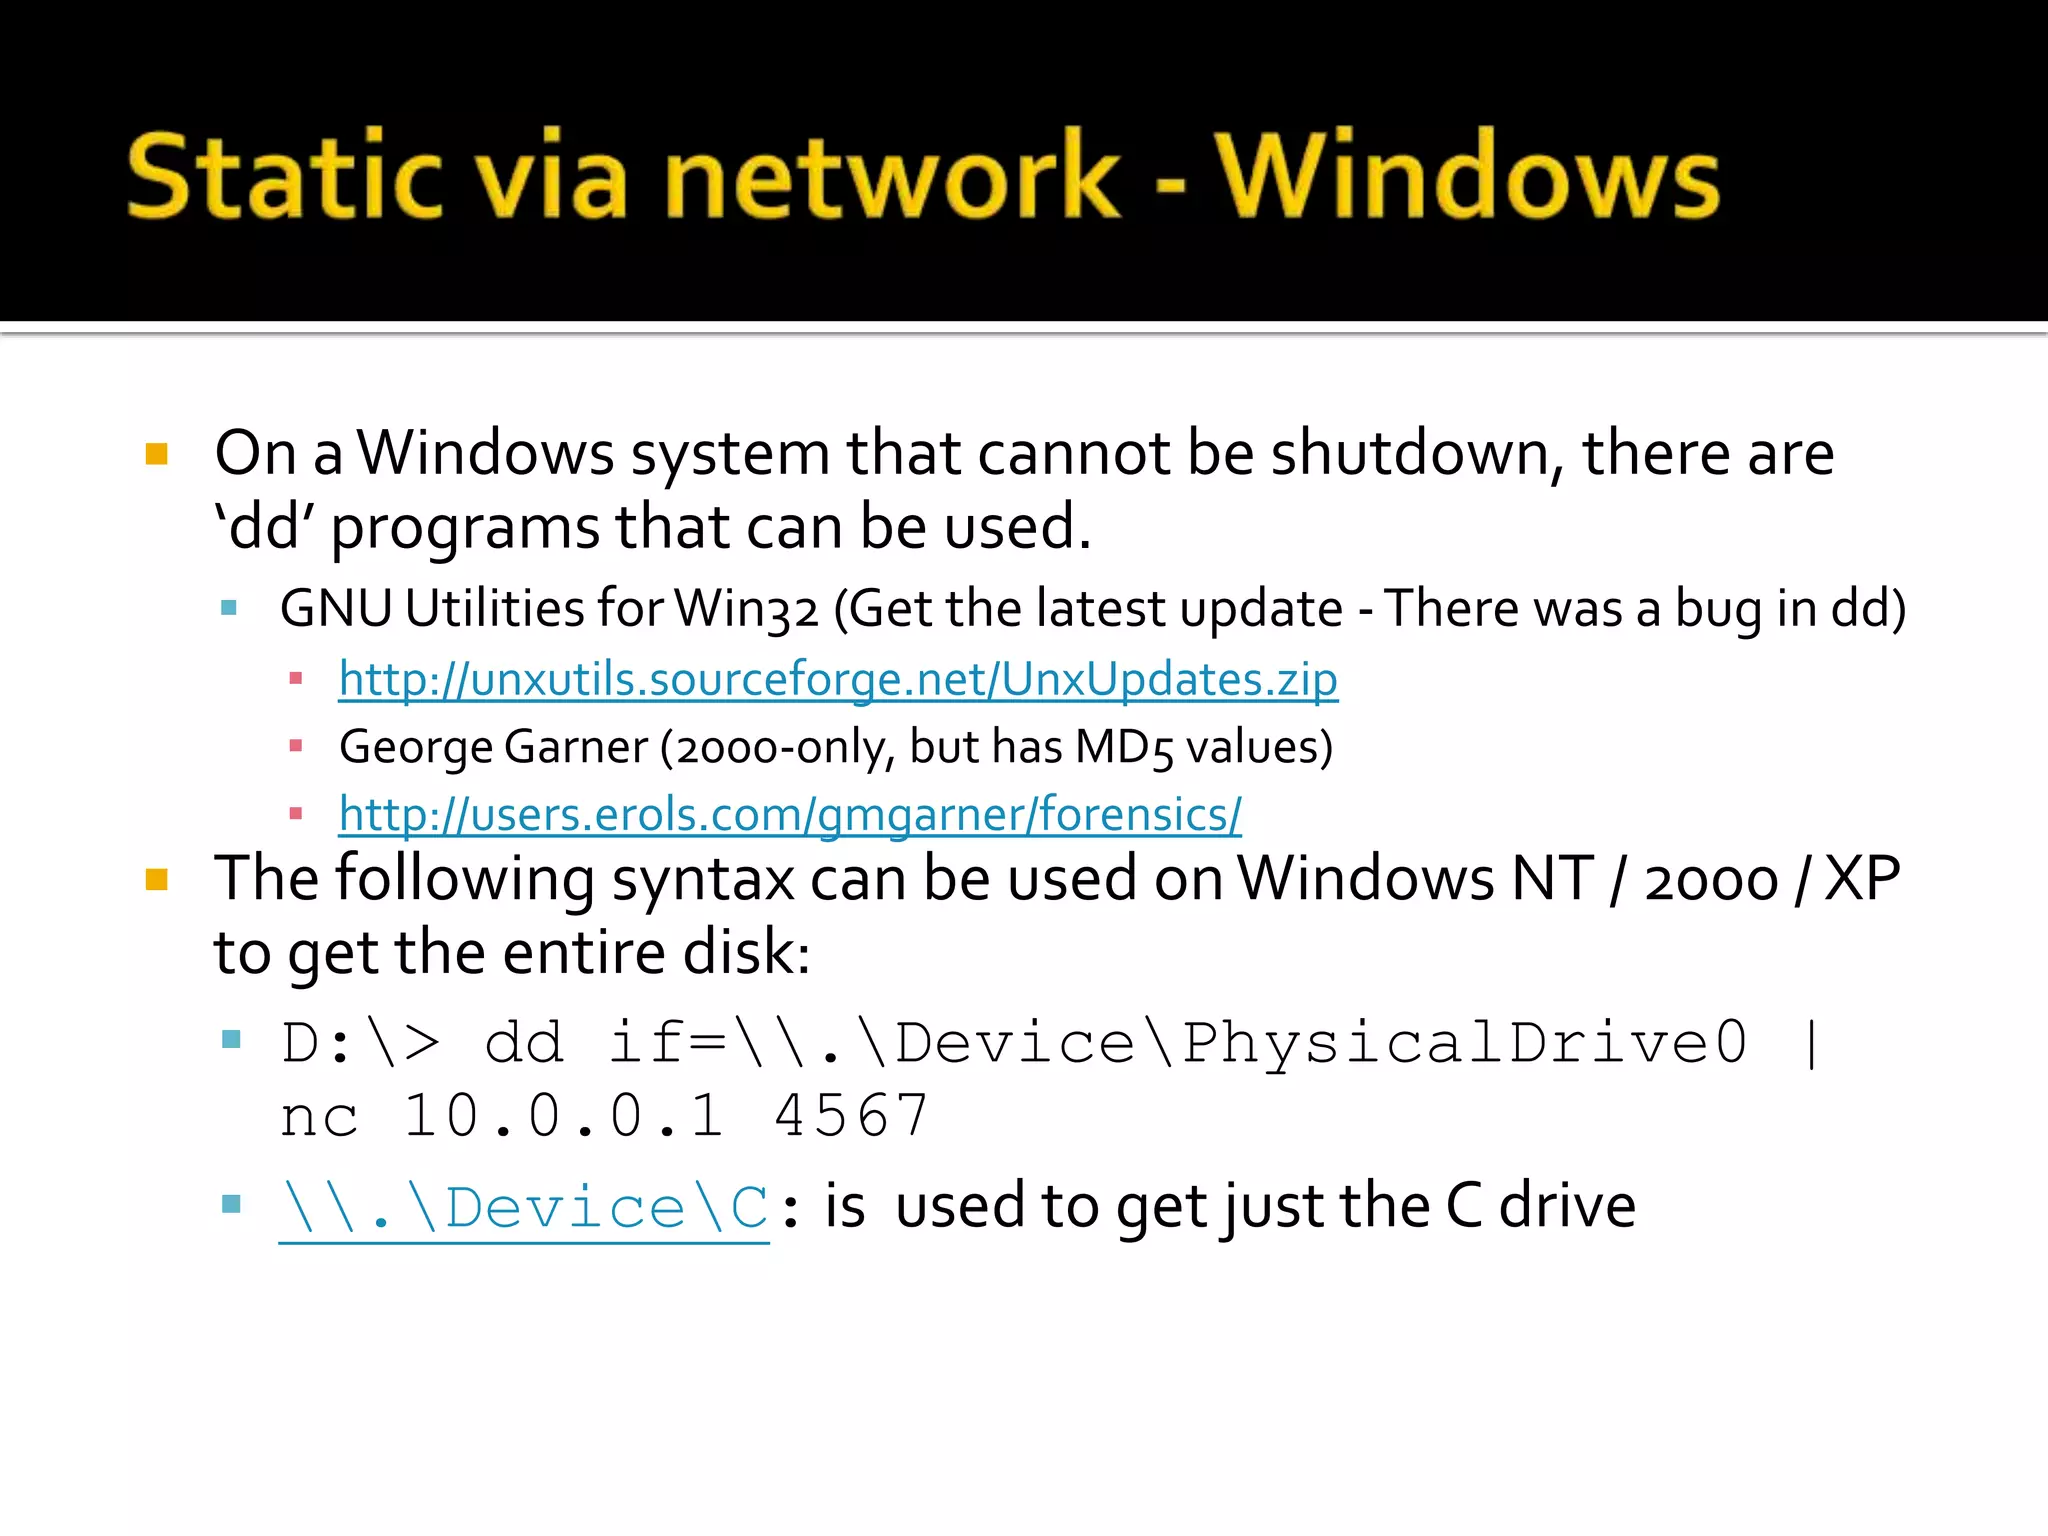
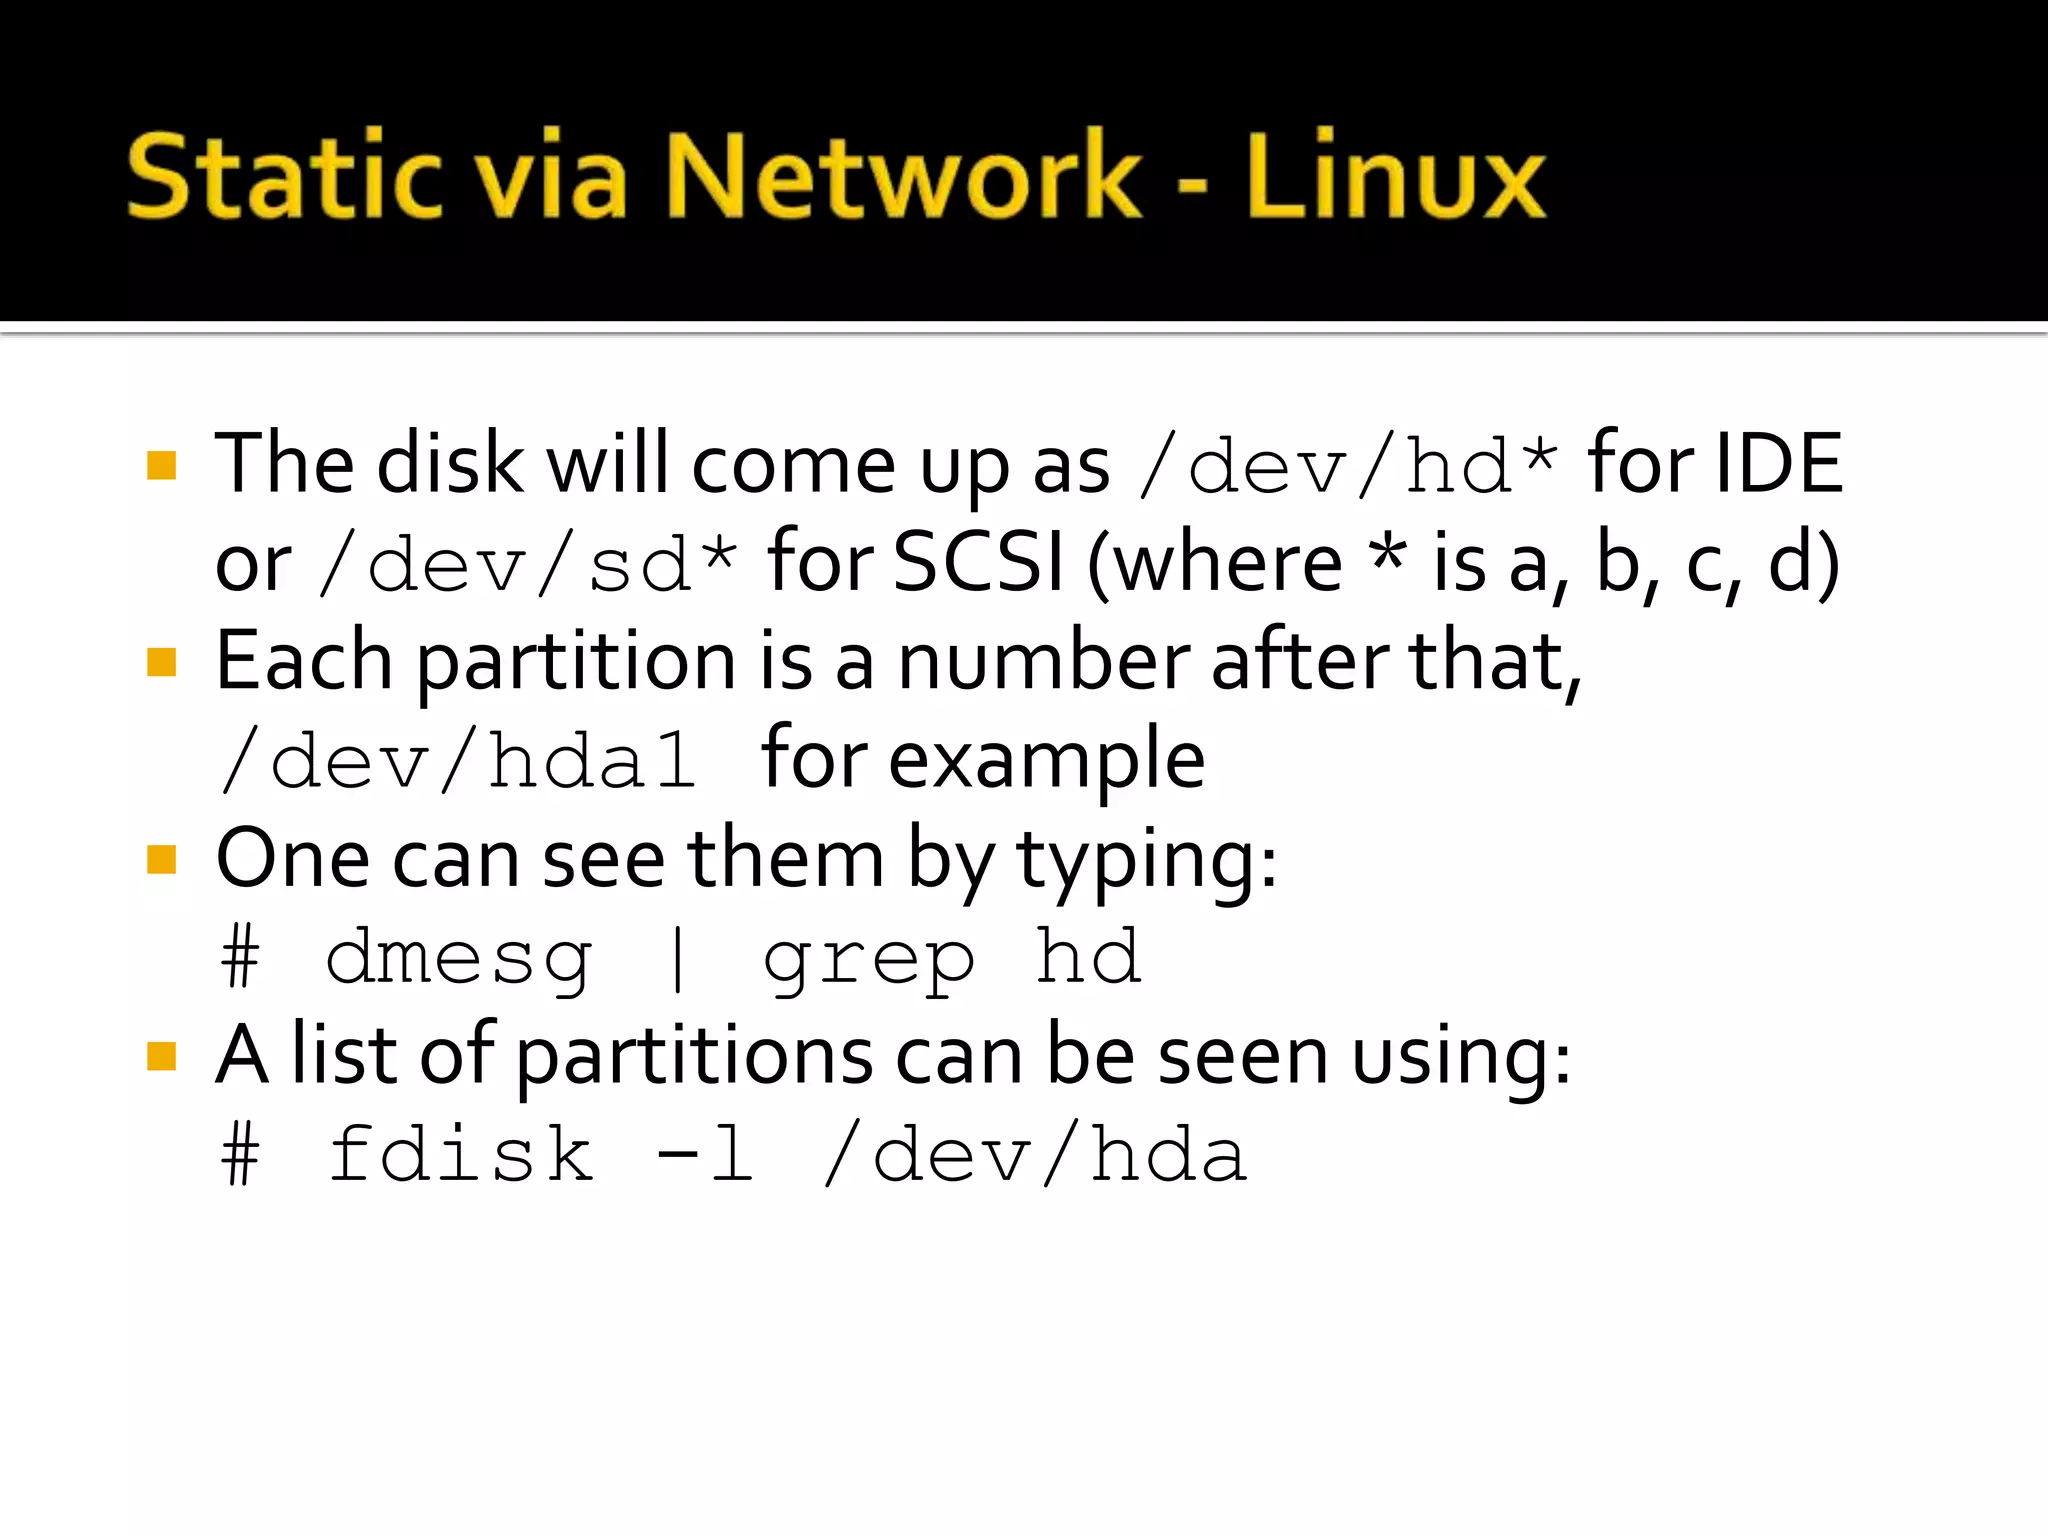
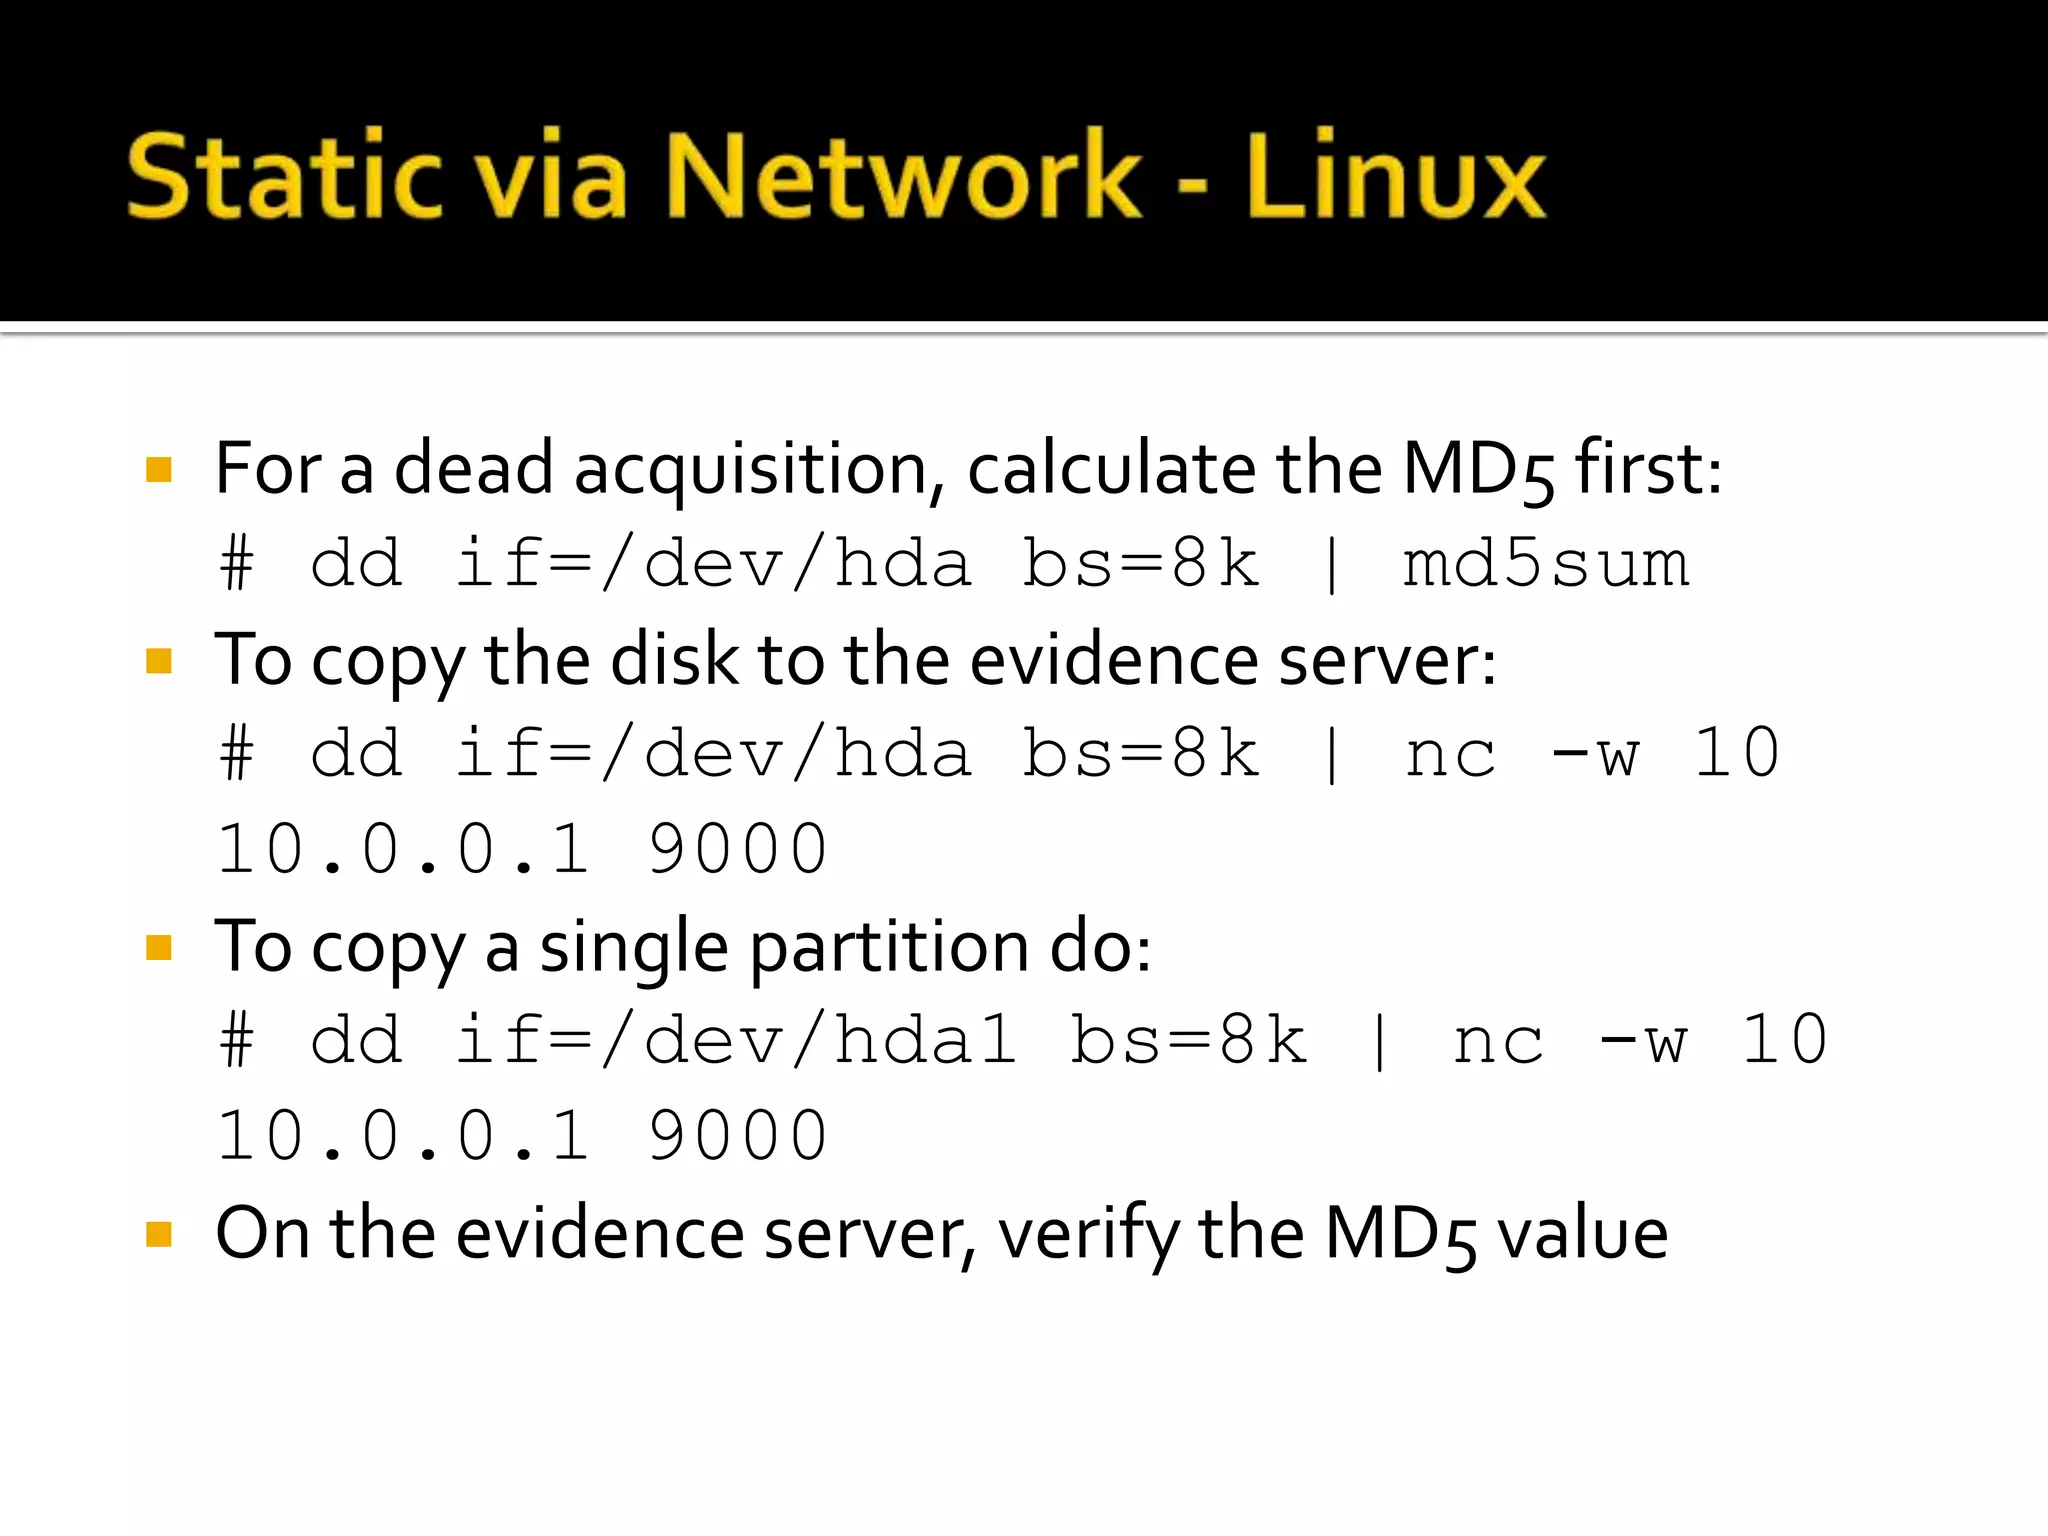
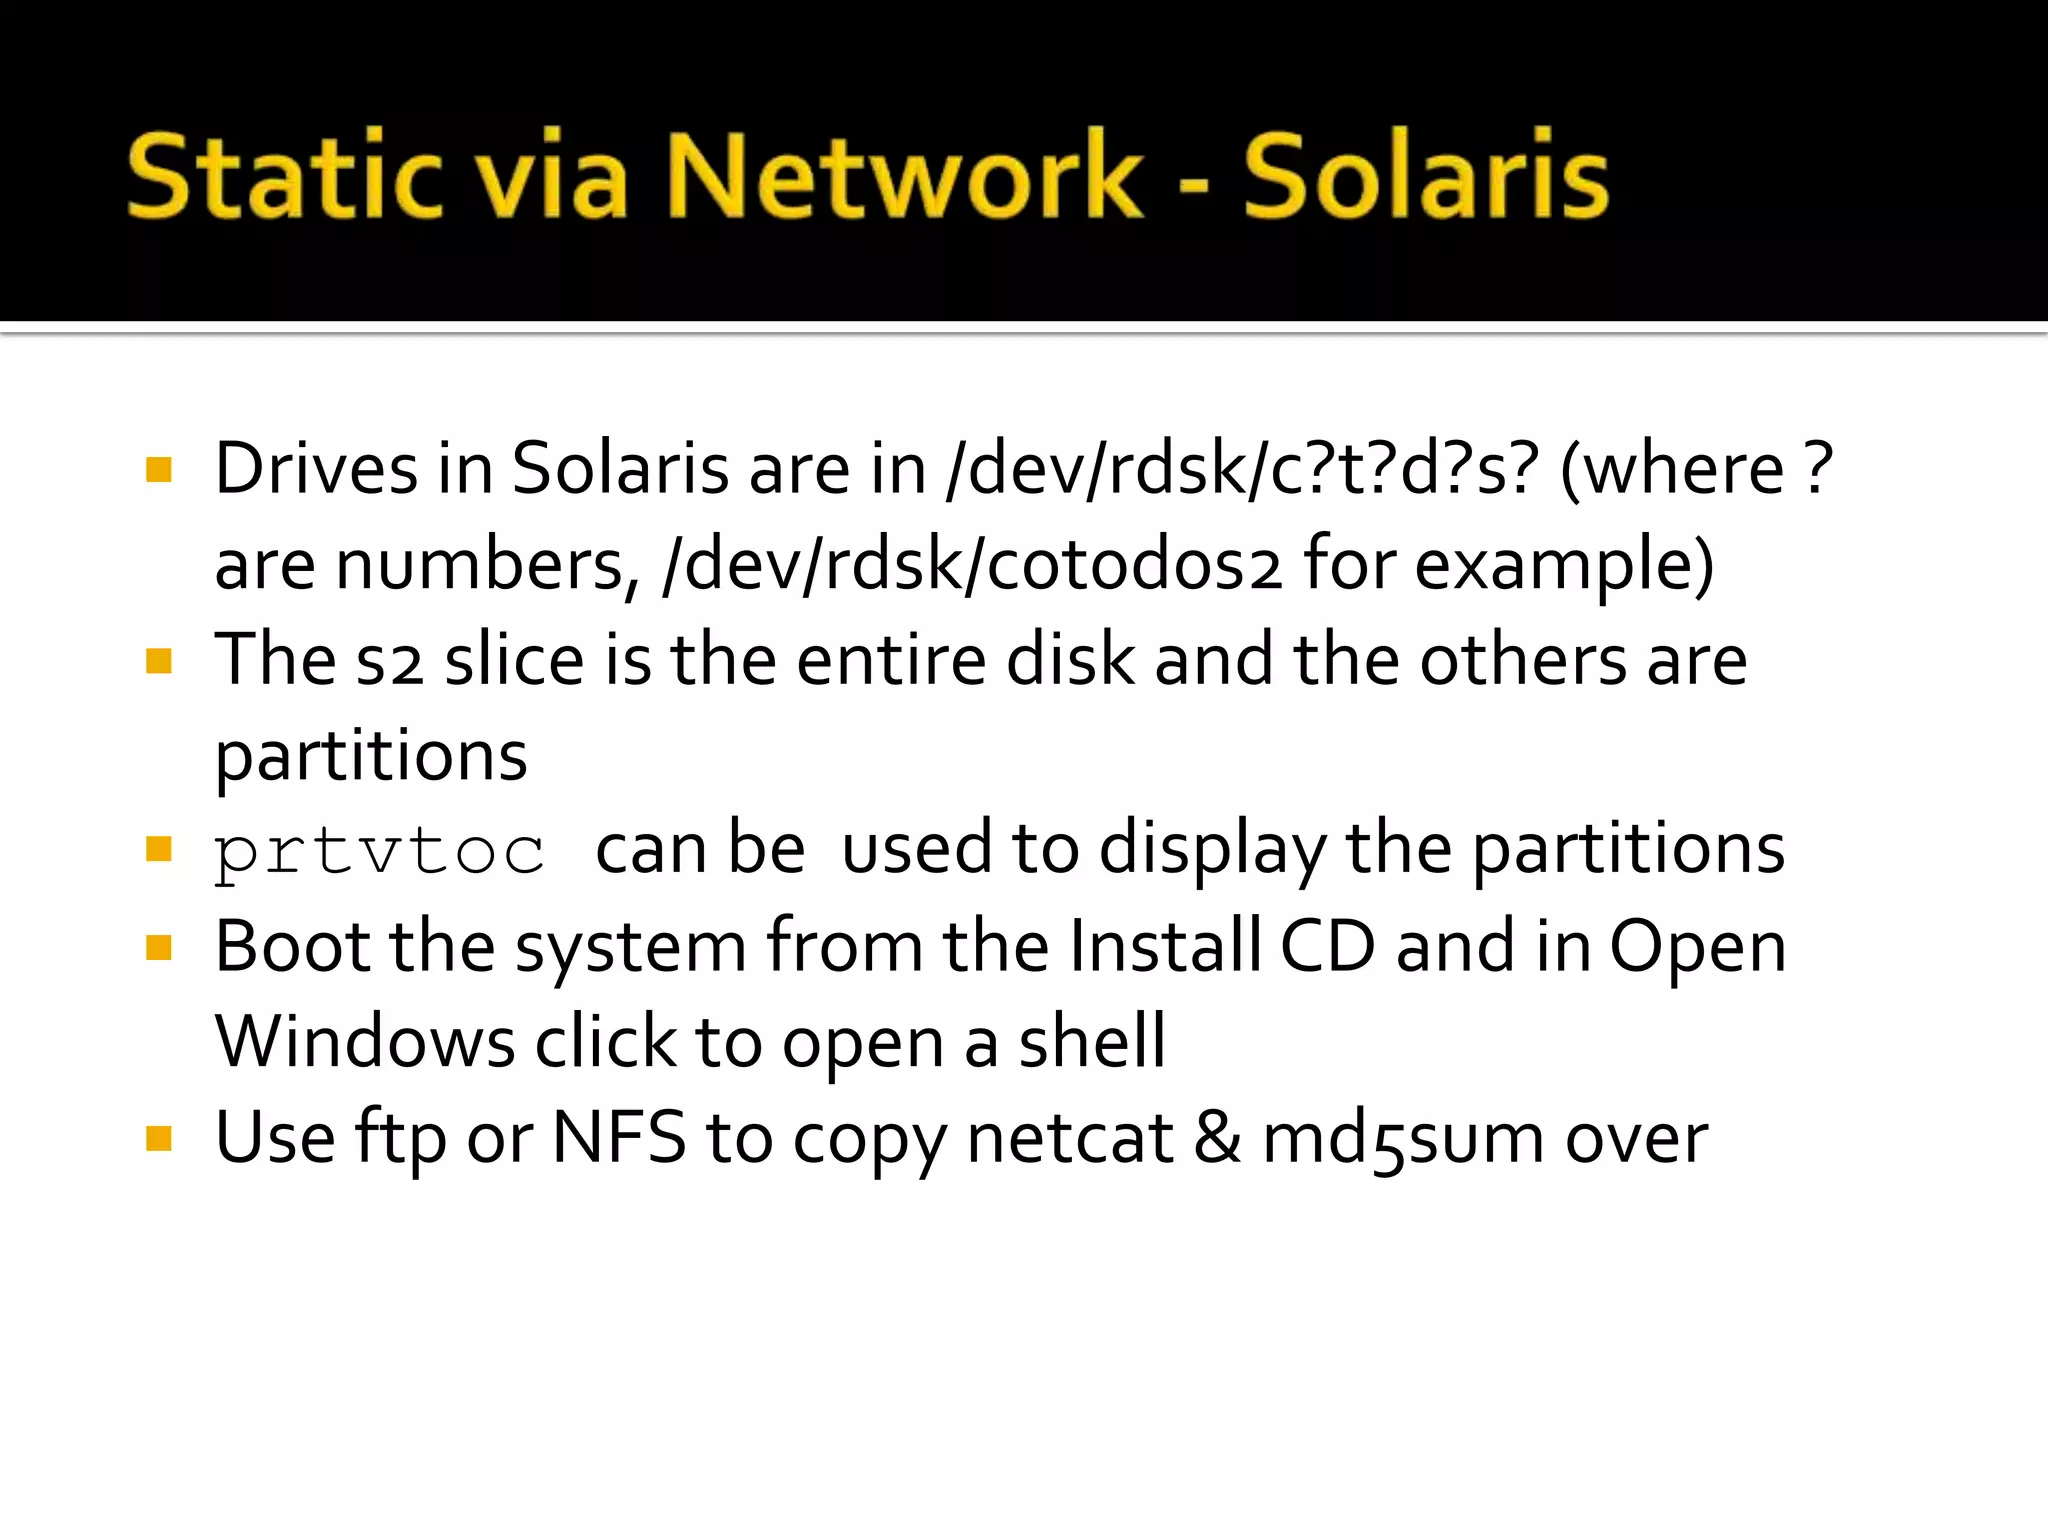
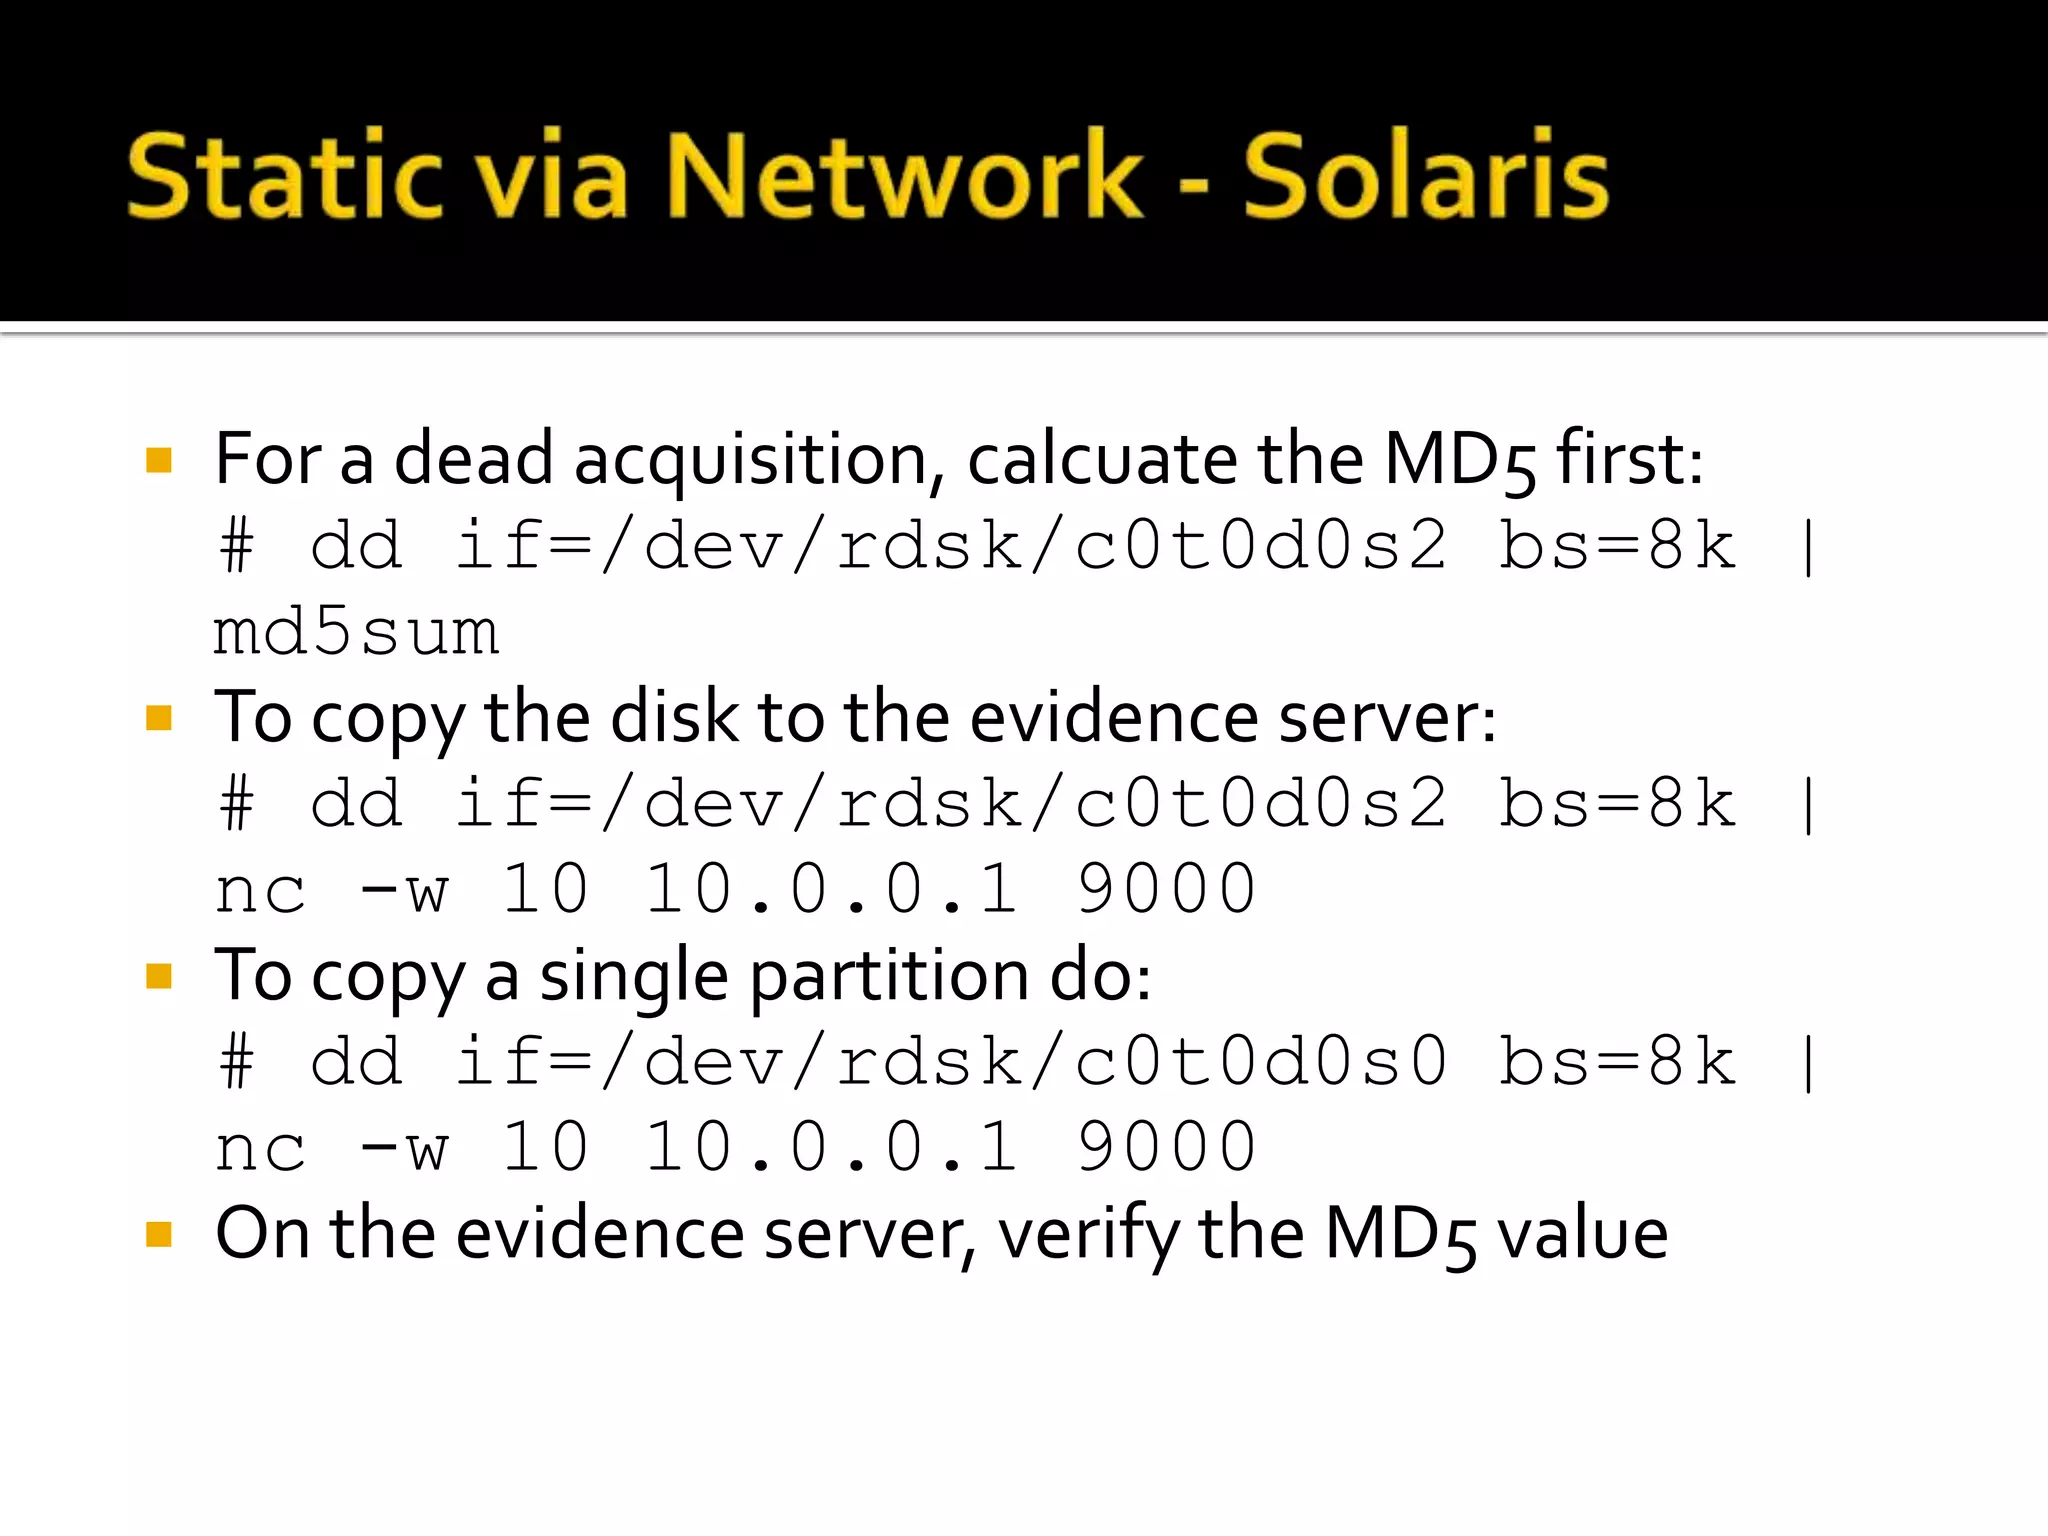
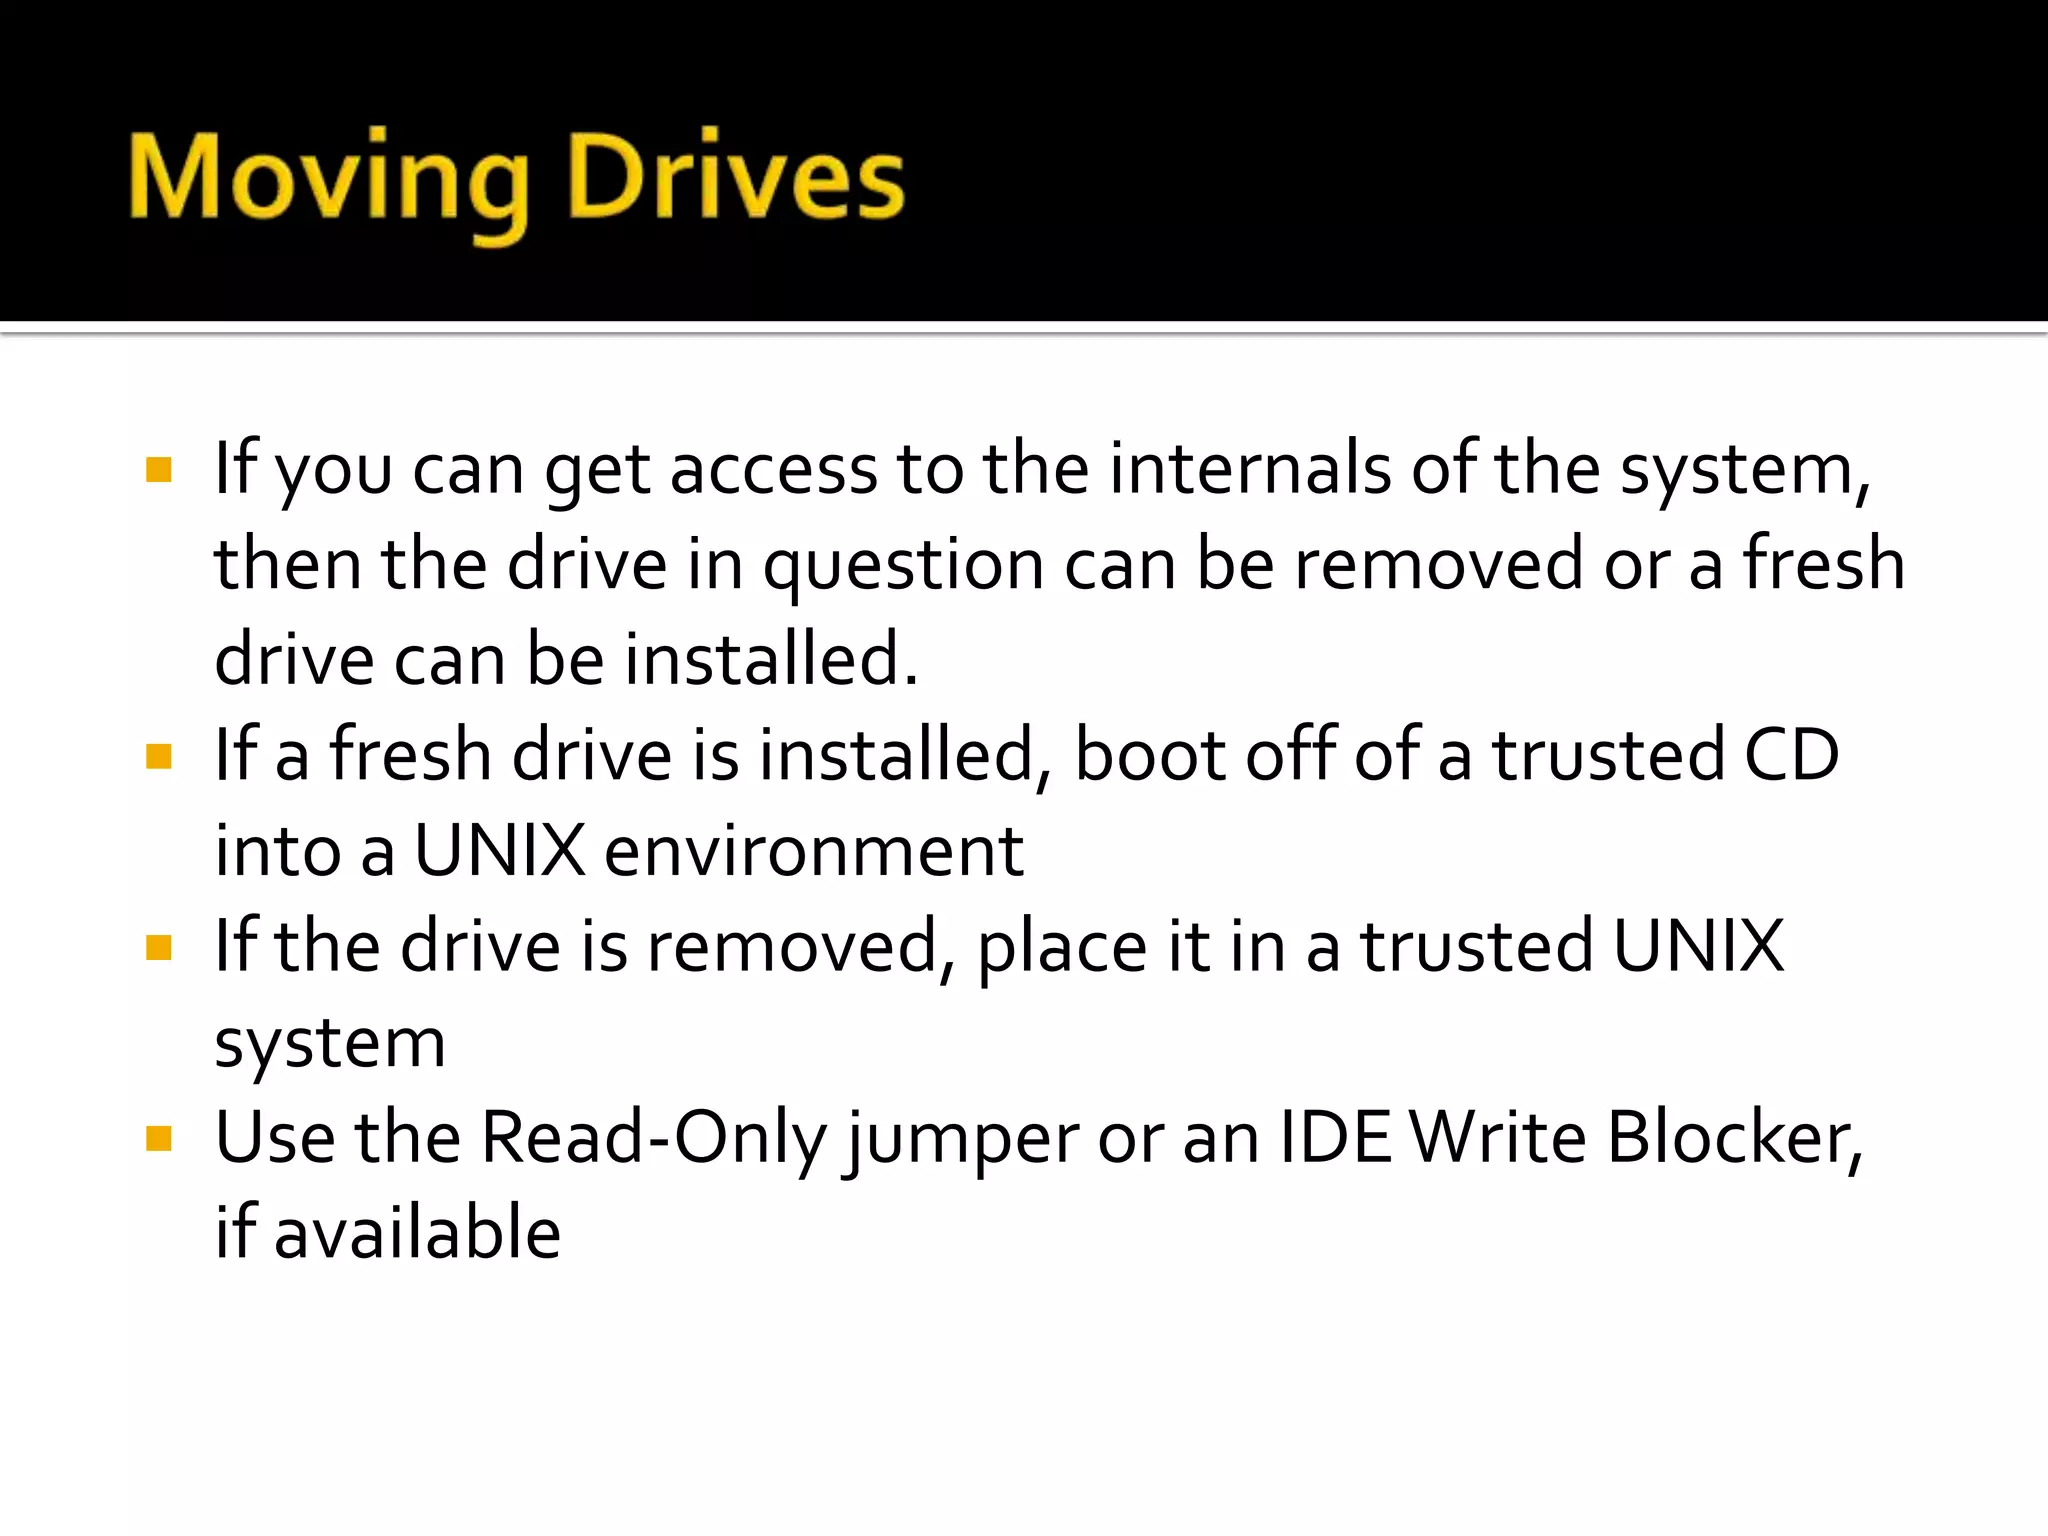
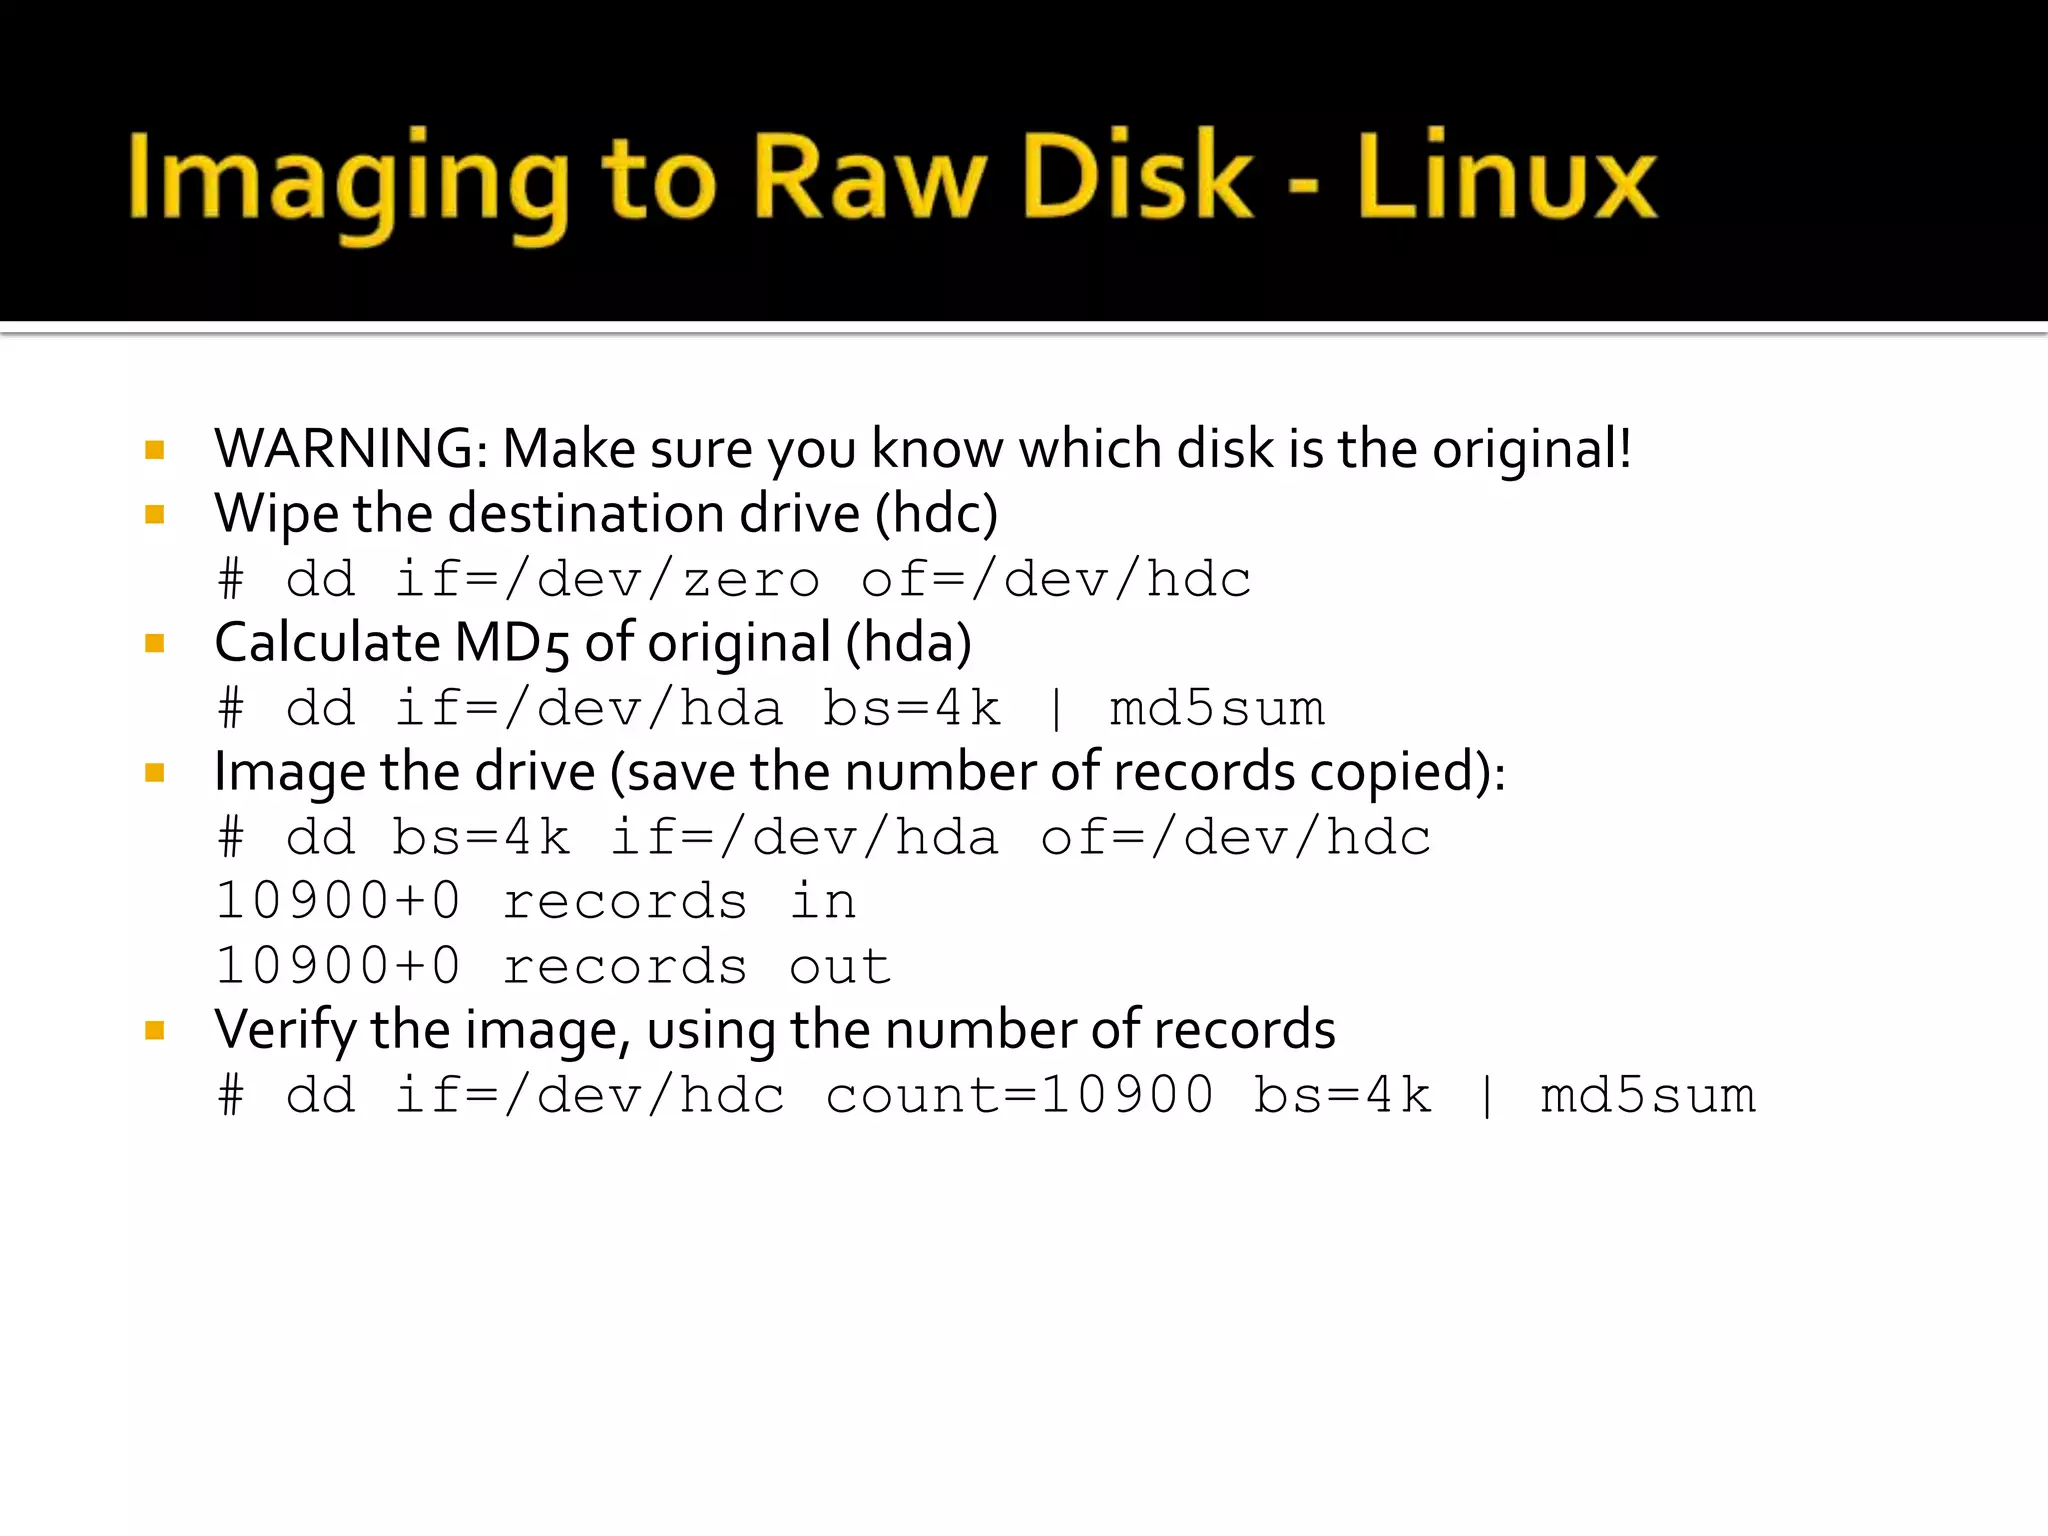
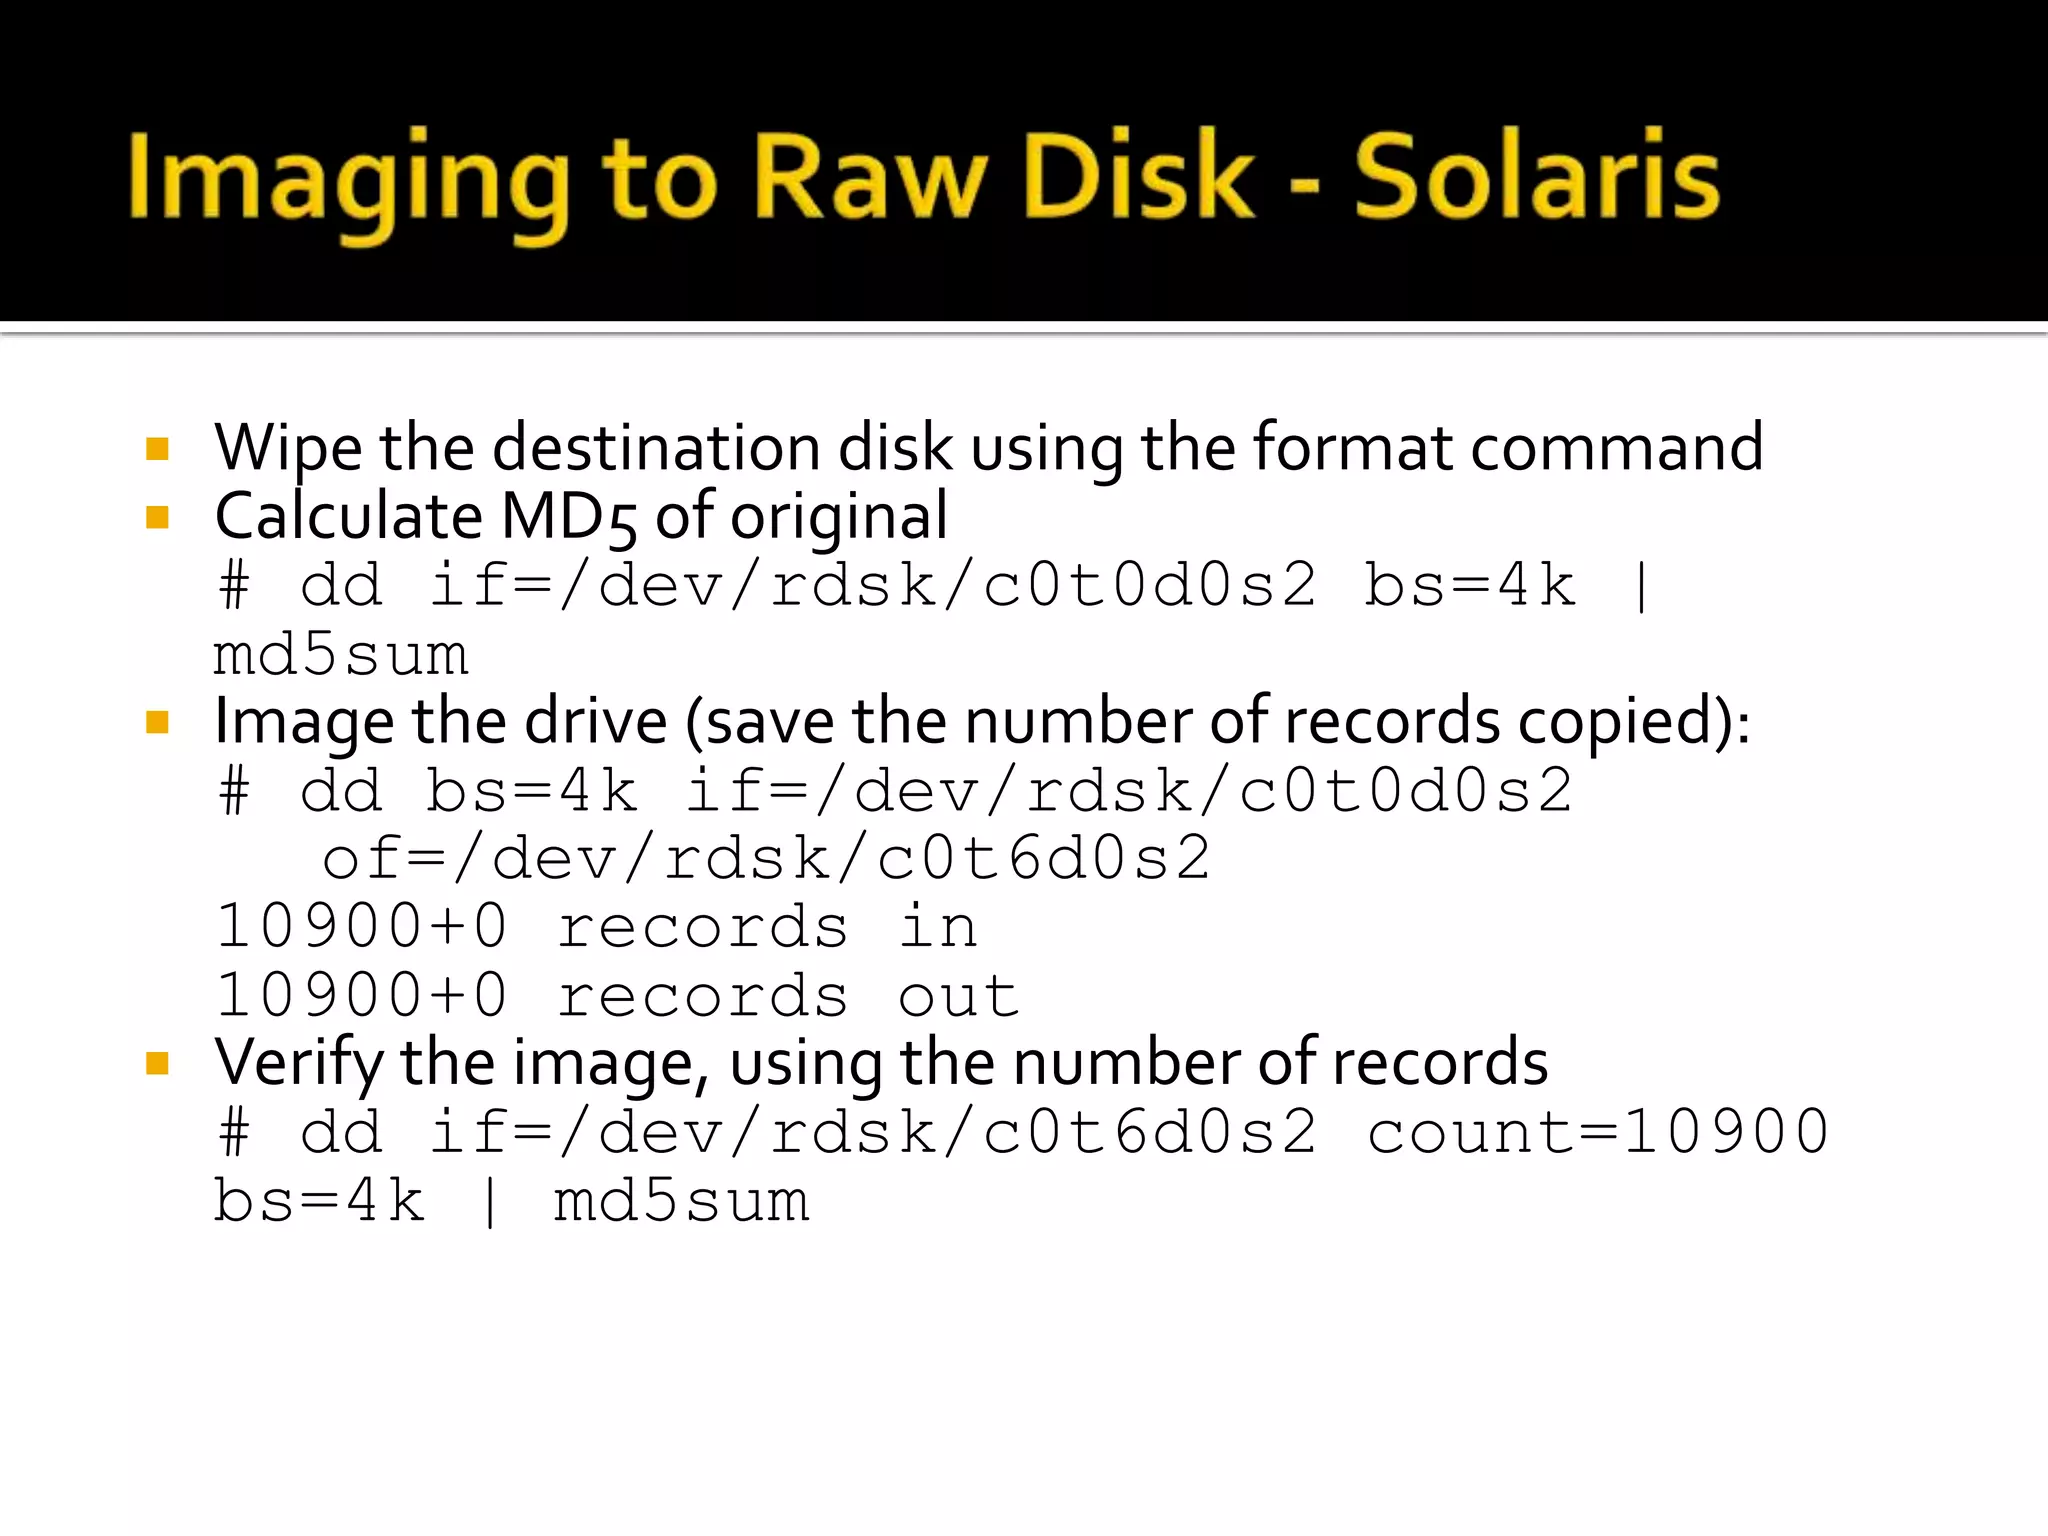
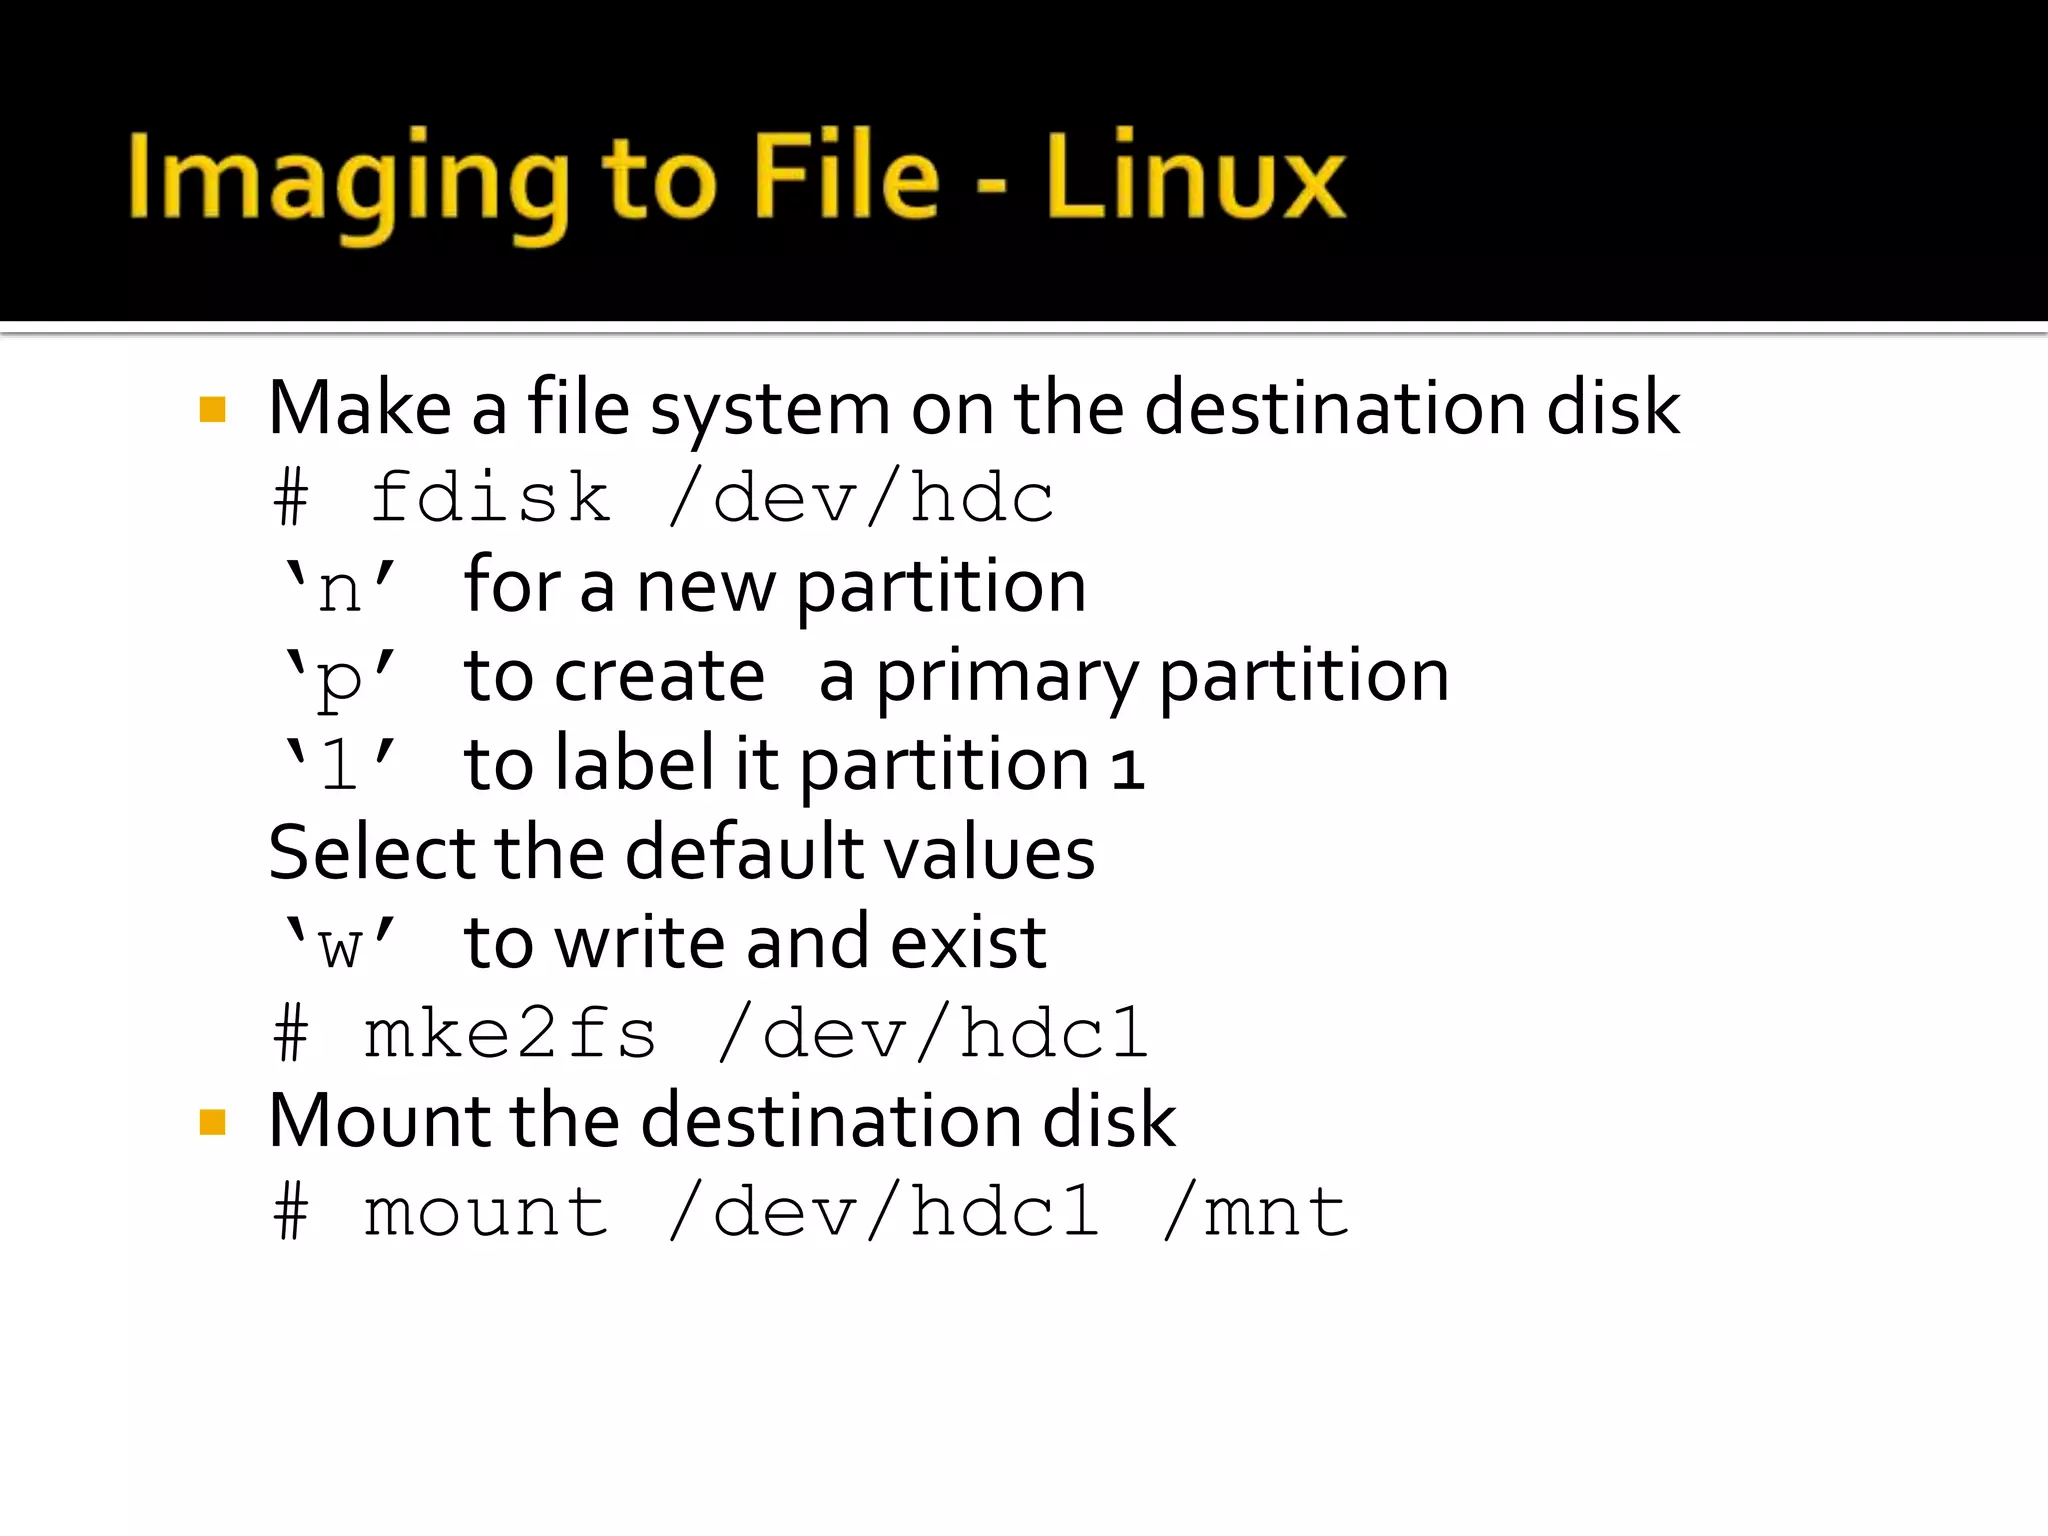
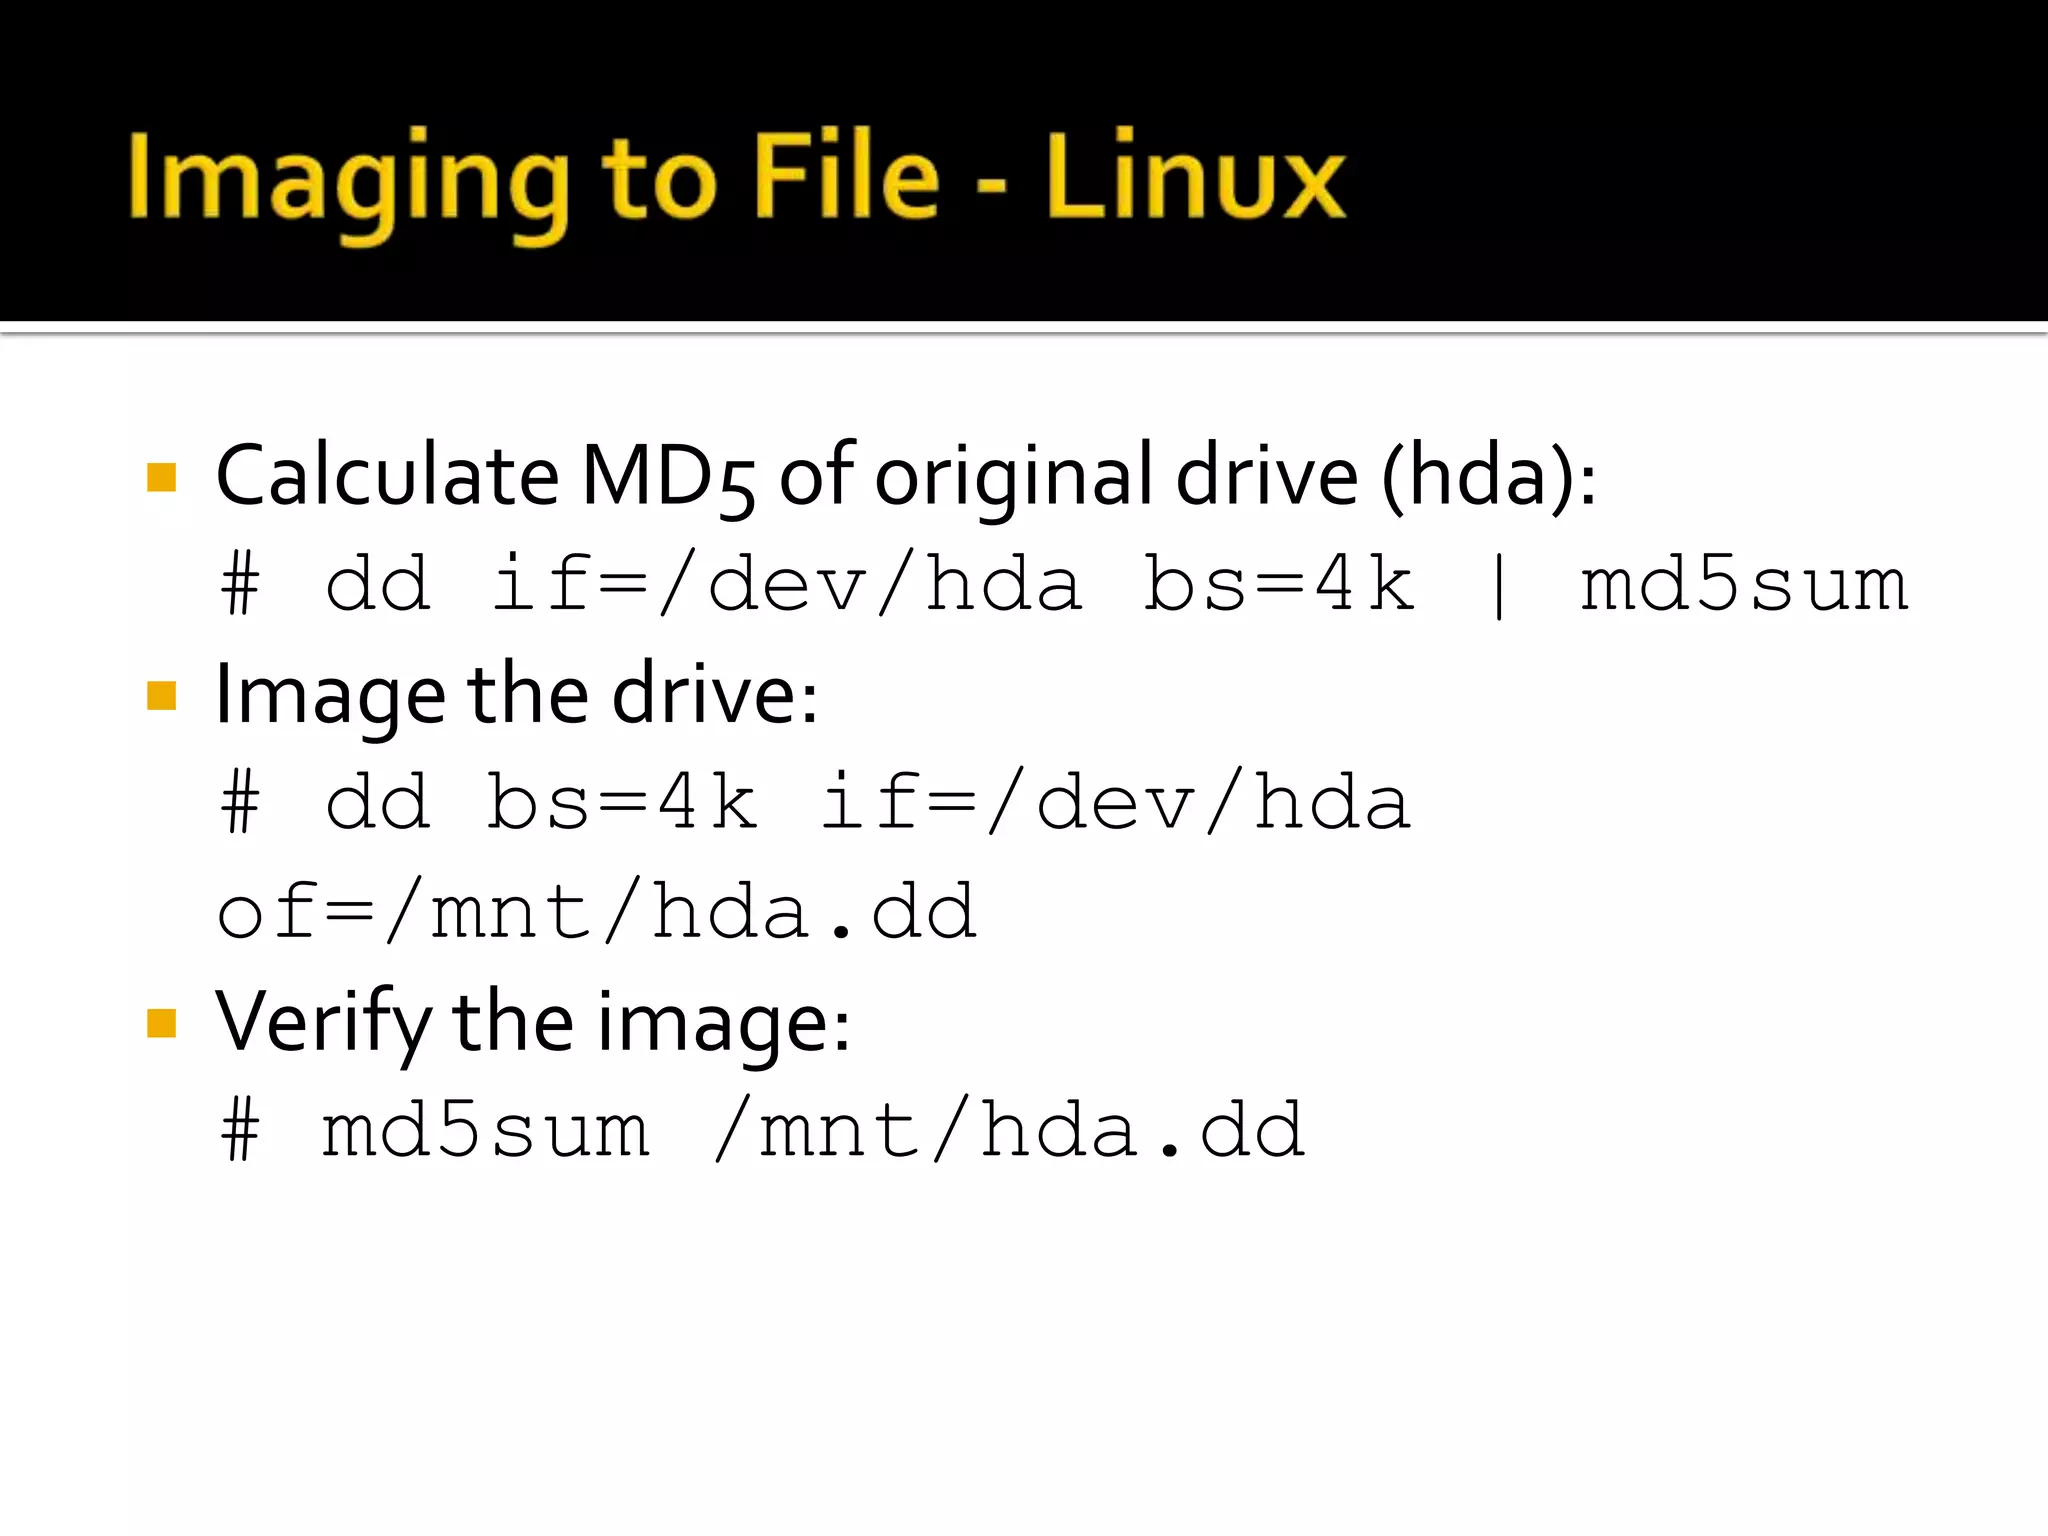
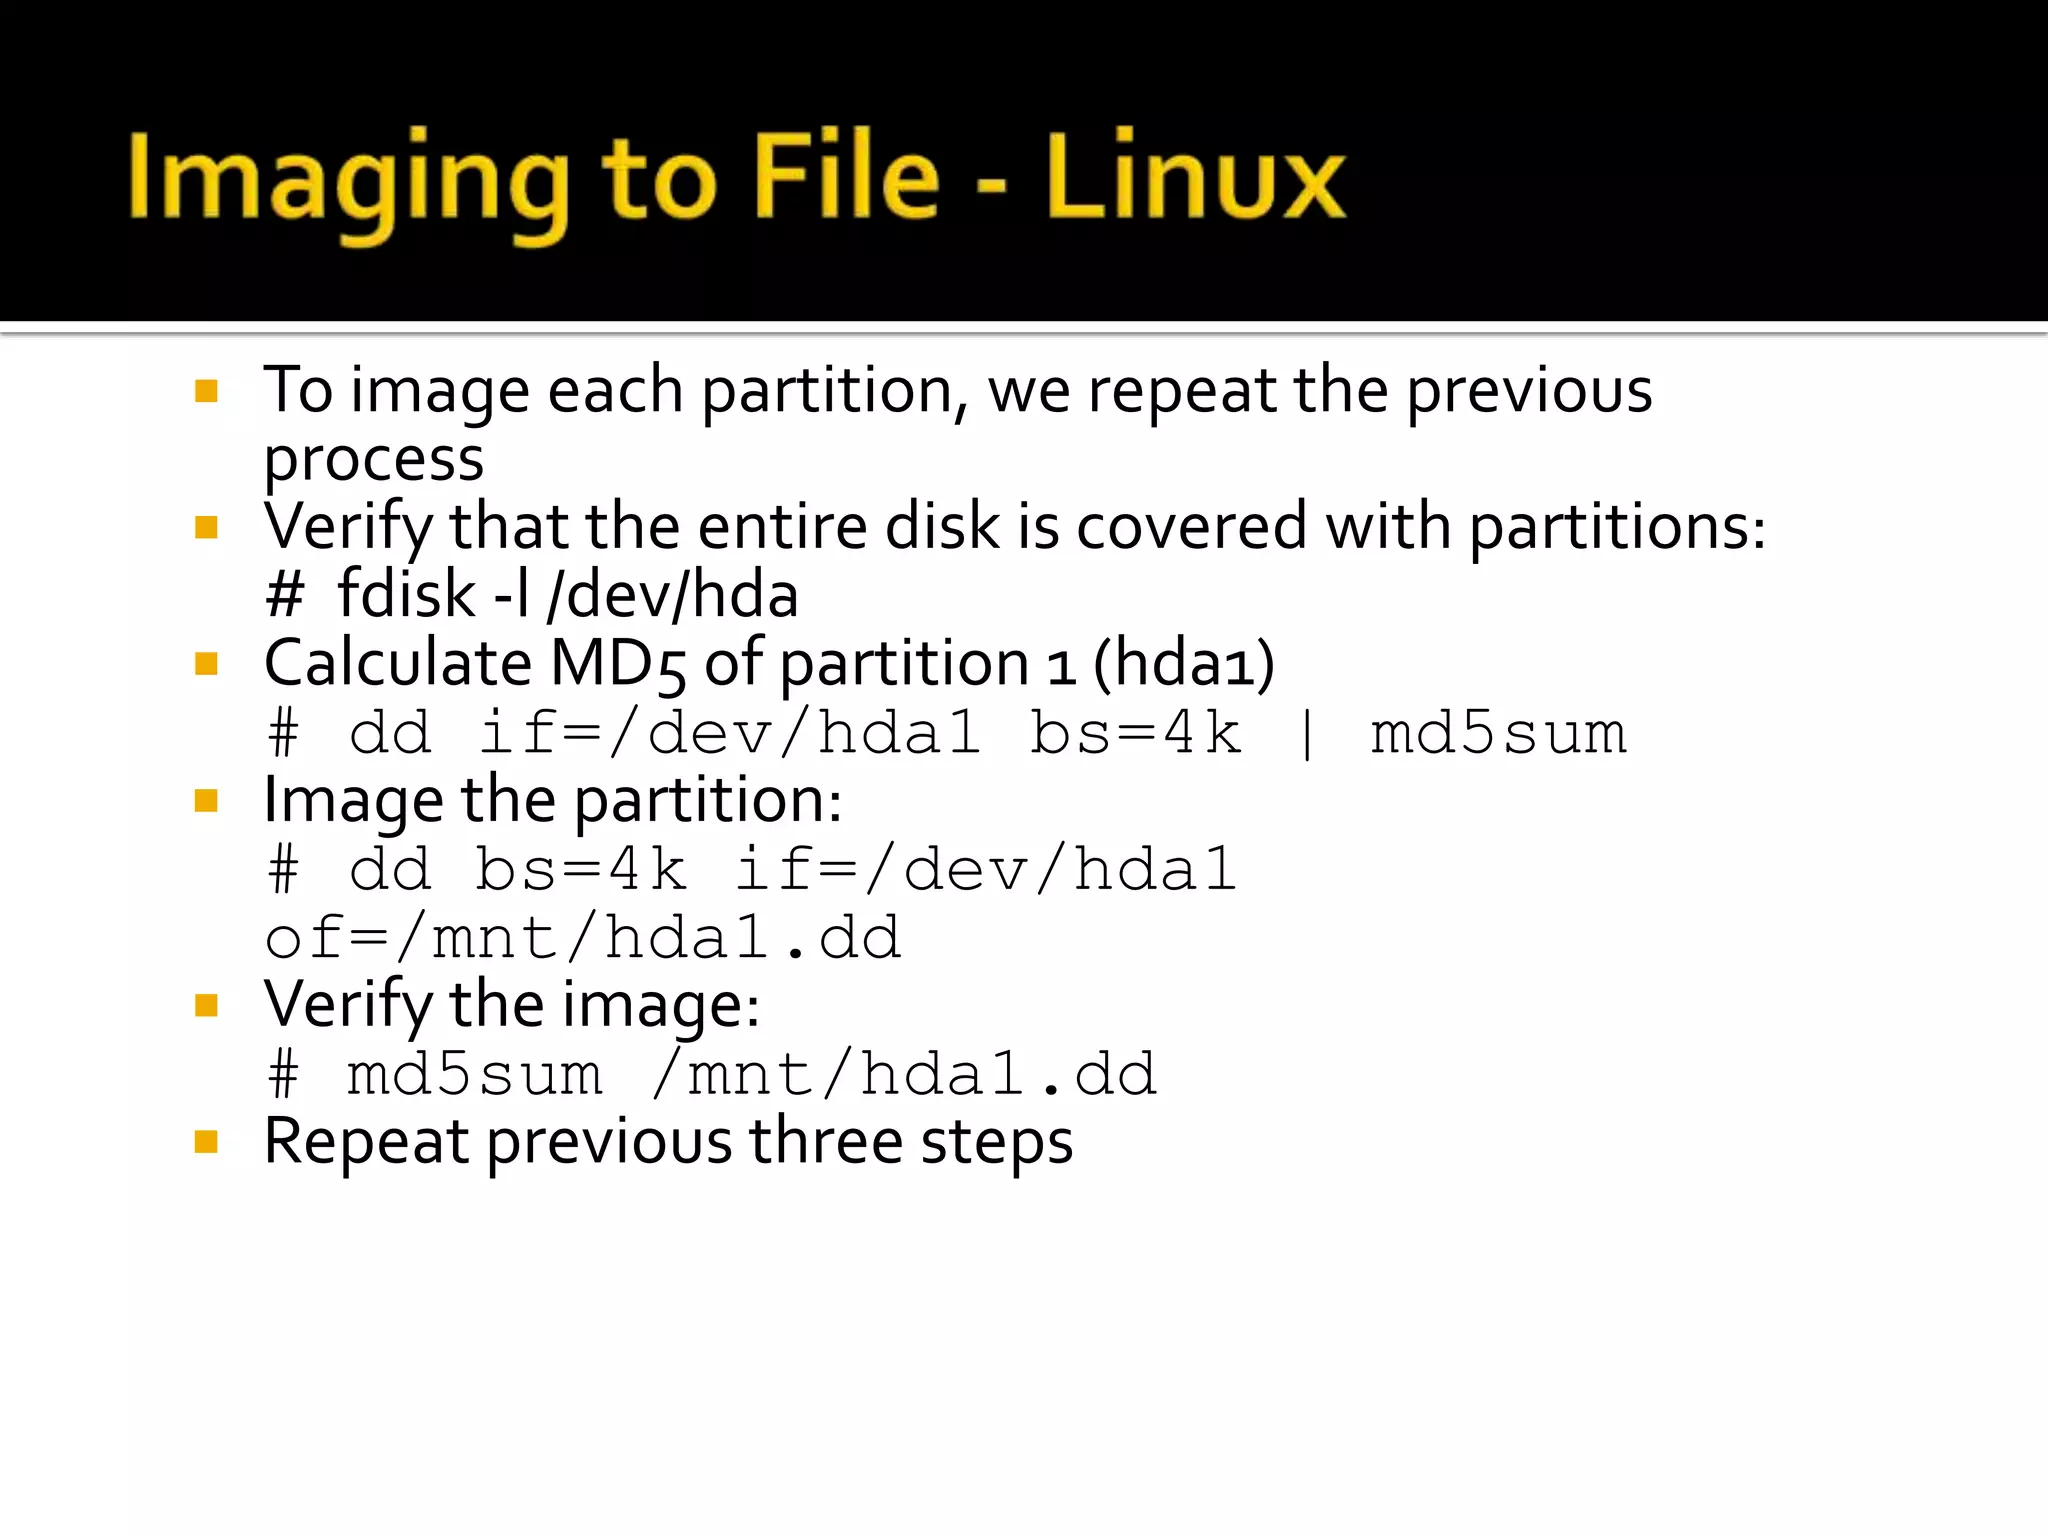
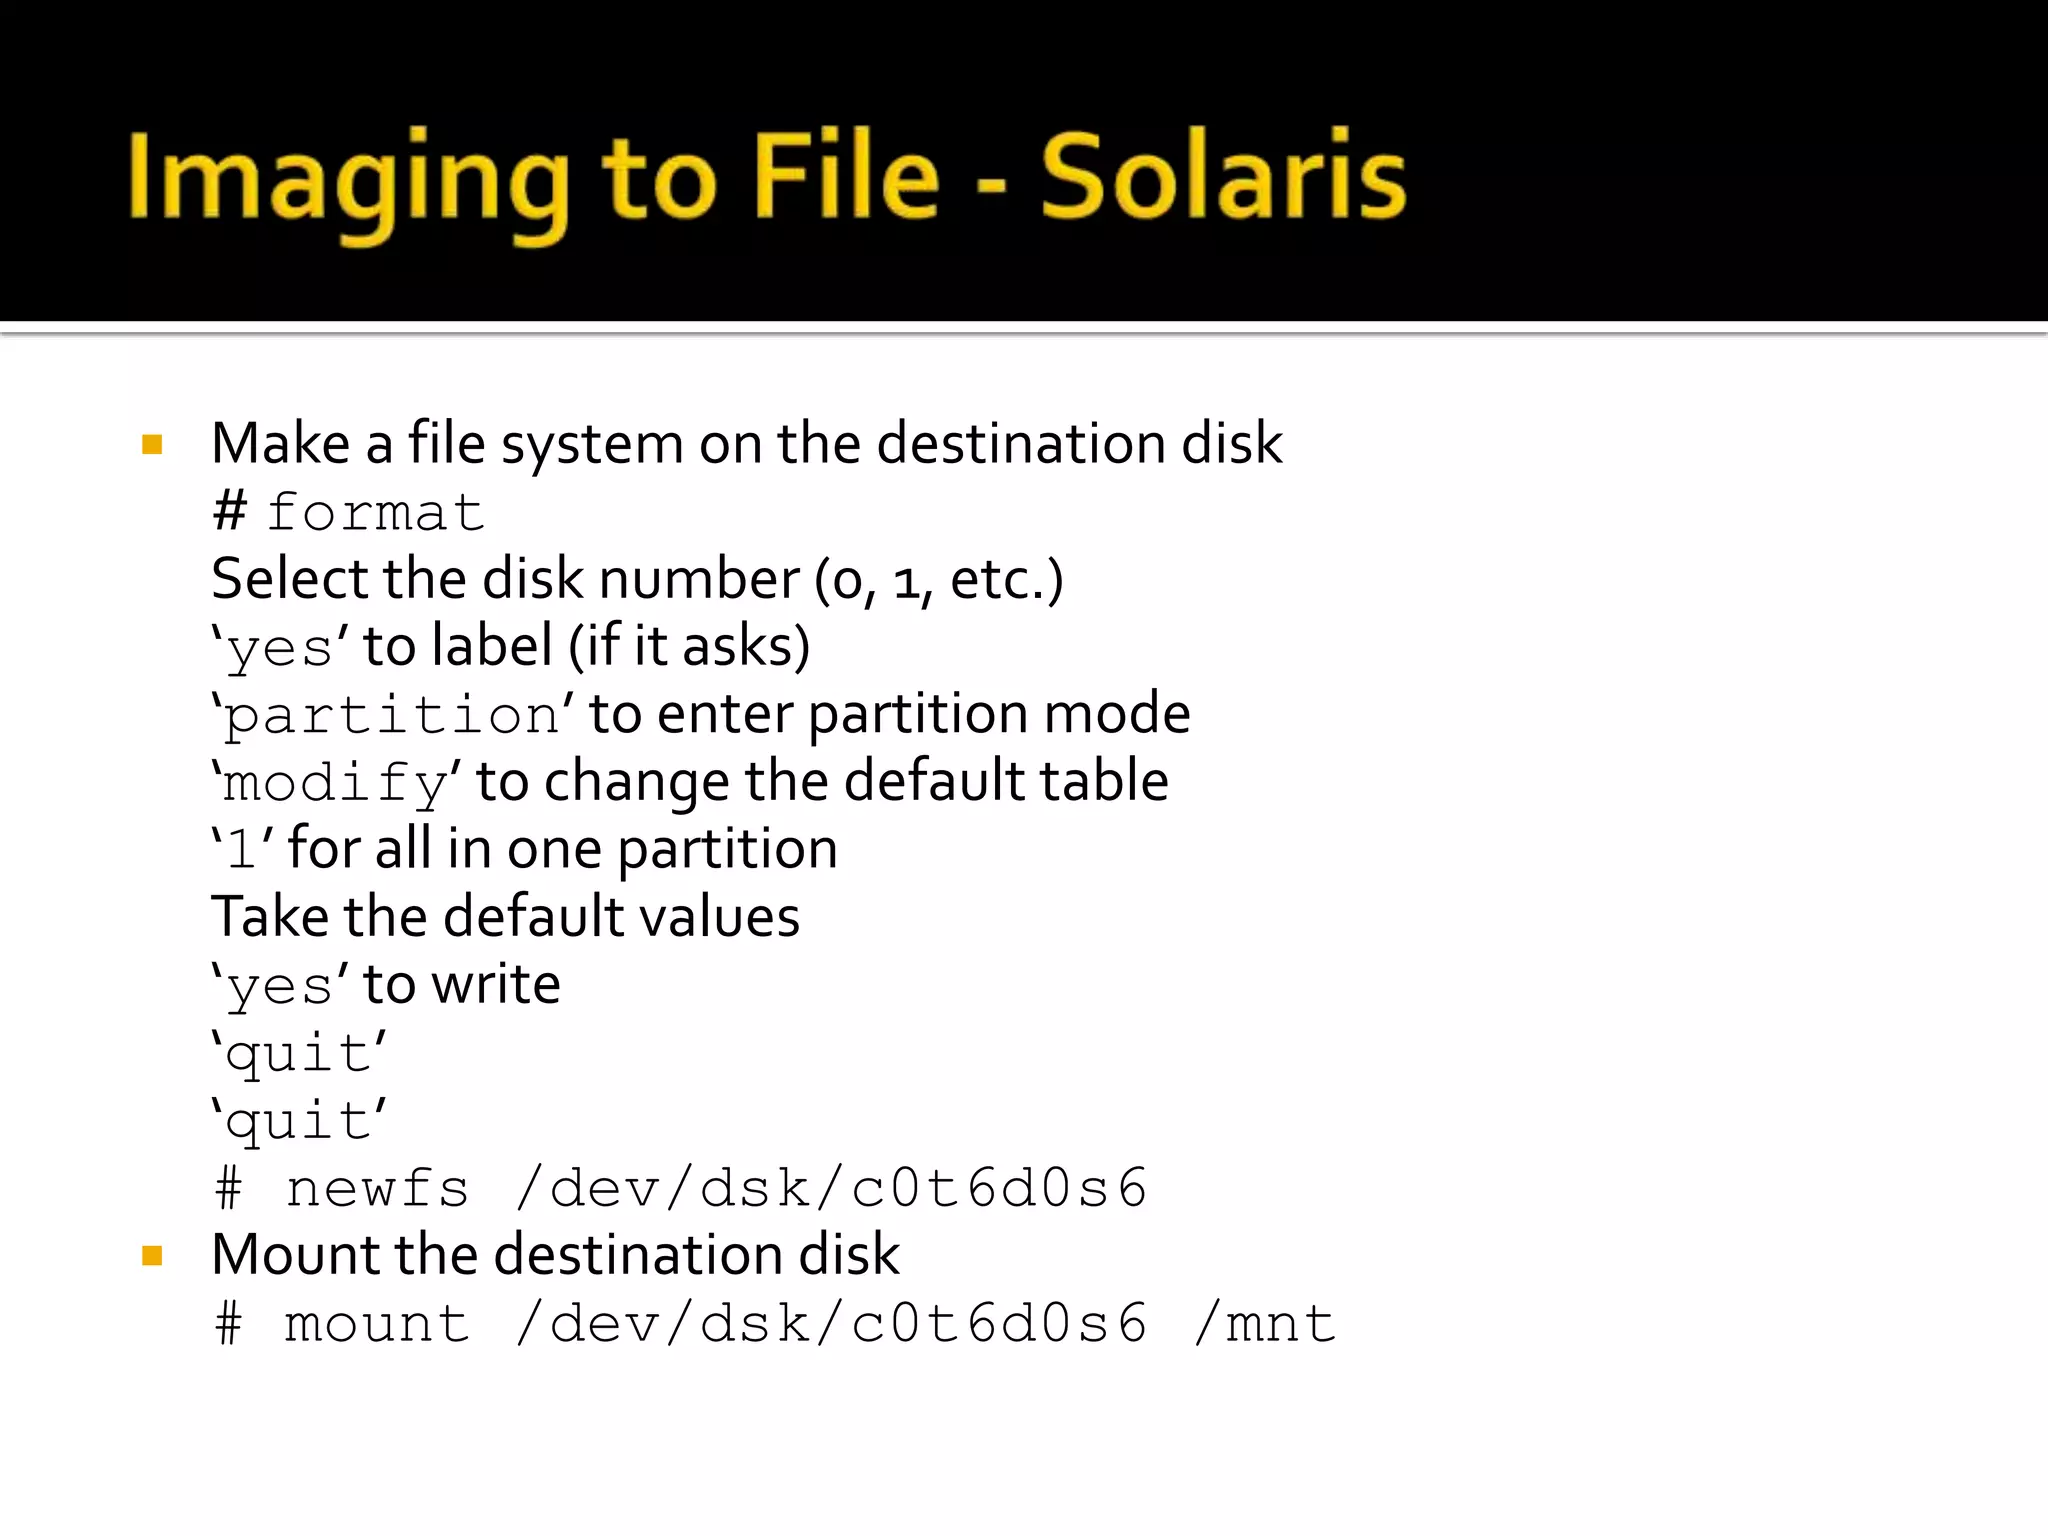
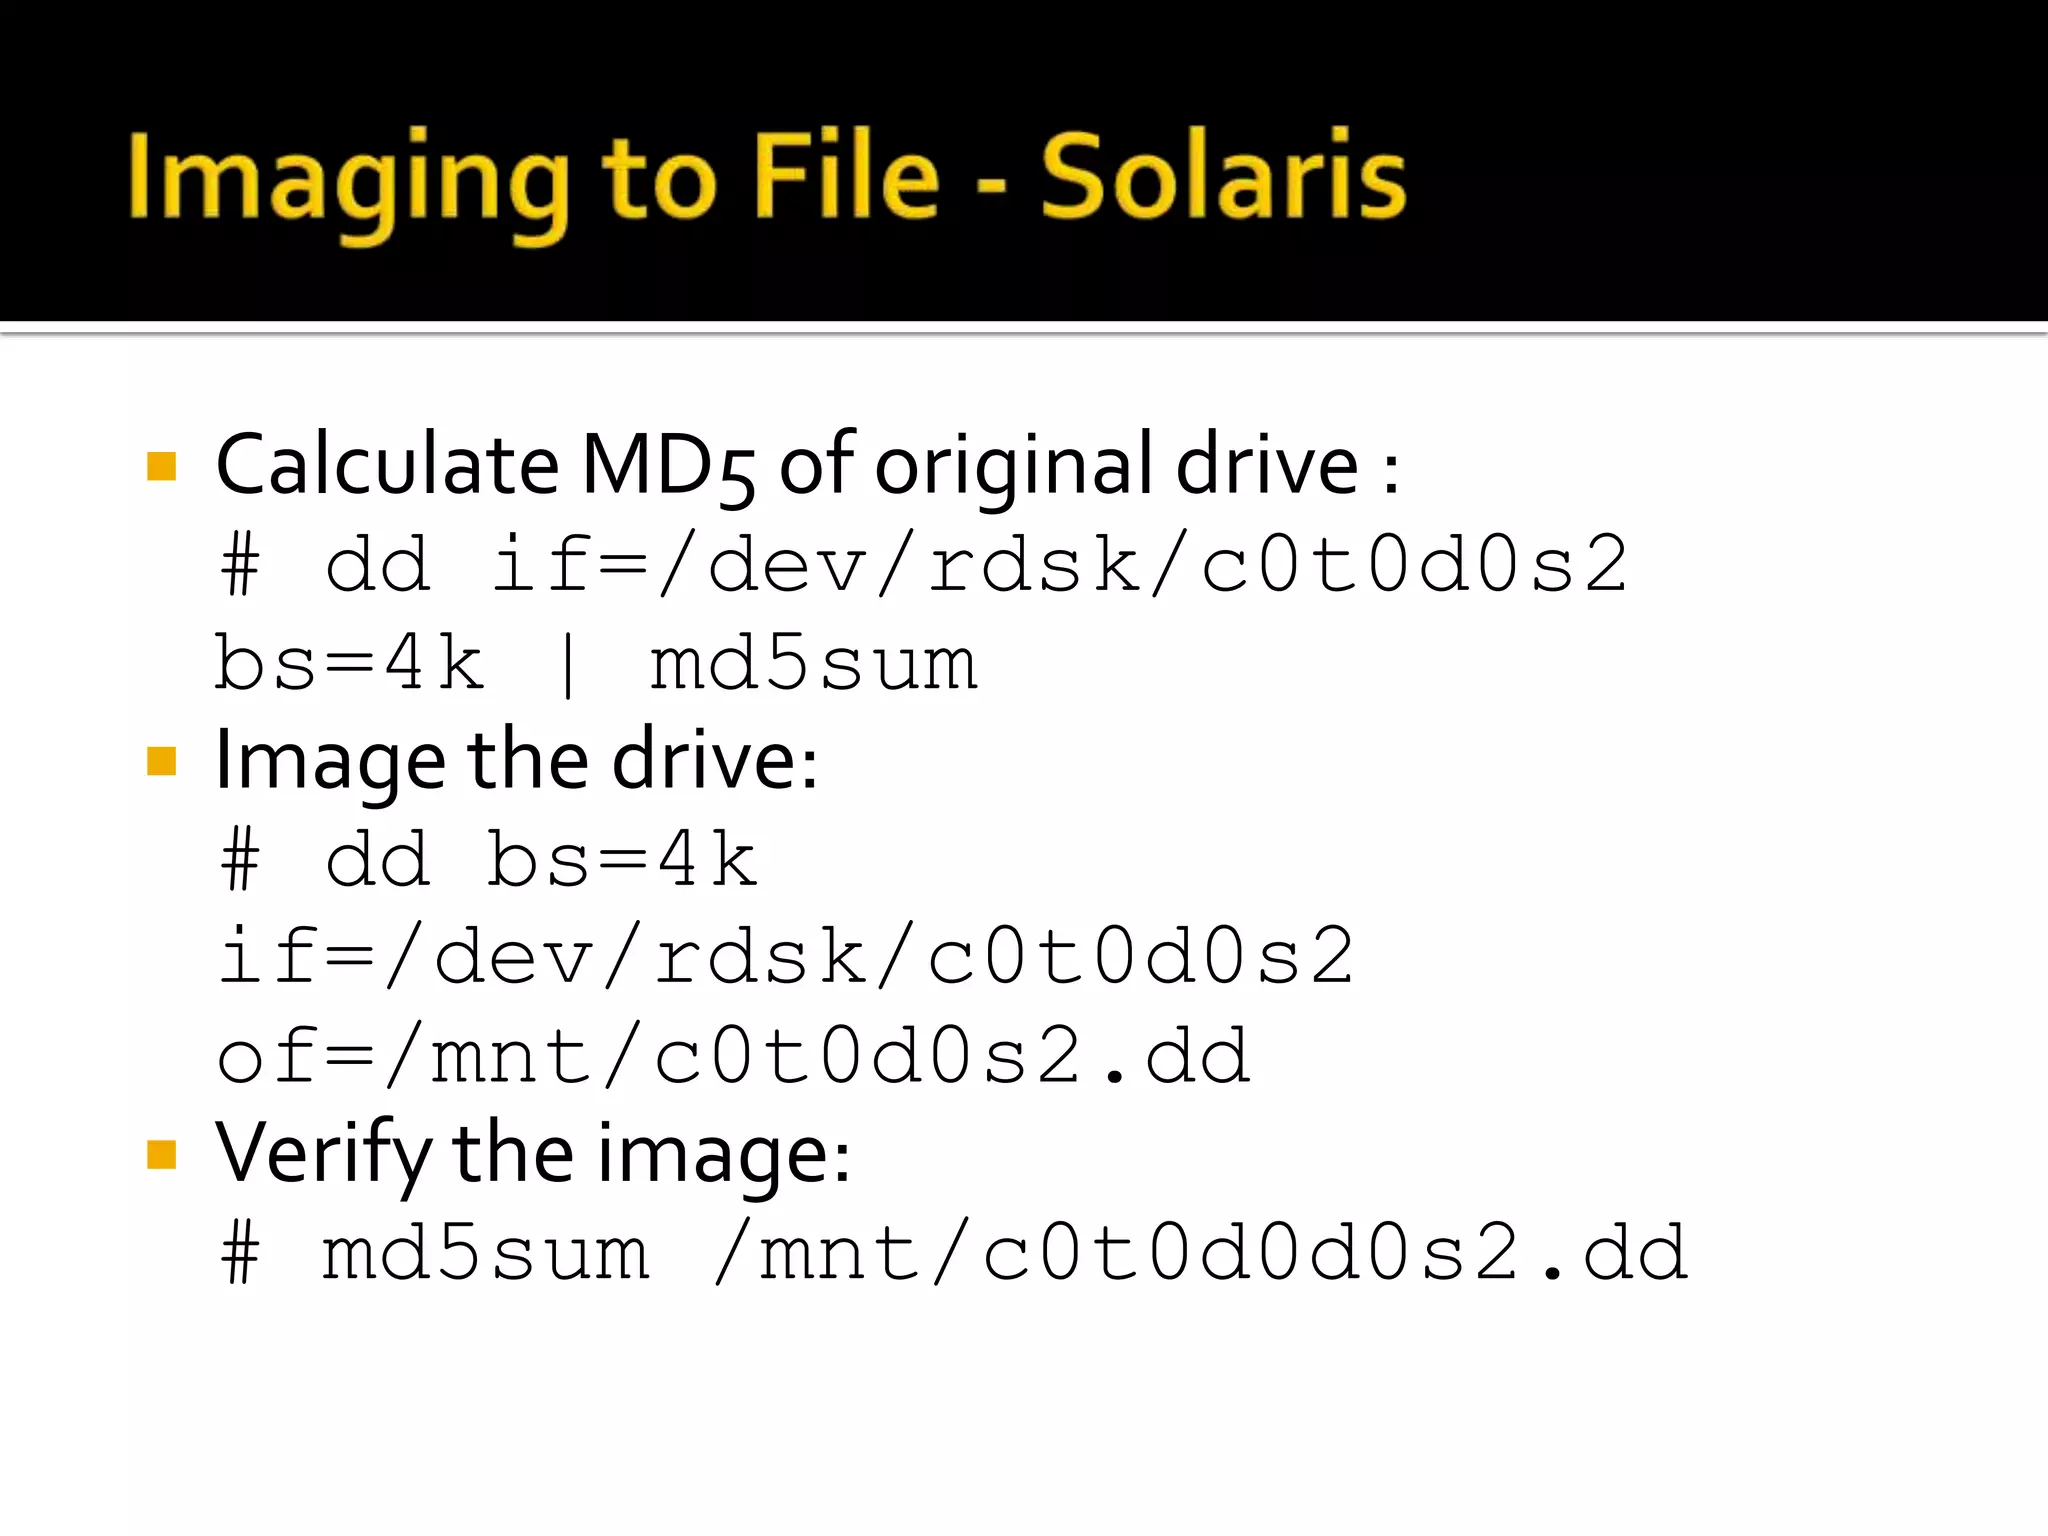
Phil Huggins
February 2004
   Static Data Acquisition
   Static Tools
   Bootable Media
   Network Data Collection
   Moving Drives
   Image Destinations
   Specialised Equipment
   Encase
   Shutdown Considerations
   The most commonly acquired static data is the hard
    drive.
   A hard drive is broken up into blocks (UNIX) or clusters
    (Windows) of data by a file system. A block or cluster can
    be classified as either allocated or unallocated.
   File and directory content exists in the allocated space
    and deleted file content exists in the unallocated space.
   There are two types of hard drive acquisitions:
     An image is an exact bit-for-bit copy of the entire disk space. This will
      include both allocated and unallocated disk space.
     A copy is a copy of just the allocated space. This is the equivalent of
      doing a ‘cp –r’ on a UNIX host or making a nightly backup. This can be
      faster than making an image, but deleted content can not be recovered.
   There are three major ways to acquire the contents
    of a hard disk:
     Over a network using netcat
     Adding a new drive to the system
     Removing the drive from the system
   Each of these are useful depending on the following
    factors:
     Access to the internals of the system (i.e. locked case or
      too heavy)
     Available destination media
     Time
     If the system can be shutdown
 You may have the choice of either acquiring the
  entire disk or each partition individually.
 The best method depends on how the data will be
  used in the analysis phase and what resources you
  will have in the lab.
 By doing individual partitions, you will not get the
  boot block.
 If you only take partitions, view the partition table
  to see if there is disk space that is not allocated to a
  partition. Acquire that too, it could be a location
  where data is hidden.
   In some cases the system will need to be booted into a trusted
    environment
   Intel-based: Bootable CD that goes into Linux
       @stake Pocket Security Toolkit
       Biatchux
       PLAC / White Glove
       Knoppix
       Penguin Sleuth Kit
   Solaris: Install CD and then ftp or NFS additional tools
   AIX: Install CD and enter maintenance shell
   DOS bootable floppy with forensically sound disk drivers.
   Windows is not suitable for static acquisition unless a disk write blocker is
    inline between the evidence drive and the system.
   This is used when:
     The system cannot be turned off
     A new drive cannot be installed into the system
     The existing drive cannot be removed
 Requires the ‘dd’ and ‘netcat’ tools.
 If the system is not turned off, a CD of trusted
  binaries should be used. This is called a Live
  Acquisition.
 If the system can be turned off, boot it into a trusted
  environment using an install CD or other bootable
  media. This is called a Dead Acquisition.
   On a Windows system that cannot be shutdown, there are
    ‘dd’ programs that can be used.
     GNU Utilities for Win32 (Get the latest update - There was a bug in dd)
      ▪ http://unxutils.sourceforge.net/UnxUpdates.zip
      ▪ George Garner (2000-only, but has MD5 values)
      ▪ http://users.erols.com/gmgarner/forensics/
   The following syntax can be used on Windows NT / 2000 / XP
    to get the entire disk:
     D:> dd if=.DevicePhysicalDrive0 |
      nc 10.0.0.1 4567
     .DeviceC: is used to get just the C drive
   The disk will come up as /dev/hd* for IDE
    or /dev/sd* for SCSI (where * is a, b, c, d)
   Each partition is a number after that,
    /dev/hda1 for example
   One can see them by typing:
    # dmesg | grep hd
   A list of partitions can be seen using:
    # fdisk -l /dev/hda
 For a dead acquisition, calculate the MD5 first:
  # dd if=/dev/hda bs=8k | md5sum
 To copy the disk to the evidence server:
  # dd if=/dev/hda bs=8k | nc -w 10
  10.0.0.1 9000
 To copy a single partition do:
  # dd if=/dev/hda1 bs=8k | nc -w 10
  10.0.0.1 9000
 On the evidence server, verify the MD5 value
   Drives in Solaris are in /dev/rdsk/c?t?d?s? (where ?
    are numbers, /dev/rdsk/c0t0d0s2 for example)
   The s2 slice is the entire disk and the others are
    partitions
   prtvtoc can be used to display the partitions
   Boot the system from the Install CD and in Open
    Windows click to open a shell
   Use ftp or NFS to copy netcat & md5sum over
 For a dead acquisition, calcuate the MD5 first:
  # dd if=/dev/rdsk/c0t0d0s2 bs=8k |
  md5sum
 To copy the disk to the evidence server:
  # dd if=/dev/rdsk/c0t0d0s2 bs=8k |
  nc -w 10 10.0.0.1 9000
 To copy a single partition do:
  # dd if=/dev/rdsk/c0t0d0s0 bs=8k |
  nc -w 10 10.0.0.1 9000
 On the evidence server, verify the MD5 value
 If you can get access to the internals of the system,
  then the drive in question can be removed or a fresh
  drive can be installed.
 If a fresh drive is installed, boot off of a trusted CD
  into a UNIX environment
 If the drive is removed, place it in a trusted UNIX
  system
 Use the Read-Only jumper or an IDE Write Blocker,
  if available
   We have two options for saving the data:
     Image to a file: This requires the new disk to be larger than the
      original.
     Image to the raw disk: This is used when the destination disk is the
      same as the suspect disk. If the destination disk is larger, the disk
      should be wiped.
 When the image is a file, we know exactly how large the
  original was and MD5 verification is easy
 Most forensic tools use a file as input
 Disk geometry issues can occur when imaging to a raw
  disk that is larger than the original
 Analysis stations may try to mount the evidence disk when
  it is written as a raw disk
 WARNING: Make sure you know which disk is the original!
 Wipe the destination drive (hdc)
  # dd if=/dev/zero of=/dev/hdc
 Calculate MD5 of original (hda)
  # dd if=/dev/hda bs=4k | md5sum
 Image the drive (save the number of records copied):
  # dd bs=4k if=/dev/hda of=/dev/hdc
  10900+0 records in
  10900+0 records out
 Verify the image, using the number of records
  # dd if=/dev/hdc count=10900 bs=4k | md5sum
 Wipe the destination disk using the format command
 Calculate MD5 of original
  # dd if=/dev/rdsk/c0t0d0s2 bs=4k |
  md5sum
 Image the drive (save the number of records copied):
  # dd bs=4k if=/dev/rdsk/c0t0d0s2
     of=/dev/rdsk/c0t6d0s2
  10900+0 records in
  10900+0 records out
 Verify the image, using the number of records
  # dd if=/dev/rdsk/c0t6d0s2 count=10900
  bs=4k | md5sum
   Make a file system on the destination disk
    # fdisk /dev/hdc
    ‘n’ for a new partition
    ‘p’ to create a primary partition
    ‘1’ to label it partition 1
    Select the default values
    ‘w’ to write and exist
    # mke2fs /dev/hdc1
   Mount the destination disk
    # mount /dev/hdc1 /mnt
   Calculate MD5 of original drive (hda):
    # dd if=/dev/hda bs=4k | md5sum
   Image the drive:
    # dd bs=4k if=/dev/hda
    of=/mnt/hda.dd
   Verify the image:
    # md5sum /mnt/hda.dd
   To image each partition, we repeat the previous
    process
   Verify that the entire disk is covered with partitions:
    # fdisk -l /dev/hda
   Calculate MD5 of partition 1 (hda1)
    # dd if=/dev/hda1 bs=4k | md5sum
   Image the partition:
    # dd bs=4k if=/dev/hda1
    of=/mnt/hda1.dd
   Verify the image:
    # md5sum /mnt/hda1.dd
   Repeat previous three steps
 Make a file system on the destination disk
  # format
  Select the disk number (0, 1, etc.)
  ‘yes’ to label (if it asks)
  ‘partition’ to enter partition mode
  ‘modify’ to change the default table
  ‘1’ for all in one partition
  Take the default values
  ‘yes’ to write
  ‘quit’
  ‘quit’
  # newfs /dev/dsk/c0t6d0s6
 Mount the destination disk
  # mount /dev/dsk/c0t6d0s6 /mnt
   Calculate MD5 of original drive :
    # dd if=/dev/rdsk/c0t0d0s2
    bs=4k | md5sum
   Image the drive:
    # dd bs=4k
    if=/dev/rdsk/c0t0d0s2
    of=/mnt/c0t0d0s2.dd
   Verify the image:
    # md5sum /mnt/c0t0d0d0s2.dd
   To image each partition, we repeat the previous process
   Verify that the entire disk is covered with partitions:
    # format
    Select disk, enter partition mode, and ‘print’ the table
   Calculate MD5 of slice 0
    # dd if=/dev/rdsk/c0t0d0s0 bs=4k | md5sum
   Image the partition:
    # dd bs=4k if=/dev/rdsk/c0t0d0s0
    of=/mnt/c0t0d0s0.dd
   Verify the image: # md5sum /mnt/c0t0d0s0.dd
   Repeat previous three steps
   These devices were originally intended for quickly
    reproducing disk images and are now marketed as
    forensic tools.
   They can be very fast, but only support IDE. SCSI support
    is done through a PCMCIA card.
   Currently, these only make images of an entire disk, not by
    partition.
   Some versions allow you to make images of several disks
    onto one disk, by making new partitions for each.
   Verify the system is set to a 100% copy and not an
    optimized file system copy (which only copies the
    allocated data).
   Solitaire:
     http://www.logicube.com/products/solitaire_fore
     nsic.html
   Solo
     http://www.ics-iq.com/show_item_186.cfm
   Dibs
     http://www.dibsusa.com/home.html?products/rai
     d
 The EnCase analysis software is the most popular
  dedicated forensics application
 It comes with a DOS floppy that can be used for
  hard drive acquisitions and the result is a file in a
  proprietary EnCase format with embedded CRC
  checks
 The EnCase analysis software opens both the
  proprietary format and a raw image
 Therefore, it could be more useful to acquire the
  data in a raw format so that the data can be used in
  all software
   Extract the memory card from the flash card
    socket in target device
   Insert memory card into a Flashcard to
    PCMCIA (or USB) reader
   Use ‘dd’ to copy contents to an image file
   Copy image file to another memory card
   Mount image as a file system (Linux)
 One negative aspect of doing a live acquisition is
  that the MD5 value of the copy cannot be compared
  with the original. This makes it difficult to prove
  that the image is accurate.
 If the system has a compromised kernel, then any
  volatile or live acquisition data gathered will be
  suspect.
 On UNIX systems the swap space is a separate
  partition. Although this is not a file system, it
  should be imaged as well for analysis. With
  Windows, the swap space is a file that is contained
  in one of the partitions.
 The shutdown scripts of a system could be set to
  destroy files when the system is shutdown.
 Similarly, the swap space can be cleared on a
  Windows system if a Registry key is set.
 Unless you KNOW that the shutdown scripts and
  procedures can be trusted, it is best to just unplug
  the system rather than shut it down properly.
 Before the plug is pulled, if you trust the kernel, use
  the ‘sync’ command in UNIX to flush out the cache
  to disk.

First Responder Course - Session 10 - Static Evidence Collection [2004]

  • 1.
  • 2.
    Static Data Acquisition  Static Tools  Bootable Media  Network Data Collection  Moving Drives  Image Destinations  Specialised Equipment  Encase  Shutdown Considerations
  • 3.
    The most commonly acquired static data is the hard drive.  A hard drive is broken up into blocks (UNIX) or clusters (Windows) of data by a file system. A block or cluster can be classified as either allocated or unallocated.  File and directory content exists in the allocated space and deleted file content exists in the unallocated space.  There are two types of hard drive acquisitions:  An image is an exact bit-for-bit copy of the entire disk space. This will include both allocated and unallocated disk space.  A copy is a copy of just the allocated space. This is the equivalent of doing a ‘cp –r’ on a UNIX host or making a nightly backup. This can be faster than making an image, but deleted content can not be recovered.
  • 4.
    There are three major ways to acquire the contents of a hard disk:  Over a network using netcat  Adding a new drive to the system  Removing the drive from the system  Each of these are useful depending on the following factors:  Access to the internals of the system (i.e. locked case or too heavy)  Available destination media  Time  If the system can be shutdown
  • 5.
     You mayhave the choice of either acquiring the entire disk or each partition individually.  The best method depends on how the data will be used in the analysis phase and what resources you will have in the lab.  By doing individual partitions, you will not get the boot block.  If you only take partitions, view the partition table to see if there is disk space that is not allocated to a partition. Acquire that too, it could be a location where data is hidden.
  • 6.
    In some cases the system will need to be booted into a trusted environment  Intel-based: Bootable CD that goes into Linux  @stake Pocket Security Toolkit  Biatchux  PLAC / White Glove  Knoppix  Penguin Sleuth Kit  Solaris: Install CD and then ftp or NFS additional tools  AIX: Install CD and enter maintenance shell  DOS bootable floppy with forensically sound disk drivers.  Windows is not suitable for static acquisition unless a disk write blocker is inline between the evidence drive and the system.
  • 7.
    This is used when:  The system cannot be turned off  A new drive cannot be installed into the system  The existing drive cannot be removed  Requires the ‘dd’ and ‘netcat’ tools.  If the system is not turned off, a CD of trusted binaries should be used. This is called a Live Acquisition.  If the system can be turned off, boot it into a trusted environment using an install CD or other bootable media. This is called a Dead Acquisition.
  • 8.
    On a Windows system that cannot be shutdown, there are ‘dd’ programs that can be used.  GNU Utilities for Win32 (Get the latest update - There was a bug in dd) ▪ http://unxutils.sourceforge.net/UnxUpdates.zip ▪ George Garner (2000-only, but has MD5 values) ▪ http://users.erols.com/gmgarner/forensics/  The following syntax can be used on Windows NT / 2000 / XP to get the entire disk:  D:> dd if=.DevicePhysicalDrive0 | nc 10.0.0.1 4567  .DeviceC: is used to get just the C drive
  • 9.
    The disk will come up as /dev/hd* for IDE or /dev/sd* for SCSI (where * is a, b, c, d)  Each partition is a number after that, /dev/hda1 for example  One can see them by typing: # dmesg | grep hd  A list of partitions can be seen using: # fdisk -l /dev/hda
  • 10.
     For adead acquisition, calculate the MD5 first: # dd if=/dev/hda bs=8k | md5sum  To copy the disk to the evidence server: # dd if=/dev/hda bs=8k | nc -w 10 10.0.0.1 9000  To copy a single partition do: # dd if=/dev/hda1 bs=8k | nc -w 10 10.0.0.1 9000  On the evidence server, verify the MD5 value
  • 11.
    Drives in Solaris are in /dev/rdsk/c?t?d?s? (where ? are numbers, /dev/rdsk/c0t0d0s2 for example)  The s2 slice is the entire disk and the others are partitions  prtvtoc can be used to display the partitions  Boot the system from the Install CD and in Open Windows click to open a shell  Use ftp or NFS to copy netcat & md5sum over
  • 12.
     For adead acquisition, calcuate the MD5 first: # dd if=/dev/rdsk/c0t0d0s2 bs=8k | md5sum  To copy the disk to the evidence server: # dd if=/dev/rdsk/c0t0d0s2 bs=8k | nc -w 10 10.0.0.1 9000  To copy a single partition do: # dd if=/dev/rdsk/c0t0d0s0 bs=8k | nc -w 10 10.0.0.1 9000  On the evidence server, verify the MD5 value
  • 13.
     If youcan get access to the internals of the system, then the drive in question can be removed or a fresh drive can be installed.  If a fresh drive is installed, boot off of a trusted CD into a UNIX environment  If the drive is removed, place it in a trusted UNIX system  Use the Read-Only jumper or an IDE Write Blocker, if available
  • 14.
    We have two options for saving the data:  Image to a file: This requires the new disk to be larger than the original.  Image to the raw disk: This is used when the destination disk is the same as the suspect disk. If the destination disk is larger, the disk should be wiped.  When the image is a file, we know exactly how large the original was and MD5 verification is easy  Most forensic tools use a file as input  Disk geometry issues can occur when imaging to a raw disk that is larger than the original  Analysis stations may try to mount the evidence disk when it is written as a raw disk
  • 15.
     WARNING: Makesure you know which disk is the original!  Wipe the destination drive (hdc) # dd if=/dev/zero of=/dev/hdc  Calculate MD5 of original (hda) # dd if=/dev/hda bs=4k | md5sum  Image the drive (save the number of records copied): # dd bs=4k if=/dev/hda of=/dev/hdc 10900+0 records in 10900+0 records out  Verify the image, using the number of records # dd if=/dev/hdc count=10900 bs=4k | md5sum
  • 16.
     Wipe thedestination disk using the format command  Calculate MD5 of original # dd if=/dev/rdsk/c0t0d0s2 bs=4k | md5sum  Image the drive (save the number of records copied): # dd bs=4k if=/dev/rdsk/c0t0d0s2 of=/dev/rdsk/c0t6d0s2 10900+0 records in 10900+0 records out  Verify the image, using the number of records # dd if=/dev/rdsk/c0t6d0s2 count=10900 bs=4k | md5sum
  • 17.
    Make a file system on the destination disk # fdisk /dev/hdc ‘n’ for a new partition ‘p’ to create a primary partition ‘1’ to label it partition 1 Select the default values ‘w’ to write and exist # mke2fs /dev/hdc1  Mount the destination disk # mount /dev/hdc1 /mnt
  • 18.
    Calculate MD5 of original drive (hda): # dd if=/dev/hda bs=4k | md5sum  Image the drive: # dd bs=4k if=/dev/hda of=/mnt/hda.dd  Verify the image: # md5sum /mnt/hda.dd
  • 19.
    To image each partition, we repeat the previous process  Verify that the entire disk is covered with partitions: # fdisk -l /dev/hda  Calculate MD5 of partition 1 (hda1) # dd if=/dev/hda1 bs=4k | md5sum  Image the partition: # dd bs=4k if=/dev/hda1 of=/mnt/hda1.dd  Verify the image: # md5sum /mnt/hda1.dd  Repeat previous three steps
  • 20.
     Make afile system on the destination disk # format Select the disk number (0, 1, etc.) ‘yes’ to label (if it asks) ‘partition’ to enter partition mode ‘modify’ to change the default table ‘1’ for all in one partition Take the default values ‘yes’ to write ‘quit’ ‘quit’ # newfs /dev/dsk/c0t6d0s6  Mount the destination disk # mount /dev/dsk/c0t6d0s6 /mnt
  • 21.
    Calculate MD5 of original drive : # dd if=/dev/rdsk/c0t0d0s2 bs=4k | md5sum  Image the drive: # dd bs=4k if=/dev/rdsk/c0t0d0s2 of=/mnt/c0t0d0s2.dd  Verify the image: # md5sum /mnt/c0t0d0d0s2.dd
  • 22.
    To image each partition, we repeat the previous process  Verify that the entire disk is covered with partitions: # format Select disk, enter partition mode, and ‘print’ the table  Calculate MD5 of slice 0 # dd if=/dev/rdsk/c0t0d0s0 bs=4k | md5sum  Image the partition: # dd bs=4k if=/dev/rdsk/c0t0d0s0 of=/mnt/c0t0d0s0.dd  Verify the image: # md5sum /mnt/c0t0d0s0.dd  Repeat previous three steps
  • 23.
    These devices were originally intended for quickly reproducing disk images and are now marketed as forensic tools.  They can be very fast, but only support IDE. SCSI support is done through a PCMCIA card.  Currently, these only make images of an entire disk, not by partition.  Some versions allow you to make images of several disks onto one disk, by making new partitions for each.  Verify the system is set to a 100% copy and not an optimized file system copy (which only copies the allocated data).
  • 24.
    Solitaire:  http://www.logicube.com/products/solitaire_fore nsic.html  Solo  http://www.ics-iq.com/show_item_186.cfm  Dibs  http://www.dibsusa.com/home.html?products/rai d
  • 26.
     The EnCaseanalysis software is the most popular dedicated forensics application  It comes with a DOS floppy that can be used for hard drive acquisitions and the result is a file in a proprietary EnCase format with embedded CRC checks  The EnCase analysis software opens both the proprietary format and a raw image  Therefore, it could be more useful to acquire the data in a raw format so that the data can be used in all software
  • 27.
    Extract the memory card from the flash card socket in target device  Insert memory card into a Flashcard to PCMCIA (or USB) reader  Use ‘dd’ to copy contents to an image file  Copy image file to another memory card  Mount image as a file system (Linux)
  • 28.
     One negativeaspect of doing a live acquisition is that the MD5 value of the copy cannot be compared with the original. This makes it difficult to prove that the image is accurate.  If the system has a compromised kernel, then any volatile or live acquisition data gathered will be suspect.  On UNIX systems the swap space is a separate partition. Although this is not a file system, it should be imaged as well for analysis. With Windows, the swap space is a file that is contained in one of the partitions.
  • 29.
     The shutdownscripts of a system could be set to destroy files when the system is shutdown.  Similarly, the swap space can be cleared on a Windows system if a Registry key is set.  Unless you KNOW that the shutdown scripts and procedures can be trusted, it is best to just unplug the system rather than shut it down properly.  Before the plug is pulled, if you trust the kernel, use the ‘sync’ command in UNIX to flush out the cache to disk.