Download to read offline


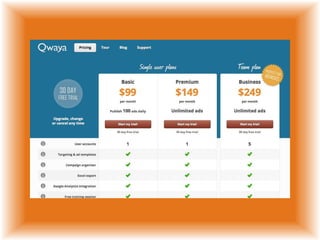

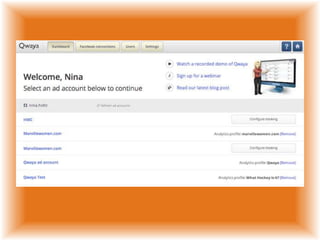

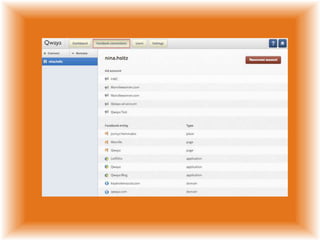
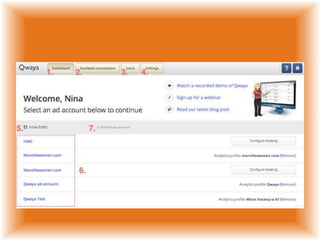


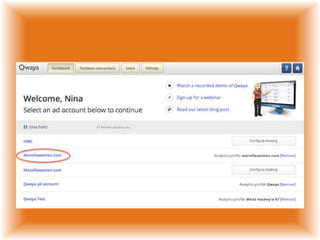
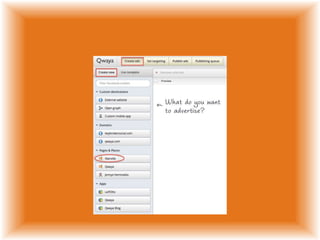

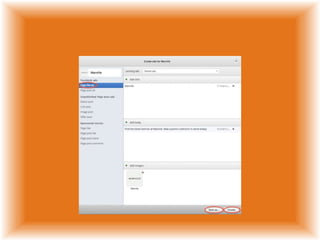

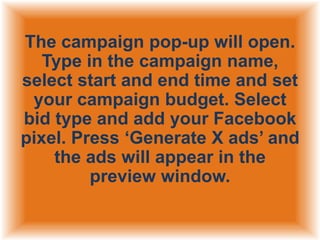

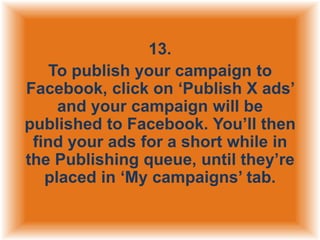
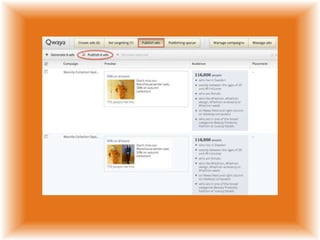

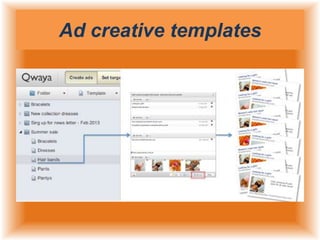
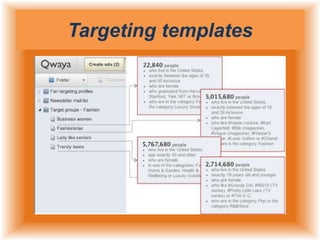
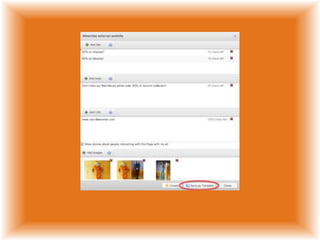

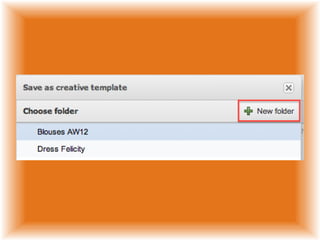
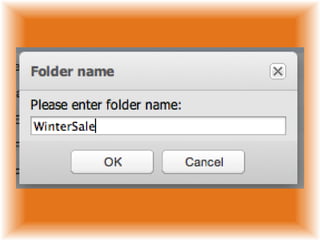

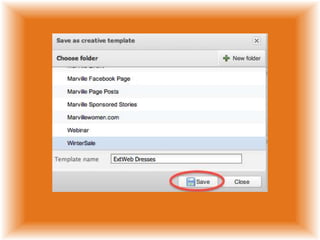

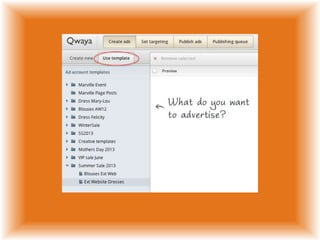

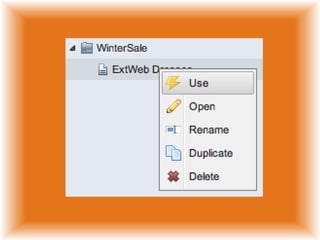
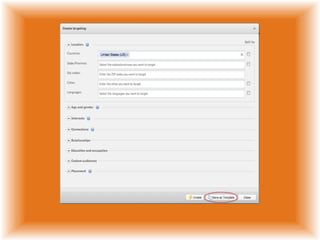

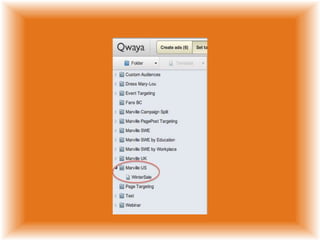

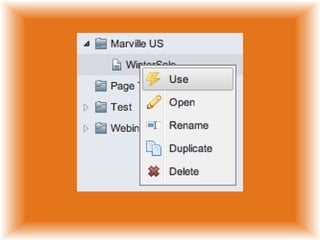


Qwaya is a tool for managing Facebook ad campaigns that allows users to create, publish, track, optimize and organize various Facebook ad types through a more sophisticated and usable interface than Facebook's native tools. It provides templates for ad creatives and targeting that enable users to reuse high performing ads and targeting strategies. The dashboard displays connected Facebook accounts and campaigns. Users can create campaigns by developing ad creatives and targeting templates, setting budgets and bids, and publishing ads to Facebook through Qwaya.


![Create add page_on_facebook[1]](https://cdn.slidesharecdn.com/ss_thumbnails/createaddpageonfacebook1-140318021621-phpapp01-thumbnail.jpg?width=640&height=640&fit=bounds)


