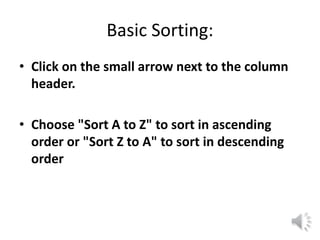
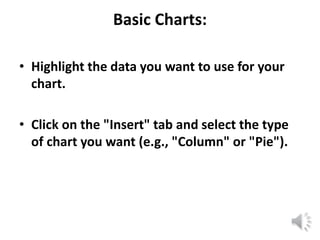
Excel Basics: A Beginner's
Tutorial
Presented By
Dr.S.PIRAMU KAILASAM
Department of computer applications
Sadakathullah Appa College
Tirunelveli
Introduction : Microsoft Excel
Microsoft Excel is a versatile and
powerful tool that can enhance your
ability to organize and analyse data.
Introduction : Microsoft Excel
• Excel is a spread sheet program that allows
you to create tables, perform calculations,
and analyse data.
• It's commonly used for tasks like budgeting,
creating lists, tracking expenses, and more.
Excel:Open screen(version 2019)
EXCEL
WORK AREA
Excel Interface:
• When Excel opens, you'll see a grid of cells
organized into columns (labelled A, B, C, etc.)
and rows (labelled 1, 2, 3, etc.).
• The intersection of a column and a row is
called a cell.
Entering Data
• Click on a cell where you want to enter data.
• Start typing your data (text or numbers).
Press "Enter" when you're done.
• To move to a different cell, use the arrow
keys or click on the desired cell.
Entering Data
CELL
Basic Formatting:
• To make text bold or italic, use the buttons in
the "Home" tab.
• You can also change the font size and color
using the "Font" section in the "Home" tab.
Basic Formatting
Basic Formulas:
• Click on a cell where you want the result of
your calculation to appear.
• Type an equals sign (=) followed by the
formula (e.g., =A1+B1).
• Press "Enter" to see the result.
Basic Formula
Basic Formula Result
Saving Your Work:
• Click on the "File" tab in the top-left corner.
• Select "Save As" and choose a location on
your computer to save the file.
• Give your file a name and click "Save."
Saving Your Work:
Saving Your Work:
Creating a Simple Table:
• Highlight the cells containing your data.
• Click on the "Insert" tab and then select
"Table.“
• Excel will create a table with headers and
formatting
Creating a Simple Table:
Basic Sorting:
• Click on the small arrow next to the column
header.
• Choose "Sort A to Z" to sort in ascending
order or "Sort Z to A" to sort in descending
order
Basic Sorting
Basic Sorting
Basic Charts:
• Highlight the data you want to use for your
chart.
• Click on the "Insert" tab and select the type
of chart you want (e.g., "Column" or "Pie").
Basic Charts
Graph/Chart
Closing Excel:
• Click on the "File" tab and select "Close" to
exit Excel.
Closing page
Remember, practice makes perfect. Spend time
exploring Excel, experimenting with different
features, and gradually building your skills.
THANK YOU

Excel Basics.pptx