Chapter 9:
Patient Assessment
National EMS Education
Standard Competencies (1 of 5)
Assessment
Use scene information and simple patient
assessment findings to identify and manage
immediate life threats and injuries within the
scope and practice of the emergency medical
responder (EMR).
National EMS Education
Standard Competencies (2 of 5)
Scene Size-Up
• Scene safety
• Scene management
– Impact of the environment on patient care
– Addressing hazards
– Violence
– Need for additional or specialized resources
– Standard precautions
National EMS Education
Standard Competencies (3 of 5)
Primary Assessment
• Primary assessment for all patient
situations
– Level of consciousness
– ABCs
– Identifying life threats
– Assessment of vital functions
• Begin interventions needed to preserve life
National EMS Education
Standard Competencies (4 of 5)
History Taking
• Determine the chief complaint
• Mechanism of injury (MOI)/nature of illness
(NOI)
• Associated signs and symptoms
National EMS Education
Standard Competencies (5 of 5)
Secondary Assessment
• Performing a rapid full-body scan
• Focused assessment of pain
• Assessment of vital signs
Reassessment
• How and when to reassess patients
Introduction (1 of 2)
• EMRs are the first trained emergency
medical services (EMS) providers at many
emergency scenes.
• Patient assessment sequence
– Perform a scene size-up.
– Perform a primary assessment.
– Obtain the patient’s medical history.
– Perform a secondary assessment.
– Perform a reassessment.
Introduction (2 of 2)
• The skills and knowledge presented in this
chapter follow an assessment-based care
model.
– The treatment rendered is based on the
patient’s symptoms.
– Assessment-based care requires you to
conduct a careful and thorough evaluation.
Patient Assessment Sequence
• The patient assessment sequence provides
a framework so that you can
– Safely approach an emergency scene
– Determine the need for additional help
– Examine the patient to determine if injuries or
illnesses are present
– Obtain the patient’s medical history
– Report the results to other EMS personnel
Scene Size-Up (1 of 8)
• General overview of the incident and its
surroundings
• Review dispatch information.
– Location of the incident
– Main problem or type of incident
– Number of people involved
– Safety issues at the scene
Scene Size-Up (2 of 8)
• Review dispatch information. (cont’d)
– Other factors can affect your actions:
• Time of day
• Day of the week
• Weather conditions
– Mentally prepare for other situations you may
find when you arrive on the scene.
– If you come across a medical emergency,
contact dispatch using your two-way radio.
Scene Size-Up (3 of 8)
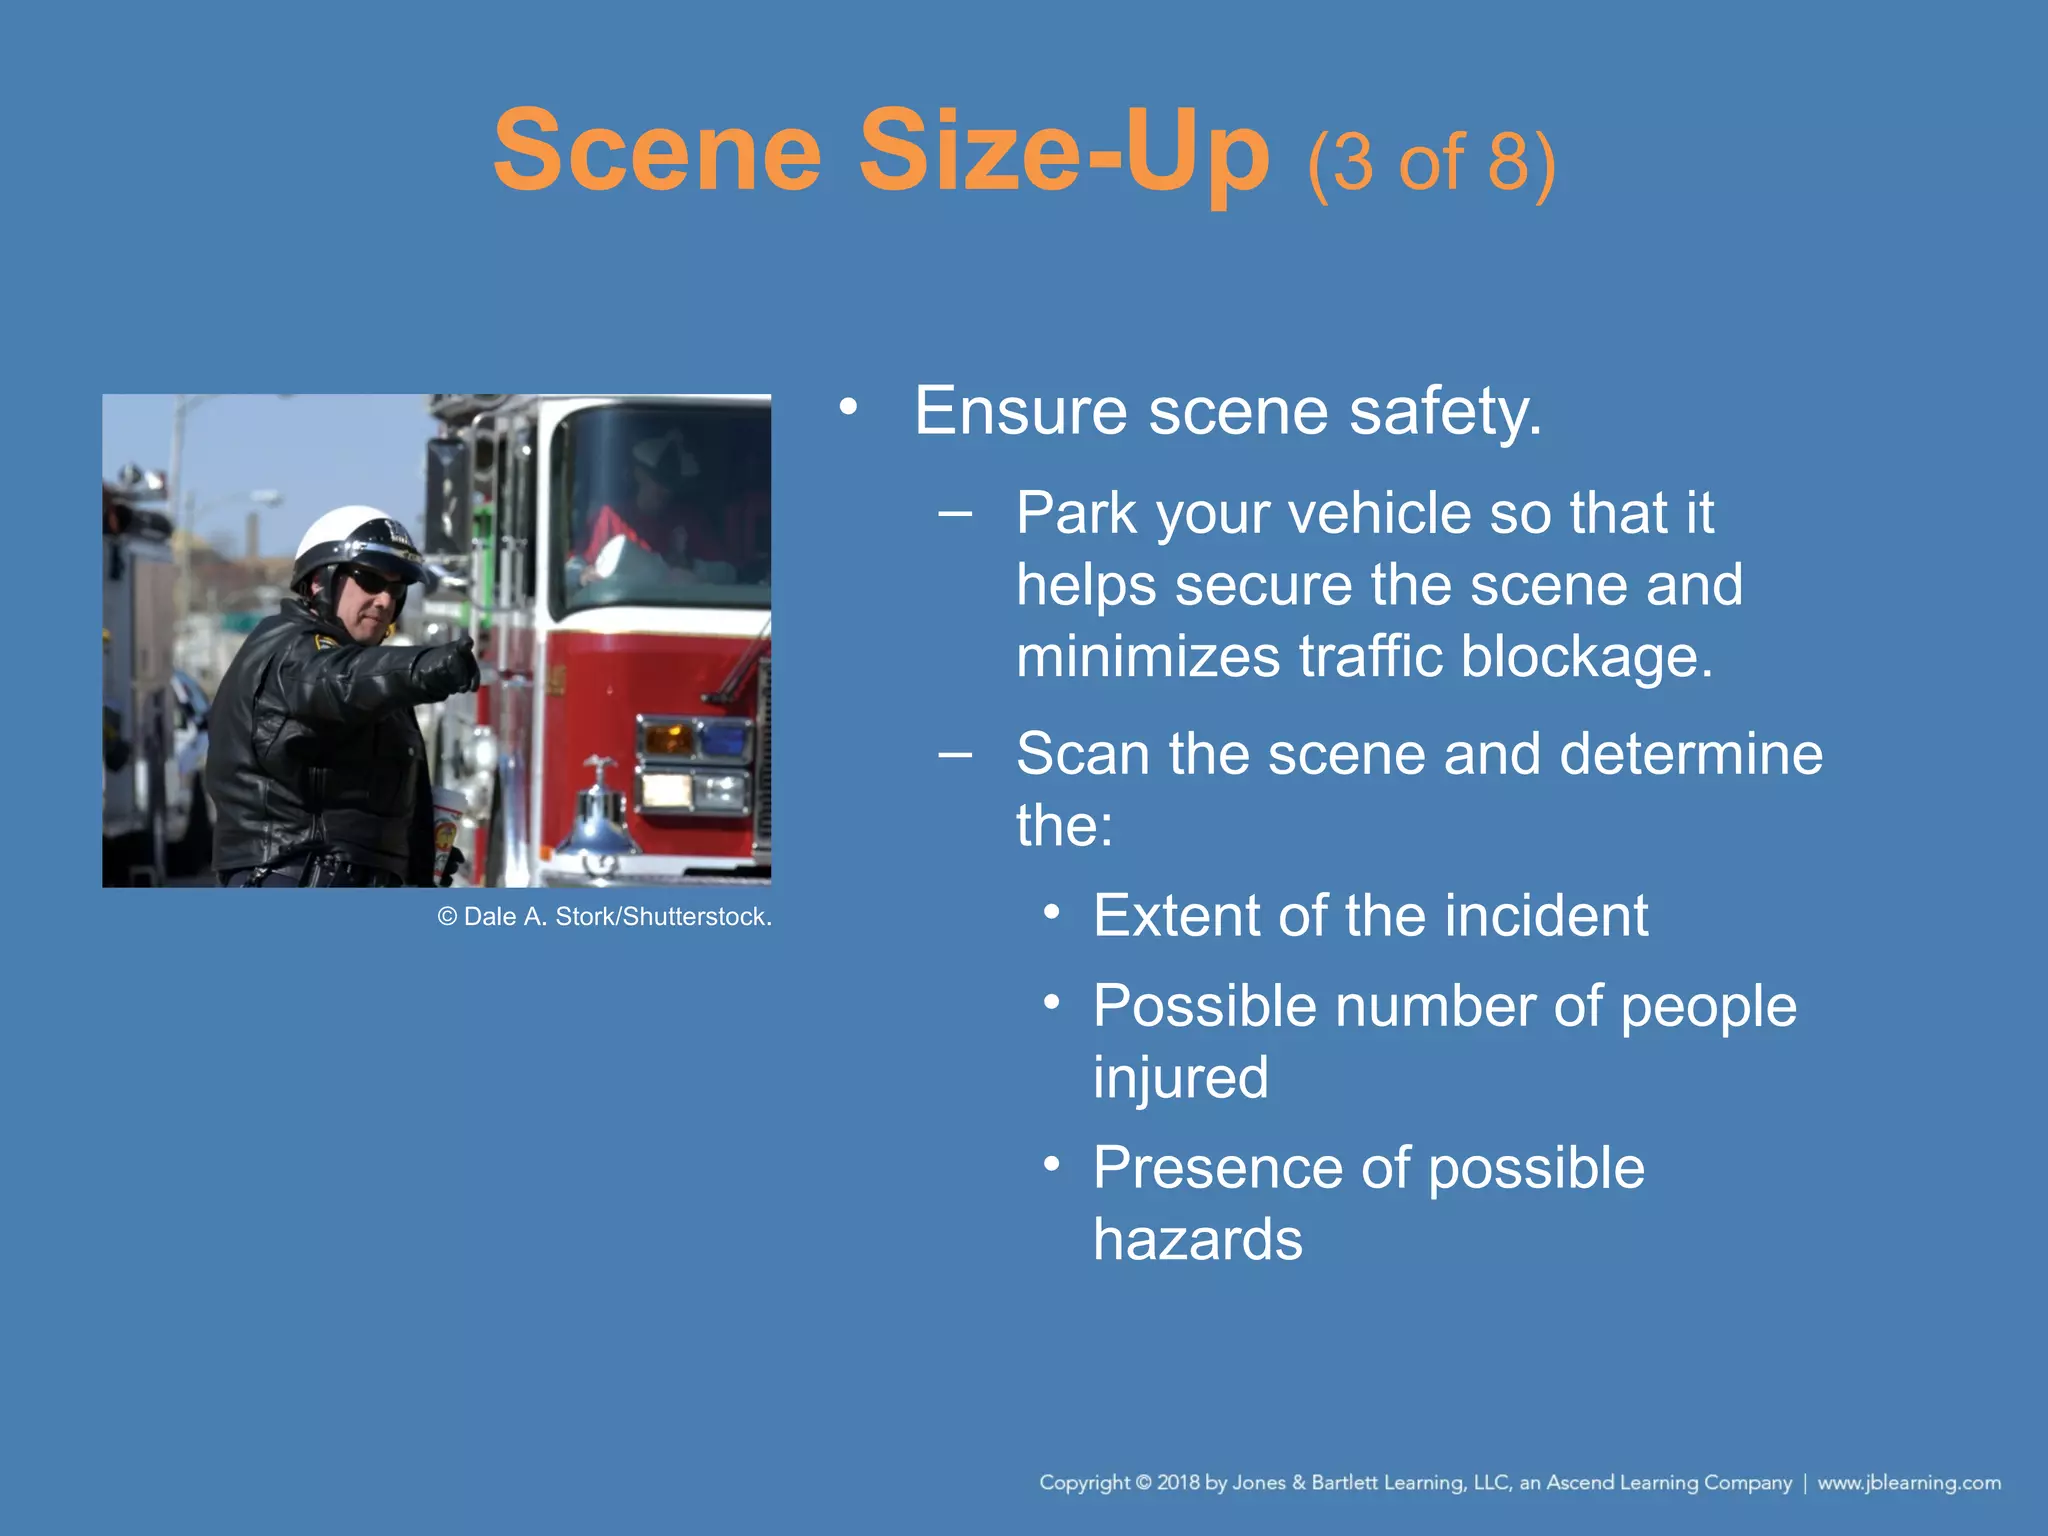
• Ensure scene safety.
– Park your vehicle so that it
helps secure the scene and
minimizes traffic blockage.
– Scan the scene and determine
the:
• Extent of the incident
• Possible number of people
injured
• Presence of possible
hazards
© Dale A. Stork/Shutterstock.
Scene Size-Up (4 of 8)
• Ensure scene safety. (cont’d)
– Visible hazards include
• Crash or crime scene
• Fallen electrical wires
• Traffic
• Spilled gasoline
• Unstable buildings or surfaces
• Weather
• Crowds
Scene Size-Up (5 of 8)
• Ensure scene safety. (cont’d)
– Invisible hazards include
• Electricity
• Biologic hazards
• Hazardous materials
• Poisonous fumes
– If a scene is unsafe, keep people away until
specially trained teams arrive.
Scene Size-Up (6 of 8)
• Determine the MOI or NOI.
– Look for clues that may indicate how the
accident happened.
– Ask the patient, family members, or bystanders
for additional information.
– Do not rule out any injury without conducting a
full-body physical assessment.
Scene Size-Up (7 of 8)
• Take standard precautions.
– Always have gloves readily available.
– Consider whether the use of additional
protection may be necessary.
– Wash your hands thoroughly after contact with a
patient or contaminated materials.
Scene Size-Up (8 of 8)
• Determine the number of patients.
– Call for additional assistance if you think you will
need help.
– It may be necessary to perform triage.
• Consider additional resources, including
Law enforcement personnel
– Fire department units
– Utility company personnel
– Wrecker operators
Primary Assessment (1 of 9)
• The purpose of the primary assessment is
to identify life threats to the patient.
• Form a general impression.
– Note the patient’s sex and approximate age.
– Determine whether the patient has experienced
trauma or illness.
– Determine the patient’s level of consciousness.
Primary Assessment (2 of 9)
• Assess the level of
responsiveness.
– Introduce yourself to establish
• Your reason for being at the
scene
• The fact that you will be helping
the patient
• The patient’s level of
consciousness
– Introduce yourself even if the
patient appears to be
unconscious.
© Jones & Bartlett Learning.
Primary Assessment (3 of 9)
• Assess the level of responsiveness. (cont’d)
– Use the AVPU scale.
• Alert
• Verbal
• Pain
• Unresponsive
Primary Assessment (4 of 9)
• Perform a rapid exam.
– Assess the airway.
• If the patient is alert and able to answer
questions, the airway is open.
• In an unconscious patient, you must open the
airway.
• Inspect the airway for foreign bodies or
secretions.
• Clear the airway as needed.
• You may need to insert an airway adjunct.
Primary Assessment (5 of 9)
• Perform a rapid exam.
(cont’d)
– Assess breathing.
• Assess the rate and quality
of breathing.
• If the patient is unconscious,
use the look, listen, and feel
approach.
• Check for foreign objects
and remove them.
• If the patient is not
breathing, open the airway
and perform rescue
breathing.
© Jones & Bartlett Learning. Courtesy of MIEMSS.
Primary Assessment (6 of 9)
• Perform a rapid exam. (cont’d)
– Assess circulation.
• If the patient is unconscious, check a carotid
pulse.
• If the patient is conscious, assess the radial
pulse.
• Check the patient for severe external
bleeding.
• Assess the patient’s skin color and
temperature.
Primary Assessment (7 of 9)
© Jones & Bartlett Learning. © Jones & Bartlett Learning.
Primary Assessment (8 of 9)
• Perform a rapid exam. (cont’d)
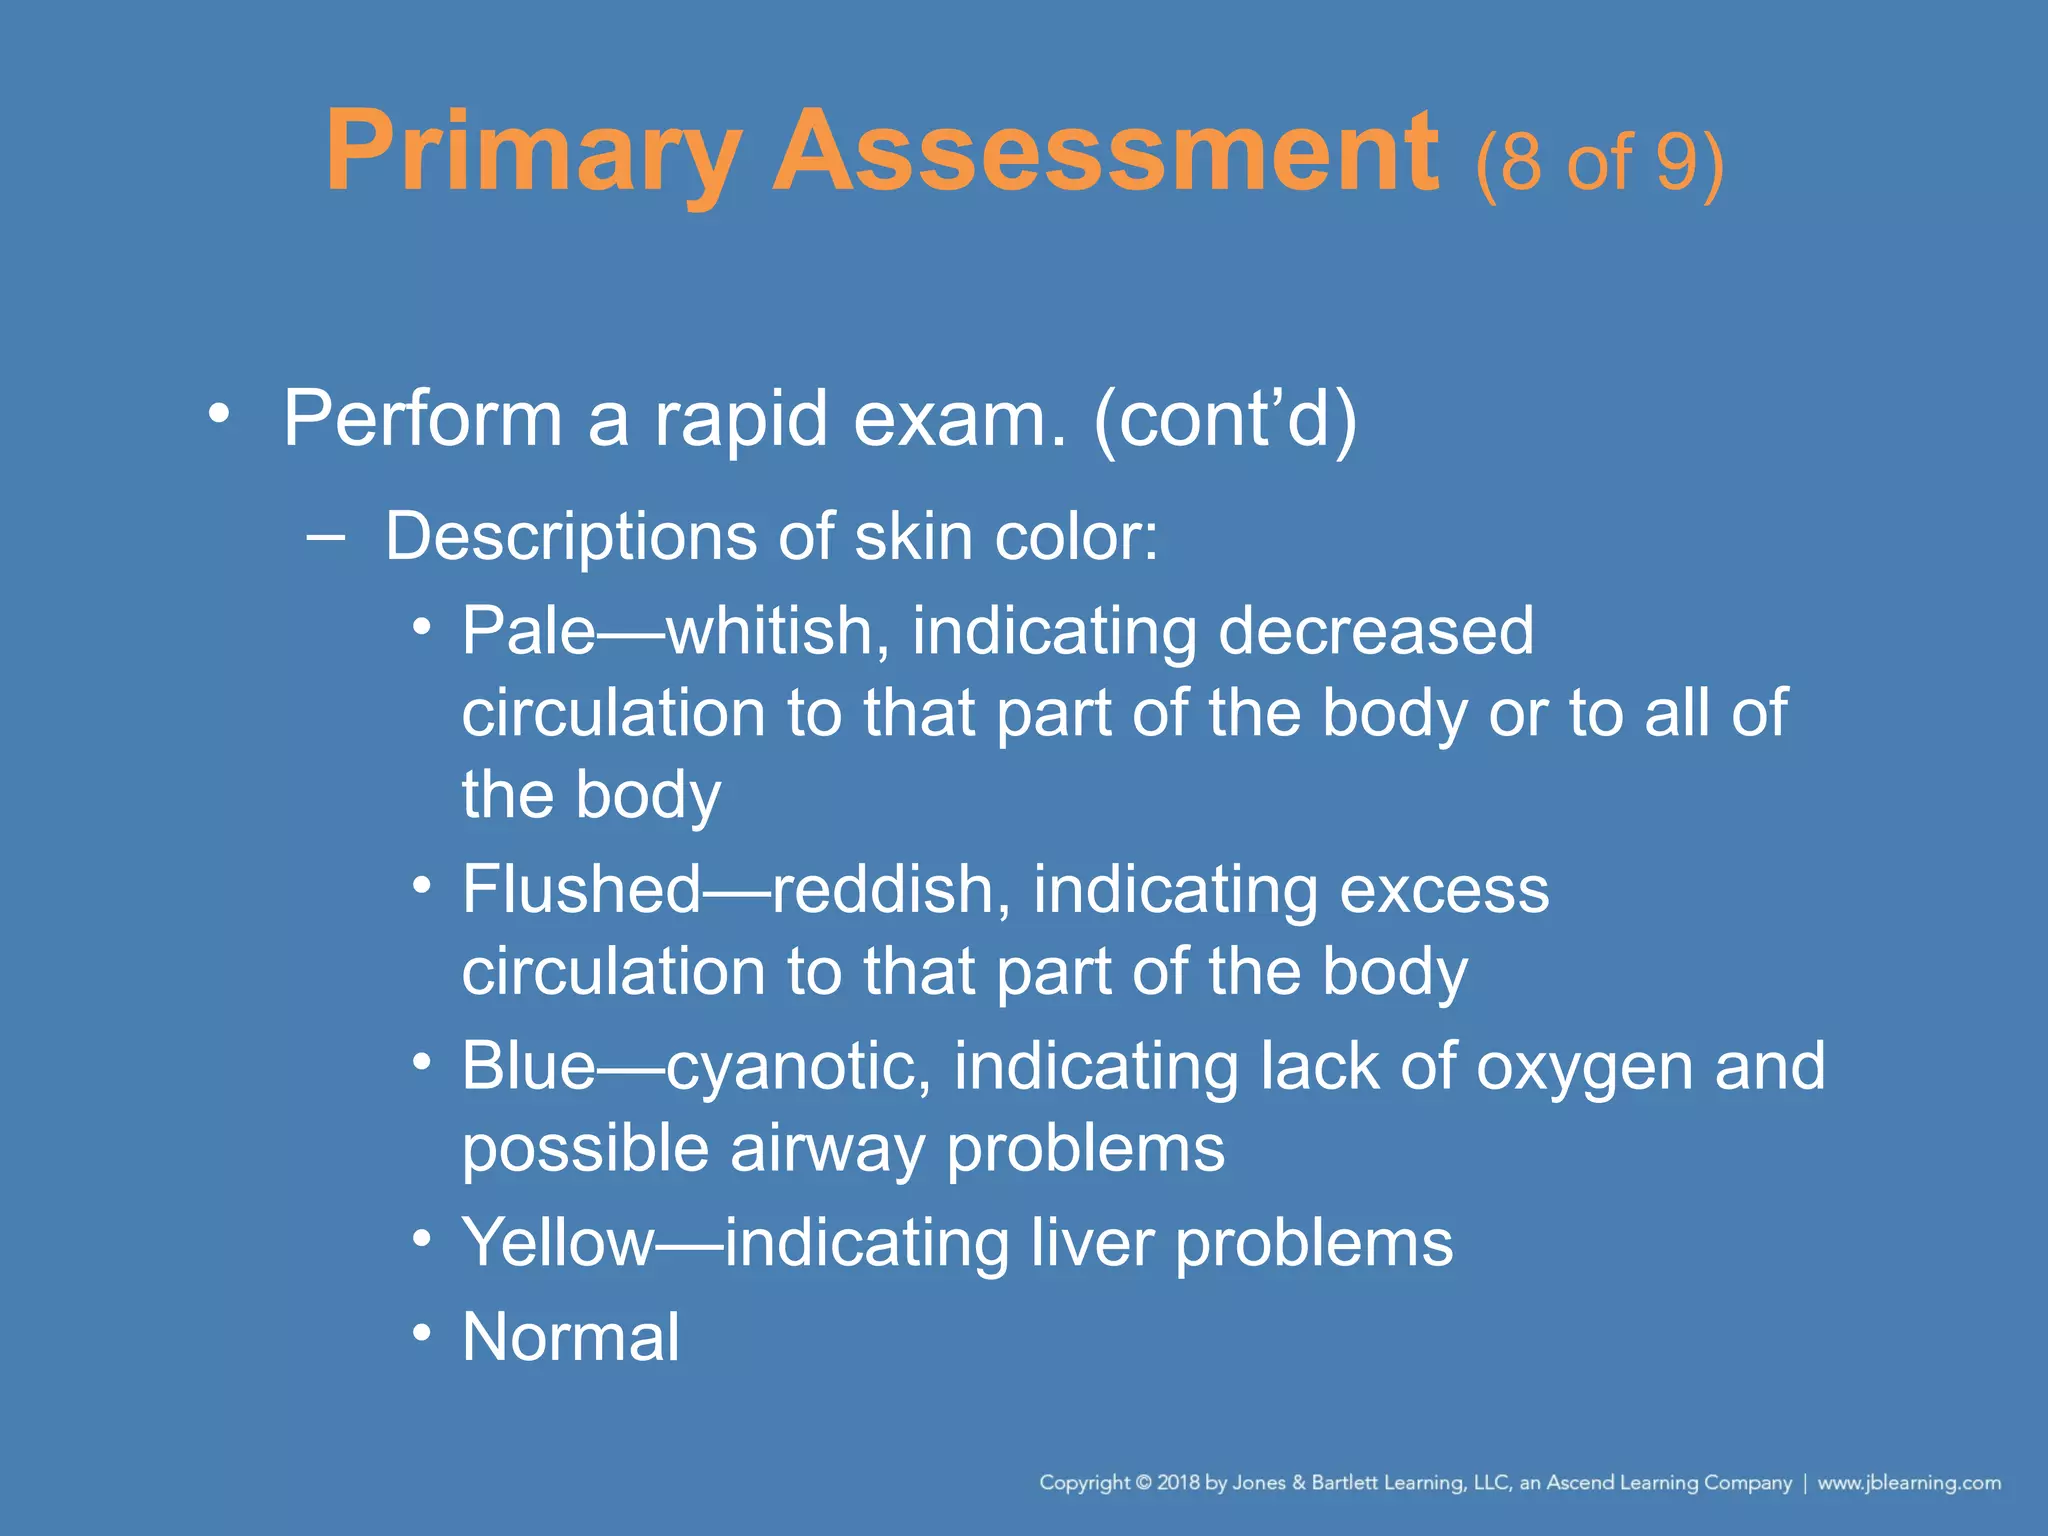
– Descriptions of skin color:
• Pale—whitish, indicating decreased
circulation to that part of the body or to all of
the body
• Flushed—reddish, indicating excess
circulation to that part of the body
• Blue—cyanotic, indicating lack of oxygen and
possible airway problems
• Yellow—indicating liver problems
• Normal
Primary Assessment (9 of 9)
• Update responding EMS units.
– Elements of the report:
• Age and sex of the patient
• Chief complaint
• Level of responsiveness
• Status of airway, breathing, and circulation
– Try to perform all four steps of the primary
assessment quickly as you make contact with
the patient.
History Taking (1 of 4)
• Investigate the chief complaint.
– Do not allow a conscious patient’s comments to
distract you.
– Purposes of obtaining a history is to
• Gather a systematic account of past medical
conditions, illnesses, and injuries.
• Determine the events leading up to the
present medical situation.
• Determine the signs and symptoms of the
current condition.
History Taking (2 of 4)
• Investigate the chief complaint. (cont’d)
– Question the patient in a clear and systematic
manner.
– Learn the relevant facts, including
• Serious injuries, illnesses, or surgeries
• Prescription medicines
• Over-the-counter (OTC) medicines and
herbal medicines
• Allergies to any medicines, foods, or
seasonal allergens
History Taking (3 of 4)
• Obtain a SAMPLE history.
– Provides a framework to ask further questions
of the patient
– Ask the patient one question at a time.
– Listen carefully and use good eye contact.
– If the patient is unconscious or senile, a family
member or friend may be able to help.
– Communicate this information to other EMS
personnel.
History Taking (4 of 4)
©Jones&BartlettLearning.
Secondary Assessment (1 of 12)
• The secondary assessment is done to
assess non–life-threatening conditions.
• The physical examination helps you locate
and begin initial management of signs and
symptoms of illness or injury.
– A sign is something about the patient you can
see or feel for yourself.
– A symptom is something the patient tells you
about his or her condition.
Secondary Assessment (2 of 12)
© Jones & Bartlett Learning.
Secondary Assessment (3 of 12)
• Secondary assessment of the entire body
– Can be done whether the patient is conscious
or unconscious.
– Assume that all unconscious, injured patients
have spinal injuries.
– Stabilize the head and spine to minimize
movement during the patient examination.
– Follow the steps in Skill Drill 9-1 to perform a
full-body assessment.
Secondary Assessment (4 of 12)
• Exam of a specific area of the body
– Performed on patients who have sustained
nonsignificant MOIs or on responsive medical
patients
– Based on the chief complaint
– Focuses your attention on the immediate
problem
Secondary Assessment (5 of 12)
• Assess vital signs.
– Respiration
• The normal adult resting respiratory rate is 12
to 20 breaths per minute.
• Count the patient’s breath for 1 minute.
• Check the breathing rate and quality.
– Pulse
• Indicates the speed and force of the
heartbeat
• Take the radial pulse of a conscious patient.
Secondary Assessment (6 of 12)
• Assess vital signs. (cont’d)
– Pulse (cont’d)
• Take the carotid pulse of an unconscious patient.
• When examining an infant, use the brachial pulse.
• In a normal adult, the resting pulse rate is 60 to 100
beats per minute.
• Determine the rhythm and the quality.
– Capillary refill
• Ability of the circulatory system to return blood to
the capillary vessels
Secondary Assessment (7 of 12)
• Assess vital signs. (cont’d)
– Capillary refill (cont’d)
• Squeeze the patient’s nail bed firmly between
your thumb and forefinger until the nail bed
looks pale.
• Release the pressure and count 2 seconds.
• The patient’s nail bed should return to pink in
this time, indicating a normal capillary refill.
Secondary Assessment (8 of 12)
• Assess vital signs. (cont’d)
– Blood pressure
• Systolic pressure is the force exerted on the
walls of the arteries as the heart contracts.
• Diastolic pressure is the arterial pressure
during the relaxation phase of the heart.
• Hypertension exists when the blood pressure
remains greater than 140/90 mm Hg.
• Check blood pressure by palpation (feeling)
or auscultation (listening).
Secondary Assessment (9 of 12)
• Assess vital signs. (cont’d)
– Skin condition
• Check for skin color, temperature, and
moisture.
• Normal body temperature is 98.6°F (37°C).
• Normal skin conditions are described as
warm, pink, and dry.
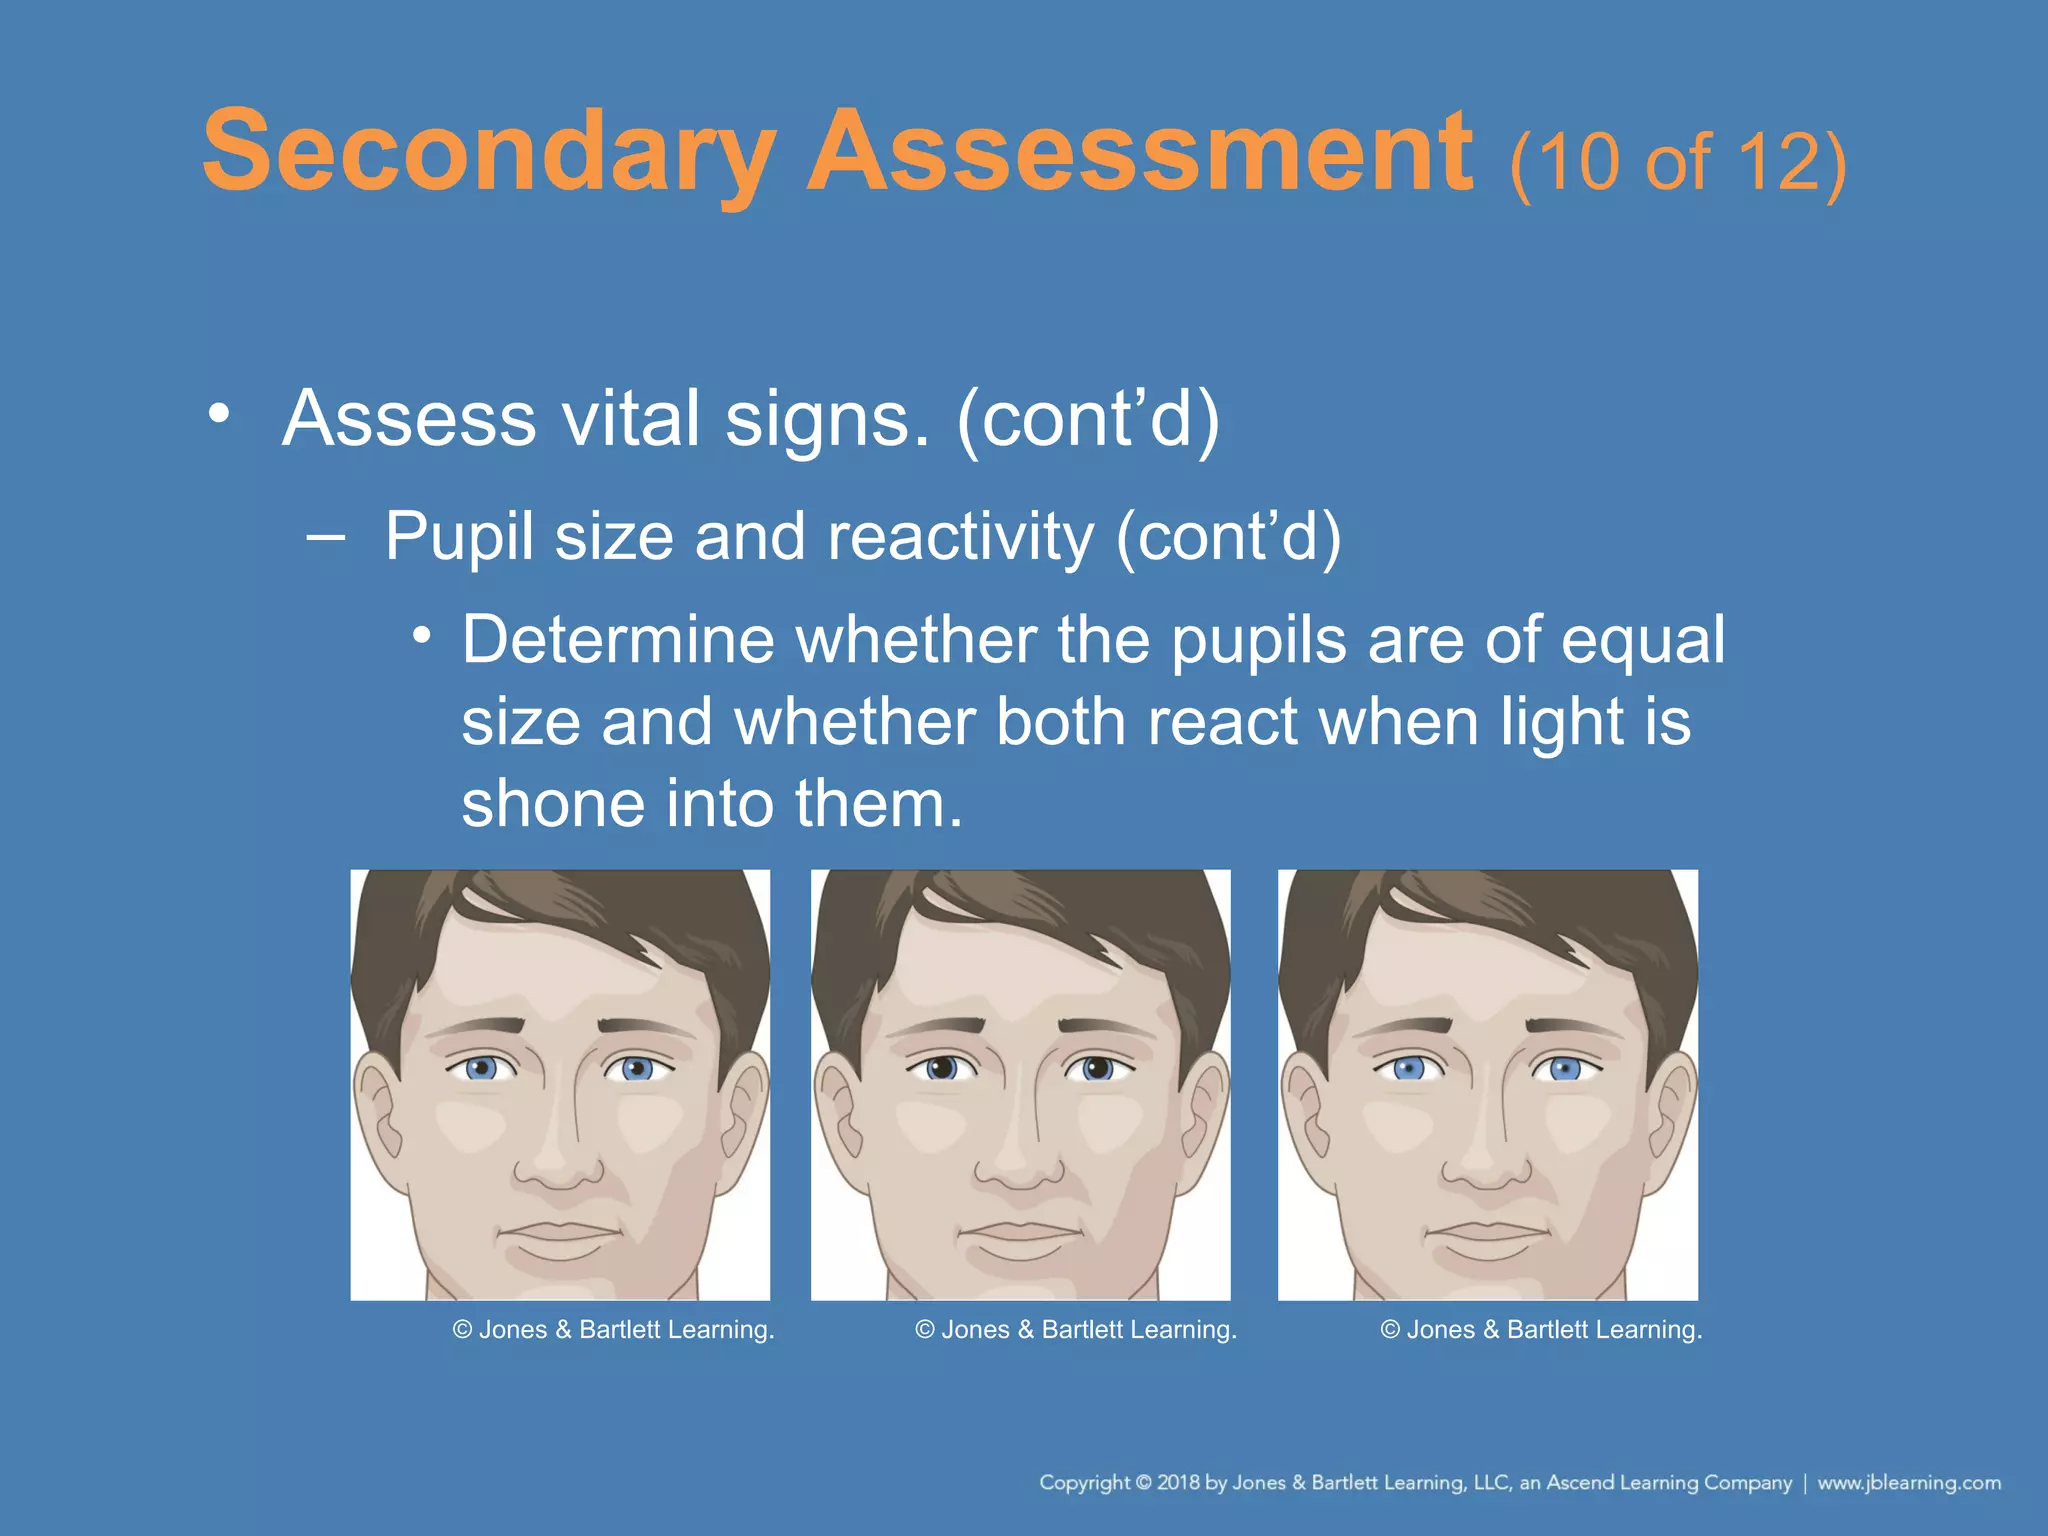
– Pupil size and reactivity
• Examine each eye to detect signs of head
injury, stroke, or drug overdose.
• Assess vital signs. (cont’d)
– Pupil size and reactivity (cont’d)
• Determine whether the pupils are of equal
size and whether both react when light is
shone into them.
Secondary Assessment (10 of 12)
© Jones & Bartlett Learning. © Jones & Bartlett Learning. © Jones & Bartlett Learning.
Secondary Assessment (11 of 12)
• Assess vital signs. (cont’d)
– Pupil size and reactivity (cont’d)
• Pupils of unequal size can indicate a stroke
or injury to the brain.
• Pupils may remain constricted in a person
who is taking narcotics.
• Dilated pupils indicate a relaxed or
unconscious state.
Secondary Assessment (12 of 12)
• Assess vital signs. (cont’d)
– Level of responsiveness
• Observe and note any changes that occur
between the time of your arrival and the time
you turn over the patient’s care to higher-
level personnel.
• Use the AVPU scale.
Reassessment (1 of 5)
• If you need to continue to care for the
patient, some parts of the patient
assessment need to be repeated.
• Repeat the primary assessment.
– Recheck the patient’s level of responsiveness
and ABCs.
– Continue to maintain an open airway and to
monitor breathing and pulse for rate and quality.
Reassessment (2 of 5)
• Reassess vital signs.
– Observe the patient’s skin color and
temperature.
– Reassess the patient’s blood pressure.
• Reassess the chief complaint.
• Recheck the effectiveness of treatment.
– If the patient’s status changes, determine
whether you need to alter your care.
Reassessment (3 of 5)
• Identify and treat changes in the patient’s
condition.
• Reassess the patient.
– Reassess a stable patient every 15 minutes.
– If the patient is unstable, repeat the
reassessment every 5 minutes.
Reassessment (4 of 5)
• Provide a hand-off report, including:
– Age and sex of the patient
– History of the incident
– Patient’s chief complaint
– Patient’s level of responsiveness
– How you found the patient
– Status of the vital signs
– Results of the secondary patient assessment
Reassessment (5 of 5)
• Provide a hand-off report, including: (cont’d)
– Any pertinent medical conditions (using the
SAMPLE format)
– Any interventions provided and how the patient
responded
A Word About Medical and
Trauma Patients (1 of 2)
• Patients can generally be classified into two
main categories:
– Those who have a sudden illness
– Those who sustain trauma
• The patient assessment sequence can be
used to examine patients who have
experienced illnesses, trauma, or both.
A Word About Medical and
Trauma Patients (2 of 2)
• When examining medical patients, follow
the basic assessment sequence.
• When caring for a trauma patient, perform
the secondary assessment before taking
the medical history.
• Always avoid jumping to conclusions.
Summary (1 of 4)
• A complete patient assessment consists of
five steps: perform a scene size-up, perform
a primary assessment, obtain a patient’s
medical history, perform a secondary
assessment, and provide reassessment.
• The scene size-up is a general overview of
the incident and its surroundings.
Summary (2 of 4)
• During the primary assessment, determine
and correct any life-threatening conditions.
The steps of the primary assessment are to
form a general impression of the patient,
assess responsiveness, and perform a
rapid scan that consists of checking and
correcting problems with the patient’s
airway, breathing, and circulation. Finally,
update responding EMS units.
Summary (3 of 4)
• A medical history provides a systematic
account of the patient’s past medical
conditions, illnesses, and injuries to
determine the signs and symptoms of the
current condition.
• The secondary assessment of the patient
consists of a secondary assessment of the
entire body used to assess non-life-
threatening conditions.
Summary (4 of 4)
• If the patient is stable, repeat the vital signs
every 15 minutes. If the patient is unstable,
repeat the vital signs every 5 minutes.
• Provide a concise and accurate hand-off
report to EMS personnel.
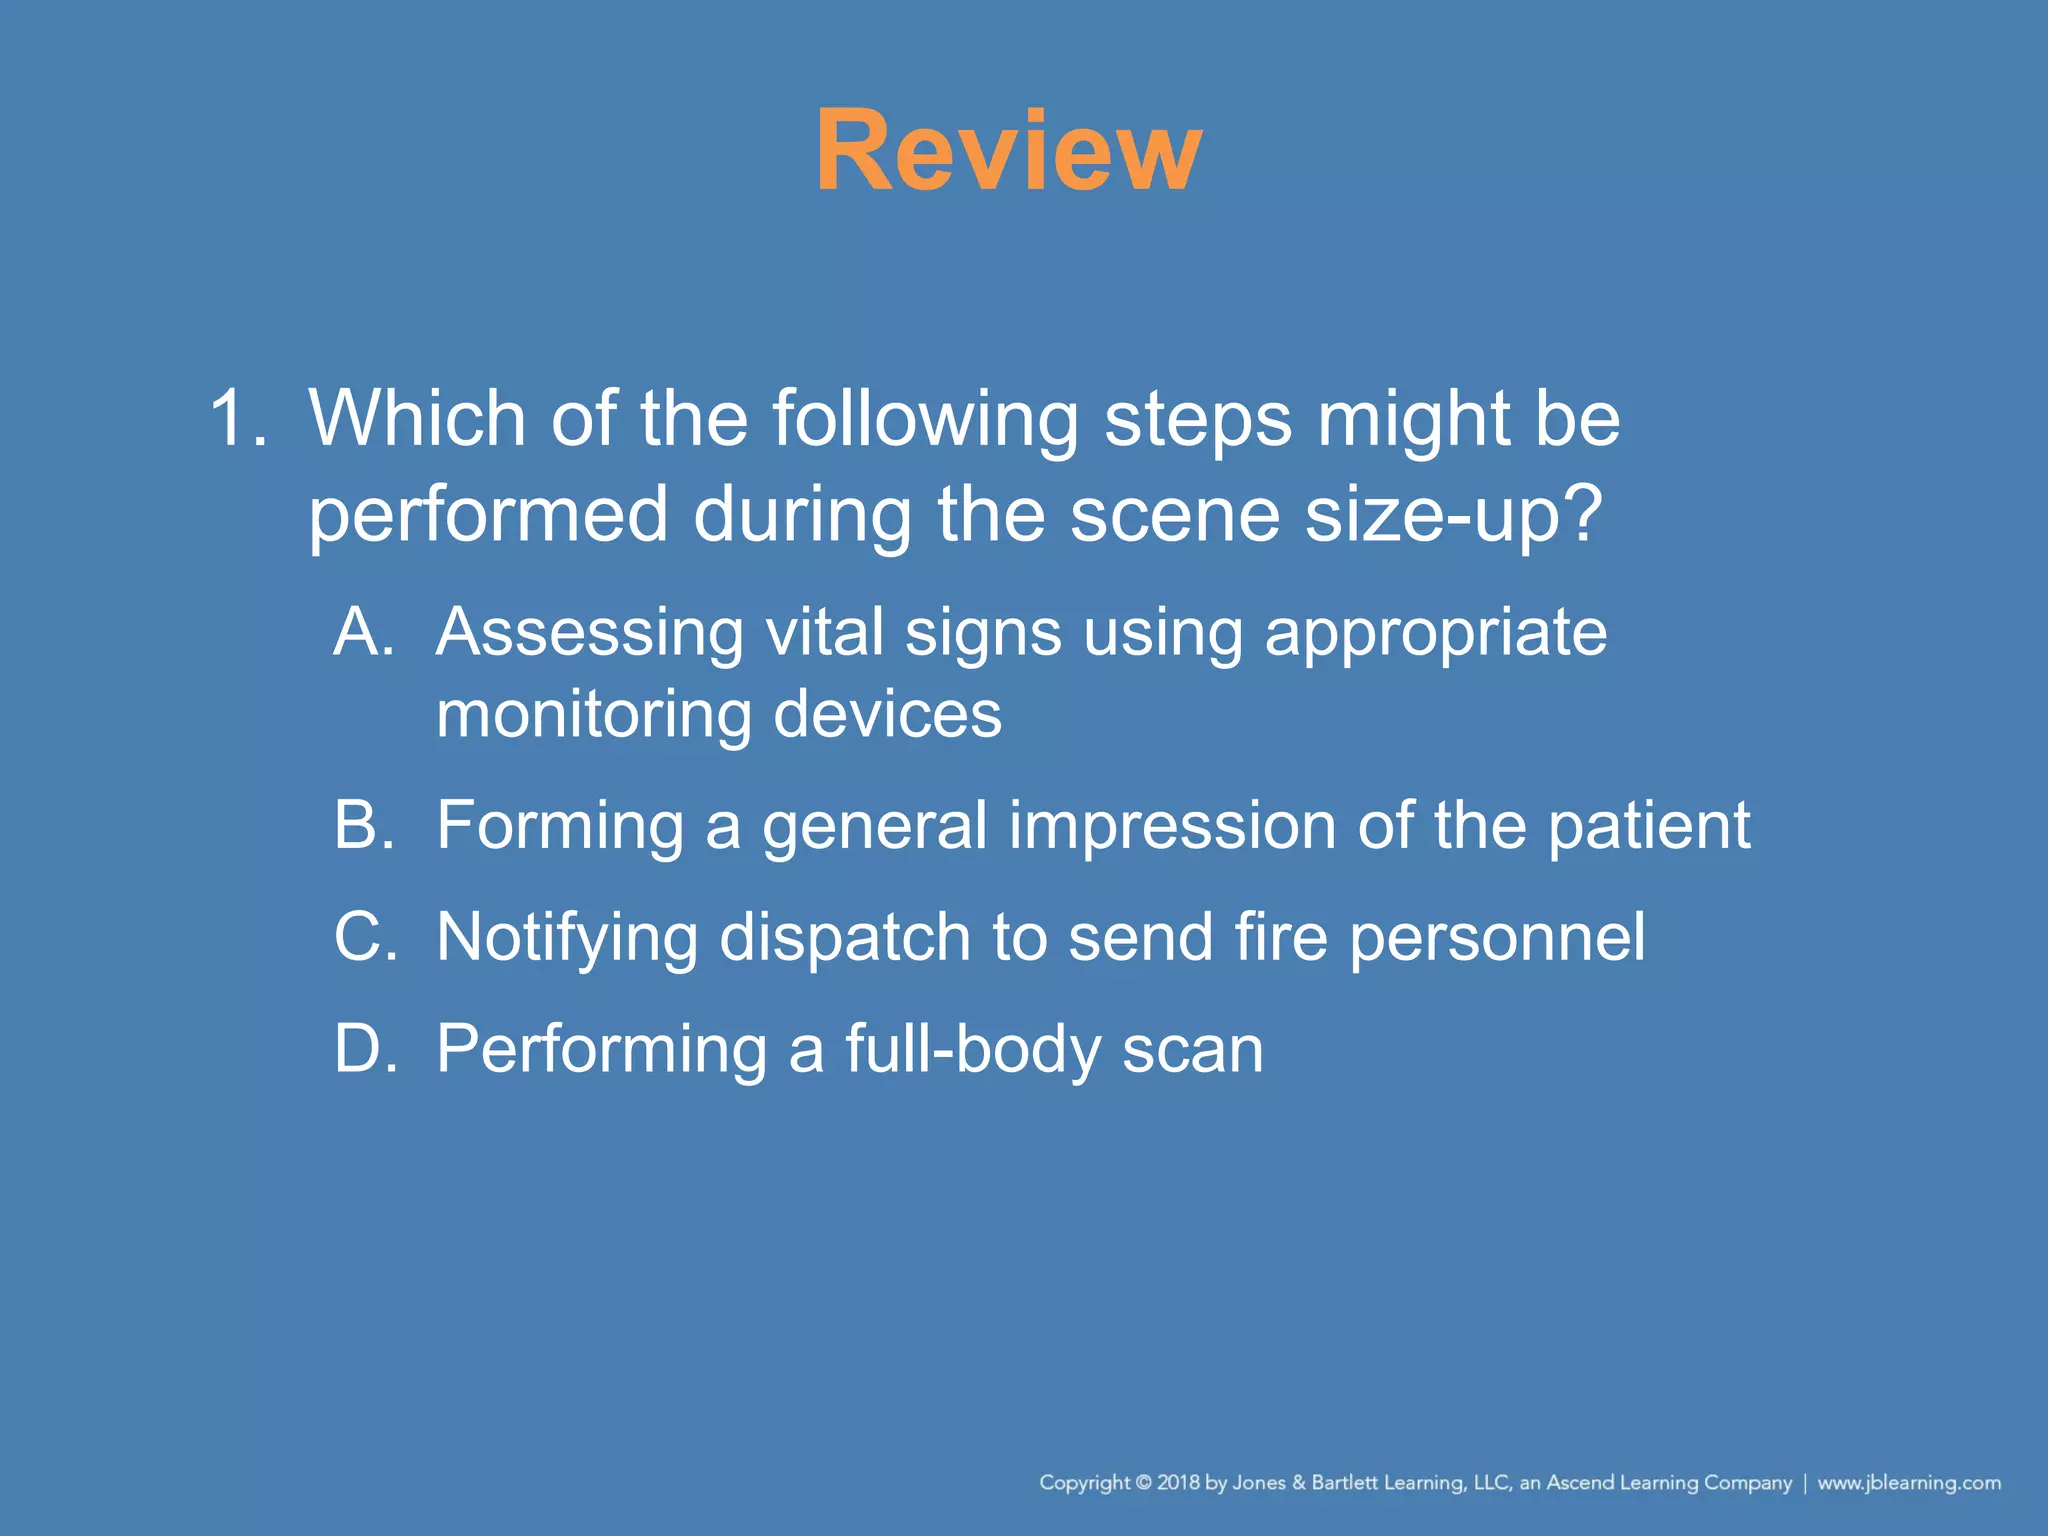
Review
1. Which of the following steps might be
performed during the scene size-up?
A. Assessing vital signs using appropriate
monitoring devices
B. Forming a general impression of the patient
C. Notifying dispatch to send fire personnel
D. Performing a full-body scan
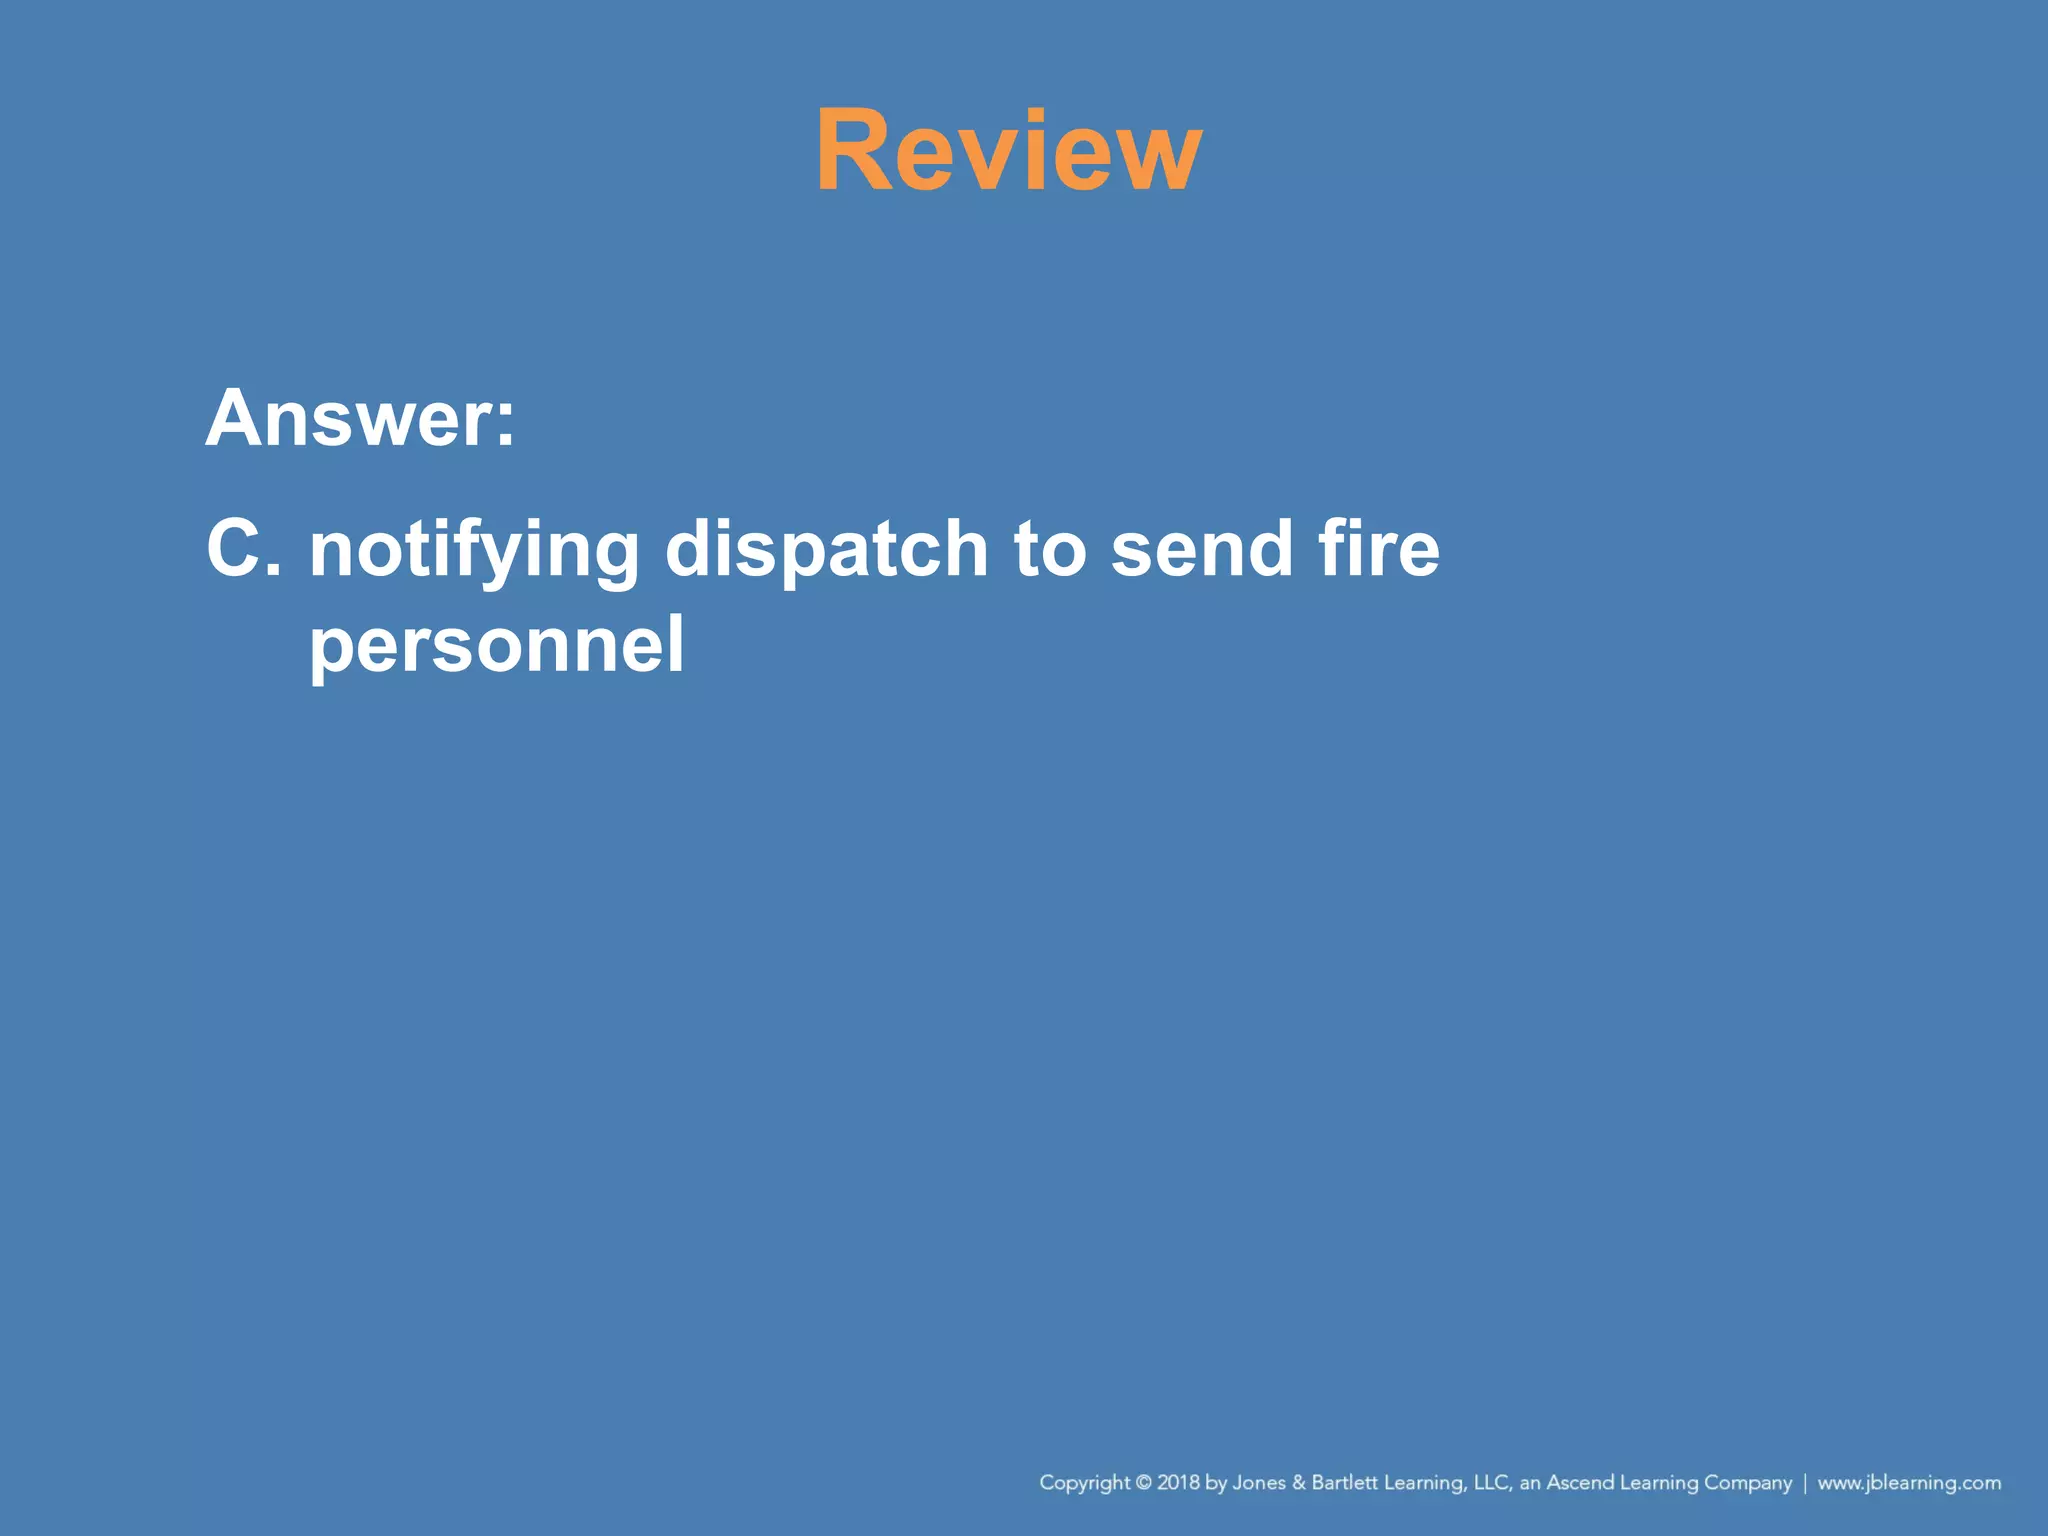
Review
Answer:
C. notifying dispatch to send fire
personnel
Review
2. The goal of the primary assessment is to
A. quickly diagnose the patient’s condition.
B. determine the need to perform a full-body
assessment.
C. determine the number of patients.
D. identify and treat life threats.
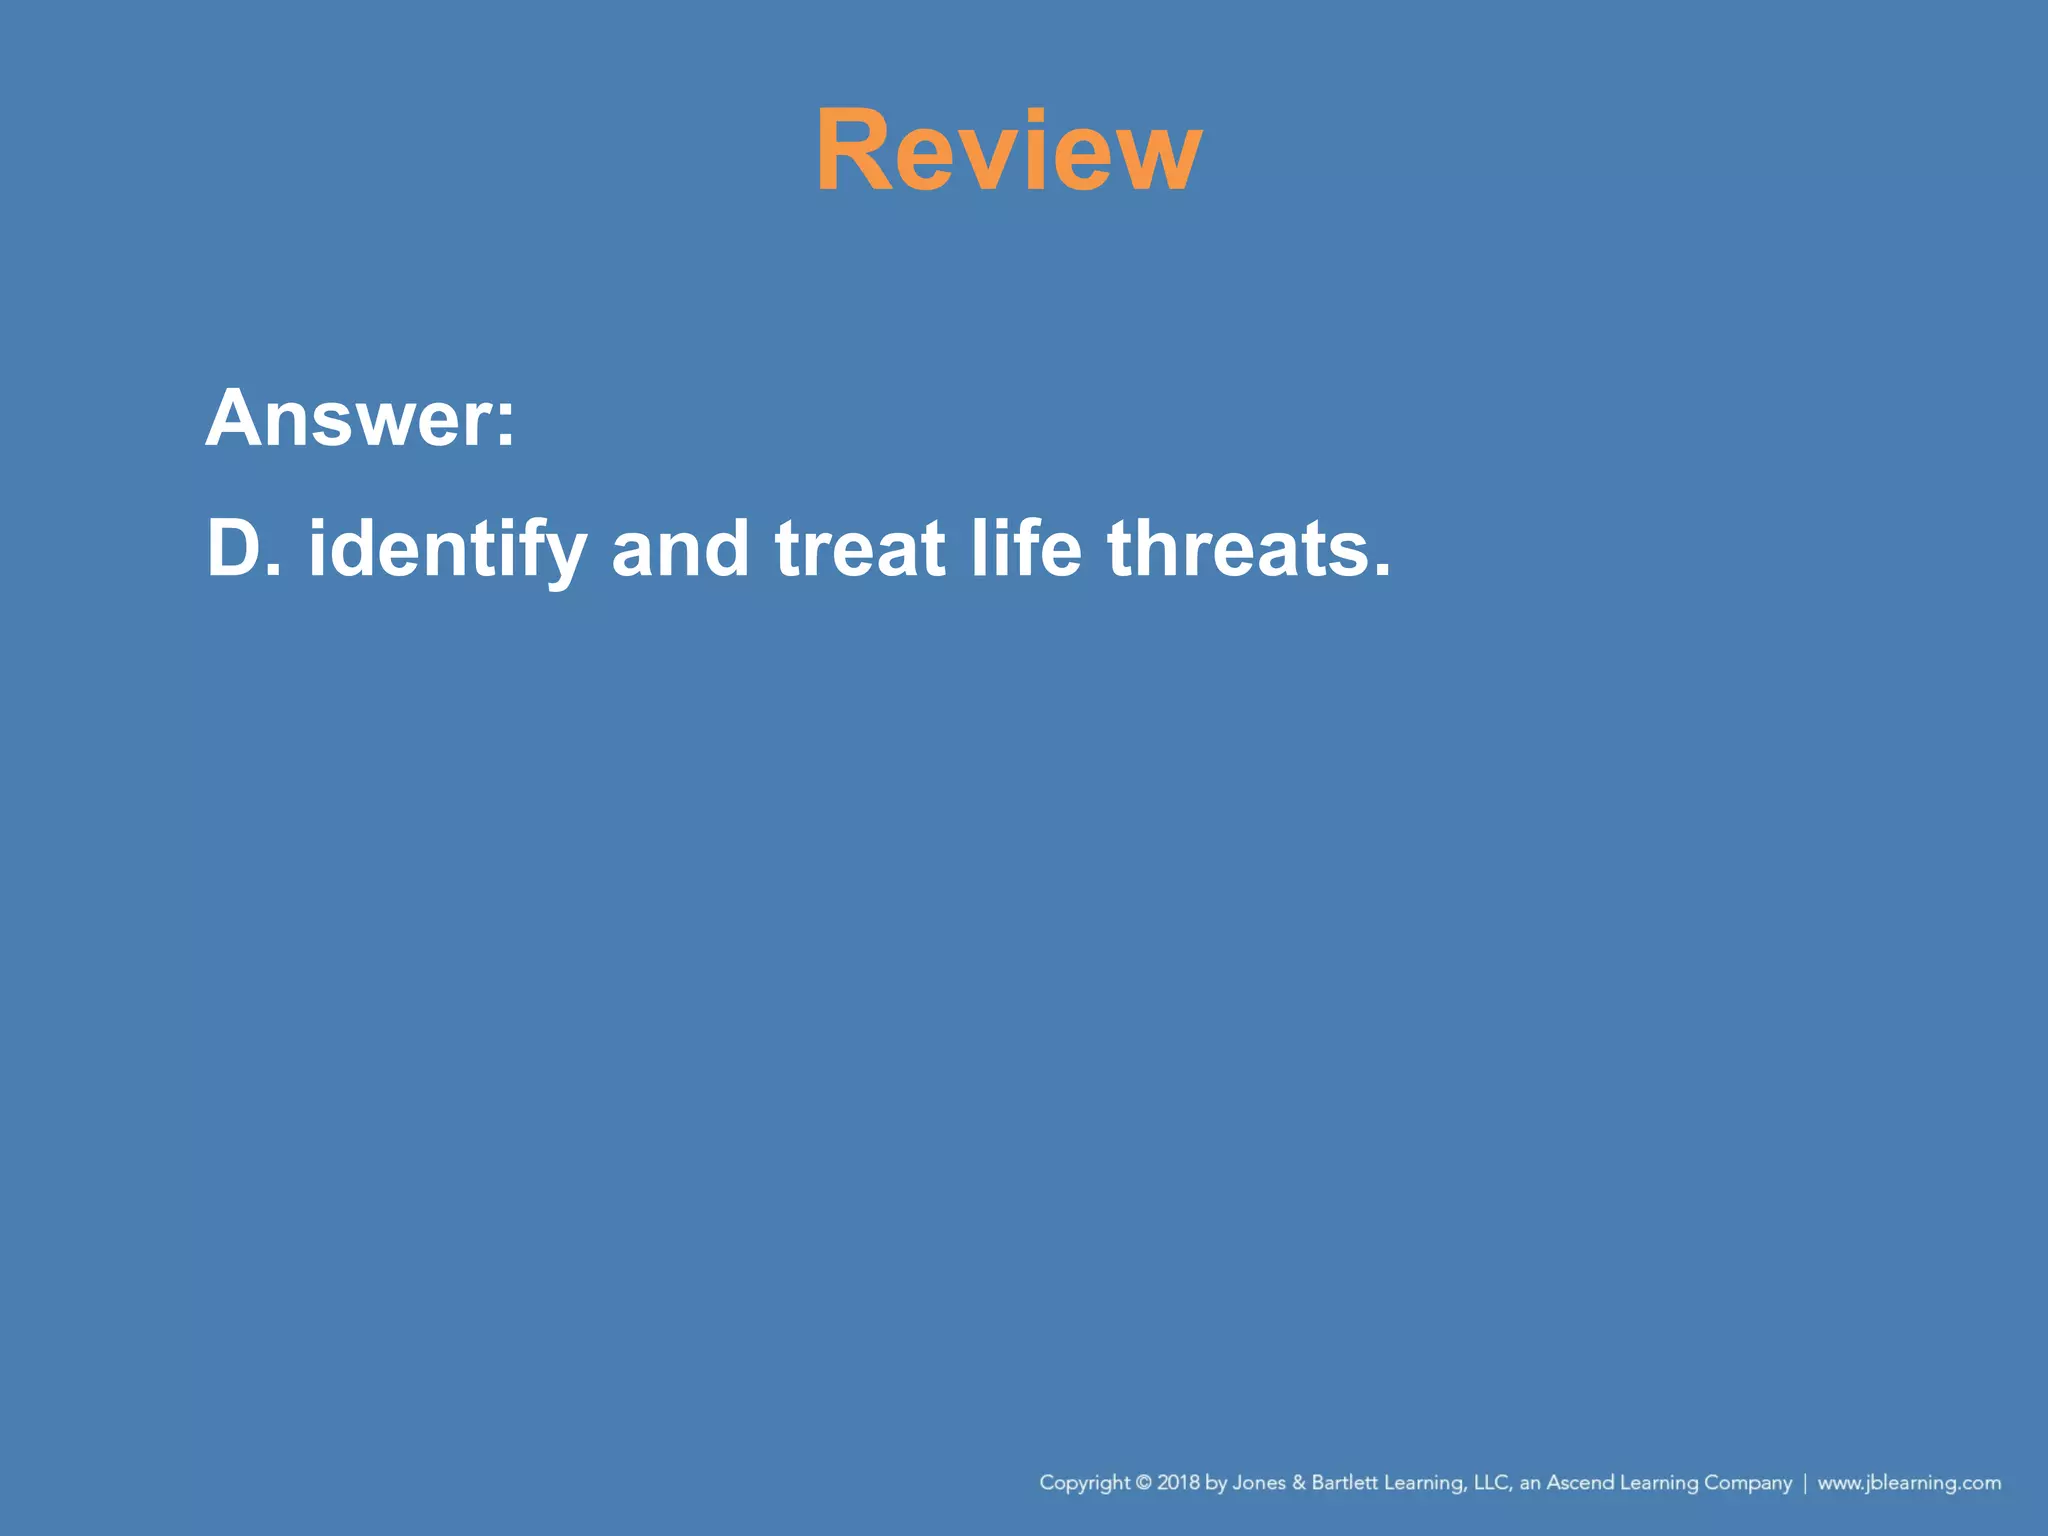
Review
Answer:
D. identify and treat life threats.
Review
3. After performing a primary assessment and
treating any immediate life threats, you
should next
A. determine the priority of patient care and
transport.
B. reassess the patient.
C. recheck your interventions.
D. promptly transport the patient to the closest
hospital.
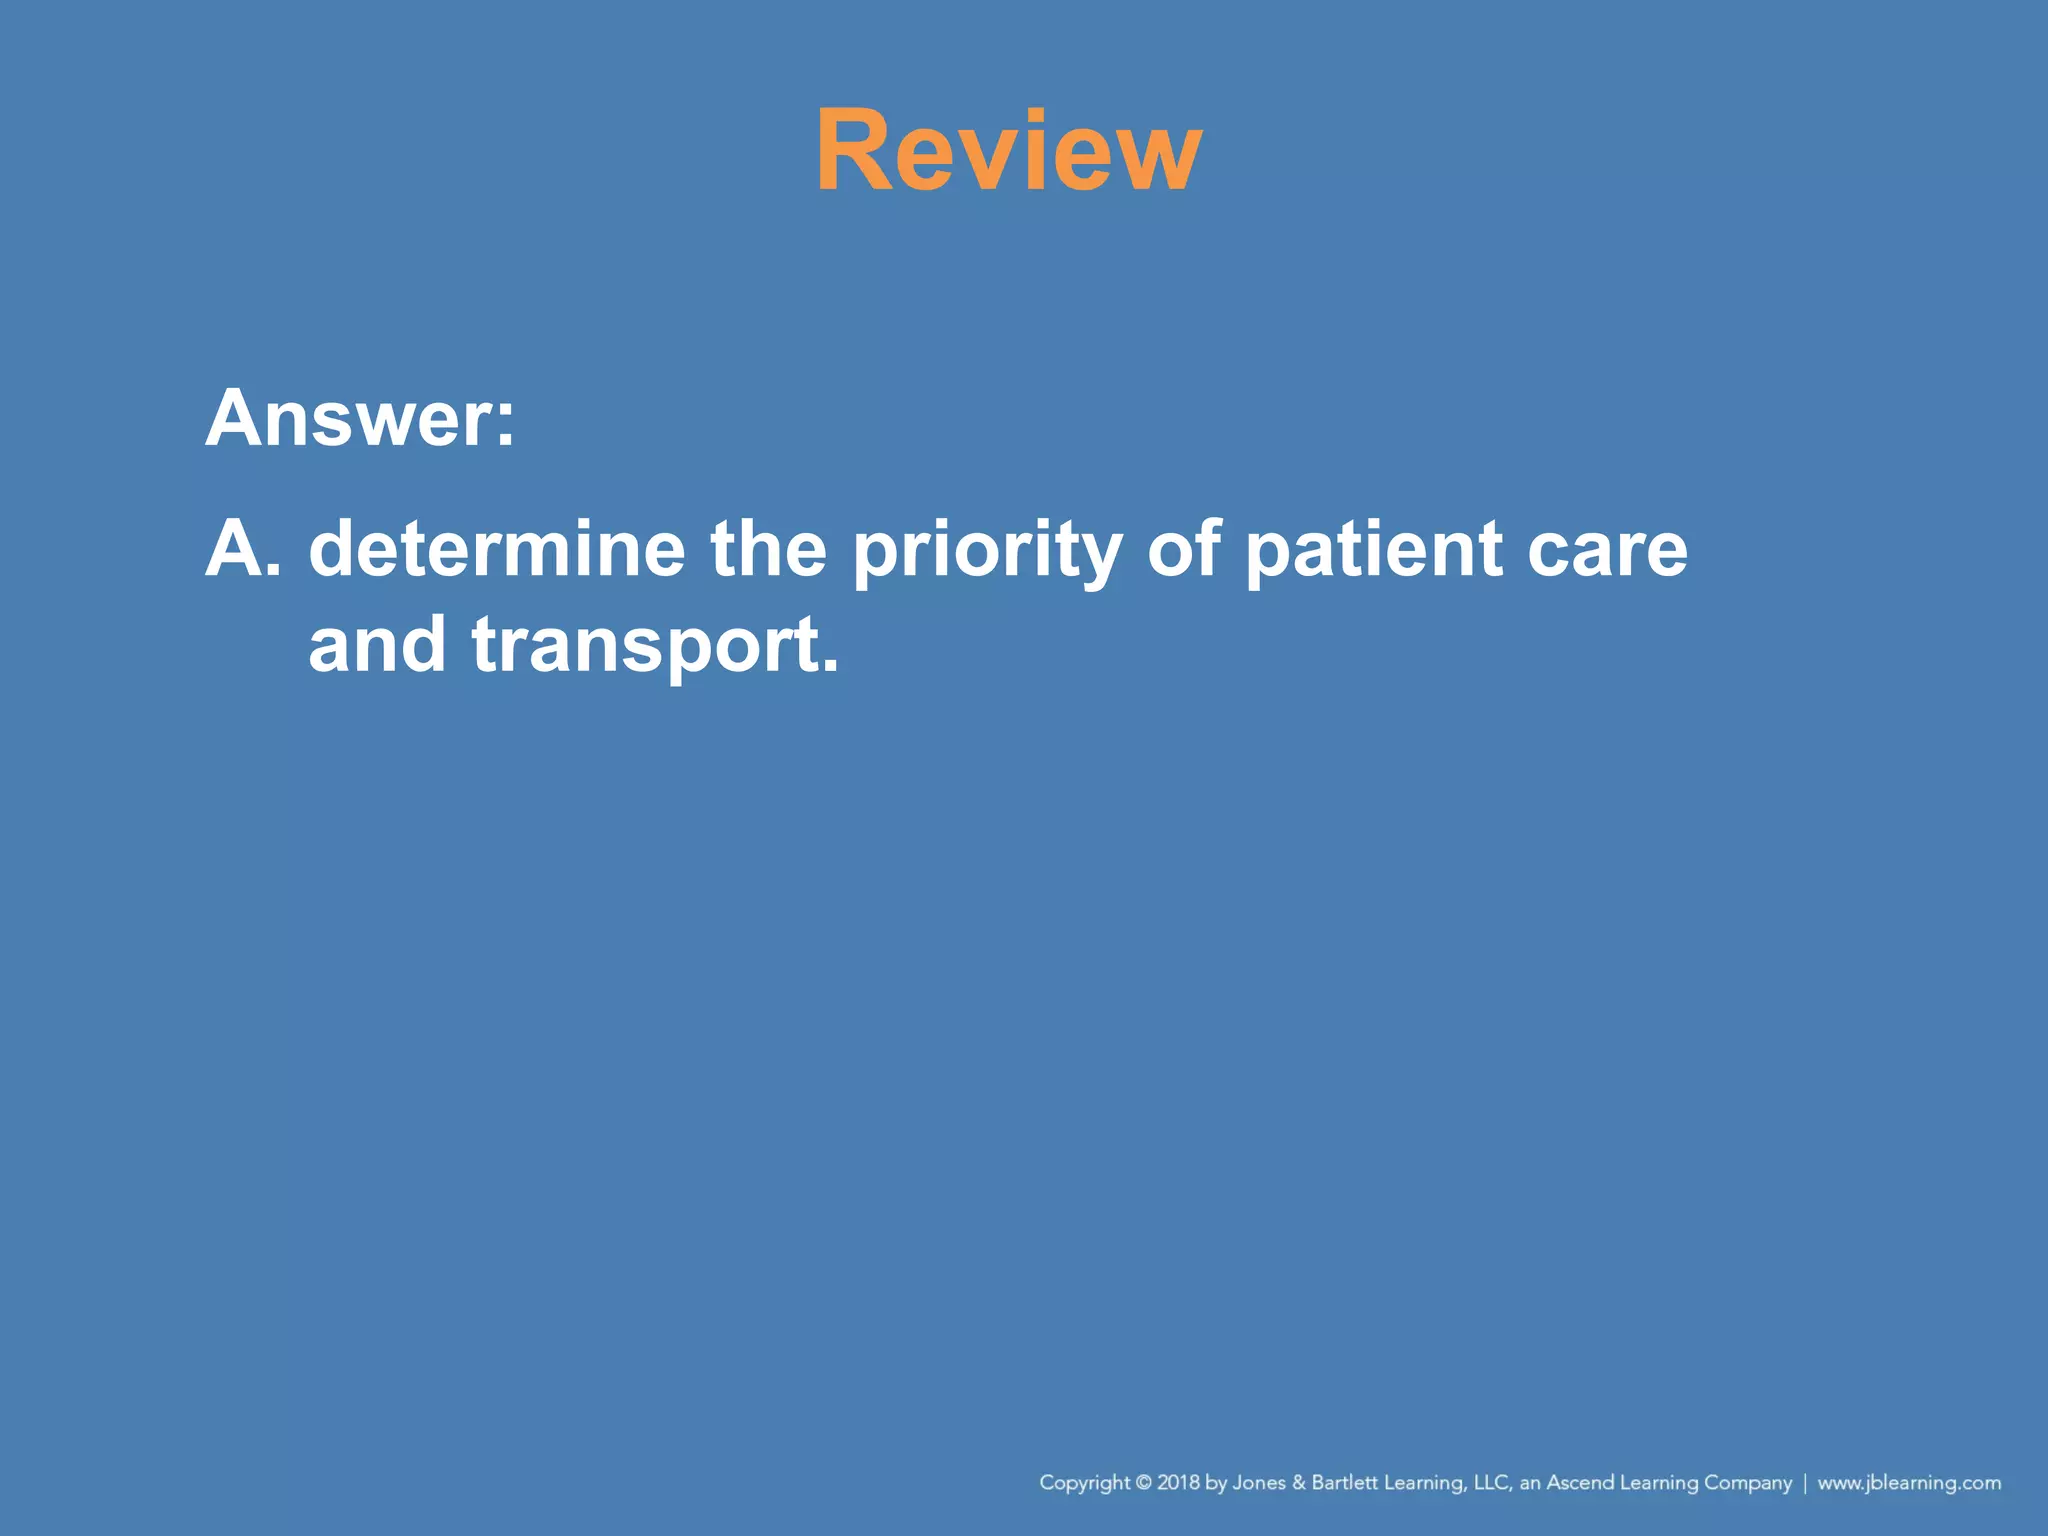
Review
Answer:
A. determine the priority of patient care
and transport.