Download as PDF, PPTX

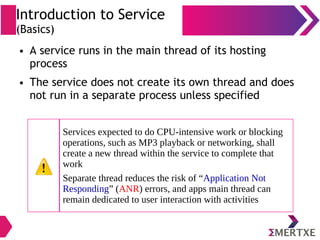
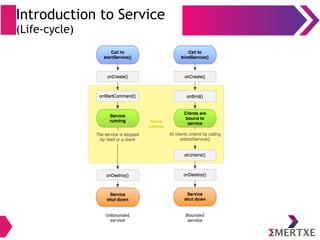

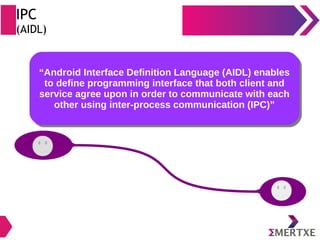
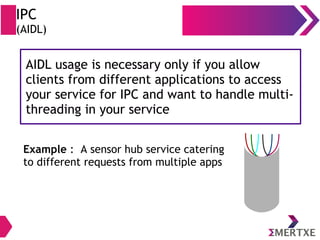

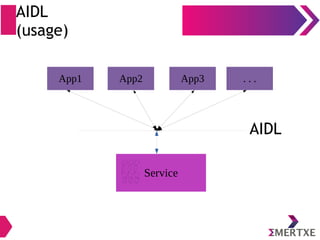

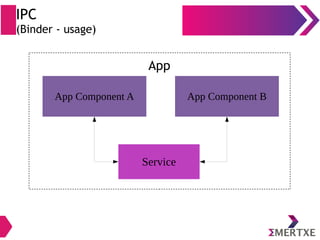
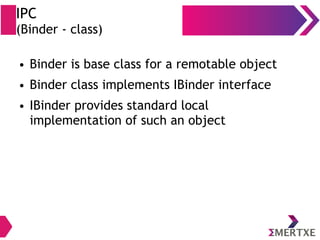
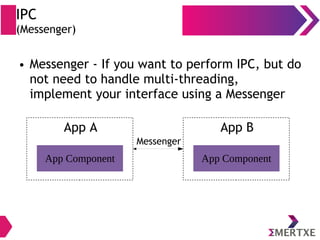
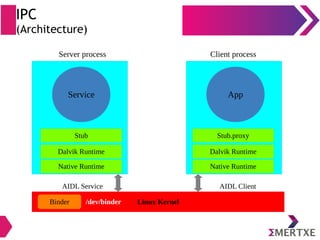
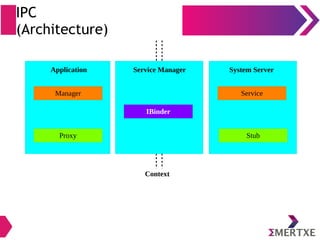
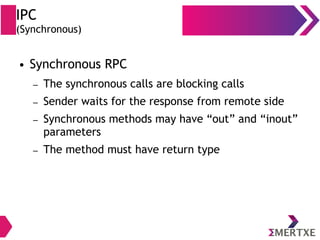

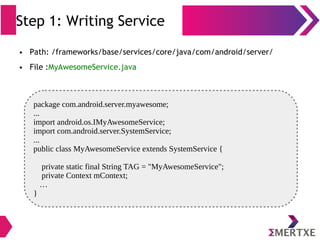
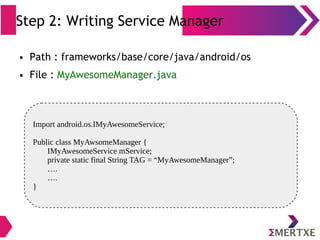
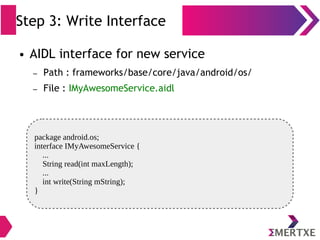
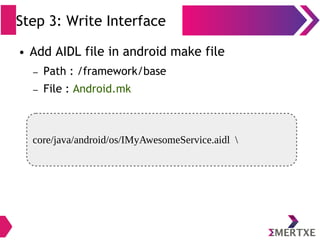
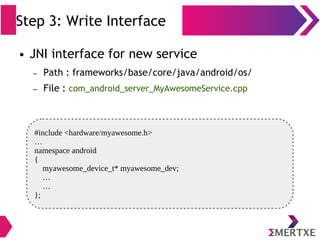
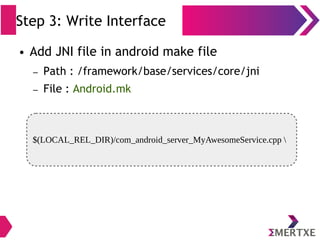
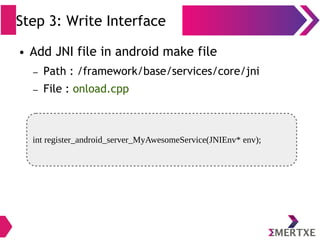
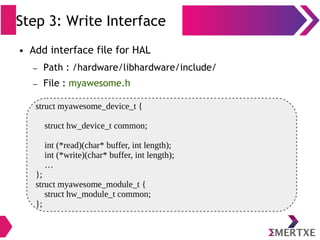
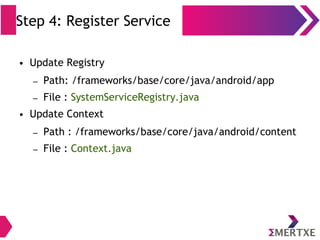

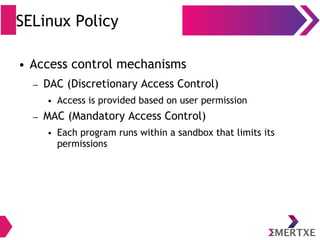
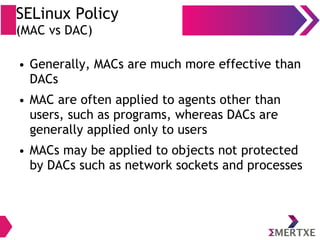
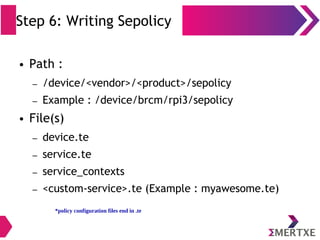

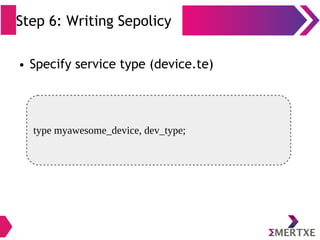
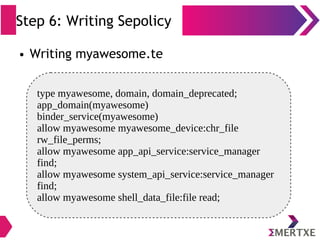
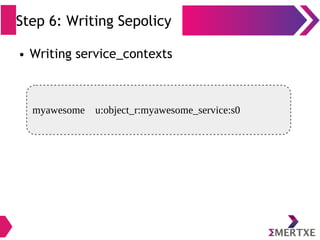
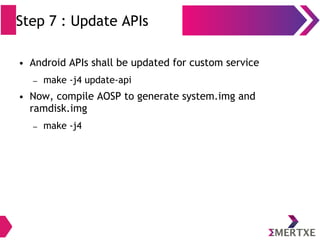
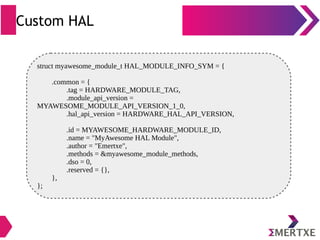
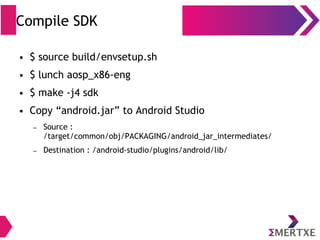


The document provides an overview of Android system services, detailing their types—started, bound, and scheduled—and how they operate, including inter-process communication (IPC) methods like AIDL and Binder. It explains the process of adding a custom service in Android, including writing the service and interface, registering the service, and configuring security policies. Finally, it highlights the importance of properly compiling and testing these services within the Android development framework.