Downloaded 39 times
![Condenser
Because the focusing lens (typically less than 10 cm [4 in] in diameter) is
much smaller than the transparency, a crucial role is played by the optical
condenser which illuminates the transparency. Since this requires a large optical
lens (at least the size of the transparency) but may be of poor optical quality
(since the sharpness of the image does not depend on it), a Fresnel lens is
employed. The Fresnel lens is located at (or is part of) the glass plate on which
the transparency is placed, and serves to redirect most of the light hitting it into
a converging cone toward the focusing lens. Without such a condenser at that
point, most of the light would miss the focusing lens (or it would have to be
very large and prohibitively expensive). Additionally, mirrors or other
condensing elements below the Fresnel lens serve to increase the portion of the
light bulb's output which reaches the Fresnel lens in the first place. In order to
provide sufficient light on the screen, a high intensity bulb is used which must
be fan cooled.
Focus adjustment
Overhead projectors normally include a manual focusing mechanism which
raises and lowers the position of the focusing lens (including the folding mirror)
in order to adjust the object distance (optical distance between the slide and the
lens) to focus at the chosen image distance (distance to the projection screen)
given the fixed focal length of the focusing lens. This permits a range of
projection distances.](https://image.slidesharecdn.com/eeefinalyearproject-overheadprojector-150502015321-conversion-gate02/75/Eee-final-year-project-over-head-projector-3-2048.jpg)
![A useful innovation for overhead projectors with integrated lamps/reflectors
is the quick-swap dual-lamp control, allowing two lamps to be installed in the
projector in movable sockets. If one lamp fails during a presentation the
presenter can merely move a lever to slide the spare into position and continue
with the presentation, without needing to open the projection unit or waiting for
the failed bulb to cool before replacing it.
History
Also called a "viewgraph," the overhead projector was created by Jules
Duboscq, a French inventor, in the 1870s.[1] It was first used for police work,
and used a cellophane roll over a 9-inch stage allowing facial characteristics to
be rolled across the stage. The U.S. Army in 1945 was the first to use it in
quantity for training as World War II wound down. It began to be widely used
in schools and businesses in the late 1950s and early 1960s.
A major manufacturer of overhead projectors in this early period was the
company 3M, where engineer Roger Appledorn had developed a transparency
projection system.[2] As the demand for projectors grew, Buhl Industries was
founded in 1953, and became the leading US contributor for several optical
refinements for the overhead projector and its projection lens. In 1957, the
United States' first Federal Aid to Education program stimulated overhead sales
which remained high up to the late 1990s and into the 21st Century.](https://image.slidesharecdn.com/eeefinalyearproject-overheadprojector-150502015321-conversion-gate02/75/Eee-final-year-project-over-head-projector-6-2048.jpg)
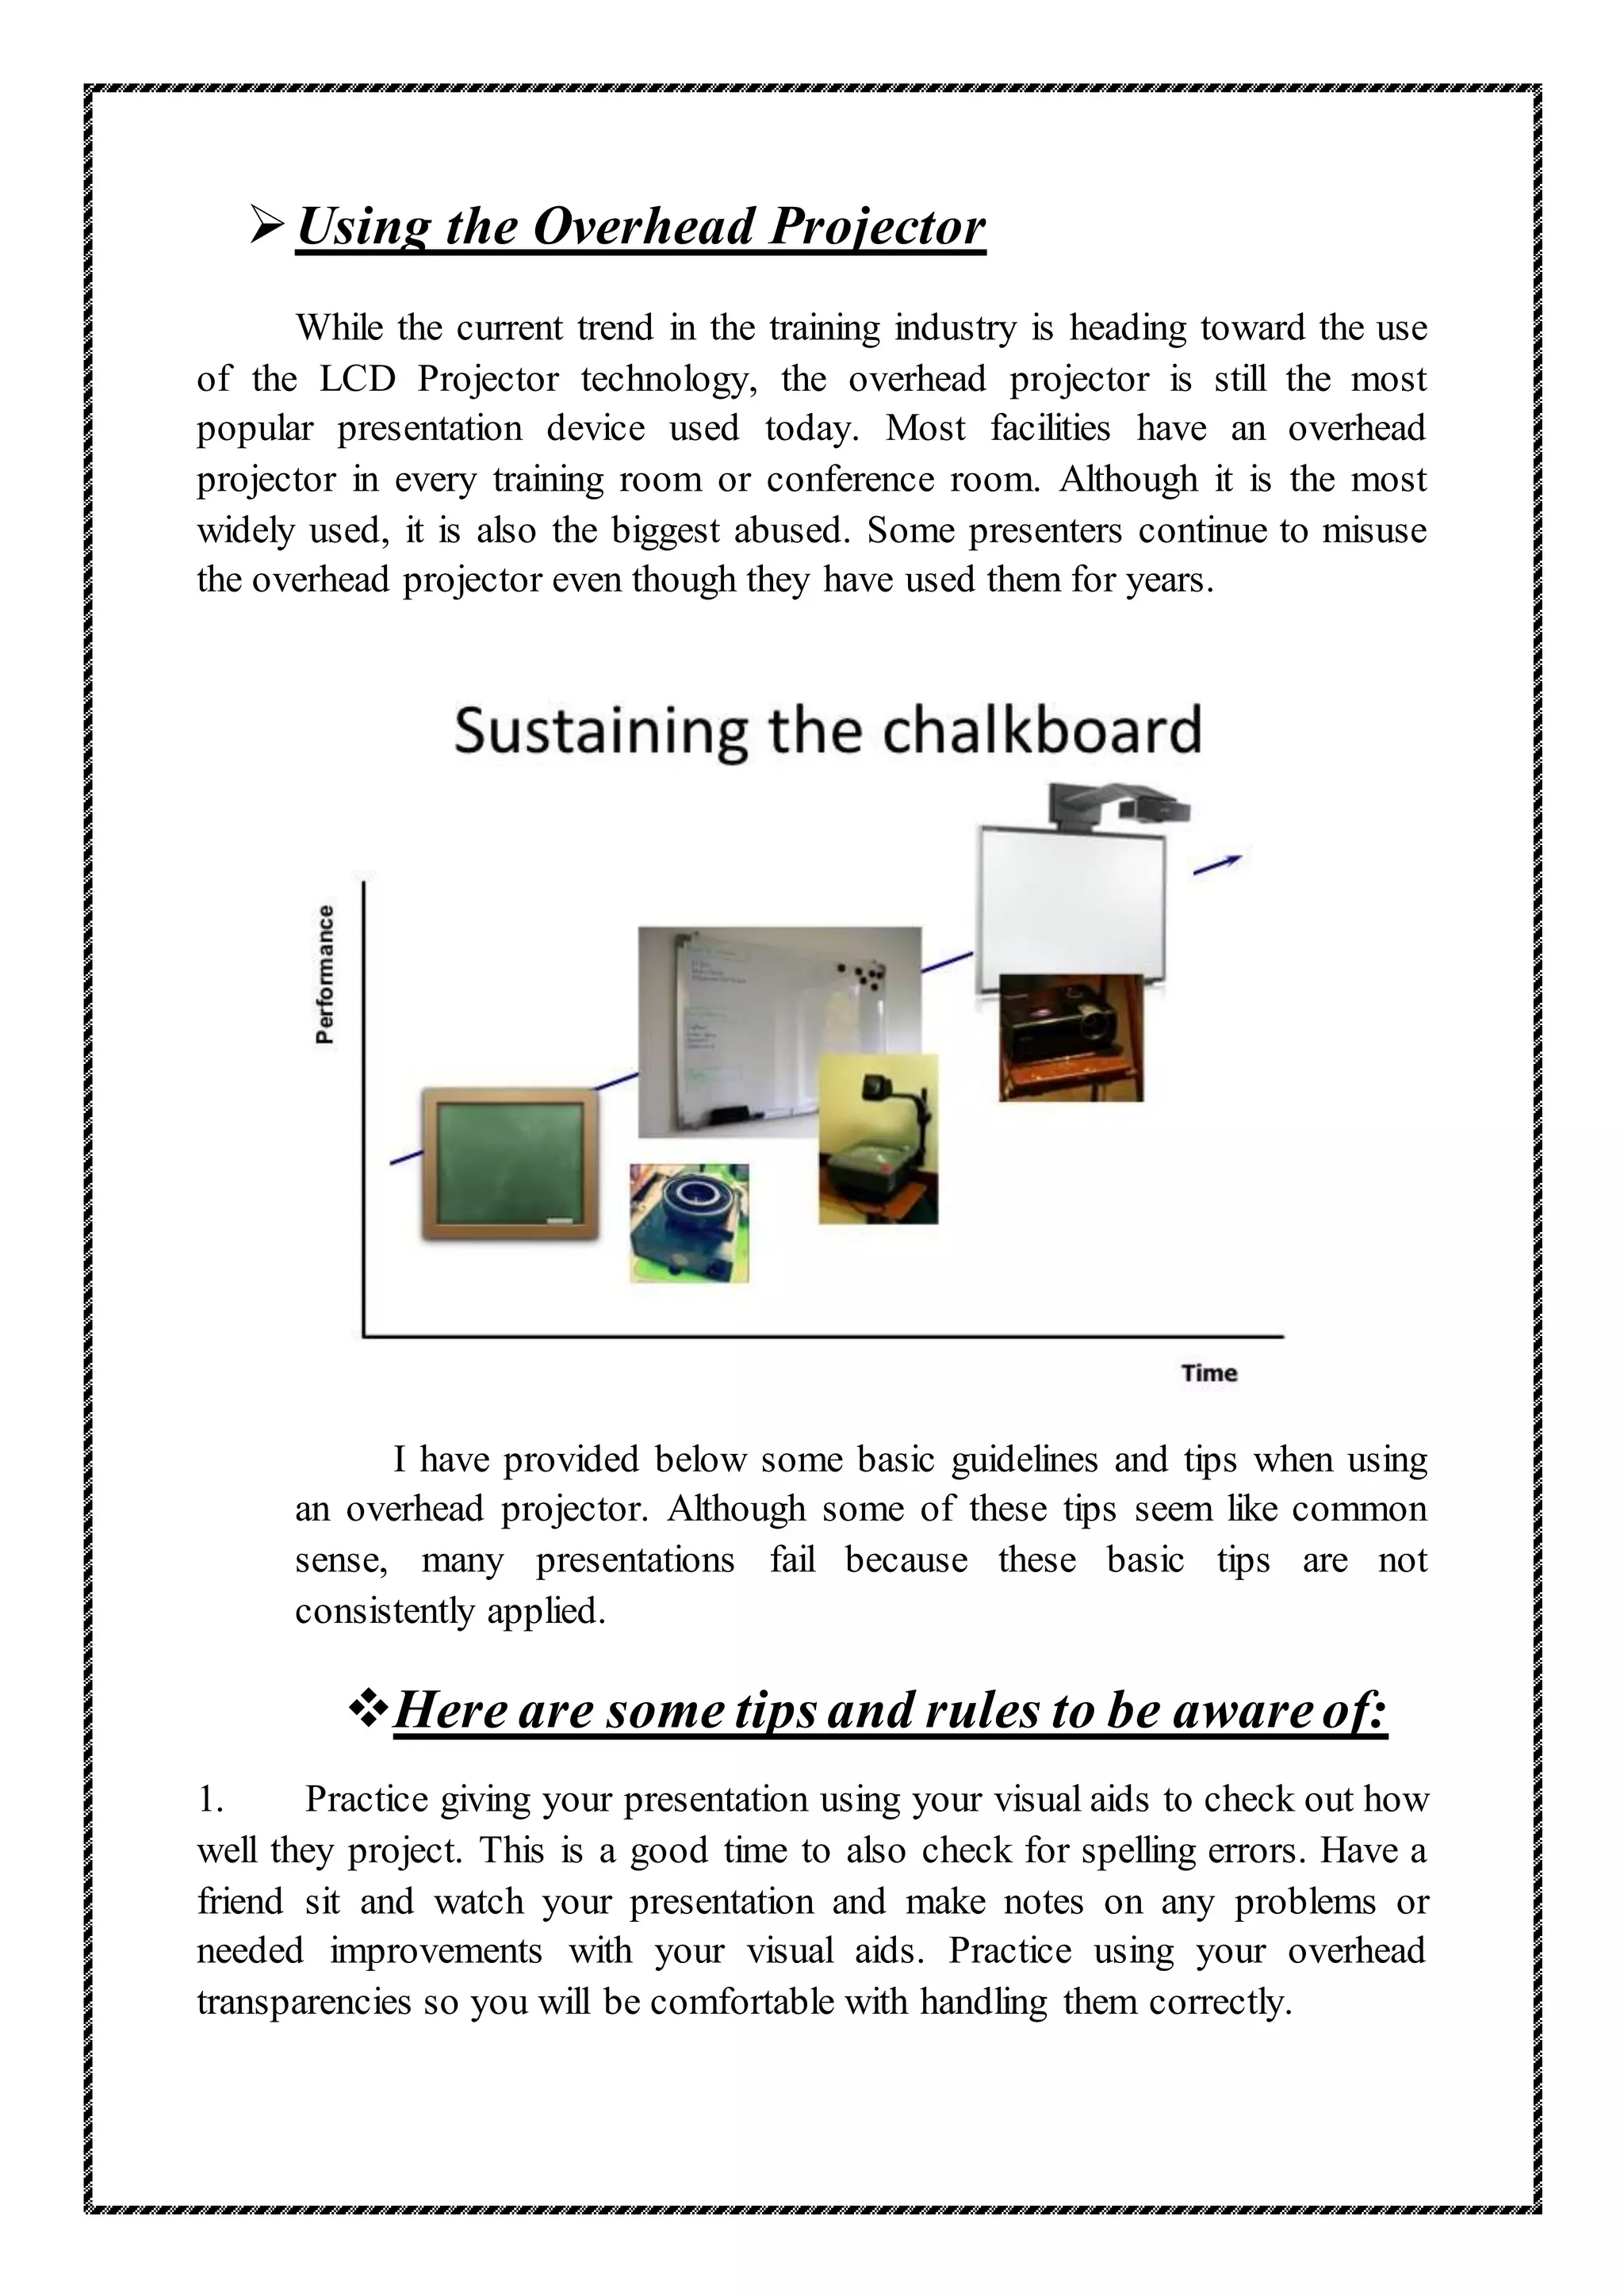
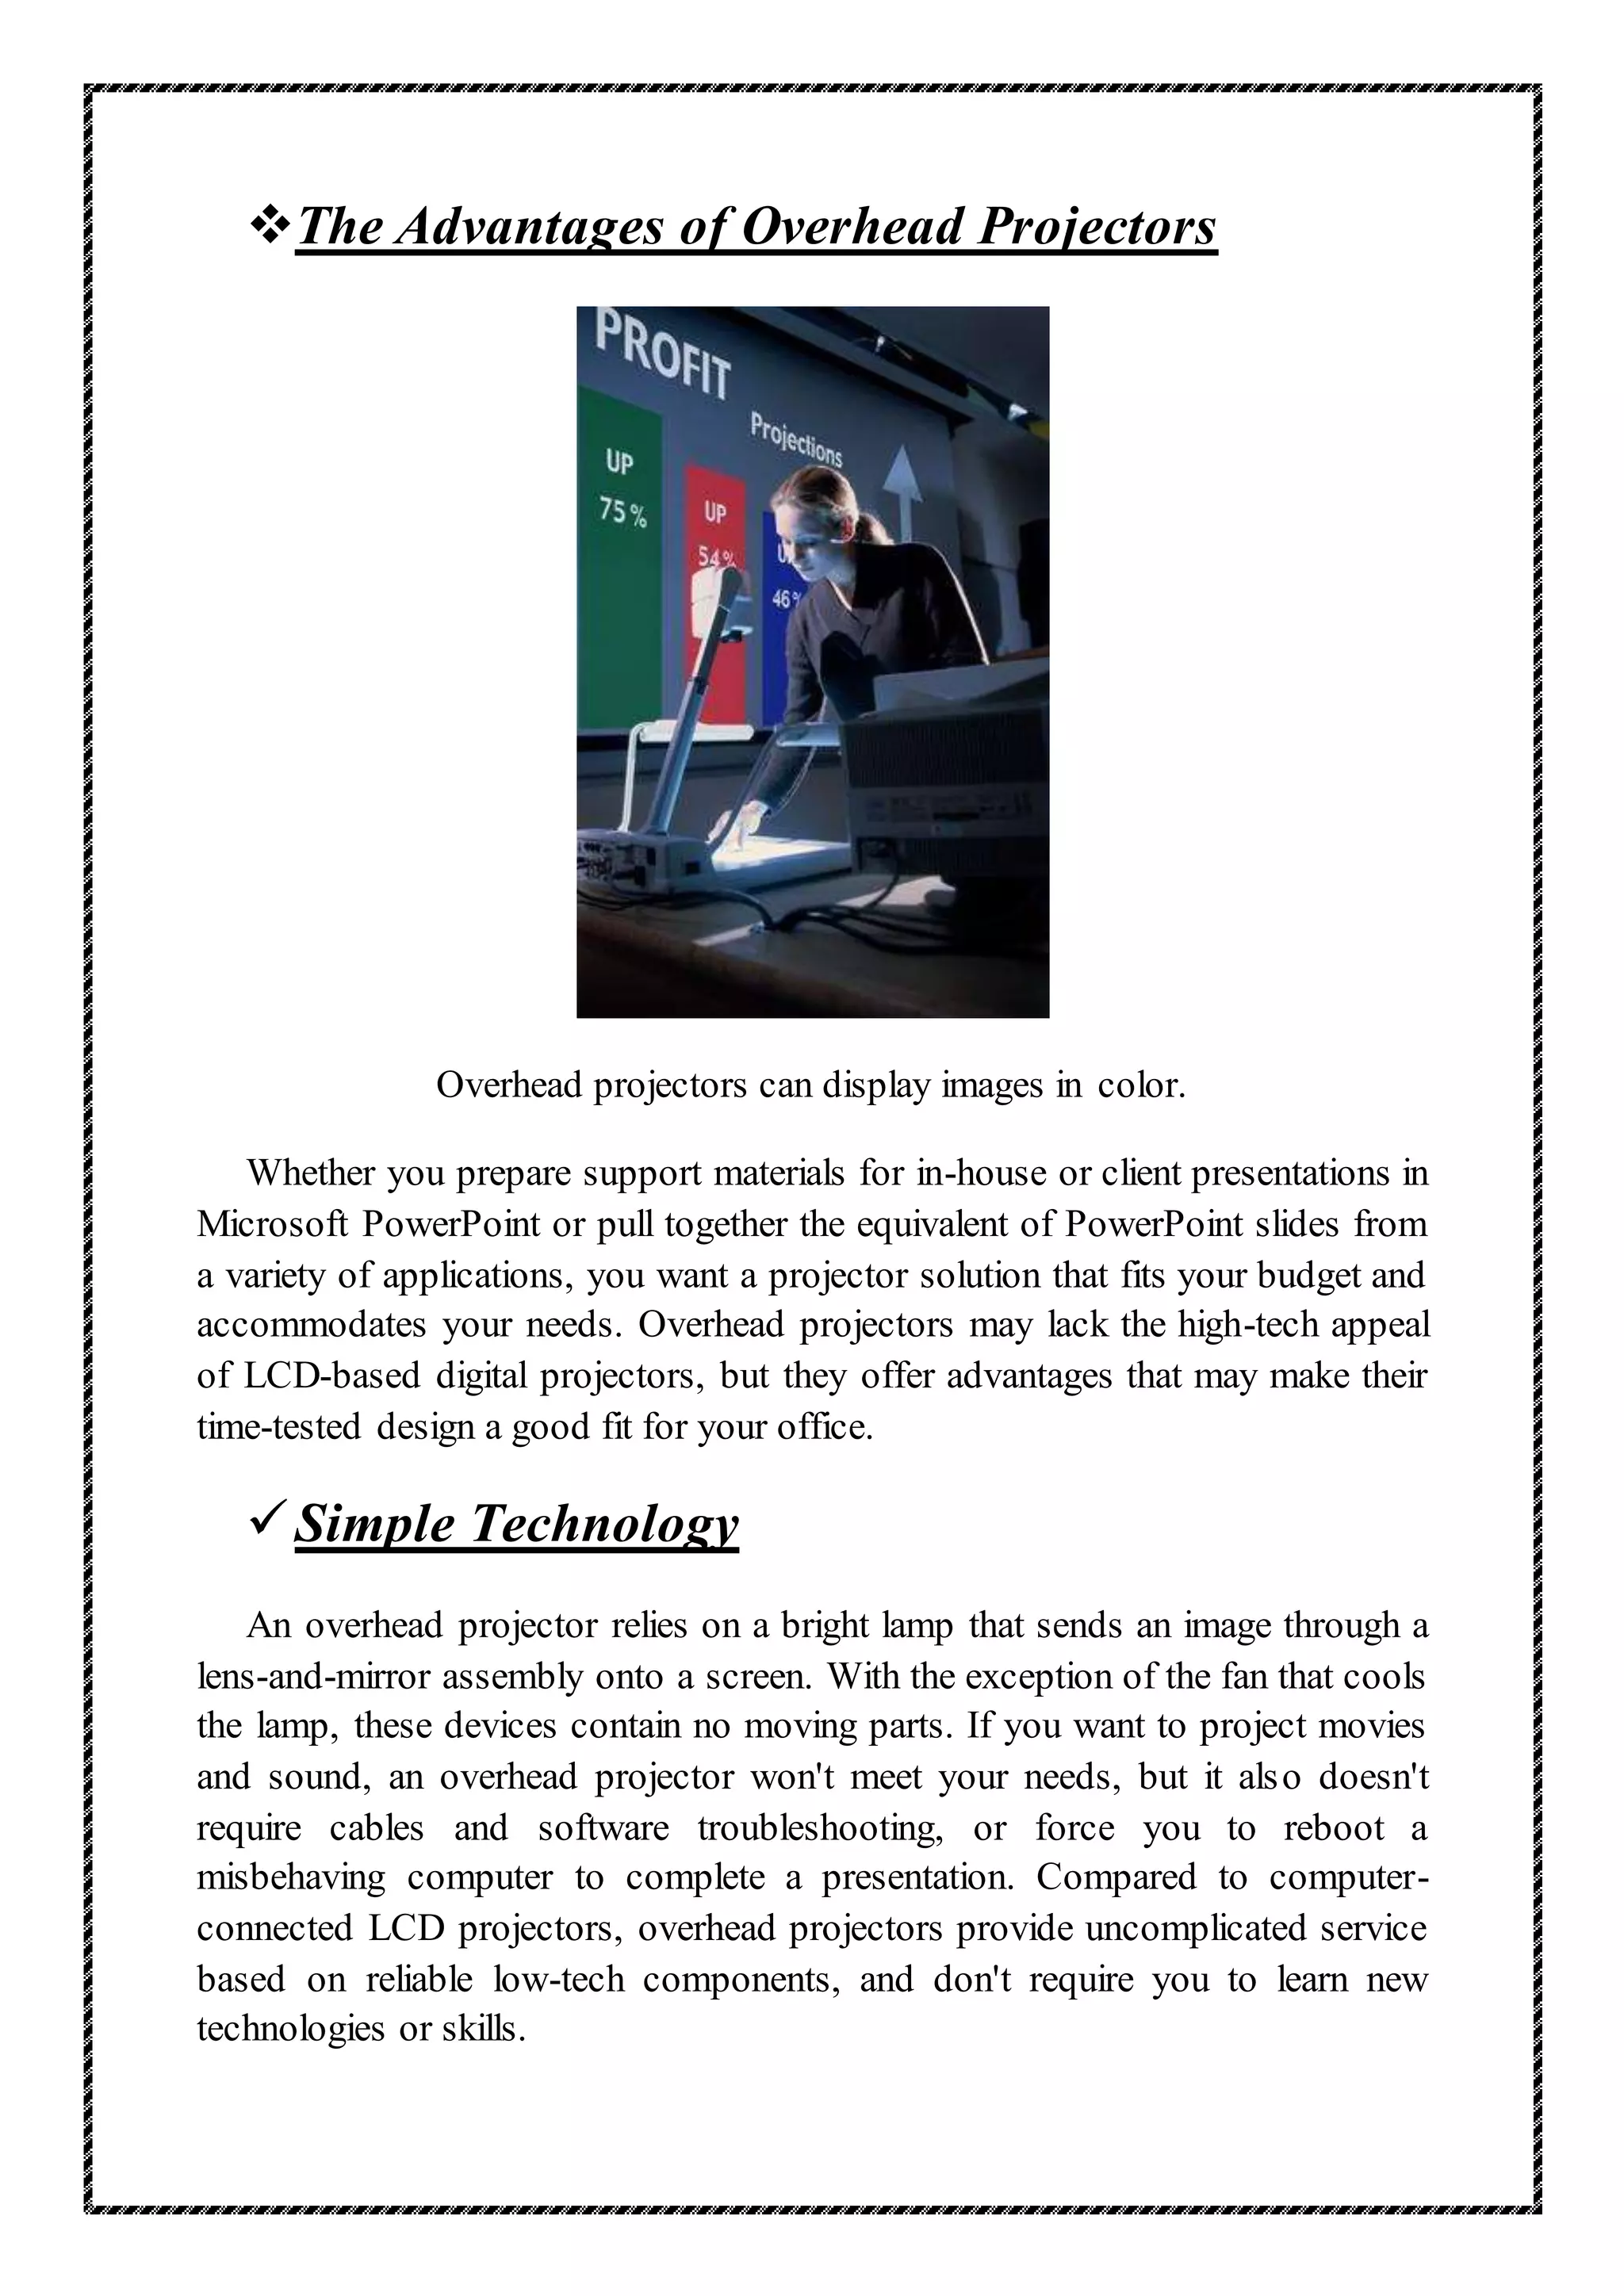

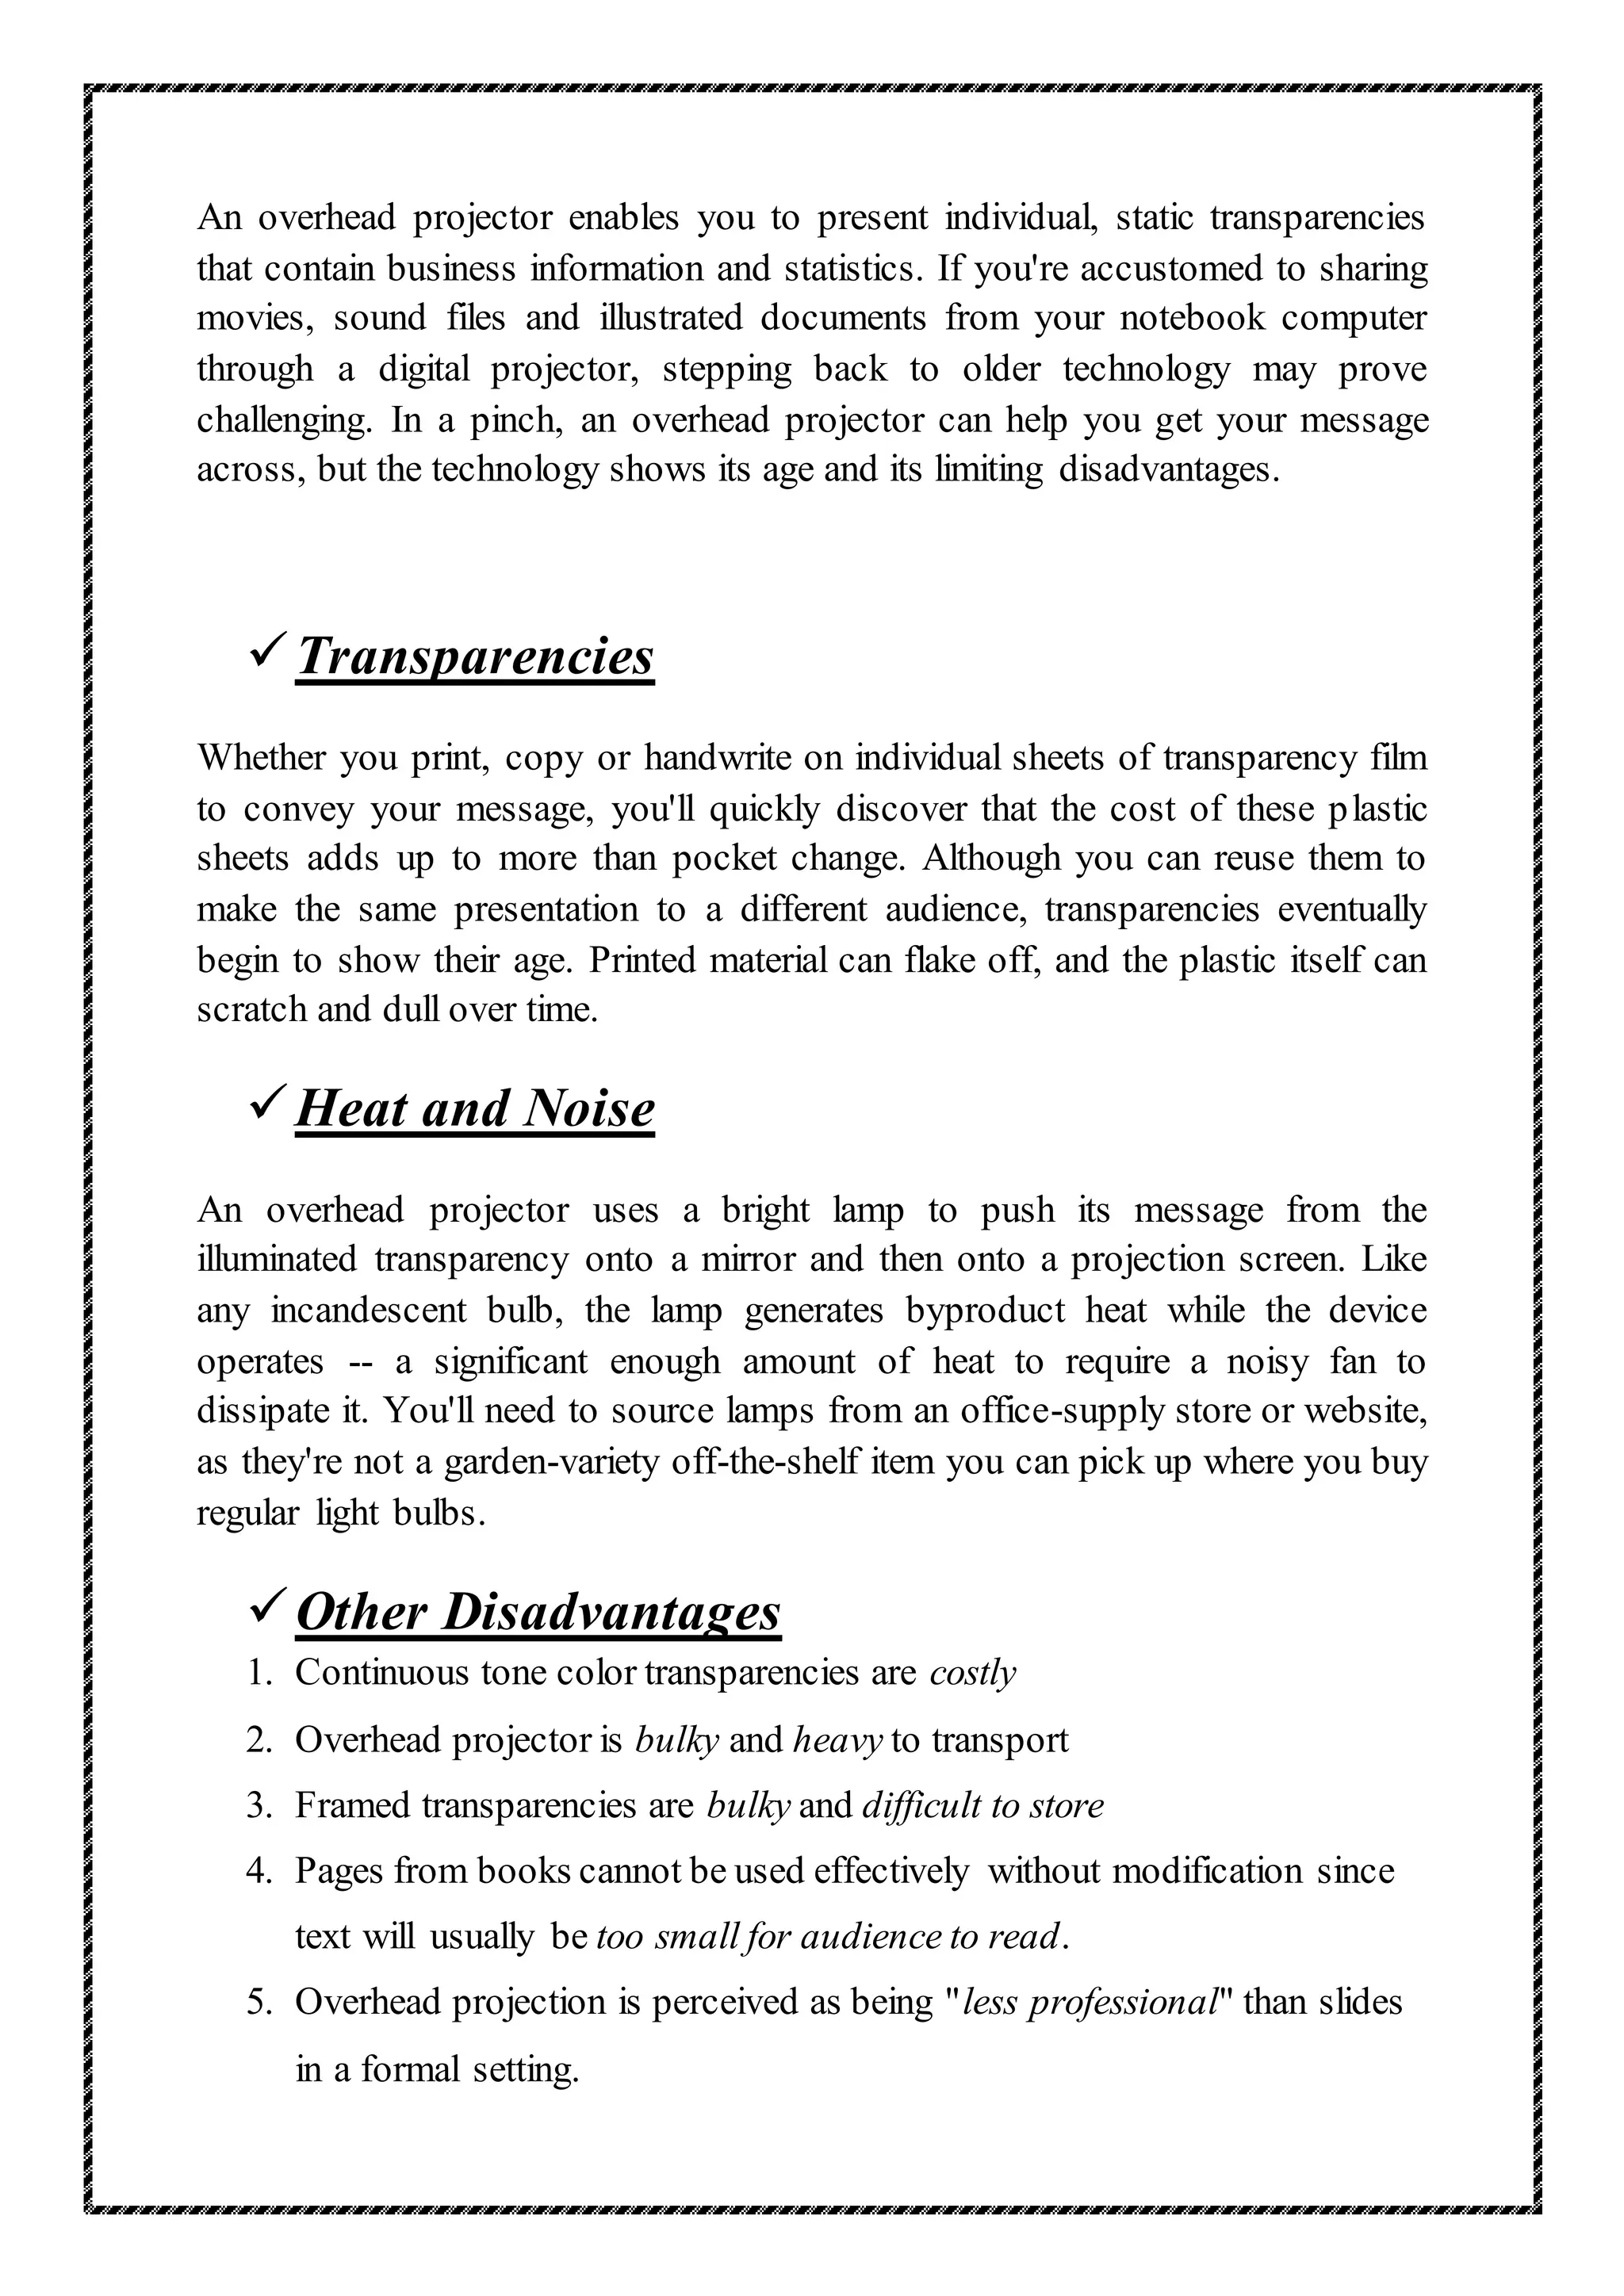
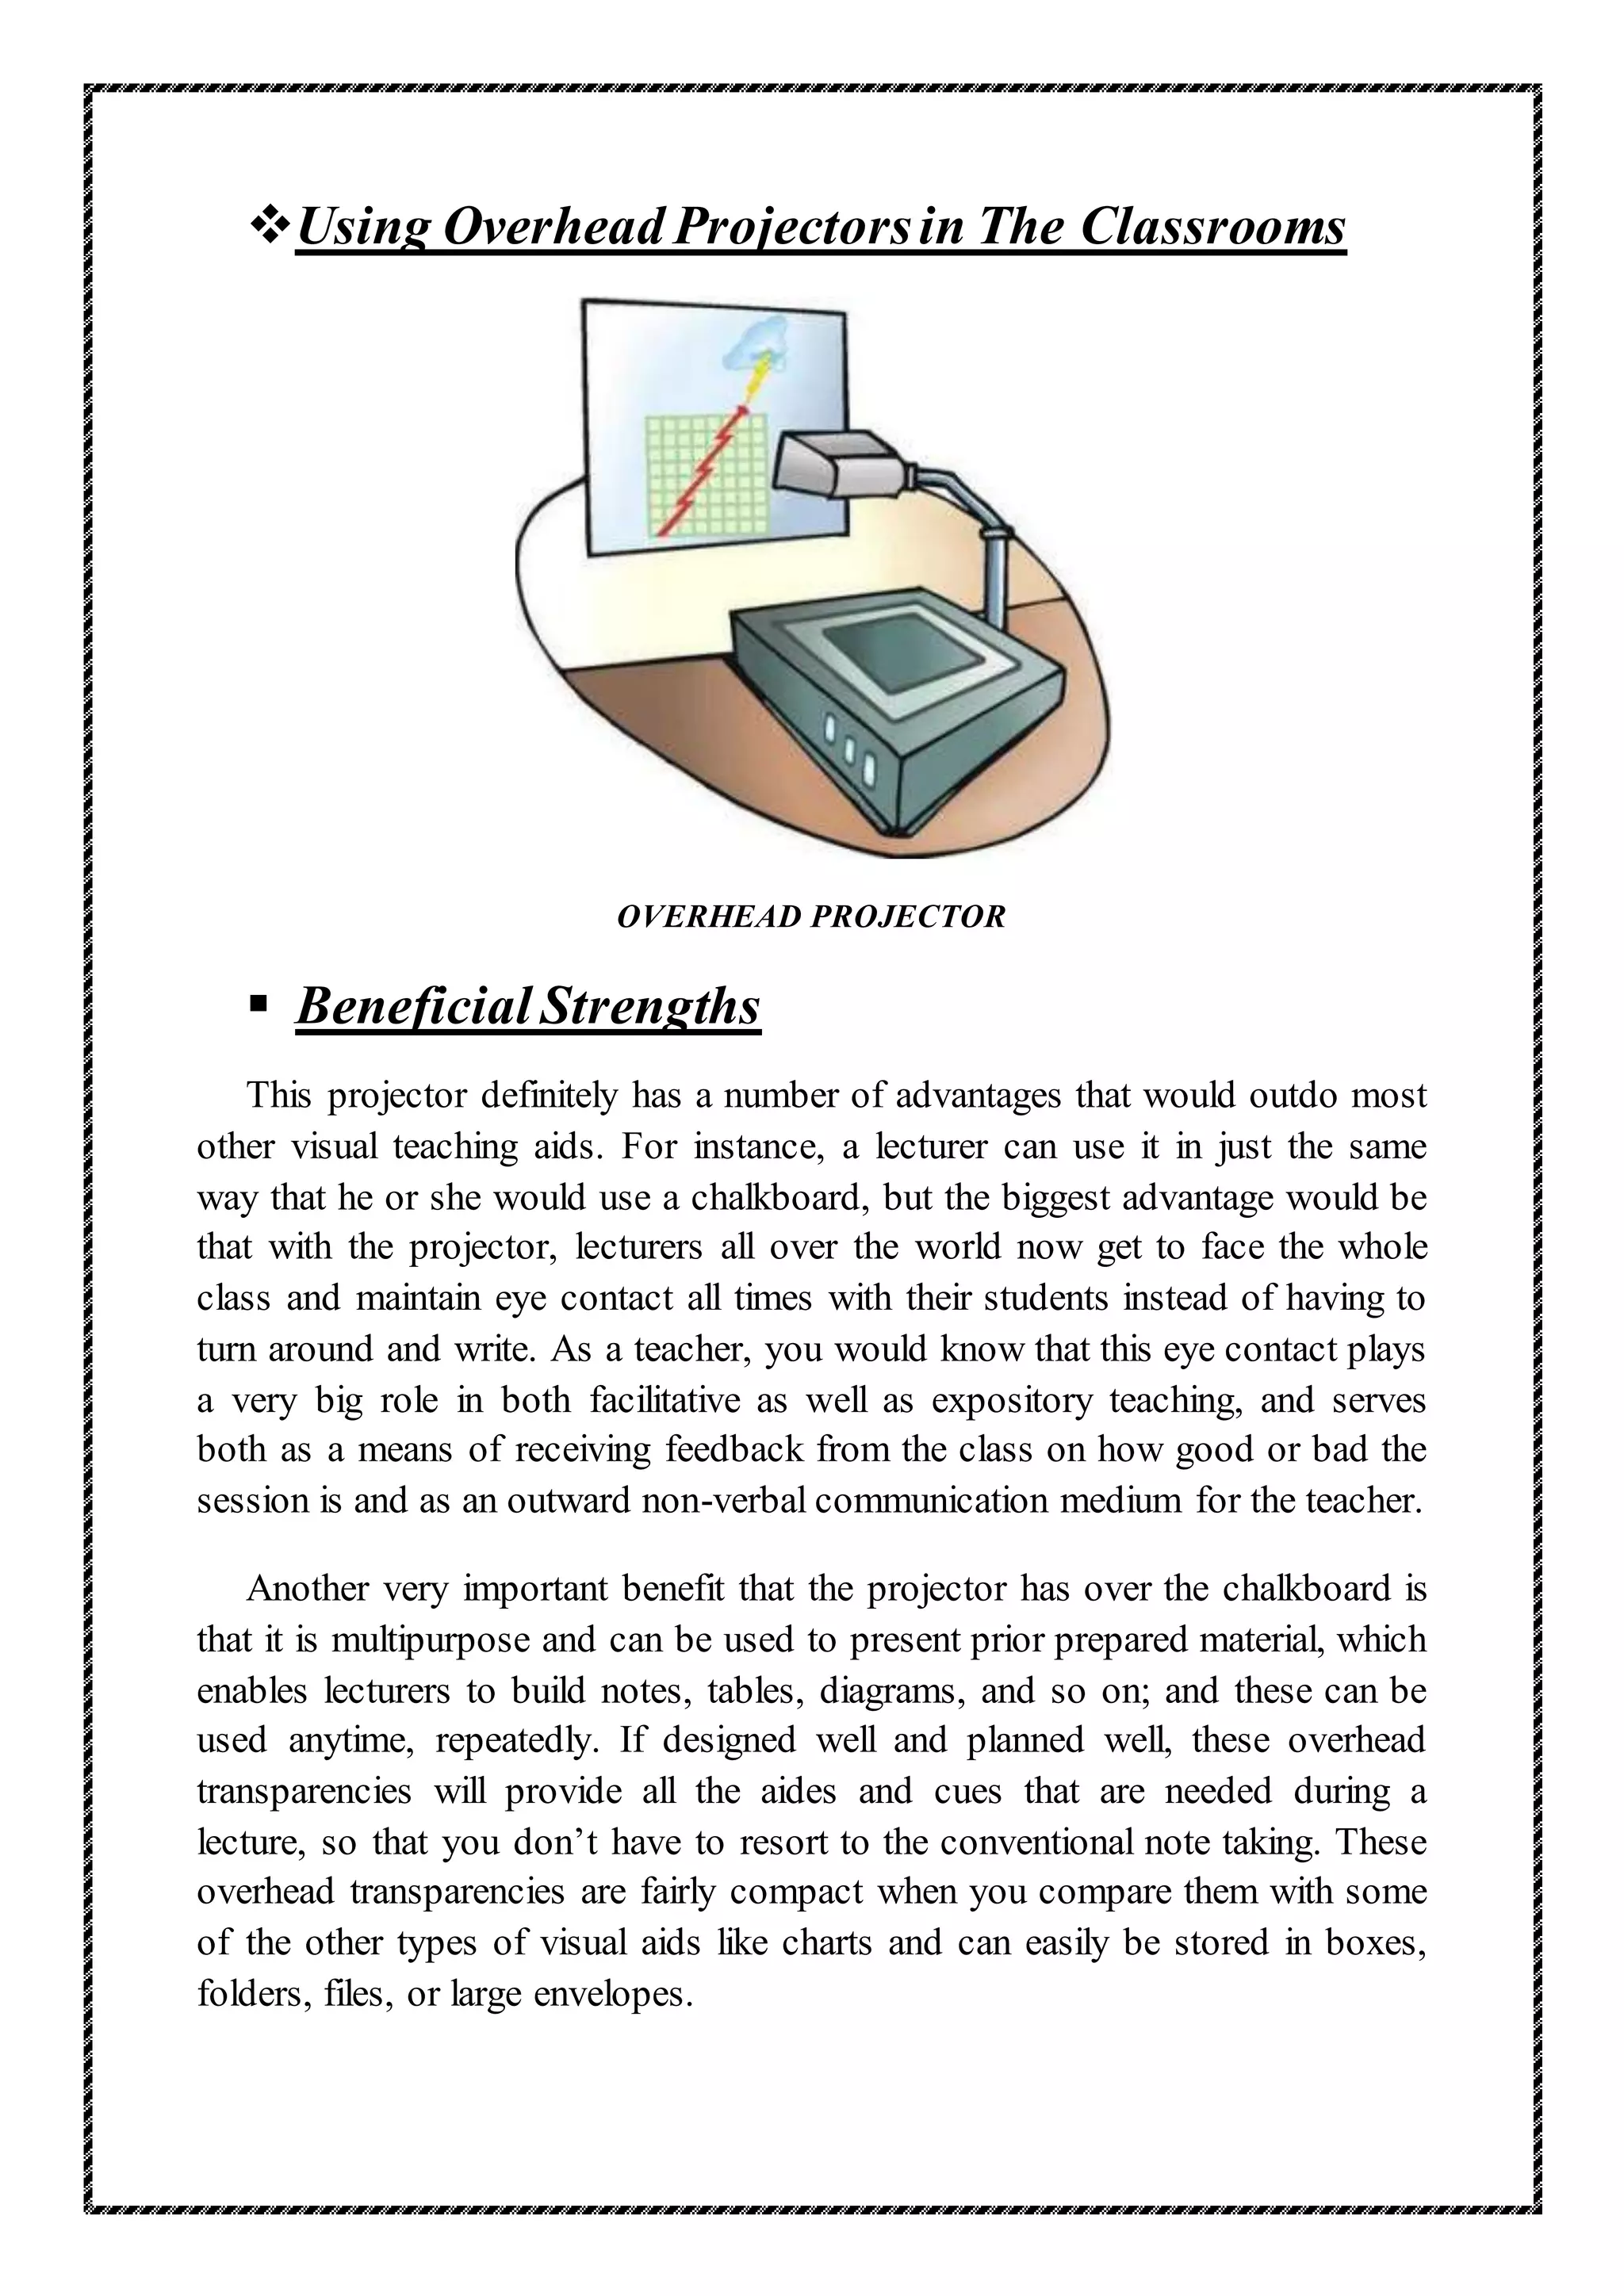


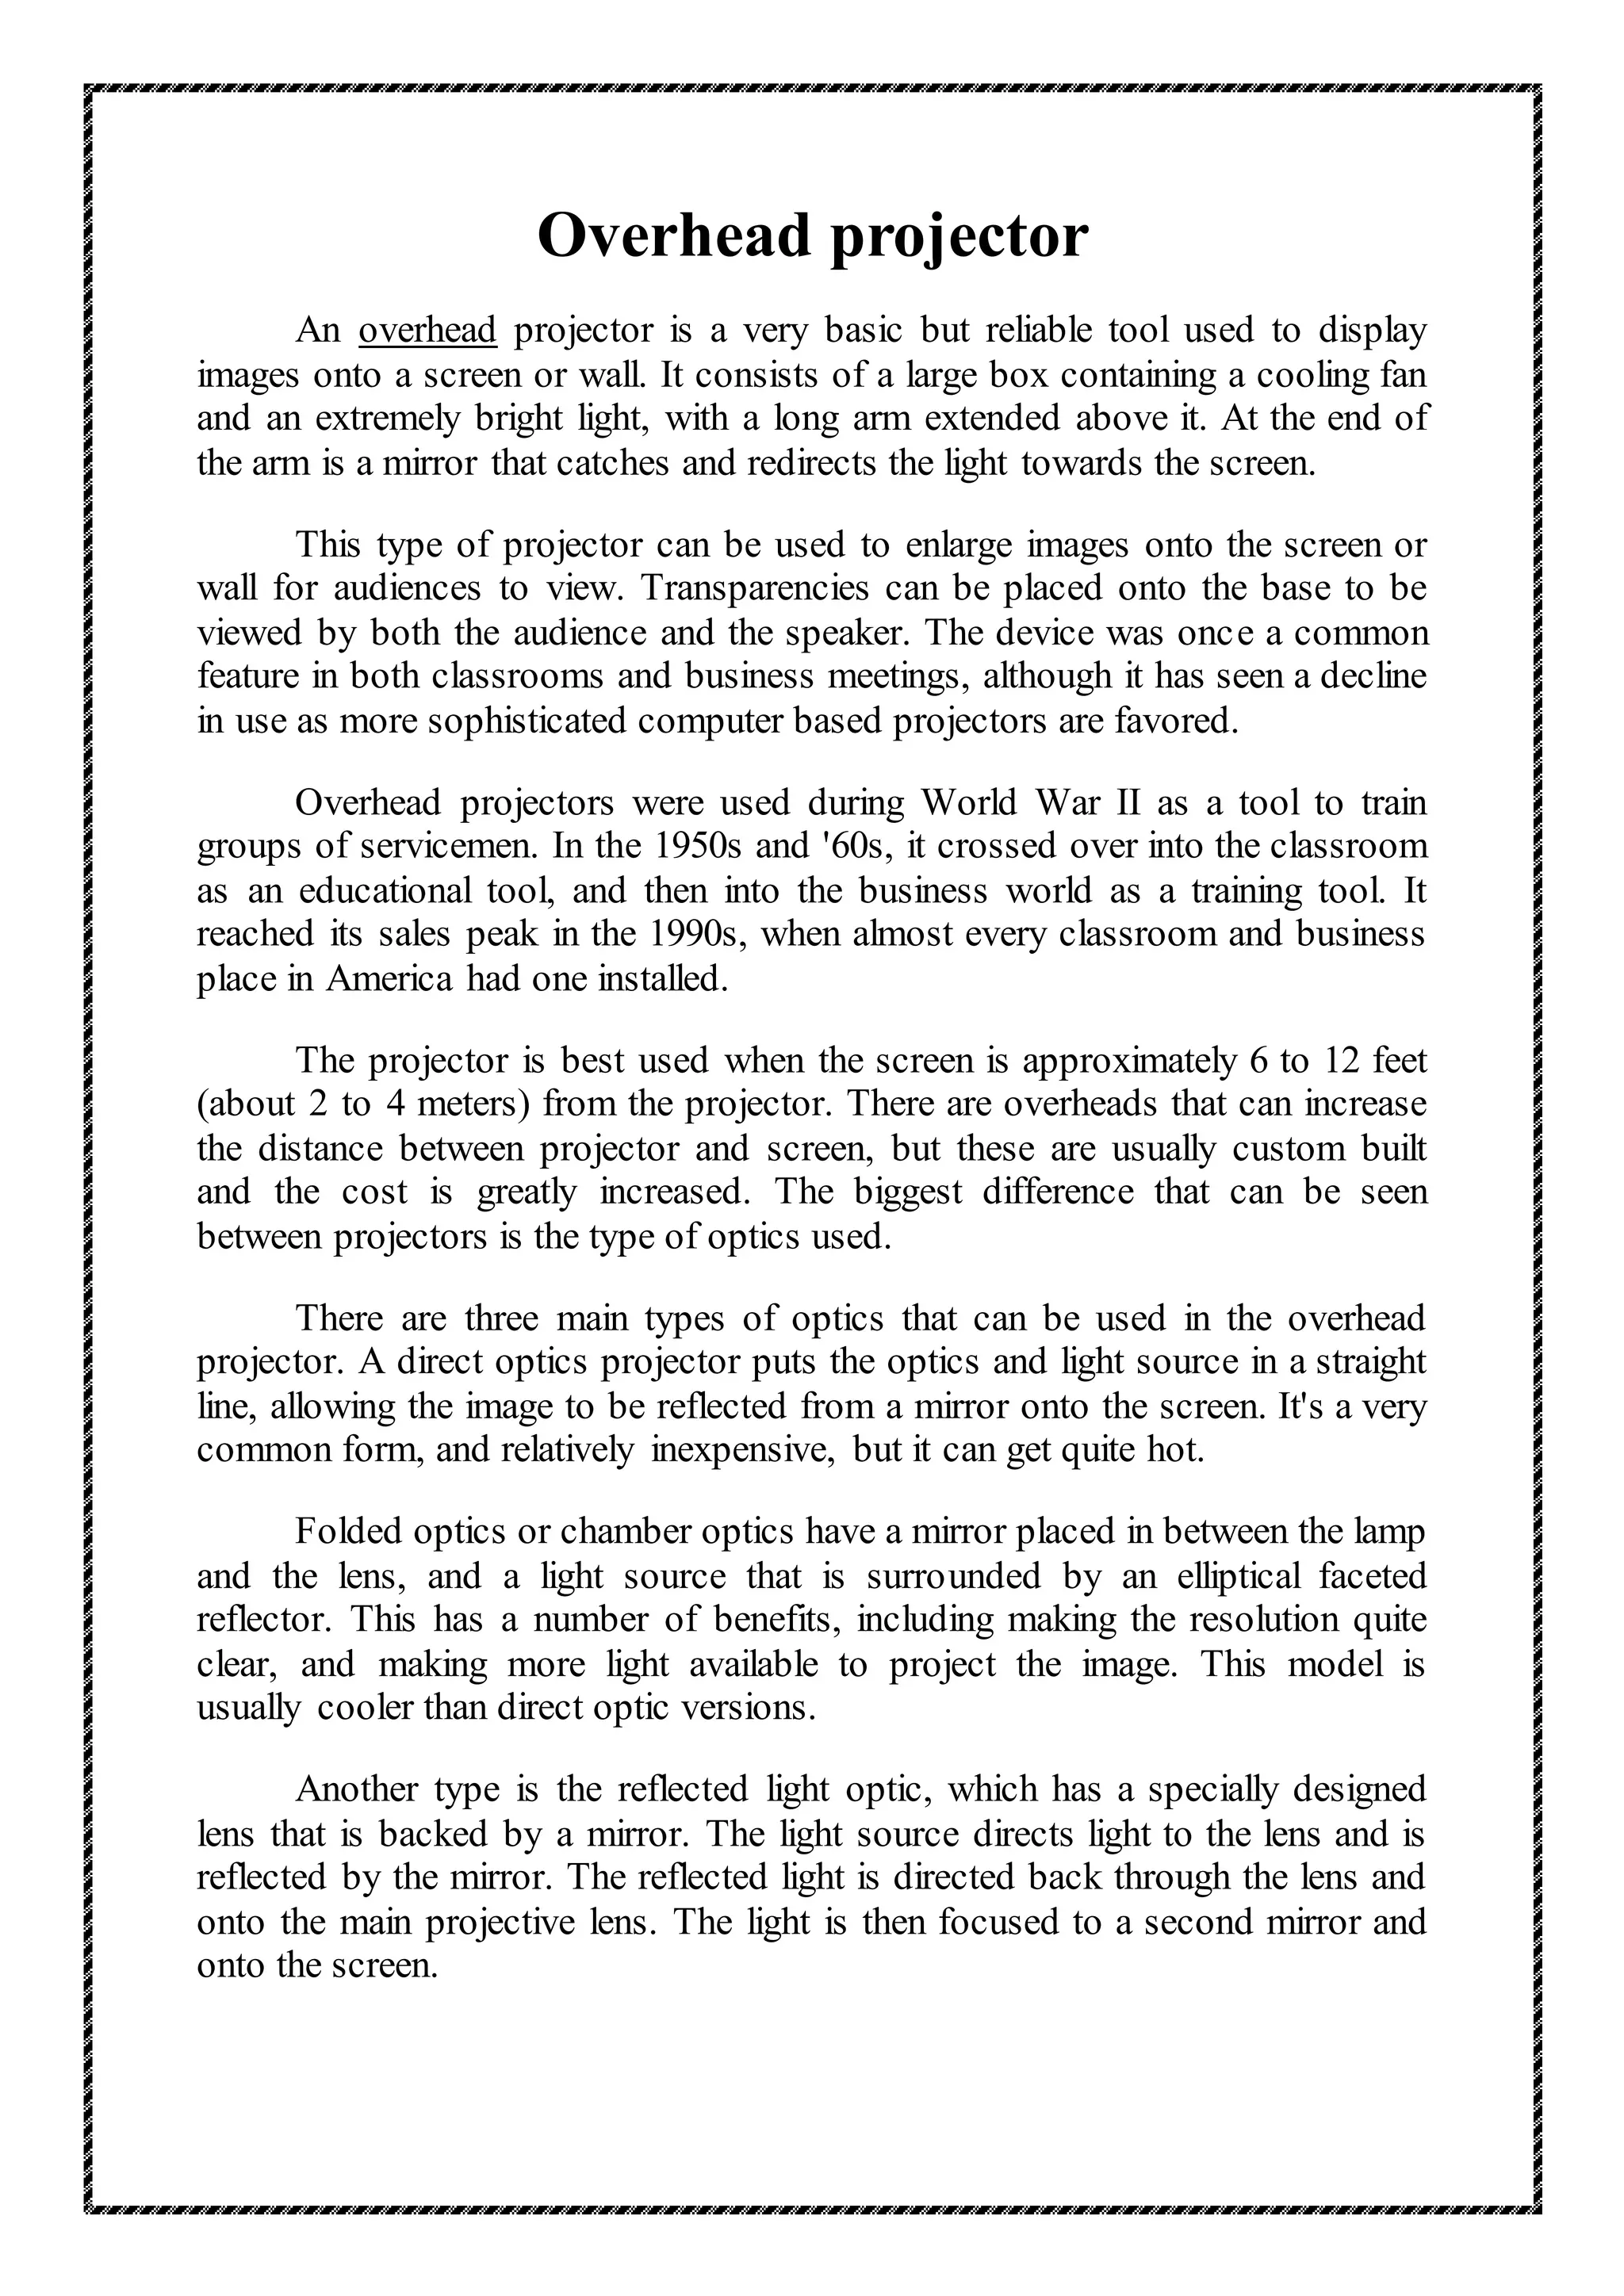
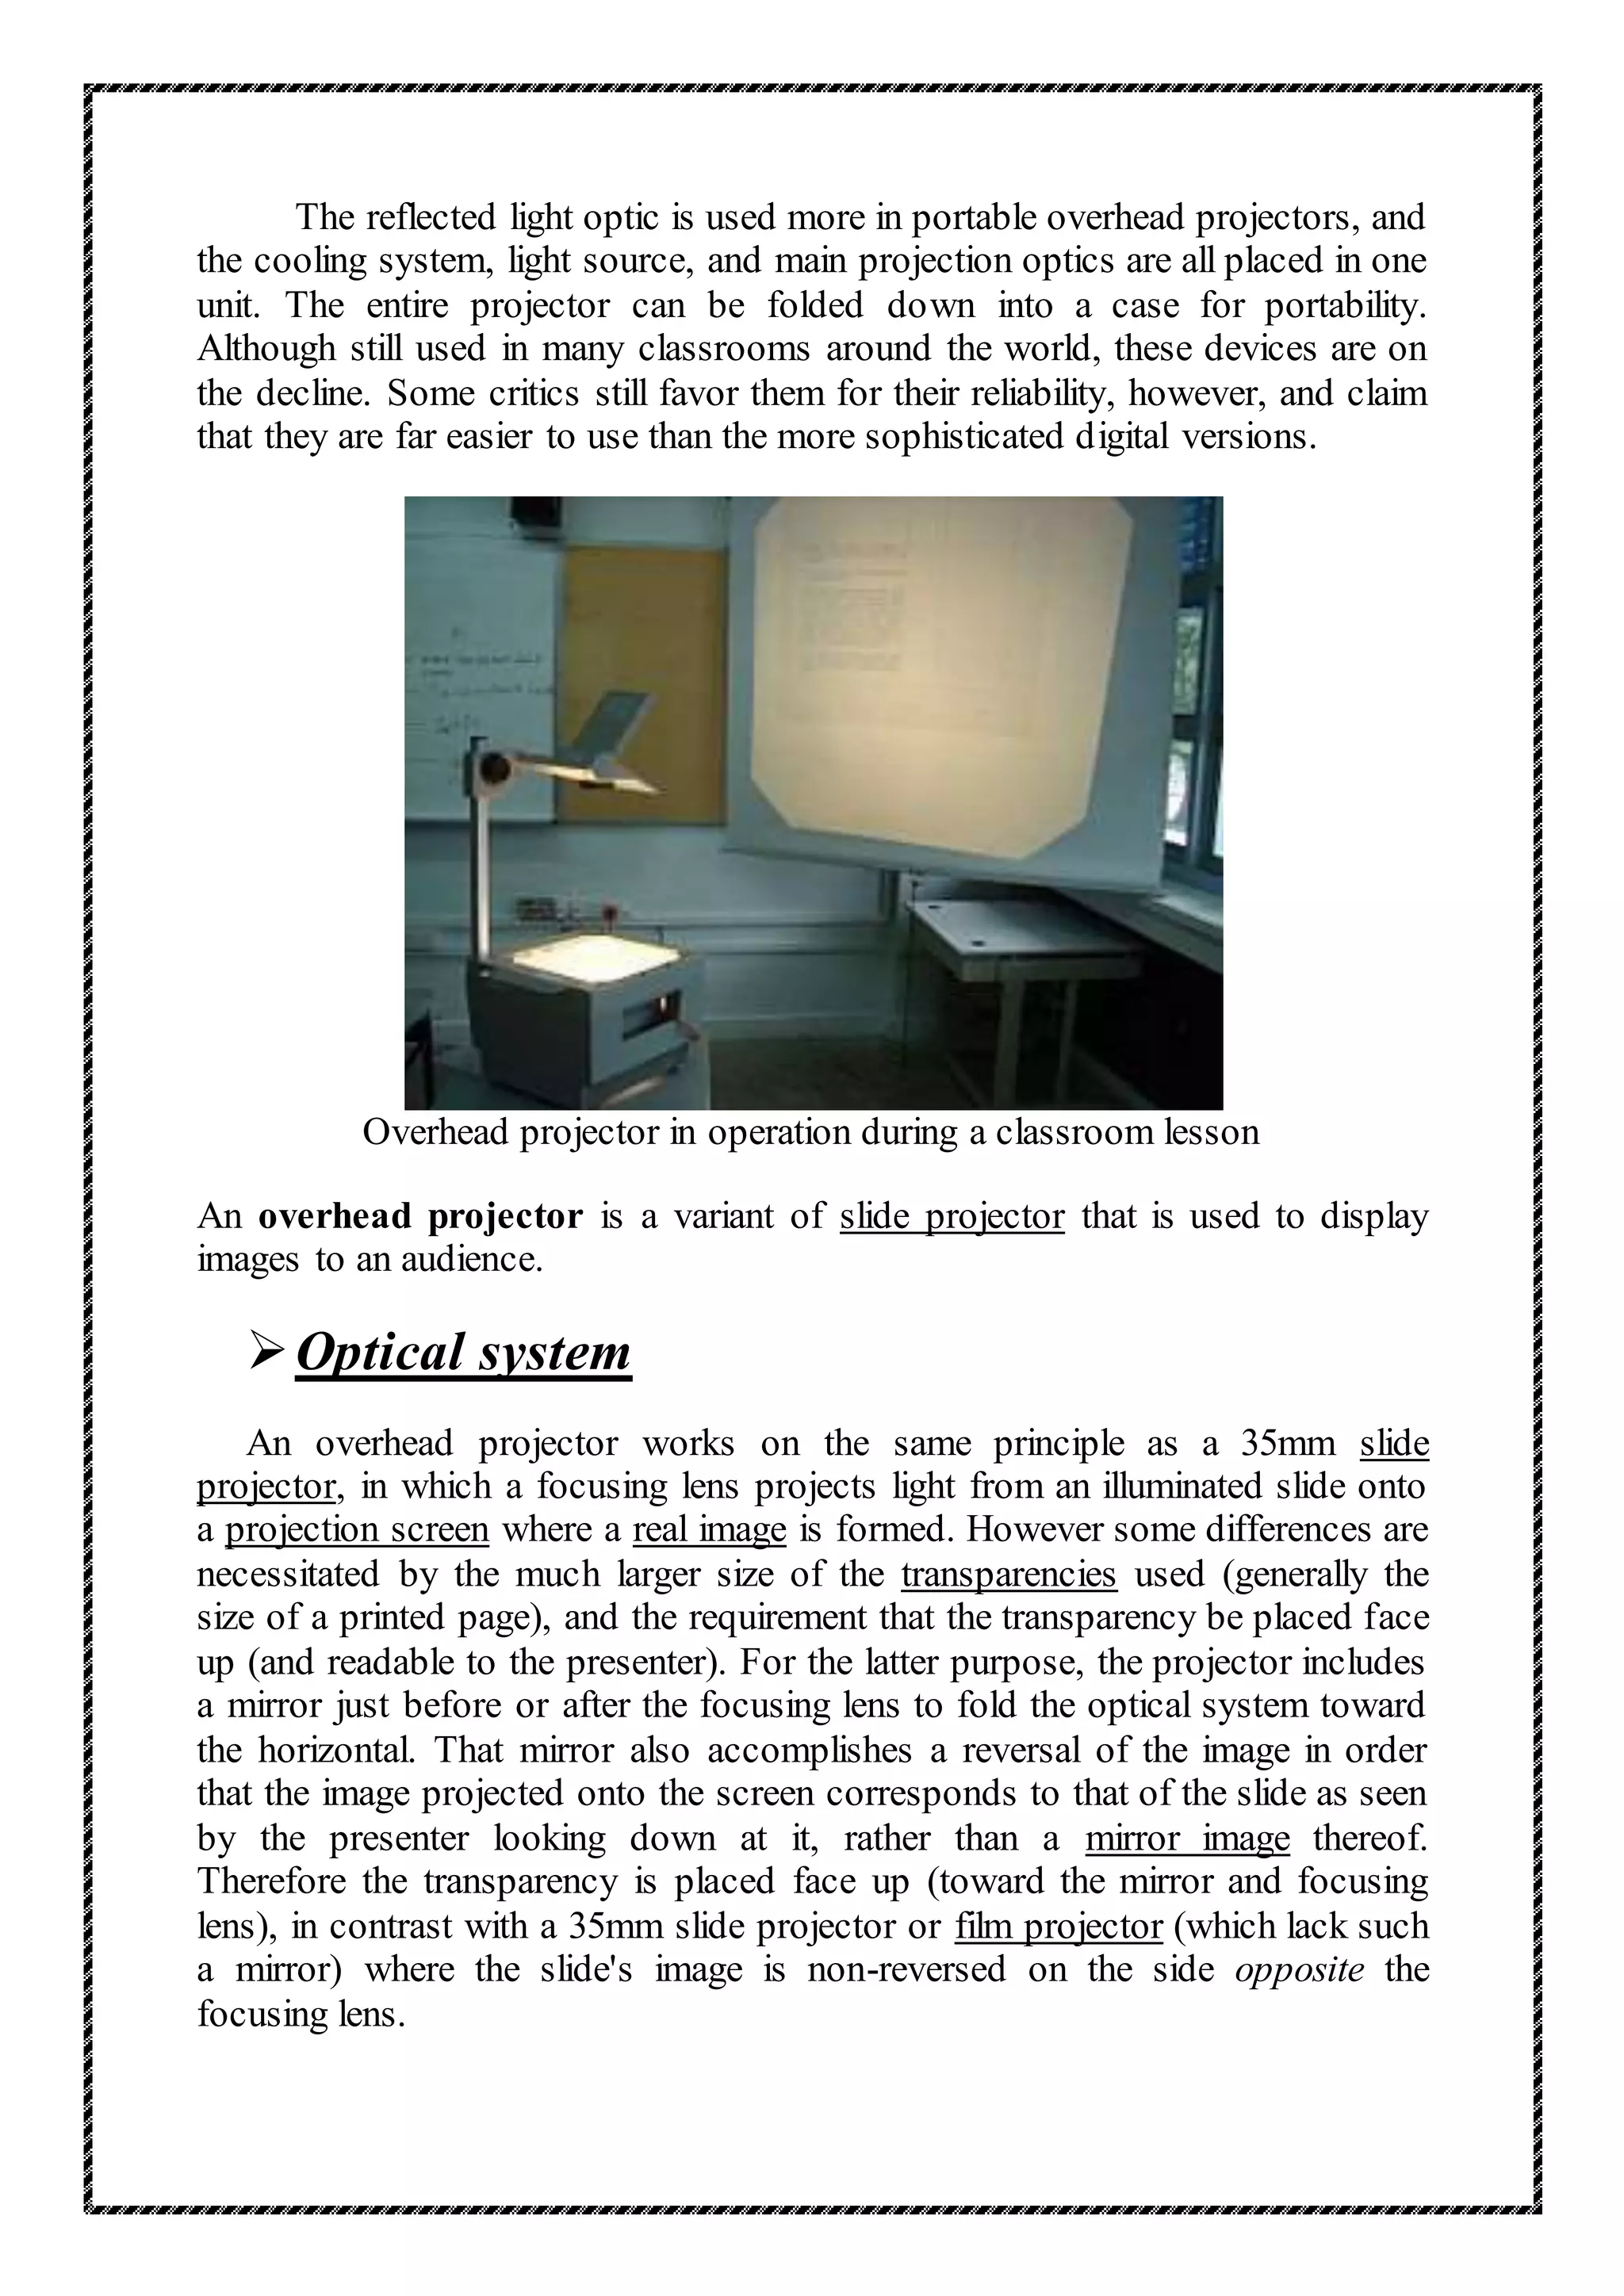
An overhead projector is a tool used to display images onto a screen for audiences to view. It consists of a box with a bright light and cooling fan, and uses a mirror to redirect the light towards the screen. Transparencies can be placed on the base to be viewed. While once common, overhead projectors have declined in use as computer-based projectors have become more popular. Overhead projectors were used for military training in WWII and later became an educational tool in classrooms and a business presentation tool.


