The document describes how the author used various technologies in their research, planning, construction, and evaluation stages of their project. Specifically, the author used:
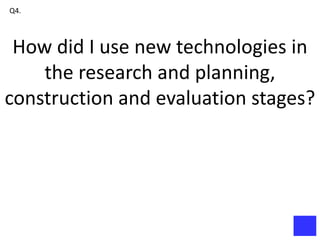
- Keynote to create title cards and import/edit images and videos.
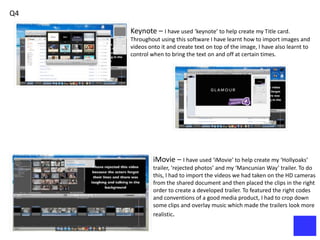
- iMovie to create trailers by importing videos and adding clips, music, and effects.
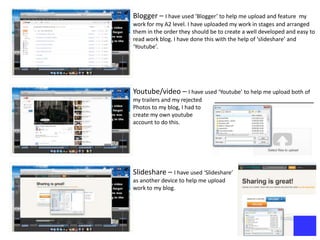
- Blogger, Slideshare, and YouTube to upload work and embed media for their blog.
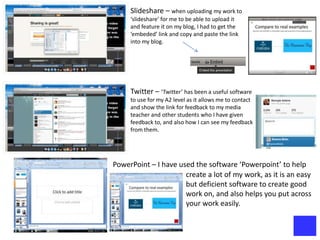
- Twitter to contact teachers and peers for feedback.
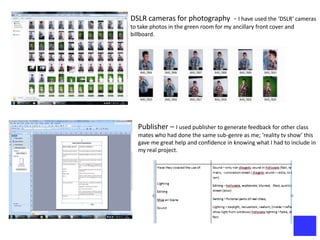
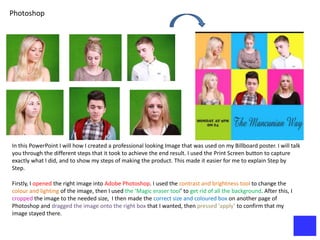
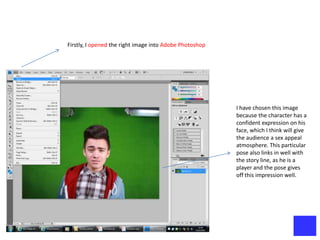
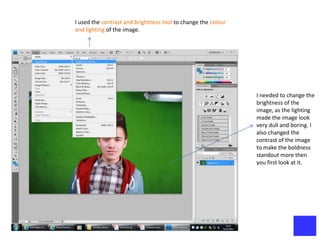
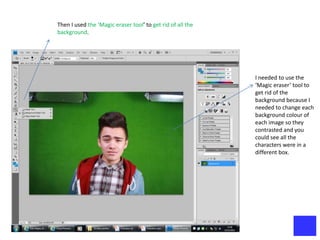
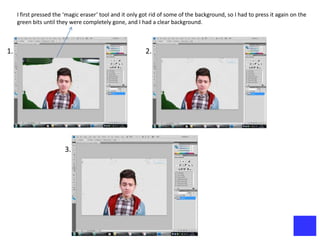
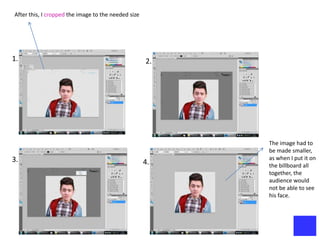
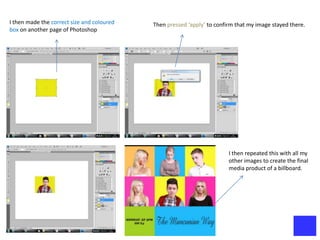
- PowerPoint, Publisher and Photoshop to create and design work, providing feedback to peers.
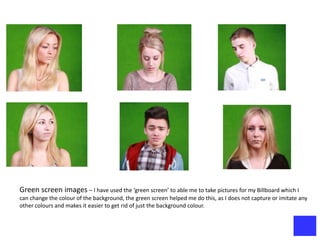
- DSLR cameras to take photos for a front cover and billboard.