OBJECTIVES
At the endof the Lesson the student must be able to:
1. define what disk partitioning is,
2. explain the purpose and benefits of creating disk partitions,
3. identify situations where creating a partition is necessary; and
4. demonstrate the steps to create a disk partition using Disk
Management in Windows.
4.
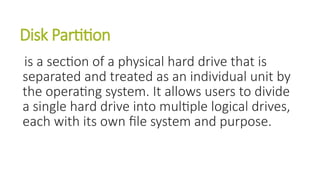
Disk Partition
is asection of a physical hard drive that is
separated and treated as an individual unit by
the operating system. It allows users to divide
a single hard drive into multiple logical drives,
each with its own file system and purpose.
5.
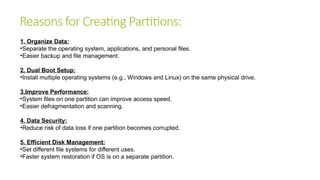
Reasons for CreatingPartitions:
1. Organize Data:
•Separate the operating system, applications, and personal files.
•Easier backup and file management.
2. Dual Boot Setup:
•Install multiple operating systems (e.g., Windows and Linux) on the same physical drive.
3.Improve Performance:
•System files on one partition can improve access speed.
•Easier defragmentation and scanning.
4. Data Security:
•Reduce risk of data loss if one partition becomes corrupted.
5. Efficient Disk Management:
•Set different file systems for different uses.
•Faster system restoration if OS is on a separate partition.
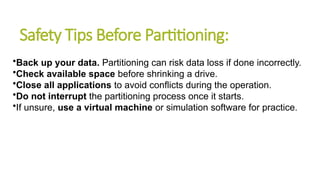
Safety Tips BeforePartitioning:
•Back up your data. Partitioning can risk data loss if done incorrectly.
•Check available space before shrinking a drive.
•Close all applications to avoid conflicts during the operation.
•Do not interrupt the partitioning process once it starts.
•If unsure, use a virtual machine or simulation software for practice.
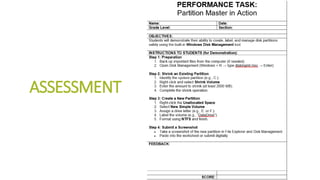
Step-by-Step Guide UsingWindows Disk
Management:
1.Open Disk Management:
•Press Windows + X → Click on Disk Management
•OR press Windows + R, type diskmgmt.msc, then press Enter.
2.Shrink an Existing Volume:
•Right-click on a partition (usually C:) → Select Shrink Volume
•Enter the amount of space to shrink (in MB) → Click Shrink
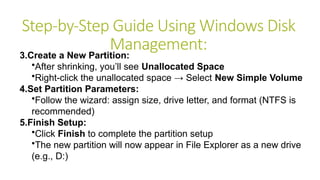
11.
Step-by-Step Guide UsingWindows Disk
Management:
3.Create a New Partition:
•After shrinking, you’ll see Unallocated Space
•Right-click the unallocated space → Select New Simple Volume
4.Set Partition Parameters:
•Follow the wizard: assign size, drive letter, and format (NTFS is
recommended)
5.Finish Setup:
•Click Finish to complete the partition setup
•The new partition will now appear in File Explorer as a new drive
(e.g., D:)