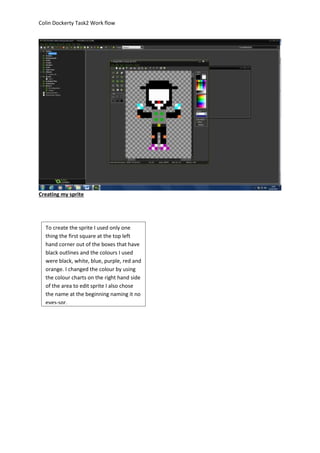
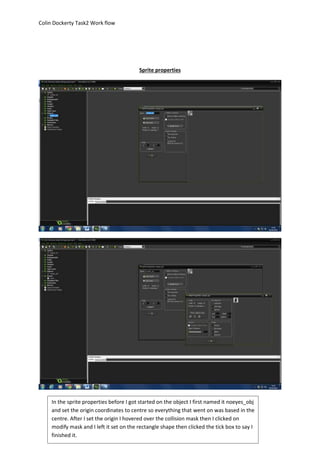
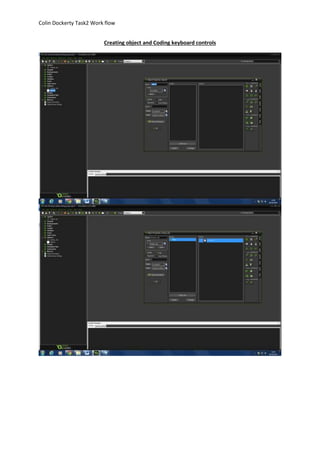
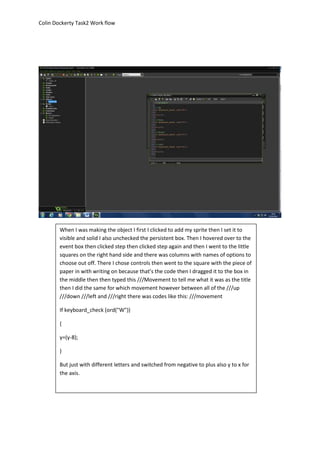
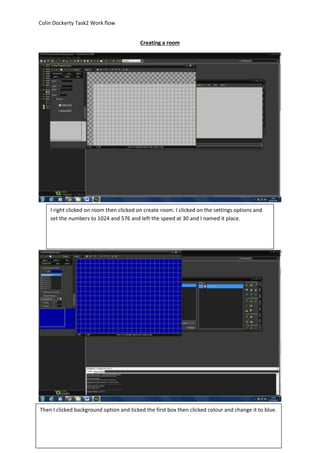
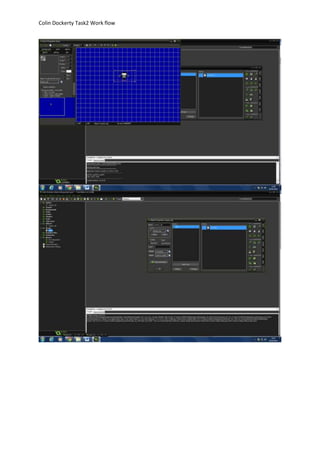
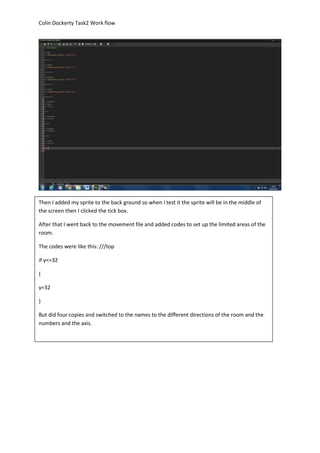
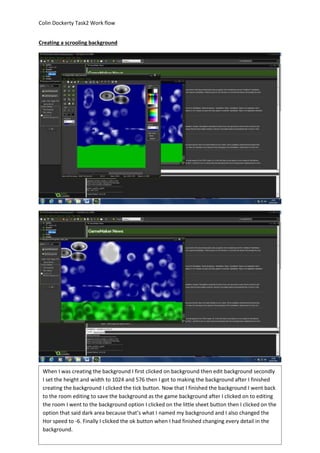
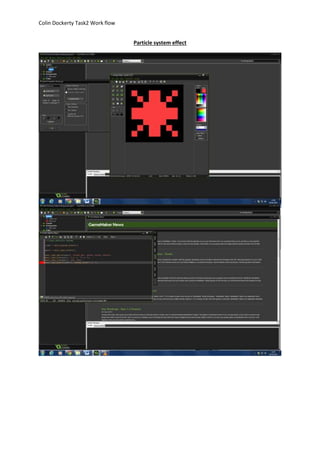
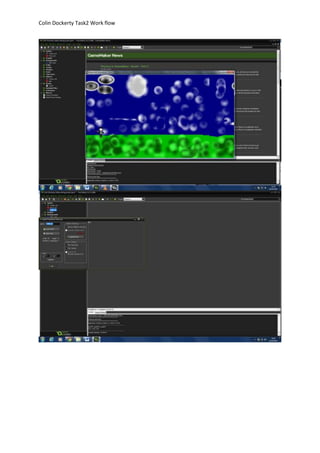
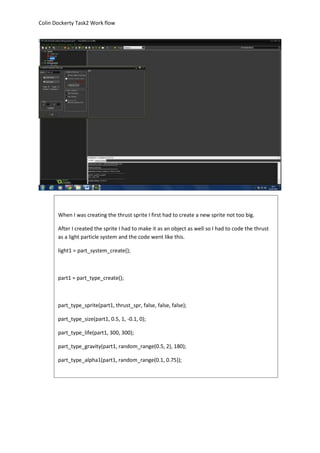
1. Colin Dockerty Task2 Work flow
Creating my sprite
To create the sprite I used only one
thing the first square at the top left
hand corner out of the boxes that have
black outlines and the colours I used
were black, white, blue, purple, red and
orange. I changed the colour by using
the colour charts on the right hand side
of the area to edit sprite I also chose
the name at the beginning naming it no
eyes-spr.
2. Colin Dockerty Task2 Work flow
Sprite properties
In the sprite properties before I got started on the object I first named it noeyes_obj
and set the origin coordinates to centre so everything that went on was based in the
centre. After I set the origin I hovered over the collision mask then I clicked on
modify mask and I left it set on the rectangle shape then clicked the tick box to say I
finished it.
4. Colin Dockerty Task2 Work flow
When I was making the object I first I clicked to add my sprite then I set it to
visible and solid I also unchecked the persistent box. Then I hovered over to the
event box then clicked step then clicked step again and then I went to the little
squares on the right hand side and there was columns with names of options to
choose out off. There I chose controls then went to the square with the piece of
paper in with writing on because that’s the code then I dragged it to the box in
the middle then then typed this ///Movement to tell me what it was as the title
then I did the same for which movement however between all of the ///up
///down ///left and ///right there was codes like this: ///movement
If keyboard_check (ord("W"))
{
y=(y-8);
}
But just with different letters and switched from negative to plus also y to x for
the axis.
5. Colin Dockerty Task2 Work flow
Creating a room
I right clicked on room then clicked on create room. I clicked on the settings options and
set the numbers to 1024 and 576 and left the speed at 30 and I named it place.
Then I clicked background option and ticked the first box then clicked colour and change it to blue.
7. Colin Dockerty Task2 Work flow
Then I added my sprite to the back ground so when I test it the sprite will be in the middle of
the screen then I clicked the tick box.
After that I went back to the movement file and added codes to set up the limited areas of the
room.
The codes were like this: ///top
if y<=32
{
y=32
}
But did four copies and switched to the names to the different directions of the room and the
numbers and the axis.
8. Colin Dockerty Task2 Work flow
Creating a scrooling background
When I was creating the background I first clicked on background then edit background secondly
I set the height and width to 1024 and 576 then I got to making the background after I finished
creating the background I clicked the tick button. Now that I finished the background I went back
to the room editing to save the background as the game background after I clicked on to editing
the room I went to the background option I clicked on the little sheet button then I clicked on the
option that said dark area because that’s what I named my background and I also changed the
Hor speed to -6. Finally I clicked the ok button when I had finished changing every detail in the
background.
11. Colin Dockerty Task2 Work flow
When I was creating the thrust sprite I first had to create a new sprite not too big.
After I created the sprite I had to make it as an object as well so I had to code the thrust
as a light particle system and the code went like this.
light1 = part_system_create();
part1 = part_type_create();
part_type_sprite(part1, thrust_spr, false, false, false);
part_type_size(part1, 0.5, 1, -0.1, 0);
part_type_life(part1, 300, 300);
part_type_gravity(part1, random_range(0.5, 2), 180);
part_type_alpha1(part1, random_range(0.1, 0.75));
part_system_depth(light1, 2);
part_particles_create(light1, noeyes_obj.x-18, noeyes_obj.y, part1, 10)