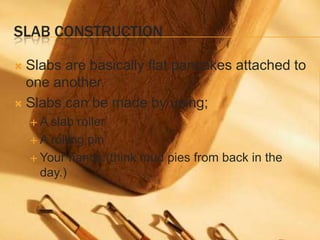
The document describes the process of slab construction in ceramic hand-building. It outlines 5 key steps:
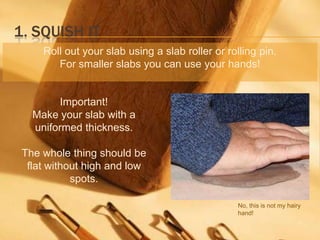
1) Squish it - Roll out the clay slab to a uniform thickness using a roller, pin, or hands.
2) Score and slip it - Score both pieces to be joined and apply slip for adhesion.
3) Snake it - Create a reinforced edge using a coil and tool to ensure no trapped air.
4) Smooth it - Use tools and fingers to smooth edges and remove excess, being careful not to use too much slip.
5) Style it - Add personal touches and details to tell a story or message.