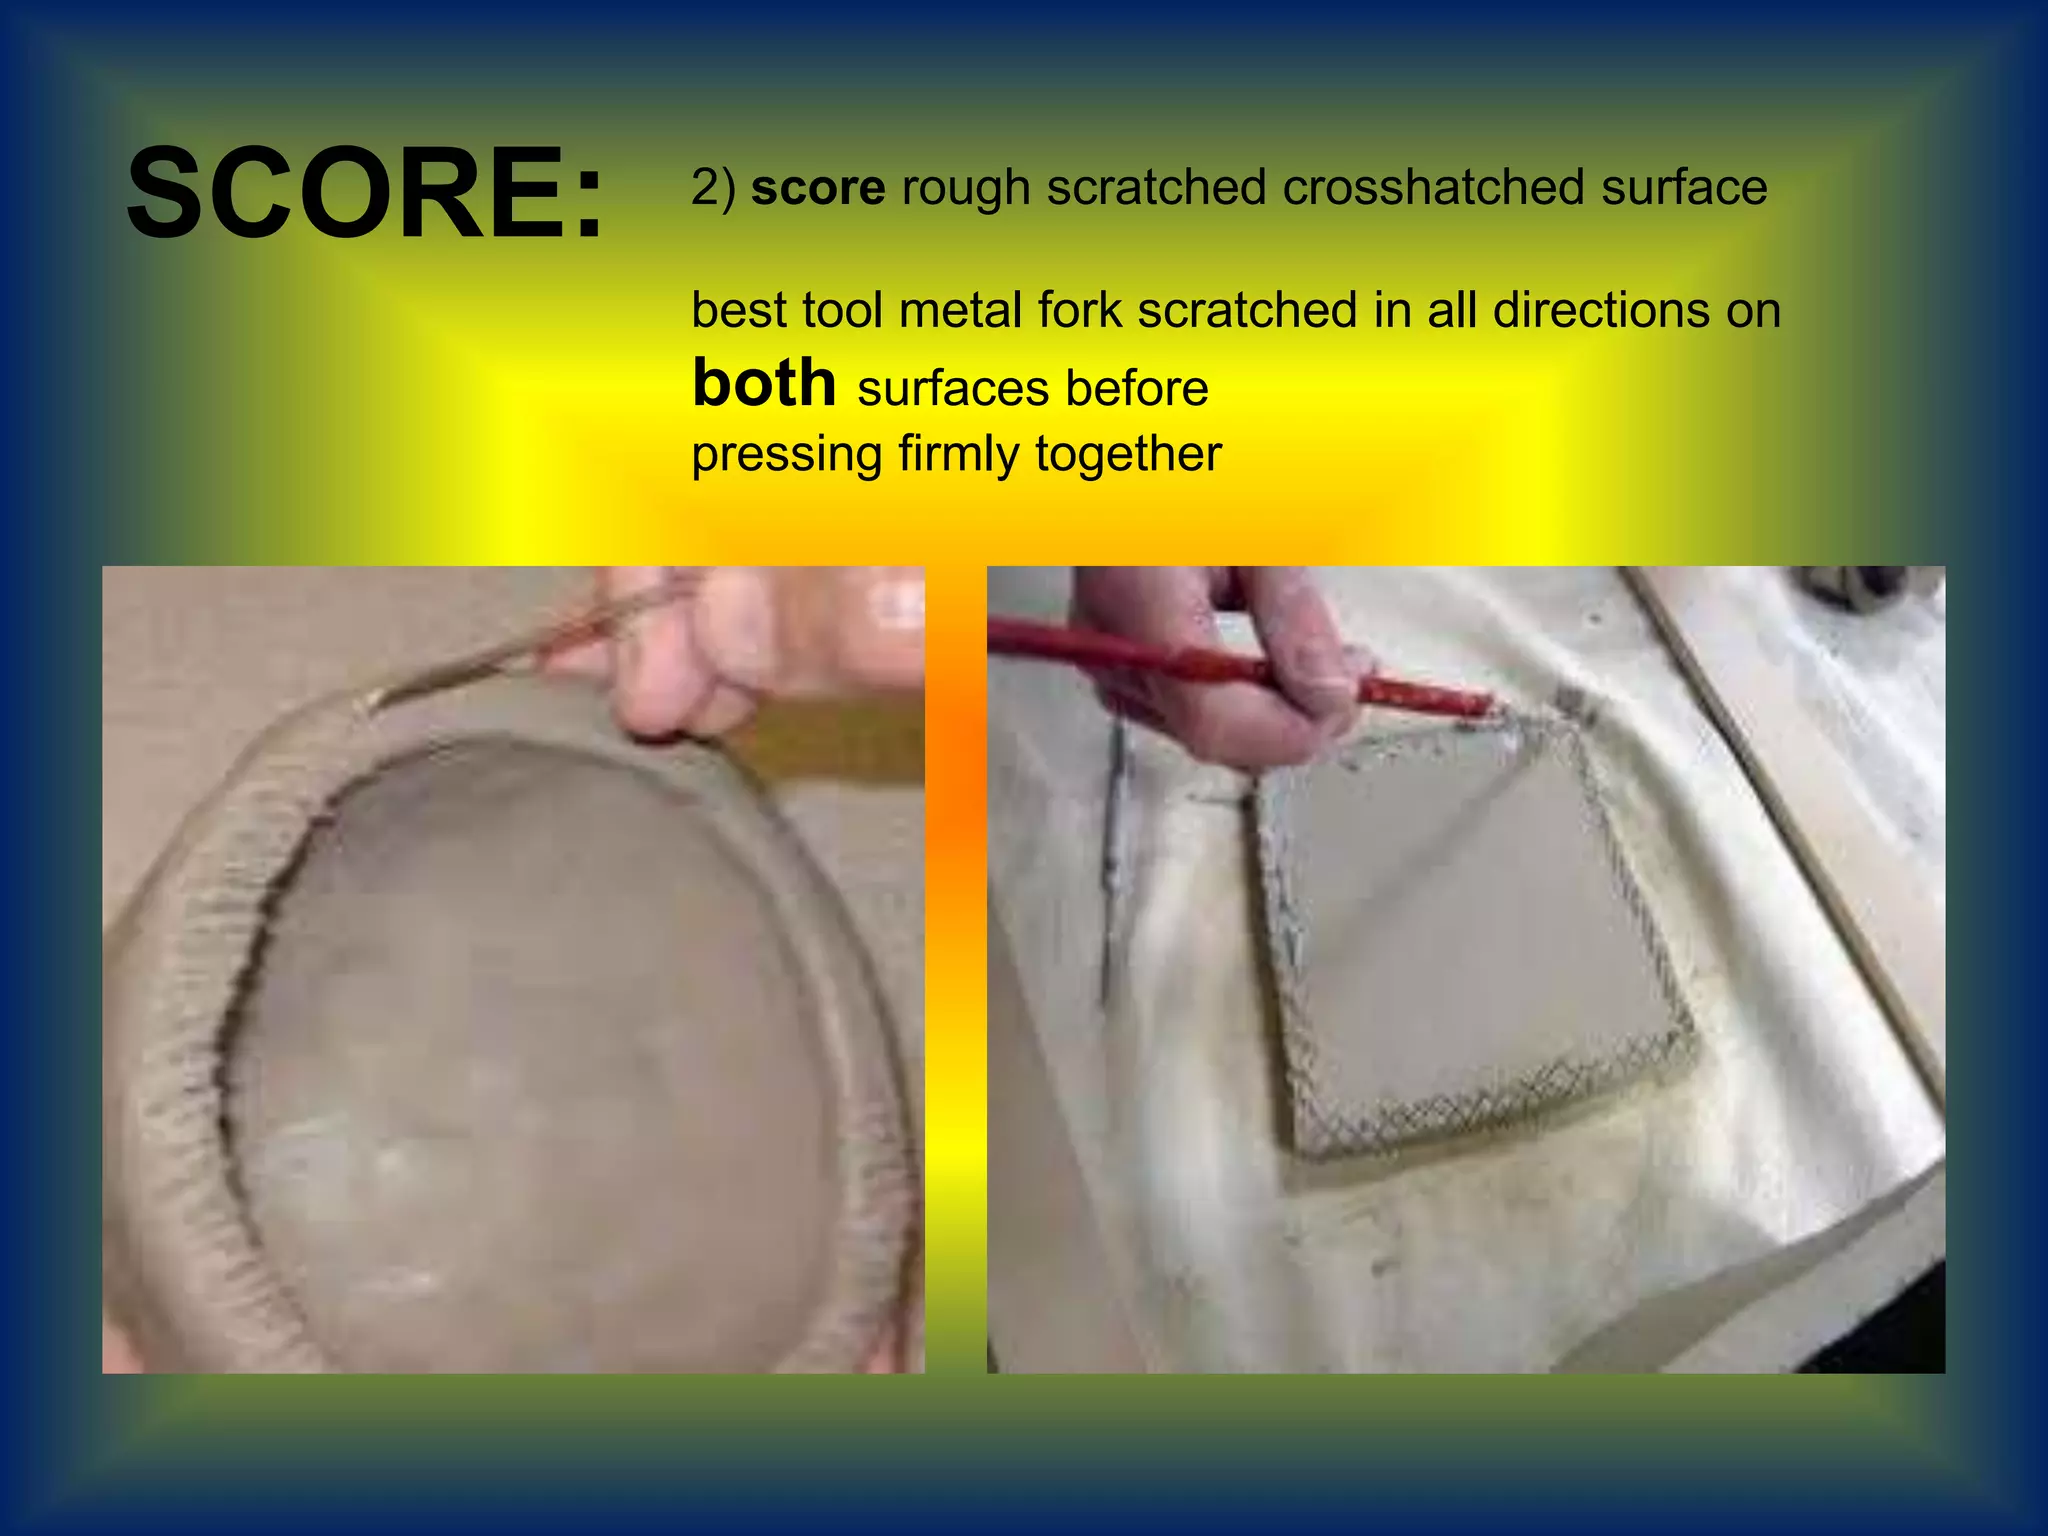
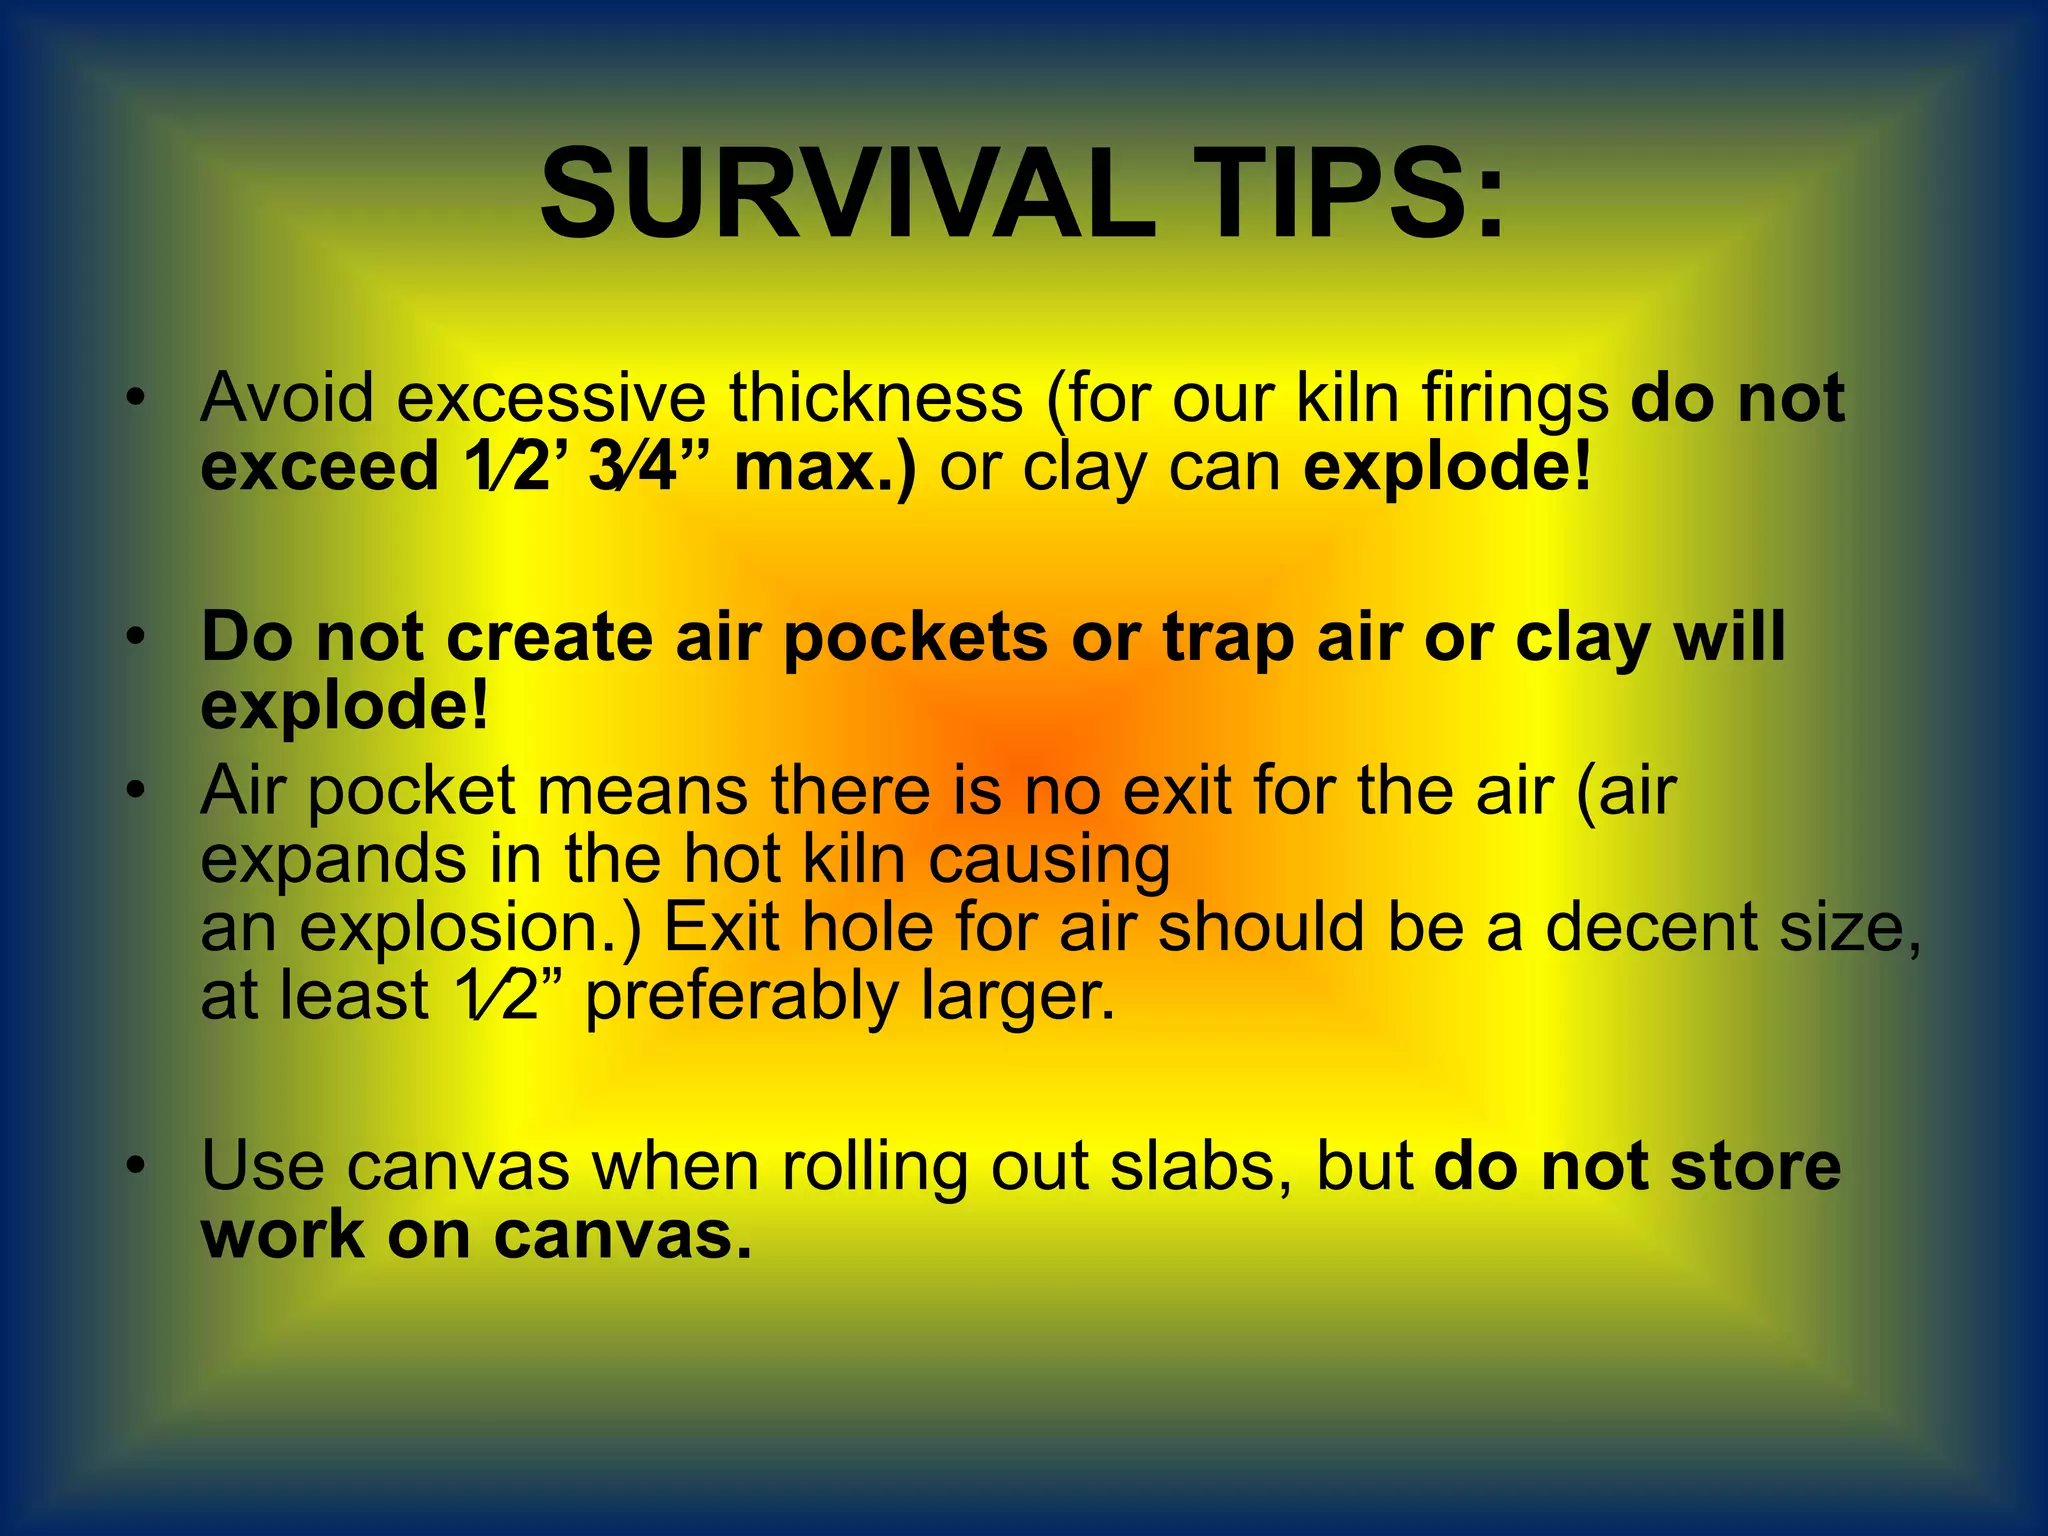
pinch clay squeezed into form, usually between fingers
slab a flat sheet of clay, often rolled with rolling pin, pounded out
with hands or stamped on with feet or made with a slab roller
coil a strand or snake of clay, usually hand rolled or extruded
JOINING TECHNIQUES
proper joining is essential for
connections to survive
● Slip first, then score both surfaces of
wet clay
● press clay together firmly
● then blend clay together very well at
seam, paying special attention to the
ends of seams
● for extra strength reinforce seam with
coil (necessary for boxes and complex
forms)
SLIP: 1) slip liquid clay (thick)
best tool – toothbrush dipped in a small amount of water
rubbed
on the clay surfaces will create a sticky slip, necessary for
adhesion
SCORE: 2) score rough scratched crosshatched surface
best tool metal fork scratched in all directions on
both surfaces before
pressing firmly together
BLEND: 3) blend –smear clay together very well at seam
SURVIVAL TIPS:
• Avoid excessive thickness (for our kiln firings do not
exceed 1⁄2’ 3⁄4” max.) or clay can explode!
• Do not create air pockets or trap air or clay will
explode!
• Air pocket means there is no exit for the air (air
expands in the hot kiln causing
an explosion.) Exit hole for air should be a decent size,
at least 1⁄2” preferably larger.
• Use canvas when rolling out slabs, but do not store
work on canvas.
SURVIVAL TIPS:
• Never store wet clay directly on a wood or plastic board.
• cover board with 12 sheets of newspaper (not more.)
• Keep clay projects wet and extremely well wrapped (double bagged
and tied well) until totally finished (and approved by me.) Dry clay
can not be joined properly and will fall apart later.
• Fire only bone dry work, completely dry with no moisture, or it will
explode!
• Dry work does not feel cool to the touch. Work may look dry but still
be damp.

Survival guide

  • 2.
    pinch clay squeezedinto form, usually between fingers slab a flat sheet of clay, often rolled with rolling pin, pounded out with hands or stamped on with feet or made with a slab roller coil a strand or snake of clay, usually hand rolled or extruded
  • 3.
    JOINING TECHNIQUES proper joiningis essential for connections to survive ● Slip first, then score both surfaces of wet clay ● press clay together firmly ● then blend clay together very well at seam, paying special attention to the ends of seams ● for extra strength reinforce seam with coil (necessary for boxes and complex forms)
  • 4.
    SLIP: 1) slipliquid clay (thick) best tool – toothbrush dipped in a small amount of water rubbed on the clay surfaces will create a sticky slip, necessary for adhesion
  • 5.
    SCORE: 2) scorerough scratched crosshatched surface best tool metal fork scratched in all directions on both surfaces before pressing firmly together
  • 6.
    BLEND: 3) blend–smear clay together very well at seam
  • 7.
    SURVIVAL TIPS: • Avoidexcessive thickness (for our kiln firings do not exceed 1⁄2’ 3⁄4” max.) or clay can explode! • Do not create air pockets or trap air or clay will explode! • Air pocket means there is no exit for the air (air expands in the hot kiln causing an explosion.) Exit hole for air should be a decent size, at least 1⁄2” preferably larger. • Use canvas when rolling out slabs, but do not store work on canvas.
  • 8.
    SURVIVAL TIPS: • Neverstore wet clay directly on a wood or plastic board. • cover board with 12 sheets of newspaper (not more.) • Keep clay projects wet and extremely well wrapped (double bagged and tied well) until totally finished (and approved by me.) Dry clay can not be joined properly and will fall apart later. • Fire only bone dry work, completely dry with no moisture, or it will explode! • Dry work does not feel cool to the touch. Work may look dry but still be damp.