Download as PPS, PPTX

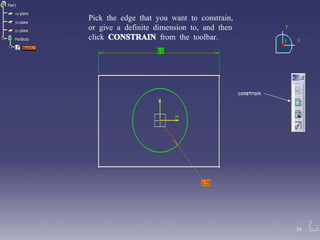
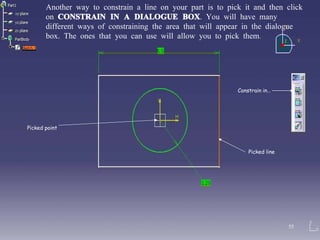
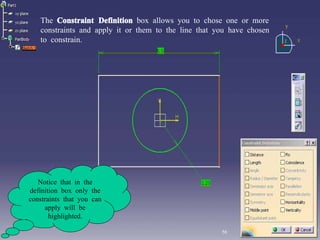
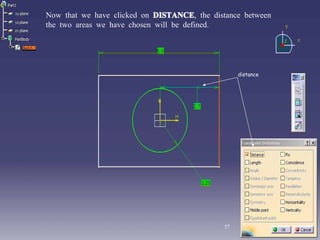
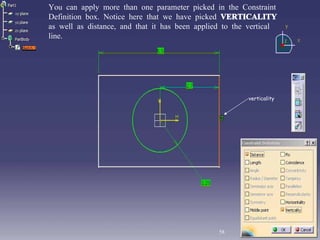
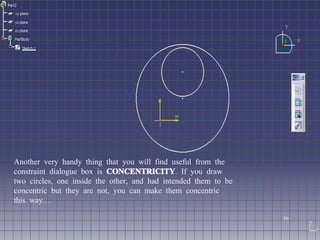

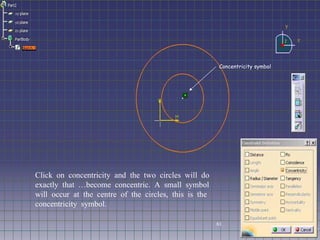
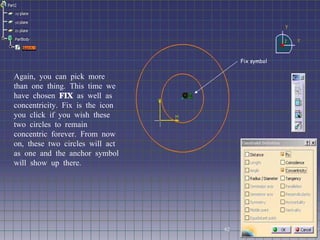
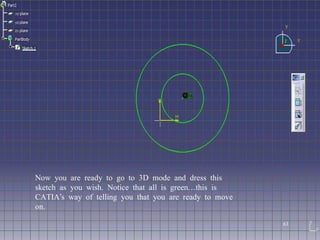

You constrain parts in Sketcher mode to define exact dimensions. You select the edge or area you want to constrain and click the Constrain button to open a dialogue box with constraint options. Common constraints include Distance to define the length between two points, Verticality to define a vertical line, and Concentricity to define two circles as concentric. You can apply multiple constraints at once. Constraining geometry prepares it for use in 3D modeling.


