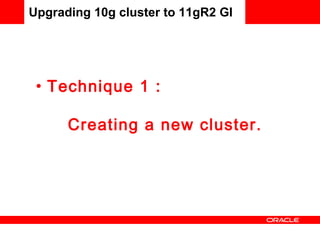
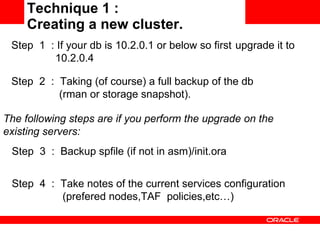
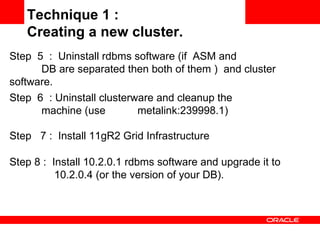
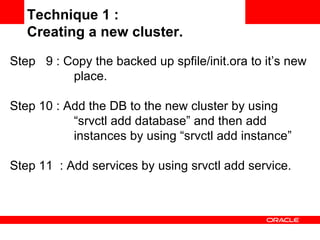
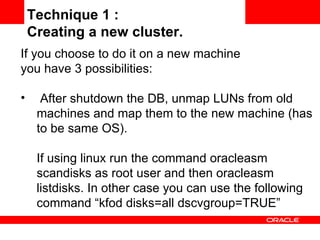
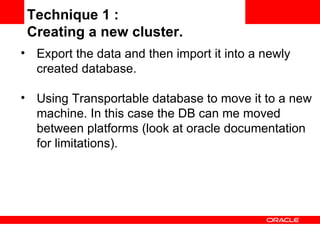
The document discusses two techniques for upgrading a 10g Oracle RAC cluster to 11gR2 grid infrastructure (GI):
1) Creating a new cluster by uninstalling the existing 10g software, installing 11gR2 GI, and migrating the database and services to the new cluster.
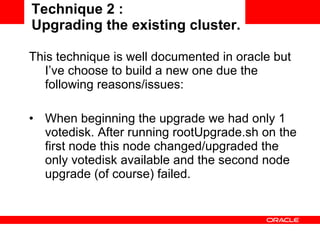
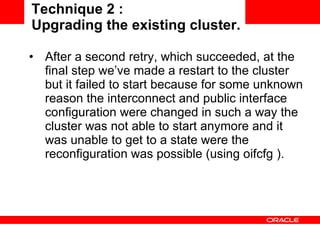
2) Upgrading the existing cluster, but the existing discusses issues encountered with this approach during the rootUpgrade.sh script and cluster restart.
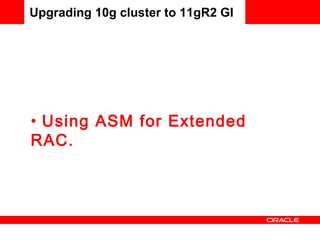
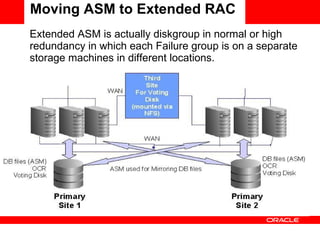
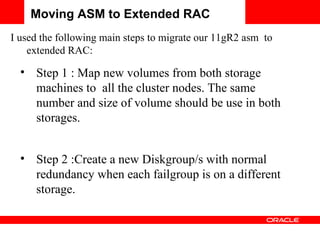
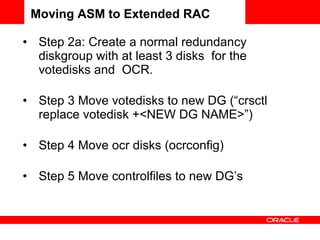
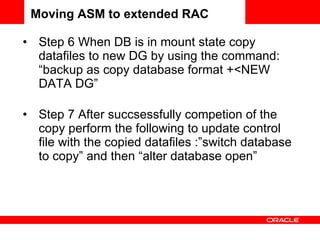
It also summarizes the steps taken to migrate an existing 11gR2 ASM configuration to an extended RAC configuration, distributing the disk groups across two separate storage systems.

![[email_address] Upgrading 10g cluster to 11gR2 GI](https://image.slidesharecdn.com/avi-rac-asm-linux-forum-october-12-2010-ver3-101021025708-phpapp02/85/Avi-Apelbaum-RAC-19-320.jpg)


![Getting Started with Apache Spark: Big Data Made Simple [Free Meetup]](https://cdn.slidesharecdn.com/ss_thumbnails/apachesparkgettingstarted-260203175547-8361bcc3-thumbnail.jpg?width=640&height=640&fit=bounds)


