Download as PDF, PPTX

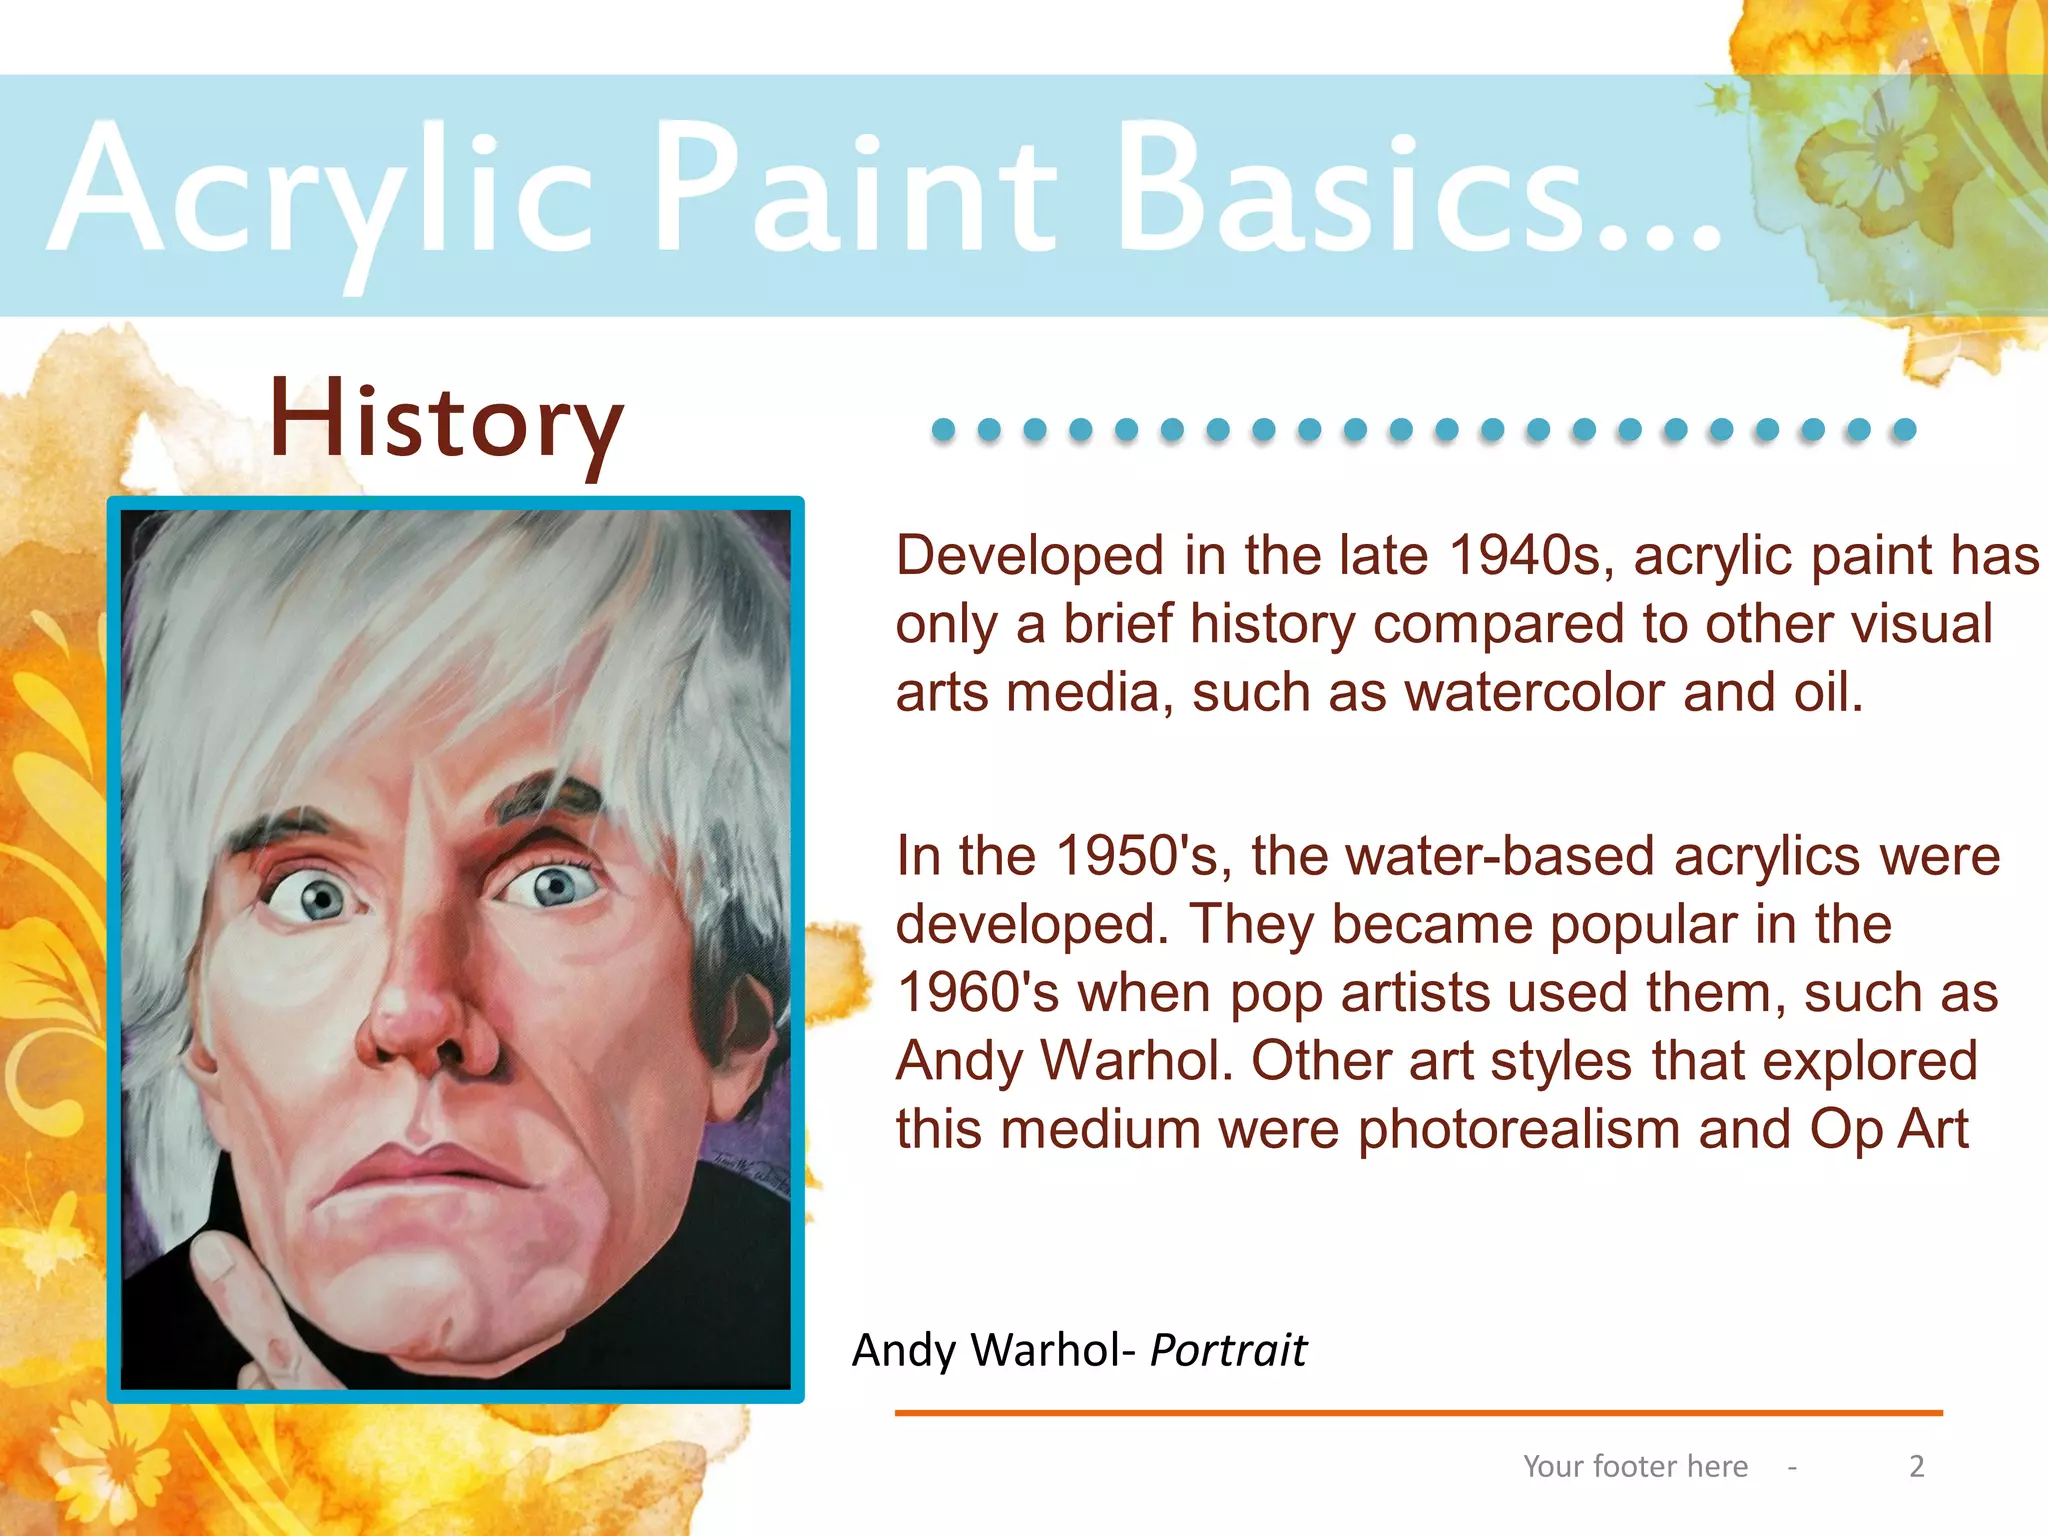


Acrylic paint was developed in the 1940s and gained popularity in the 1960s when used by pop artists like Andy Warhol. Acrylics are water-based, dry quickly, and are easy to use and clean up. They can be applied opaque or transparent. Common acrylic painting techniques include color blocking, wet-on-wet blending, hard edges, glazing, scumbling, impasto, and watercolor effects. Proper brush care involves cleaning immediately after use to prevent dried paint from ruining the brush.