Downloaded 318 times


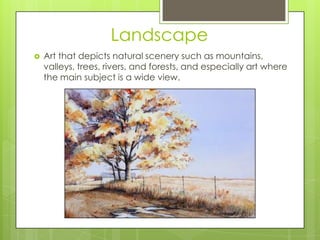
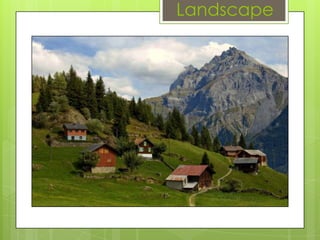
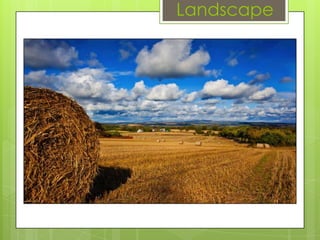
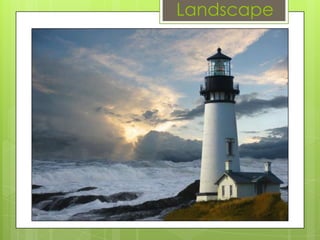

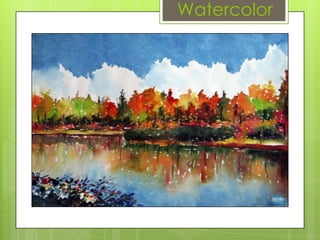
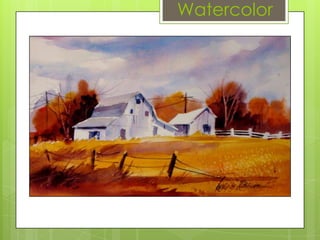
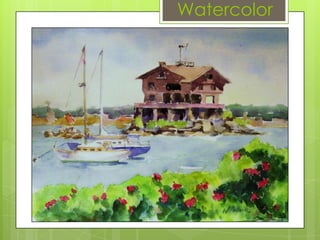
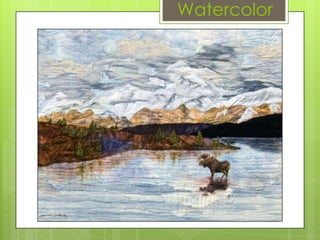
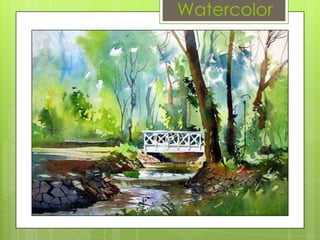
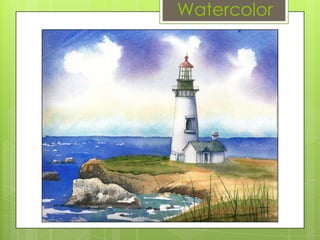
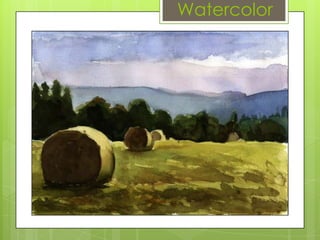
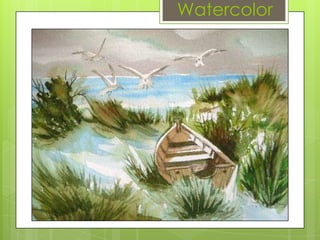
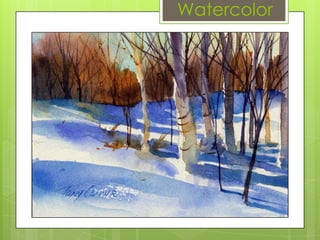
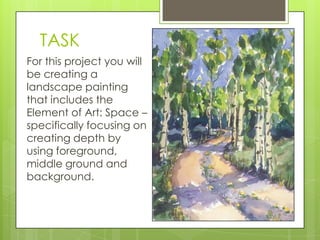
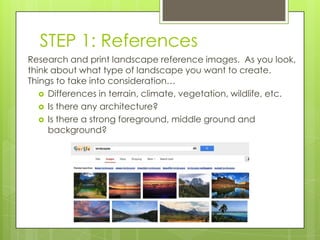
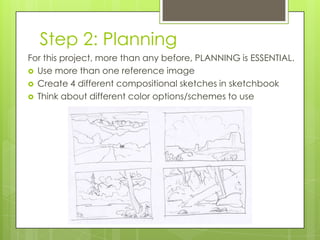
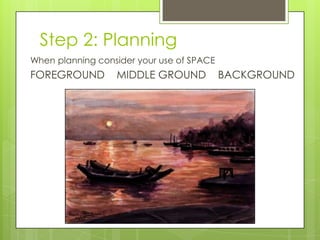
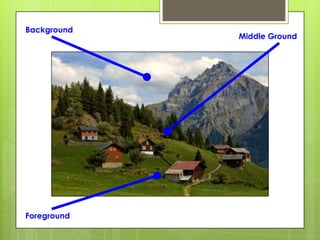

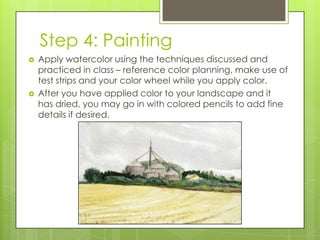


The document provides information on watercolor as an art medium and landscapes as a genre of art. It discusses key aspects of watercolor, including that it uses water-soluble pigments and binders which produce a transparent color. Landscapes are defined as art that depicts natural scenery such as mountains, forests, and rivers on a wide scale. The document then outlines steps for a student art project to create a landscape painting using watercolor, with an emphasis on using techniques like foreground, middle ground and background to create a sense of depth and space.


