This document discusses using Chef to configure multiple WordPress websites on a single server. It introduces the concepts of definitions, data bags, and searching data bags. Definitions are used to abstract the WordPress configuration code. A data bag called "wp-sites" is created containing configuration details for each site. The recipe is updated to loop through the data bag, creating databases, users, and configuring WordPress for each site defined in the data bag. Adding a new site simply requires adding a new data bag item.

![define :wordpress_site, :path => "/var/www/phpapp", :database => "phpapp", :db_username => "phpapp", :
db_password => "phpapp", :template => "site.conf.erb" do
wordpress_latest = Chef::Config[:file_cache_path] + '/wordpress-latest.tar.gz'
remote_file wordpress_latest do
source 'http://wordpress.org/latest.tar.gz'
mode 0644
end
directory params[:path] do
owner 'root'
group 'root'
mode 0755
action :create
recursive true
end
execute 'untar-wordpress' do
cwd params[:path]
command 'tar --strip-components 1 -xzf ' + wordpress_latest
creates params[:path] + '/wp-settings.php'
end
wp_secrets = Chef::Config[:file_cache_path] + '/wp-secrets.php'
remote_file wp_secrets do
source 'https://api.wordpress.org/secret-key/1.1/salt/'
action :create_if_missing
mode 0644
end
salt_data = ''
ruby_block 'fetch-salt-data' do
block do
salt_data = File.read(wp_secrets)
end
action :create
end
template params[:path] + '/wp-config.php' do
source 'wp-config.php.erb'
mode 0755
owner 'root'
group 'root'
variables(
:database => params[:database],
:user => params[:db_username],
More than one website - Getting started with Chef 2 of 11
2 03/17/2015 10:41 PM](https://image.slidesharecdn.com/4-chef-databag-150514150533-lva1-app6891/85/Cloud-Automation-with-Opscode-Chef-2-320.jpg)
![:password => params[:db_password],
:wp_secrets => salt_data)
end
# Due to a Chef quirk we can't pass our params to another definition
docroot = params[:path]
server_name = params[:name]
web_app server_name do
template "site.conf.erb"
docroot docroot
server_name server_name
end
end
You might recogonise the above as slightly modified code from our recipe from the first chapter. You'll see
we've replaced various node attributes with params["param"]. Those parameters are defined and named in
the define line.
We haven't included the database and database access resources in our definition. That's because setting up
a database might not necessarily be the job of the Chef recipe creating the website configuration.
Add the code above and save the file. We'll now modify our recipe to use the code.
Open cookbooks/phpapp/recipes/default.rb.
More than one website - Getting started with Chef 3 of 11
3 03/17/2015 10:41 PM](https://image.slidesharecdn.com/4-chef-databag-150514150533-lva1-app6891/85/Cloud-Automation-with-Opscode-Chef-3-320.jpg)
![#
# Cookbook Name:: phpapp
# Recipe:: default
#
# Copyright 2013, YOUR_COMPANY_NAME
#
# All rights reserved - Do Not Redistribute
#
include_recipe "apache2"
include_recipe "mysql::client"
include_recipe "mysql::server"
include_recipe "php"
include_recipe "php::module_mysql"
include_recipe "apache2::mod_php5"
include_recipe "mysql::ruby"
apache_site "default" do
enable false
end
mysql_database node['phpapp']['database'] do
connection ({:host => 'localhost', :username => 'root', :password => node['mysql']['server_root_pass
word']})
action :create
end
mysql_database_user node['phpapp']['db_username'] do
connection ({:host => 'localhost', :username => 'root', :password => node['mysql']['server_root_pass
word']})
password node['phpapp']['db_password']
database_name node['phpapp']['database']
privileges [:select,:update,:insert,:create,:delete]
action :grant
end
Remove the code until your recipe looks like above or just replace it all with what's above.
Add the following code.
wordpress_site node["phpapp"]["server_name"] do
path "/var/www/phpapp"
database node["phpapp"]["database"]
db_username node["phpapp"]["db_username"]
db_password node["phpapp"]["db_password"]
template "site.conf.erb"
end
Now save the file. Lets upload our edited cookbook to the Chef Server.
More than one website - Getting started with Chef 4 of 11
4 03/17/2015 10:41 PM](https://image.slidesharecdn.com/4-chef-databag-150514150533-lva1-app6891/85/Cloud-Automation-with-Opscode-Chef-4-320.jpg)
![Bootstrap via SSH Brightbox Rackspace Amazon
$ knife cookbook upload phpapp
Uploading phpapp [0.1.0]
Uploaded 1 cookbook.
Let's create a new node. Use knife to bootstrap a node or create a cloud instance. A couple of example
commands are listed below but refer to the previous chapter for more details.
$ knife bootstrap --run-list "role[phpapp]" --sudo hostname
Replace hostname with the name or IP of the machine.
Once chef-client on the node has completed, confirm your cookbook still works by visiting the IP or
hostname of the machine. You should see the WordPress installation page.
More than one WordPress site
Our phpapp cookbook is all very well but what if we want host more than one WordPress site on our web
server? What if we want to add new sites in the future without changing our cookbook? We need somewhere
to store this data somewhere and data bags (http://docs.opscode.com/essentials_data_bags.html) are ideal.
Data bags
A data bag is a collection of bits of JSON called data bag items, indexed by an ID, that Chef allows us to use
and search in our recipes. Let's use knife to create our data bag.
Return to your chef-repo from the second chapter.
Type the following on your workstation to create a data bag called wp-sites.
$ knife data bag create wp-sites
Created data_bag[wp-sites]
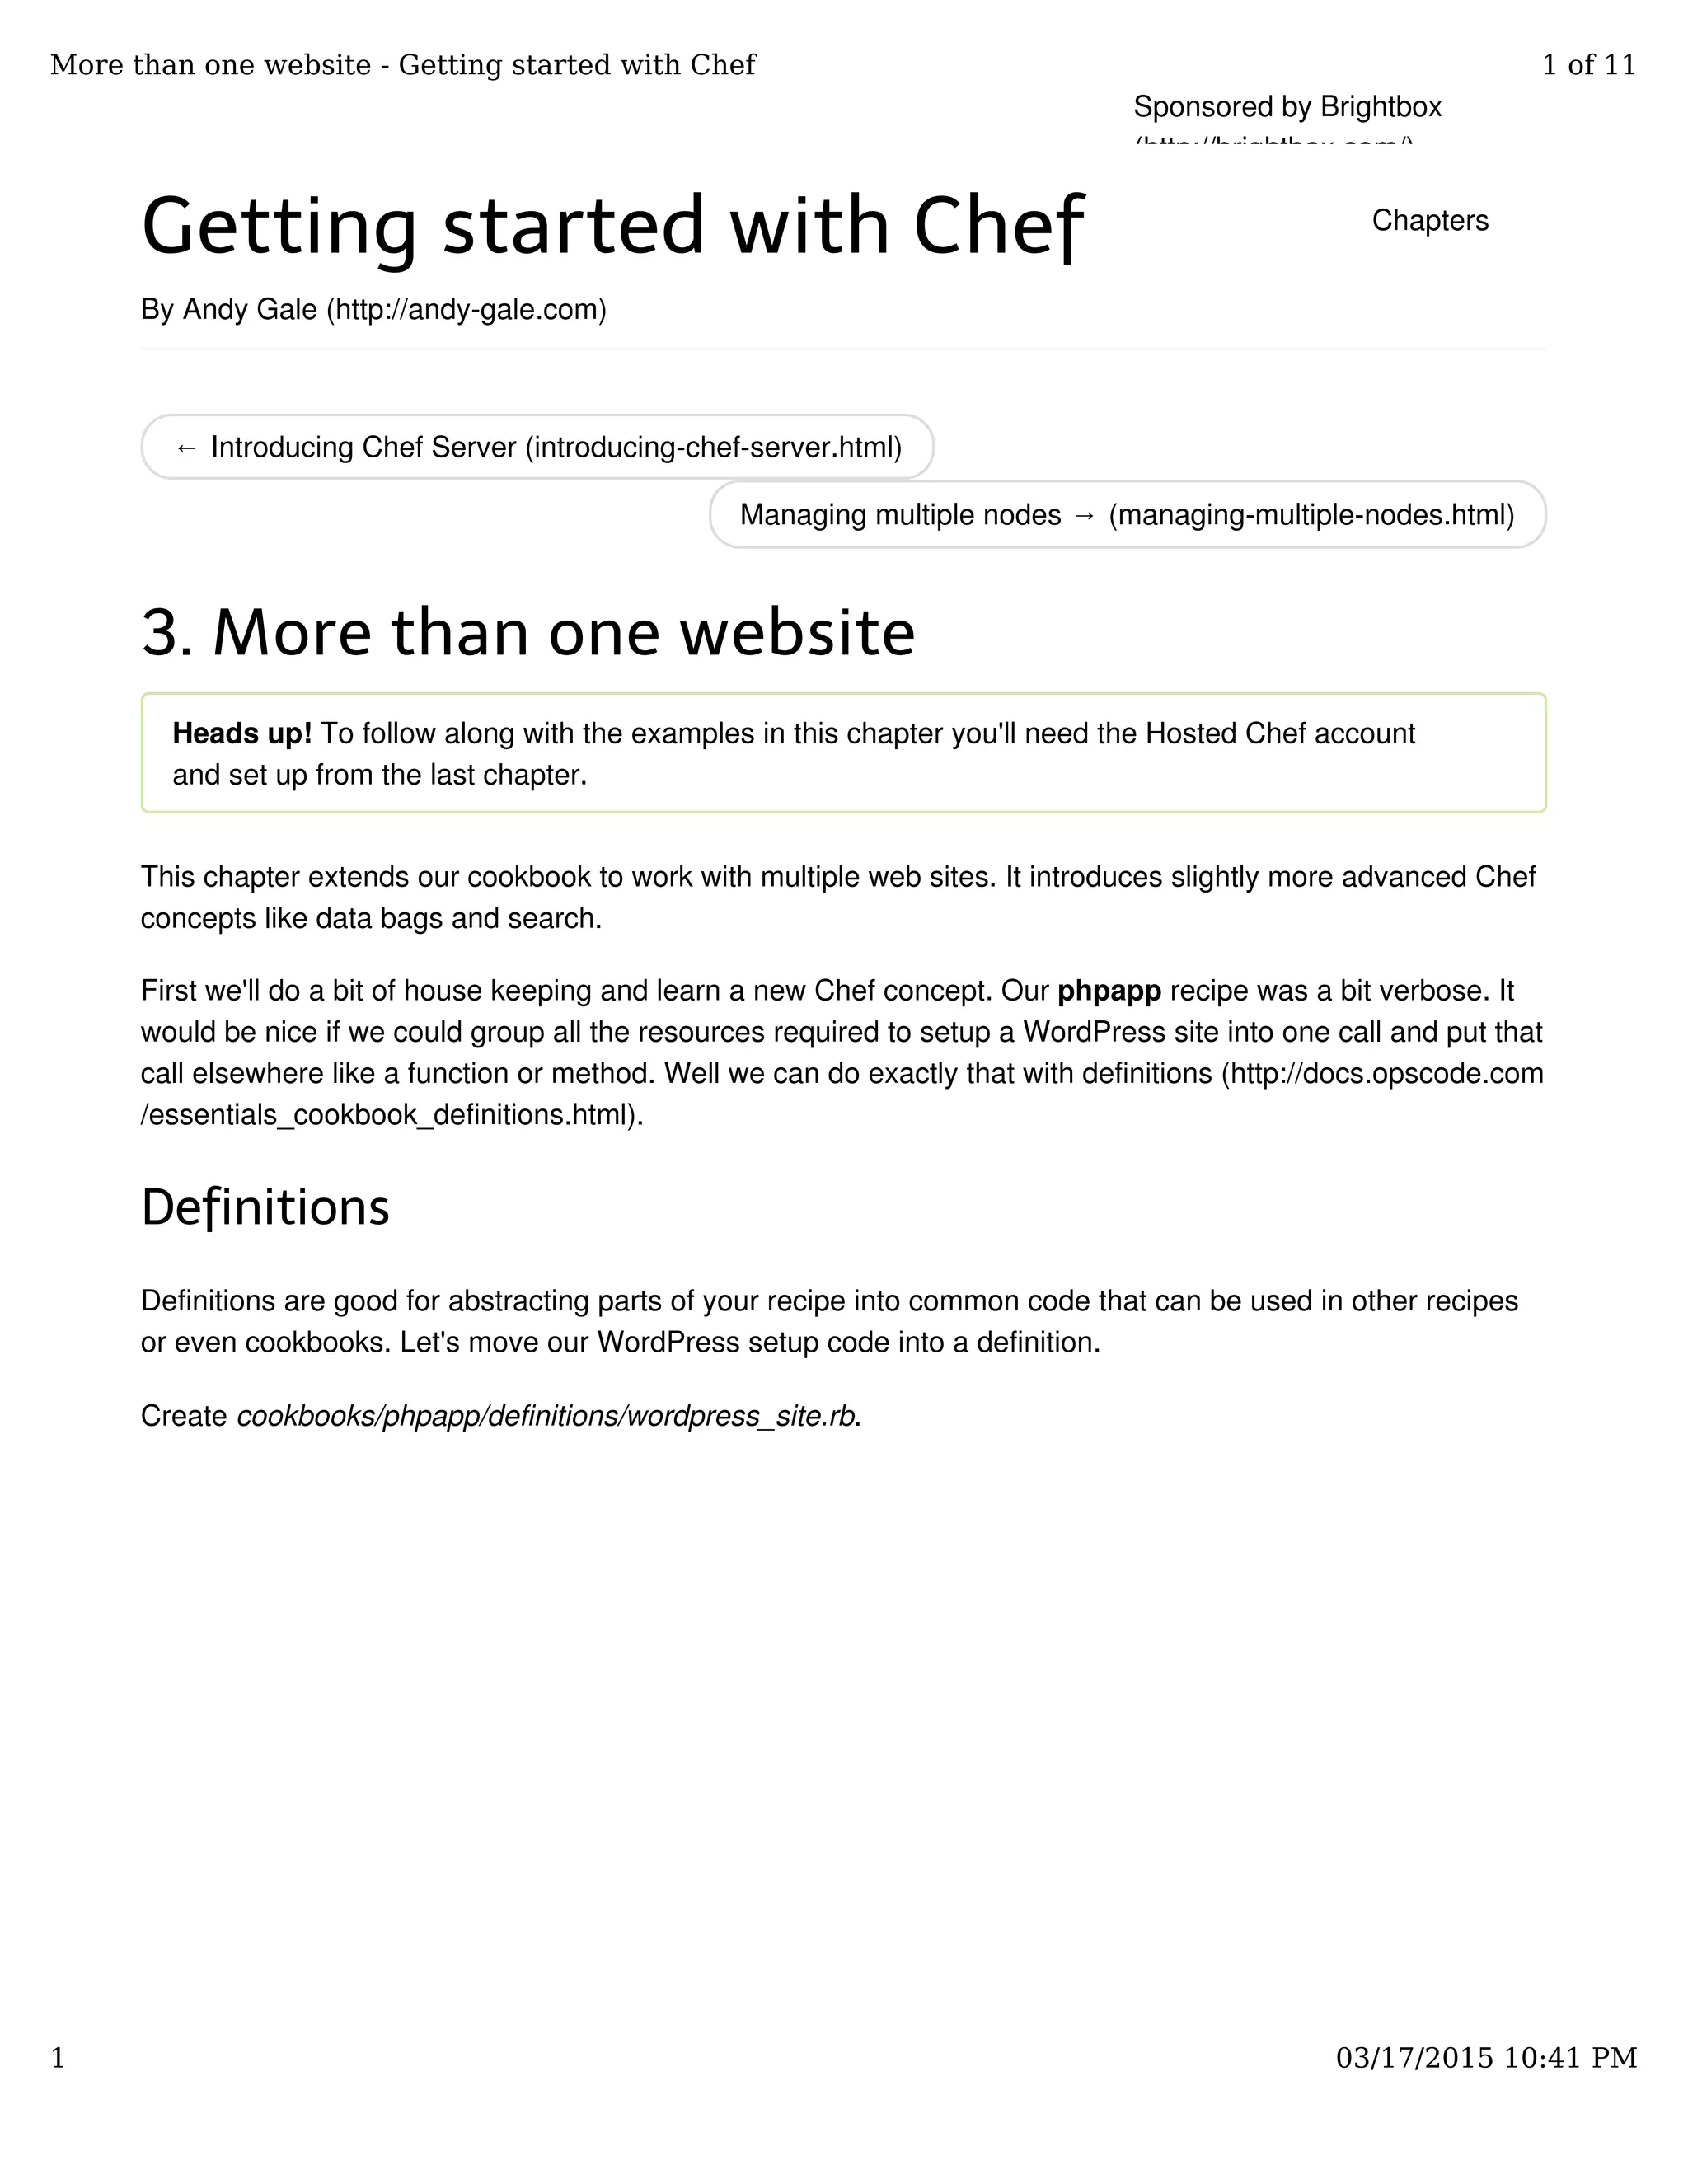
We'll call our site hosts website1.example.com and website2.example.com. Imaginative I know. Let's
create our first website as the data bag item website1.
$ knife data bag create wp-sites website1
You may receive the following error if you do not have an EDITOR environment variable set.
ERROR: RuntimeError: Please set EDITOR environment variable
You can resolve this quickly with the --editor option. e.g. --editor vi or --editor nano etc.
Now we will add our per site configuration as JSON attributes. As well as a different hostname for each site,
More than one website - Getting started with Chef 5 of 11
5 03/17/2015 10:41 PM](https://image.slidesharecdn.com/4-chef-databag-150514150533-lva1-app6891/85/Cloud-Automation-with-Opscode-Chef-5-320.jpg)
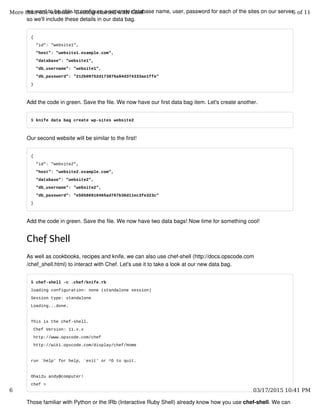
![just type cookbook code in and see what happens! Useful for experimenting or debugging.
Let's get our data bag from the Chef Server. From inside chef-shell.
chef > databags('wp-sites').list
=> [data_bag_item["wp-sites", "website2", {"id"=>"website2", "host"=>"website2.example.com", "databas
e"=>"website2", "db_username"=>"website2", "db_password"=>"e50586910465ad767b36d11ec3fe323c"}], data_b
ag_item["wp-sites", "website1", {"id"=>"website1", "host"=>"website1.example.com", "database"=>"websit
e1", "db_username"=>"website1", "db_password"=>"212b09752d173876a84d374333ae1ffe"}]]
We can see our entire data bag is returned. Let's find our which data bag item contains the host
"website2.example.com".
chef > databags('wp-sites').search "host:website2.example.com"
=> [data_bag_item["wp-sites", "website2", {"id"=>"website2", "host"=>"website2.example.com", "databas
e"=>"website2", "db_username"=>"website2", "db_password"=>"e50586910465ad767b36d11ec3fe323c"}]]
You can see one data bag item is returned.
We'll come back to chef-shell later. Press Ctrl-D to quit.
Using data bags in your recipes
Load cookbooks/phpapp/recipes/default.rb in your text editor. Locate the wordpress_site definition we
created earlier. Replace it and the mysql_database and mysql_database_user resource calls with the
following code.
More than one website - Getting started with Chef 7 of 11
7 03/17/2015 10:41 PM](https://image.slidesharecdn.com/4-chef-databag-150514150533-lva1-app6891/85/Cloud-Automation-with-Opscode-Chef-7-320.jpg)
![sites = data_bag("wp-sites")
sites.each do |site|
opts = data_bag_item("wp-sites", site)
mysql_database opts["database"] do
connection ({:host => 'localhost', :username => 'root', :password => node['mysql']['server_root_pa
ssword']})
action :create
end
mysql_database_user opts["db_username"] do
connection ({:host => 'localhost', :username => 'root', :password => node['mysql']['server_root_pa
ssword']})
password opts["db_password"]
database_name opts["database"]
privileges [:select,:update,:insert,:create,:delete]
action :grant
end
wordpress_site opts["host"] do
path "/var/www/" + opts["host"]
database opts["database"]
db_username opts["db_username"]
db_password opts["db_password"]
template "site.conf.erb"
end
end
We'll explain the key parts of that now.
First we retrieve a list of items in our data bag.
sites = data_bag("wp-sites")
We then loop through that list of items (which is called iterating).
sites.each do |site|
We get the contents of the data bag we are looking at and store it in opts.
opts = data_bag_item("wp-sites", site)
We then pass the values in opts to our resources and our wordpress_site definition.
Save the file and let's try this out. Upload our cookbook to Hosted Chef with knife.
More than one website - Getting started with Chef 8 of 11
8 03/17/2015 10:41 PM](https://image.slidesharecdn.com/4-chef-databag-150514150533-lva1-app6891/85/Cloud-Automation-with-Opscode-Chef-8-320.jpg)
![$ knife cookbook upload phpapp
Uploading phpapp [0.1.0]
Uploaded 1 cookbook.
SSH to the box we created earlier on. Run chef-client as root.
# chef-client
..
Chef Client finished, 10 resources updated
We now have two websites.
To test if that's worked, create two hosts file entries. One for website1.example.com and one for
website2.example.com.
Rackspace have a handy guide (http://www.rackspace.com/knowledge_center/article/how-do-i-modify-
my-hosts-file) if you don't know how to do it for your workstation.
Visit website1.example.com (http://website1.example.com) and website2.example.com
(http://website2.example.com). Fill in the WordPress installation page for each one (giving them a different
Site Title) then visit the two different sites. You'll see they are different sites. So that means we can now run
multiple websites on our Chef configured server.
Now adding a new site to our web server is easy. Let's create website3. All we need to do is create a new
data bag item. Back on our workstation run the following command.
$ knife data bag create wp-sites website3
Add the following code in green then save the file.
{
"id": "website3",
"host": "website3.example.com",
"database": "website3",
"db_username": "website3",
"db_password": "b96b1ae6deb7da0e042de904cf0ba70d"
}
SSH back to the box running our web server. Re-run chef-client.
# chef-client
..
Chef Client finished, 14 resources updated
Create a hosts entry for website3.example.com on your workstation. Visit website3.example.com
(http://website3.example.com). You'll get another WordPress installation page. You can create as many
WordPress sites as you like!
More than one website - Getting started with Chef 9 of 11
9 03/17/2015 10:41 PM](https://image.slidesharecdn.com/4-chef-databag-150514150533-lva1-app6891/85/Cloud-Automation-with-Opscode-Chef-9-320.jpg)


](https://cdn.slidesharecdn.com/ss_thumbnails/orderofpythagorans11-110821004124-phpapp02-thumbnail.jpg?width=640&height=640&fit=bounds)


![Getting Started with Apache Spark: Big Data Made Simple [Free Meetup]](https://cdn.slidesharecdn.com/ss_thumbnails/apachesparkgettingstarted-260203175547-8361bcc3-thumbnail.jpg?width=640&height=640&fit=bounds)


