Download to read offline
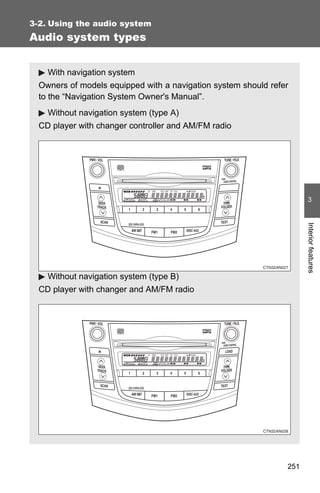

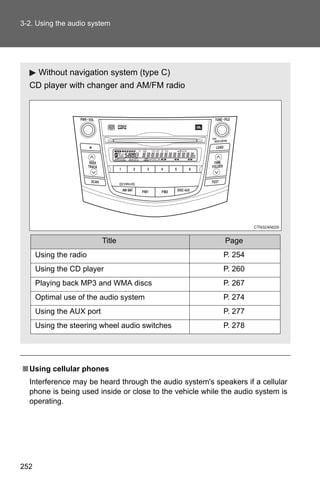
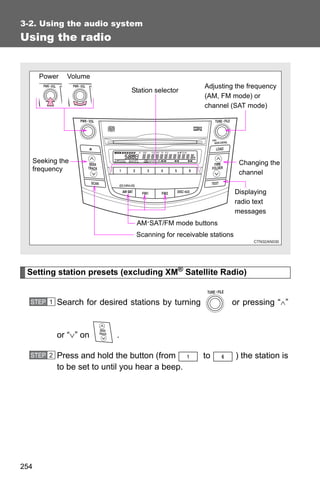


The document provides detailed instructions on utilizing various audio systems in vehicles, specifically focusing on navigation-equipped models and different CD player types. It covers essential features such as using the radio, playing CDs and MP3/WMA discs, along with cautionary notes on potential issues. Additionally, it includes troubleshooting tips for XM® satellite radio and guidelines for preserving audio equipment functionality.


