Download as PDF, PPTX


![A Guide to the GYN Exam
CLINICAL SKILLS USA, Inc.
www.clinicalskillsusa.com
GYN Exam Documentation
Subjective: What the patient tells you.
Genitourinary: Dysuria, frequency, urgency, UTIs, hematuria, proteinuria, nocturia (>2), nephrolithiasis, incontinence (type).
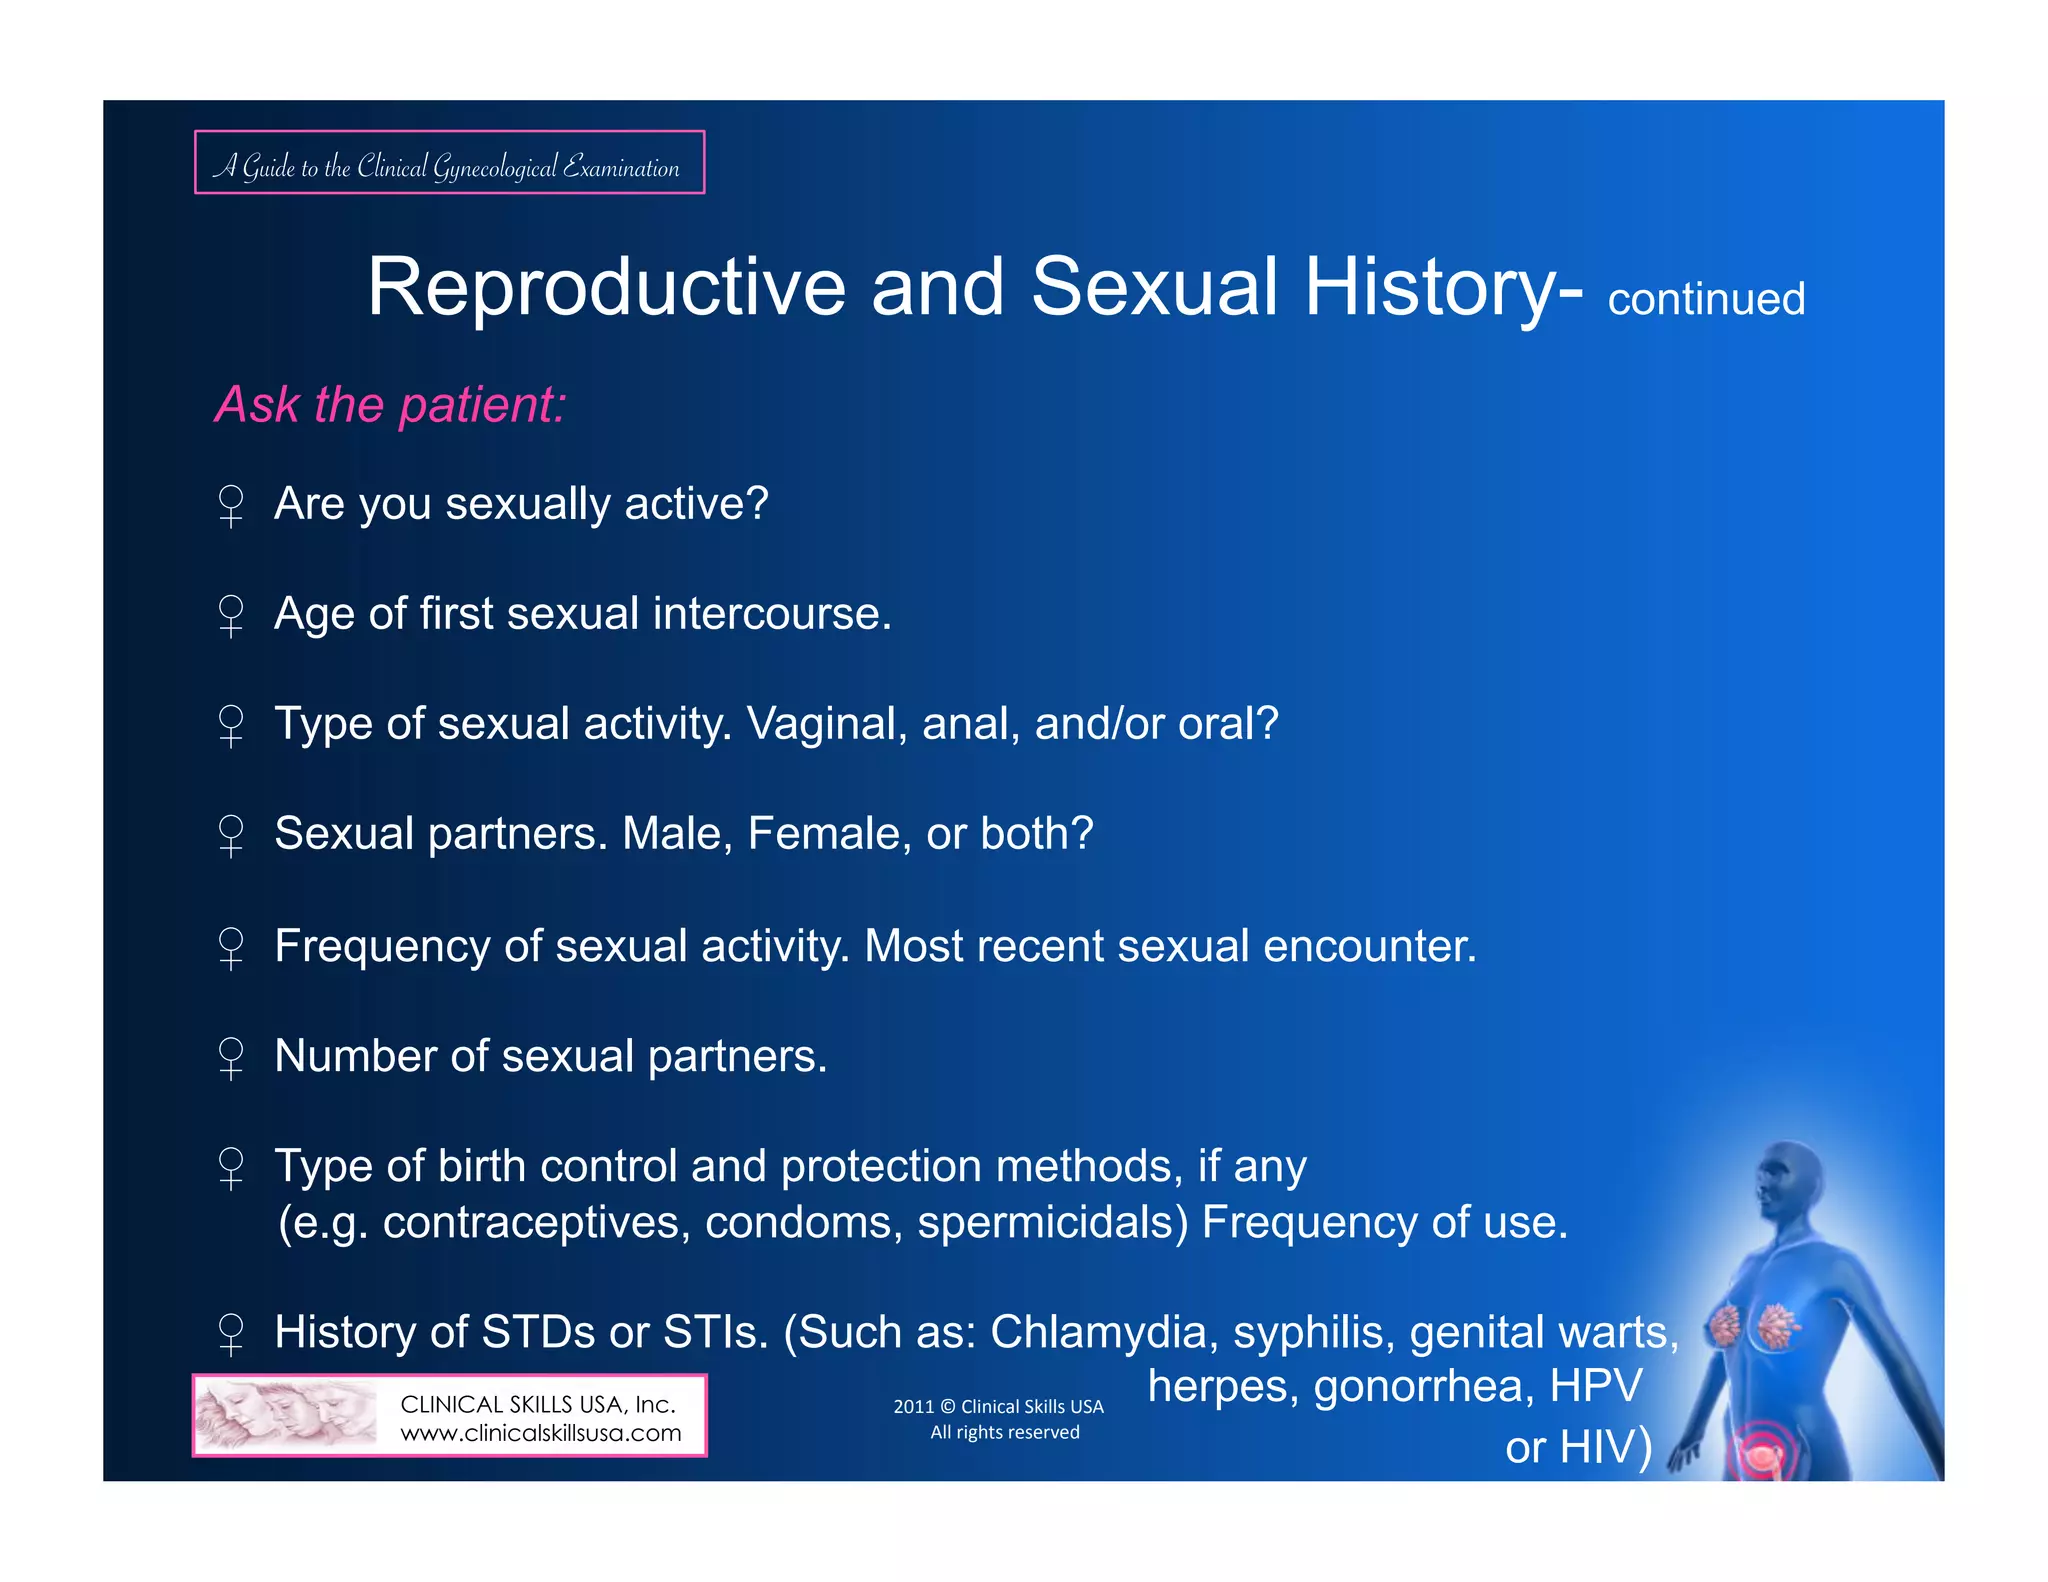
Urethral d/c, Sexual: STIs (type, tx), # of partners in lifetime, risky sex, recent change in sexual partner(s); infertility.
Vaccinations against Hepatitis A&B, HPV.
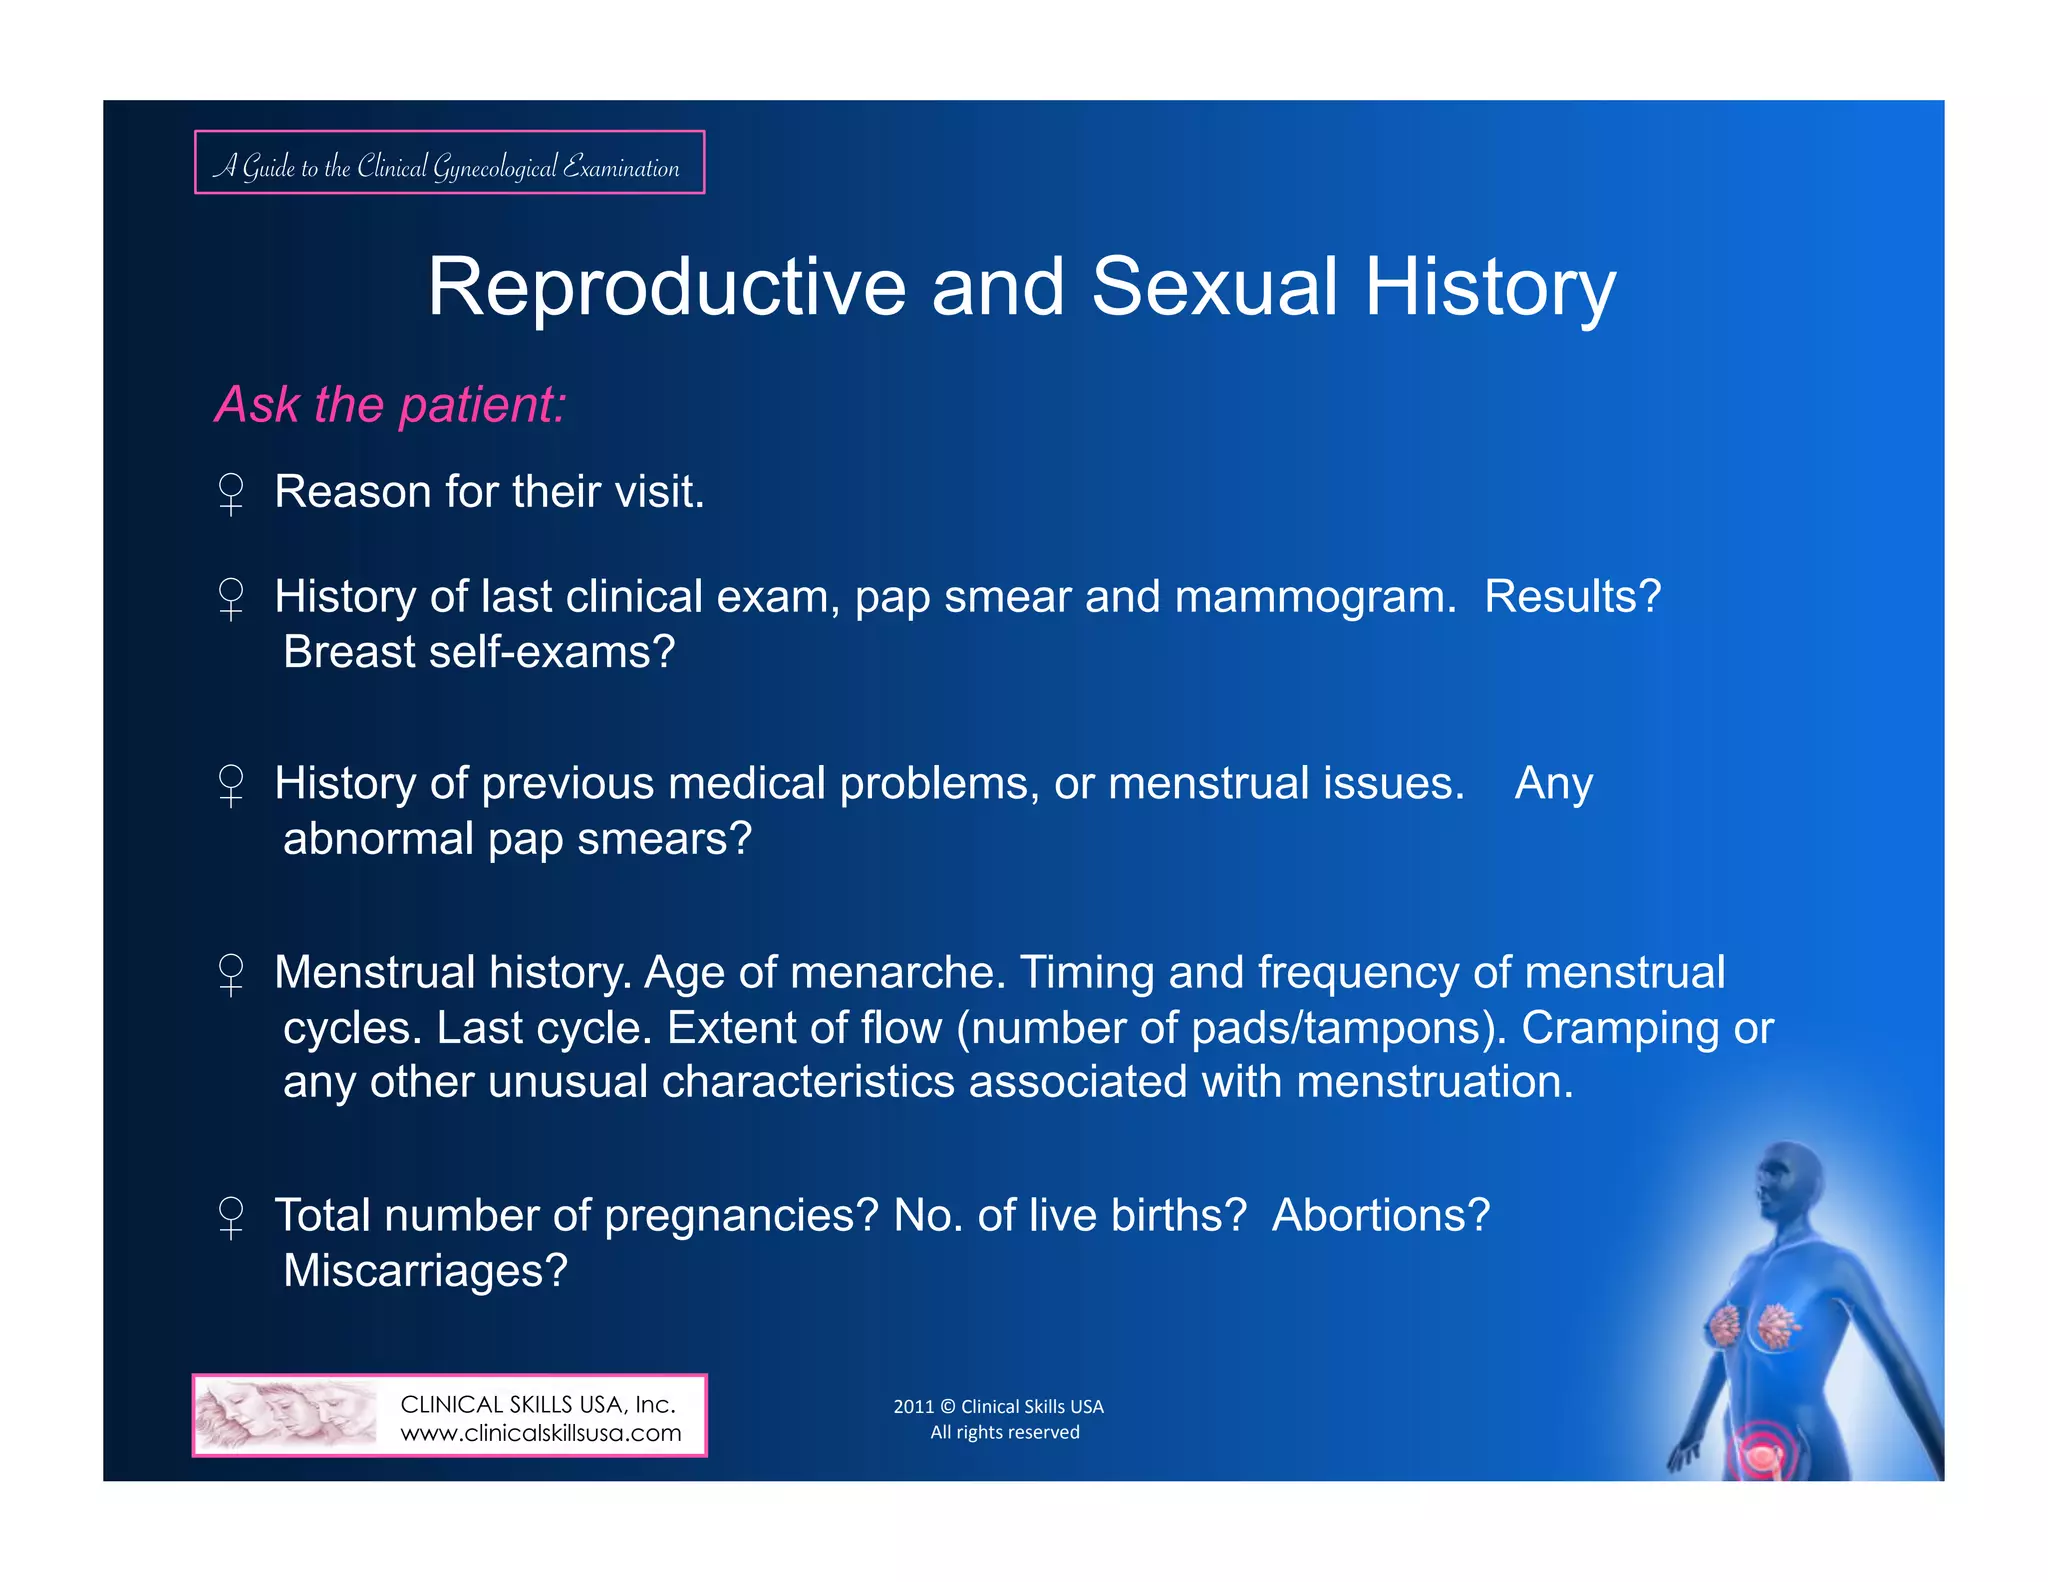
Gynecologic Hx: Menarche (age); LMP, Menses: Interval (regular or irregular), duration, flow, pain, cramping, management;
(i.e., q 28 x 5, heavy flow x 2, severe cramping/NSAIDs); last gyn exam/cytology (pap) results and HPV test results, any
abnormal results/treatments, contraceptive hx; gyn diagnoses, gyn surgery, cysto/rectocele, STIs (type/tx); vaginitis (type/tx),
menopause; dyspareunia, ability to achieve orgasm,
OB Hx: Gravida//Parity/Abortions [elective, spontaneous]/# living children; pregnancy complication (C-sections, preterm labor,
GDM, PIH). List each pregnancy and outcome; gestational age of each infant, birth weight, type of delivery (vaginal vs. C-
section [indication for]); postpartum complications (eclampsia, hemorrhage); plans for future pregnancies.
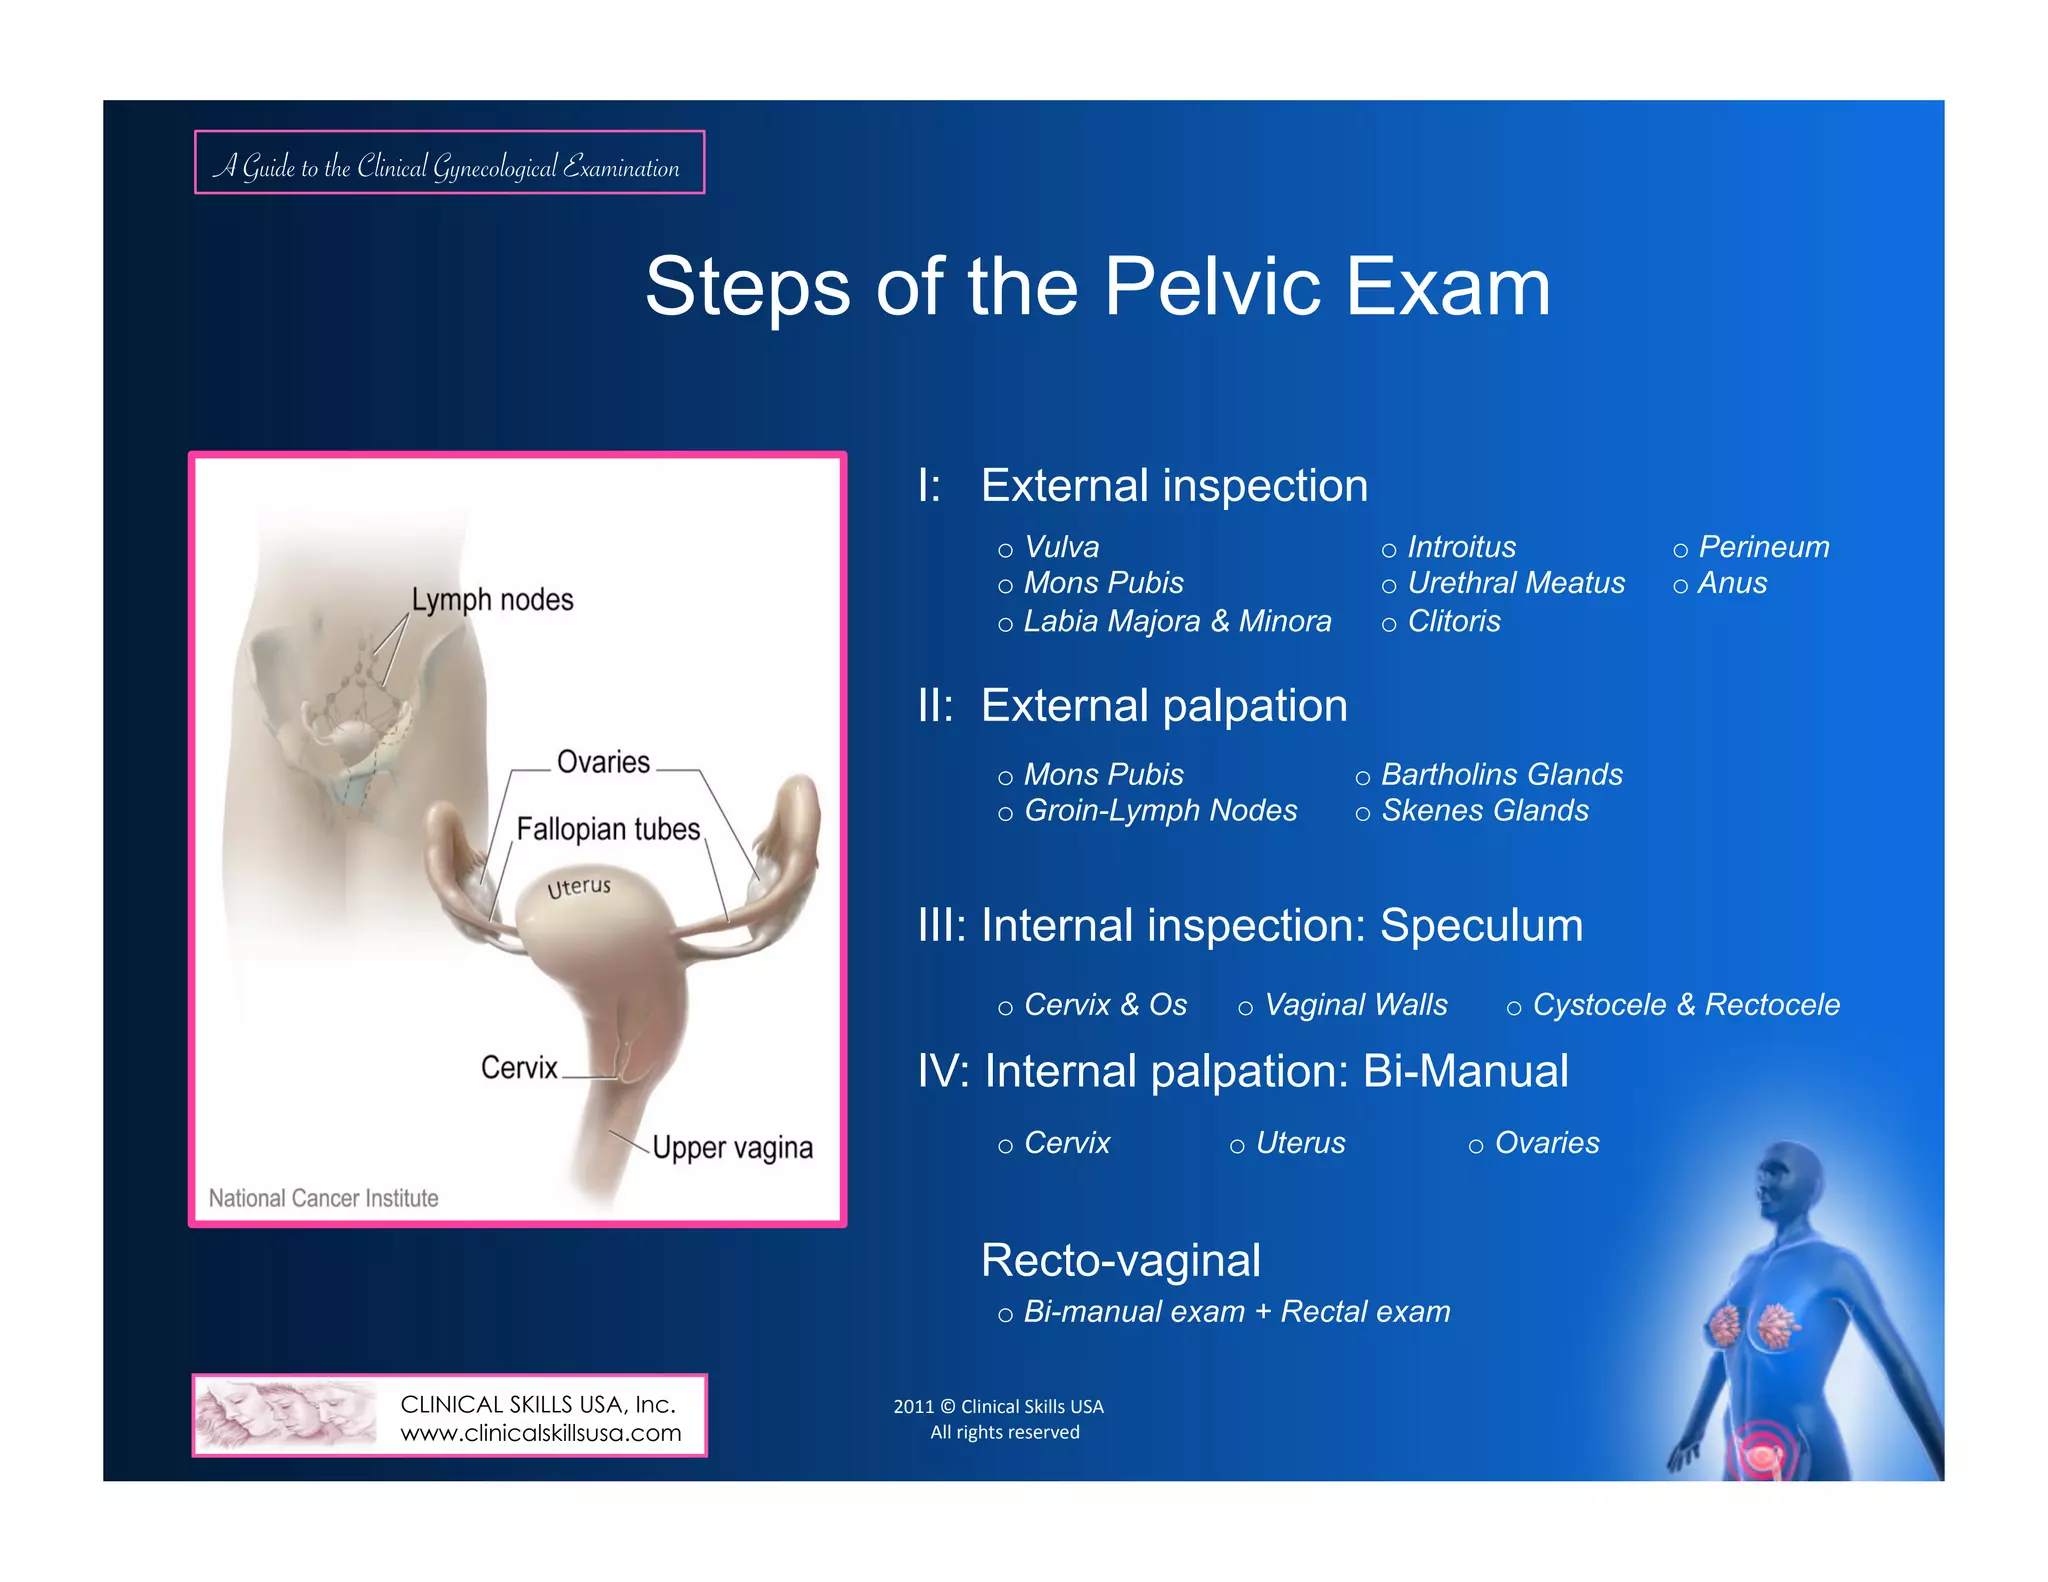
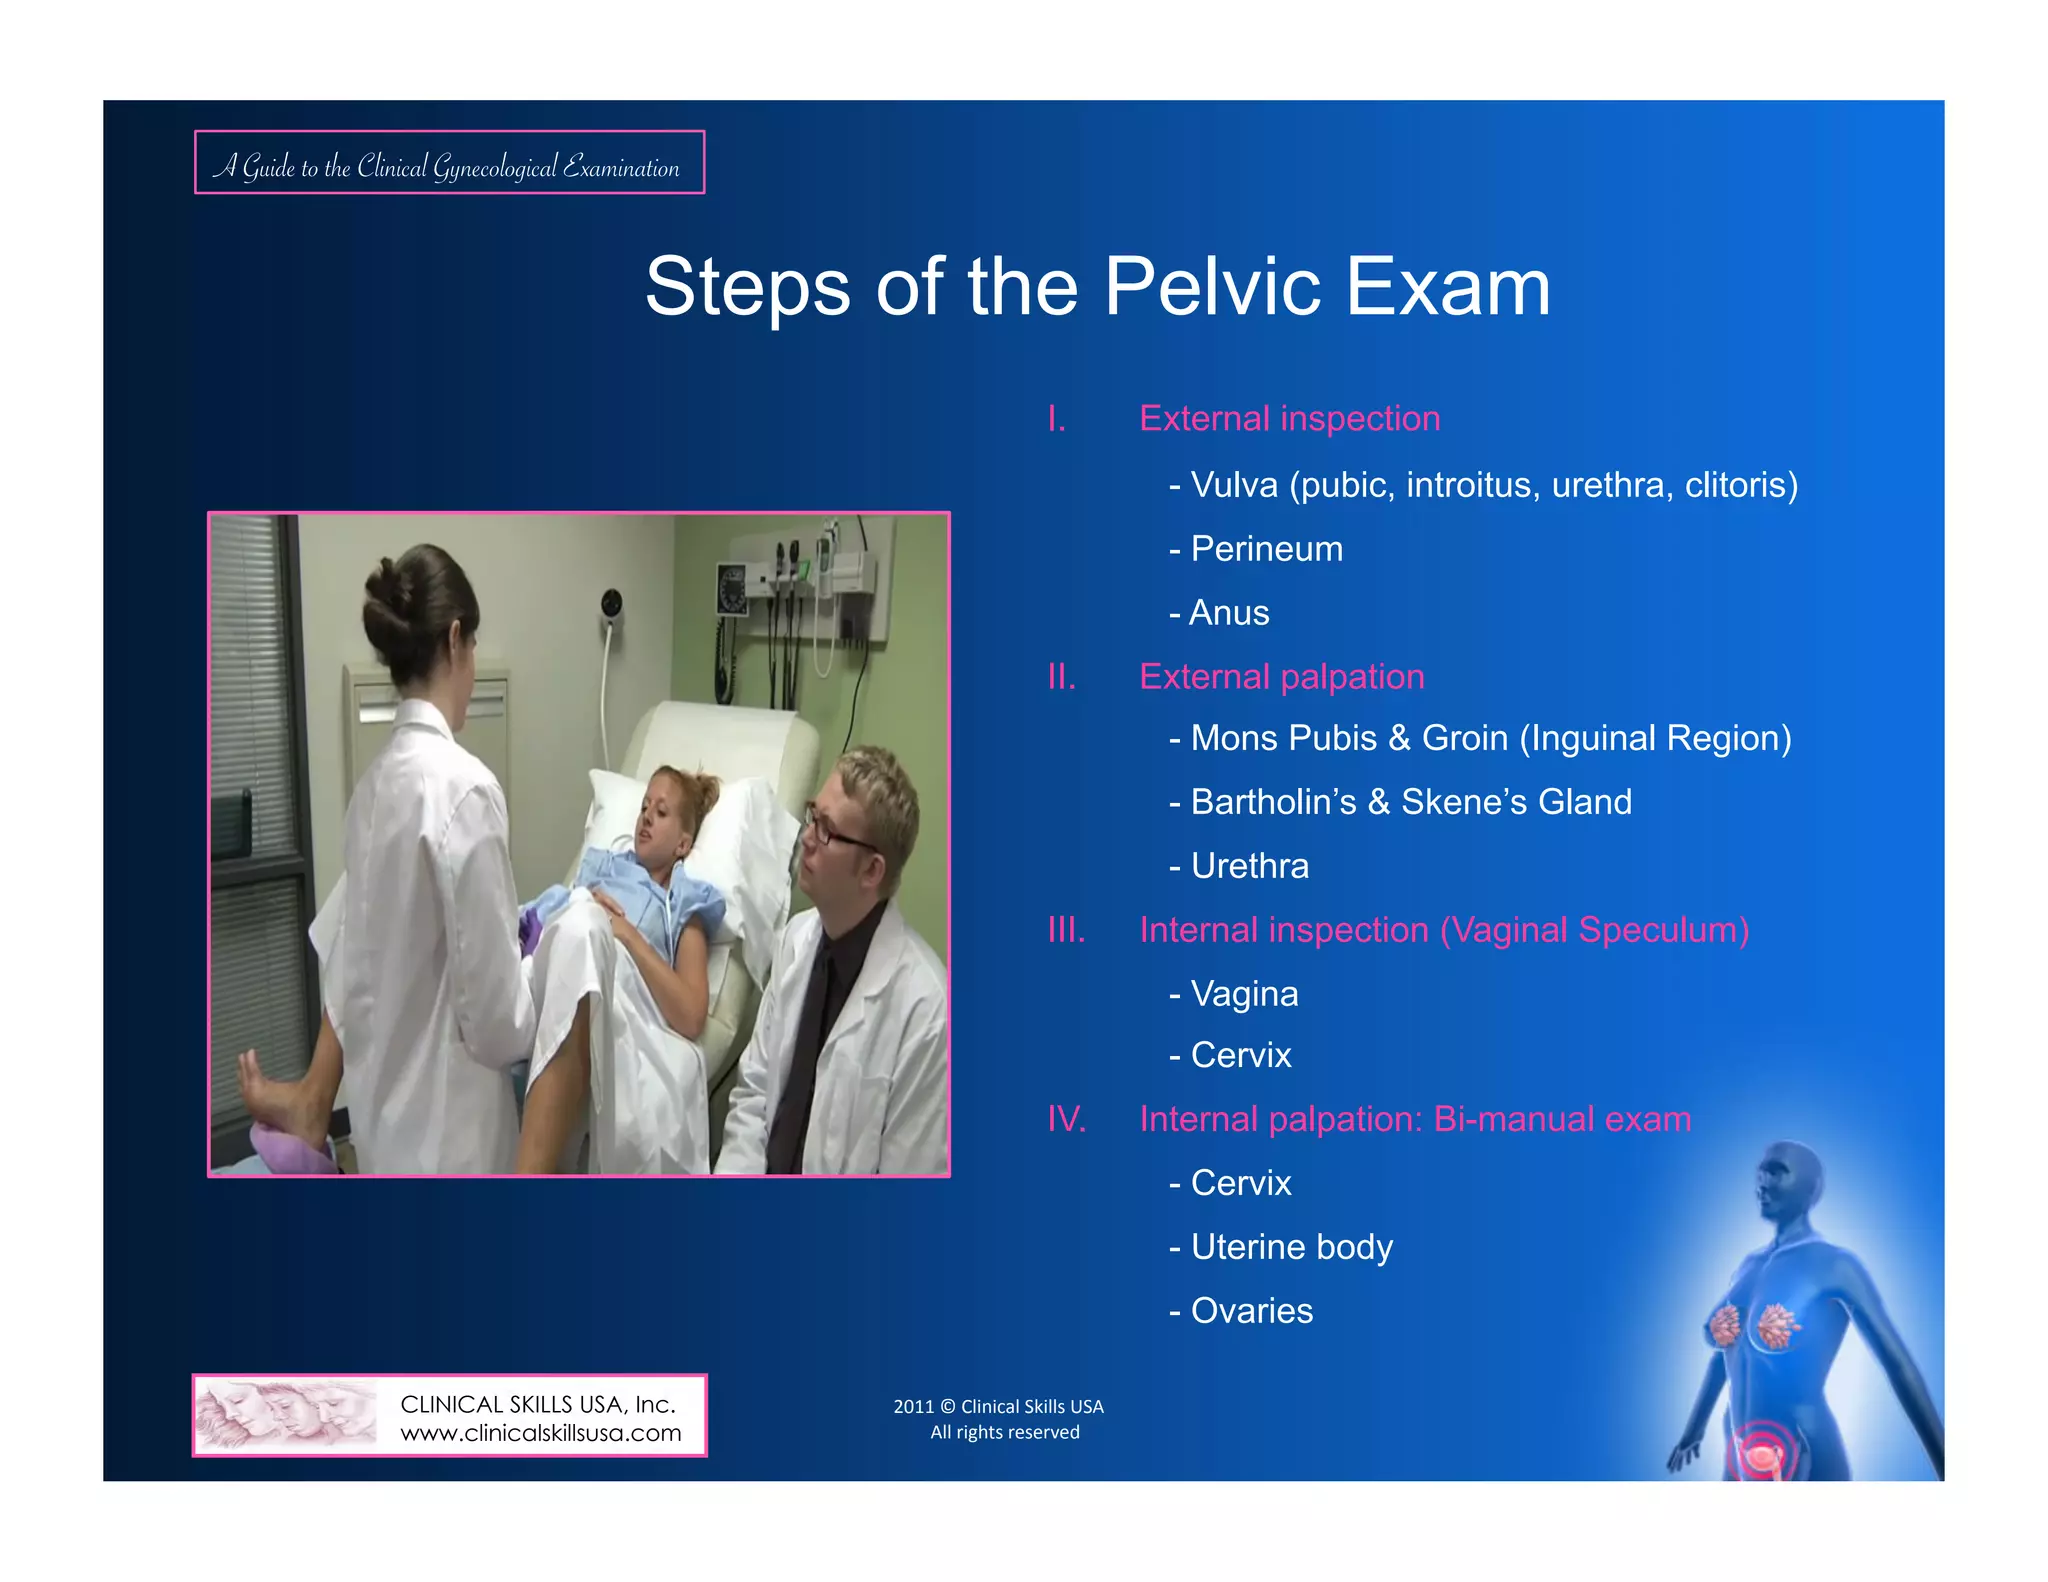
Objective: Documentation of Examination Findings
Genitourinary/Pelvic Exam: Vulvar hair distribution, nits, labial lesions, swelling; urethral lesions or d/c. Skenes, Bartholin’s
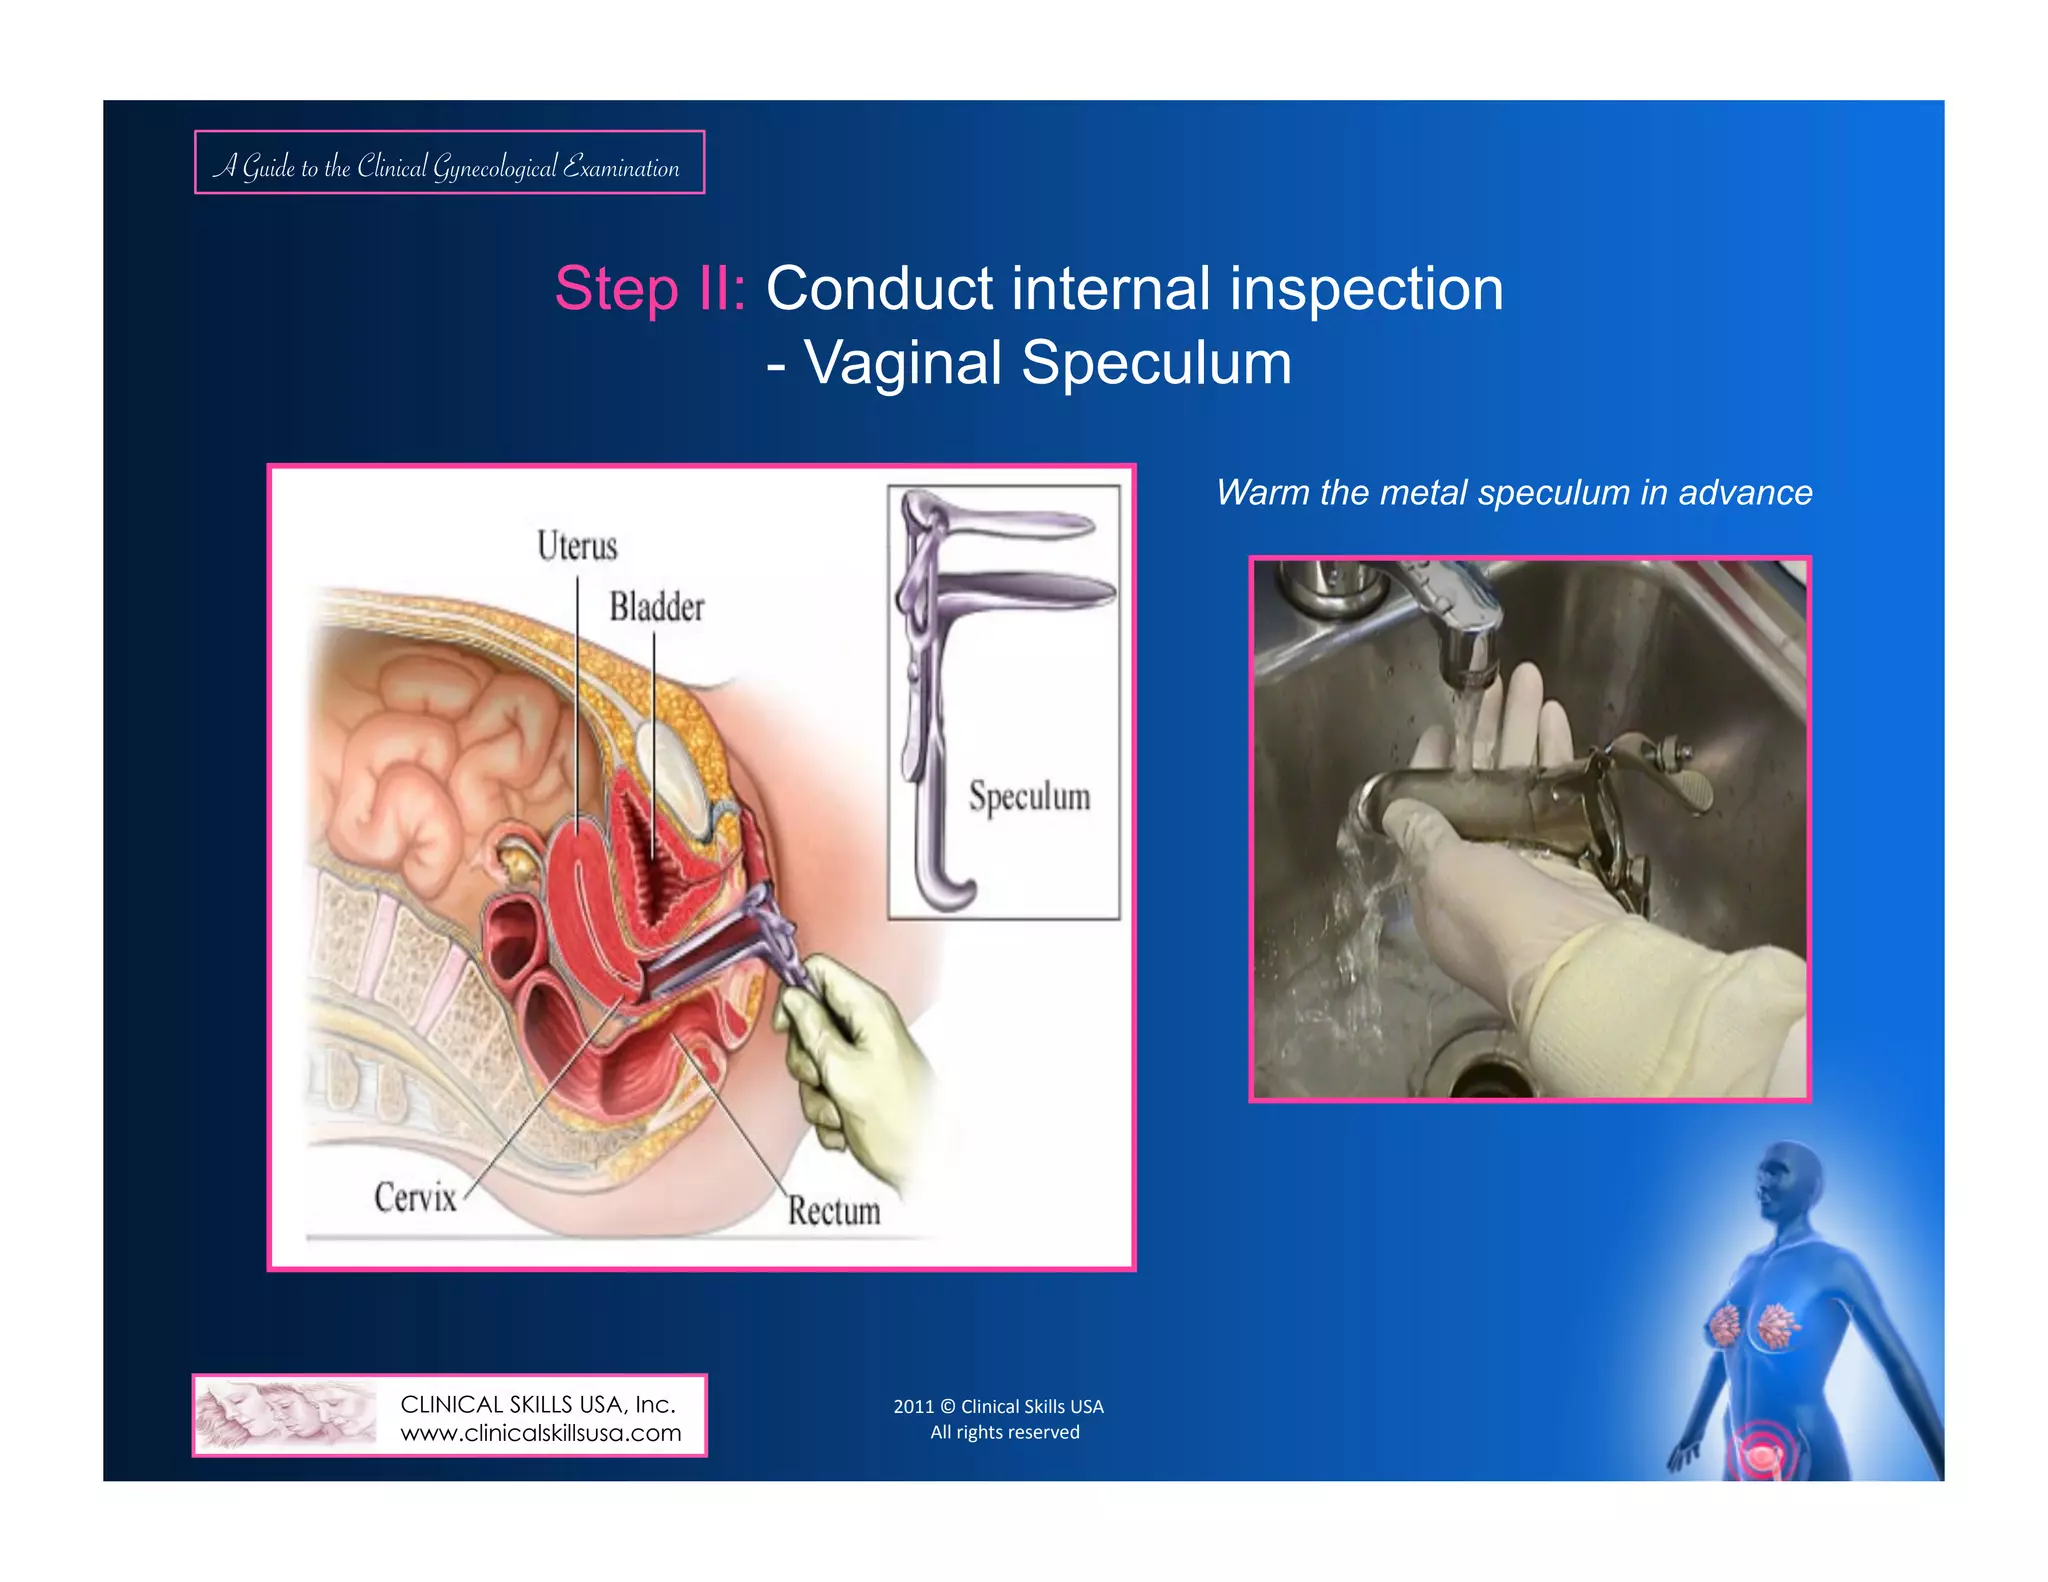
glands, vaginal introitus: lesions or d/c (cystocele, rectocele), trauma. Per speculum exam: vagina (color, rugae, atrophy),
masses, lesions, d/c; Cervix (Cx) nulliparous/parous/ stenotic os, size, inflammations, lesions, erosions or d/c, bleeding,
ectropion, (IUD string present); Per bimanual exam: Uterus position, size, shape, contour, consistency, mobility, cervical
motion tenderness (CMT), ovarian /adnexal enlargement, masses, tenderness
Breast: dimpling, nipple retraction, lesions, symmetry/uniformity, nipple discharge, masses, tenderness, lymphatic adenopathy
Rectal: Masses, fistulas, fissures or gross blood (hemorrhoids, skin tags), masses, lesions, trauma, tenderness, rectocele,
sphincter tone. Stool color and consistency, guaiac +/-.](https://image.slidesharecdn.com/slideshareversion-guidetogynexam3d7-14eden-ehlert-george-140724200940-phpapp02/75/A-Guide-to-the-Clinical-Gynecological-Exam-as-Instructed-by-a-Female-Guiding-Patient-57-2048.jpg)


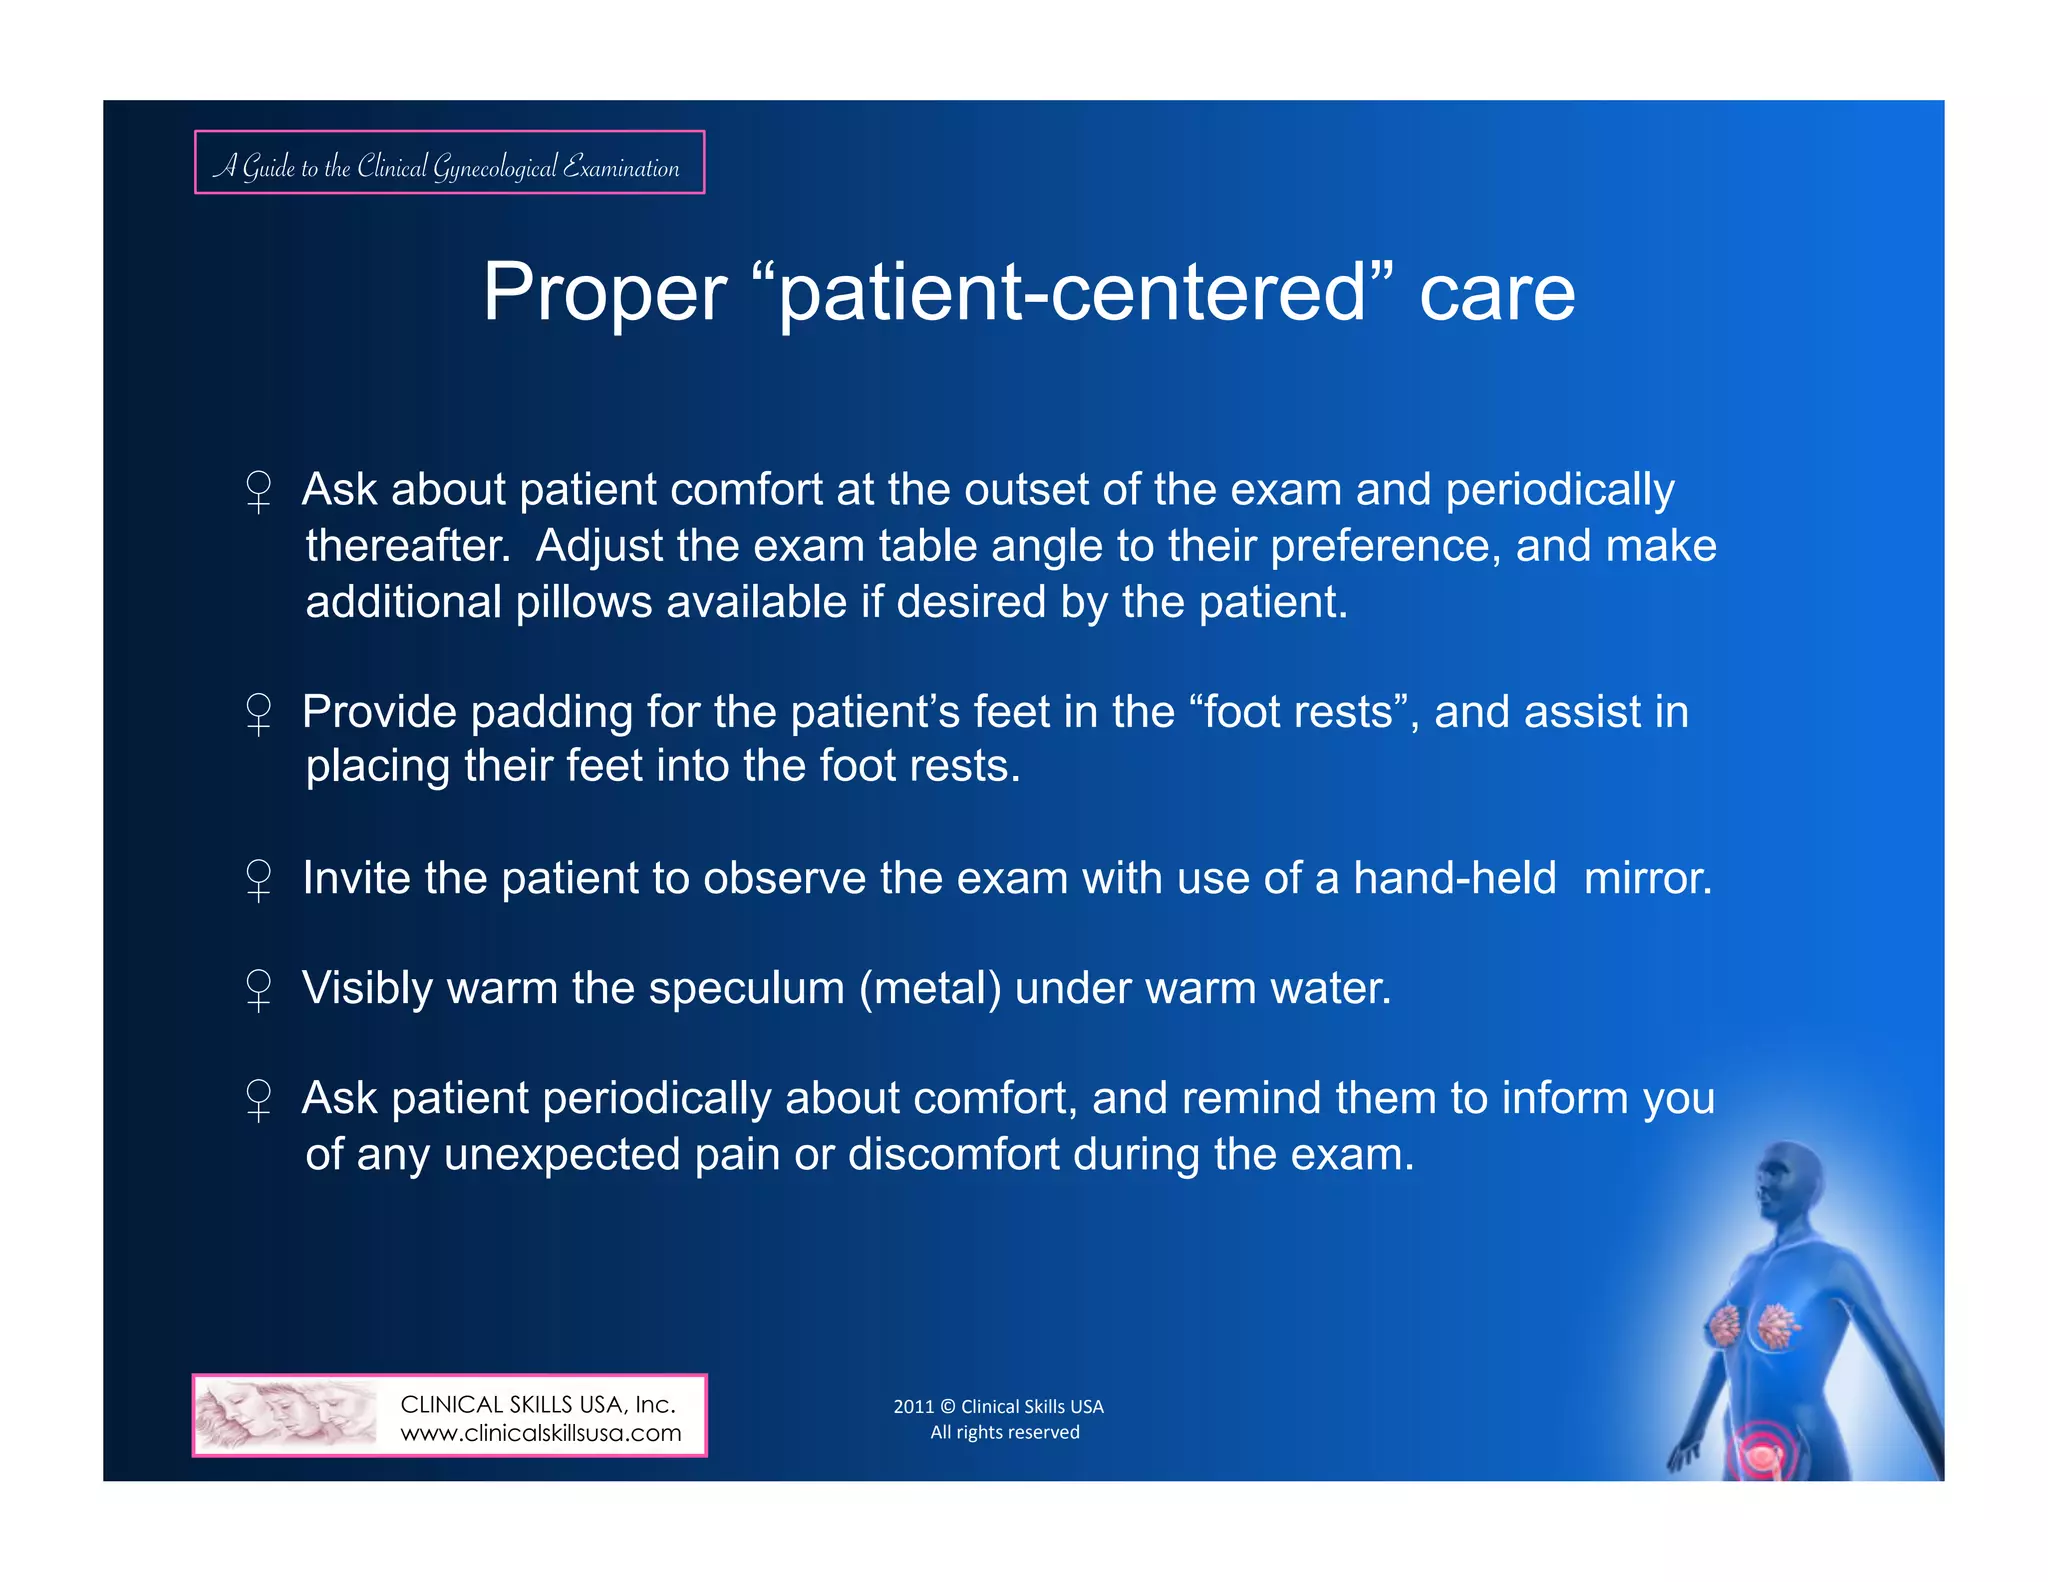
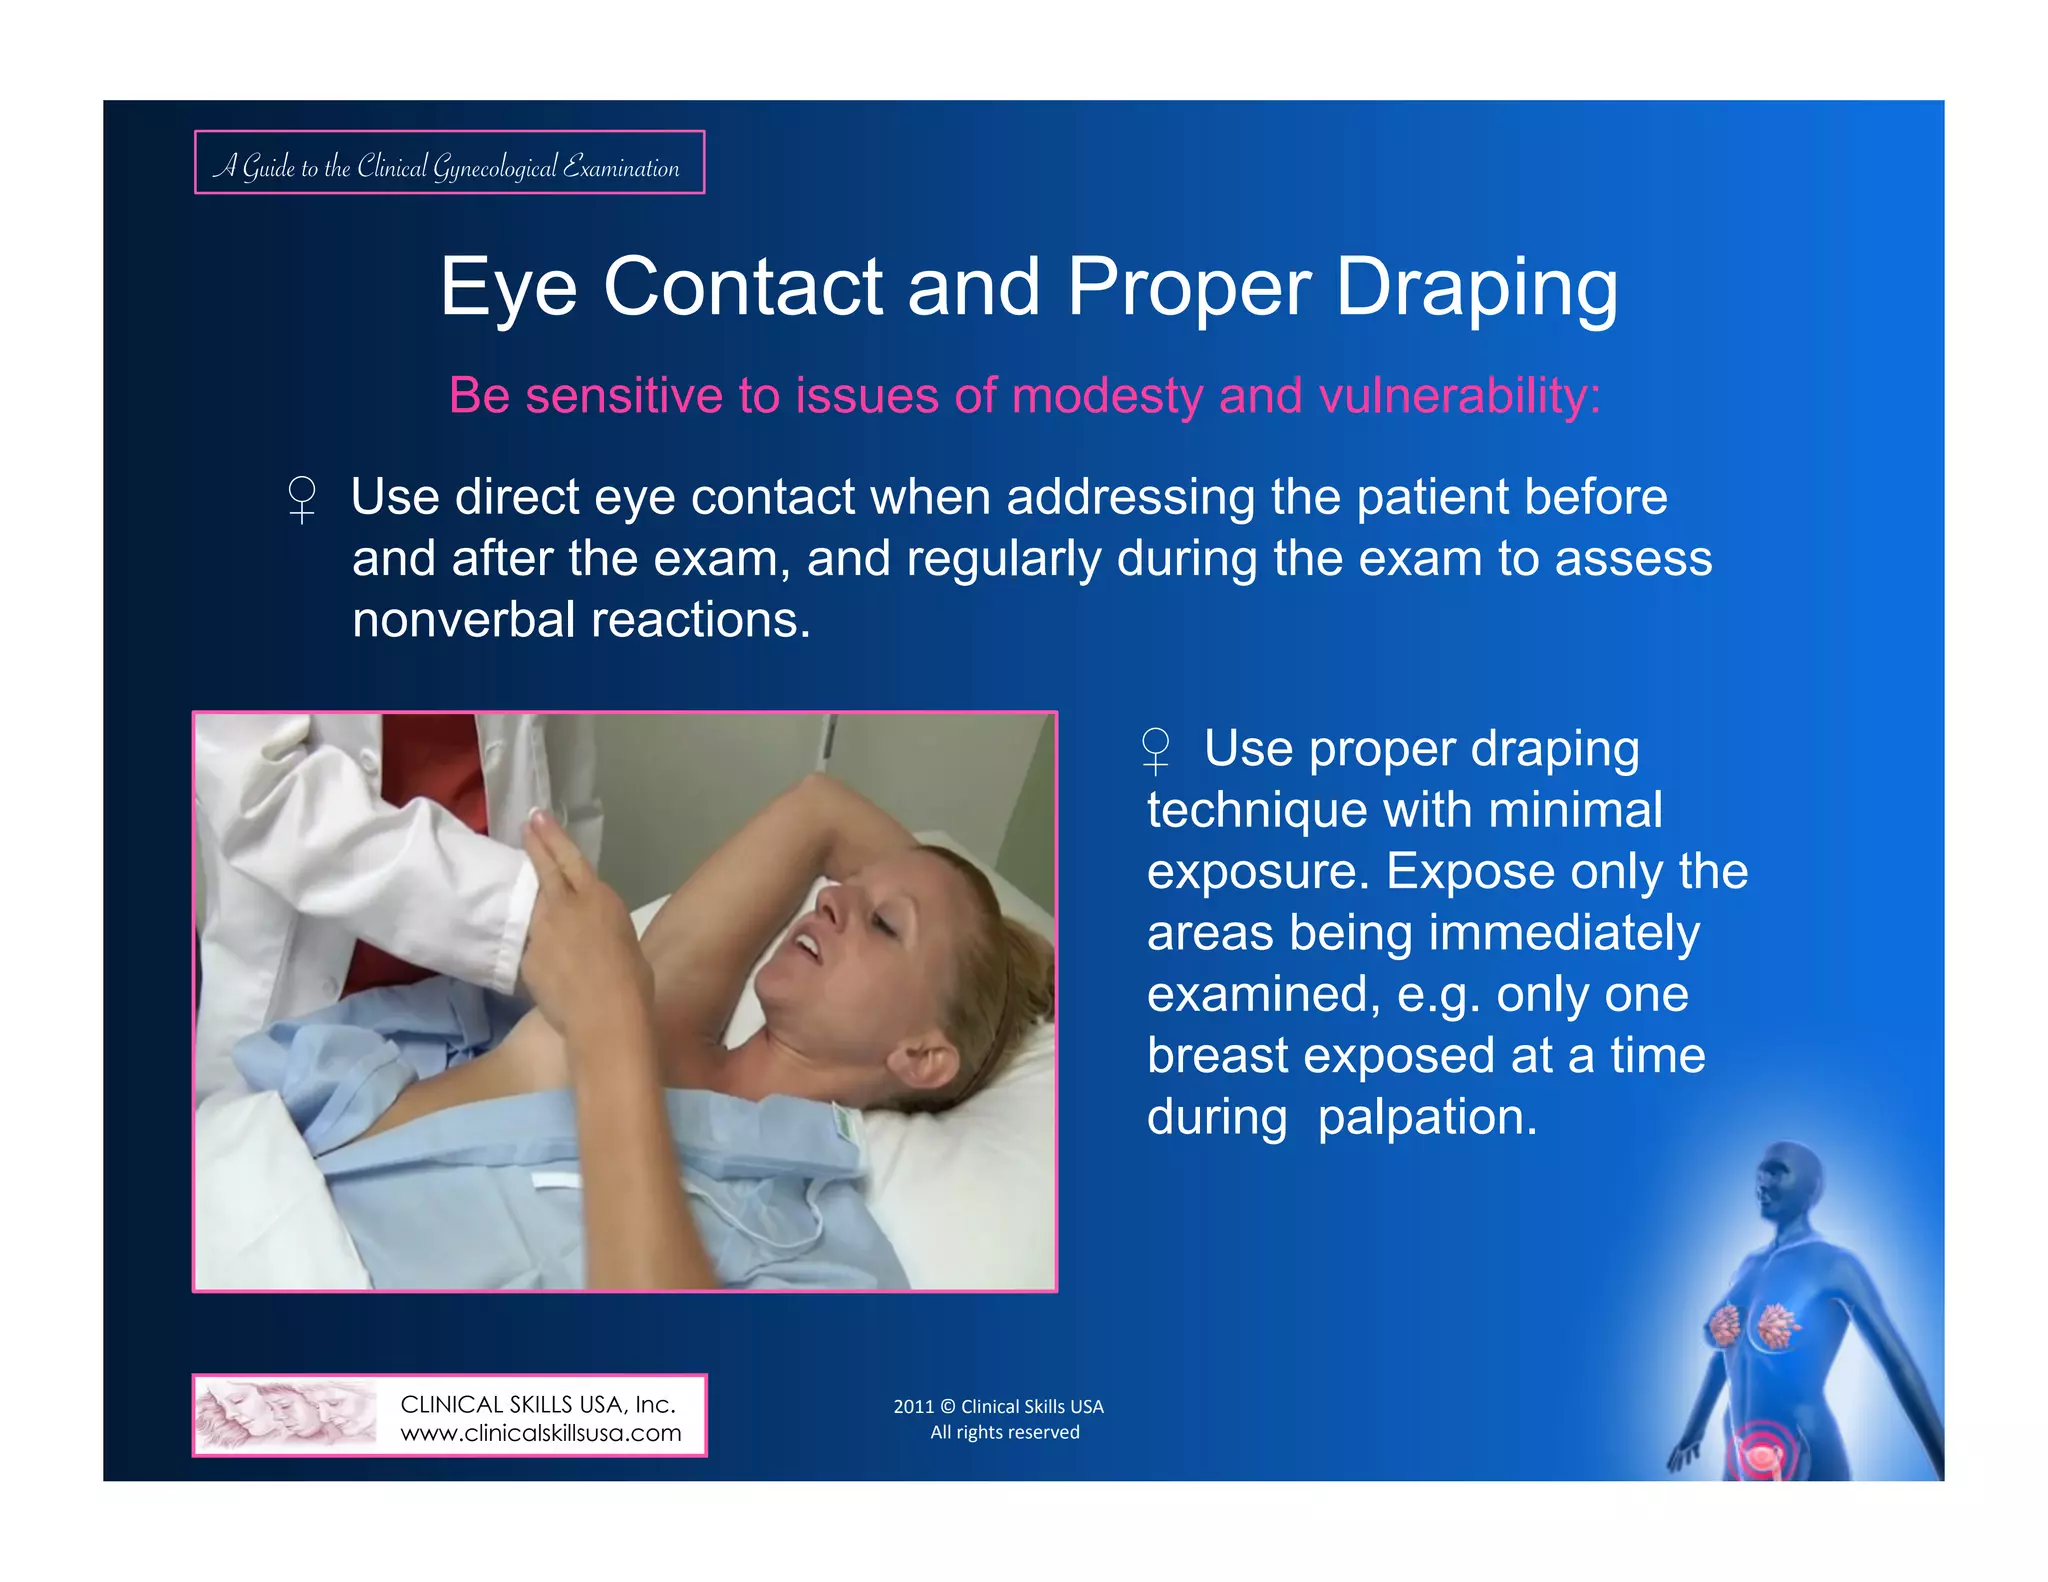
The document is a comprehensive guide on conducting gynecological exams, emphasizing the importance of proper technique, patient comfort, and reducing anxiety for female patients. It covers key objectives of the exam, recommended screening practices, and effective communication strategies to assist healthcare providers in making patients feel at ease. Additionally, it outlines detailed steps for breast and pelvic exams, including the importance of breast self-awareness and patient-centered care.


