1. Have Your Face Showing On Google!
Have you ever considered having your face showing on
Google on someone looks for information about
your business opportunity, company, website or keywords?
Wouldn’t it be awesome to have people connecting with
you right from the Search Engine Results Page (SERP)?
It would definitely help you get a lot more attention to your
pages and less rejection from visitors coming from search
engines.
So all you need to do is to setu up Google authorship for
your website!
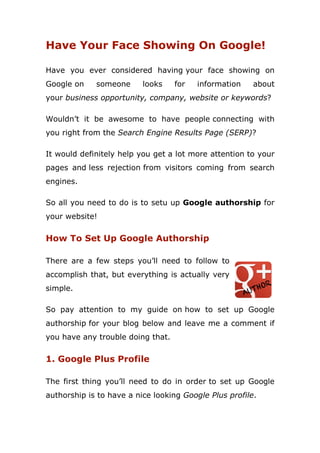
How To Set Up Google Authorship
There are a few steps you’ll need to follow to
accomplish that, but everything is actually very
simple.
So pay attention to my guide on how to set up Google
authorship for your blog below and leave me a comment if
you have any trouble doing that.
1. Google Plus Profile
The first thing you’ll need to do in order to set up Google
authorship is to have a nice looking Google Plus profile.
2. Obviously Google gives a lot of credit to its own social
media, so its important to be present there if you want to
score a few points with the most visited website in the
whole internet.
Put a clean picture of yourself there, preferably with a
natural smile in your face. Also make sure to fill your profile
with information about yourself and your interests.
2. Linking Your Profile
Go to the “Links” tab in your profile and edit the
“Contributor to” box to add your website there.
This creates a link from Google+ to your blog, so now all
you need to do is reciprocate that link using “rel=author”
on your blog.
3. Linking Your Blog
Go to your WordPress dashboard and find the link to “Your
Profile” under the “Users” tab.
If you’re not using WordPress, then figure out where is the
“About the Author” section of your site and go there.
Scroll down to the bottom of the page and add the code
bellow to your “Biographical Info” box:
3. <a href=”https://plus.google.com/[YOUR 21-DIGIT GOOGLE+
PROFILE NUMBER]?rel=author”>YOUR VISIBLE TEXT
MESSAGE</a>
Make sure you edit this code to add your Google+ profile
number in the right spot and the text you want to be visible
on your “About the Author” section.
Save the information and you’re done!
4. Testing To See If It Works
Next you want to test this feature to see if it’s working.
Head to the Structured Data Testing Tool on Google
Webmaster Tools in this link:
http://www.google.com/webmasters/tools/richsnippets
Enter your blog address in the URL box there and click the
“Preview” button.
If everything went right you see something like the image
below.
Now bear in mind that it might take some time
until Google actually shows your face on the search engine
results pages (SERPs).
It has to index the whole world wide web so give it some
time to make the changes.
4. And if you enjoyed
authorship then please
from it!
You can learn more
online, get more
my Free Training
http://freetraining.coachingsouls.com
About the author:
My main focus is to help entrepreneurs achieve
sucess
to their online businesses.
Feel free to connect with me at
http://Profile.coachingsouls.com
thoughts on our mutual interests!
f you enjoyed this article about how to set
then please share it so someone else can benefit
more strategies to promote your
more visitors and leads by subscribing
Training here:
http://freetraining.coachingsouls.com
About the author: Ed Perez
My main focus is to help entrepreneurs achieve
sucess by applying the appropriate strategies
to their online businesses.
Feel free to connect with me at
http://Profile.coachingsouls.com and let's share some
thoughts on our mutual interests!
set up Google
so someone else can benefit
your business
by subscribing to
My main focus is to help entrepreneurs achieve
by applying the appropriate strategies
Feel free to connect with me at
and let's share some