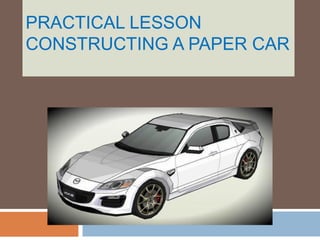
2. Task
• At the End of the Lesson Participating
students should be able to design a paper car
• To Make a paper car you'll need a hard paper,
scissors, and a pen.
3. Step 1 Take a square of origami paperand place it on a table
with the backside facing up.
1
4. Step 2 Fold the top edge down to meet the bottom edge. Make
a crease in the middle of the paper, and then unfold the paper to put it
back in its original position.
.
5. Step 3
Lookat yourpaper. Mentally divide both the top half and the bottom half into
thirds. Fold the top third of the top portion down.
Fold the bottom third of the bottom portion up.
.
6. Step 4
Take the bottomleft cornerof the portion that you just folded down on top
of the paper. Pull the edge up and to the right to make a triangular fold.
Crease the paper.
.
7. Step 5
Fold the opposite corner(the top right corner) up and to the left to mirrorthe
fold that you just made. Crease the paper.
.
8. Step 6 Make identical folds to the one that you just made on top on
the bottomflap. The bottom should be a mirror image of the top.
.
9. Step 7 Take the corners of the 4 triangles that you just folded. Fold
the tips back behind the triangles. Doing this will round the corners to create
the wheels.
.
10. Step 8
Fold the whole paperin half along the first crease that you
made.
.
11. Step 9 Find the top right cornerof the paper. Push the corner
down to make a pocket fold. The pocket fold that you just made
creates the trunk of the car.
.
12. Step 10
Examine the front half of the papercarwhere the windshield will go. Use
scissors to cut a slit in the paper at the point where you want to put the
windshield. Cut to the right at a slight angle so that the windshield will slope like
it does on a regular car.
.
13. Step 11 Push the cornerdown to create a pocket
fold. This pocket fold makes the hood of the car.
.
14. Step 12 Draw windows, if you
wish, to finish the car.
.